
There is always something bigger out there. Case in point, the dual tower version of the previously reviewed Dark Rock 4. With the Pro, they sent the standard one to the gym to bulk up and thus we have an air cooler capable up to 250W of TDP, while still promises near inaudible operation.
First about BeQuiet!

BeQuiet! is a premium brand manufacturer of power supplies and cooling solutions for your desktop PC. With numerous awards under their belt and considered the best German power supply manufacturer from Germany since 2006 - was awarded nine times in a row as “Manufacturer of the Year” in the power supply category by the readers of the well-known German hardware magazine PC Games Hardware. In the category “fans”, be quiet! earned the first rank for five consecutive times and belongs to the Top 3 CPU cooler brands for more than three years in a row. The community of Hardwareluxx also voted be quiet! as “Manufacturer of the Year” in the PSU category for four consecutive years.
Prices and Availability
Below we have the prices from three different currencies, from Amazon.
It is only ~ $15 / £9 / €13 more than the standard Dark Rock 4.
Presentation and Specification
* Courtesy of their website

Let’s explore the main highlights:
NO COMPROMISE SILENCE AND PERFORMANCE
*Dark Rock Pro 4 offers an immense cooling performance of 250W TDP and virtually inaudible operation. Excellent for overclocked systems and demanding workstations.
*Two virtually inaudible Silent Wings PWM fans
*Funnel-shaped frame of the front fan for high air pressure
*Achieves only 24.3dB(A) at maximum fan speed
*Seven high-performance copper heat pipes
*Airflow-optimized cooling fins; cutouts enhance the RAM compatibility
*Easily installable black installation kit can be mounted from above
*Brushed aluminum top cover with diamond cut finish
*3-year manufacturer’s warranty
*German product conception, design and quality control
Now let’s have a look at the main specs and more importantly compared to the single tower version.
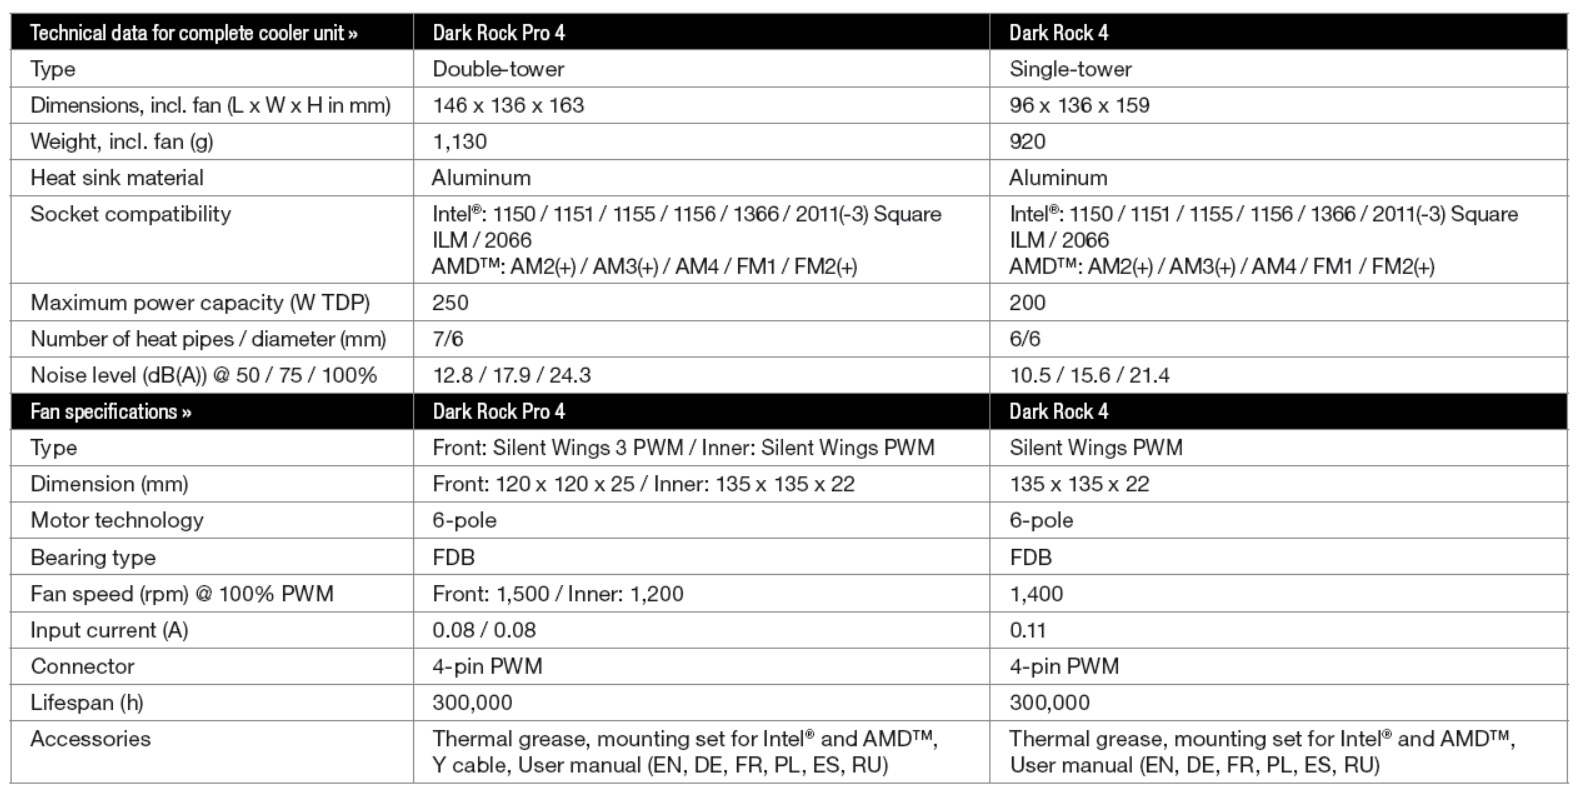
So with the Pro we gain one extra heatpipe, one extra tower of fins of course, one more fan (a 120 mm on the front while the 135 mm is in the middle) and a theoretical higher TDP threshold at 50W more. This should be very interesting to see if it still is a dead silent product.
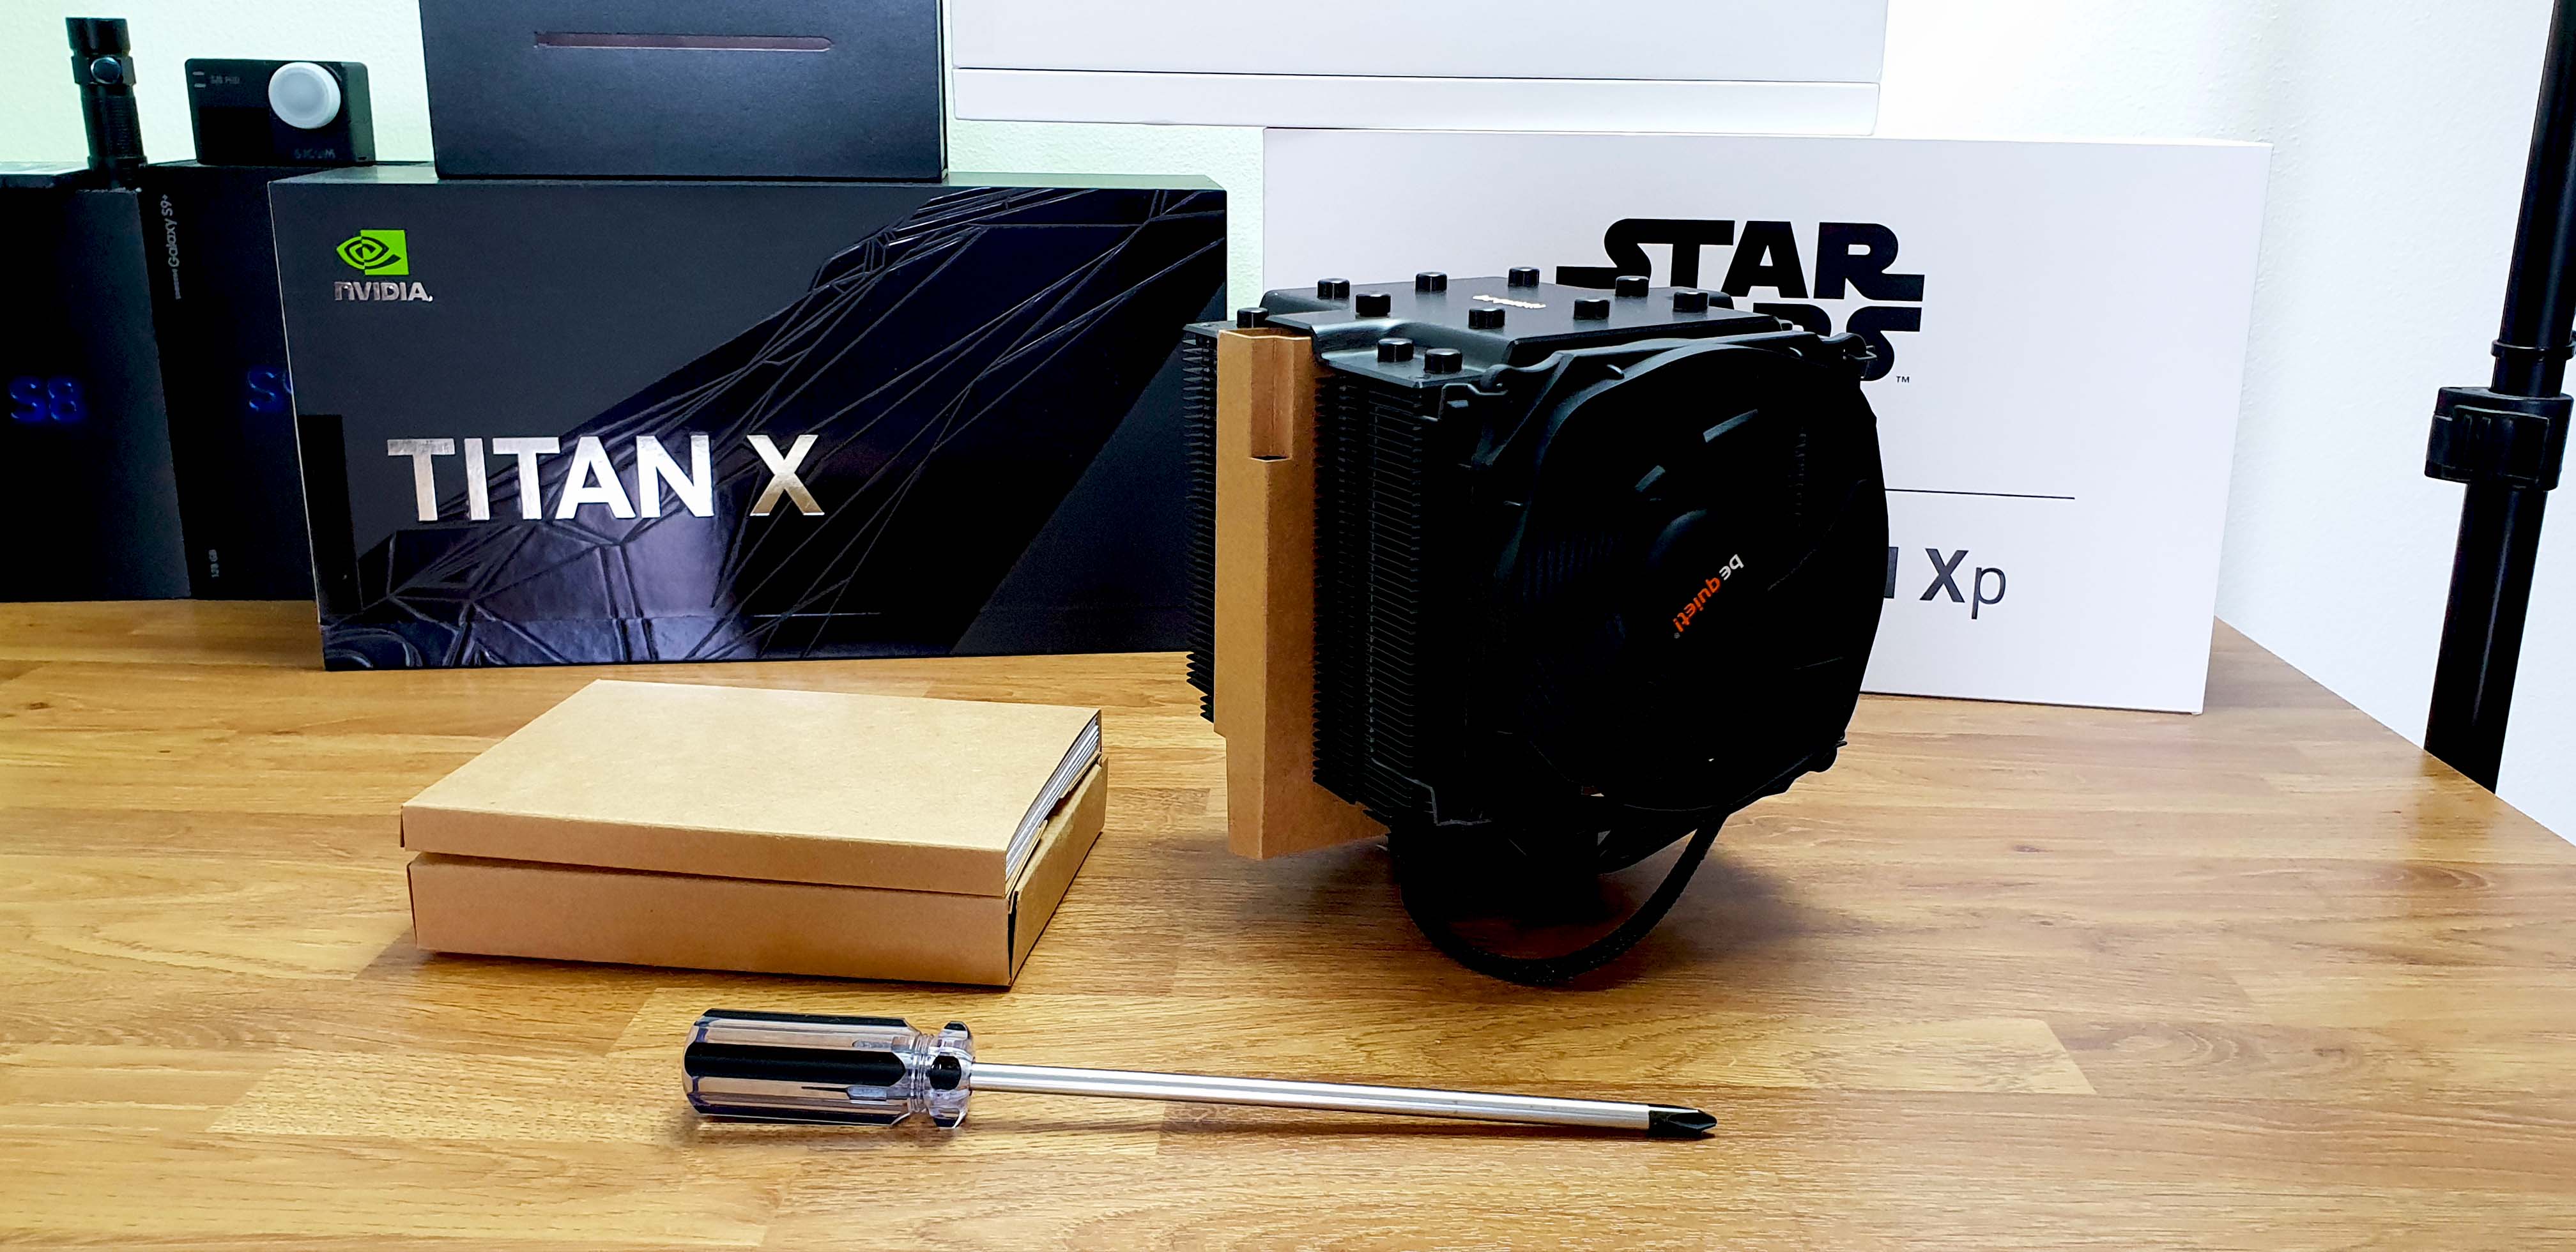
Visual Inspection
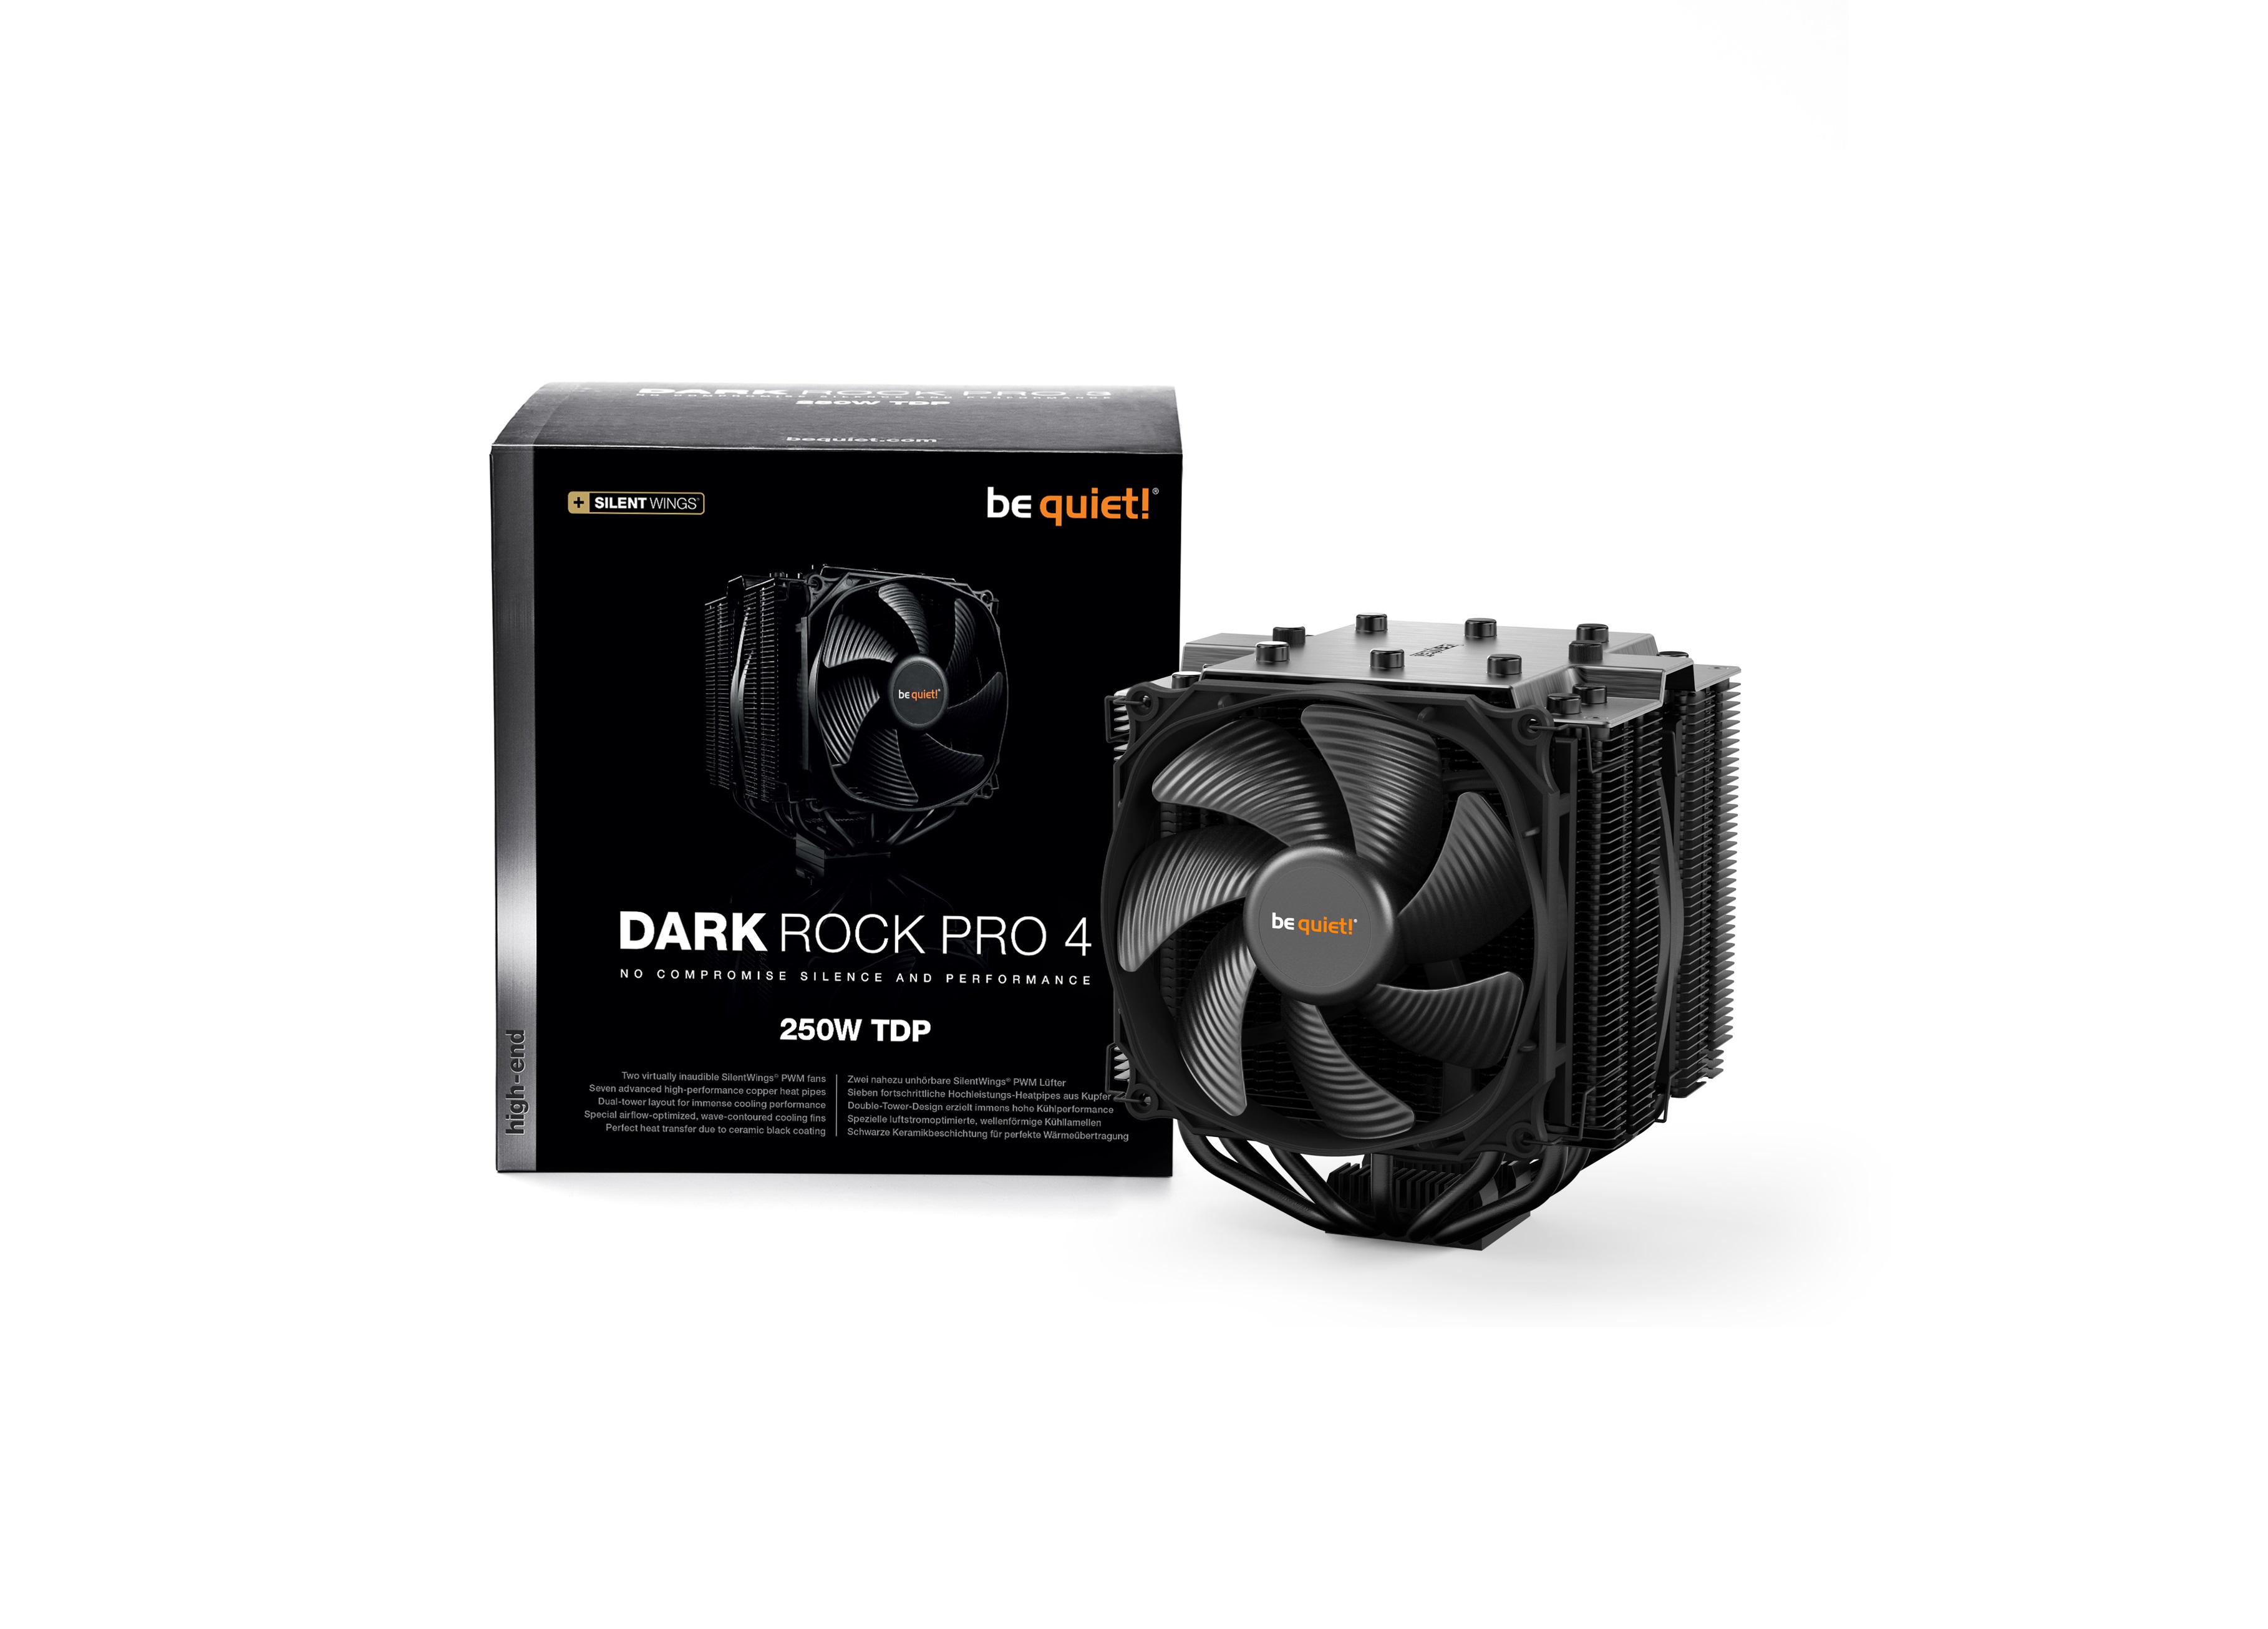
The trademark BeQuiet! packaging them is present once more. The TDP value is highly visible to show that this is no ordinary air cooler, if the professional and bold look of the box didn’t give you enough hints.

The other sides covers the main highlights and the specs.

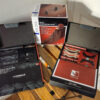
The heatsink is very well protected inside and nicely organised.

One of the fans is already pre-installed while the other is only placed in his intended location because you will need to attach him last due to the installation sequence.
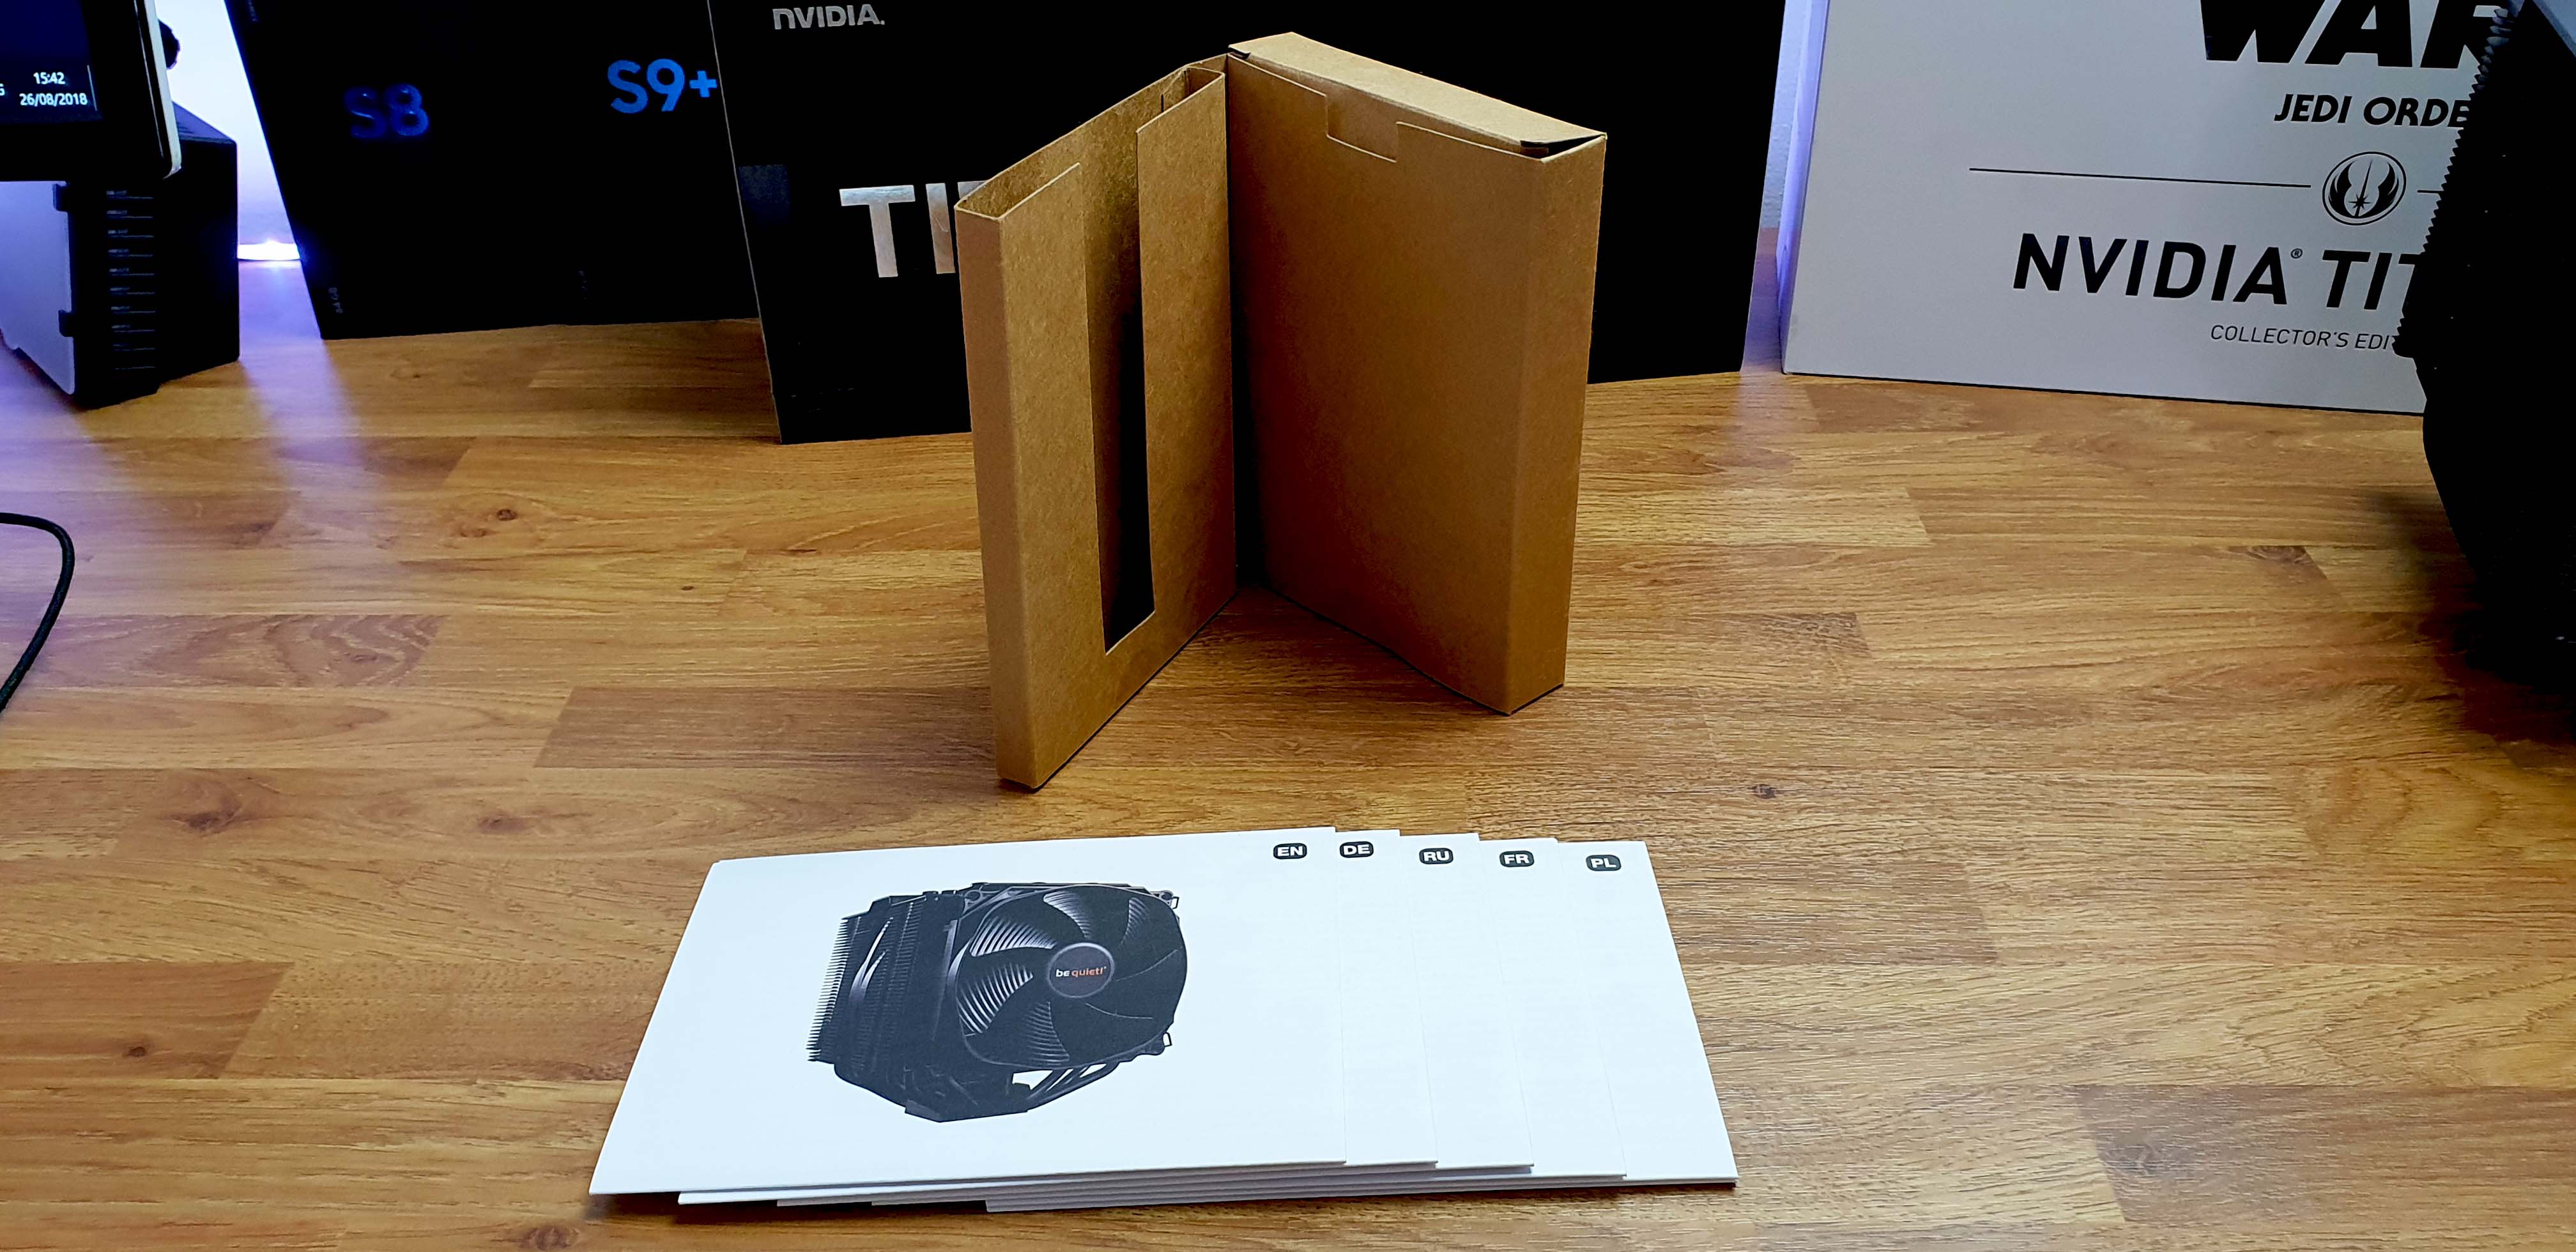
The accessory box has is divided in a booklet type storage with one side housing the manual in 5 different languages while the other has all the multi socket installation parts.
This is everything you get besides the Dark Rock Pro 4 heatsink:

- 1x 135 mm Silent Wing Fan
- 1x 120 mm Silent Wing Fan (pre-attached)
- 1x Y-pin splitter
- 1x Intel multisocket back plate
- 2x Intel mounting brackets
- 2x AMD mounting brackets
- 1x Cooler securing bridge plate
- 4x Intel big socket spacer nuts
- 4x Intel small socket spacer nuts
- 4x AMD spacer nuts
- 4x Mounting brackets screws
- 2x Securing bridge plate screws
- 4x Intel backplate screws
- 4x Intel o-rings
- 4x AM3 washers
- 1x Thermal paste tube
- 6x Fan clips (2x pre-attached)
- 1x Philips extra branded long magnetic screwdriver
Now for the beast. The Dark Rock Pro 4 dual tower air cooler which weighs 1130 grams and measures 163 x 136 x 146 mm (LxWxH).
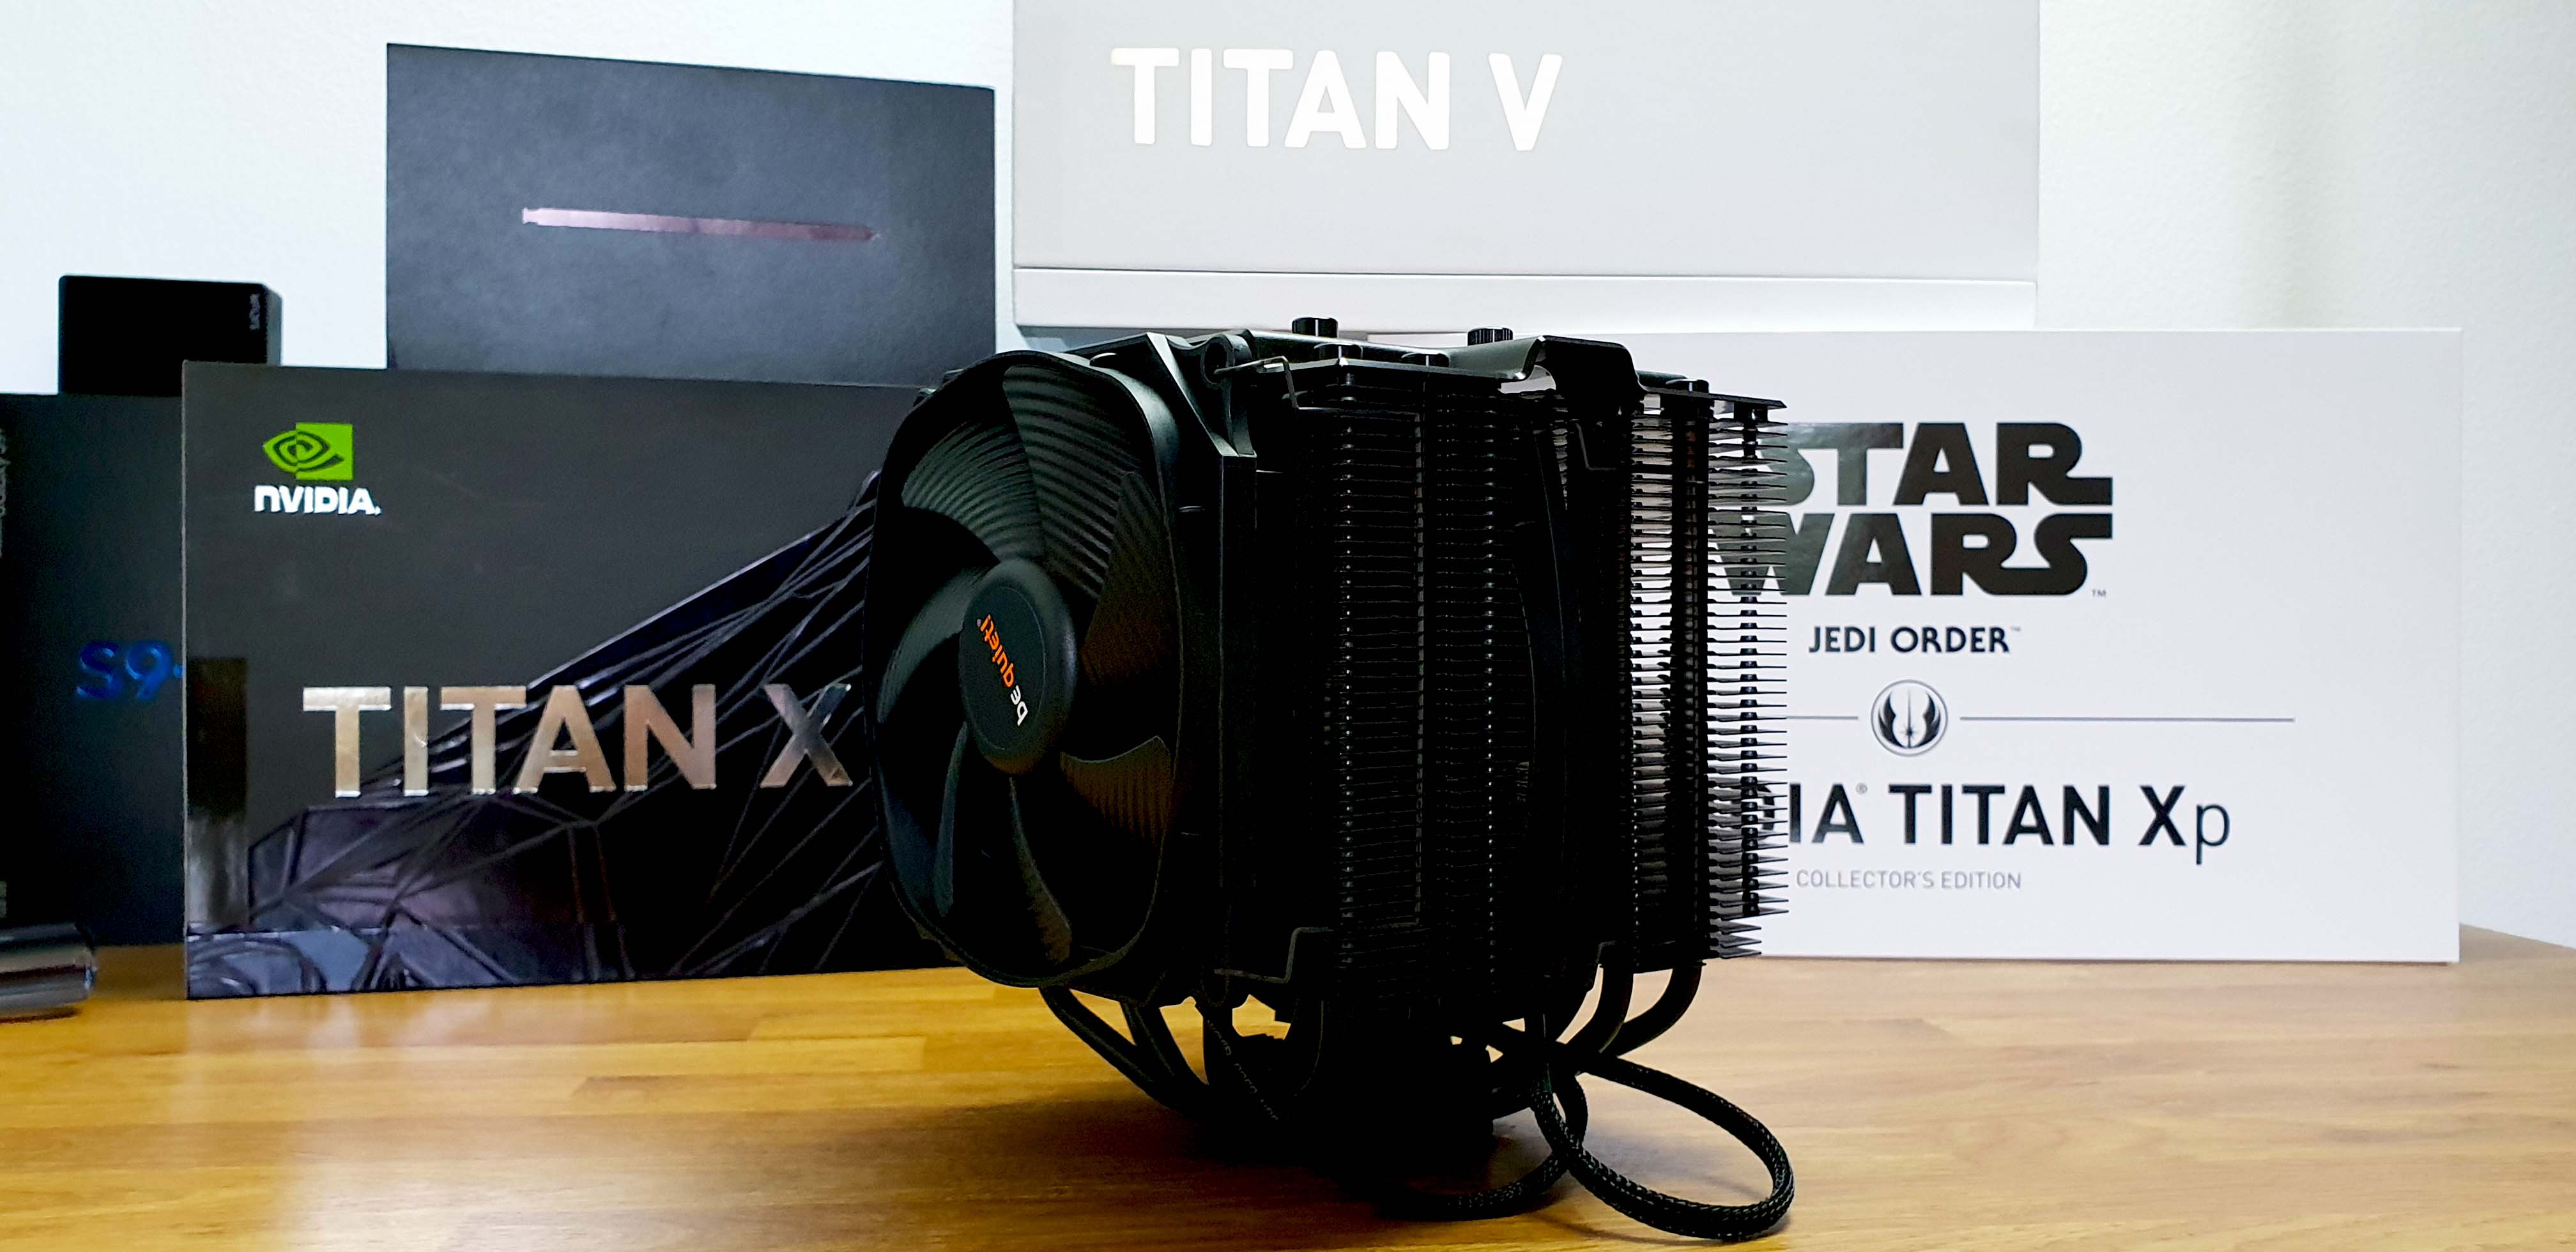
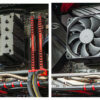
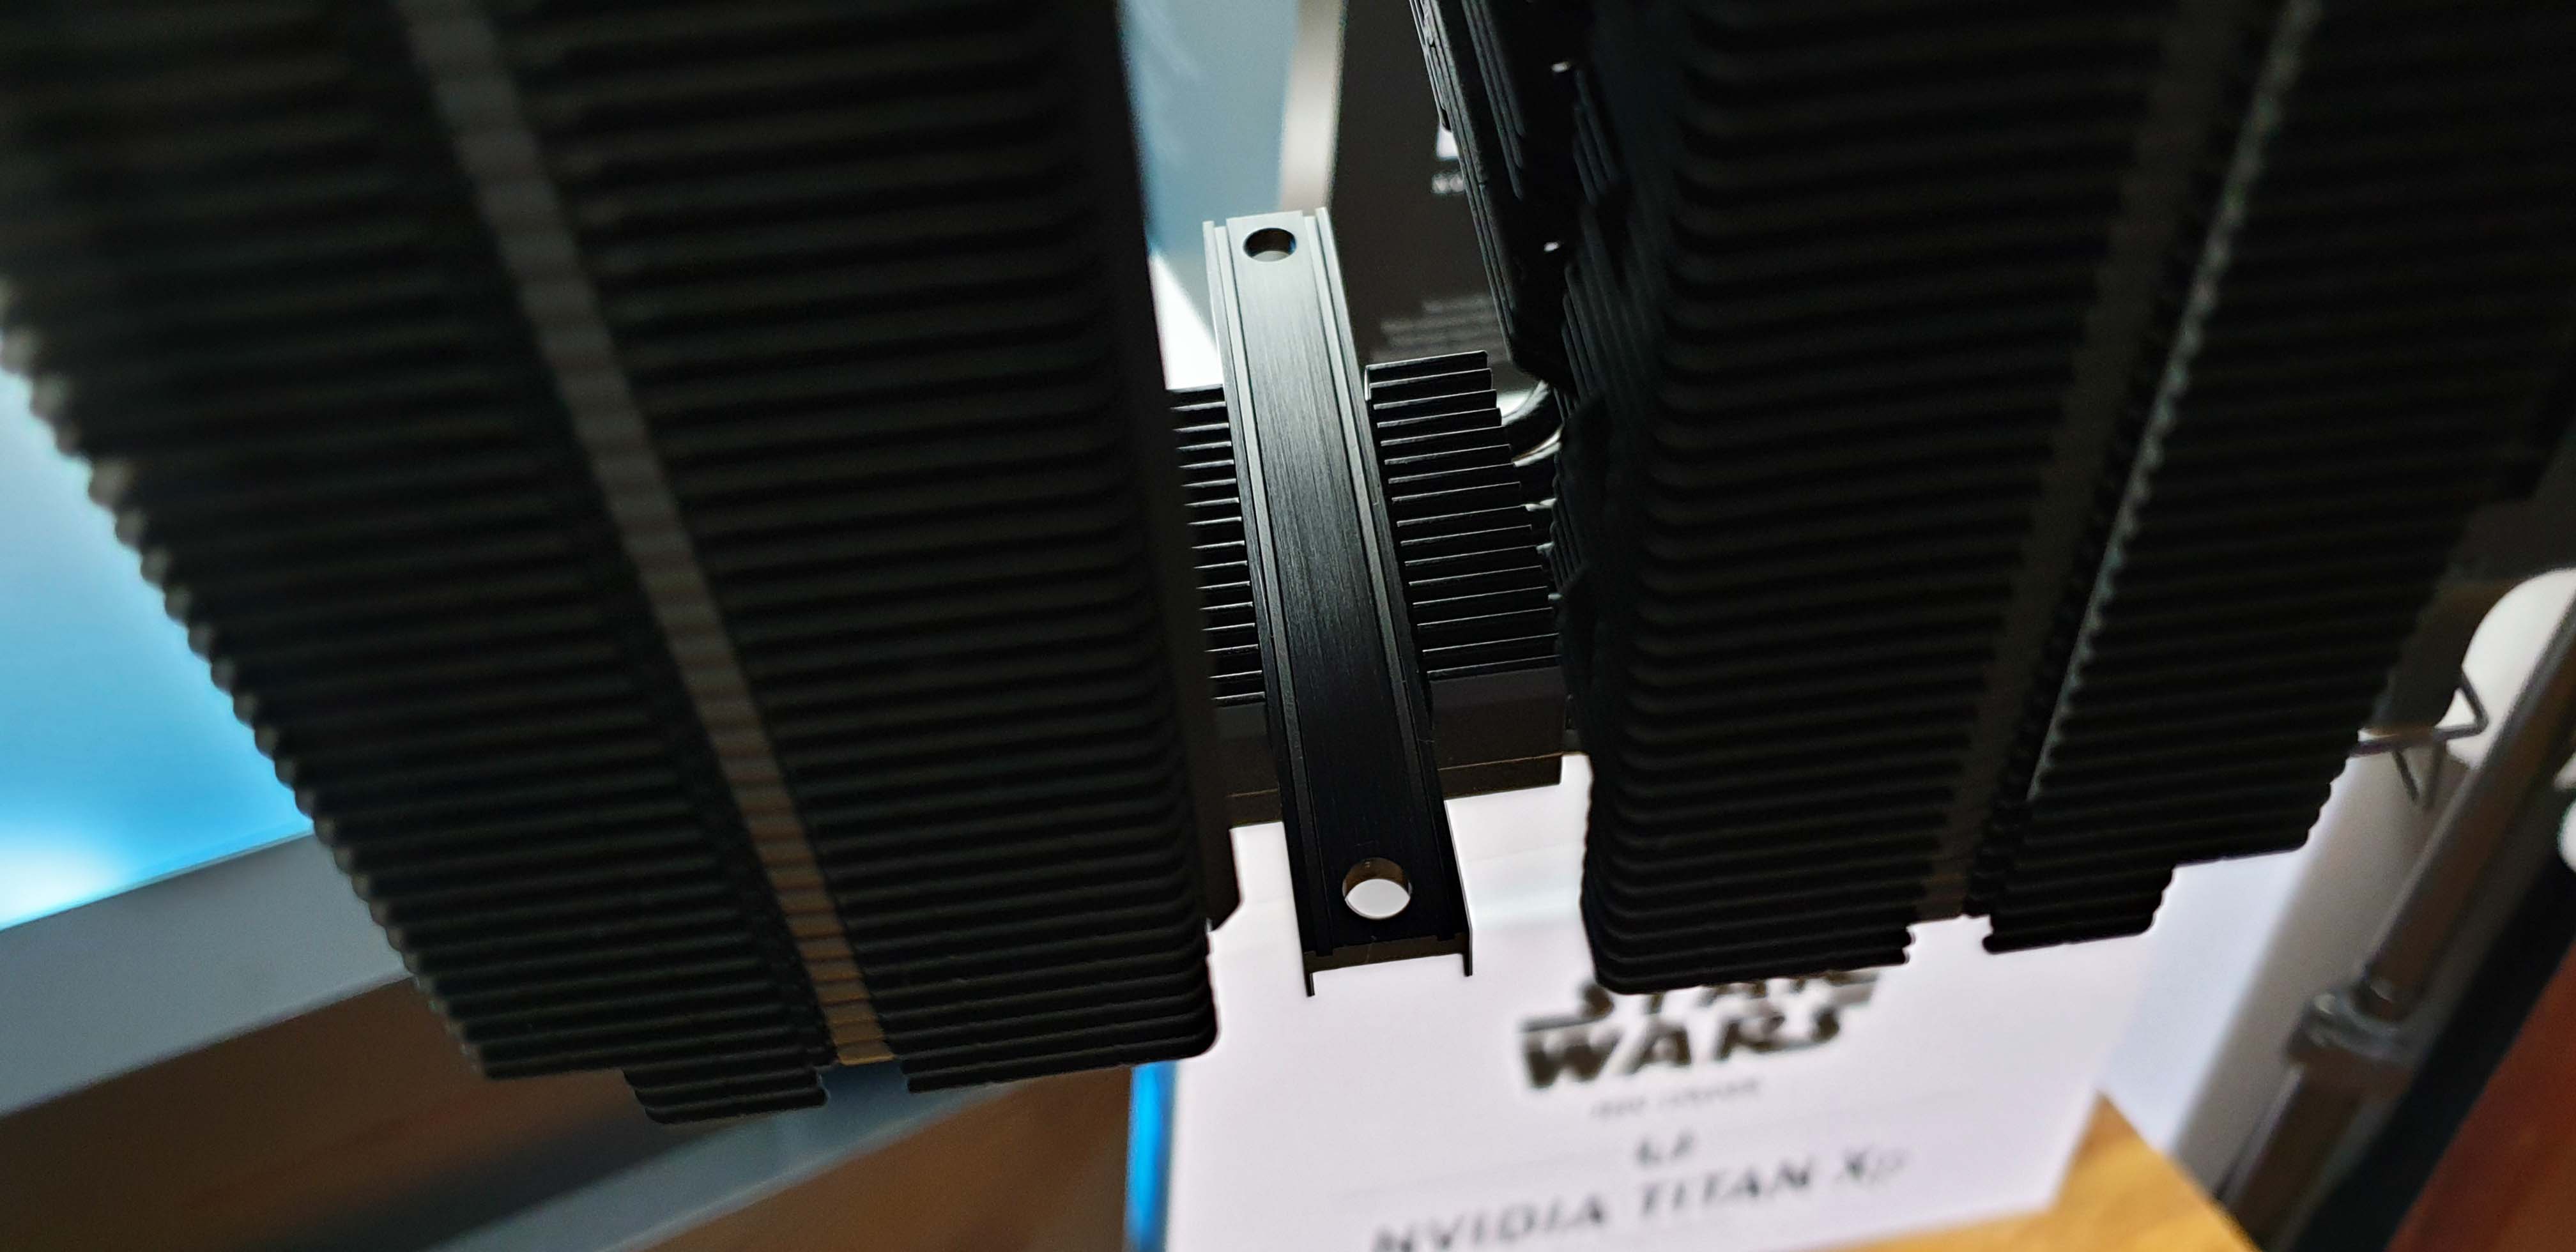
The same construction quality and attention to details is present like in the single tower version. We count 7 heatpipes distributed in an U shape pattern between the two towers.

Then we have 45 fins on each tower, thus a total of 90. A little heads up, the fins are easily prone to paint damage when you install the metal clips. Regarding the fans, the 135 mm is rated up to 1200 RPM while the smaller front one, the 120 mm is rated up to 1500 RPM.

The top plate is a thing of beauty, is massive and locks into place the whole heatsink. But it is also incorporate a cleaver yet simple design to help you with the installation. More on this later on.

Now if we have a look at the base plate we discover the same flat nickel plated base plate without the mirror finish.

The opposite side has these extra fins for more heat dissipation. Also the lower ones help to secure the heatsink down. Speaking of, let’s move to the installation process.

Installation
This is almost identical to the Dark Rock 4 as far as the installation process goes; ‘almost’ because I would recommend to do this while the motherboard is out of the case. Why? Because it is a little hard to attach the second metal clip to secure the inner fan. It can be done in the case like I did as well, but takes some advanced finger gymnastics. Nonetheless, let’s go over it one more time.
Step 1 - Choose the parts for your desired socket. In my case, Intel’s LGA1151. Attach the securing bolts on the backplate with the rubber grommets as well. Then install it on the motherboard.

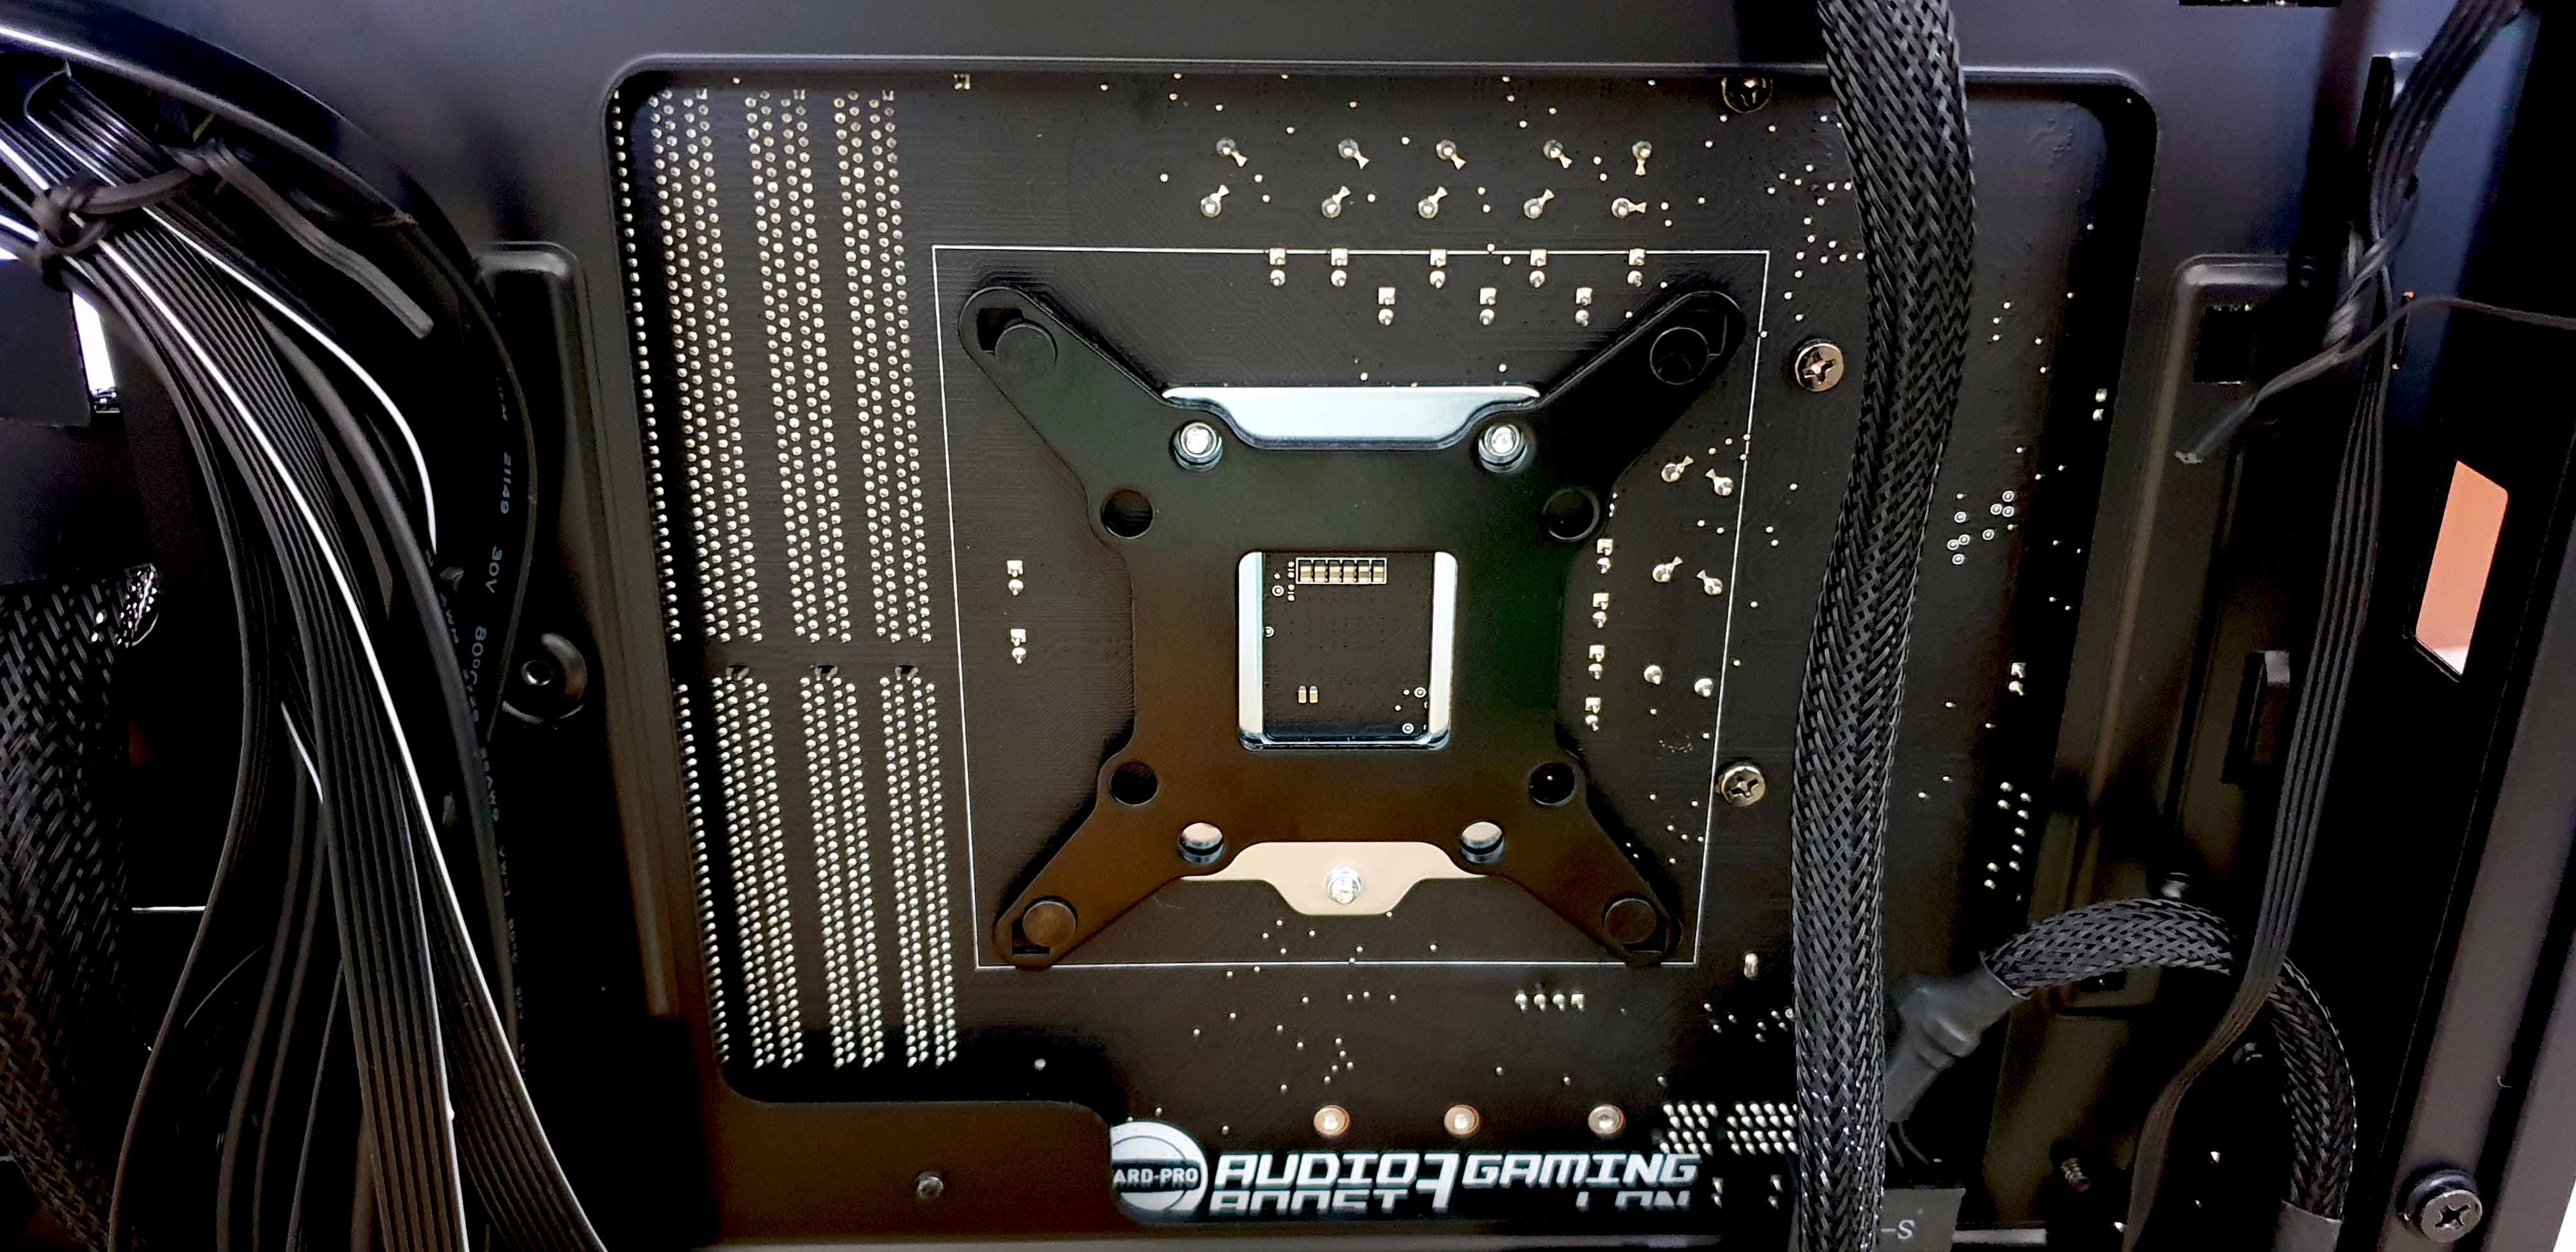
Step 2 - Secure the backplate on the opposite side with the appropriate standoffs.

Step 3 - Add the mounting brackets in accordance how you want to orientate the heatsink. Then add the thermal paste. The included mini syringe is exactly what you need for a single use.


Step 4 - Remove these top two ‘fake’ caps because through the holes is how you are going to bolt down the heatsink. Then do just that via the middle securing bridge plate.

Love the included extra long magnetic screwdriver.

Step 5 - Install the middle 135 mm fan and either plug both fans in different ports if the motherboard has enough or use the included Y-splitter.

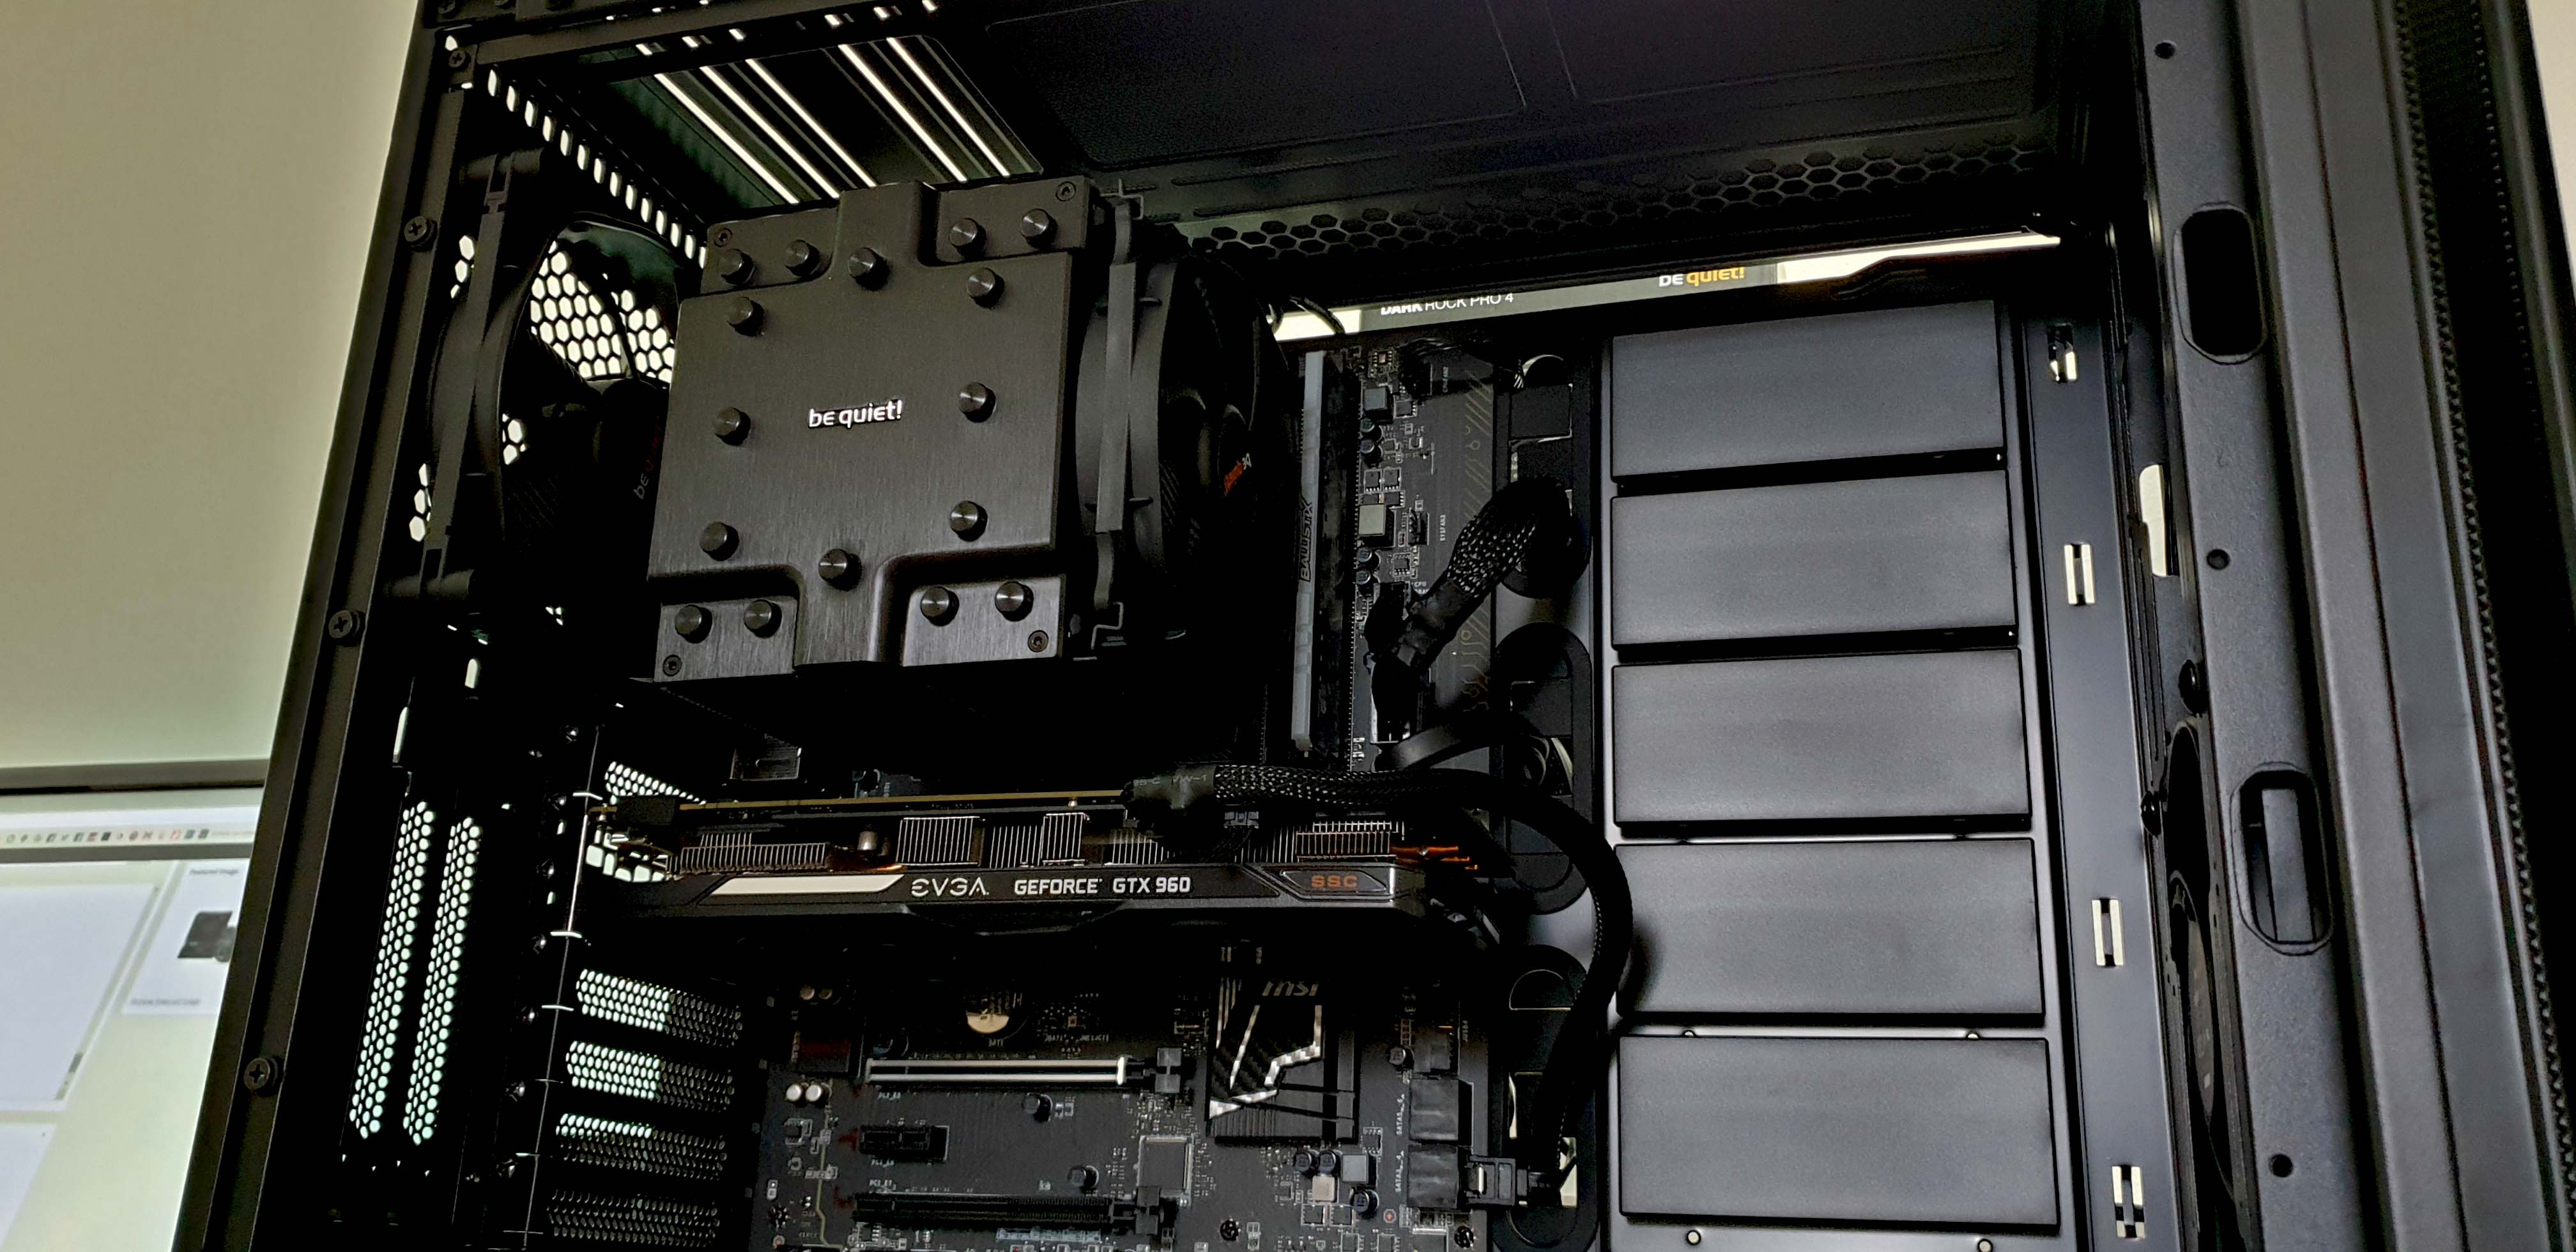
No more RAM clearance issues this time even when using RAM with a moderate height hearspreader.

Everything looks so sexy in black !
Testing methodology
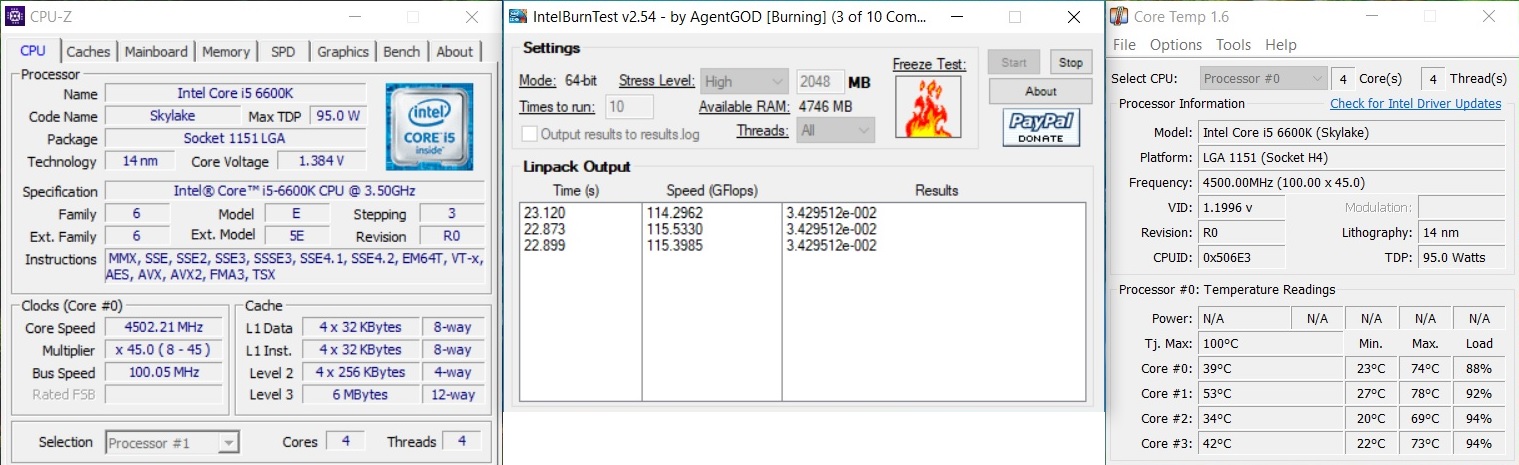
The CPU will be tested in 2 main scenarios: at stock settings and then we will overclock it as high as we can. For both scenarios we used the Intel Burn Test utility, set at High stress settings, as the main torture test, for 10 minutes. Any results over 90° C in any condition are considered a fail.
Room temperature was a recorded ~ 21°C.
The thermal paste used was the one that came with the included bundle of the Dark Rock 4 Pro.
We will compare the results of the Be Quiet! Dark Dark 4 Pro between a 120 mm air cooler, then another two Be Quiet! products and a 280mm AIO cooler. I will employ a synthetic test in Intel Burn Test to simulate a theoretical absolute load on the CPU which will dump the most heat and fully test any cooling system’s potential.
For the noise test the fans will be set on the auto % rpm curve. Then placed at 30 cm from the setup was our Pyle PSPL01 noise meter. For this test a GPU with fanless mode is used and we will turn of any case fans to reduce any extra interferences.
Hardware used:
- CPU: Intel Skylake i5 6600k - 4c/4t - OC’d at 4.5 Ghz @ 1.380v
- Motherboard: MSI Z170a Carbon Gaming Pro ATX
- SSD: Samsung 840 Pro 128 GB MLC
- RAM: 8GB (1×8) Crucial DDR4 Tactical Tracers 2666 Mhz
- Video card(s): EVGA GTX 960 SSC 2G
- PSU: Be Quiet! 850W Straight Power 11 Modular ATX
- Case: Be Quiet! Dark Base 700 RGB

Competition Air Cooler/AIO
- Intel Stock 92 mm
- Be Quiet! Silent Loop 120 mm
- Be Quiet! Dark Rock 4 135mm
- Reeven Justice 120 mm
- NZXT X62 Kraken 280 mm
Software:
– Windows 10 Pro x64 Version 1803
– NVIDIA GeForce WHQL 341.02
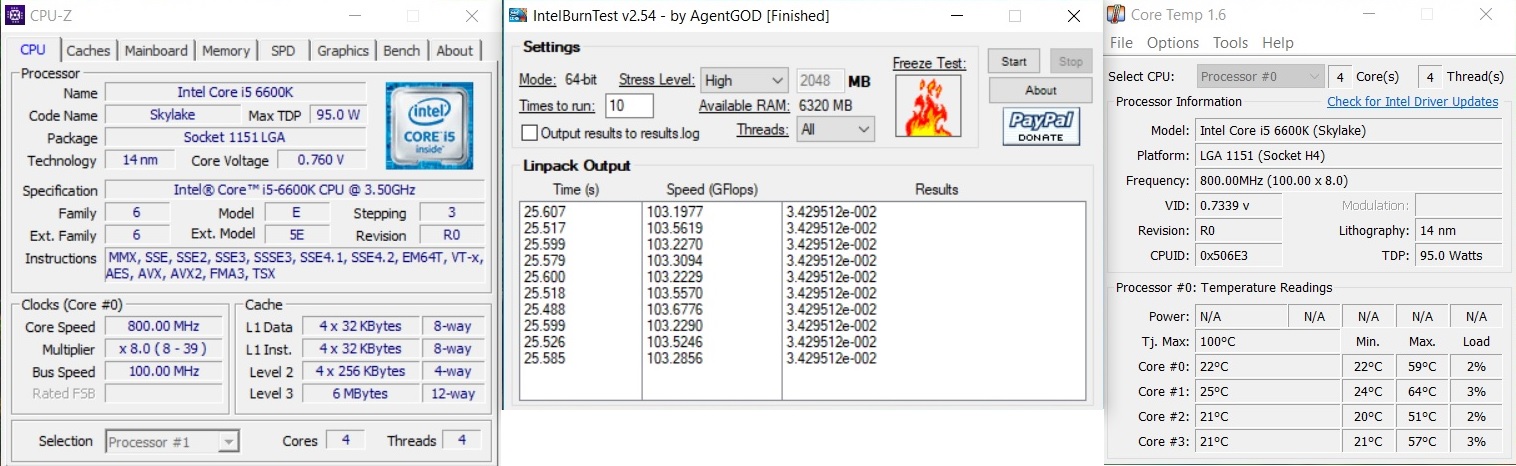
– CPU-Z v1.71 - To verify the CPU’s and RAM’s statistics
- CoreTemp v1.6 - To see in real time temperatures of all the CPU’s cores and threads
– Intel Burn Test v2.54 - Main torture and stability test
- Cinebench R15 - Popular CPU Benchmark Tool
- Intel Extreme Tuning Utility - A total system benchmark suite
- Assassin’s Creed Origins - Built-in benchmark - Set @ FHD - High Settings
Testing, Results & Analysis
First let’s record the idle temperature and noise output with the CPU at stock setting. Then with the CPU overclocked at 4.5 GHz with 1.380v.

This i5 CPU isn’t that lucky on the ‘genetic’ silicon lottery so it requires a lot of voltage to have 4.5 Ghz stable. Nonetheless, a good test for the Dark Rock Pro 4 to see how it performs.

Now let’s lets see what happens in Cinebench R15. Stock settings first.
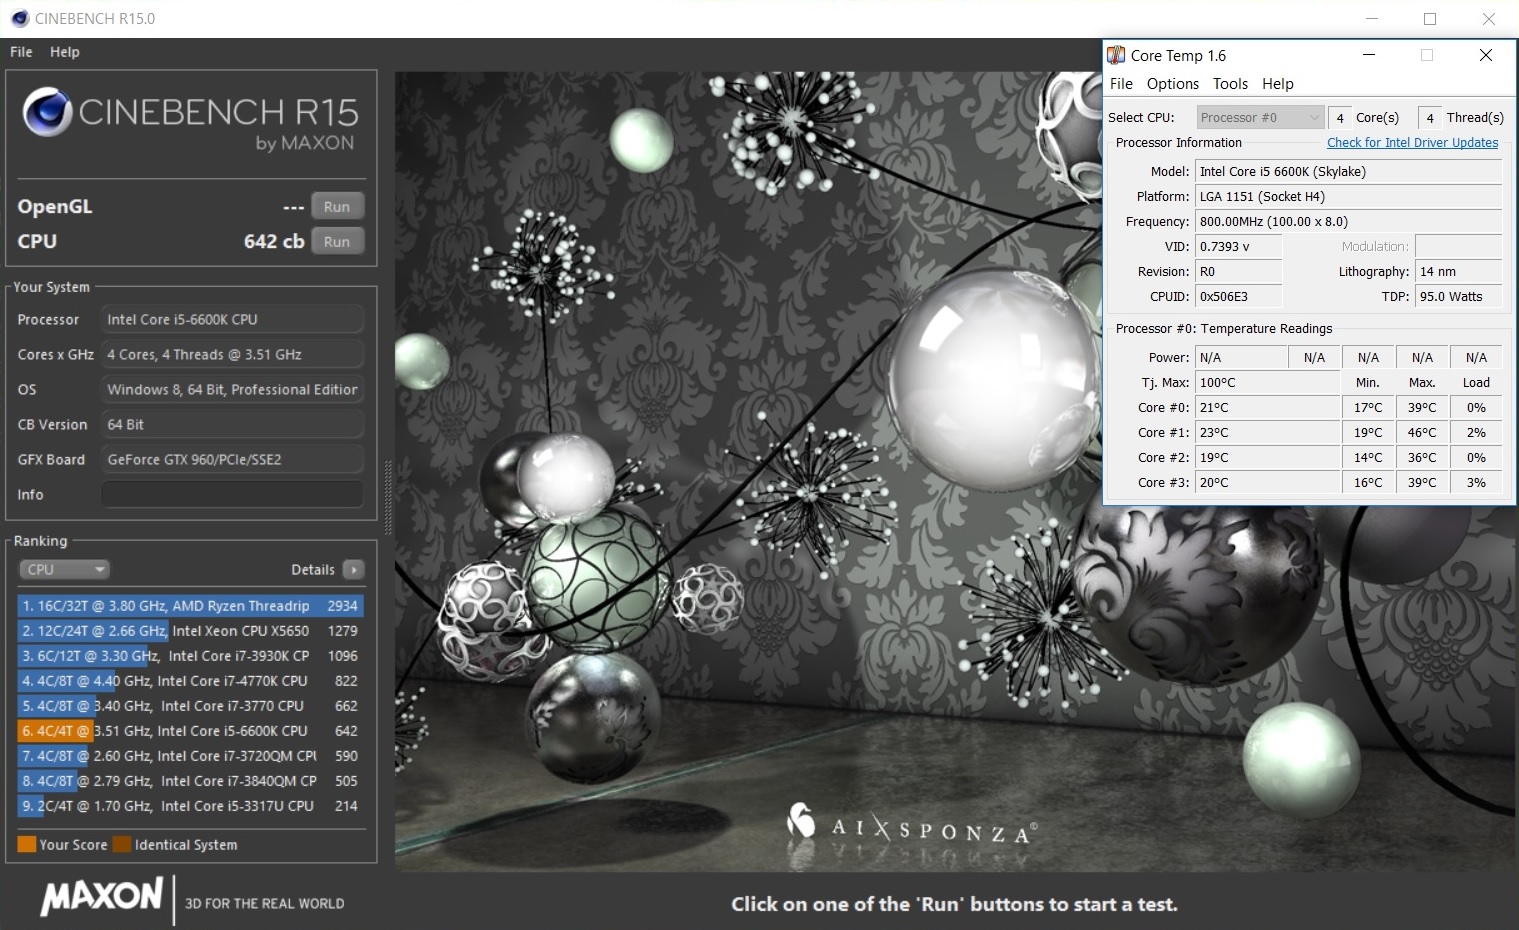
Same overclock value and the fans for the BeQuiet! Dark Rock 4 Pro are always set with the auto fan curve via the motherboard’s settings.

Next up we have Intel’s Extreme Tuning Utility built-in benchmark tool. As always, we will centralize all of our findings.


Love this game, not just for the fact that it has a built in benchmark suite, but for the overall gaming experience as well.


Finally, the most important test, the torture test via Intel Burn Test. Under these runs we measured the noise output as well.
Now it’s time to interpret all of the data. We will record the average value per all 4c/4t in each test.
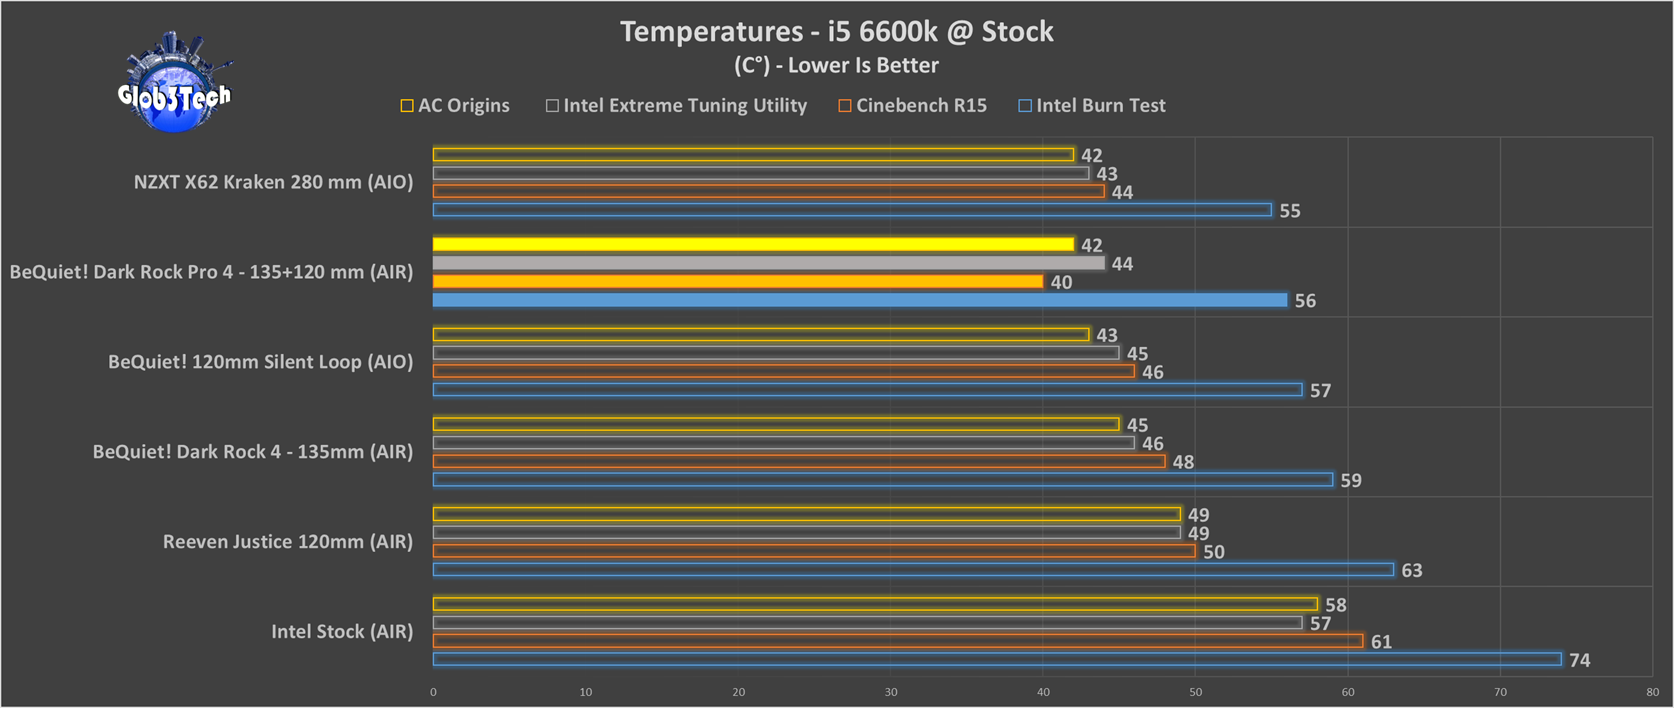

Things are crystal clear, the Dark Rock Pro 4 is not bigger in size just for show. That extra cooling material shows its potential being even better than a 120 mm AIO! If that wasn’t enough, it gets close to the 280 mm AIO and it even beats it in some tests which is is absolutely bonkers.
Last test is to see if that extra fan brought a trade off in noise.

Well, no. On auto settings, letting the motherboard decide what to do, things are pretty much equal to the smaller brother. Be Quiet! know what it is doing when it comes to noise output for sure.
Conclusion
The brand convinced me that they do a lot of research and testing before they released these products. Very few air coolers can tick so many boxes from performance in both areas (noise & cooling) while providing such a great bundle, epic build quality, such a professional industrial and cool design. The Dark Rock Pro 4 is a big cooler make no mistake but we didn’t discover that there is too much hassle with installation since it employs a clever design and providing the perfect tool for the job. The fans are overbuild and as per their claims will outlast many builds to come. It will handle anything you throw at it and such a shame they don’t have a version with an increased base plate like Noctua for the Threadripper socket give how much cooling potential there is there when you do decide to crank up the fans. Still, Put everything together and this is what you get from the Dark Rock Pro 4 - one of the best, most silent and most complete air coolers around!
The good:
+ Joins the band as one of the most silent air coolers ever tested
+ As accustomed, exceptional build quality and construction
+ Superb cooling performance
+ Fabulous low-noise output
+ Excellent cooling even in OC scenarios
+ 3 years warranty
+ Intimidating and raw design
+ Great accessory bundle
The bad:
- Massive and heavy
- Should have included a mounting option for the TR4/SP3r sockets as well, given its cooling potential
- A little harder to install the second fan’s metal clip while the motherboard is in the a computer case
Glob3trotters “Complete Package” Award - 4.5 out of 5

Many thanks to Be Quiet! for supplying us with this beast !