
Cases are becoming smaller and smaller but they also need to be versatile. If you are on the market for an mITX case that can support a standard ATX PSU, a standard graphics card and even water cooling, at a very competitive price point, then look no further than the V1 Core.
First, about Thermaltake

Thermaltake Technology Co., Ltd is a manufacturer of PC cases designs, power supplies and cooling devices. Its main headquarters is located in Taipei, Taiwan.
Most of Thermaltake’s production, consisting of aftermarket personal computer parts, is typically bought by customers with enough expertise to build their own PC systems.
Thermaltake Group’s three main brands—Thermaltake, Tt eSPORTS and LUXA2—have been merchandising high-quality products throughout the world, successfully establishing firm footholds in six major markets.
Their mission is “Delivering the perfect user experience”and their vision is building Thermaltake Technology into - “a cultural brand for the enjoyment of entertainment, e-Sports, technology and lifestyle”. The objectives and the eight core values of the Thermaltake group reflects the mission which will lead the company and all the staff in the future.
Price when previewed – £ 33.61 - via Amazon.co.uk
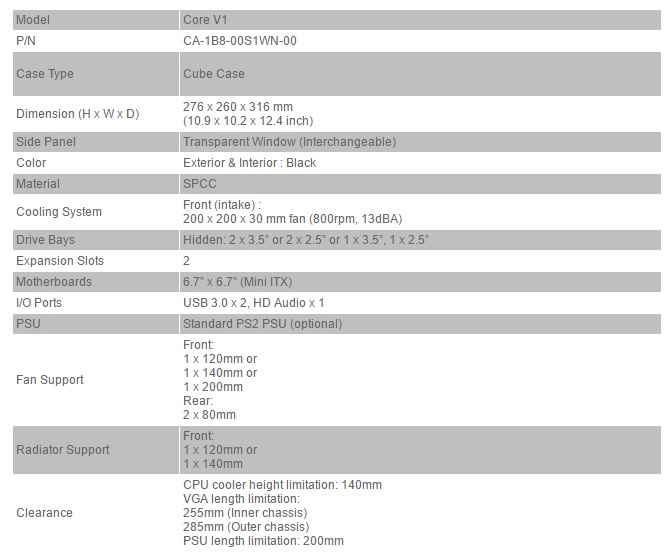
Specifications and presentation
* Courtesy of their website.
So yes, even though it has a small footprint, it can accommodate a lot of high end hardware. It even comes with a massive 200 mm fan that will offer excellent airflow, not to mention that you can add one 120 mm or 140 mm radiator, a 140 mm in height CPU cooler and a video card up to 285 mm because it uses all the space from the front panel. More on this later regarding this small ace up its.
Then the PSU support, because the case has a separation chamber, it can handle the longest of PSUs out there.
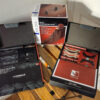
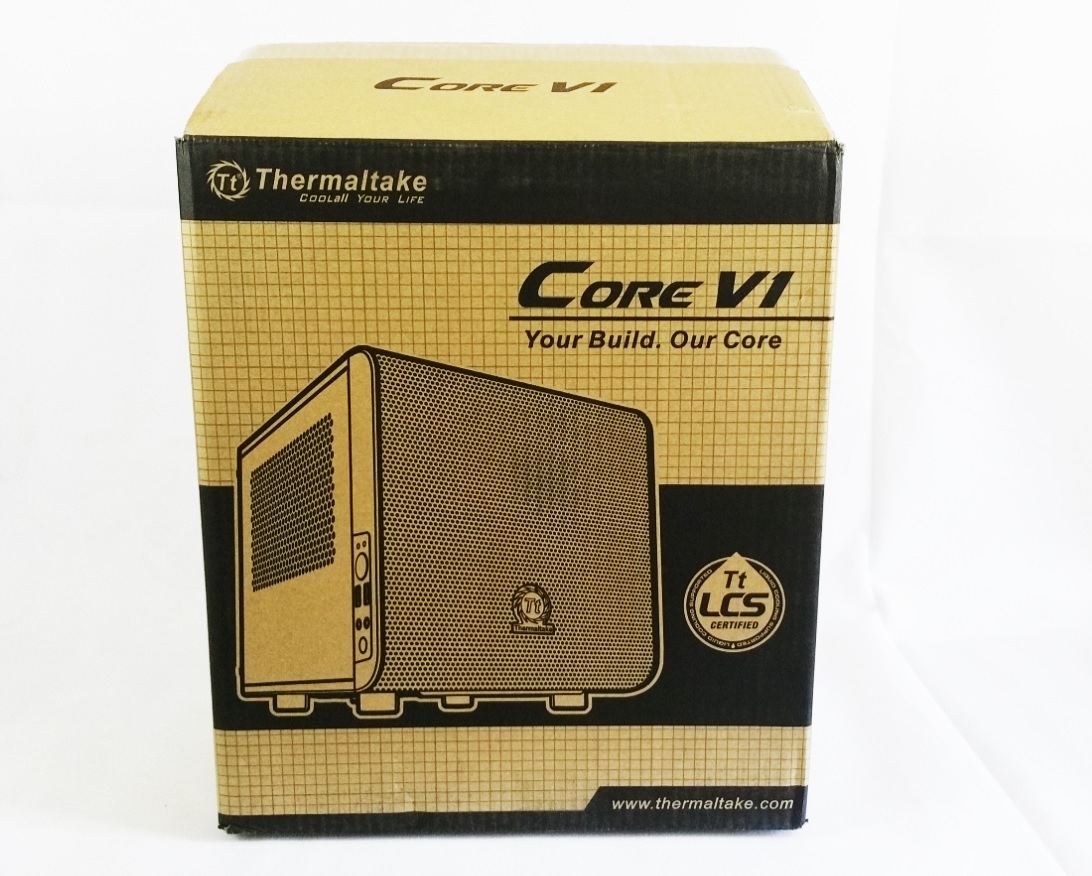
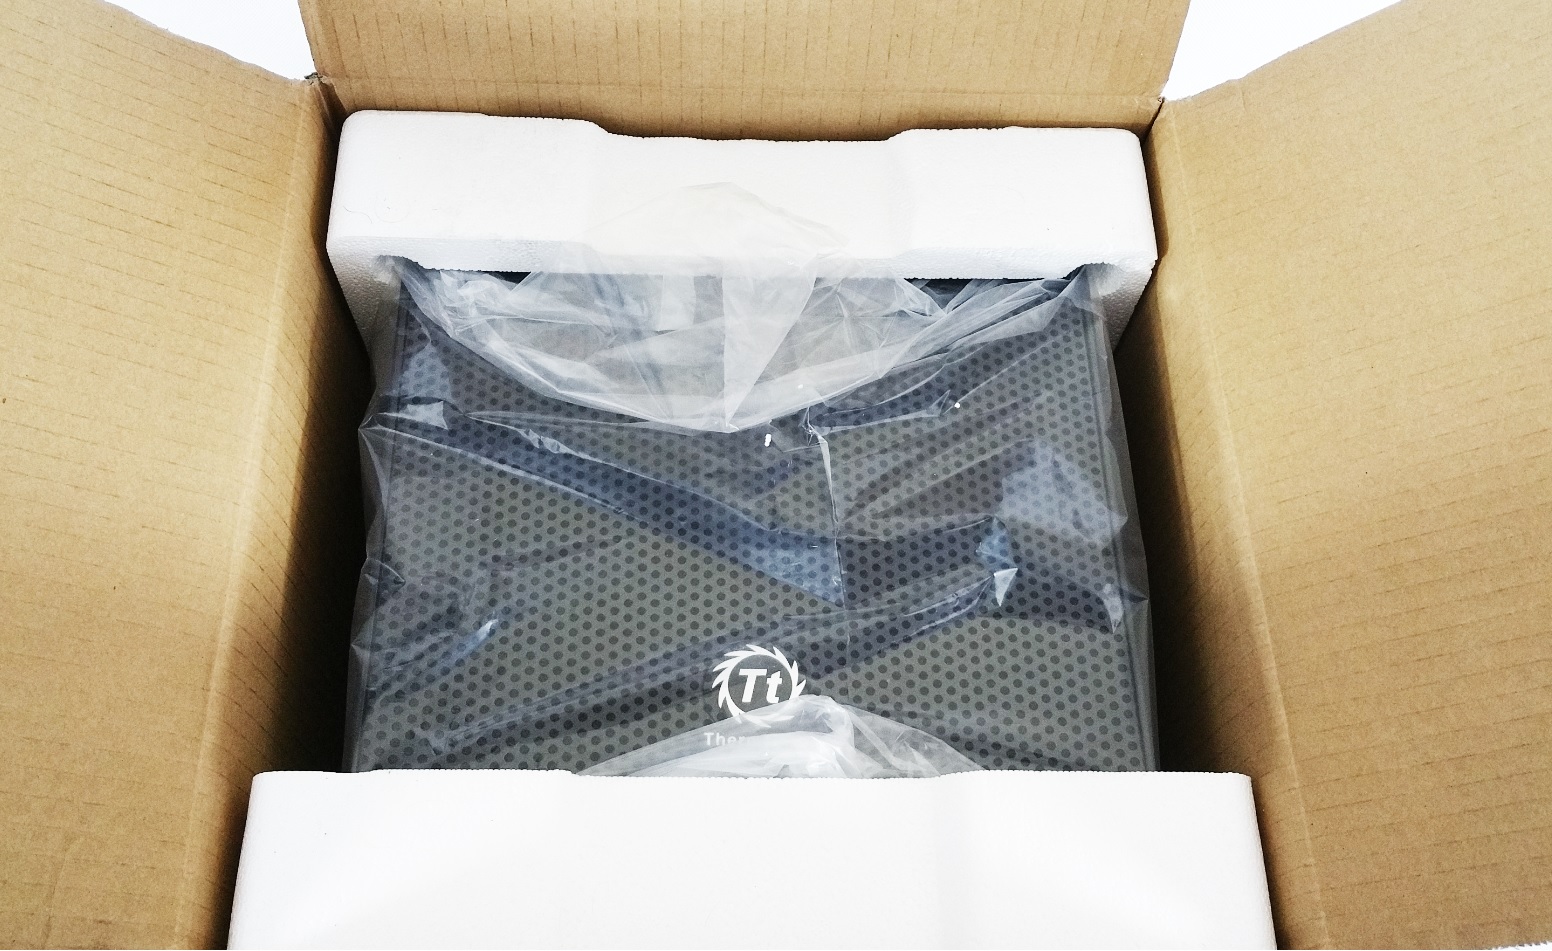
Packaging
A cubical box, that has on the front a visual representation of the case and a nice logo - “Your Build. Our Core”.
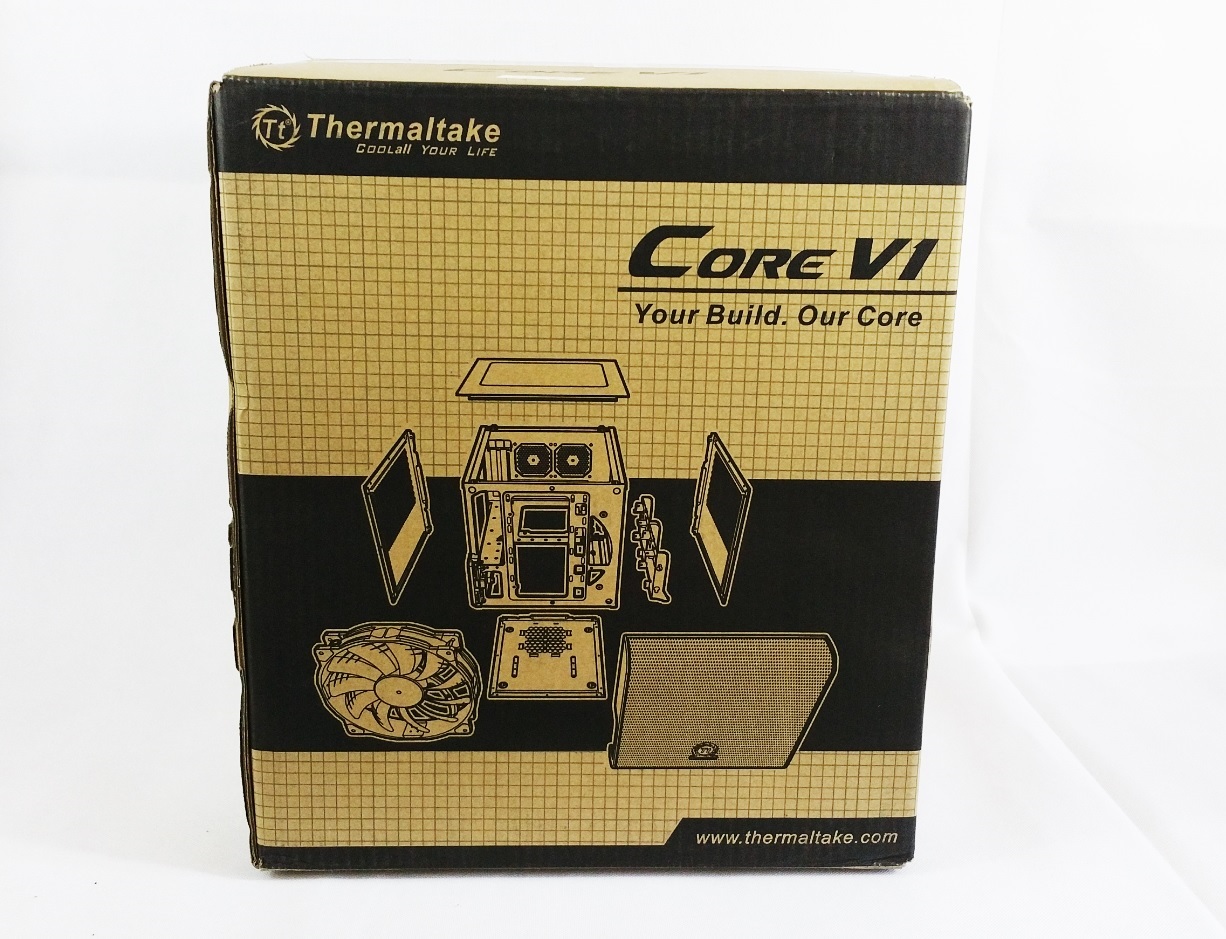
On the back the same checkered design and this time it shows the case disassembled.
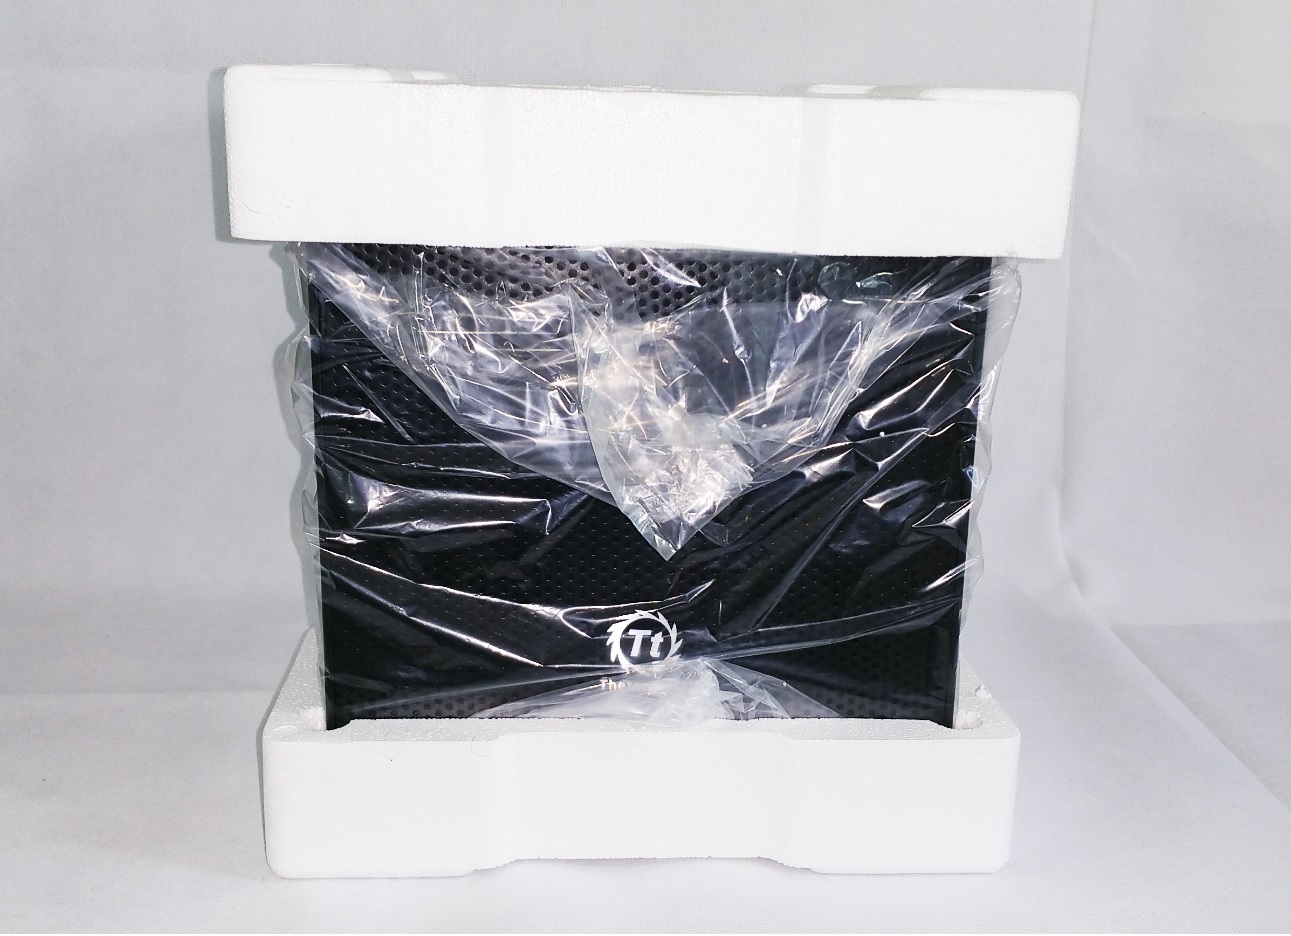
Protection is provided by the plastic bag and Styrofoam pads.
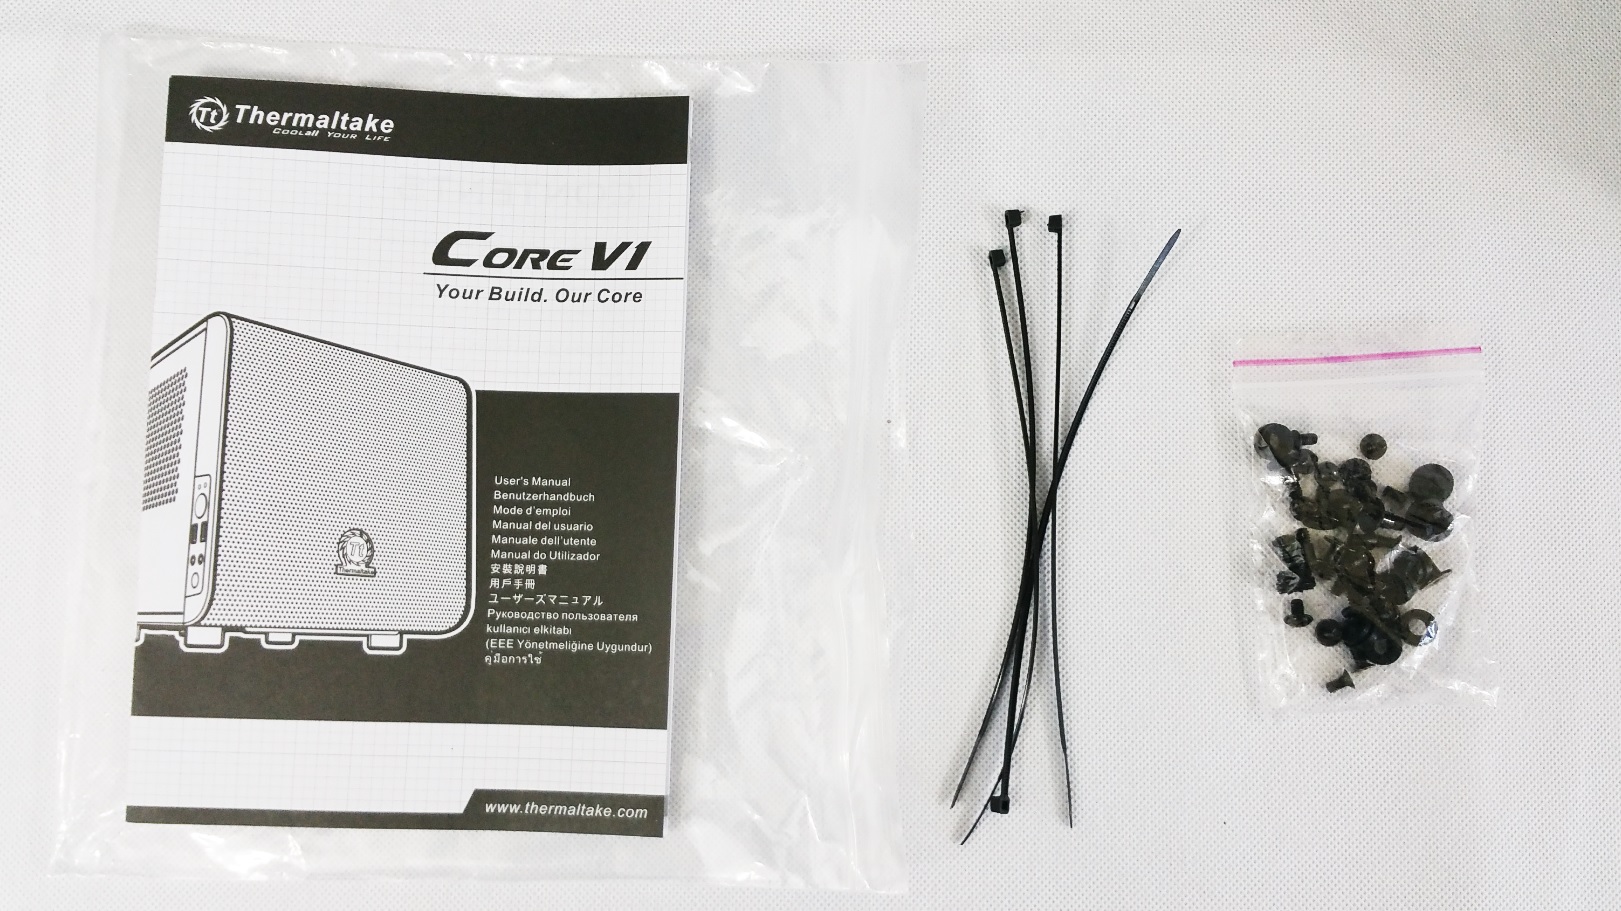
It comes with an instruction manual, 4x zip ties and all the necessary screws for assembling all the hardware.
Visual inspection
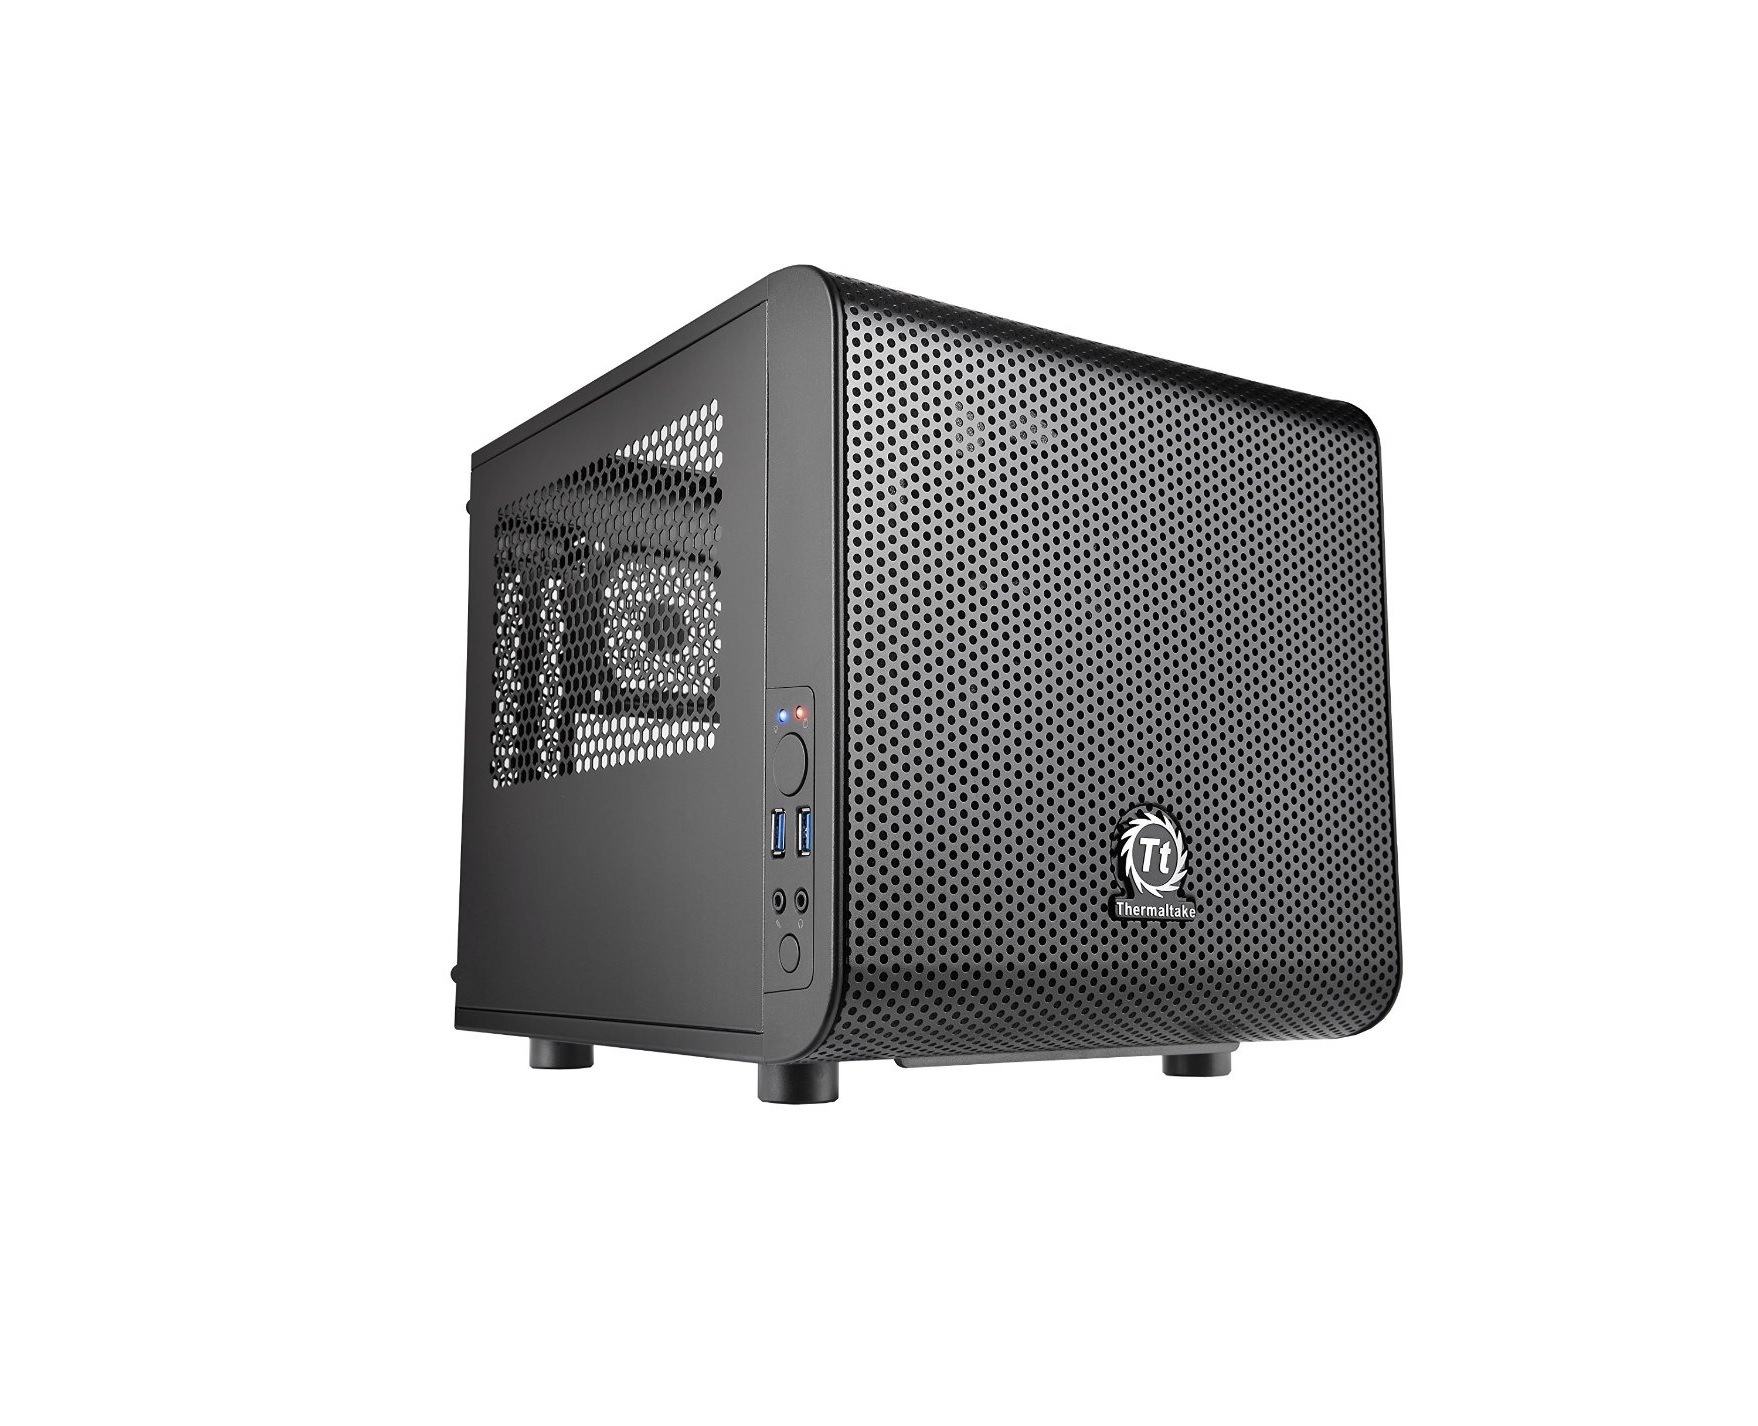
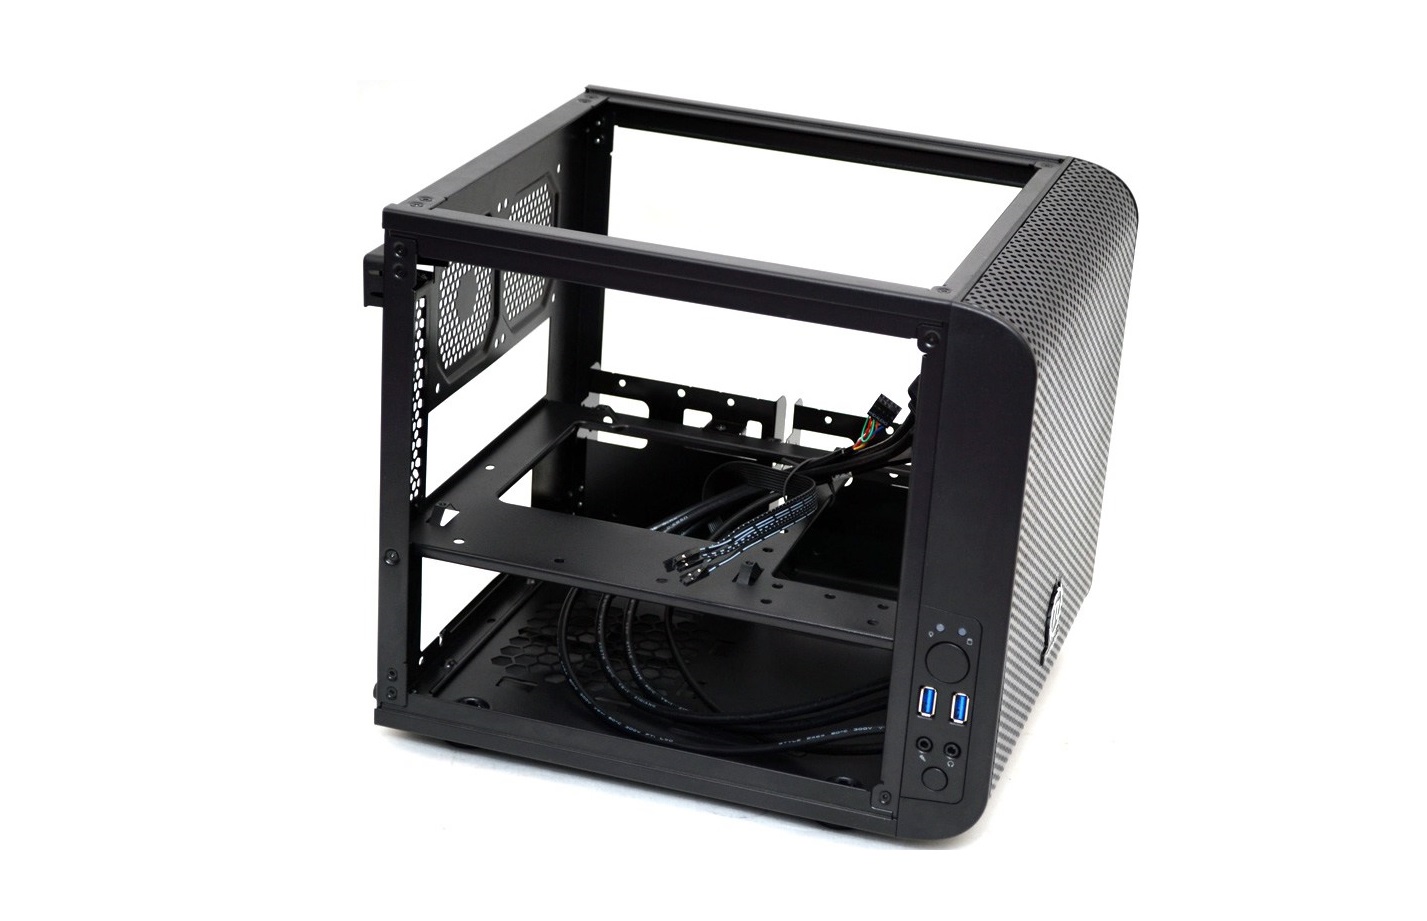
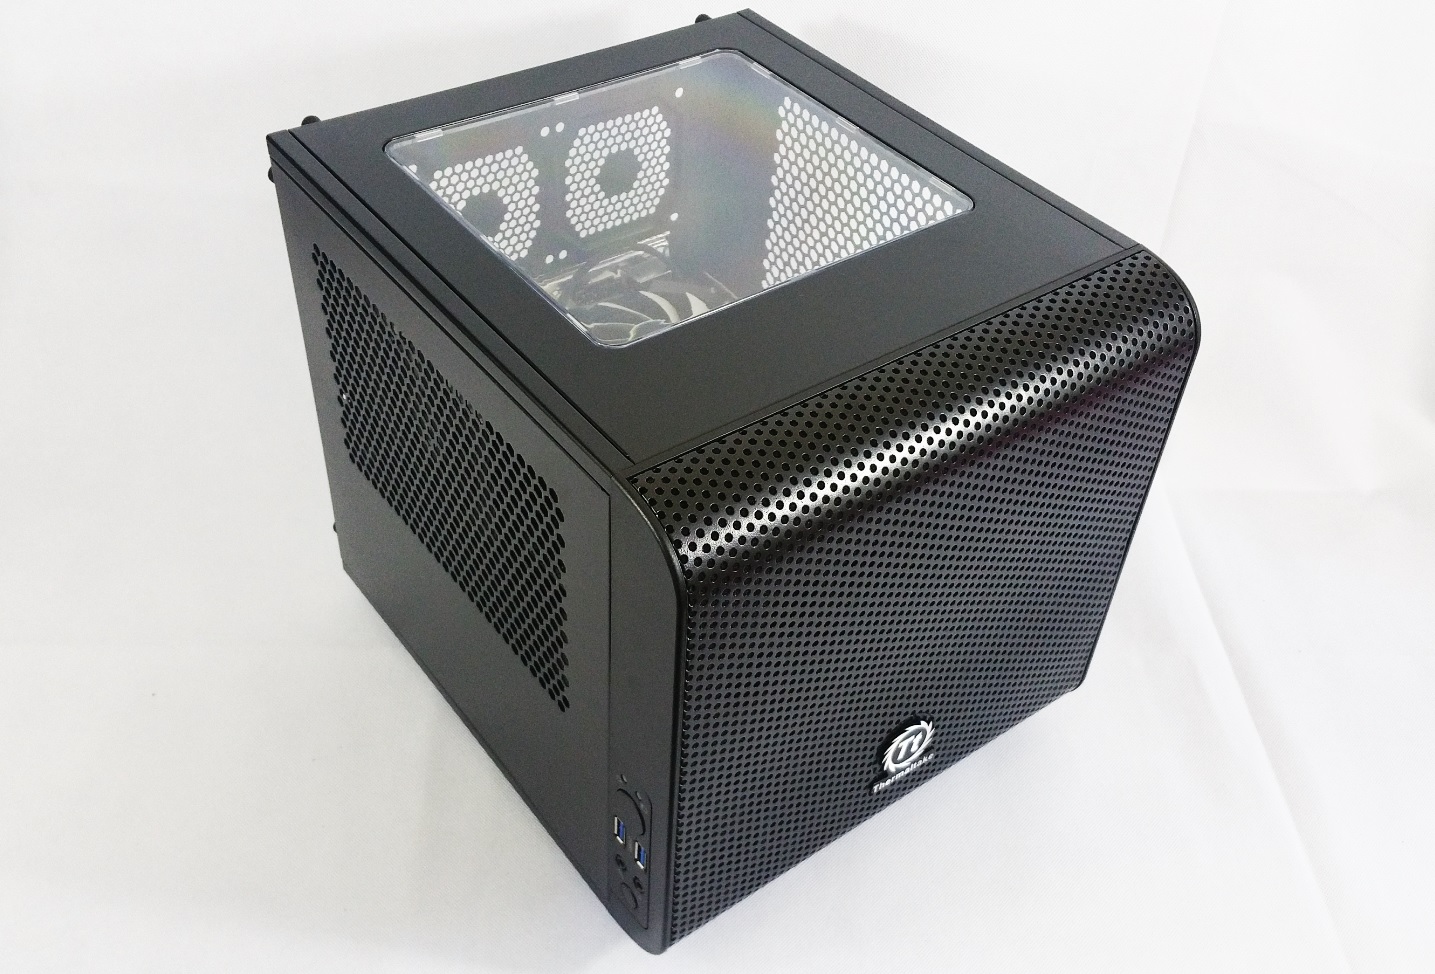
Right. Here it is. The V1 Core. The front panel is a large sheet of perforated steel mesh which should provide a lot of airflow. It also has an air filter inside. We can also see the Thermaltake logo bolted on.
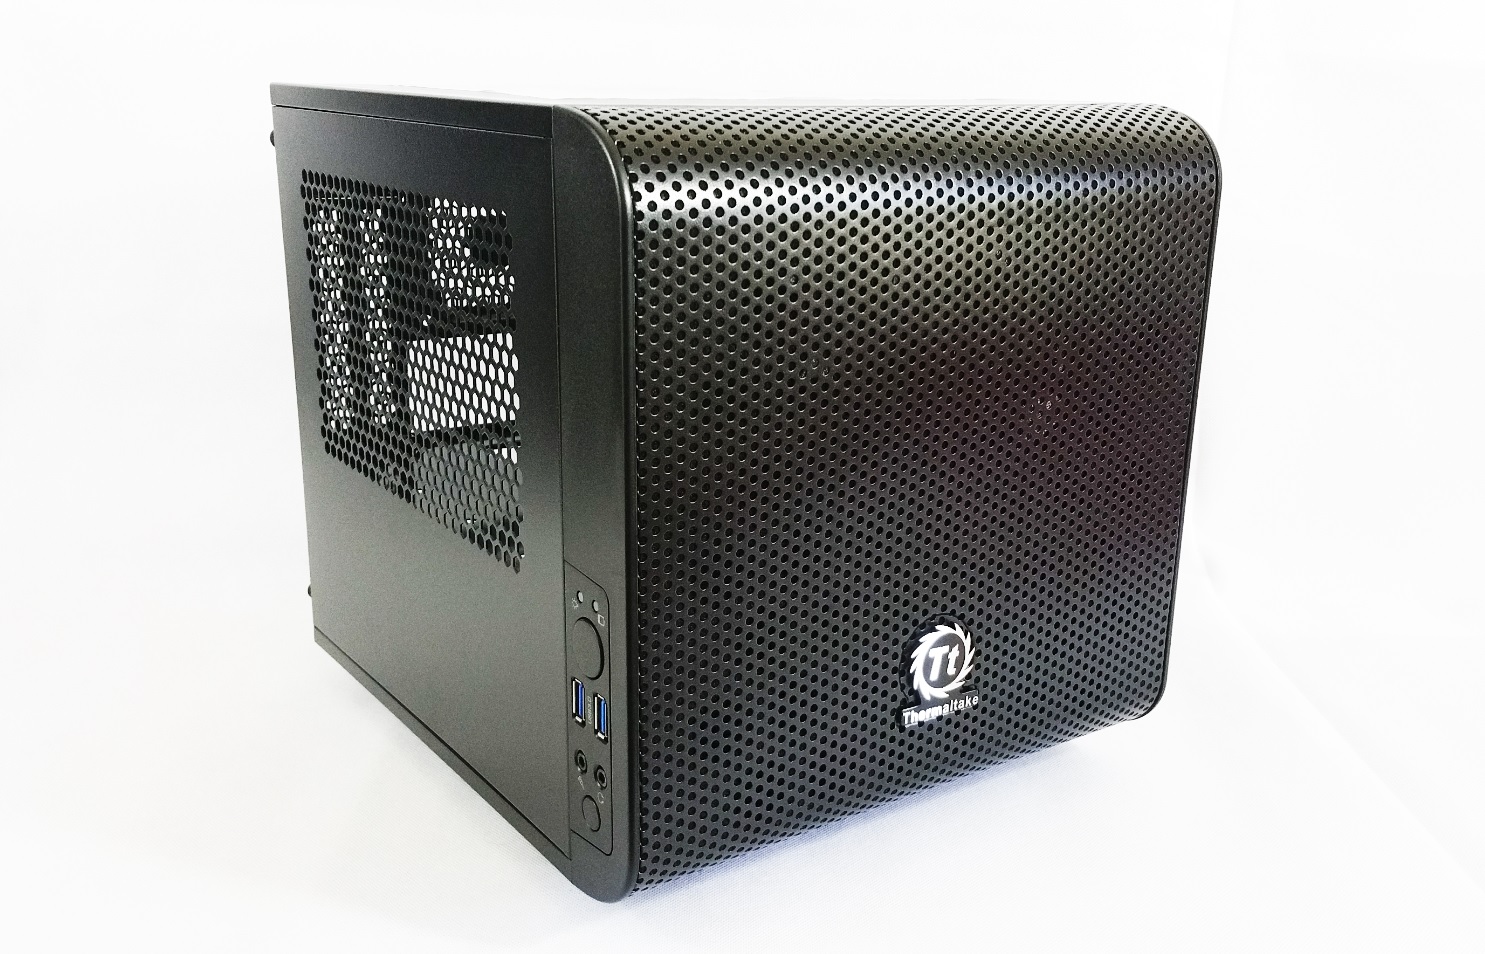
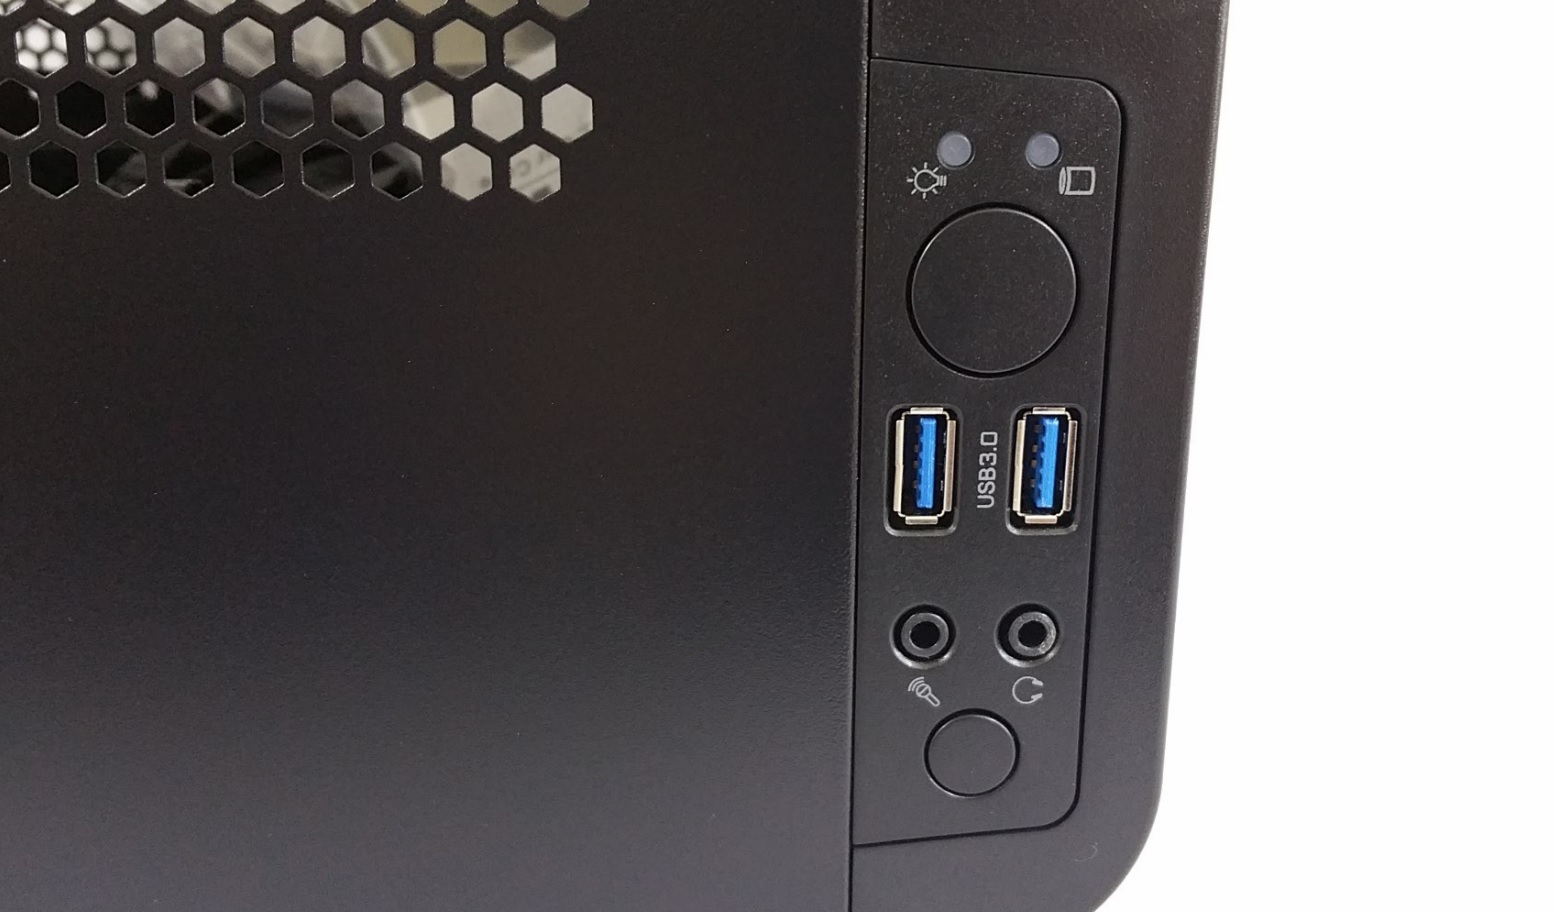
On this side we see more airflow provided from the perforated metal panel. On the right we have the I/O front connections.
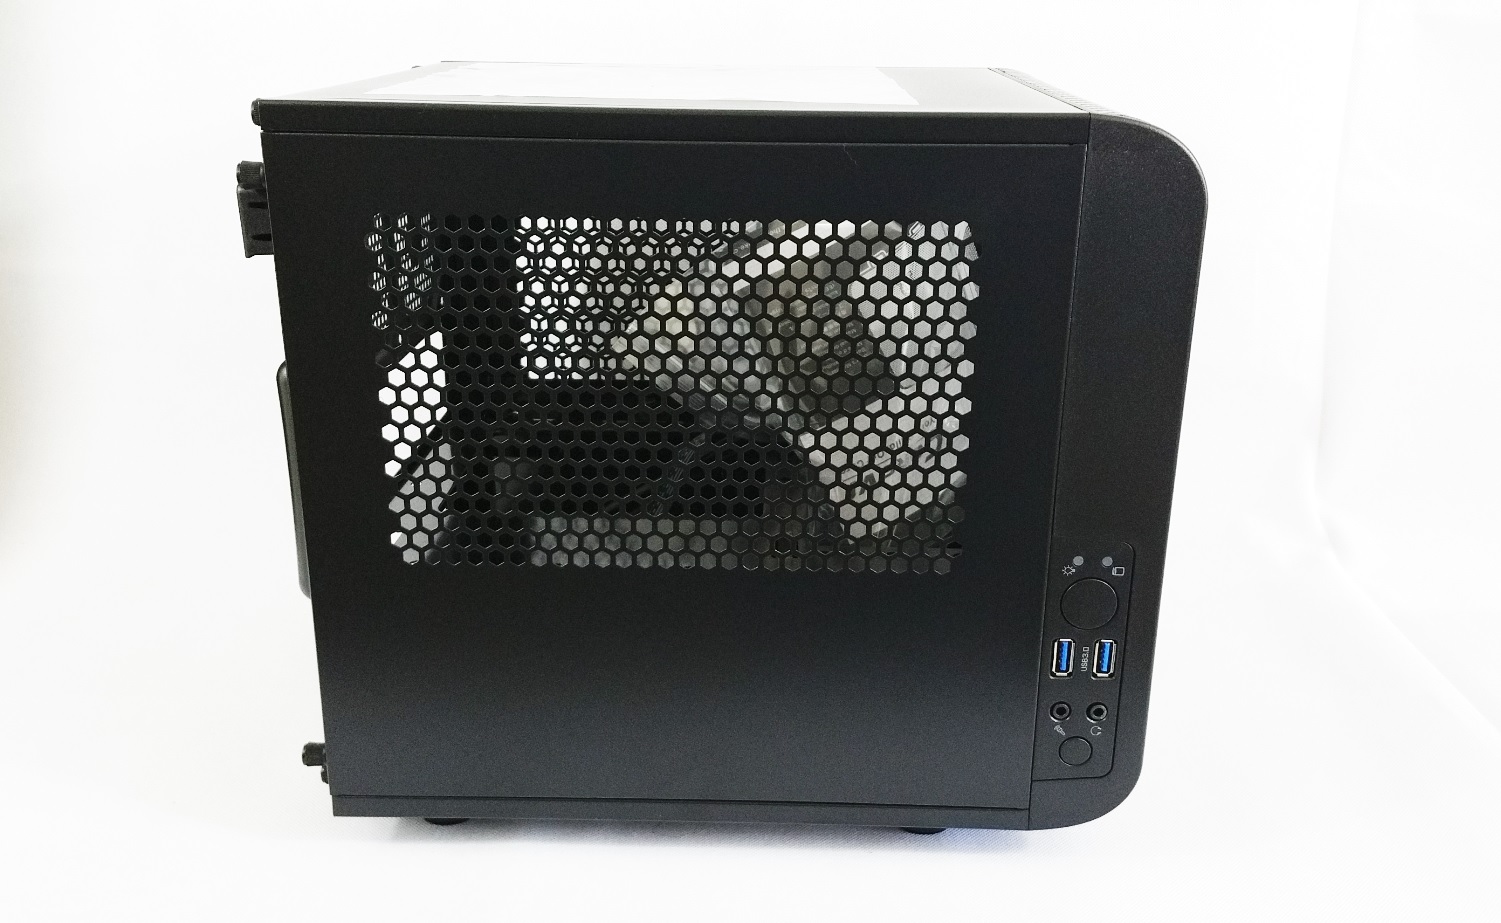
They consist of:
- 2x activity LEDs
- 2x USB 3.0 ports
- 1x Reset button (bottom one)
- 1x Power butoon (top one)
- 1x Audio 3.5 mm jack
- 1x Microphone 3.5 mm jack
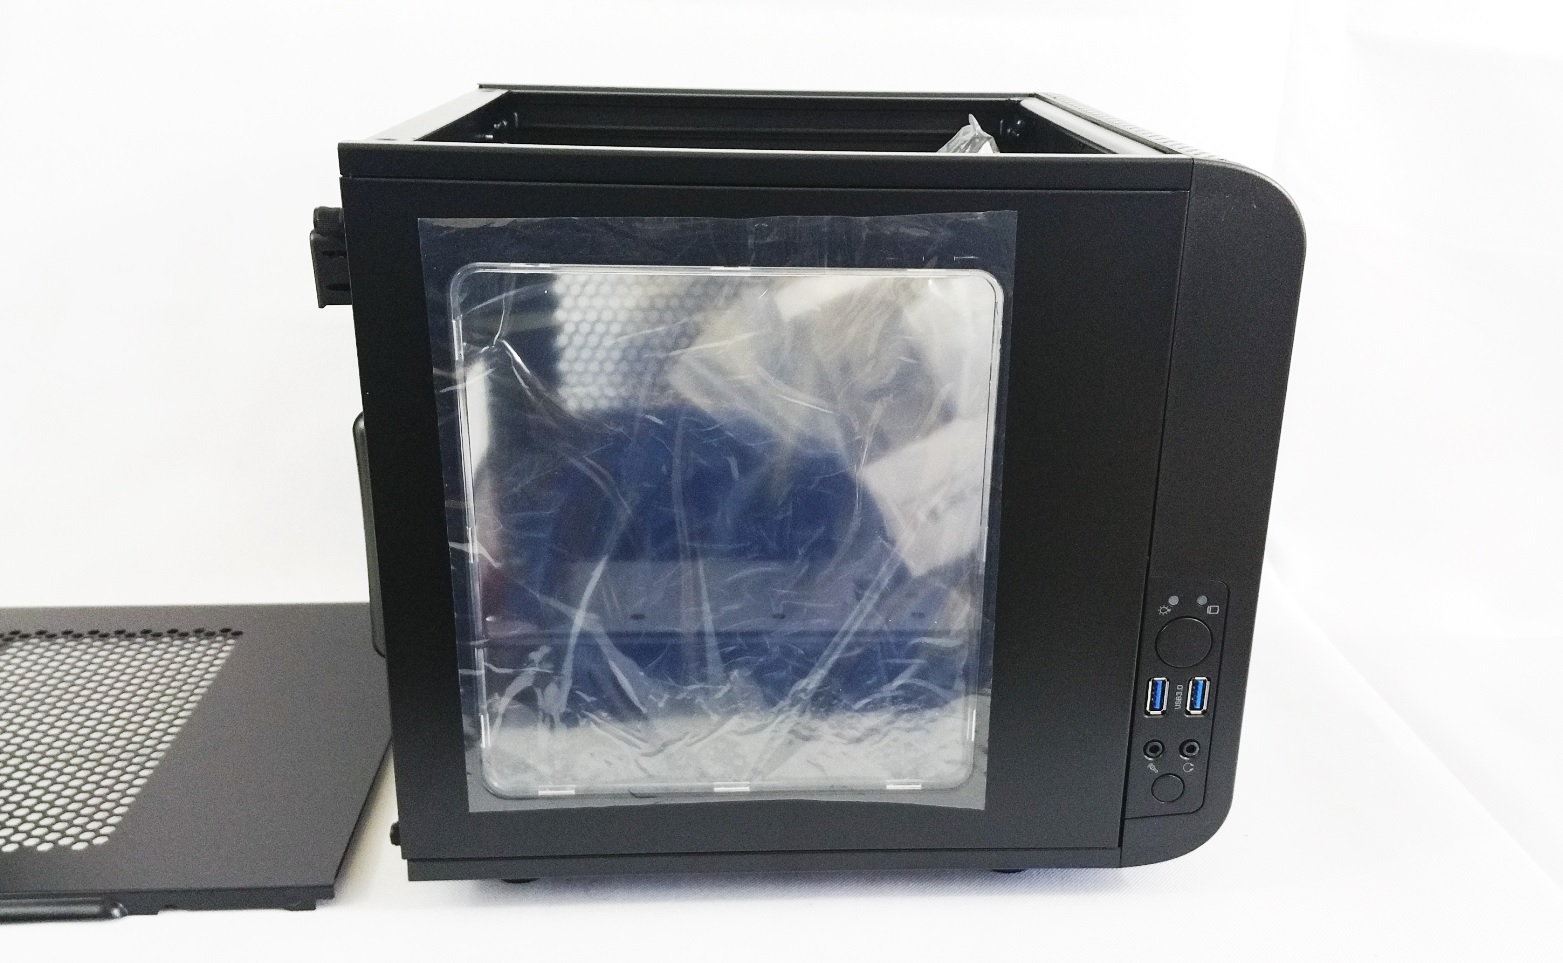
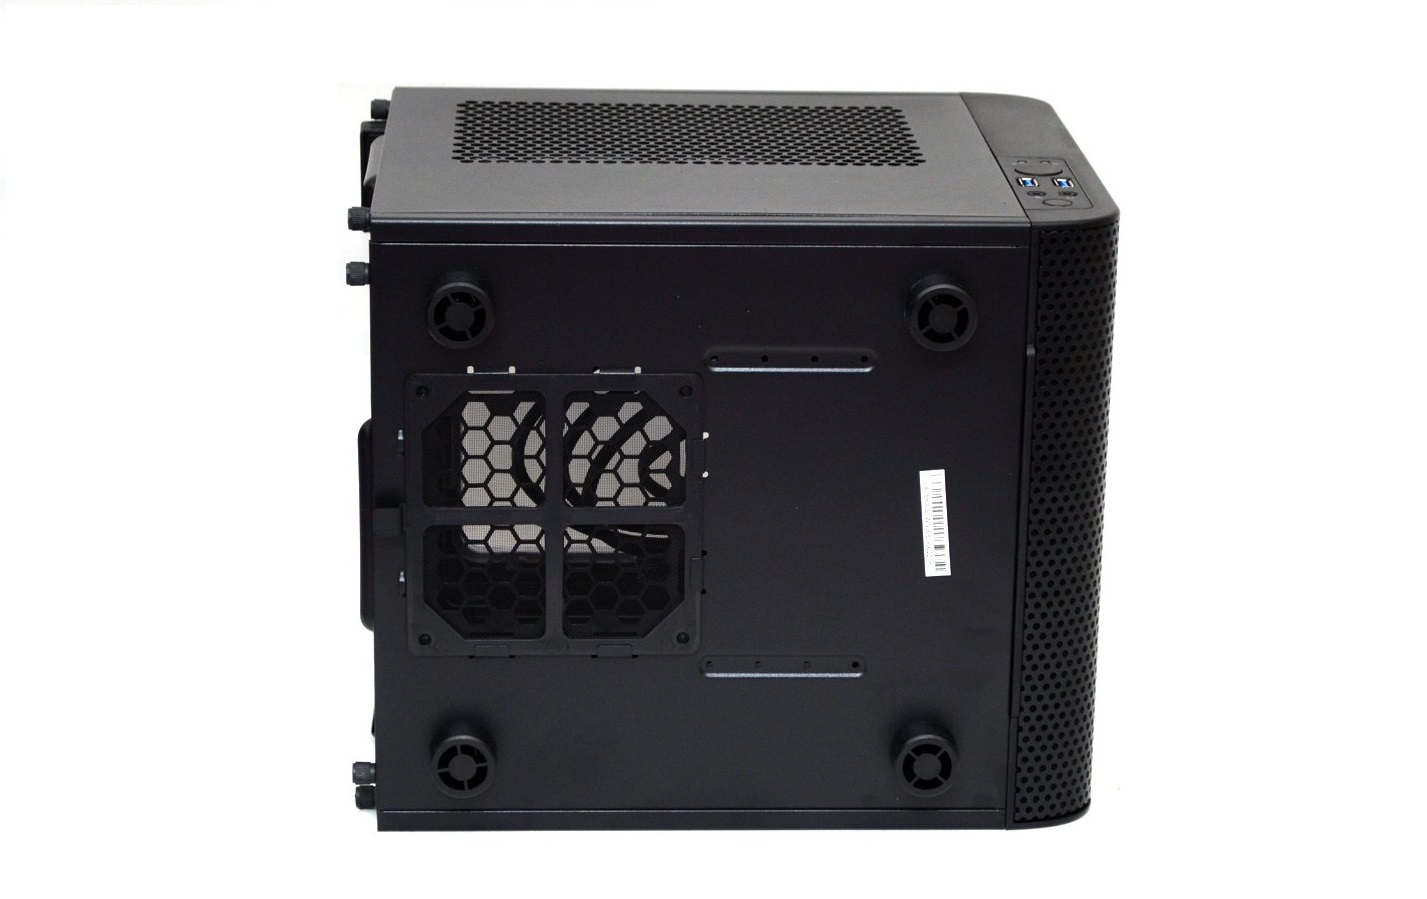
On the opposite side, we have an identical panel.

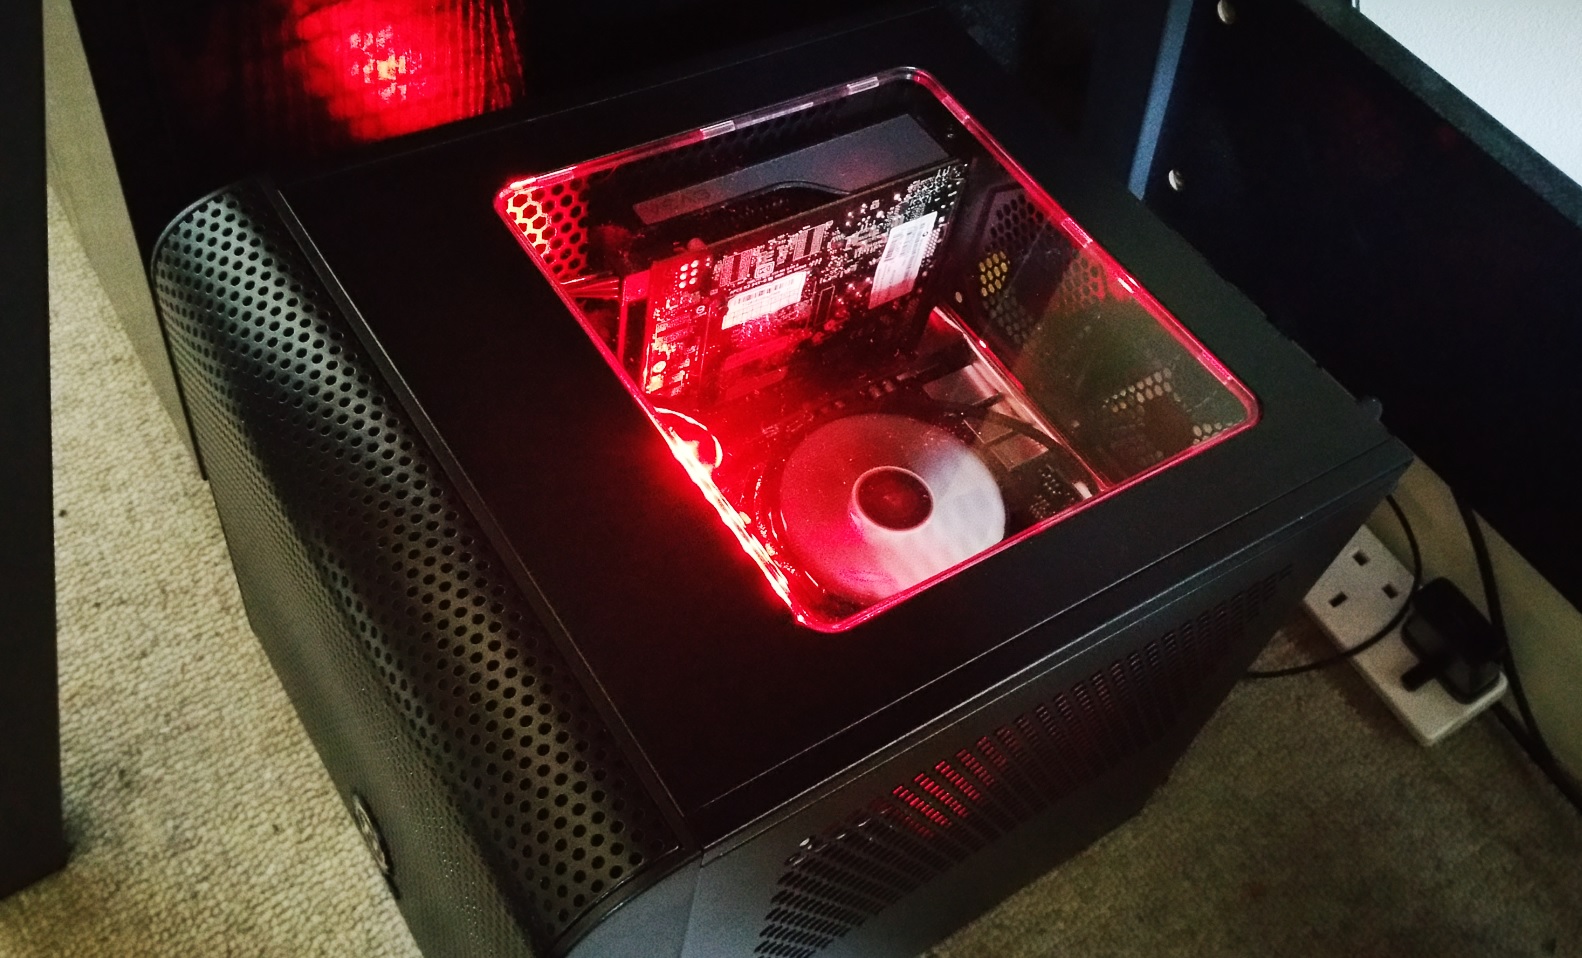
Moving to the top, this panel again is interchangeable with the previous ones and it has an acrylic window. Thus you can admire your finished build.
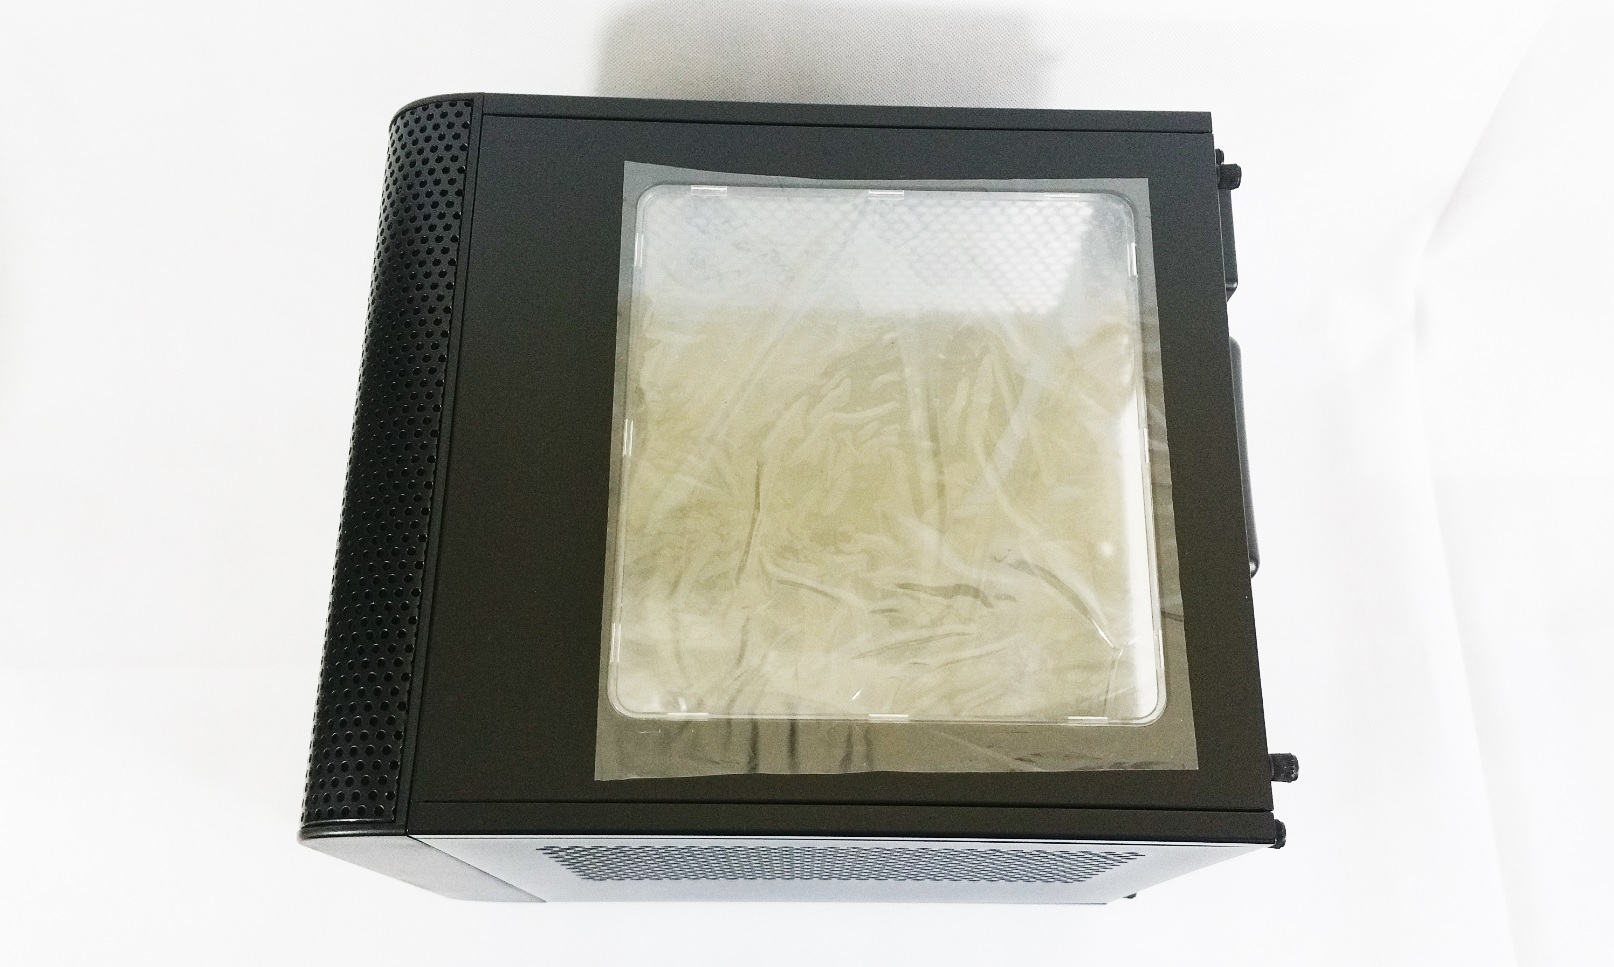
A quick example.
Then the back side. The PSU cutout on the bottom. In the middle the I/O motherboard section and space for 2x 80 mm fans and to the right there are the slots for the video card.
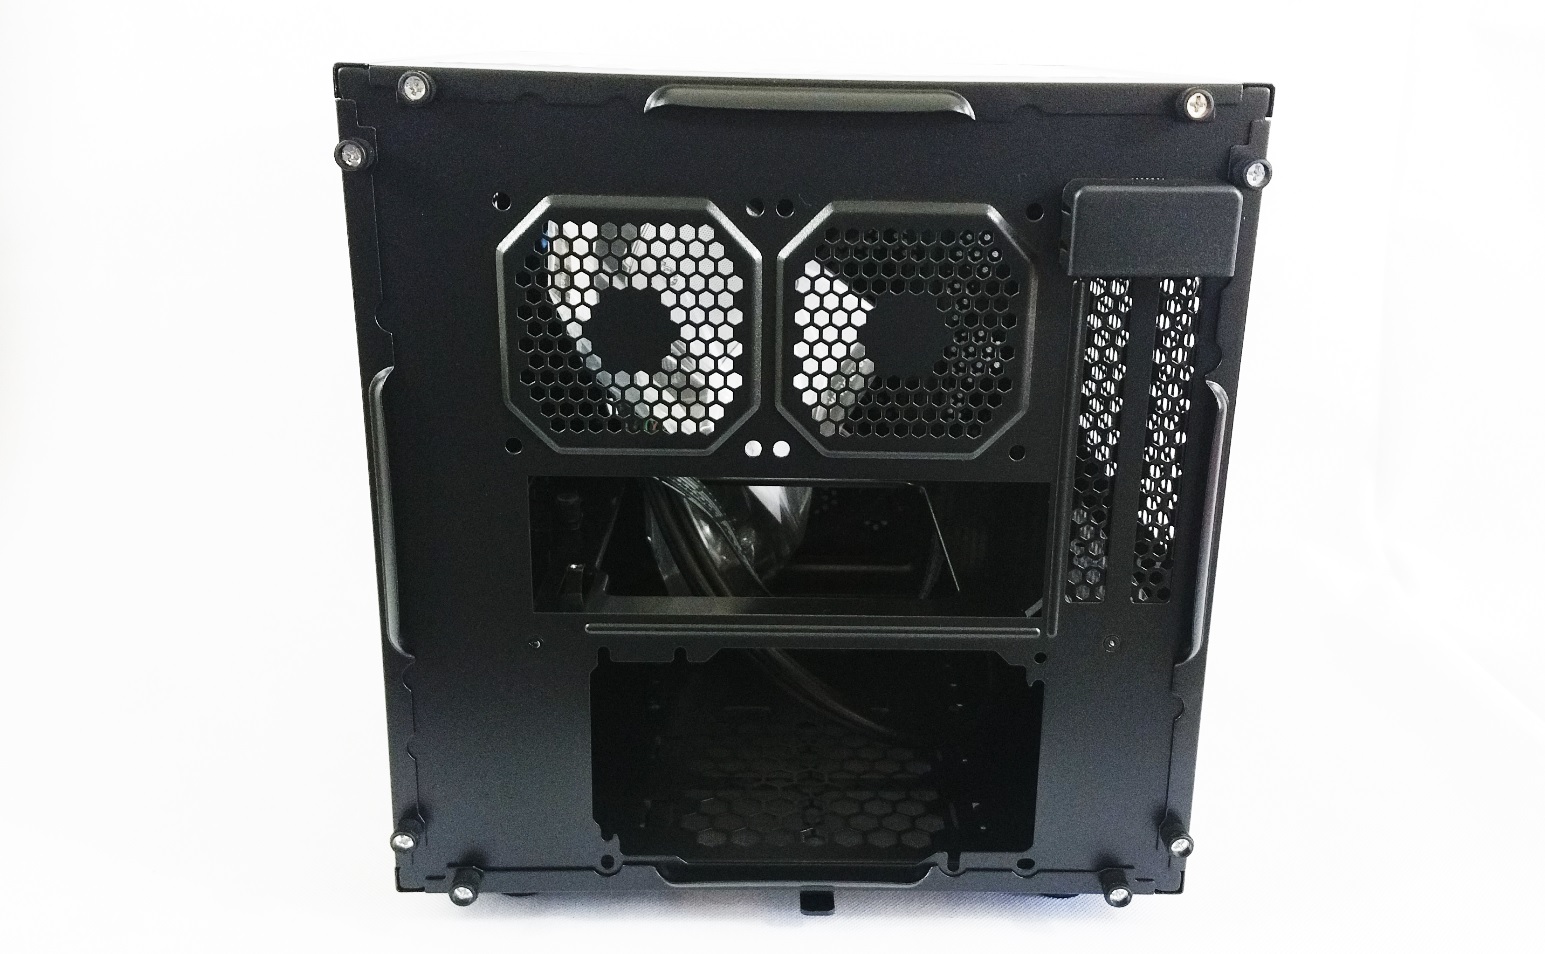
And the last part, the bottom. Another removable panel that has a removable dust filter for the power supply.
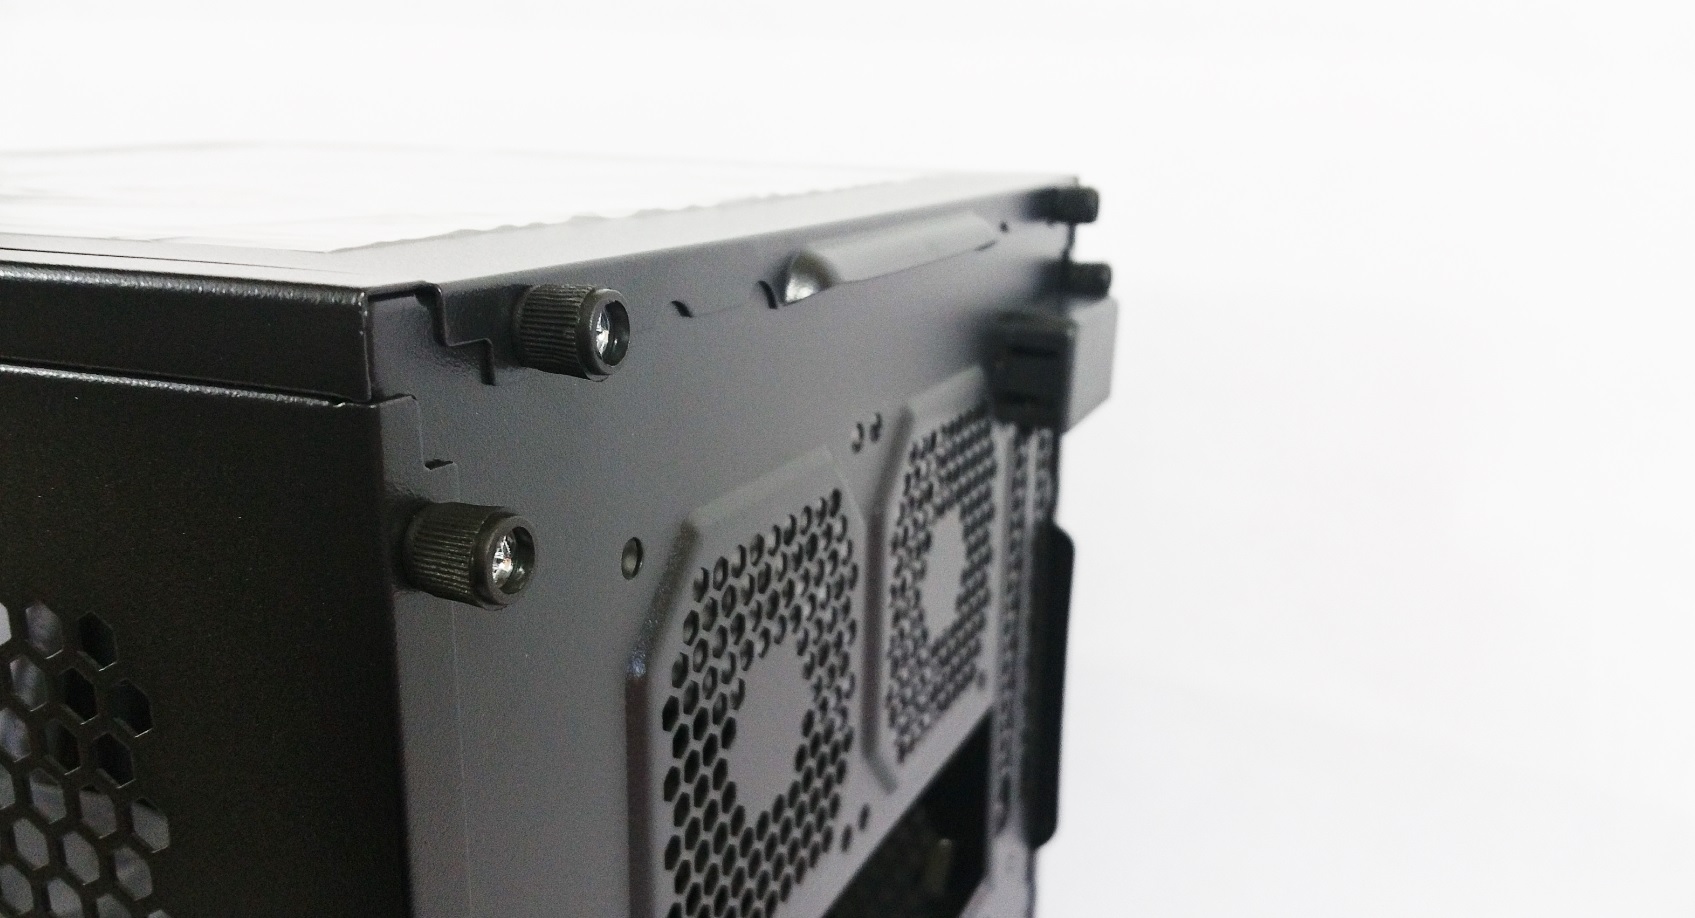
Everything is held into place by these rubberized thumbscrews.
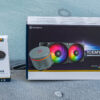
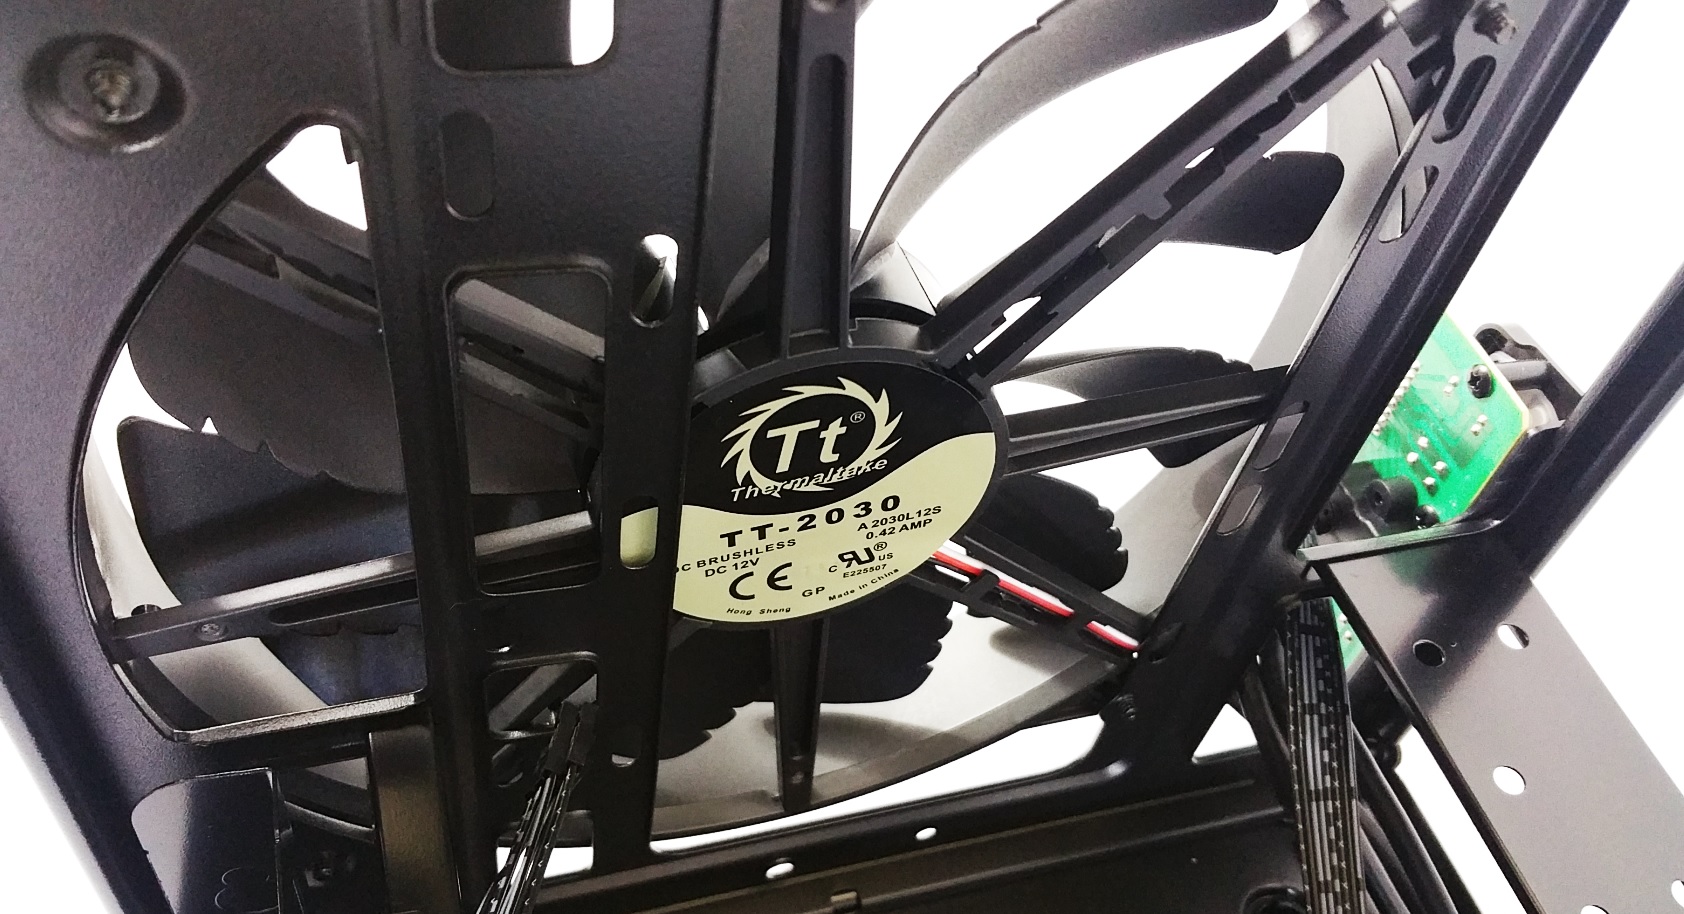
Let’s open her up. The 200 mm included Thermaltake fan with PWM and sleeved cable.
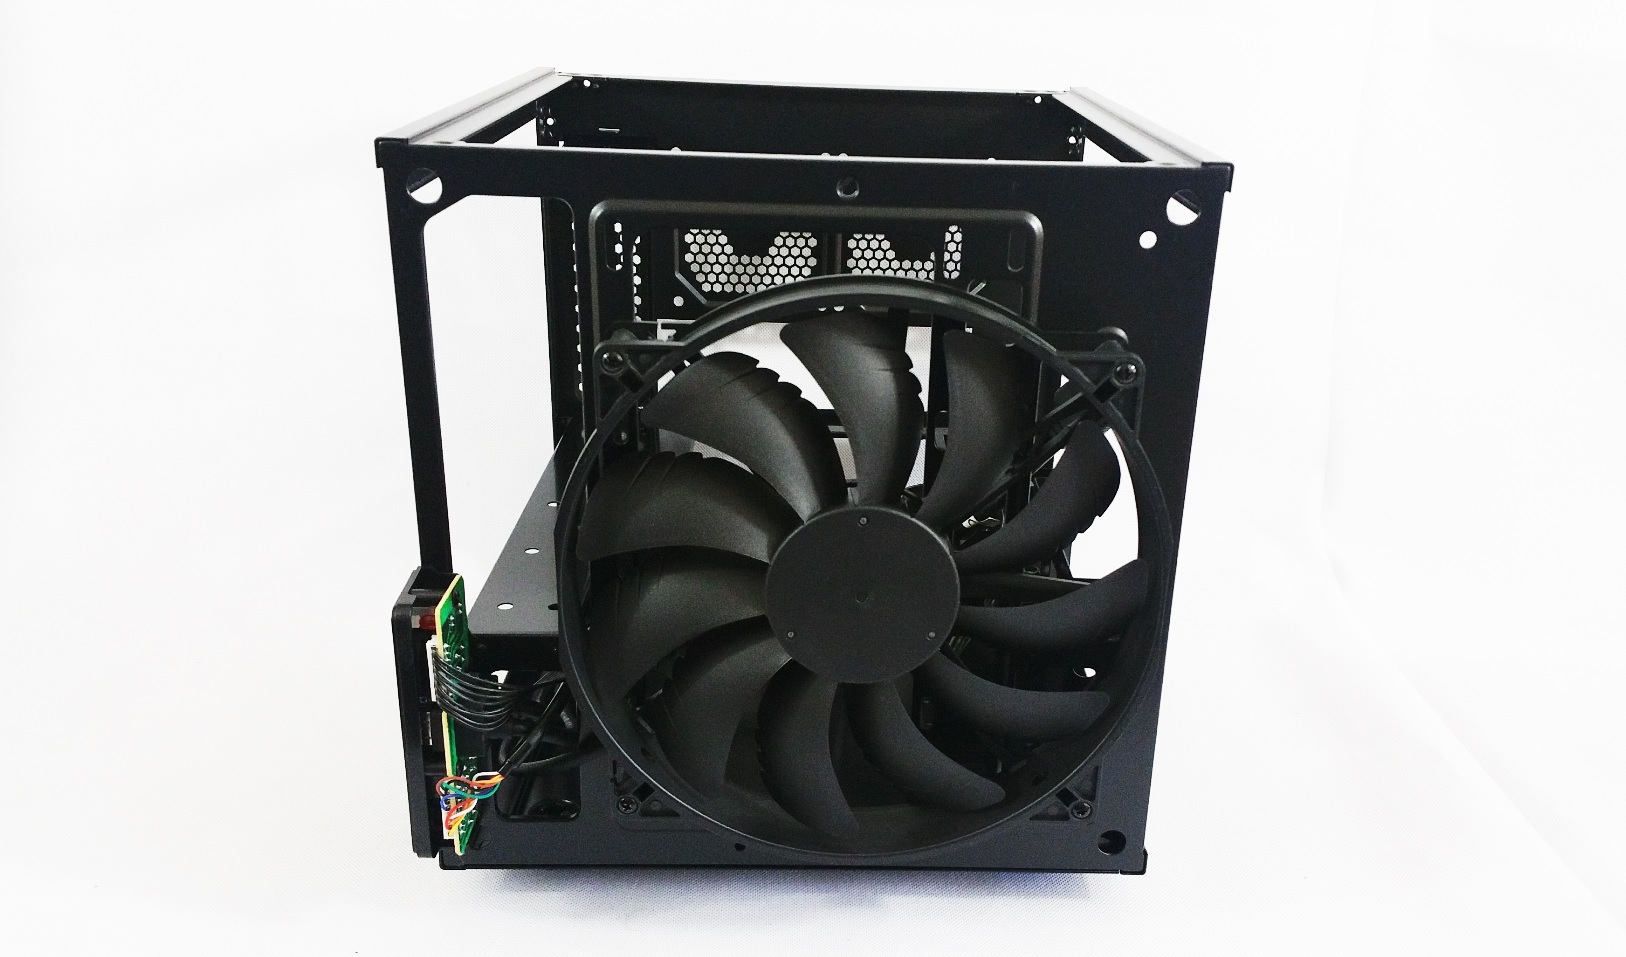
With the part number TT-2030 A2030L12S @ 0.42 Amps.
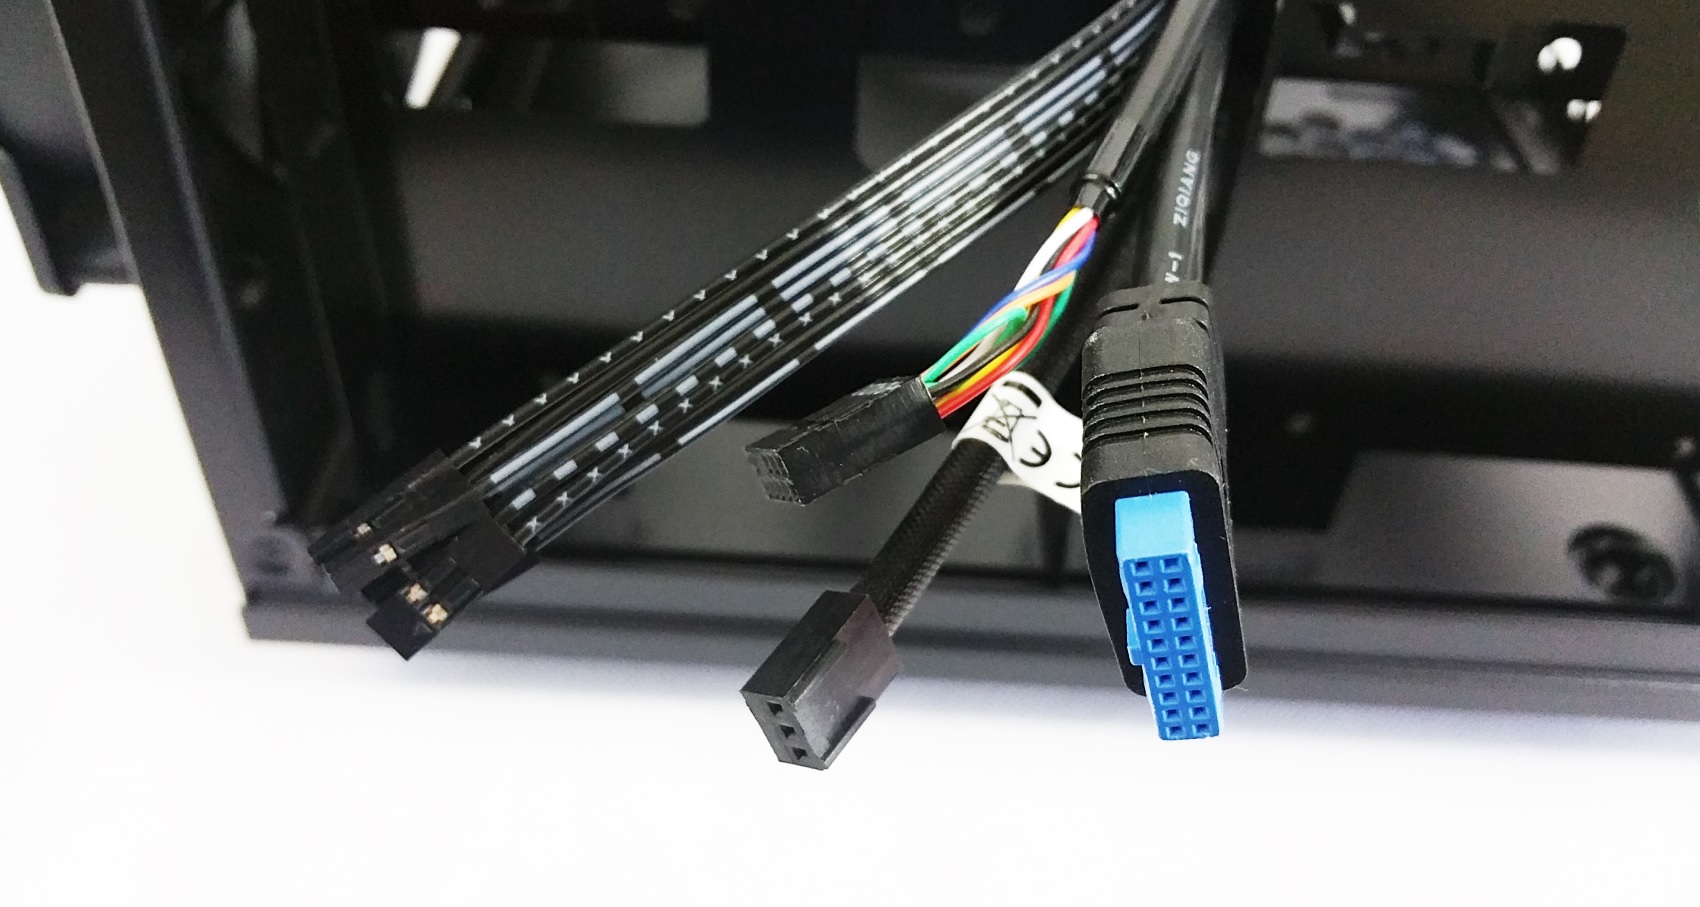
All the I/O connectors: Reset, Power, LED HDD, LED Power, Audio, the 200 mm fan PWM 4 pin and the front USB 3.0. All are black and sleeved where necessary.
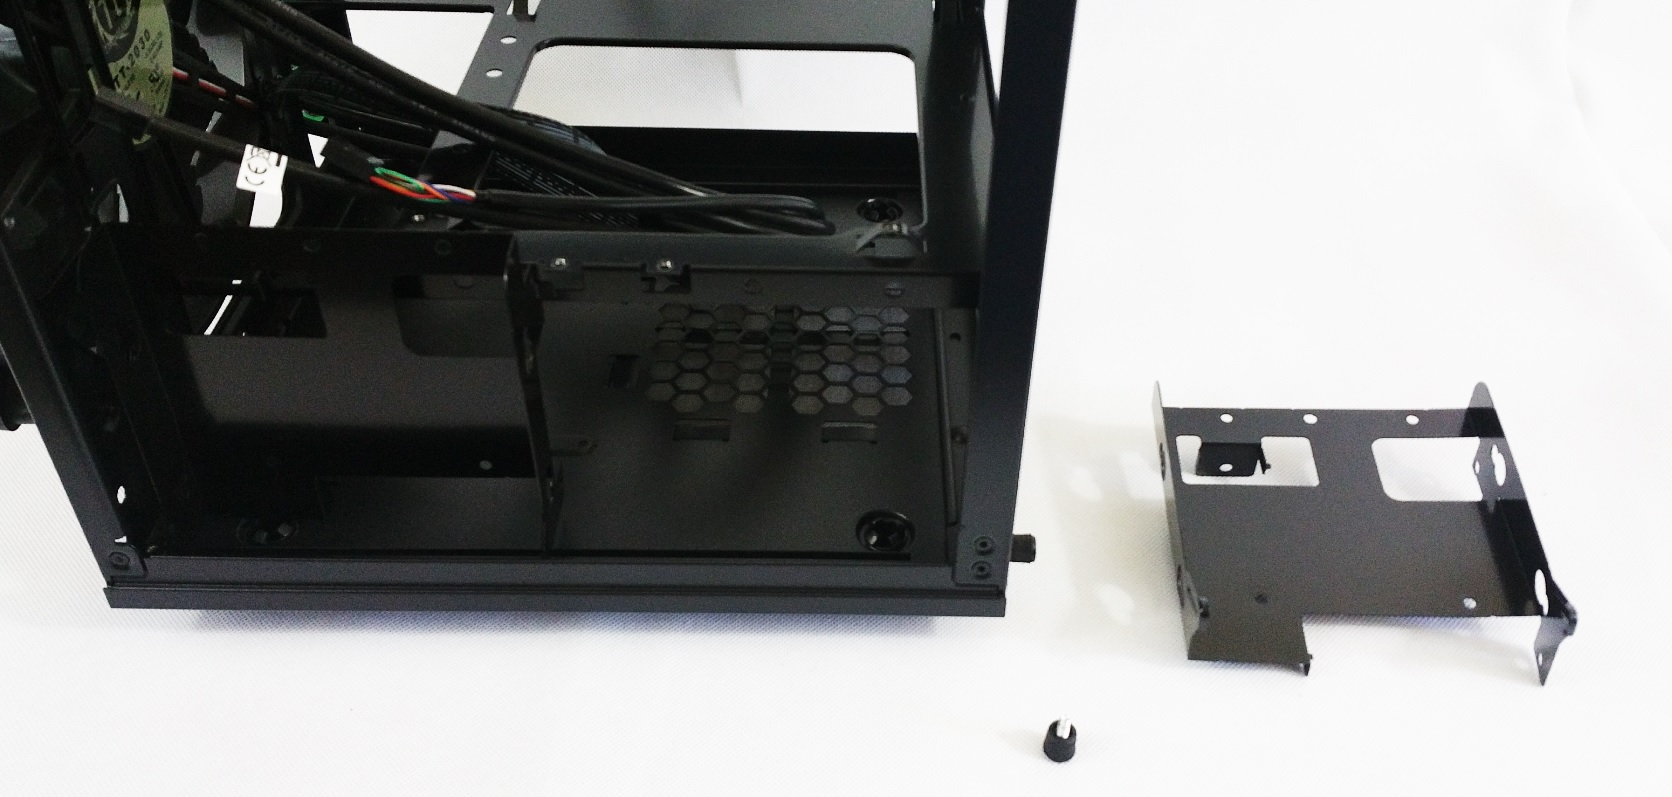
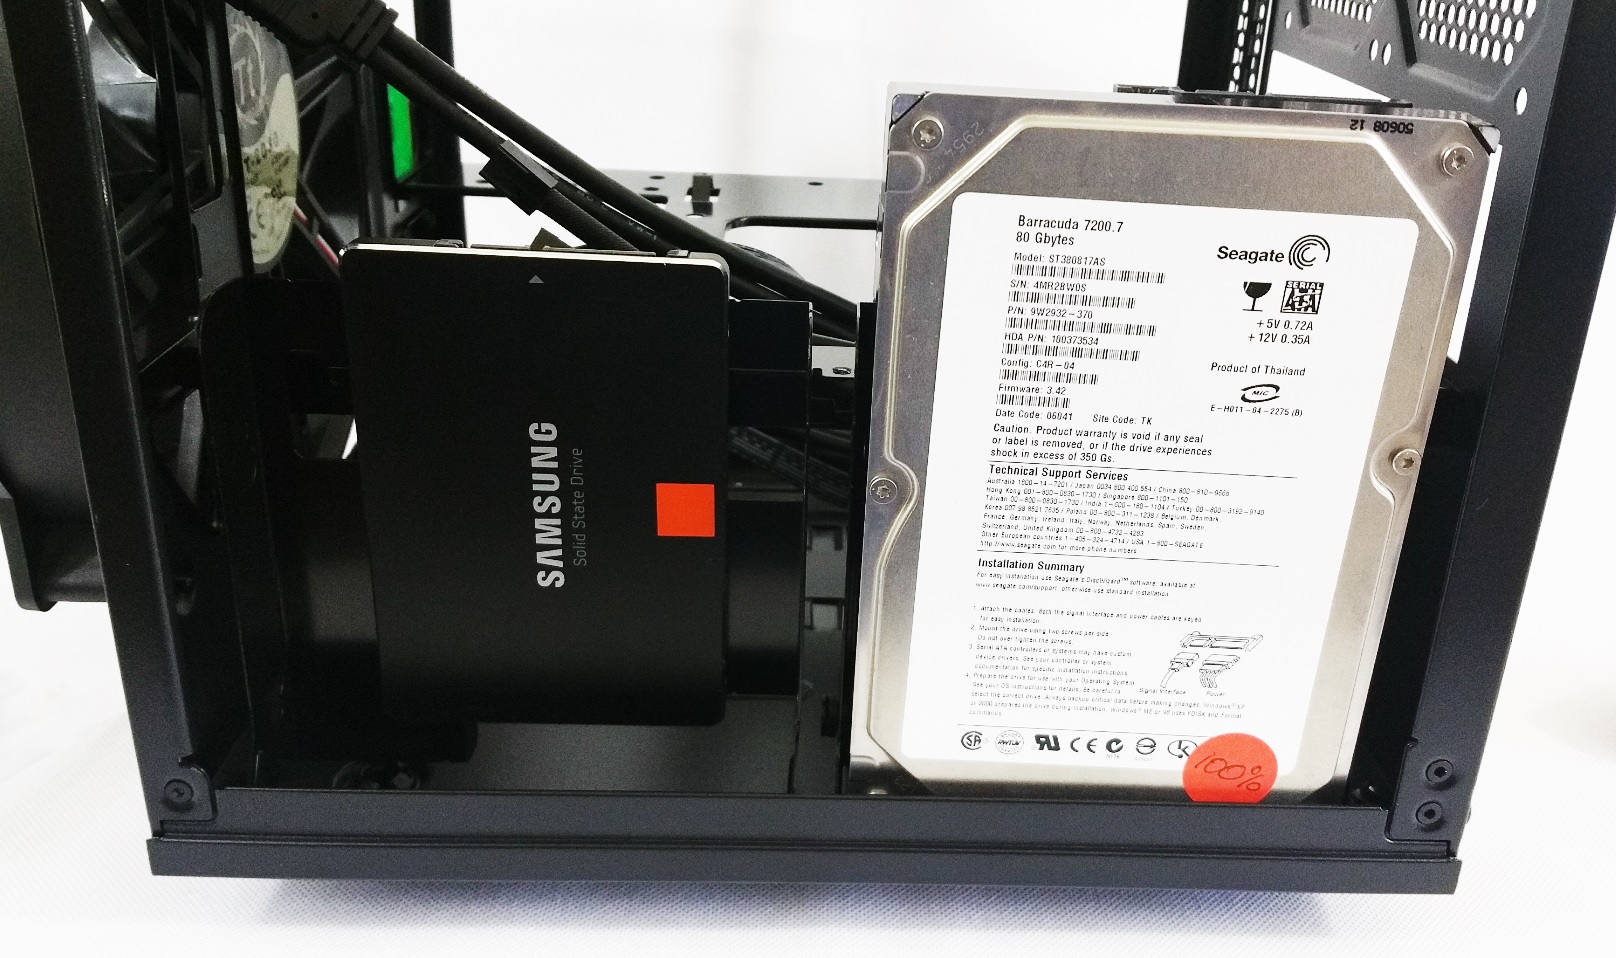
The storage compartment. The Core V1 cand hold 2x 3.5″ hard drives or 2x 2.5″ SSD/HDDs, or of course one of each.
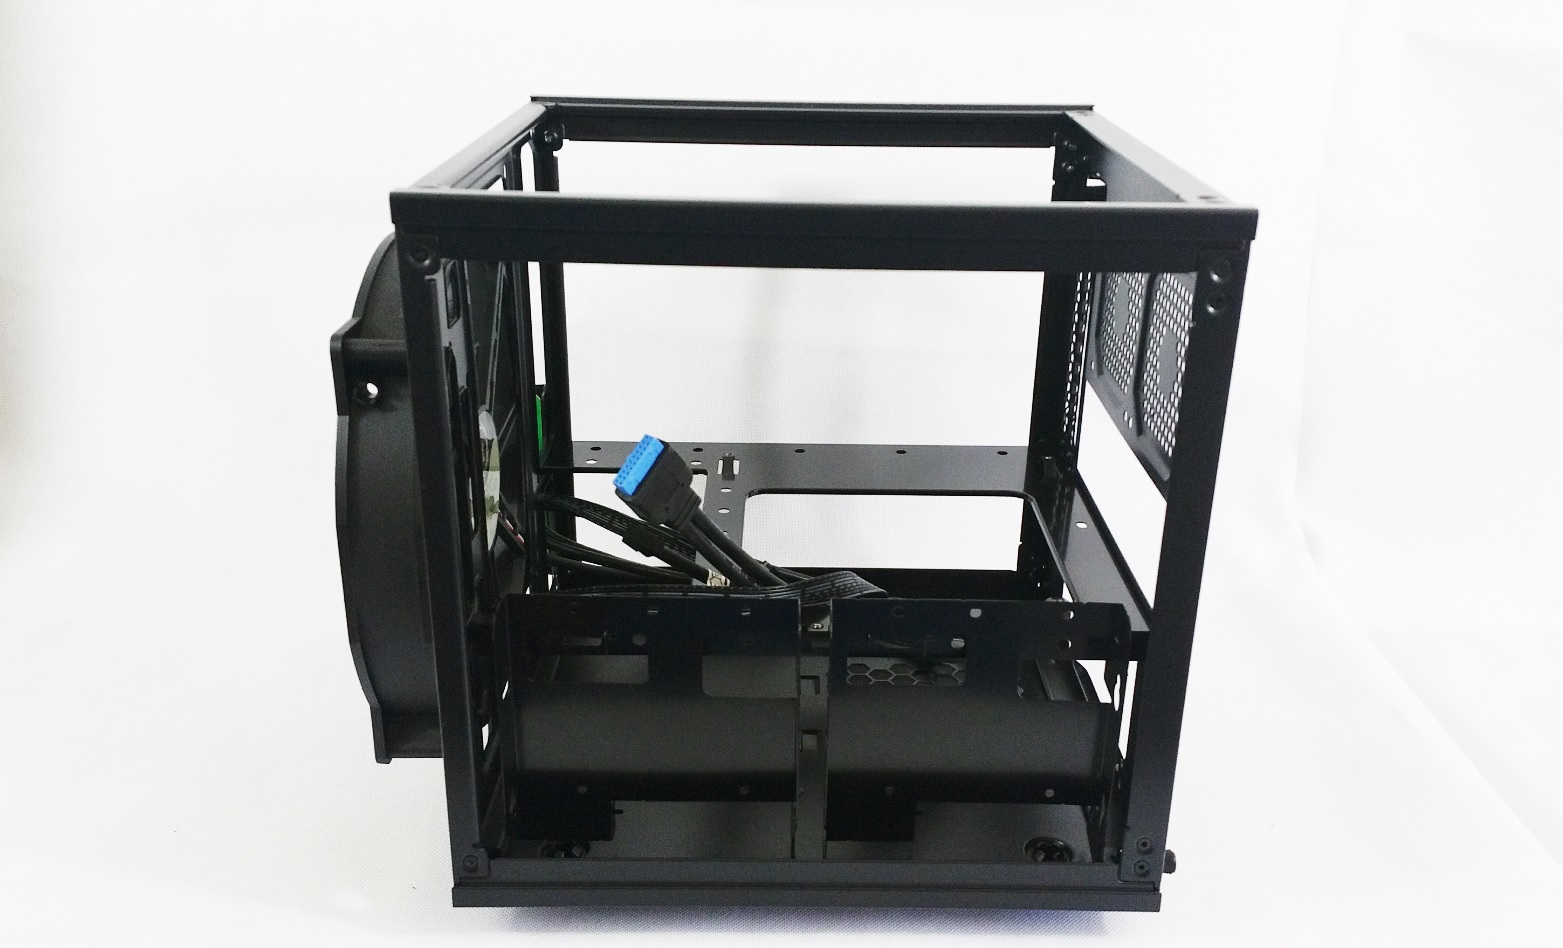
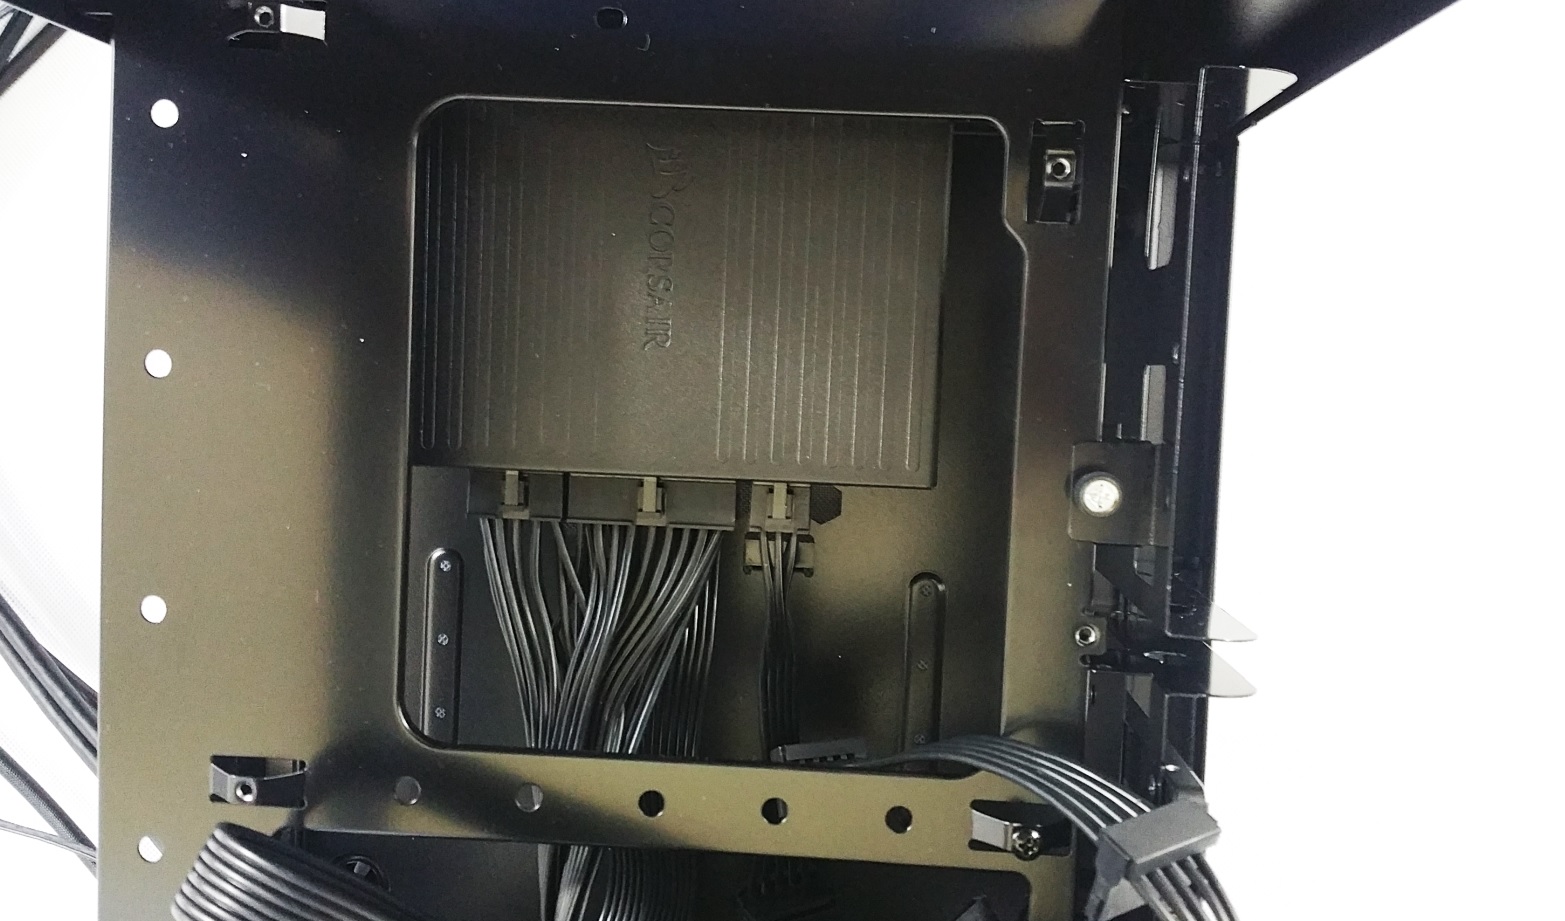
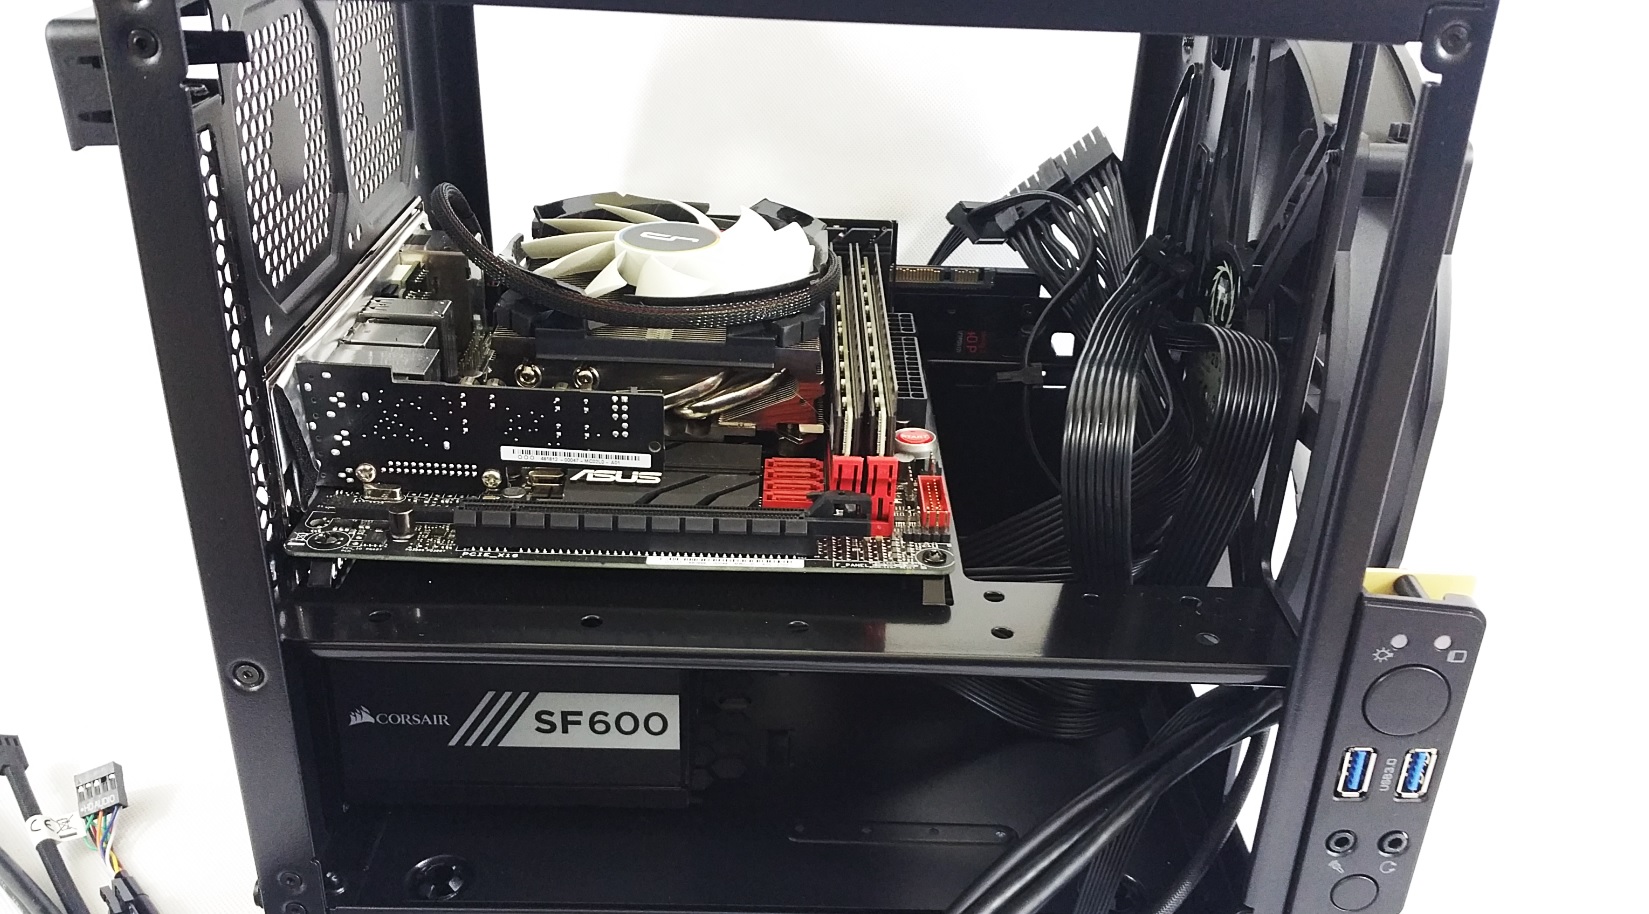
And from this angle we see the motherboard mITX support. And underneath it where an ATX/SFX power supply will reside. We think this is the best design for a cubical mITX case like this because it separates the heat from the PUS and CPU when in other cases to maximise space they put the PSU on top of the motherboard. Witch not only combines all the heat but also greatly reduces the CPU cooler maximum height. Thus the Core V1’s approach is excellent and the trade offs are worth it.
Let’s built something with it.
Testing & Installation
After we finish the hardware installation we will test the system in a synthetic benchmark and then some gaming session to see how the temperatures and noise output will be from the case and the overall system.
The sound testing tool is the Pyle PSPL01 placed 45 cm away from the setup.
Temperatures will be monitored via MSI Afterbuner v4.11 for both CPU and GPU.
Ambient room temperatures is set at 20 degrees Celsius.
We tested 3 video cards for fitment but only the GTX 770 was used in the actual gaming sessions and benchmarks.
Hardware used.
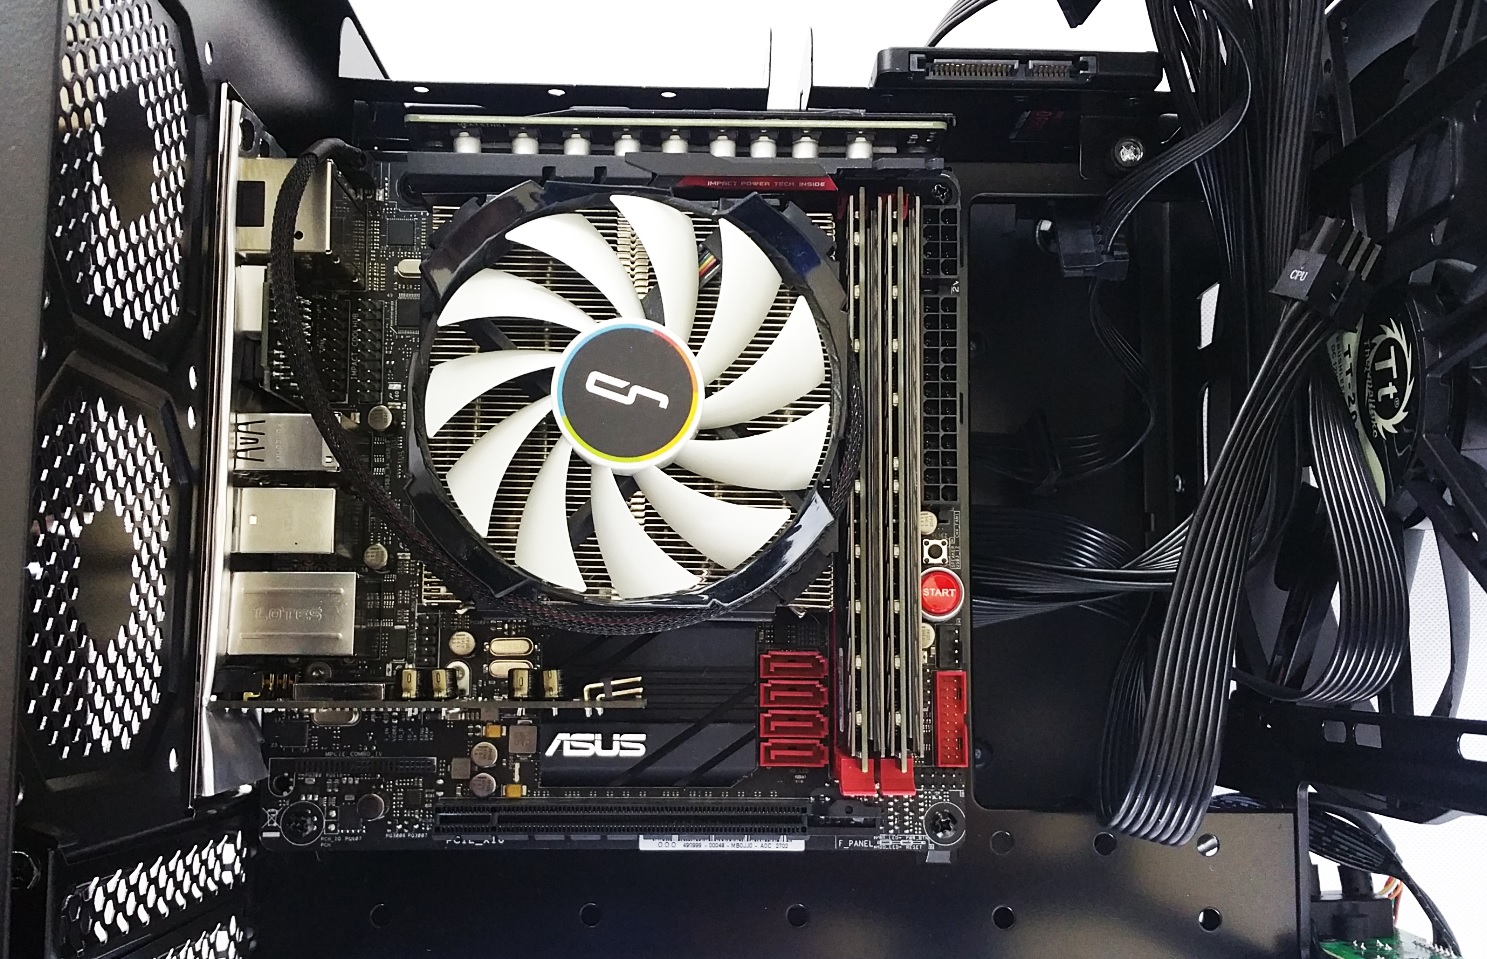
- CPU: Intel i7 4790k @ stock 4.0 Ghz w/ 4.4 Turbo Boost - 88 W TDP
- CPU Cooler: Cryorig C7
- SSD: 1x 2.5″ Samsung 840 Pro 512 GB MLC
- HDD: 1x 3.5″ Seagate Baracuda 7200 Rpm 80 GB
- Memory Modules: 16 GB (2x 8 GB) DDR3 Crucial Ballistix Tactical Tracers 1600 Mhz CL8 LED RED & GREEN
- SFX/ATX bracket: Silverstone PP08
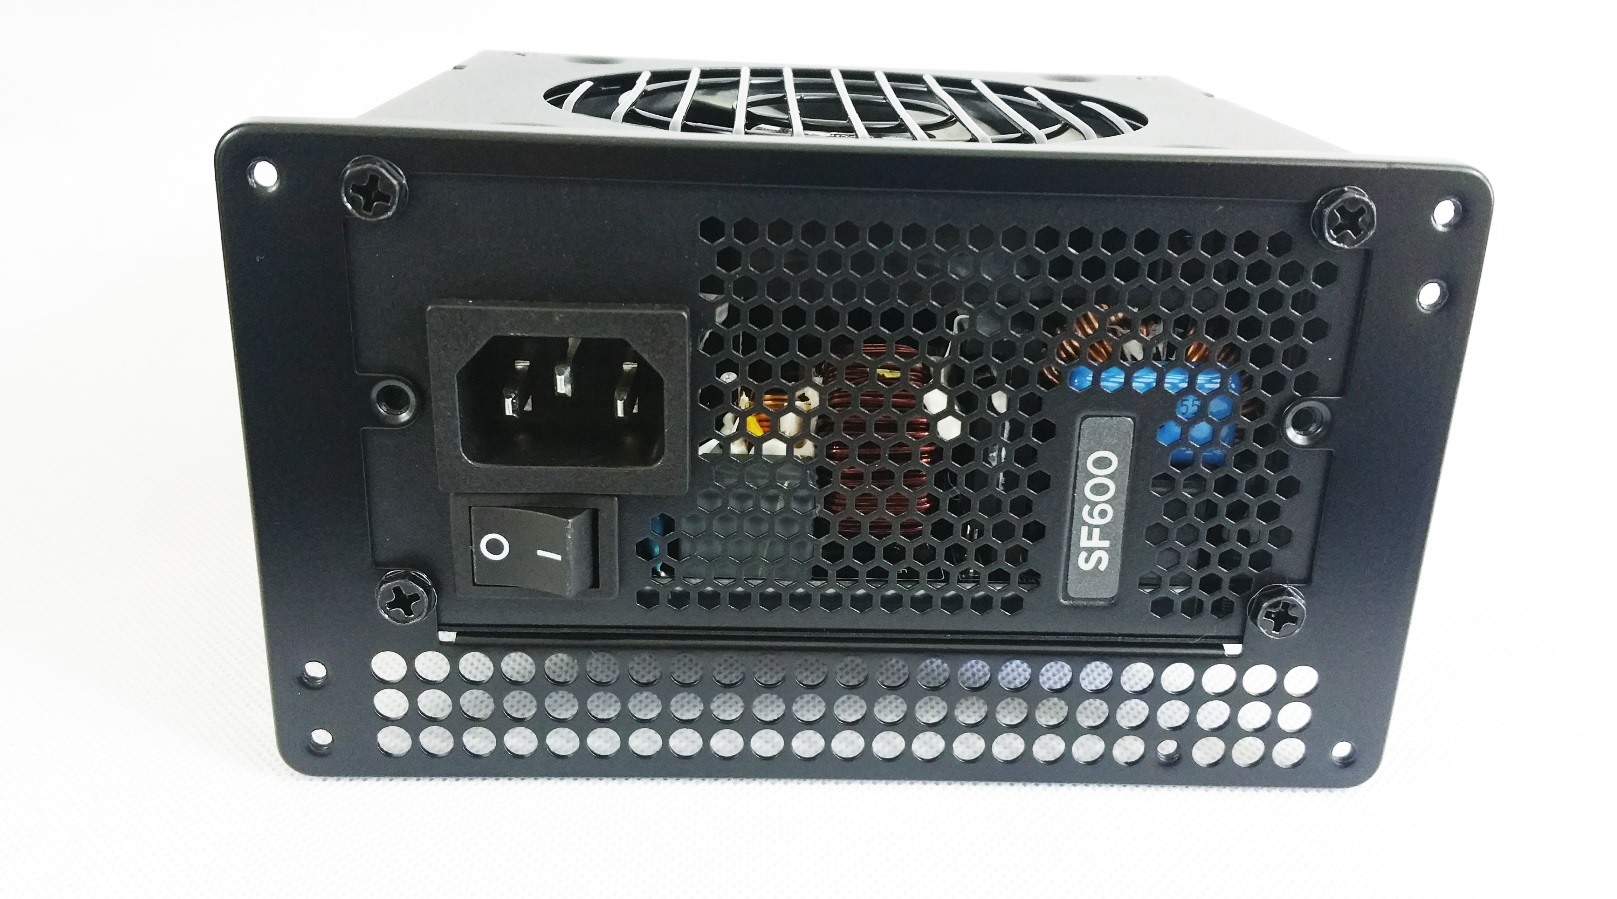
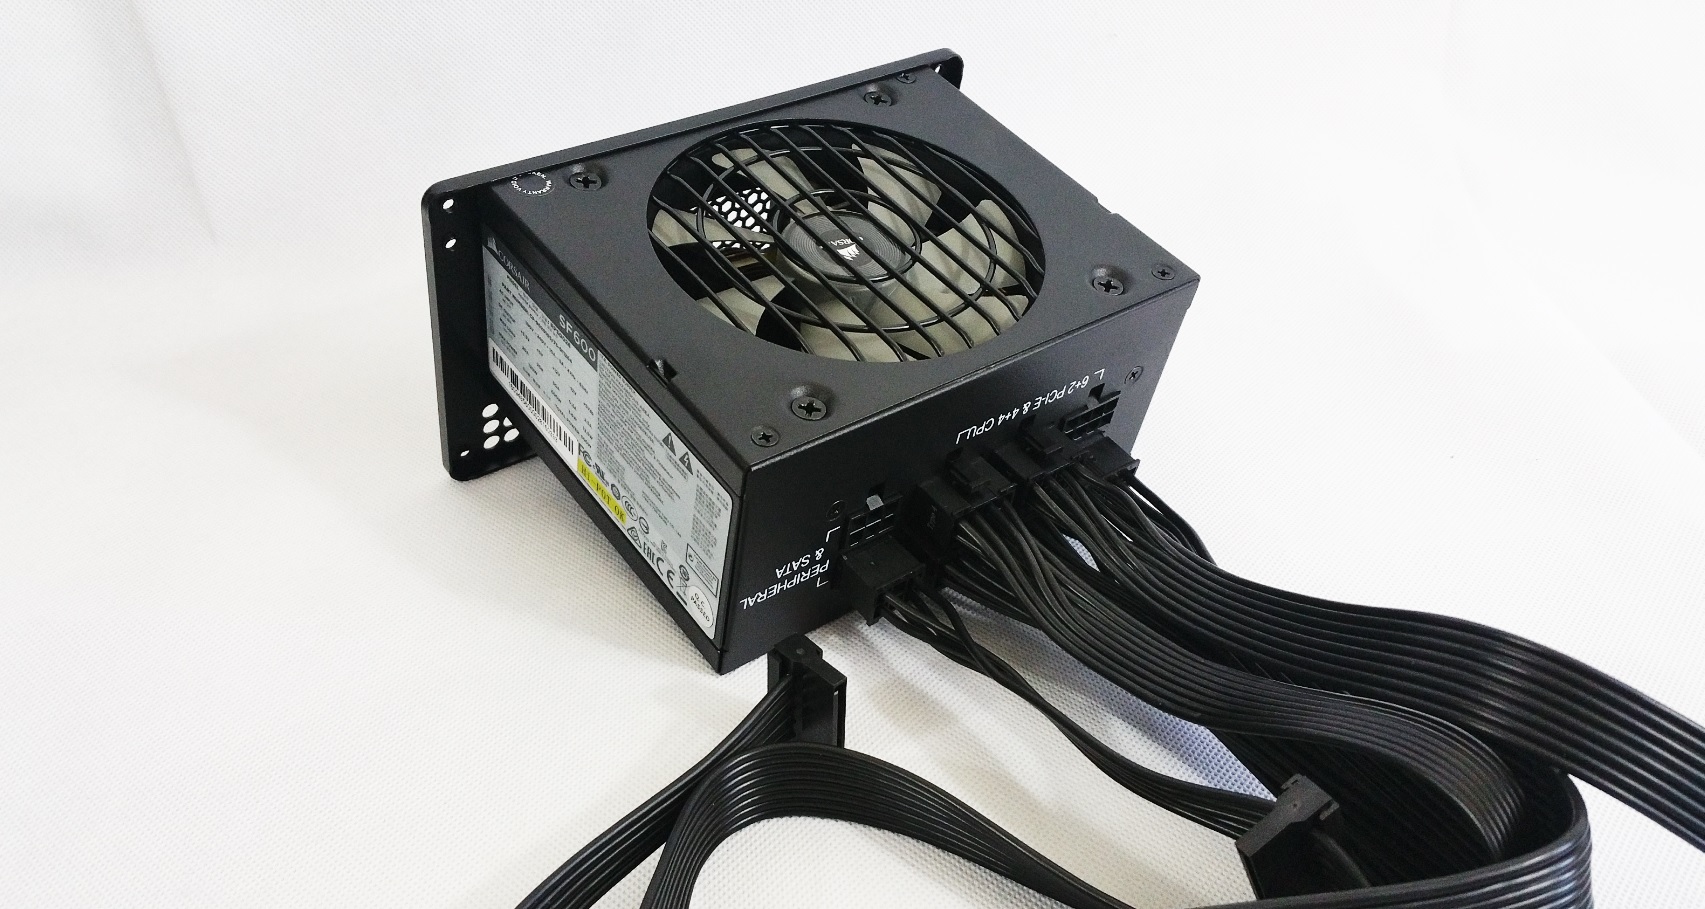
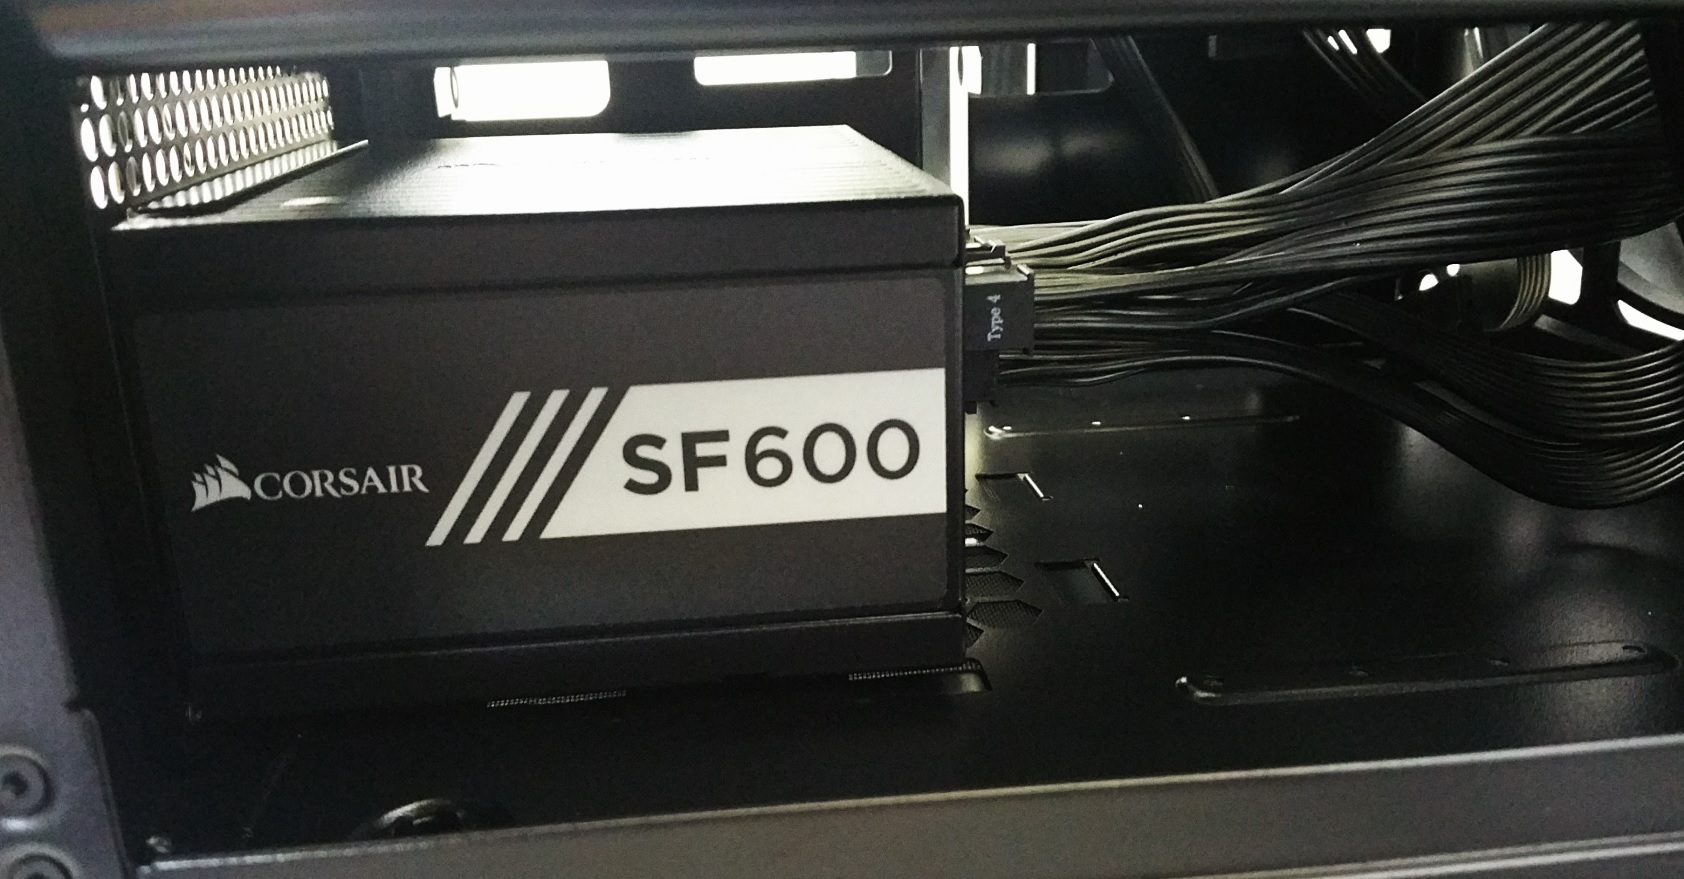
- PSU: Corsair SF600 SFX 600 W
- Video cards:
*MSI GTX 770 Twin Frozr IV Gaming OC - 230 W TDP - 260 mm length
*EVGA GTX 650 - 64 W TDP - 112 mm length
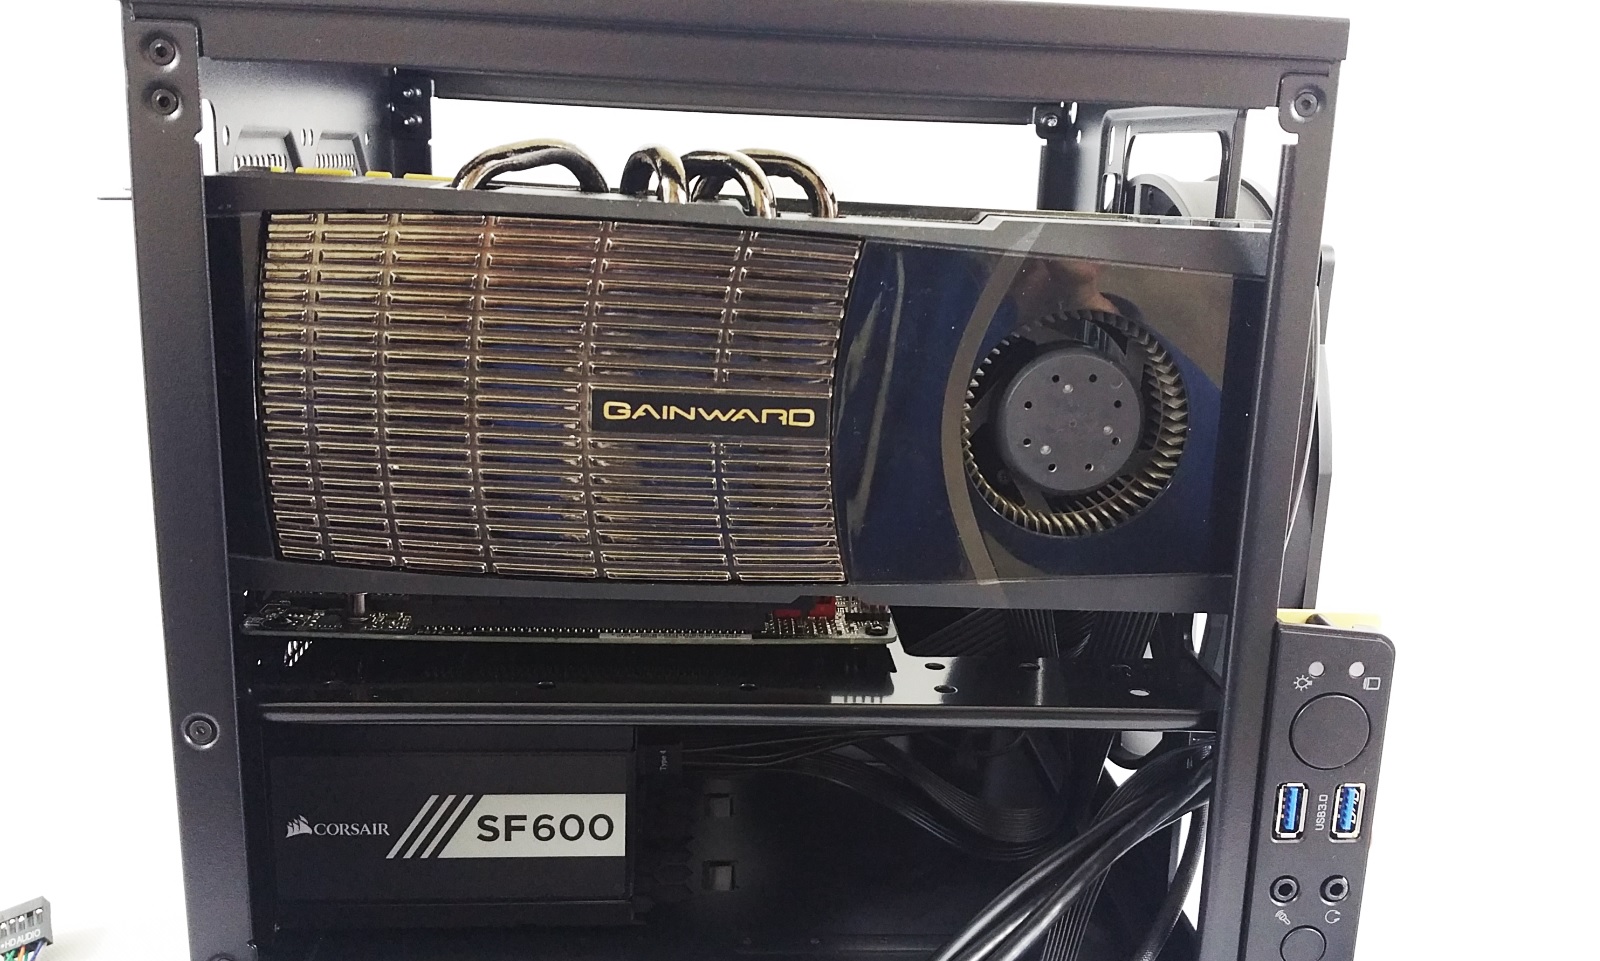
*Gainward GTX 480 - 250 W TDP - 267 mm length
Software used.
- Windows 10 Pro x64 Build 1511.10586
- AIDA 64 Extreme Ed. v1.70
- MSI Afterbuner v4.11
- Witcher 3 v1.21 - 20 minute gaming session
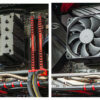
First we install the storage drives. Remove the trays which are hold into place via one thumbscrew.
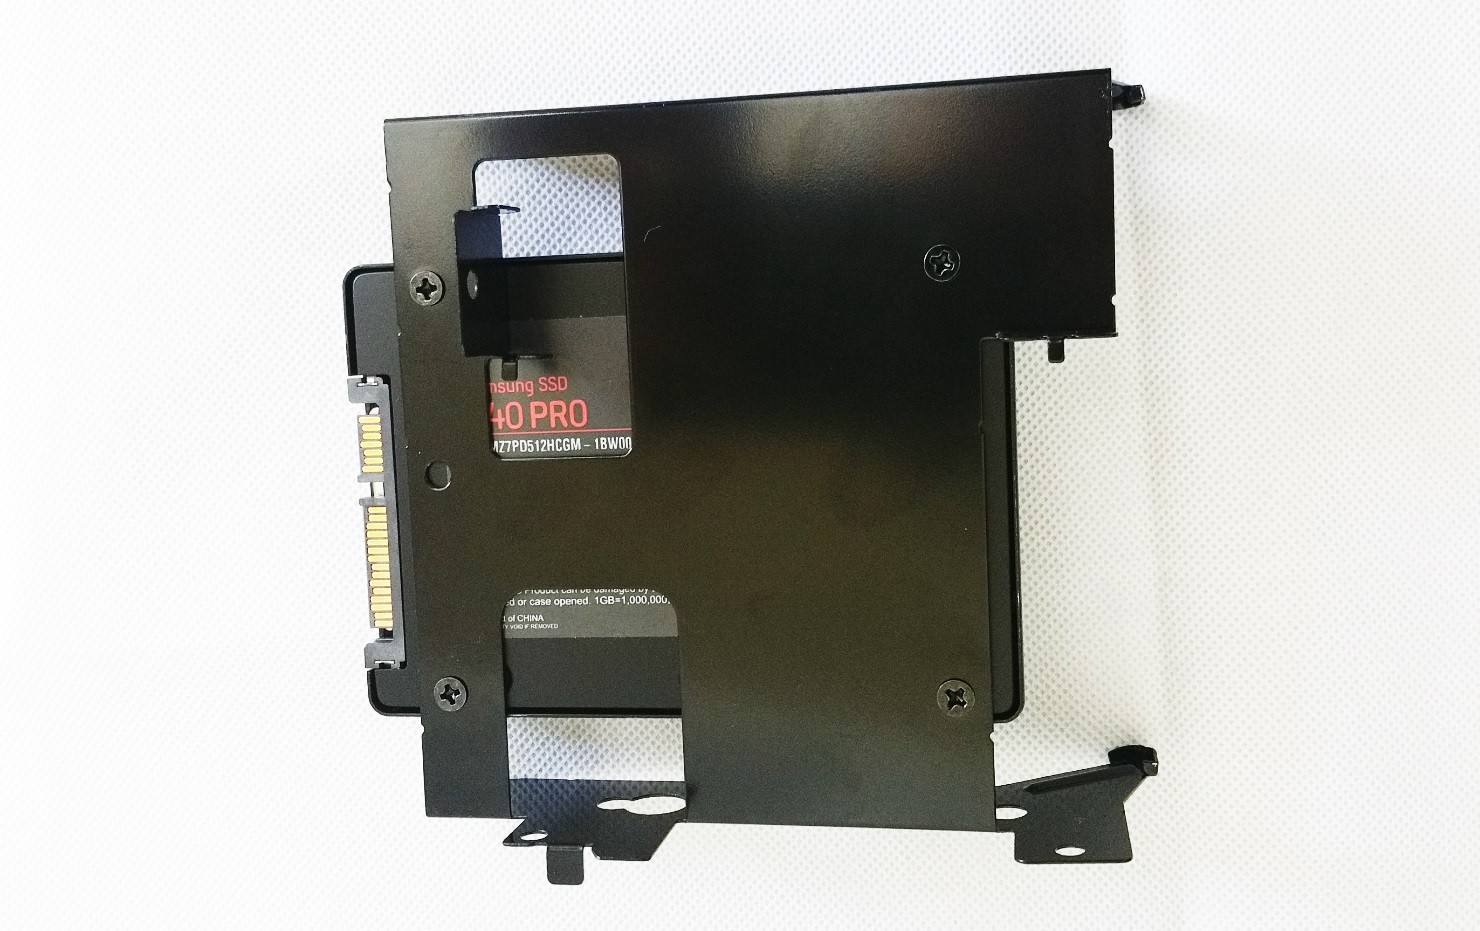
Take 4x from the included screws and secure in place the 2.5″ SSD.
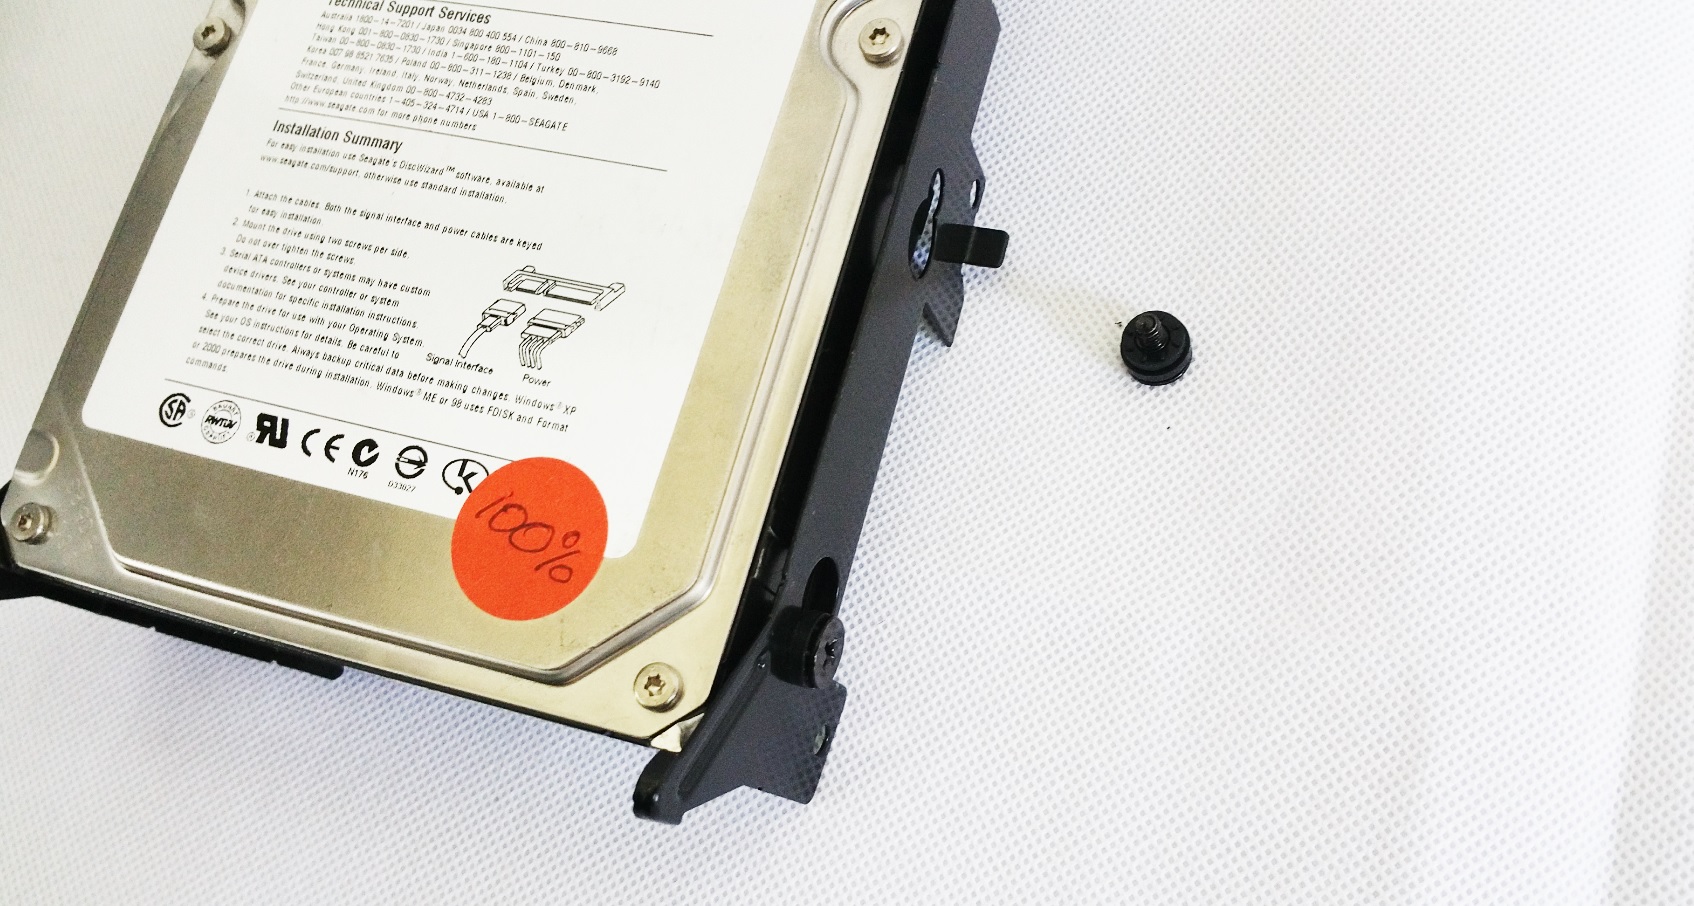
For a 3.5″ HDD you need the long screws with the rubber grommets. Then slide the drive into place.
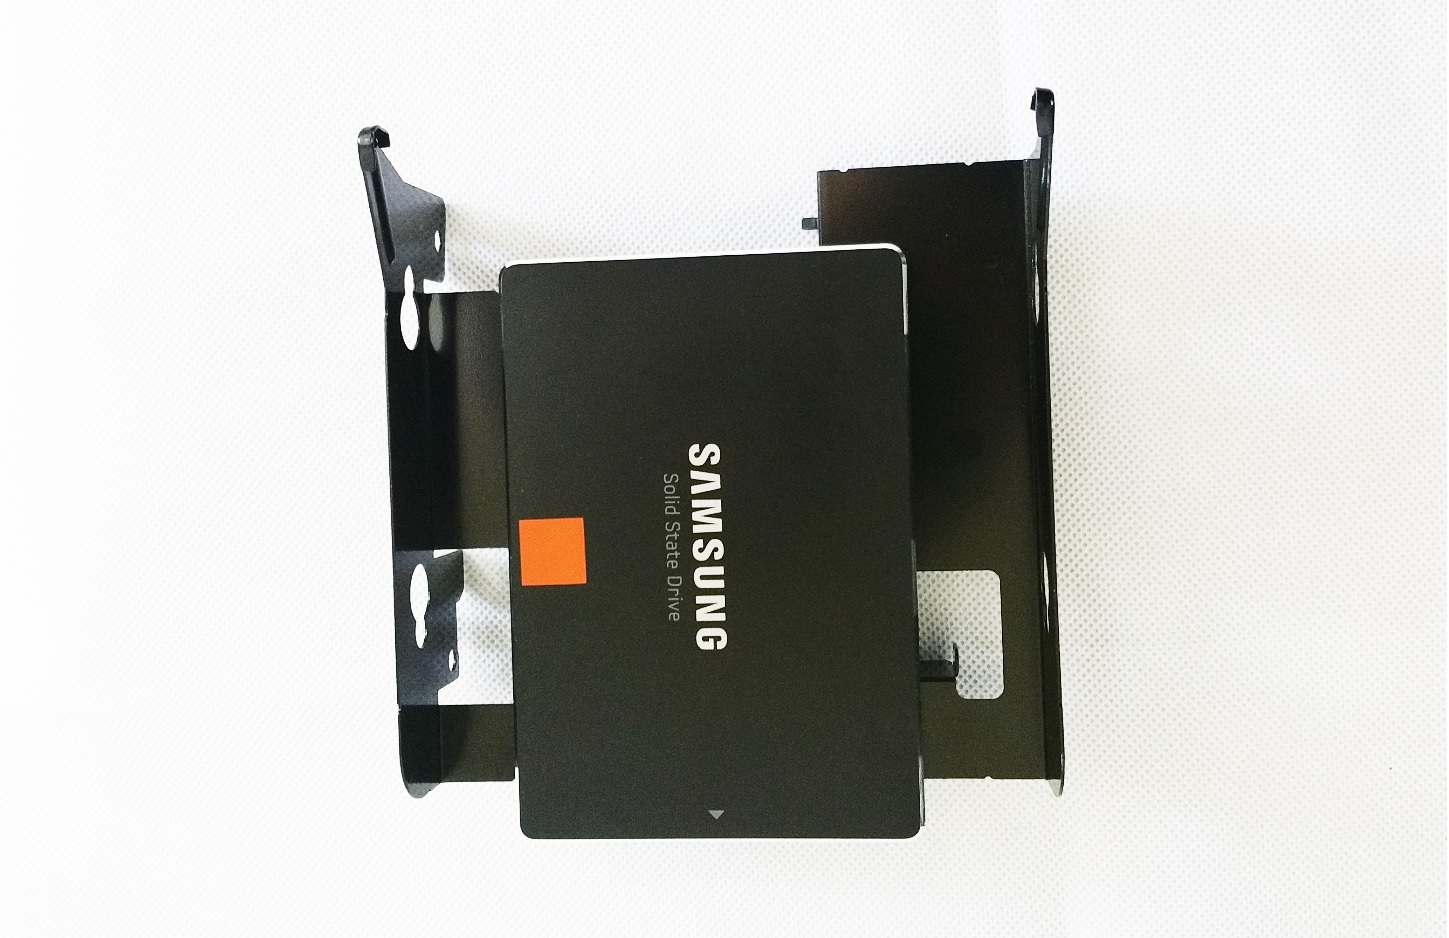
And this is how it would look like installed.
Next is the PSU. We are using a SFX power supply and thus we require a SFX to ATX bracket.
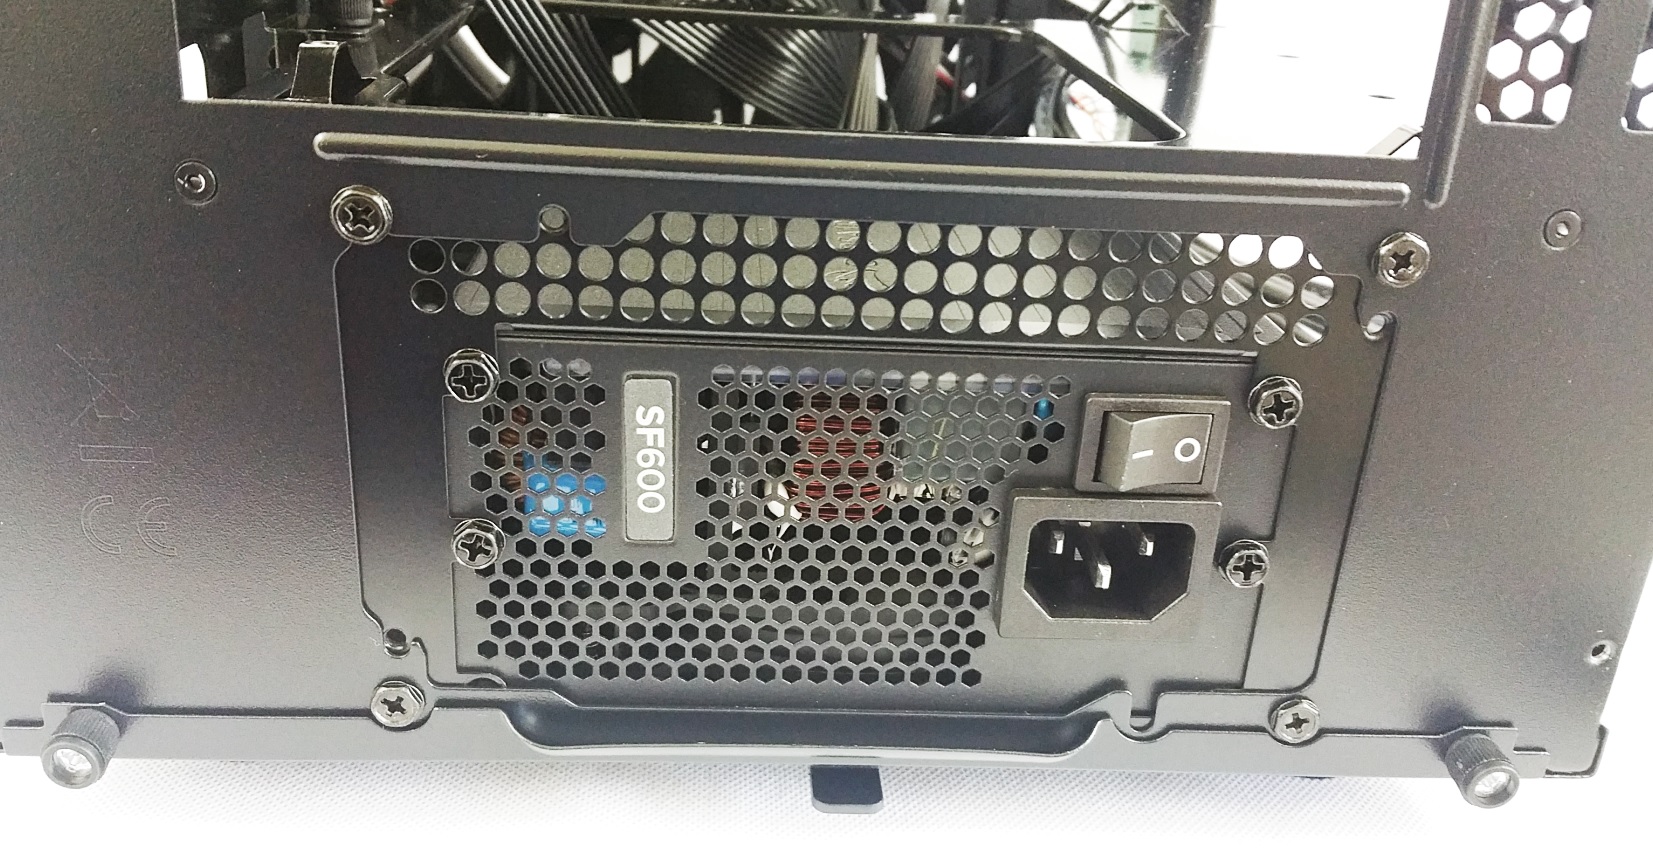
Top view and side view. As yo can see ample space for hiding the extra cables.
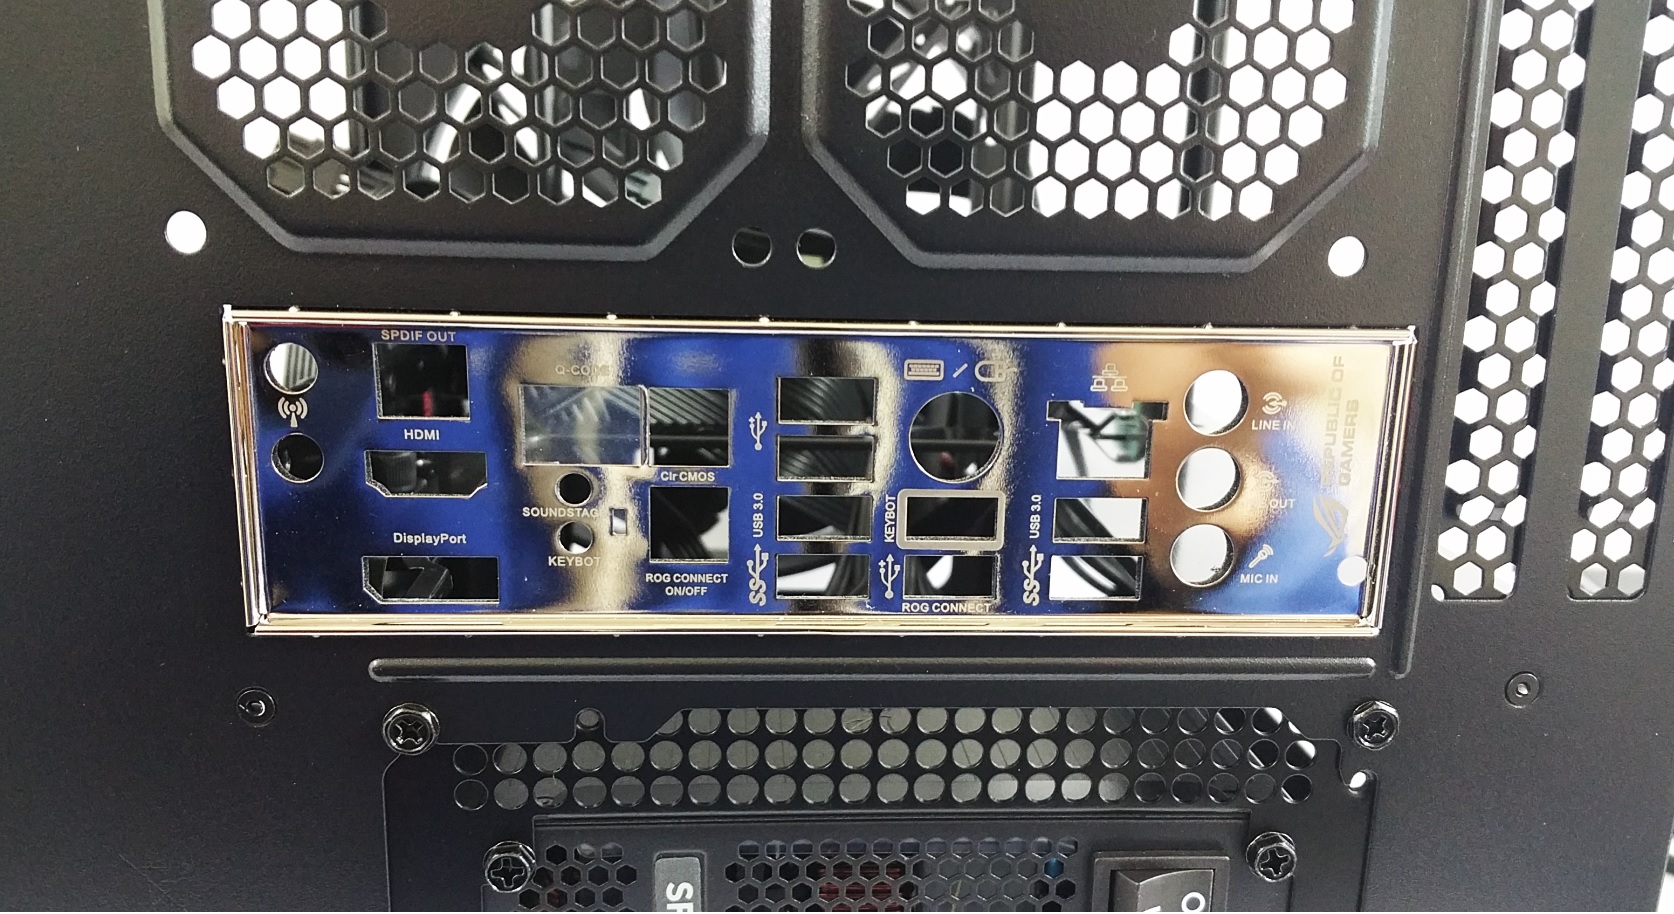
Then the motherboard I/O shoe plate.
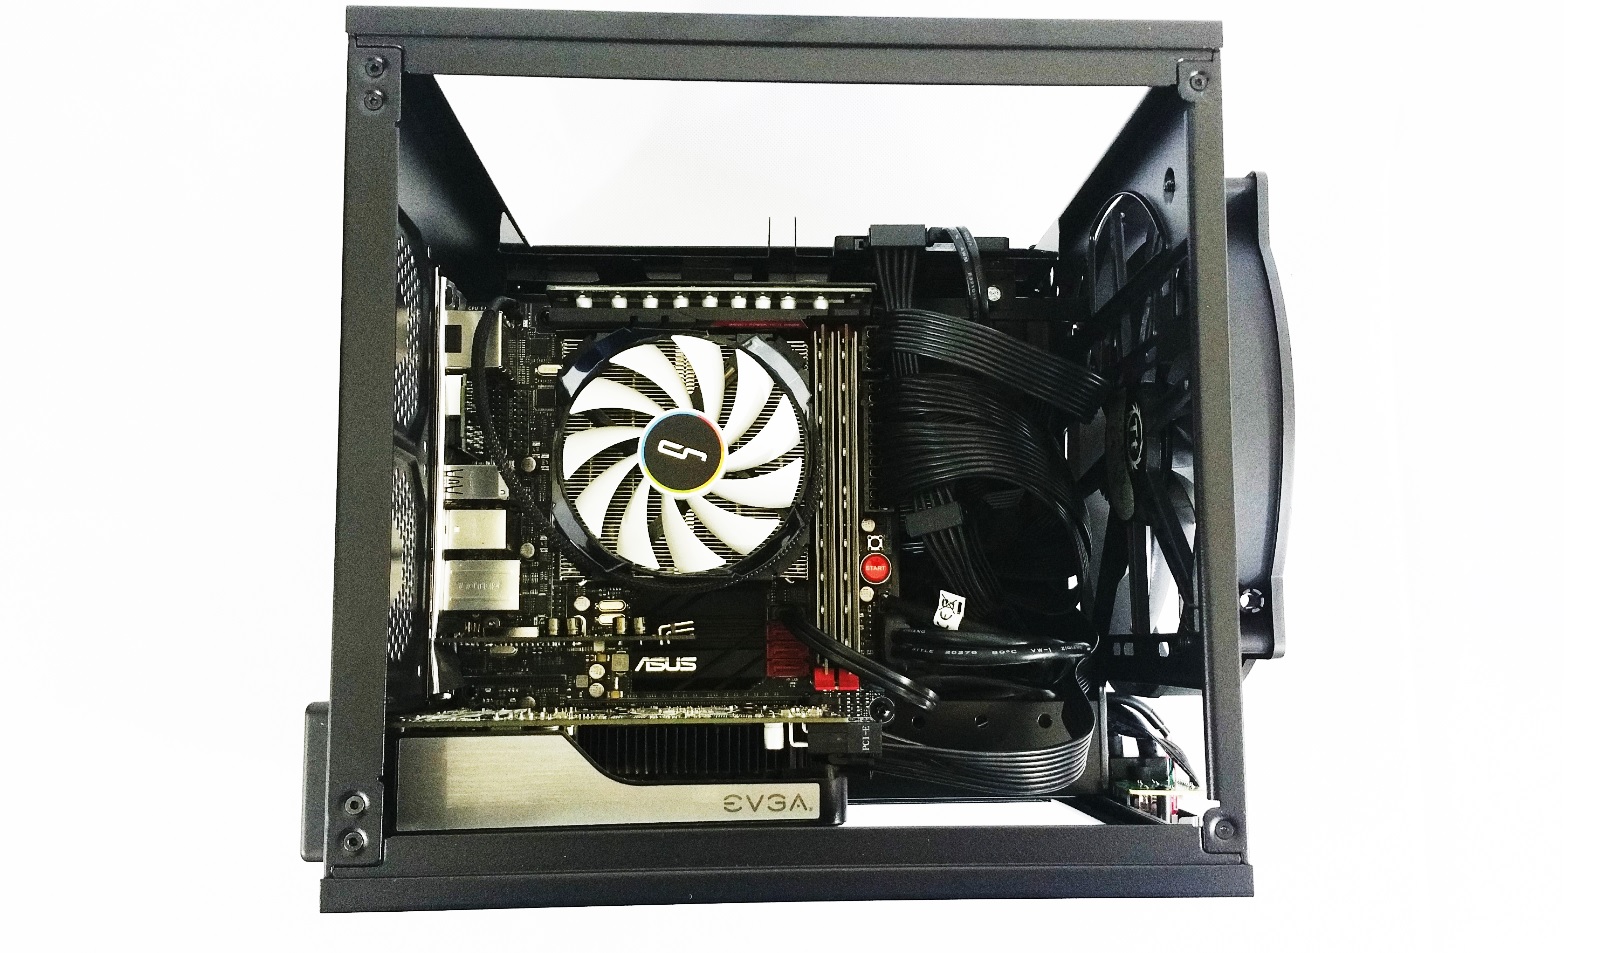
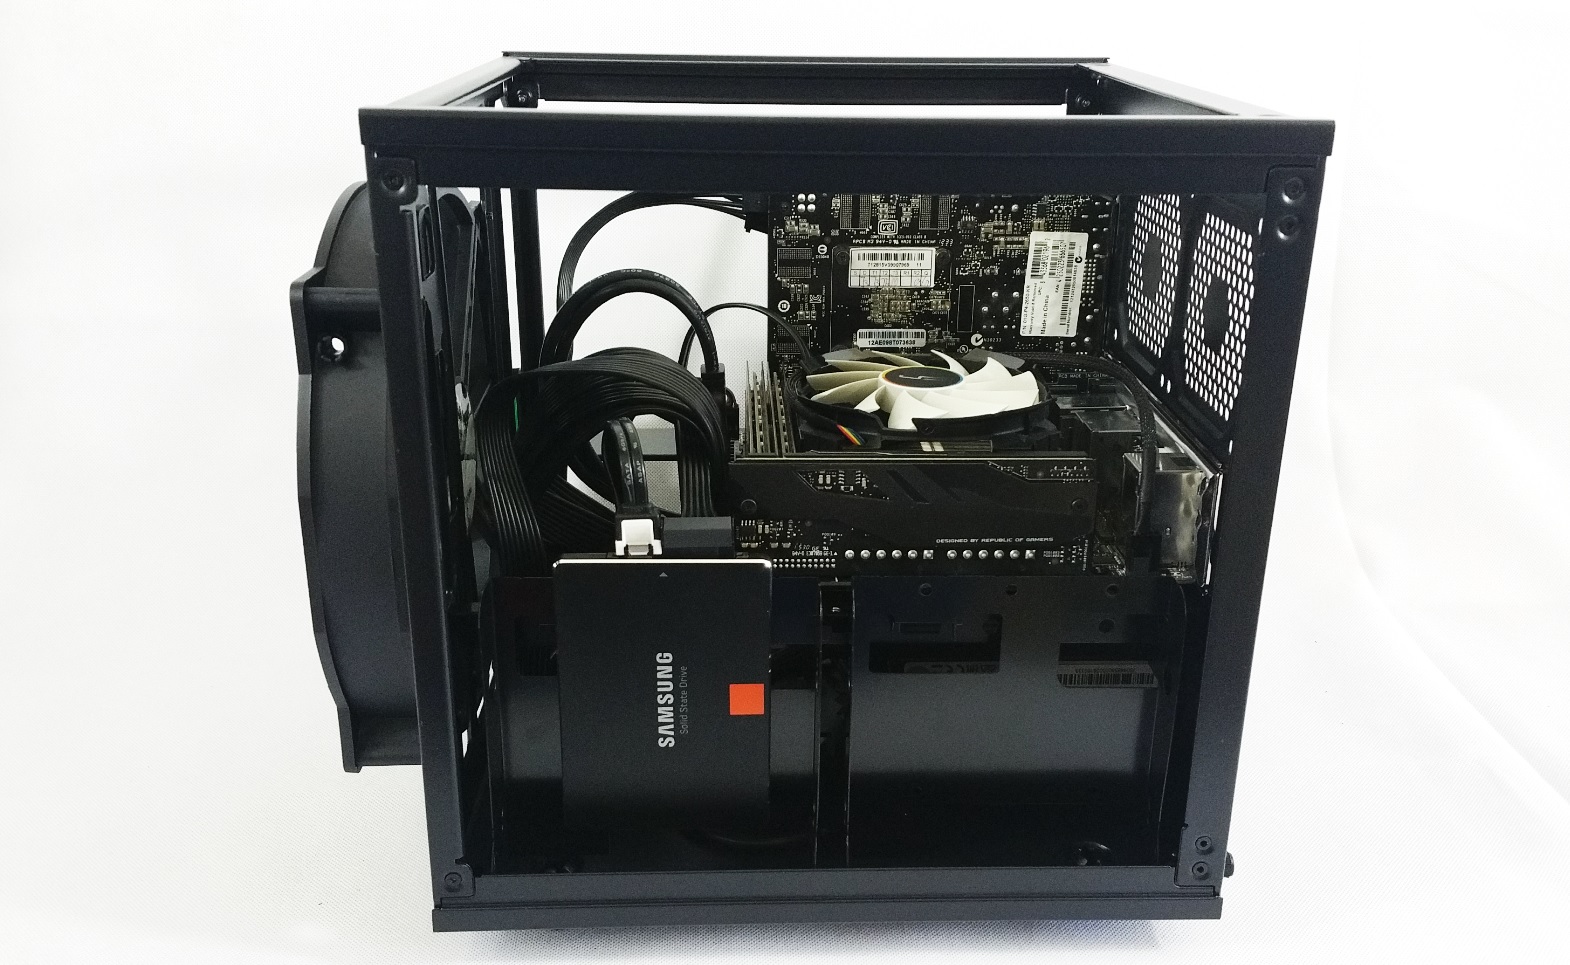
Motherboard with the CPU, CPU cooler and memory modules, are next in line.
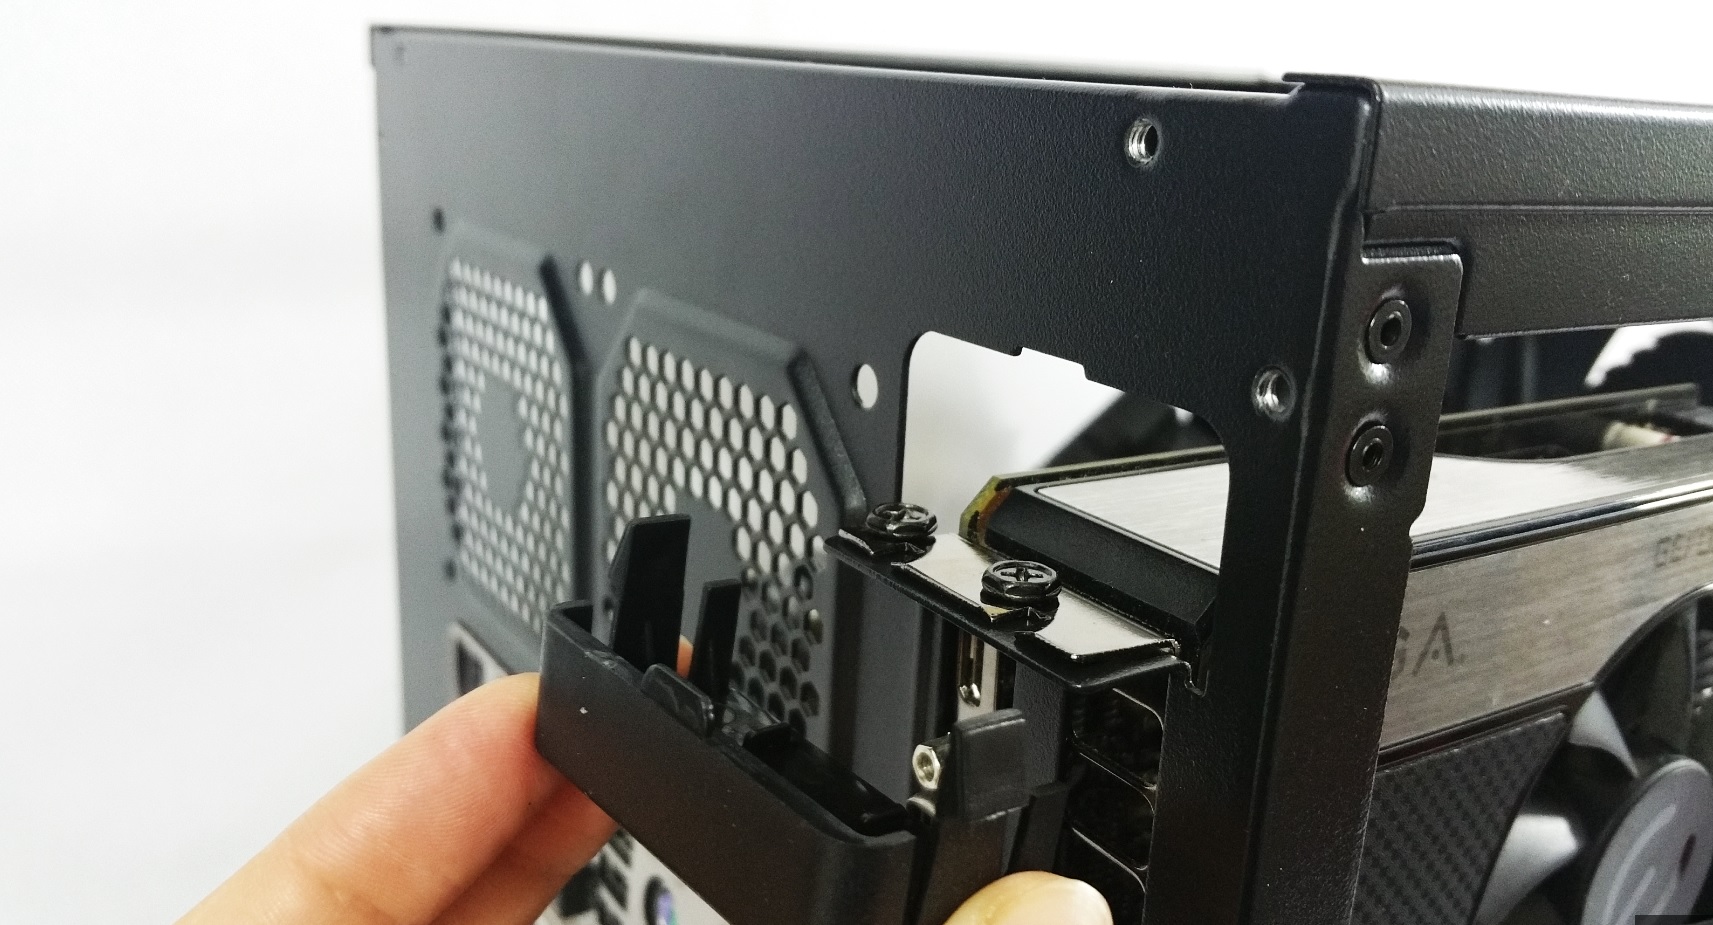
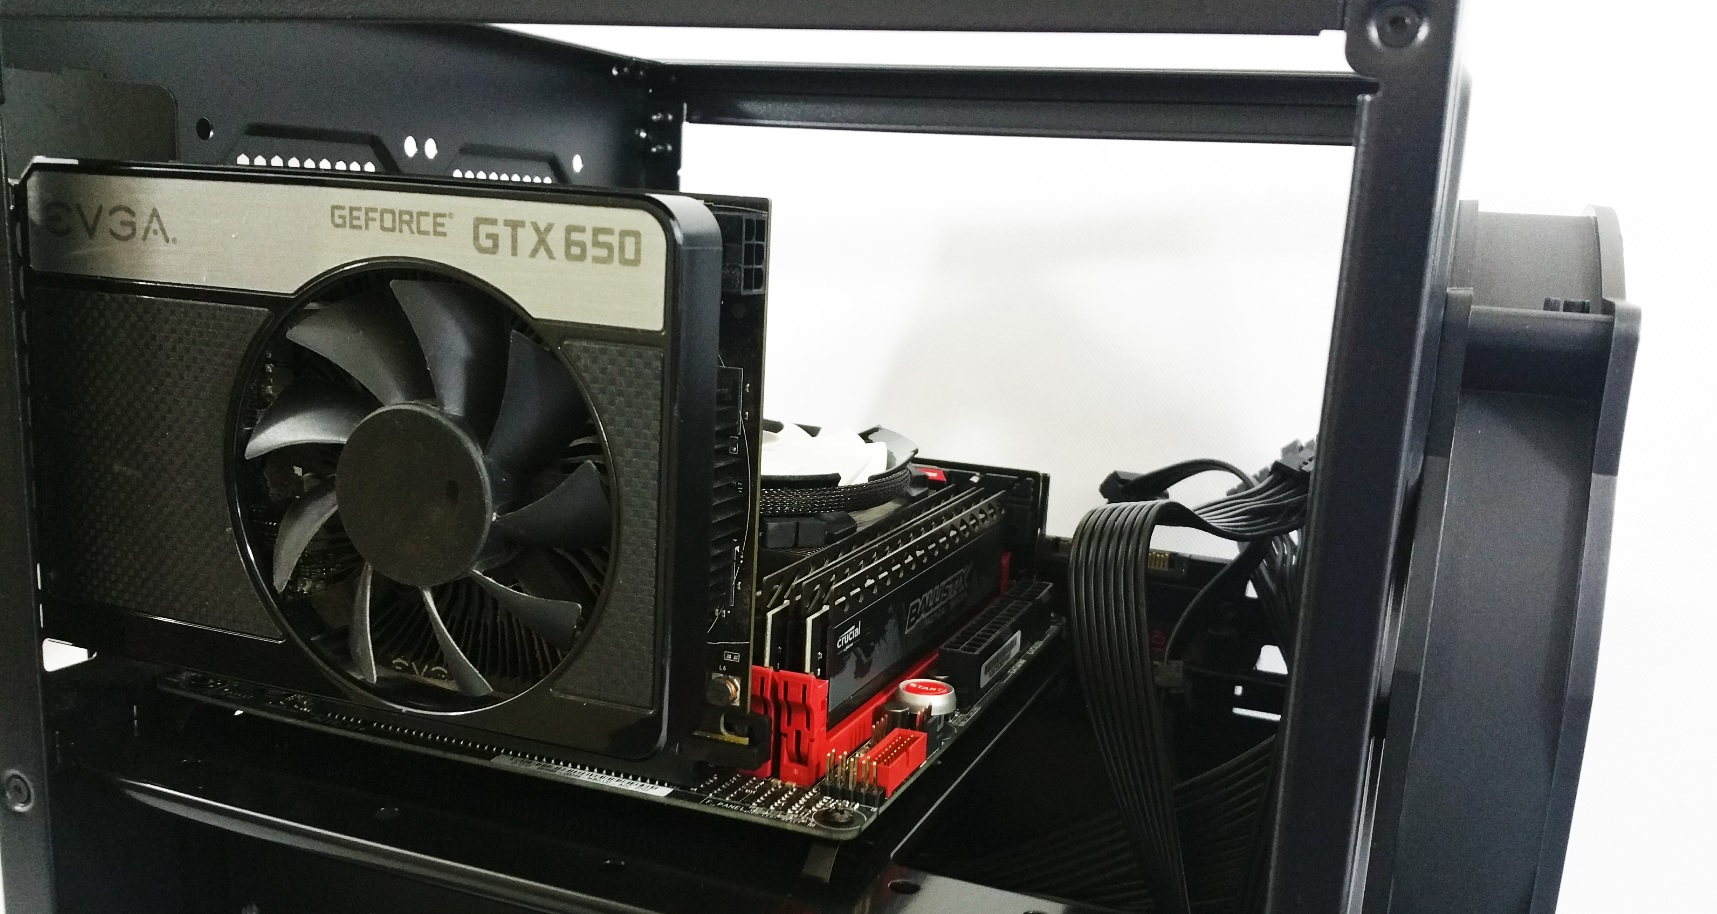
Now for the video cards scenarios. Let’s do the GTX 480 at 267 mm long. That is well over the 255 mm spec for the inner chamber. But it fits. How? This is the small ace up its sleeve i was referring to. It has an opening that uses the extra space form the front panel.
Remove this small cover so you can screw in the video card.
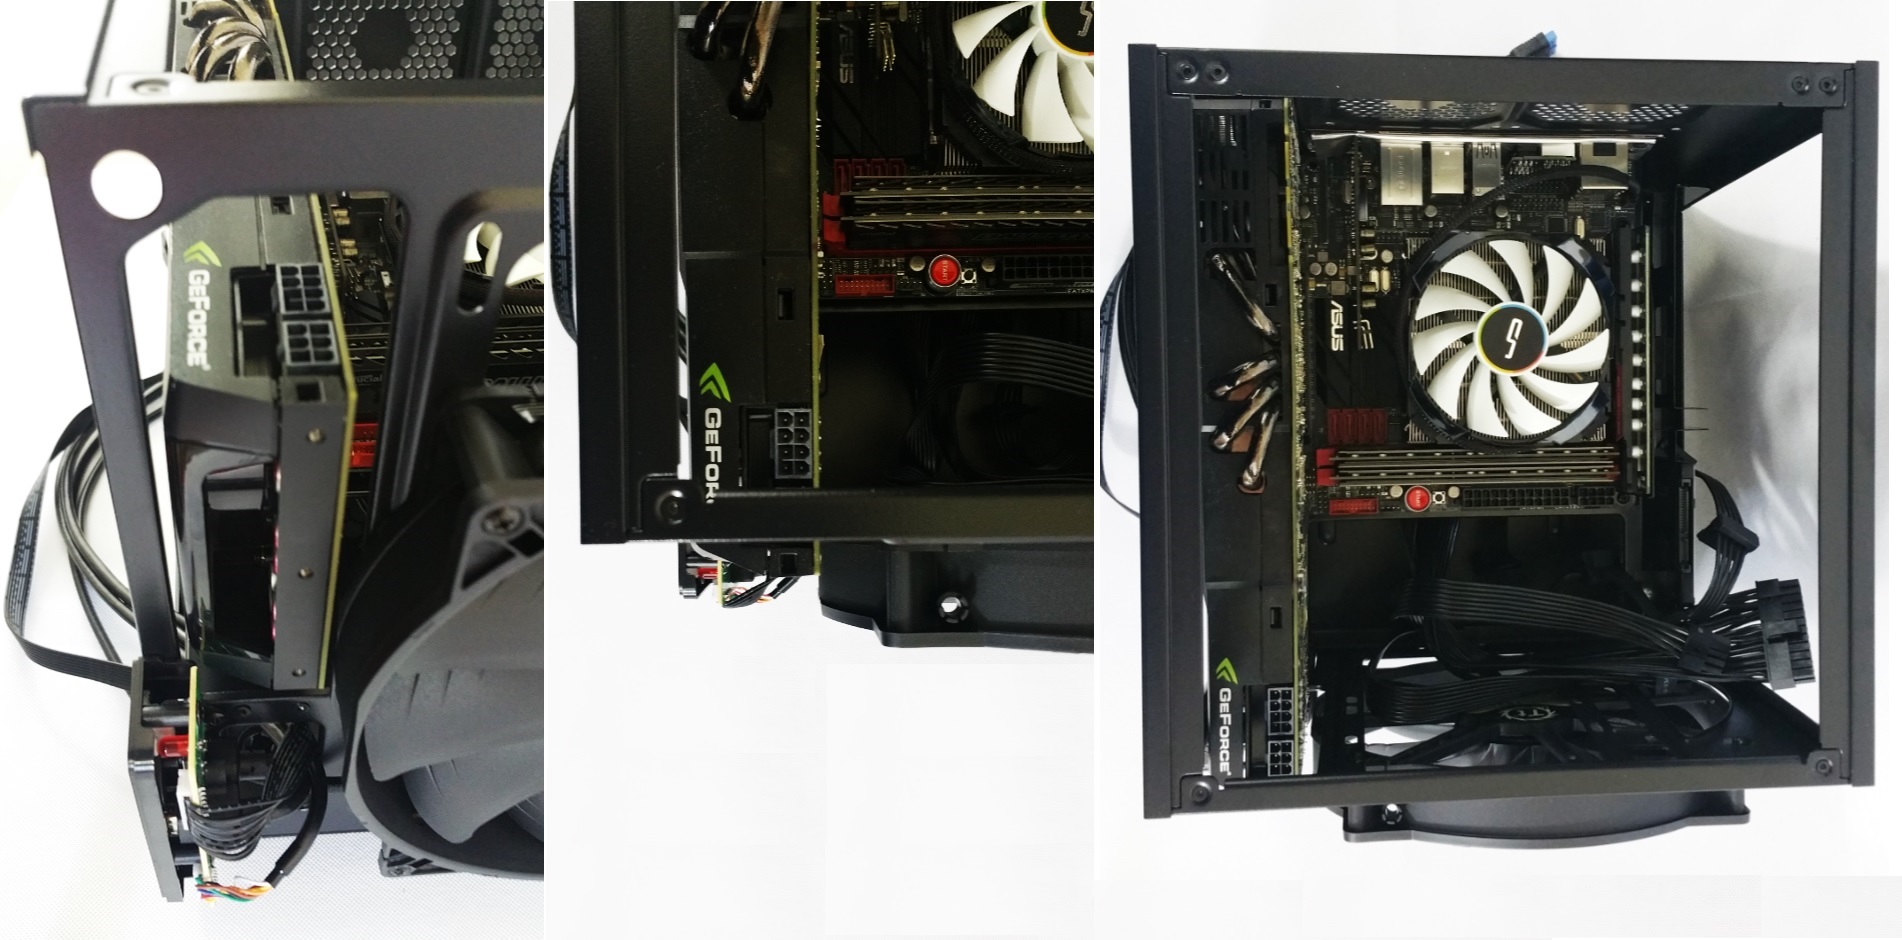
Then here it is with a very short video card like the EVGA GTX 650.
And the finished build from multiple sides. Wire management can be improved if you really take your time. Our PUS has very stiff cables thus why we only did an adequate job.
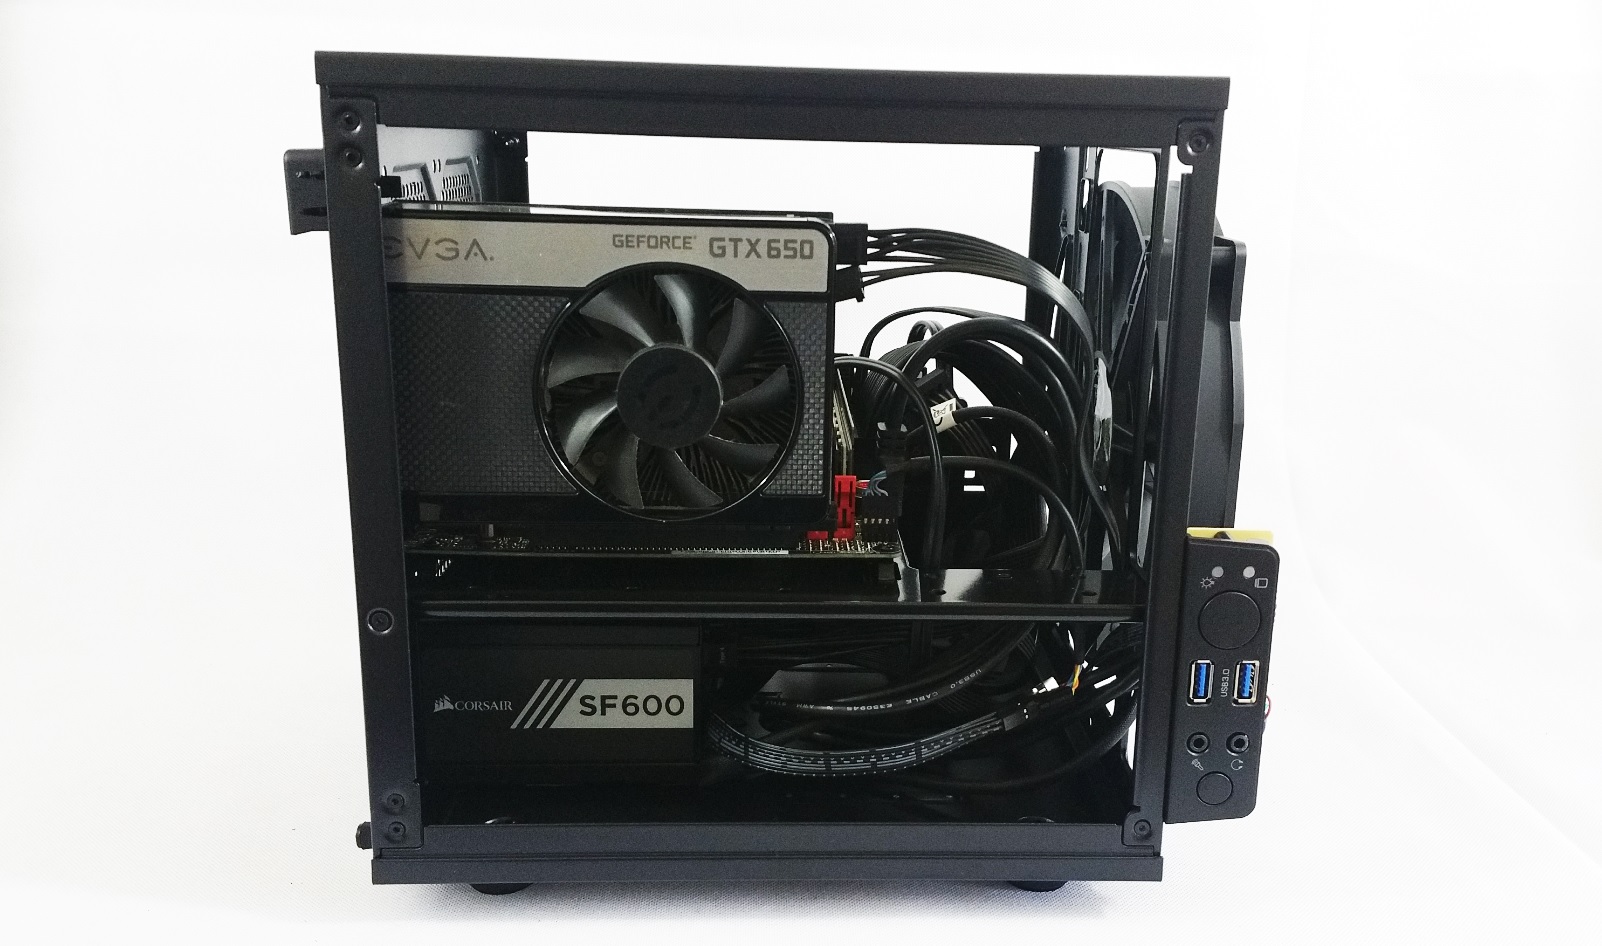
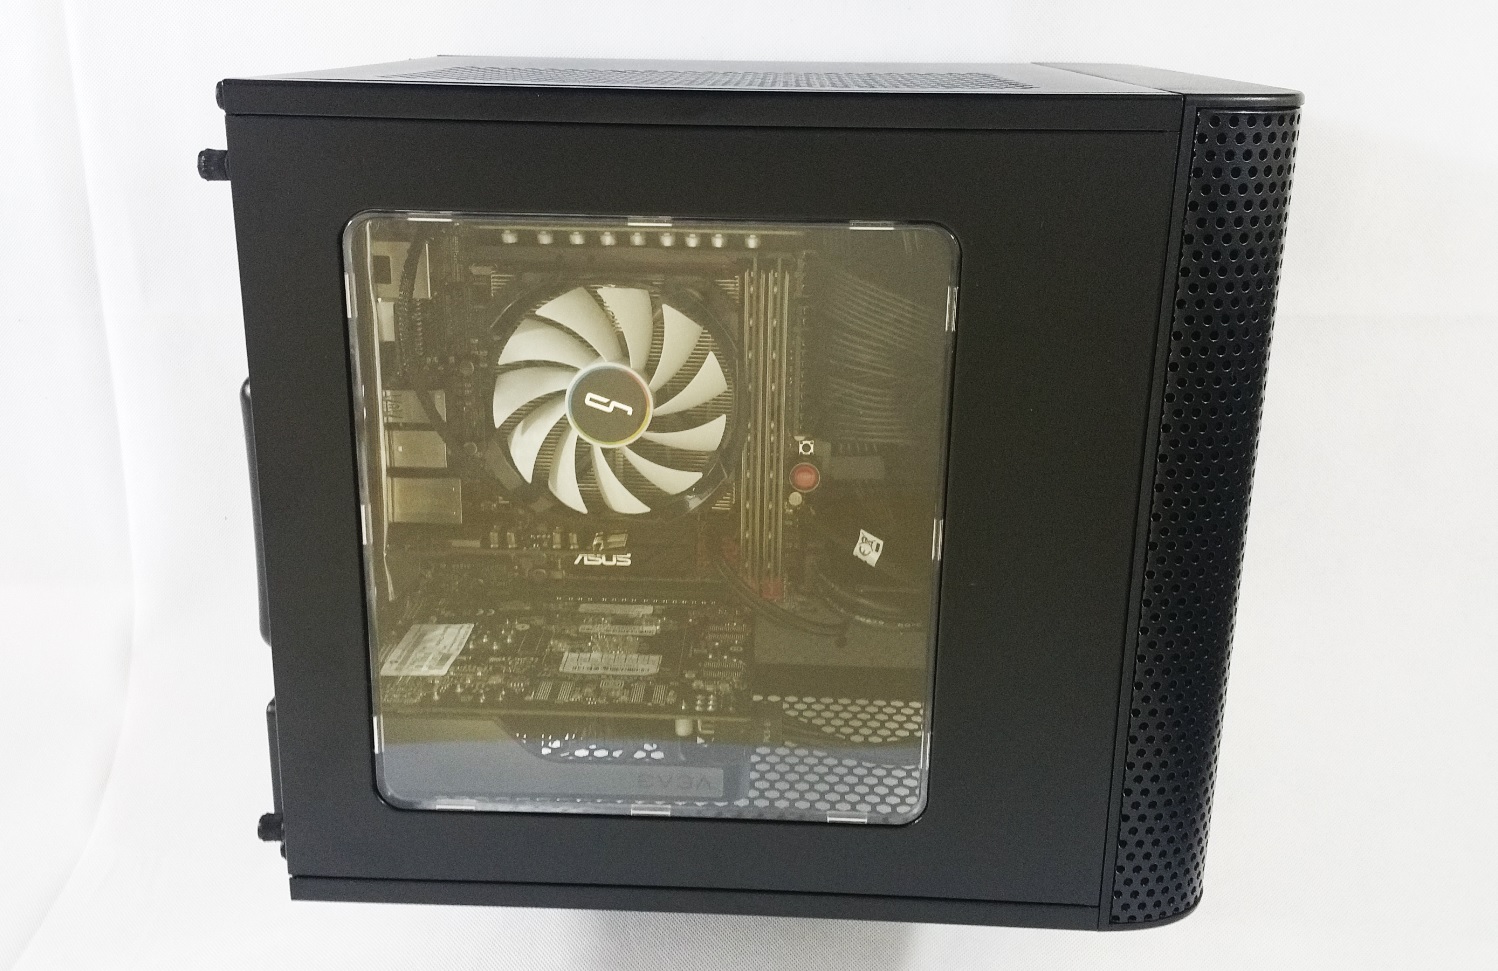
And the MSI GTX 770 Twin Frozer IV video card. With 260 mm in length and 128 mm in height, it fits perfectly.

Combined with an LED strip or like we had memory modules with activity LEDs, the results are excellent from an eye candy point of view.
Results
CPU:
* Idle - 29 degrees C
* Gaming Load - 65 degrees C
* Synthetic Benchmark - 74 degrees C
GPU:
* Idle - 27 degree C
* Gaming load - 79 degrees C
* Synthetic Benchmark - 78 degrees C
Sound:
* Idle - < 25 dB/A
* Gaming Load - ~ 34 dB/A
* Synthetic Benchmark - ~ 35 dB/A
Temperature and sound results are good, nothing to report. The included fan is inaudible even in a full system stress.
This case will have a great appeal to those who want something portable to go to a LAN parties for example, or build a home theater PC.
Even mod it to the extreme like make you own custom test bench, you name it.
Conclusion
Thermaltake made one of the coolest mini-ITX chassis on the market.
The good:
+ Excellent interior layout with chamber separation
+ Versatile, can handle a lot of hardware despite its small footprint
+ Excelent price
+ 200 mm included fan
+ Modular with interchangeable panels including a transparent one
+ Watercooling support
+ Very compact
+ User friendly
+ Good build quality
+ Lots of airflow
+ High appeal to mod it for various projects
The bad:
- More dust filters should had made it perfect
The Thermaltake V1 Core is in our opinion is one of the best mITX cases you can get.
Glob3trotters “Best Bang For Buck miTX Case” Award - 4.5 out of 5