
SilverStone is highly known in the case world and this FARA range has plenty Of variations. Today we are looking at the R1 PRO which offers a front metal mesh under the front shell and the inclusion of four ARGB 120mm fans. Not everybody is after a full tower case so if you just need a mainstream case with plenty of airflow out of the box and some eye candy, then this is a review we invite you to read further.

SilverStone Technology Co., Ltd is a company based in Taiwan, founded in 2003 that makes computer cases, power supplies, and other peripheral for personal computers. Their goal was to provide products that create inspirations and customers a wide selection of choices.
With distribution centres in different areas of the globe, SilverStone products can be seen all over the world, not just for computer users but also for home entertainment use. Thus providing leisure with integration of advanced technologies that is functional and making them enjoyable to use.
Prices and Availability
The FARA R1 PRO can be had in either white or black. The MSRP is around $90. You have the option for the non-PRO variants as well, which lack the ARGB fans and thus are cheaper.
*20.10.21 - Don’t forget to check the video review as well!*
Highlights and Specification
*Courtesy of their website.

Stylish and distinct tempered glass mid tower ATX chassis with ARGB
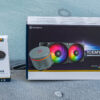
■ Equipped with four 120mm ARGB fans and ARGB controller
■ Fully meshed front panel with shortened chassis provides large surface area for air intake
■ Precisely designed interior provides sufficient space for high end graphics card and multiple cooling options
■ Two USB 3.0 ports and one USB 2.0 port integrated with single audio jack provide great flexibility for various mobile audio accessories
■ Removable filters on top and bottom make cleaning out dust a breeze

Another key mention regards the RAM which will be limited to just 35mm if you plan to install fans or a radiator on the top.
Visual Inspection and Component Installation
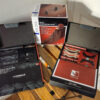
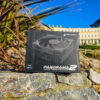
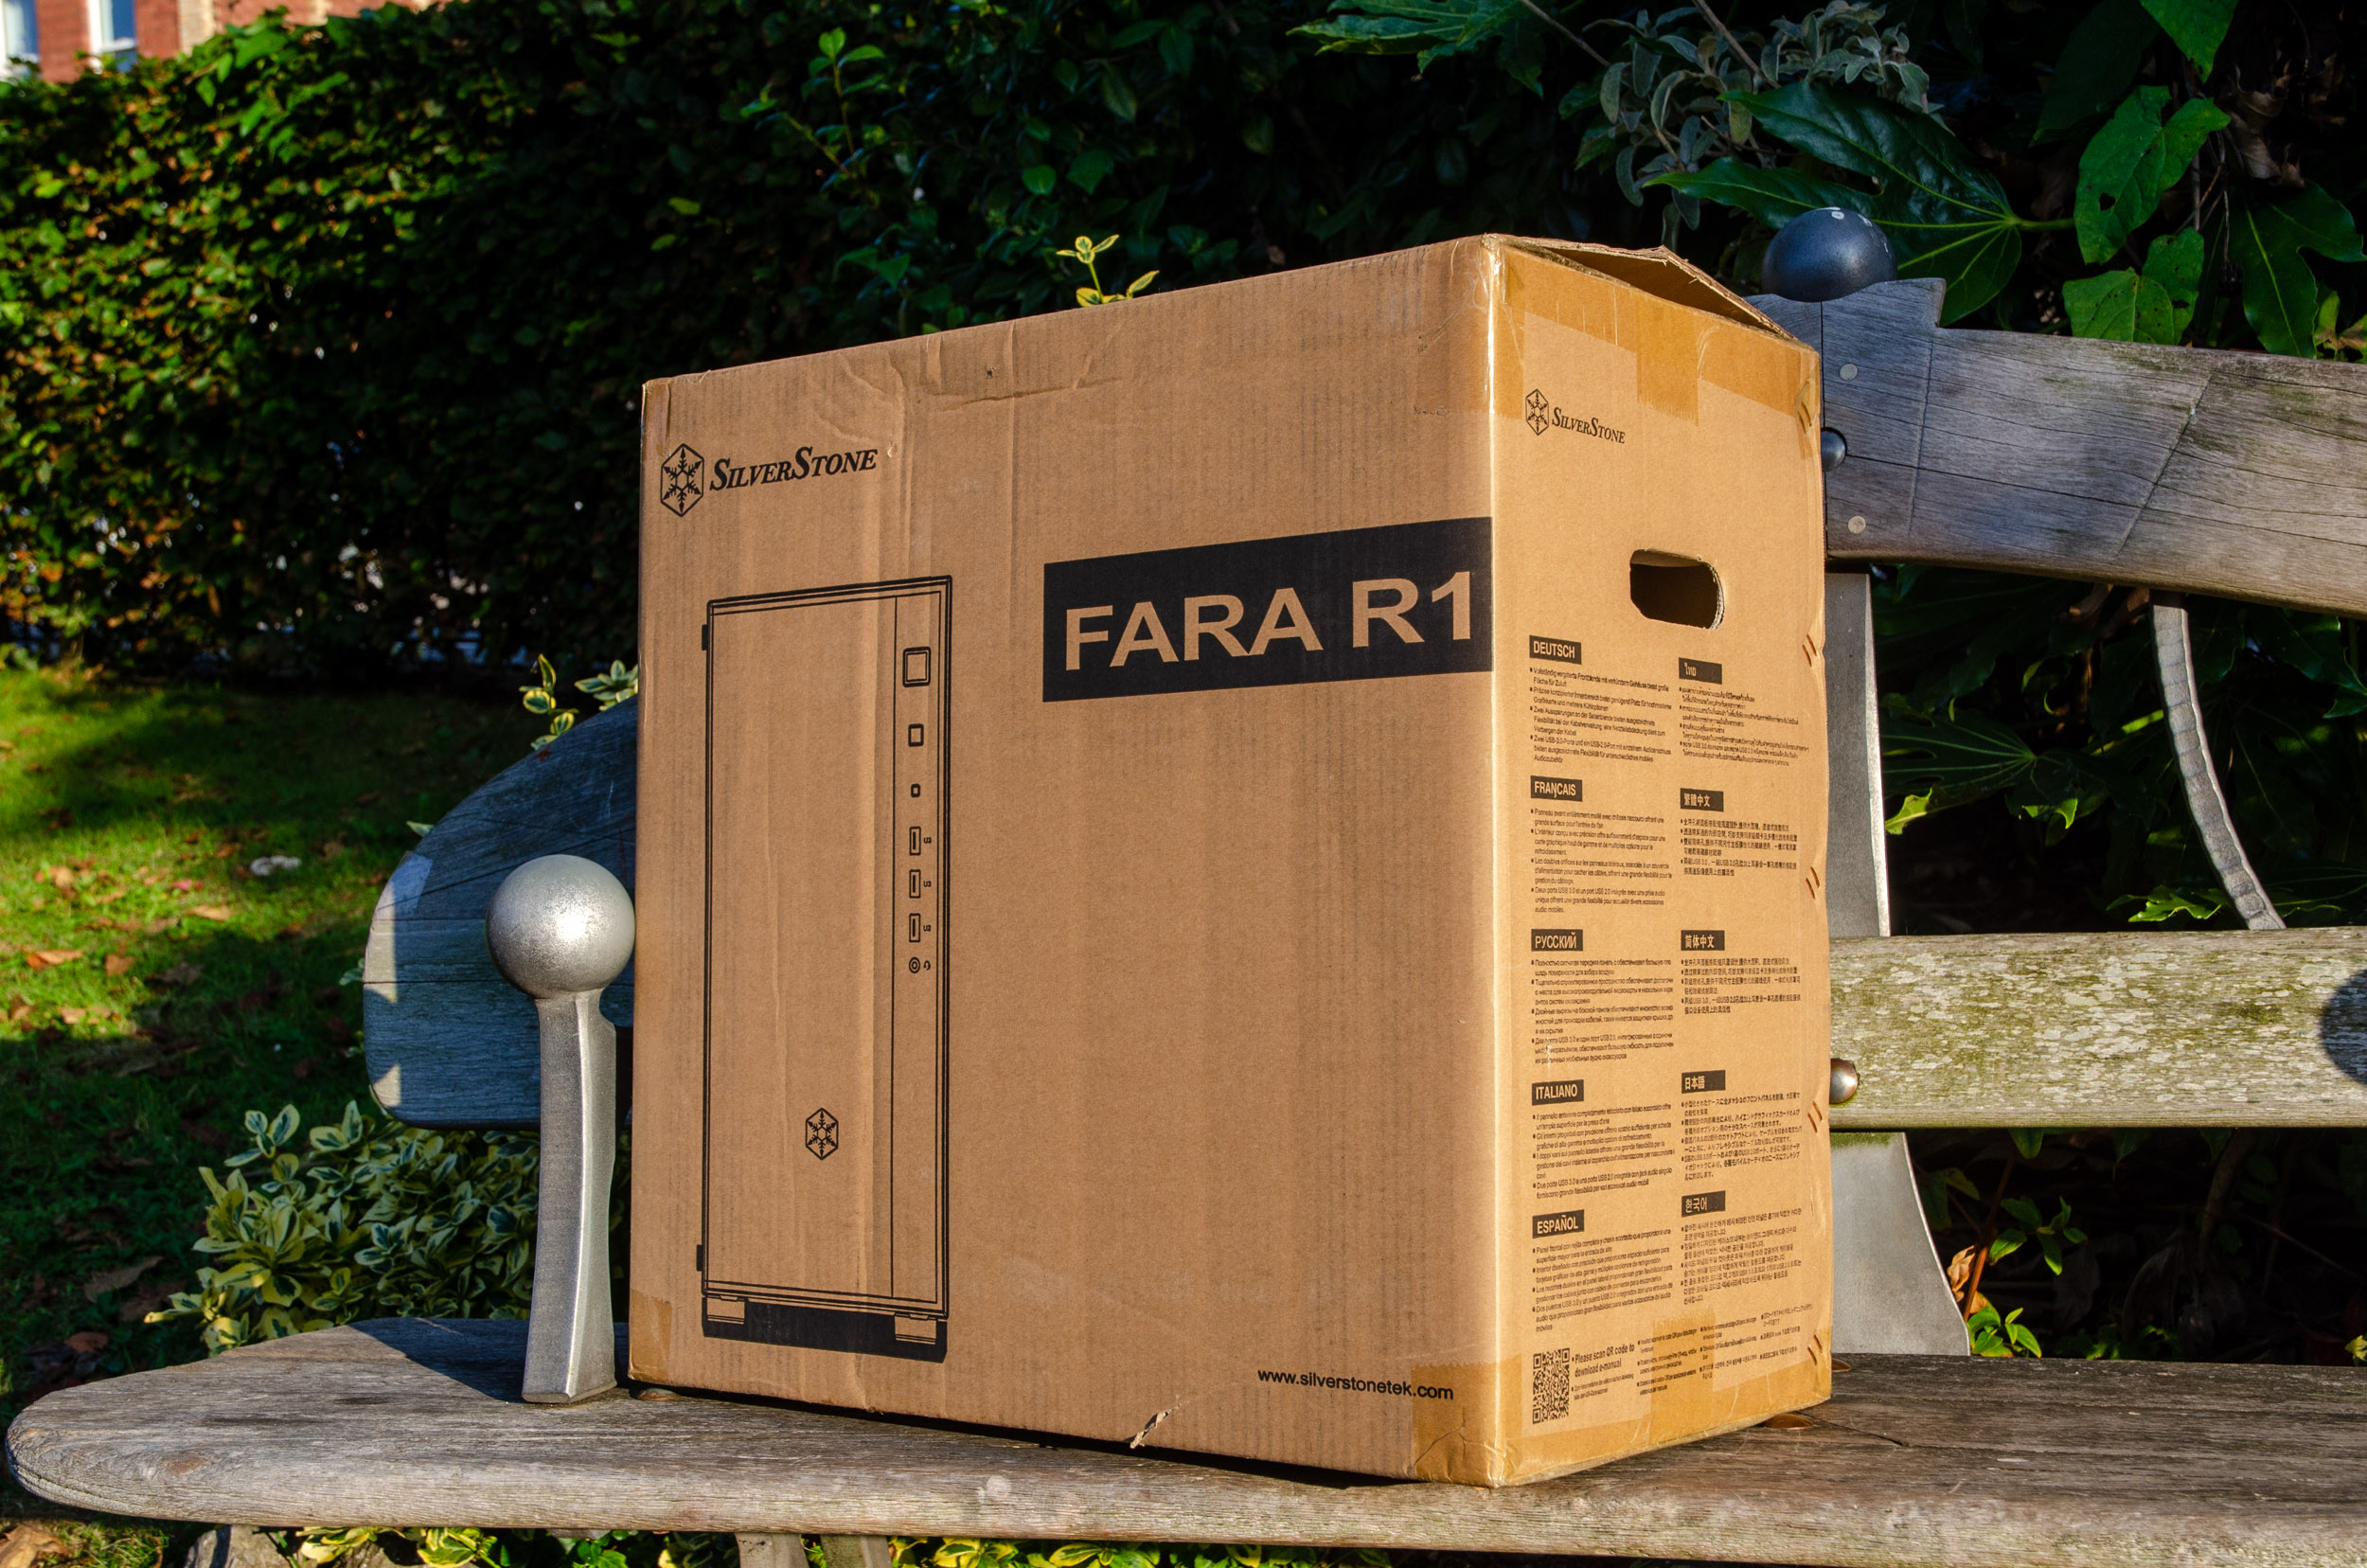
The FARA R1 PRO case comes shipped in a standard brown box with a minimal outline on the front while the specs are presented on the sides.
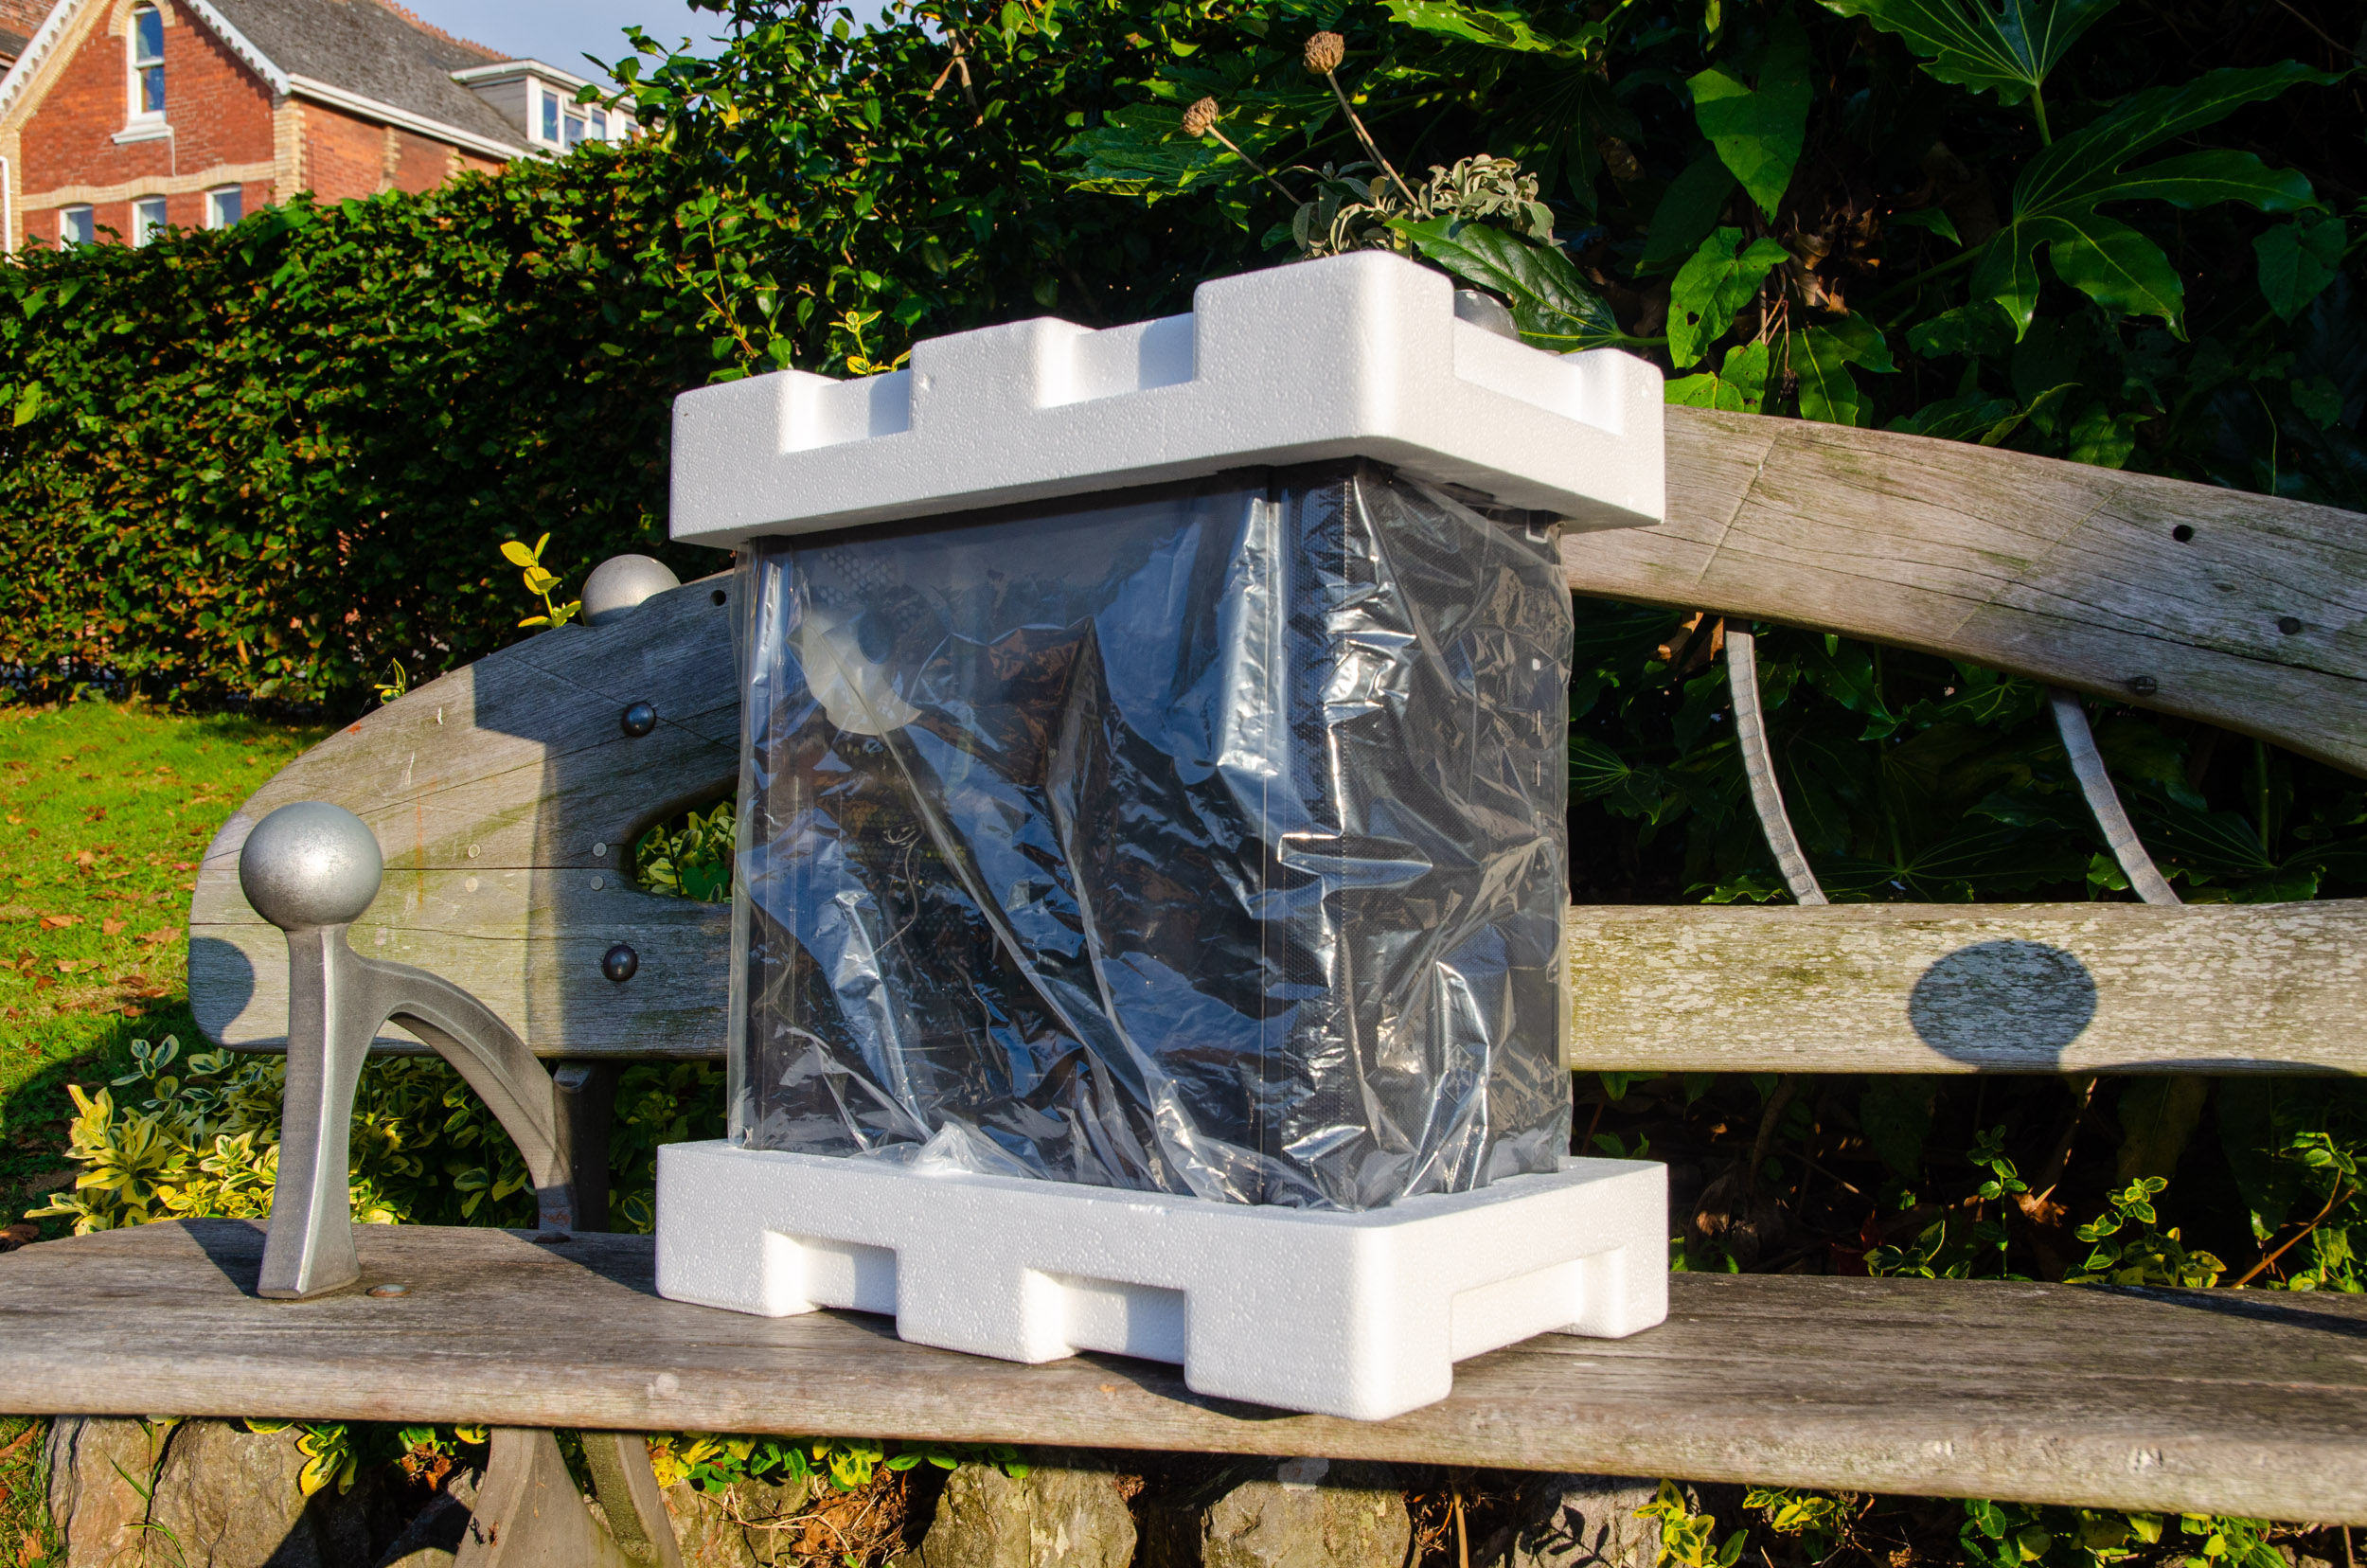
The case is protected via a plastic cover and two Styrofoam spacers.
Regarding the included accessories, the main item is the proprietary ARGB 4-port SATA powered splitter.
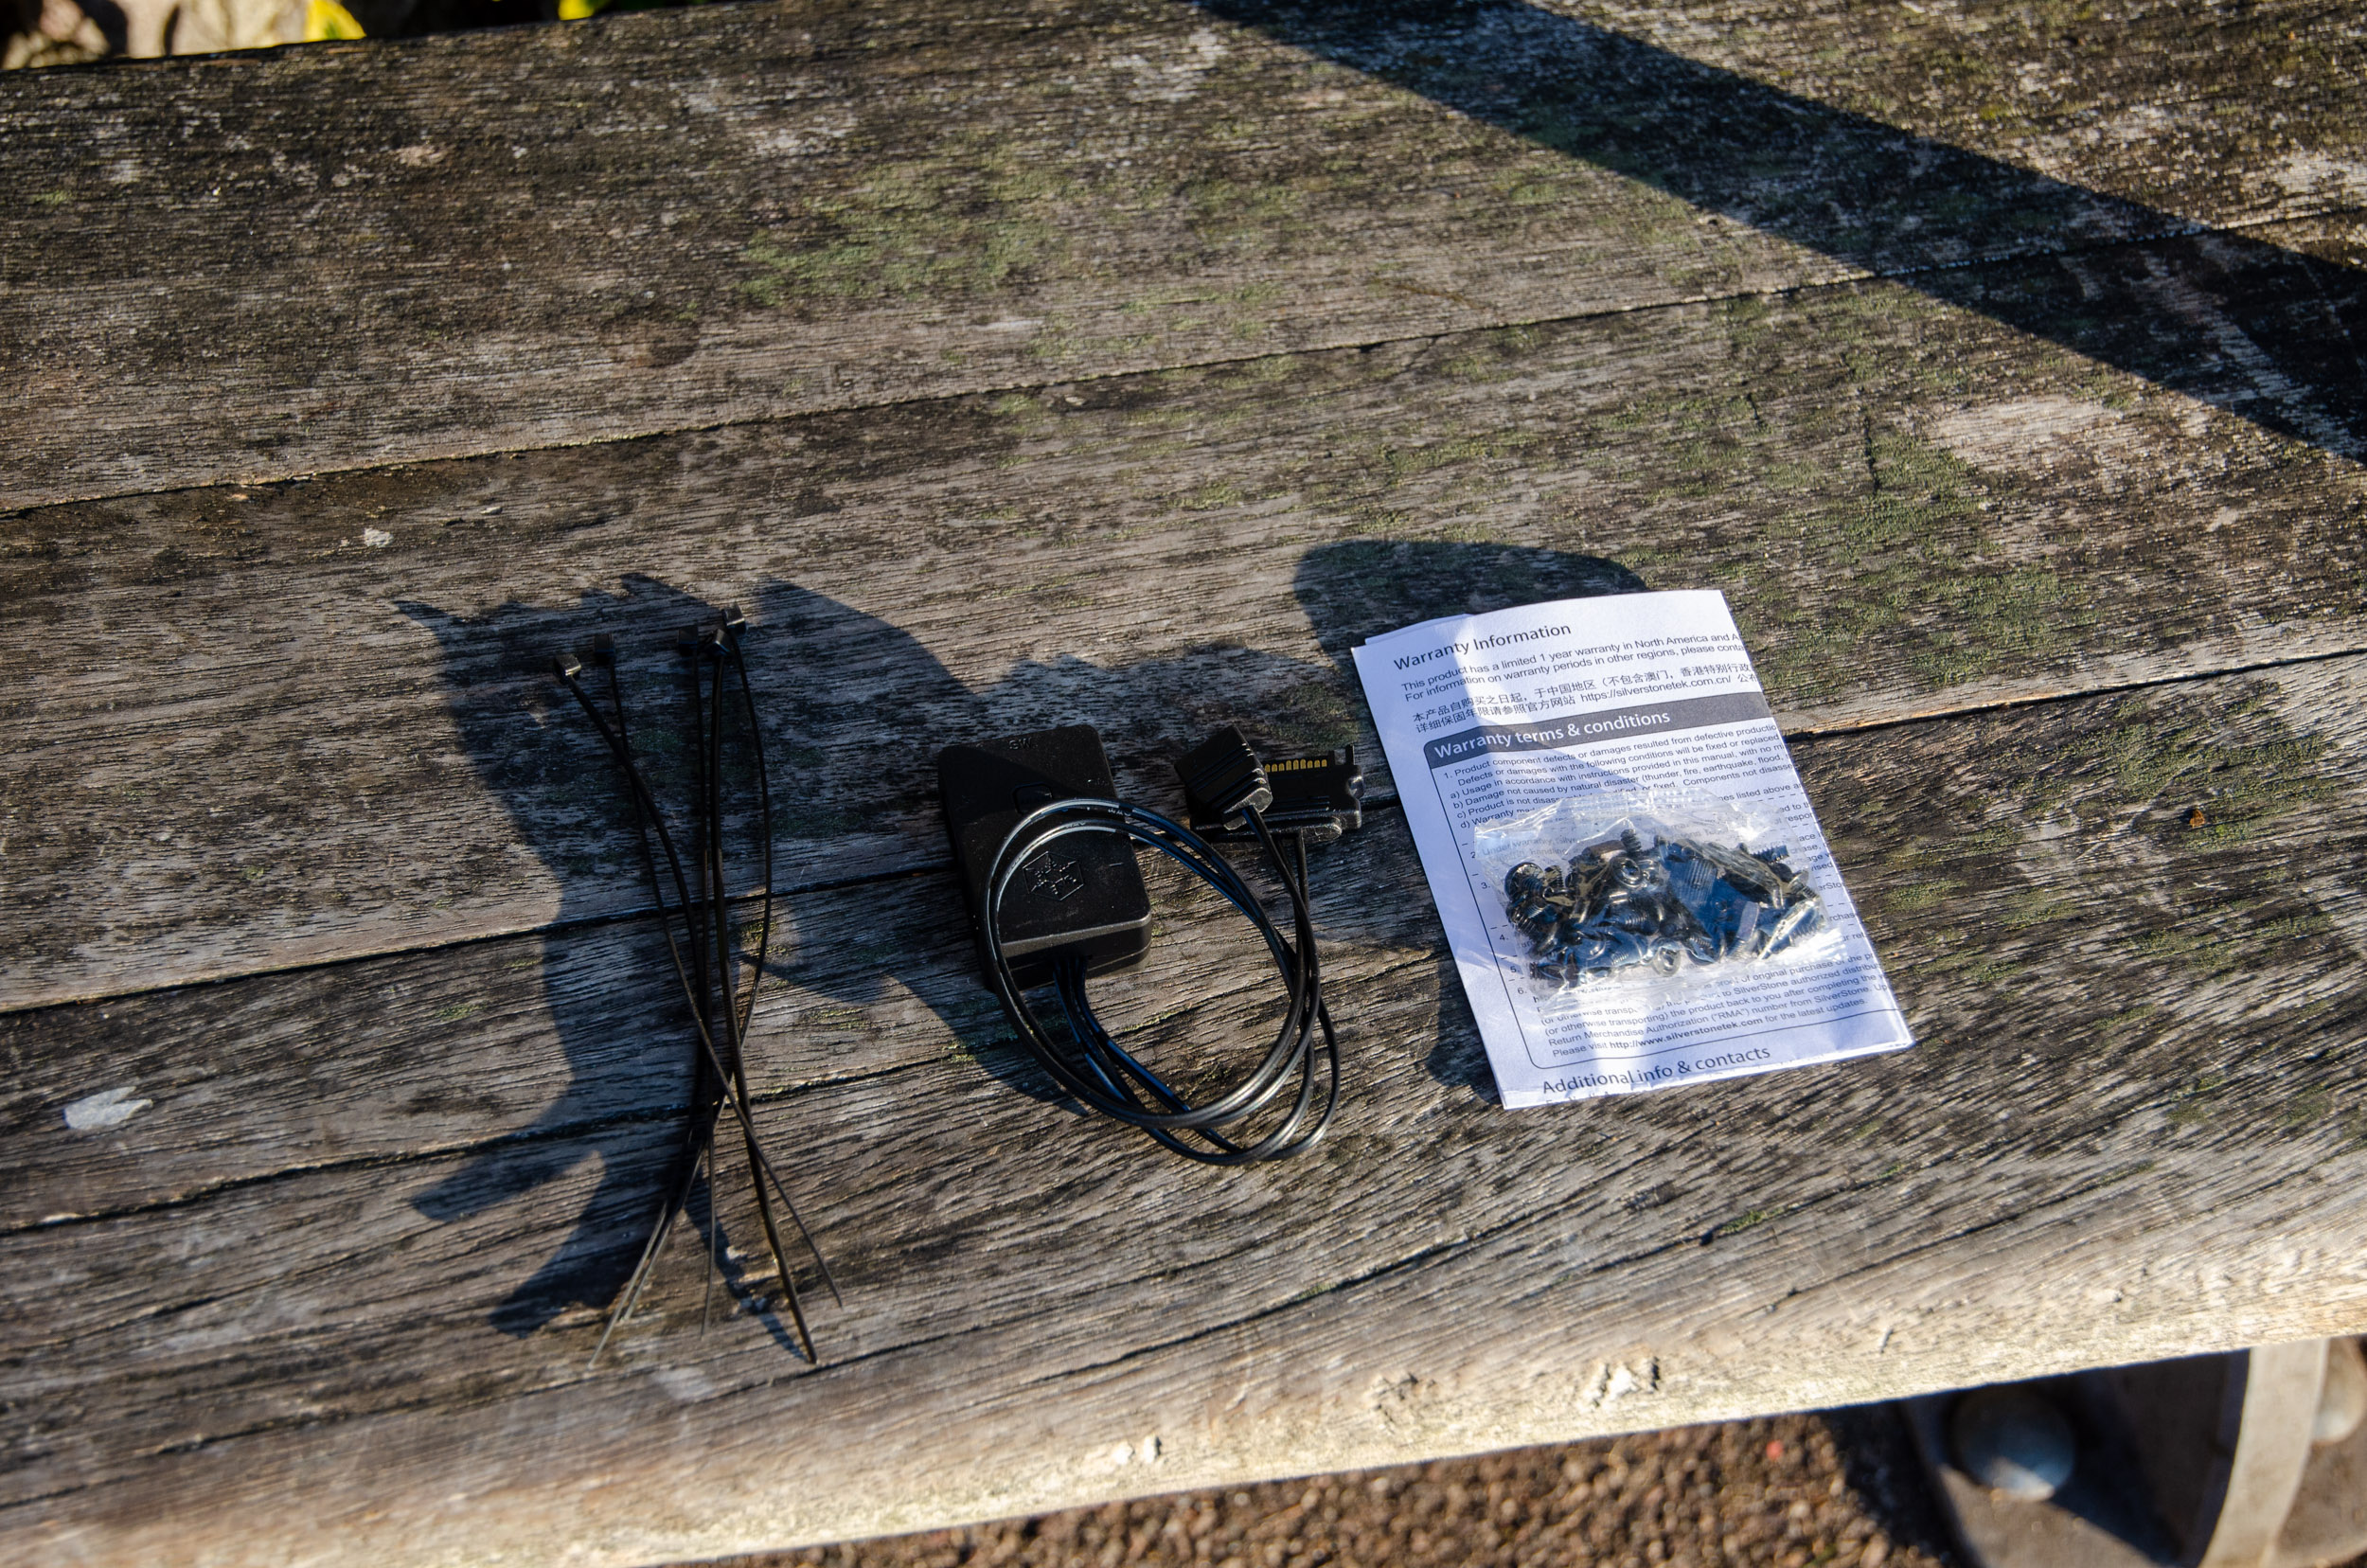
This already comes with the AB120i-ARGB tri-fan bundle but we hoped for a ‘full’ splitter, as in one that powers the fans and the ARGB at the same time, for a reason that we will present later.
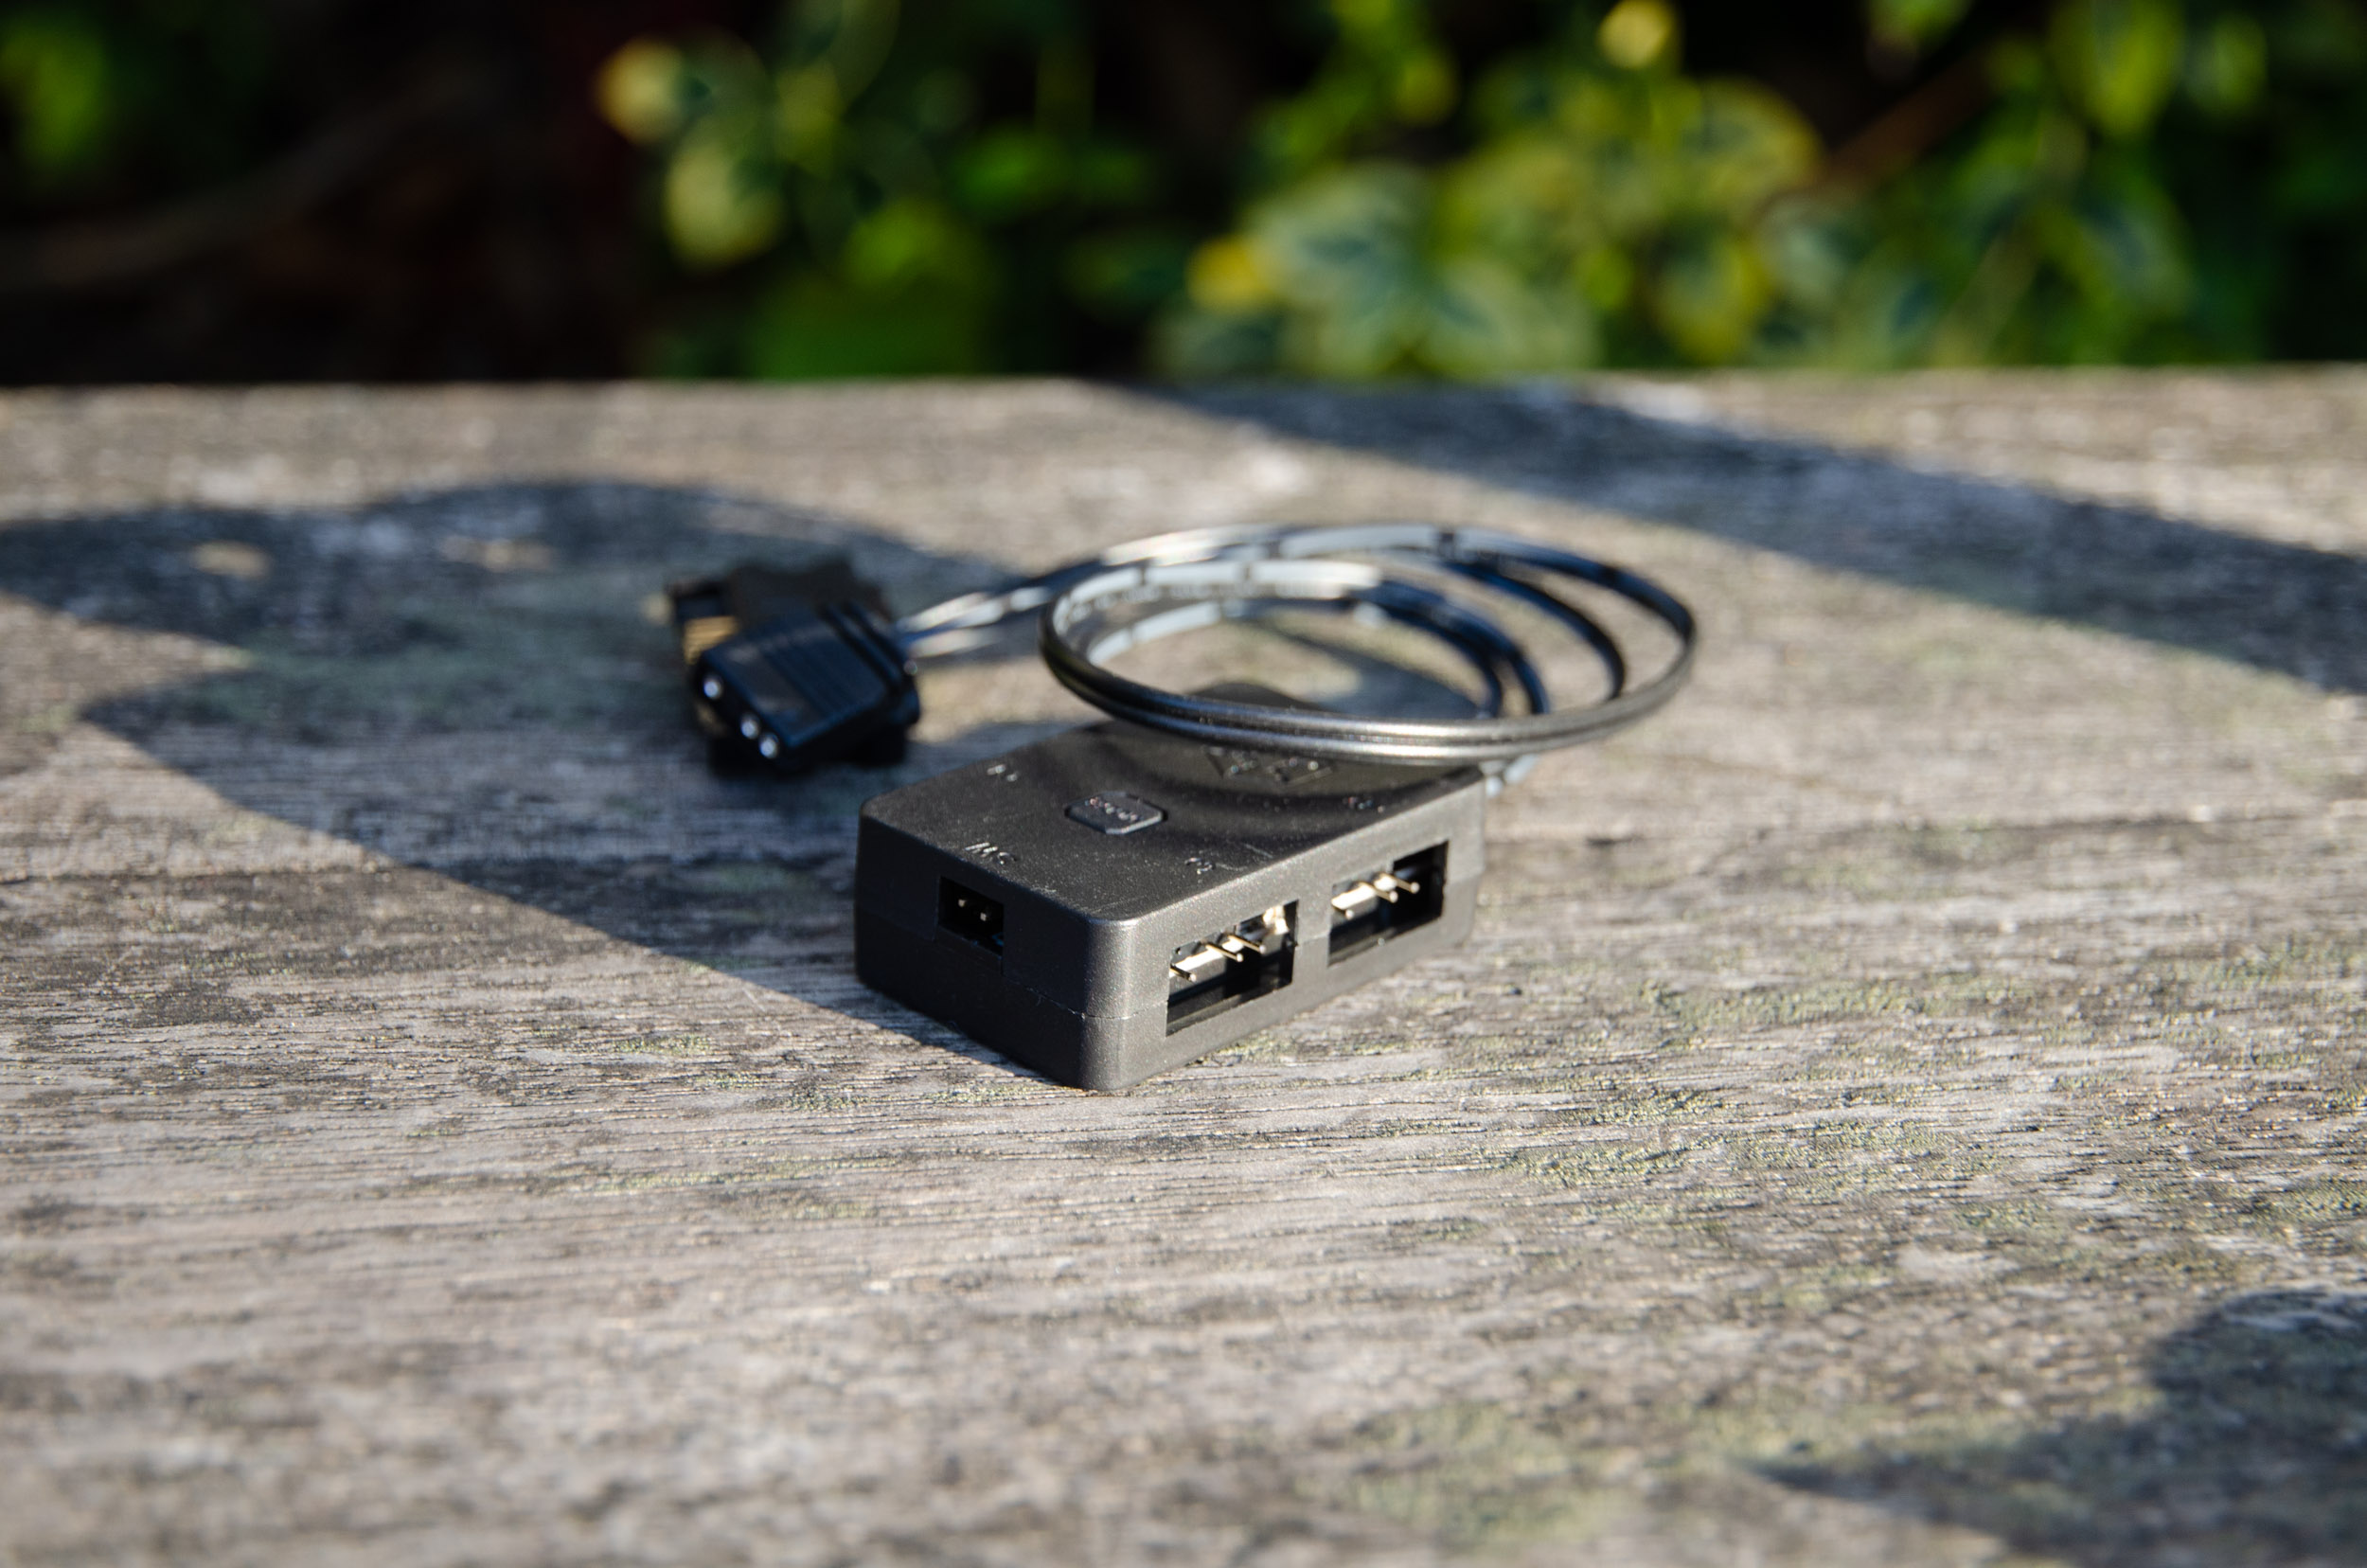
A cool tricks is to attach the plug from the front reset button into the ARGB controller if you want to be able to toggle through the lighting modes.

Right, now let’s explore the outside of the case. It has a clean overall look with straight edges, nothing too ‘dramatic’. The design philosophy is a safe one and it’s pretty much what a modern mainstream case looks like.

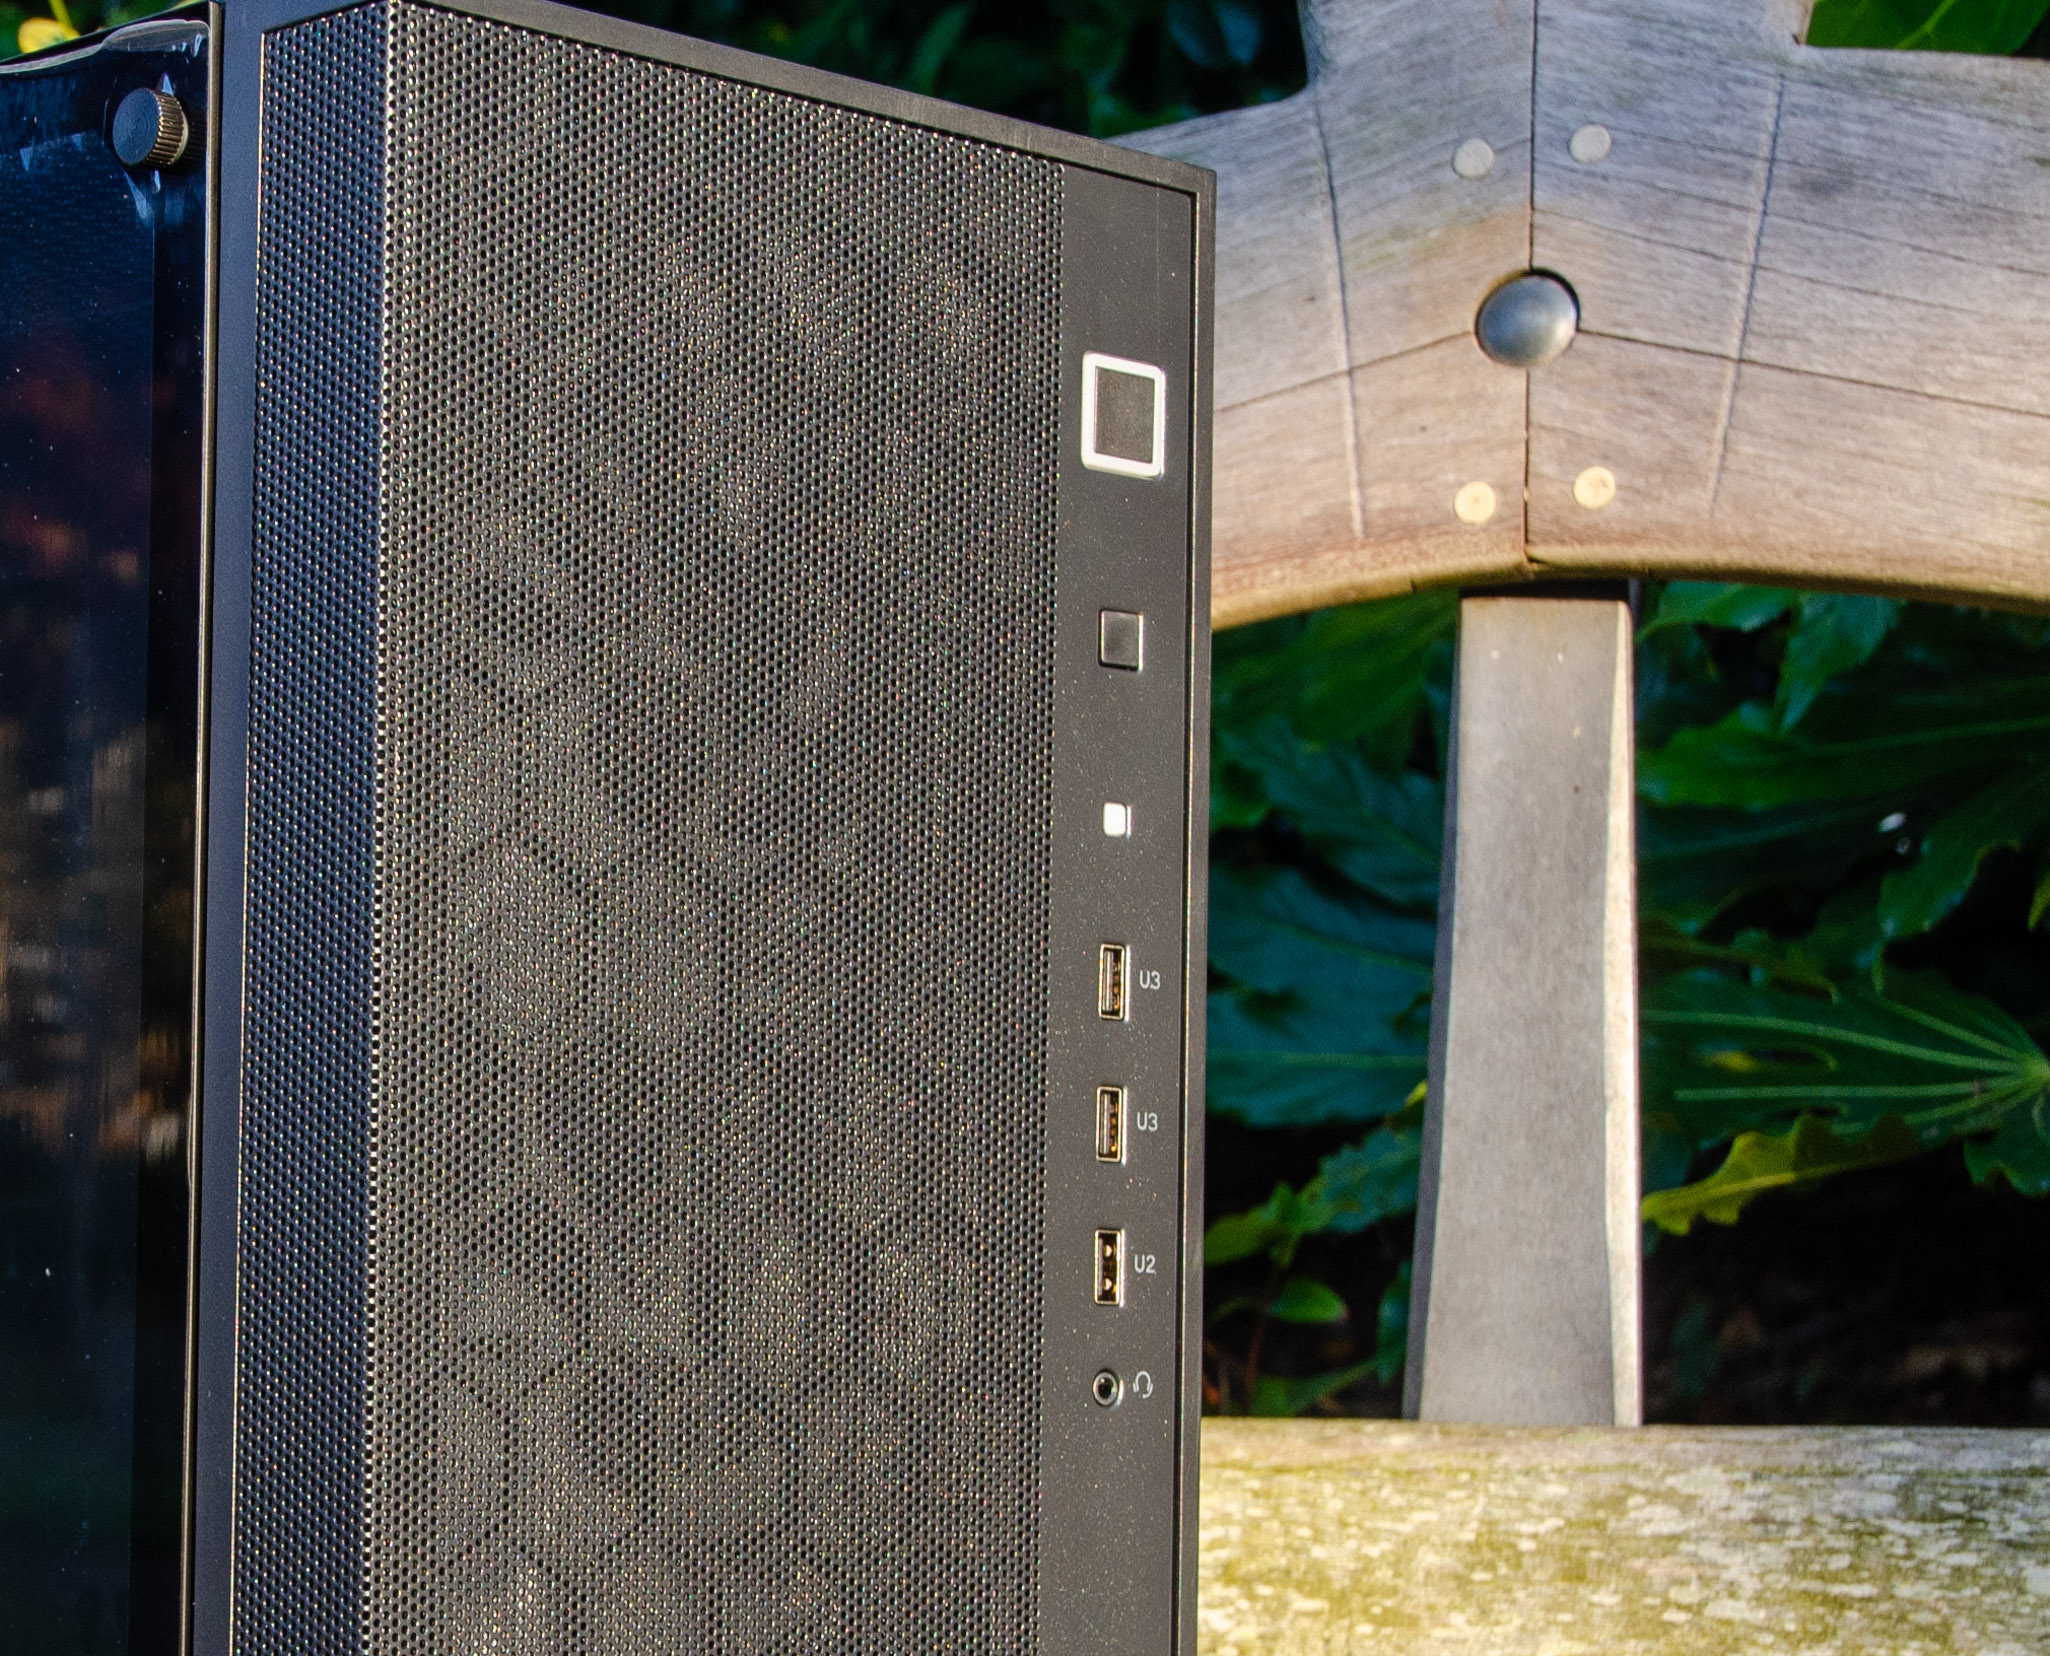
Zooming in, we have the front I/O ports which are from top to bottom as follows: Power button - reset button - activity LED - 2x USB 3.0 (with the ‘U3’ mark next to them) - one USB 2.0 (U2) and one audio 3.5mm jack. The front panel is made of plastic and it’s reinforced underneath with metal.
Checking the underside we notice a removable dust filter for the PSU area.

On the top, we have a removable magnetic dust filter across the whole exhaust area. Regarding AIOs, the best you could do here is a 240mm since the frame is shorter than a classic mid-tower.

The ~3mm thick side tempered glass is held into place via four thumbscrews.

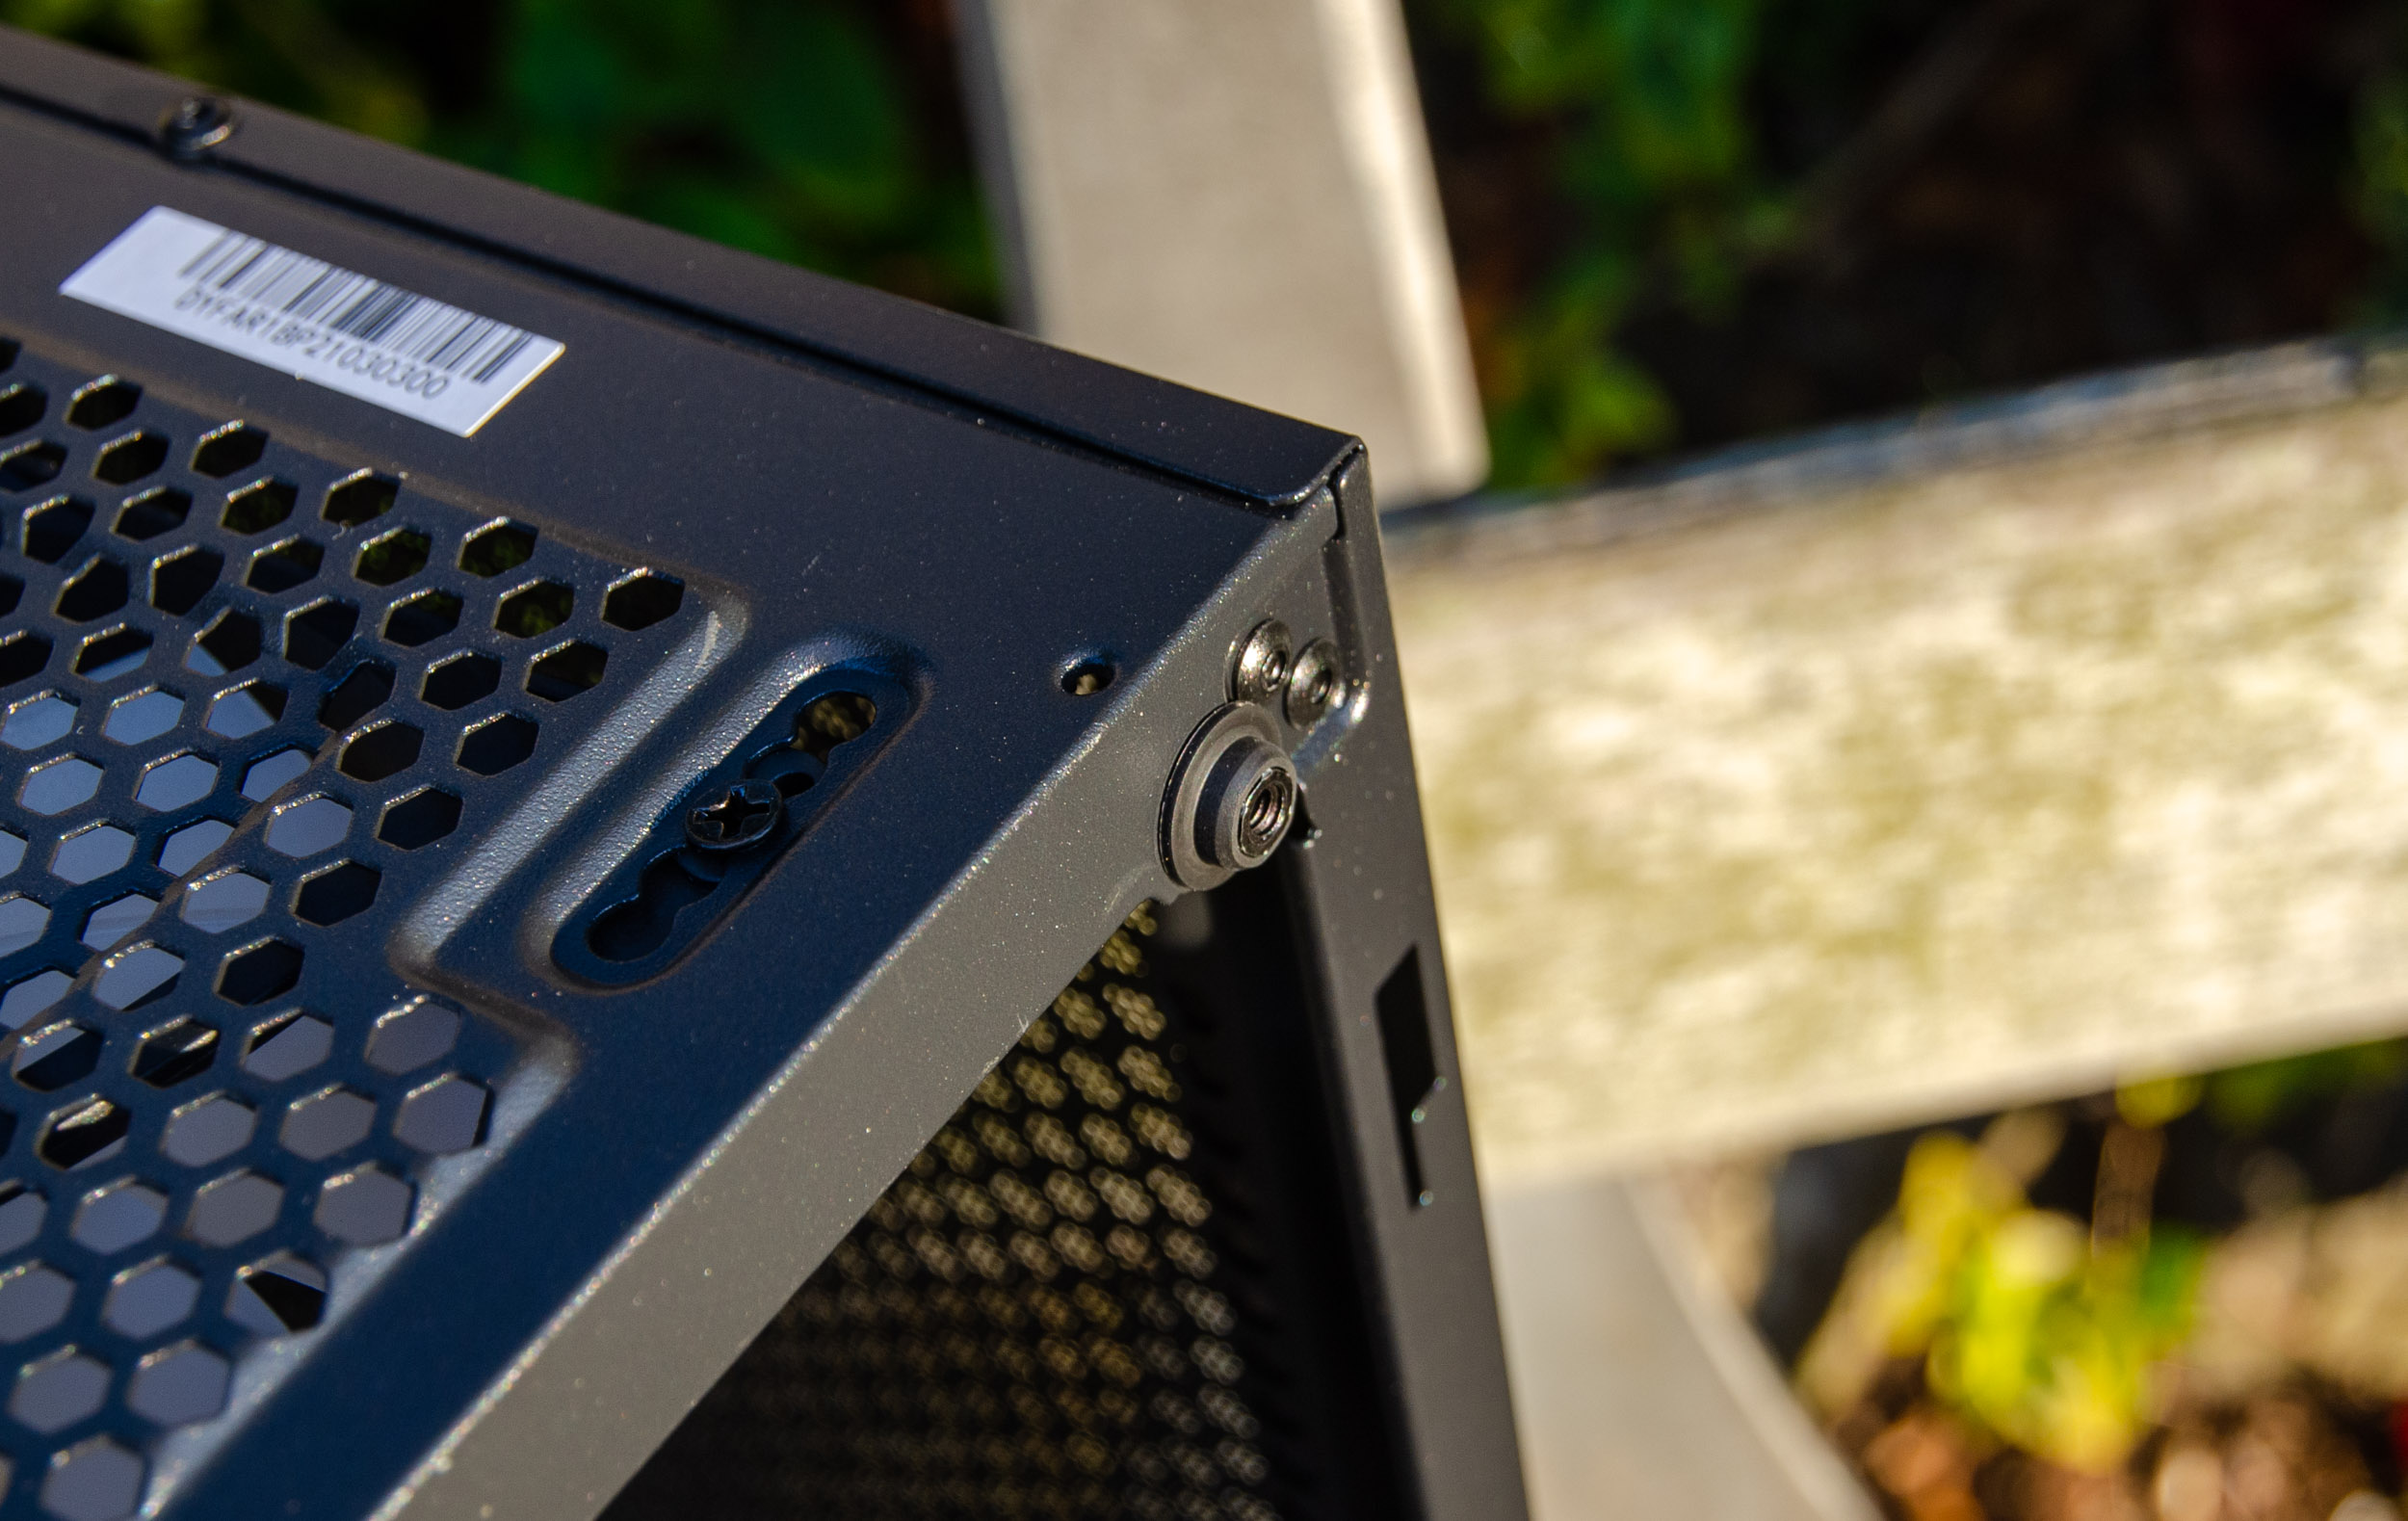
On the rear end, we have the standard 7 PCI-E slots (from which 2 are modular and 5 are the breakout type) and one spot for the 120mm fan.
A nice touch are the pre-drilled placement holes to fine adjust the position of the fan.

Let’s go into further detail and if you remove the front panel we expose the front mesh and 3 out of the 4 included ARGB 120mm fans.

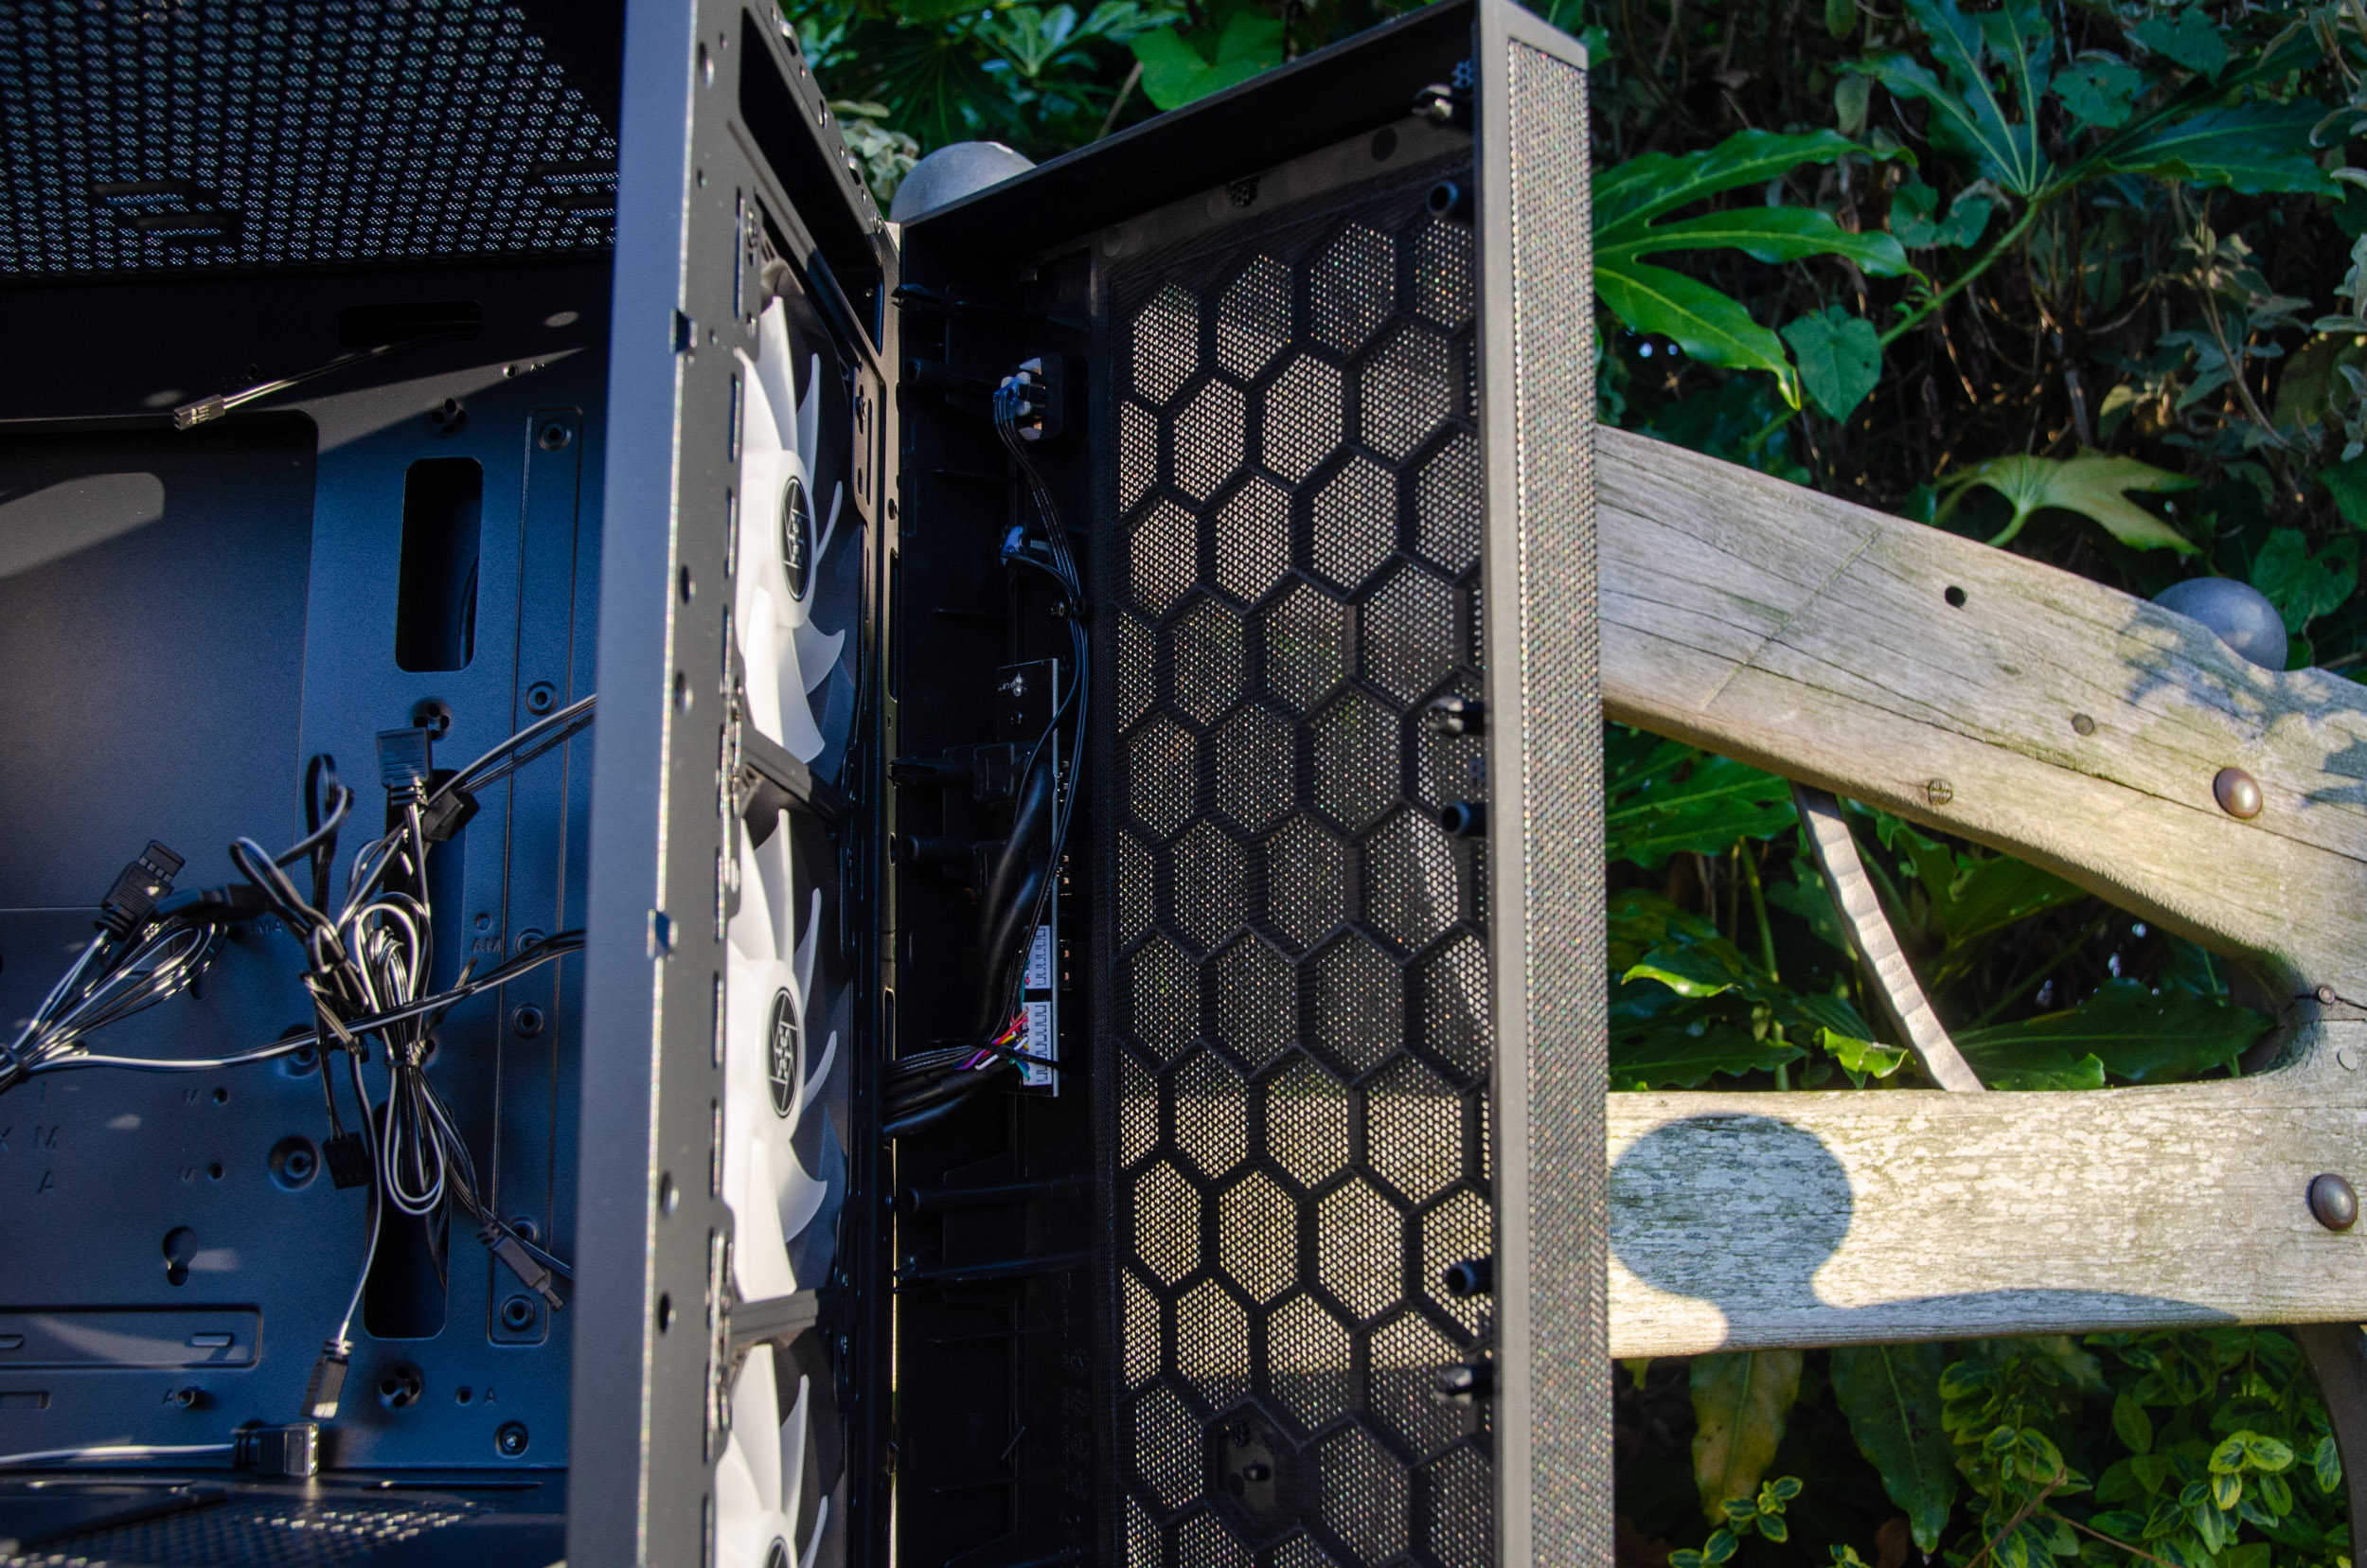
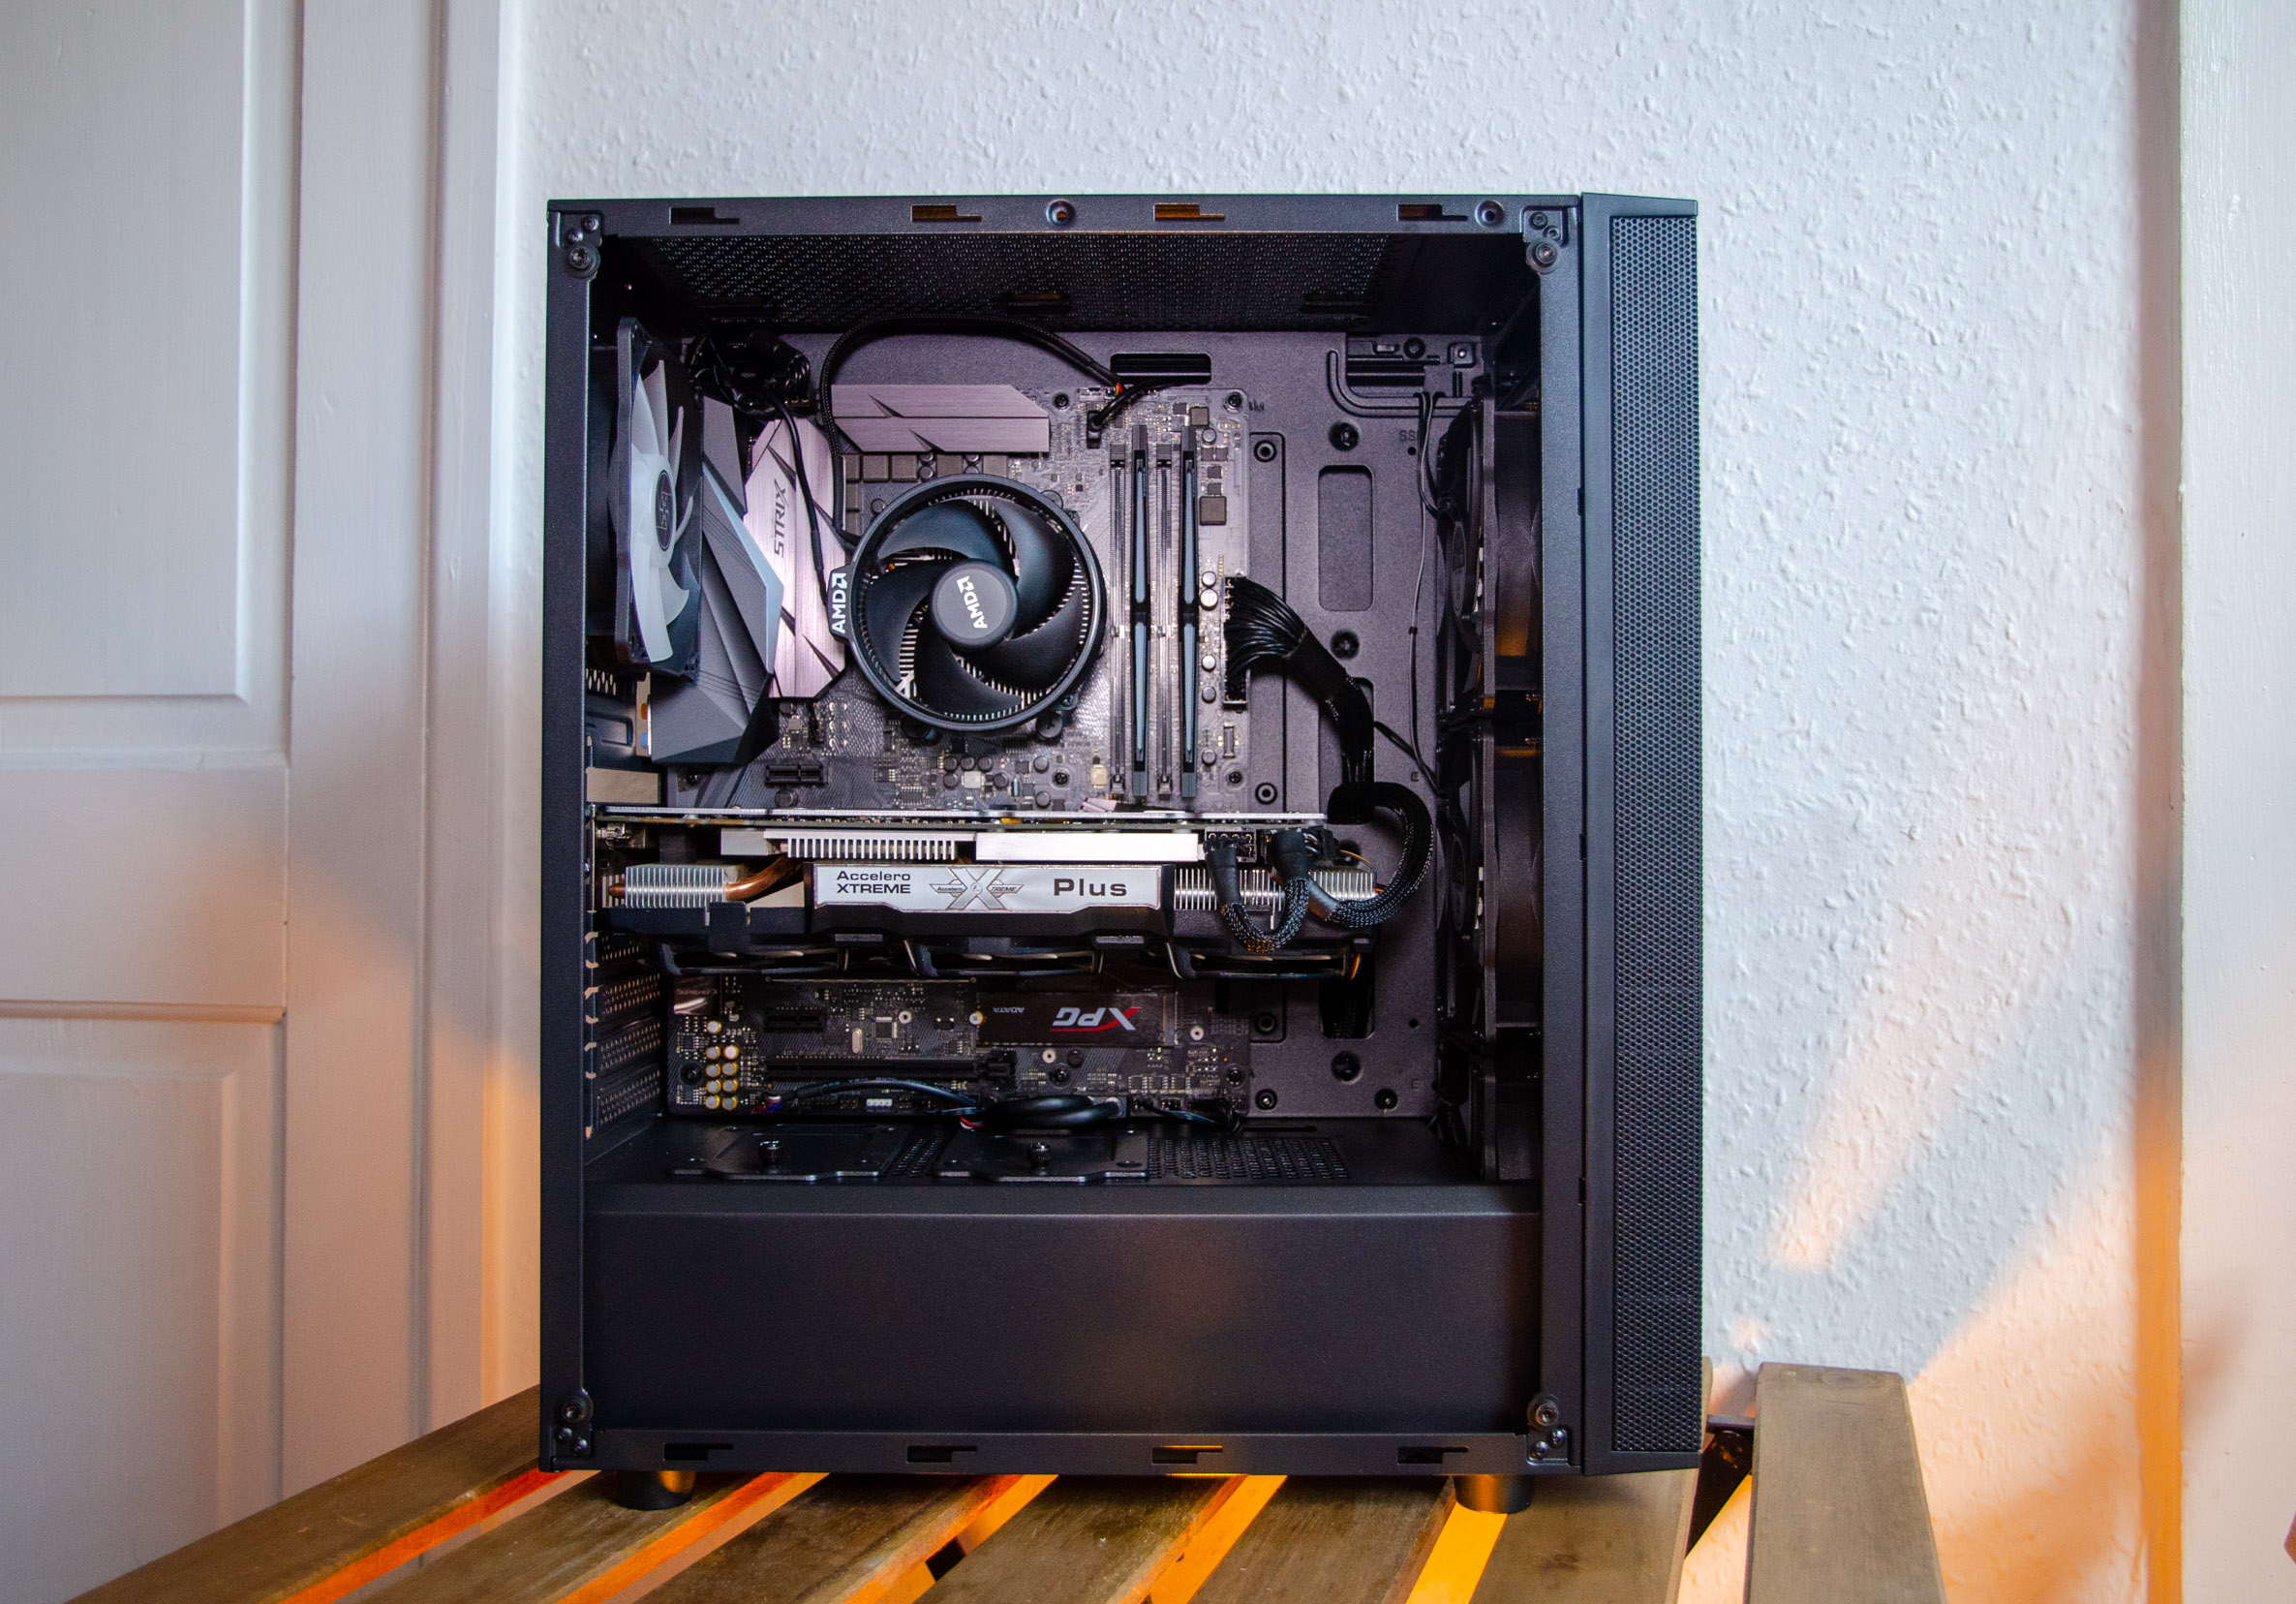
Having a closer look inside, we notice that the case will accept up to a standard ATX sized motherboard, a CPU heatsink up to 165mm (which is very good) and a GPU up to 322 mm long even with the front fans in place. The PSU area has a separate chamber that is fully covered with two removable slots for 2.5″ drives on top of it.

The 4th 120mm ARGB fan is set as an exhaust at the rear. Speaking of fans, the case will further accept either 2x 120/140mm up top and 2x 140 / 3x 120 mm upfront. This means you can do a 280mm AIO in the front or a 240mm up top (just because the case it’s too short to accept a 280mm AIO up top).
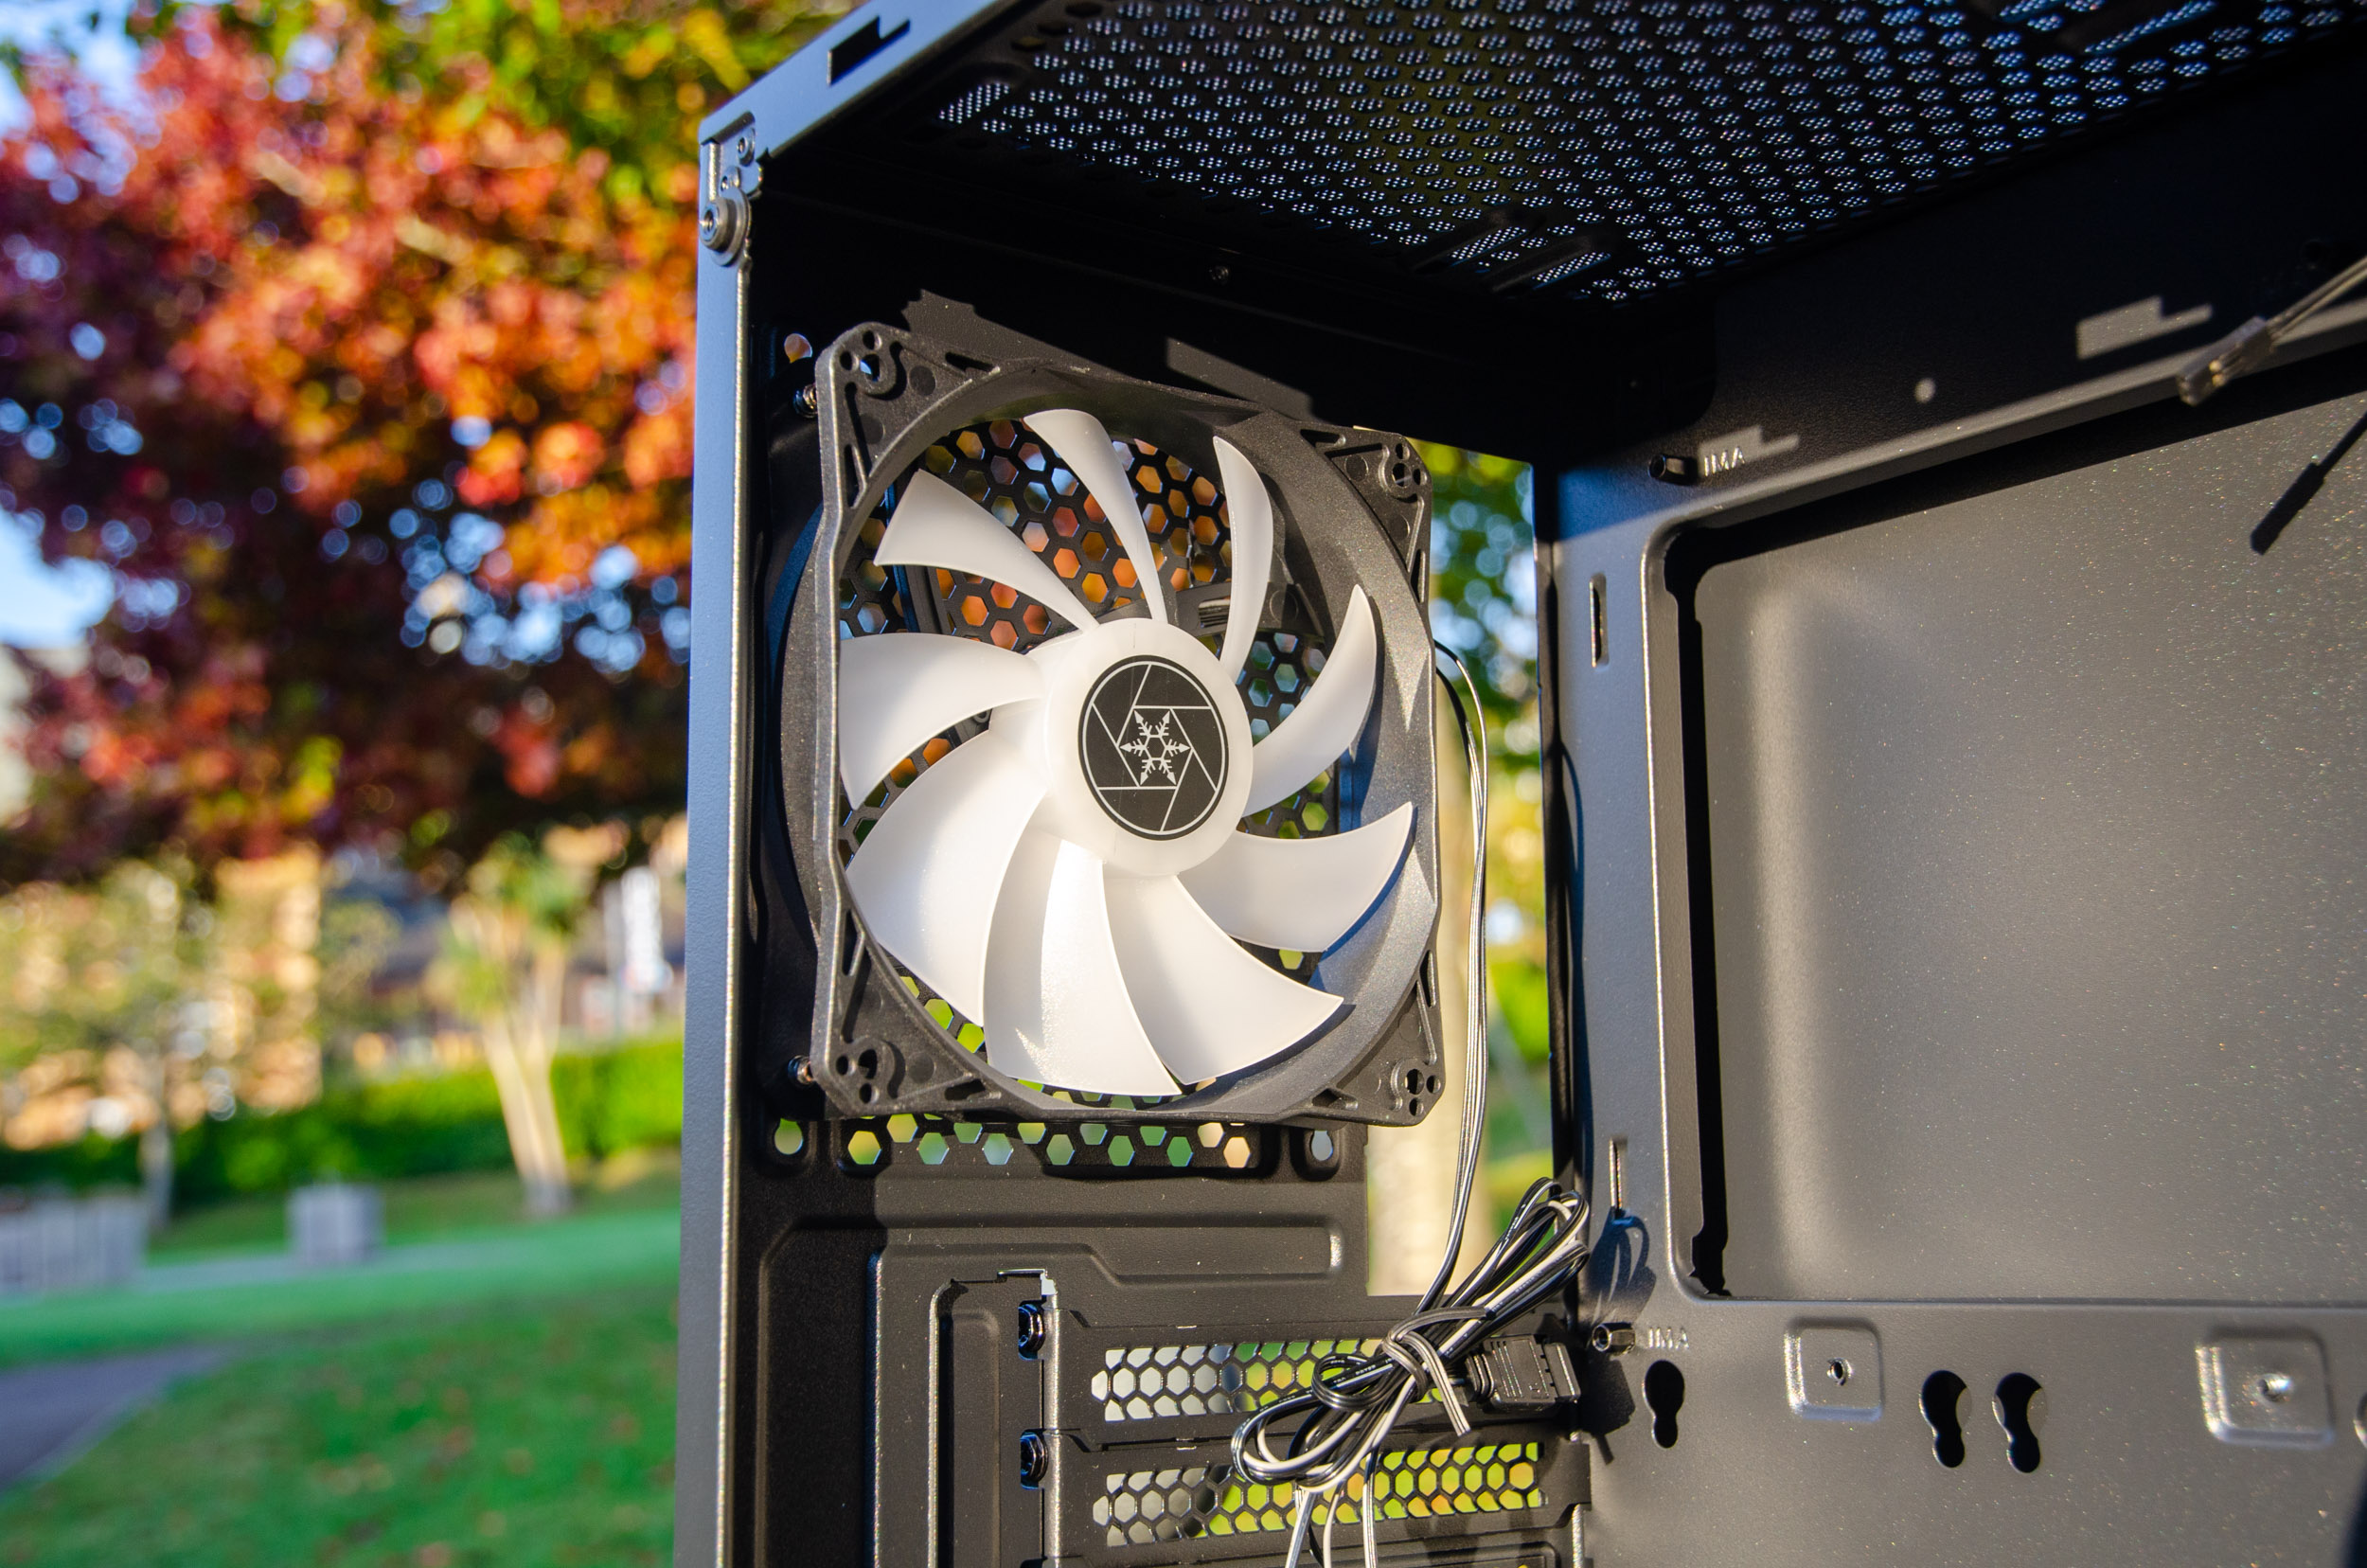
All of the included 120mm ARGB fans have an un-sleeved 3-pin power connector and a 5v RGB plug.


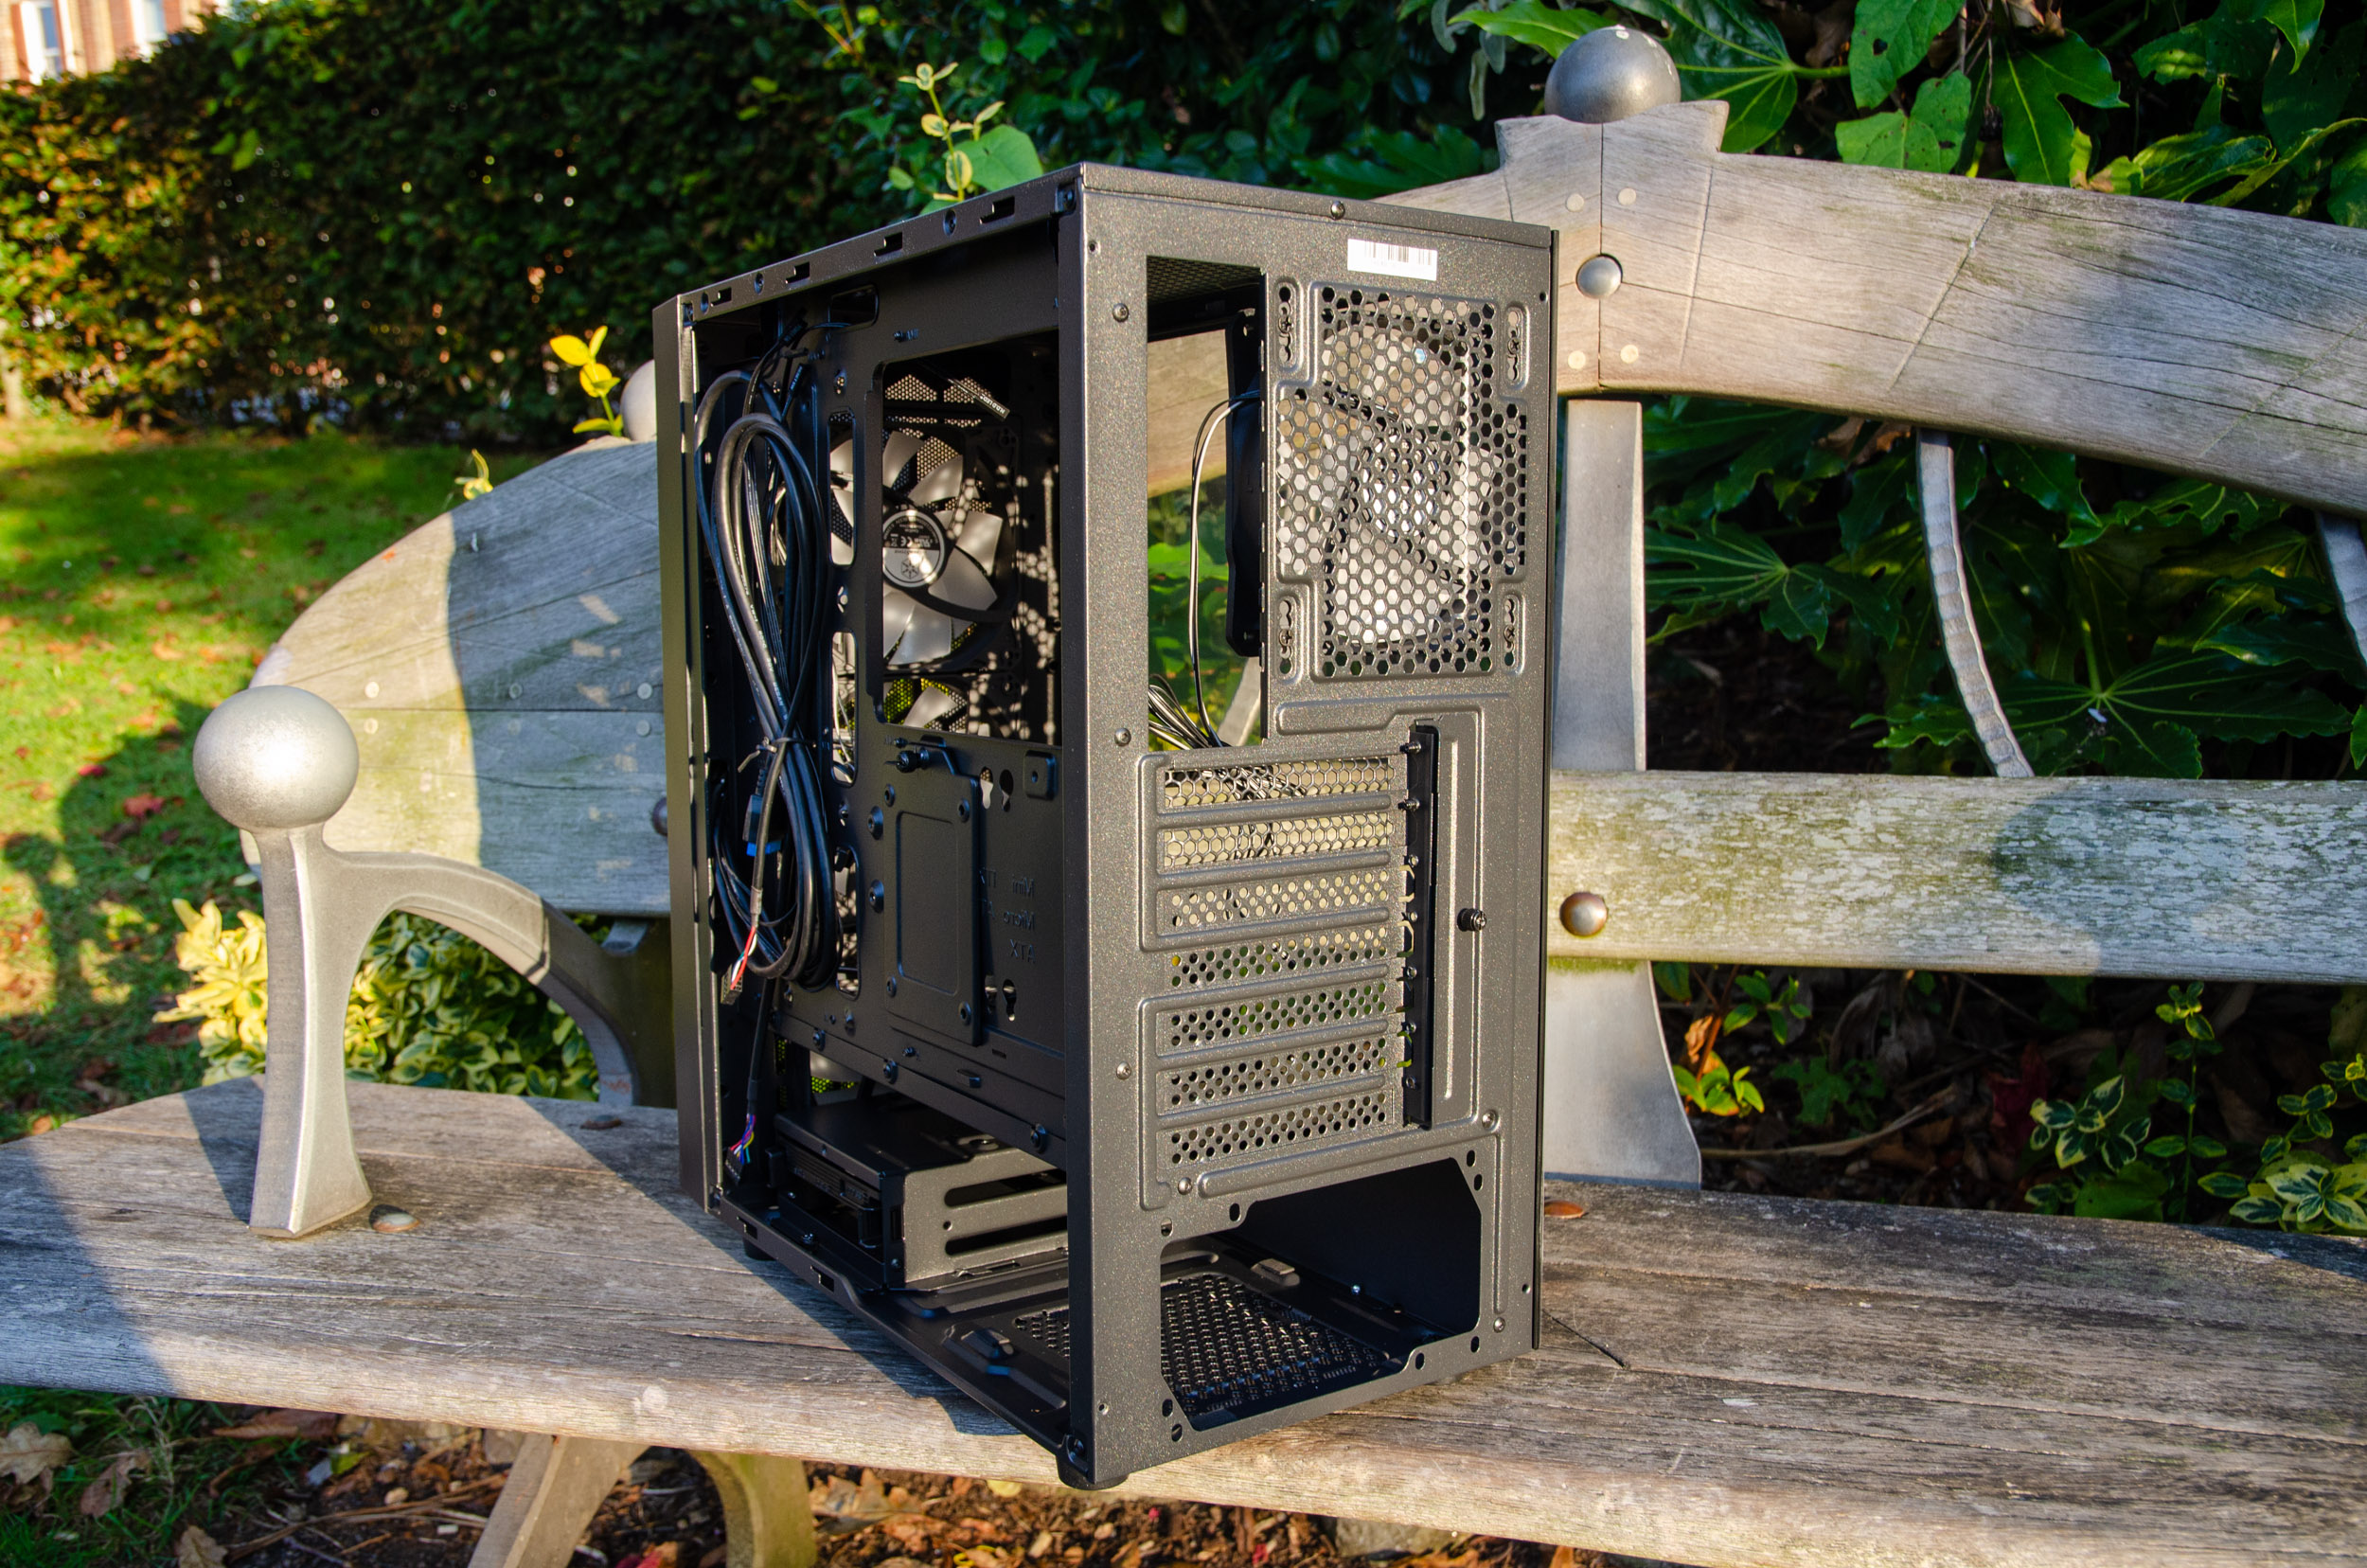
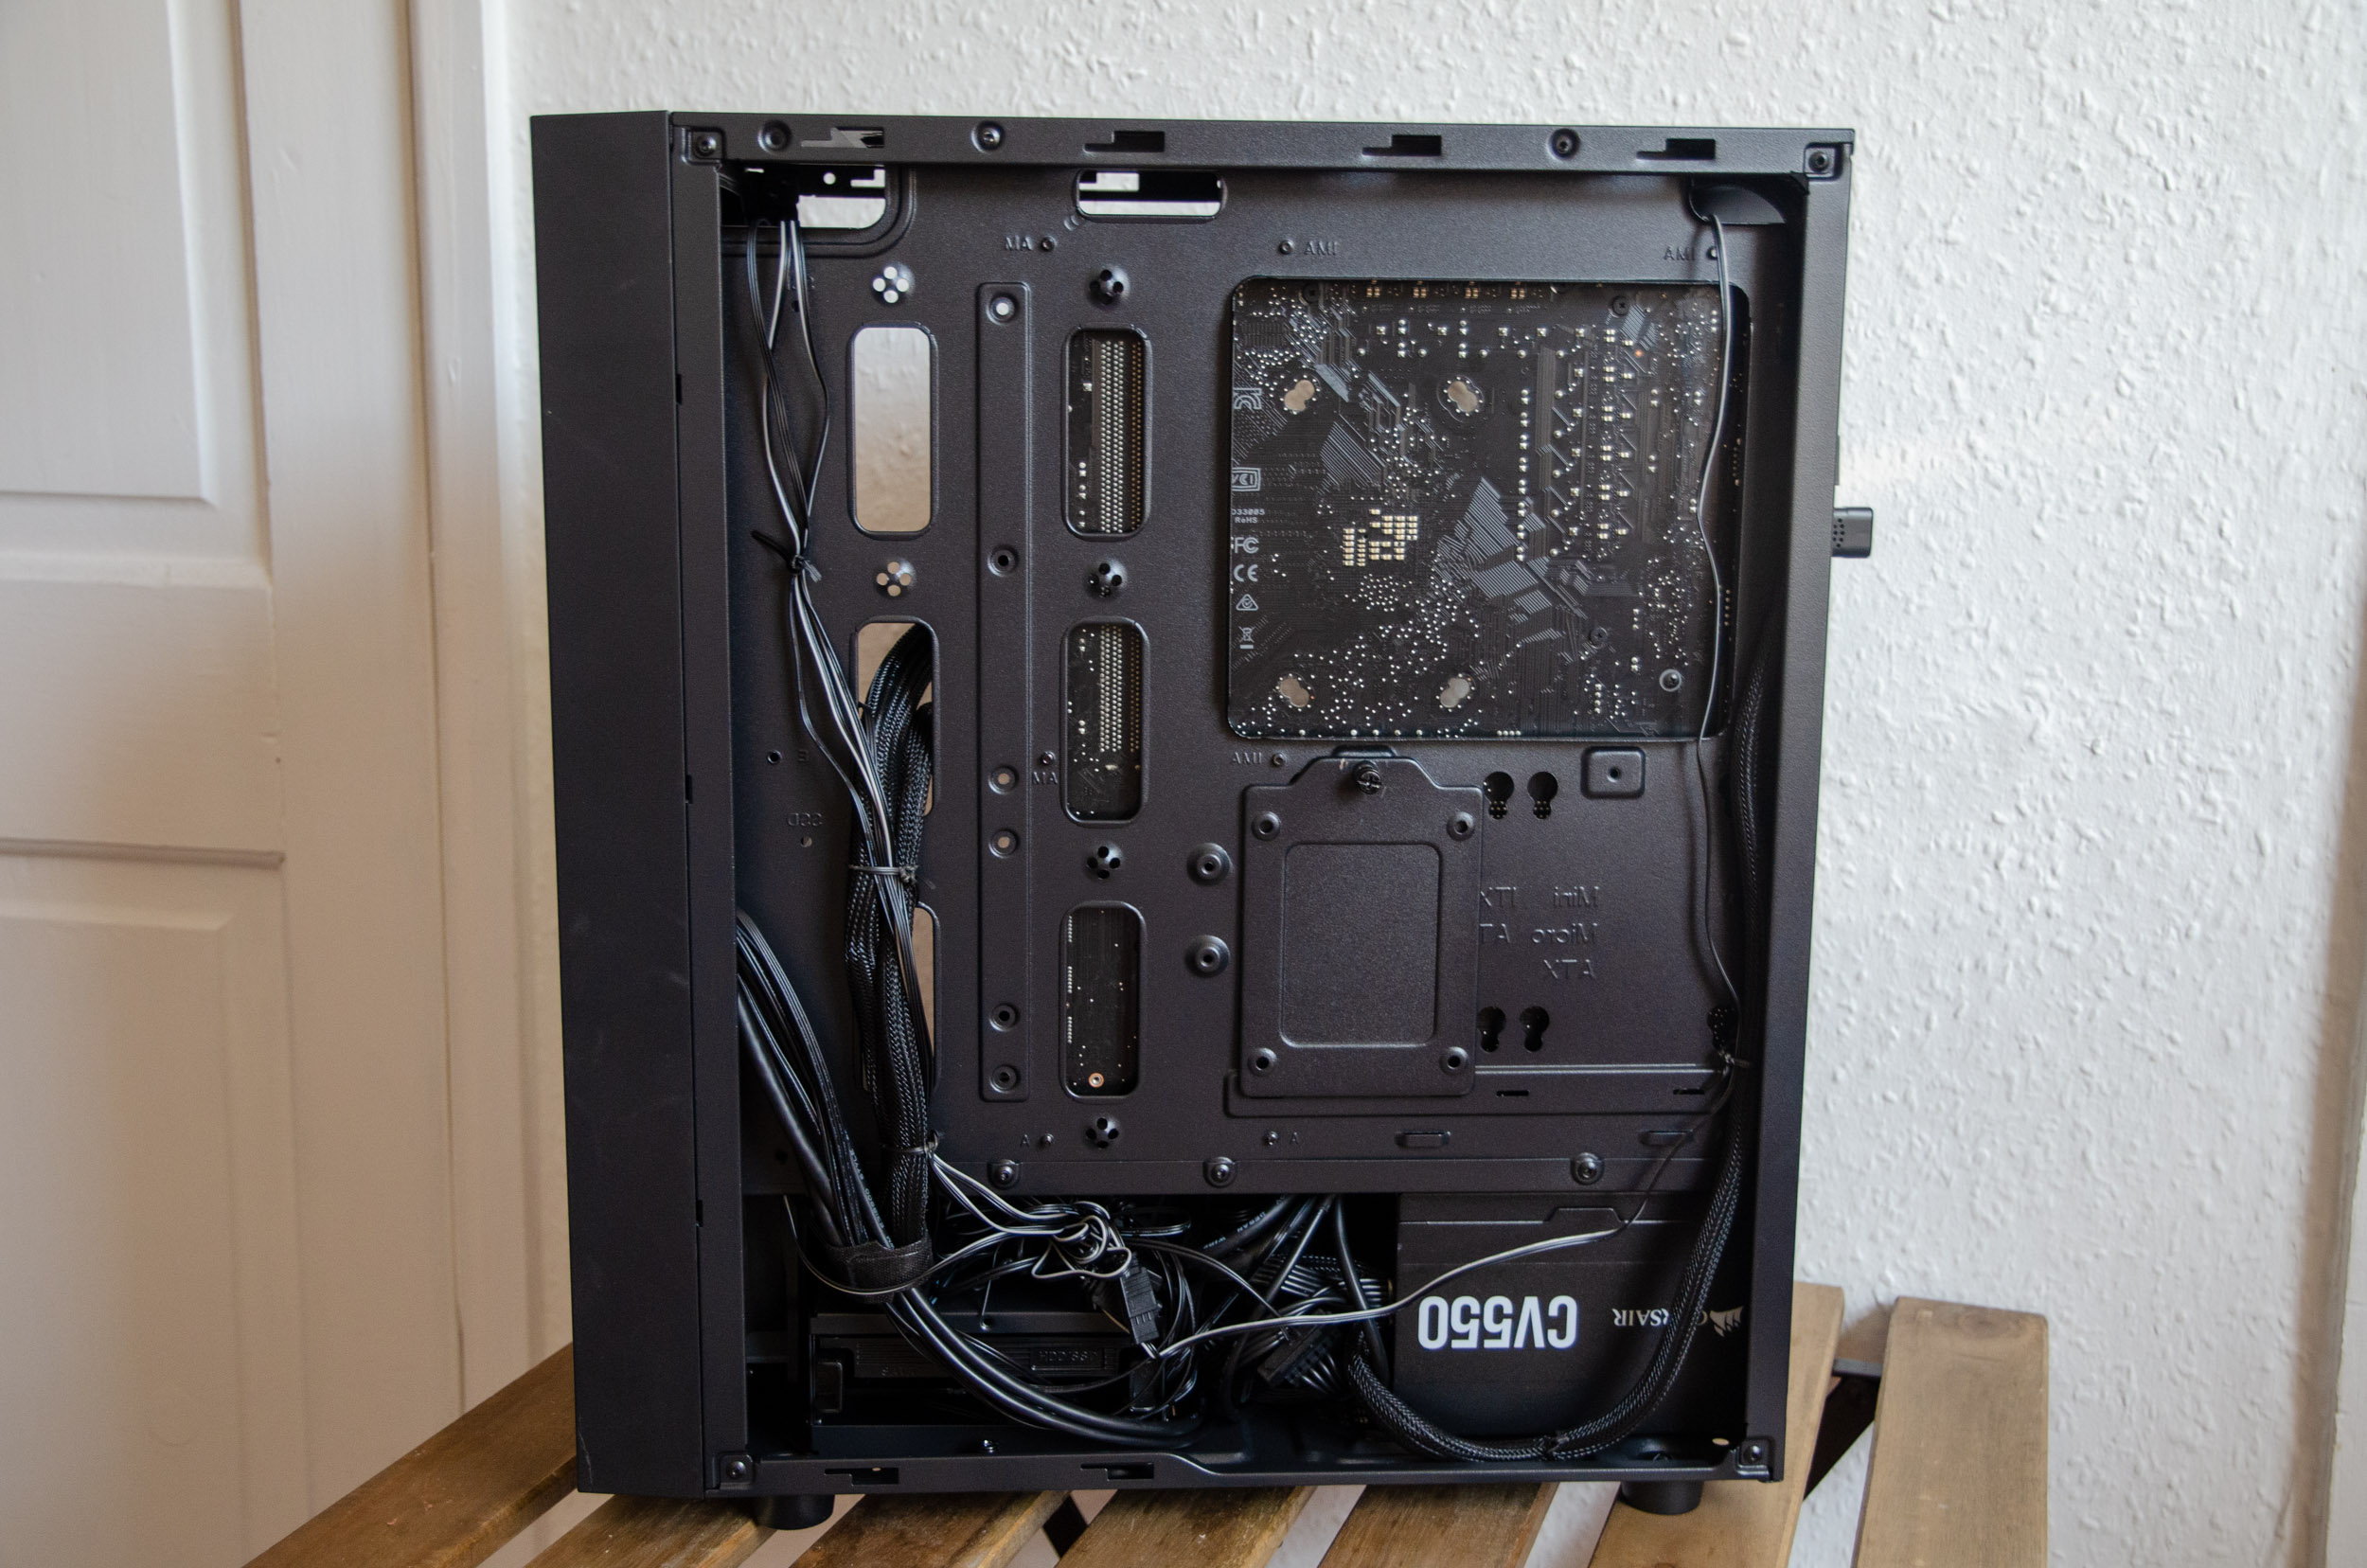
The rear metal side panel is hold into place via regular thumbscrews and you get around 20mm of WM space around the panels and 25mm from the PSU.

You get a generous motherboard cut-out to easily install the backplate of CPU coolers without taking out the board. Just below it offers another 2.5″ mounting tray with the option to a 4th one (we already saw 2 in the front). Then on the left there are 6 routing cut-outs for the WM. You can even install another set of 2.5″ drives over this area but this will mean that it will block these routing holes.

Finally the PSU chamber will accommodate a standard 160mm long power supply but if you remove the HDD cage then you can pretty much install whatever you want.
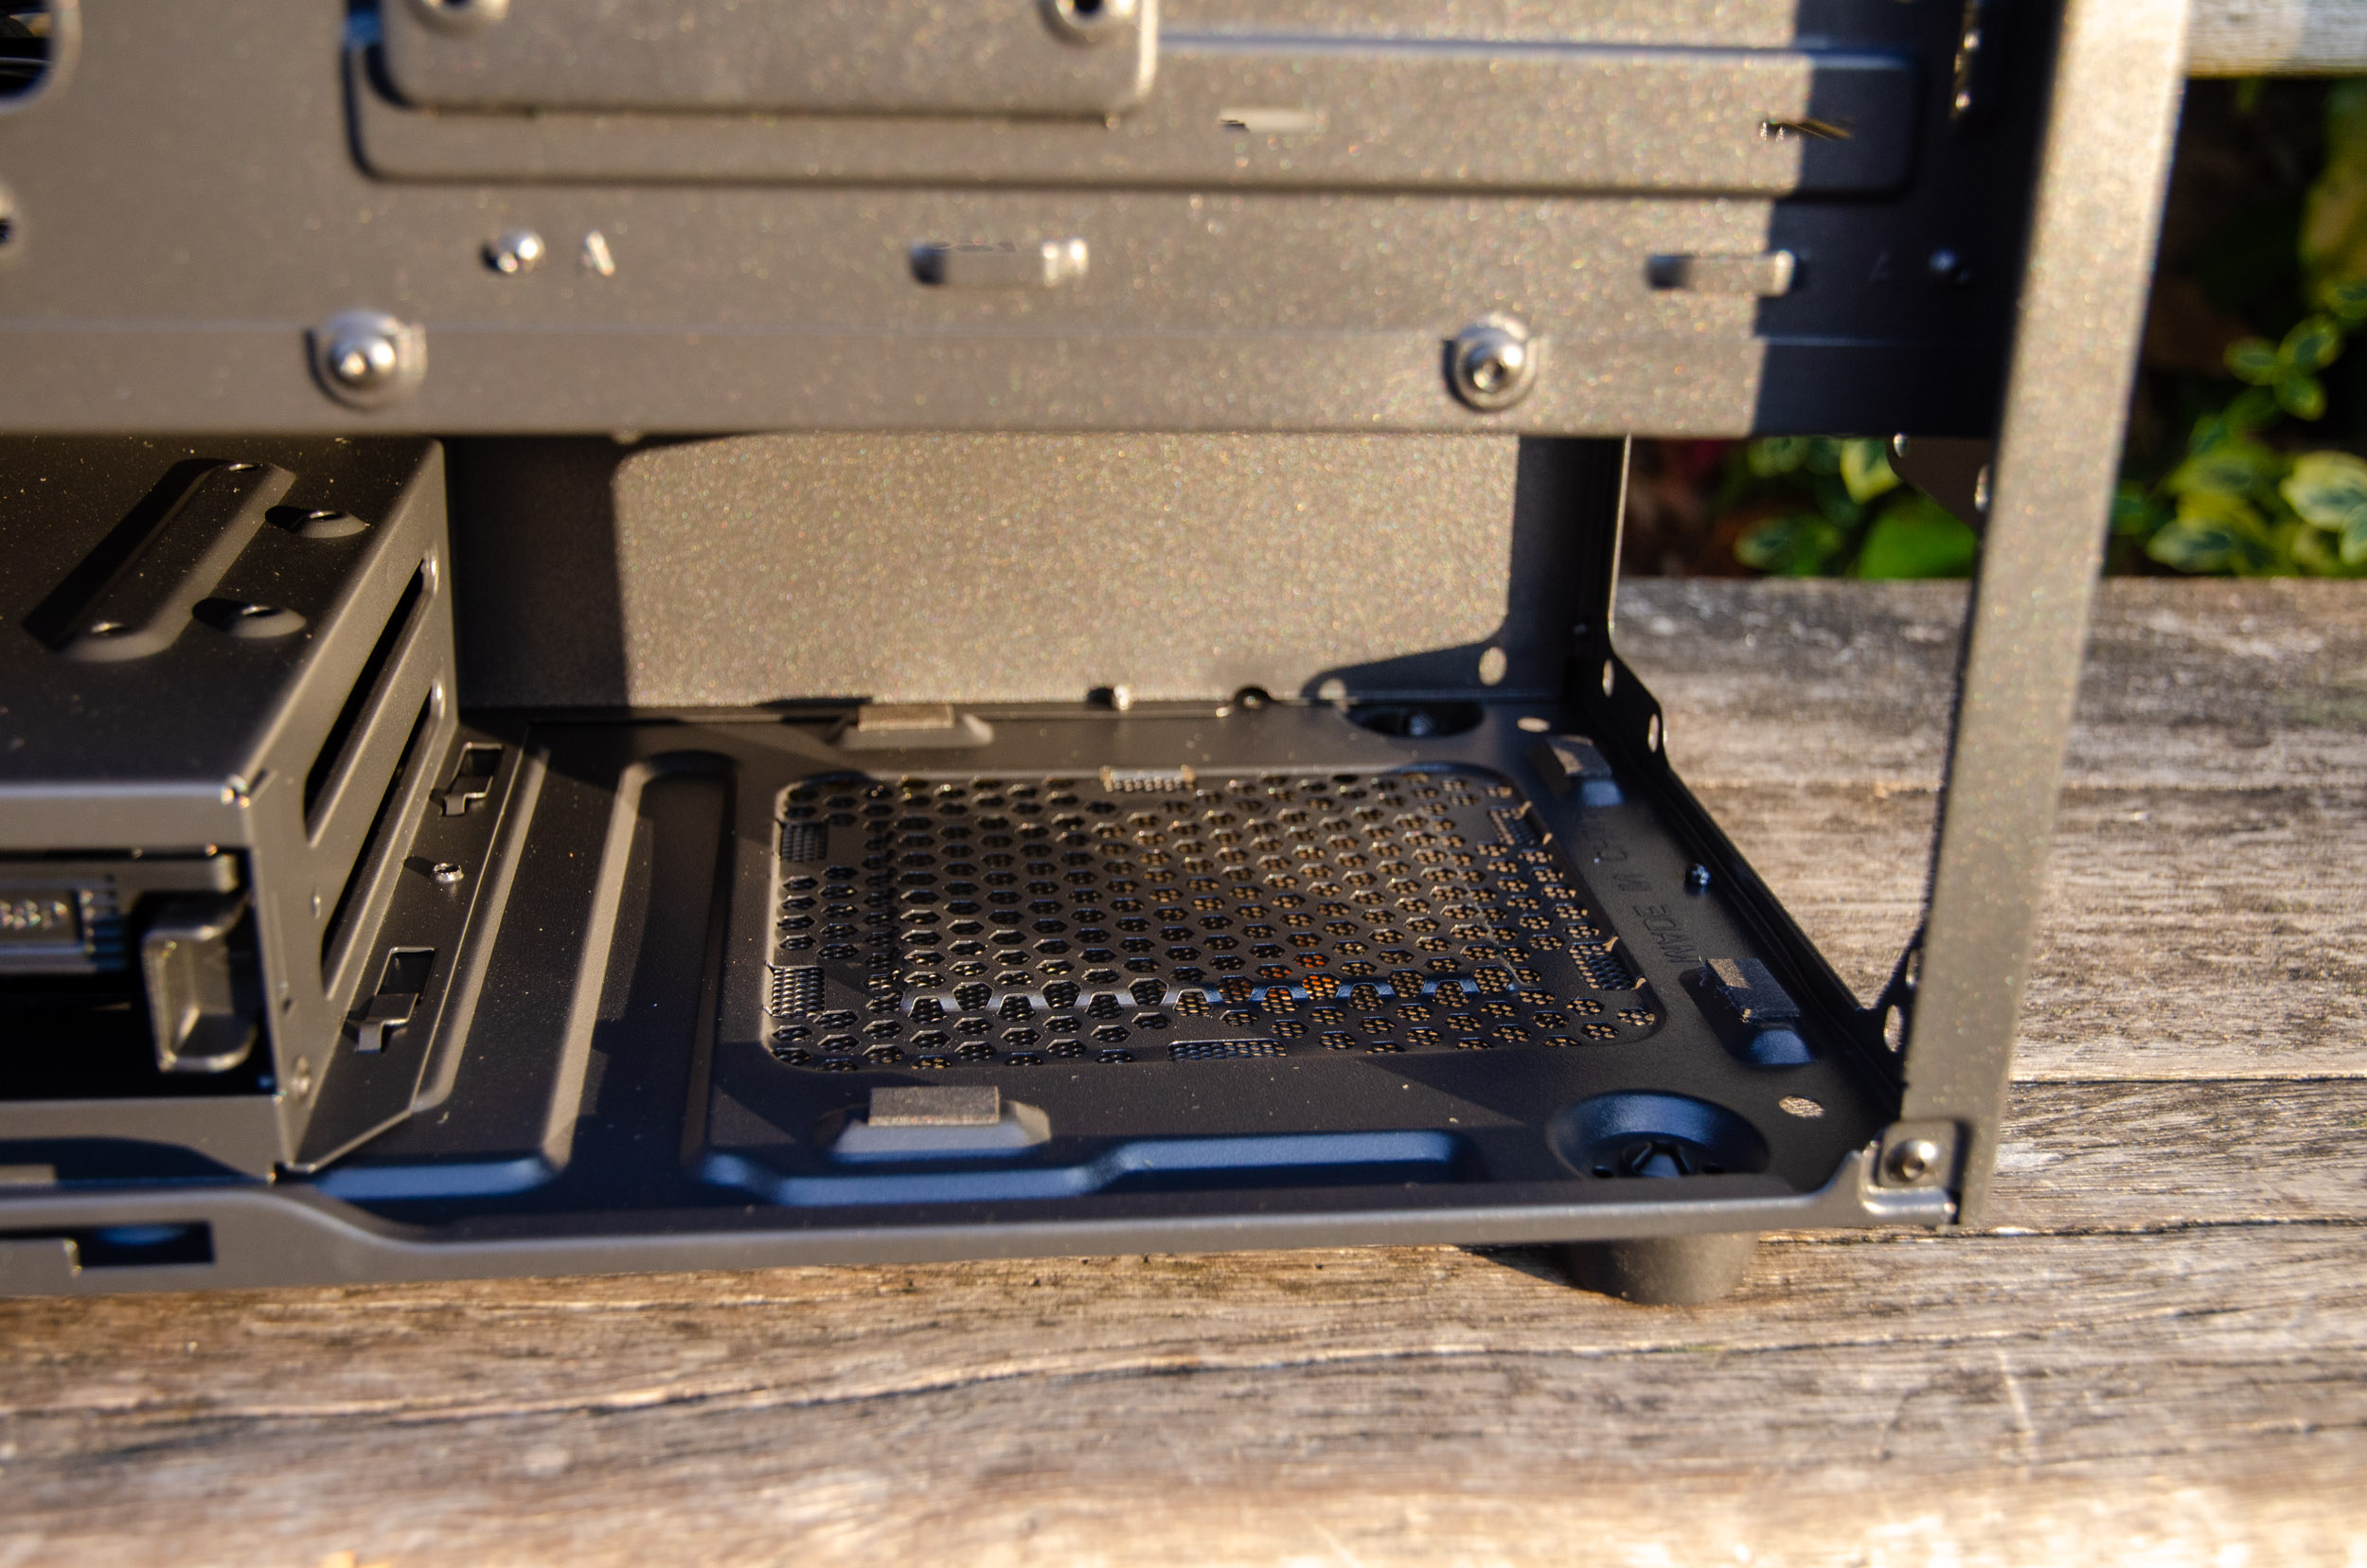
The HDD cage will accept a 3.5″ drive inside the rail and another 2.5″ on top of it.

Regarding the front I/O connectivity, these are the ports, all in matching black.

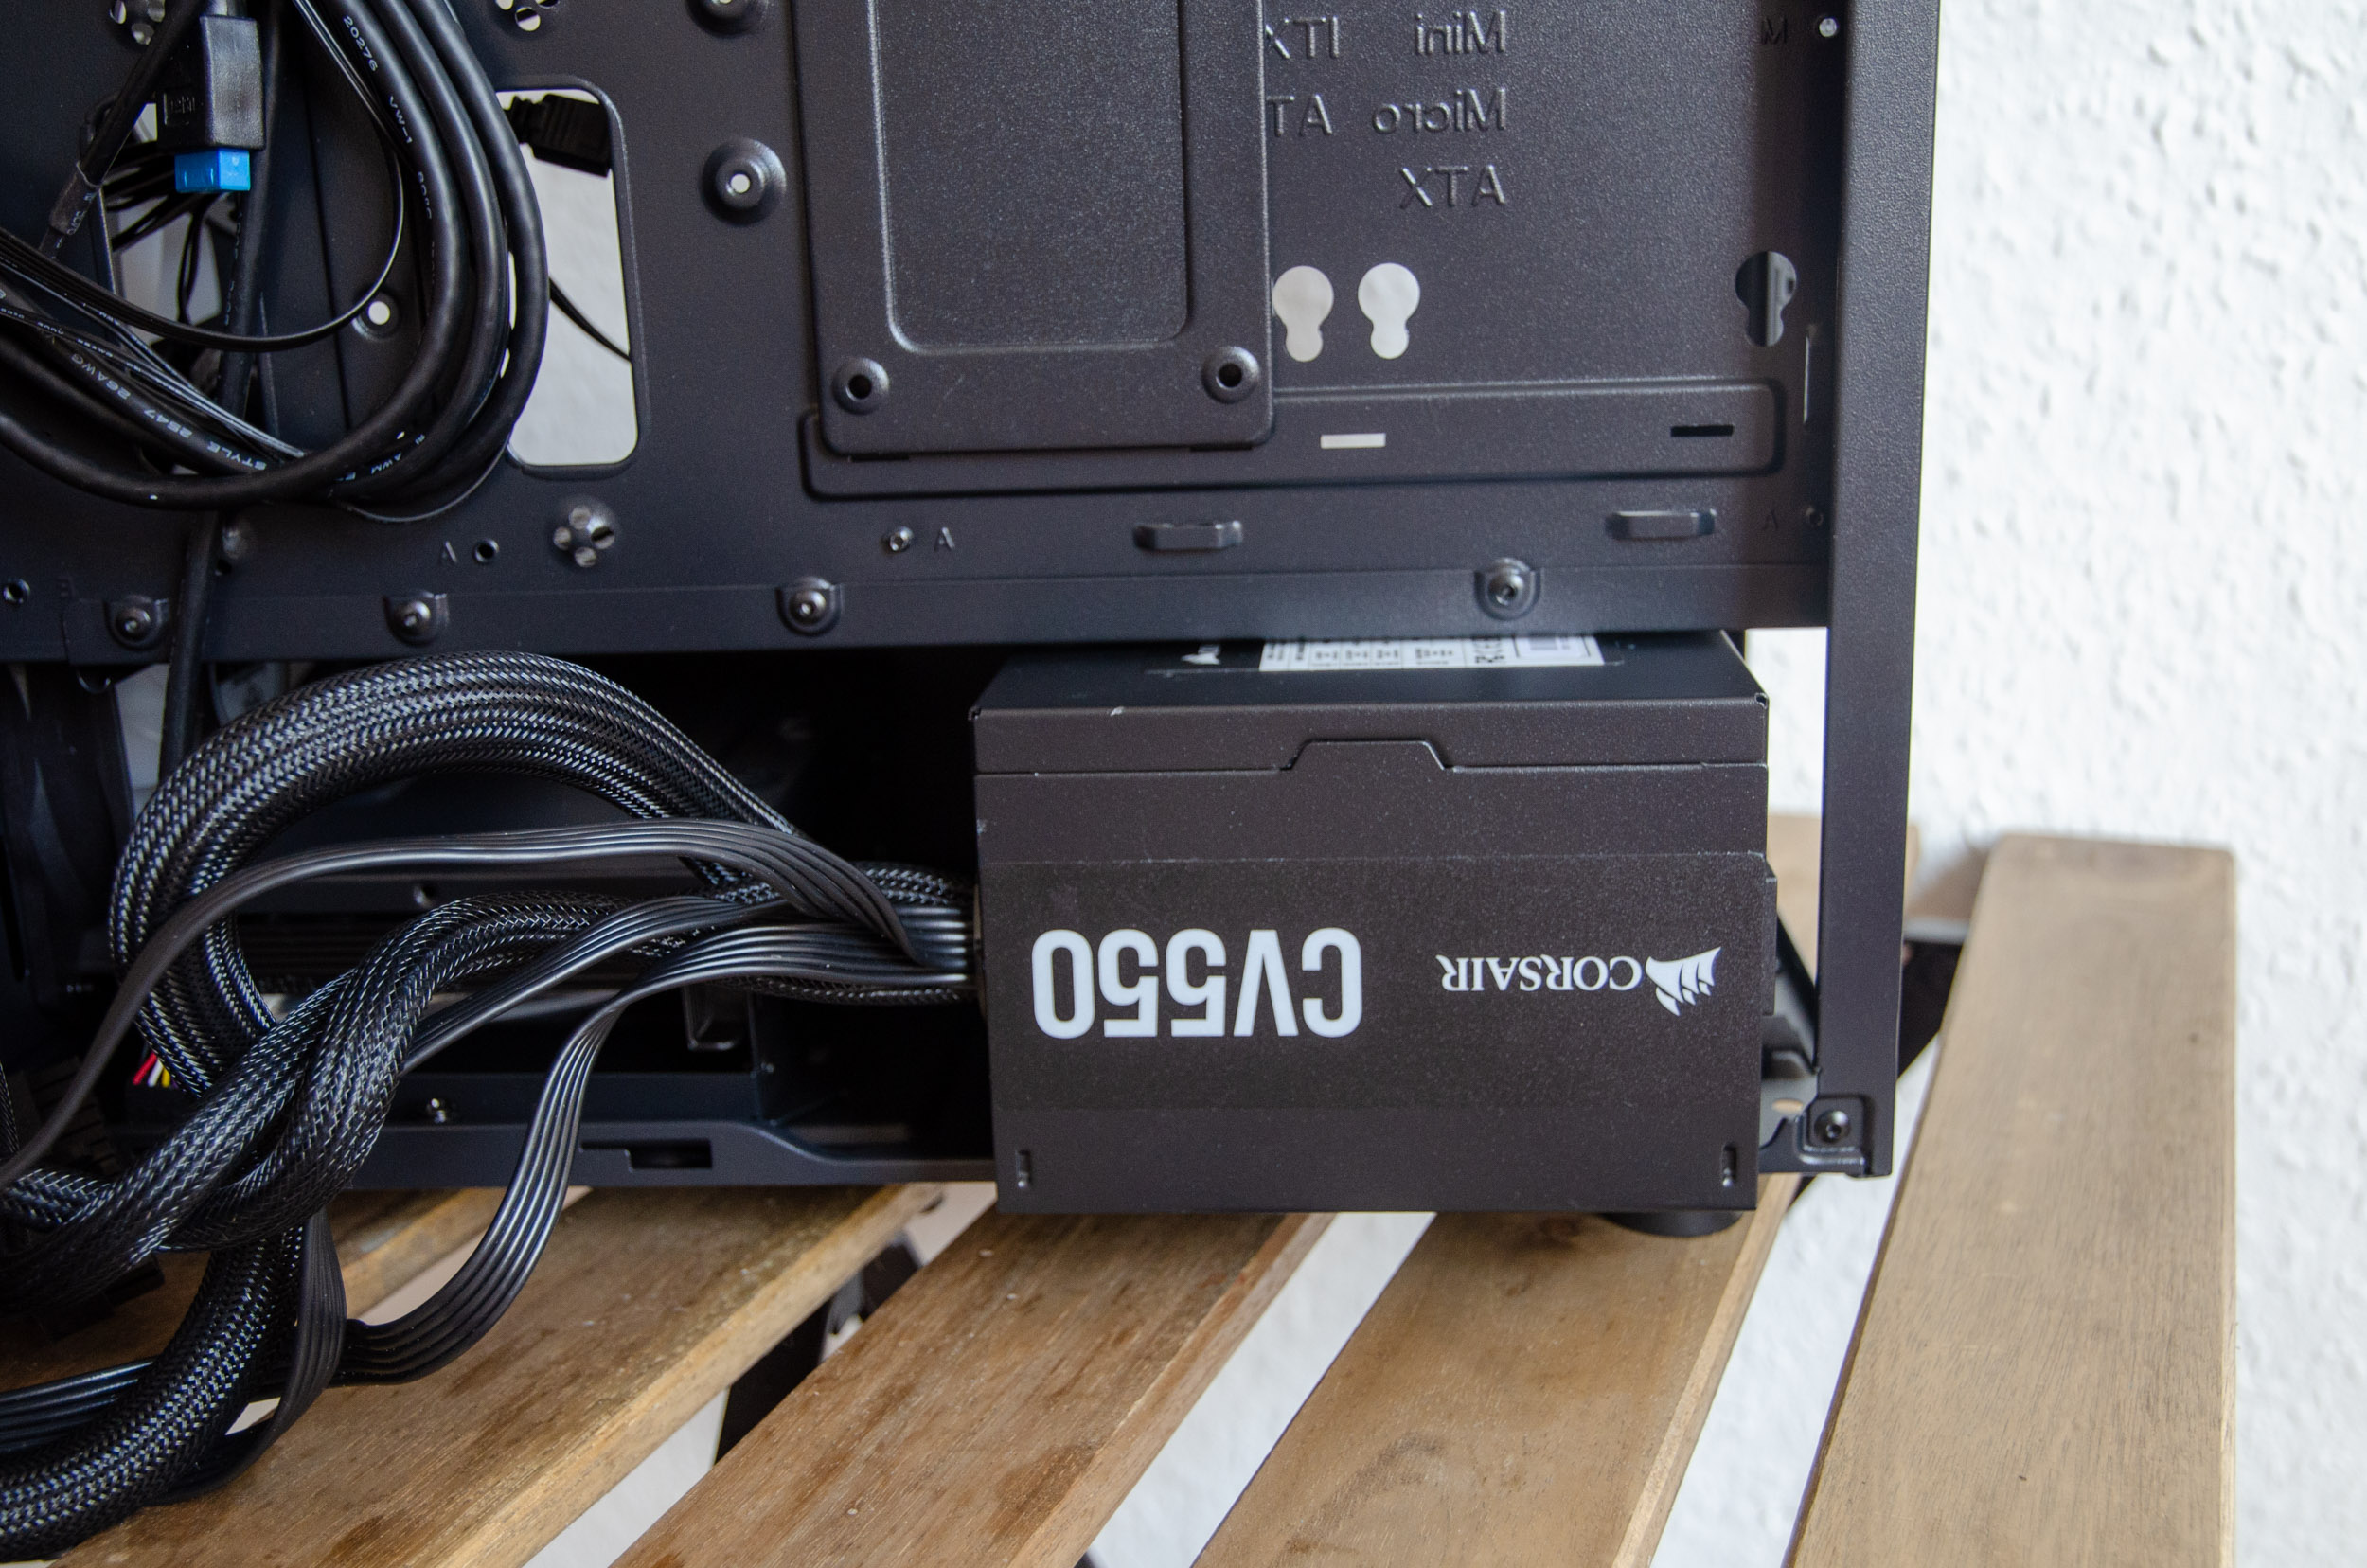
Now it’s LEGO time. After the installation of the motherboard which uses the classic standoff system, then the PSU goes in. It’s a snug fit but the unit had 4 rubber pads to comfortably rest on.

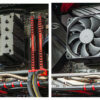
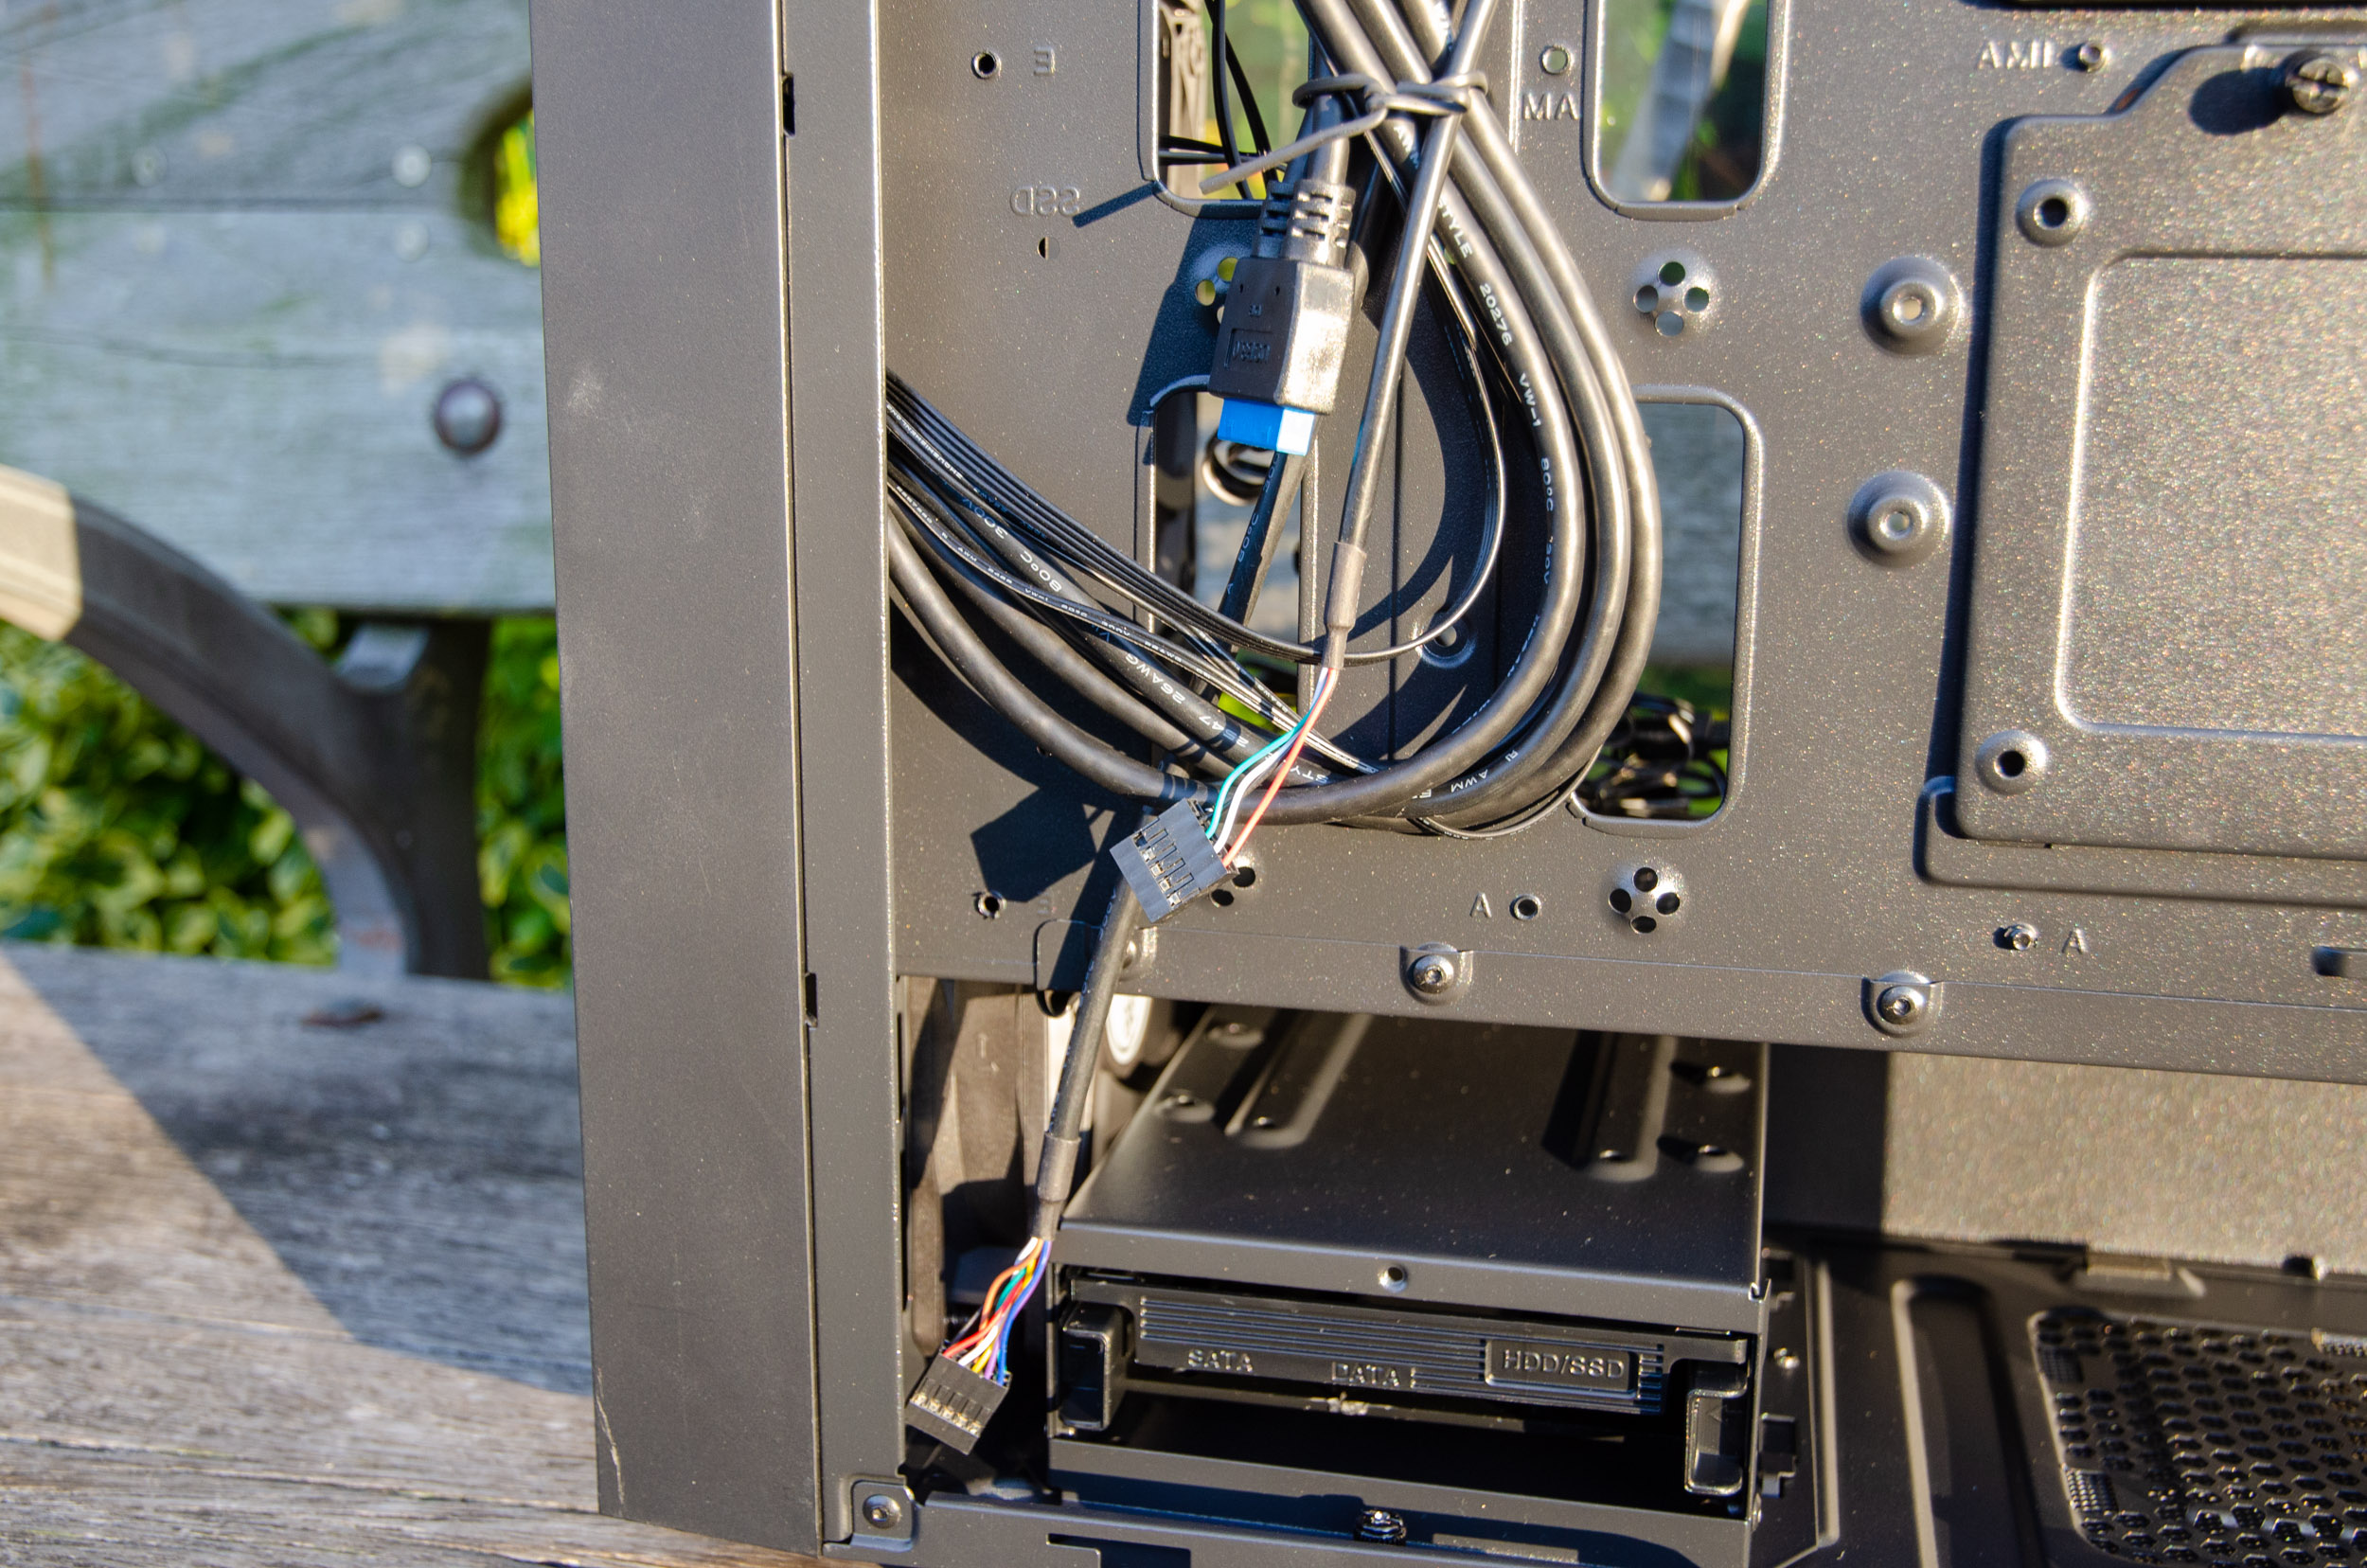
Solving the spaghetti junction is done part by the included RGB hub for the fans and the rest by patience in routing everything and making sure you use zip-ties to secure the cables in order to close the side panel. The case offers plenty of zip-ties ‘hooks’ in strategic places as well.
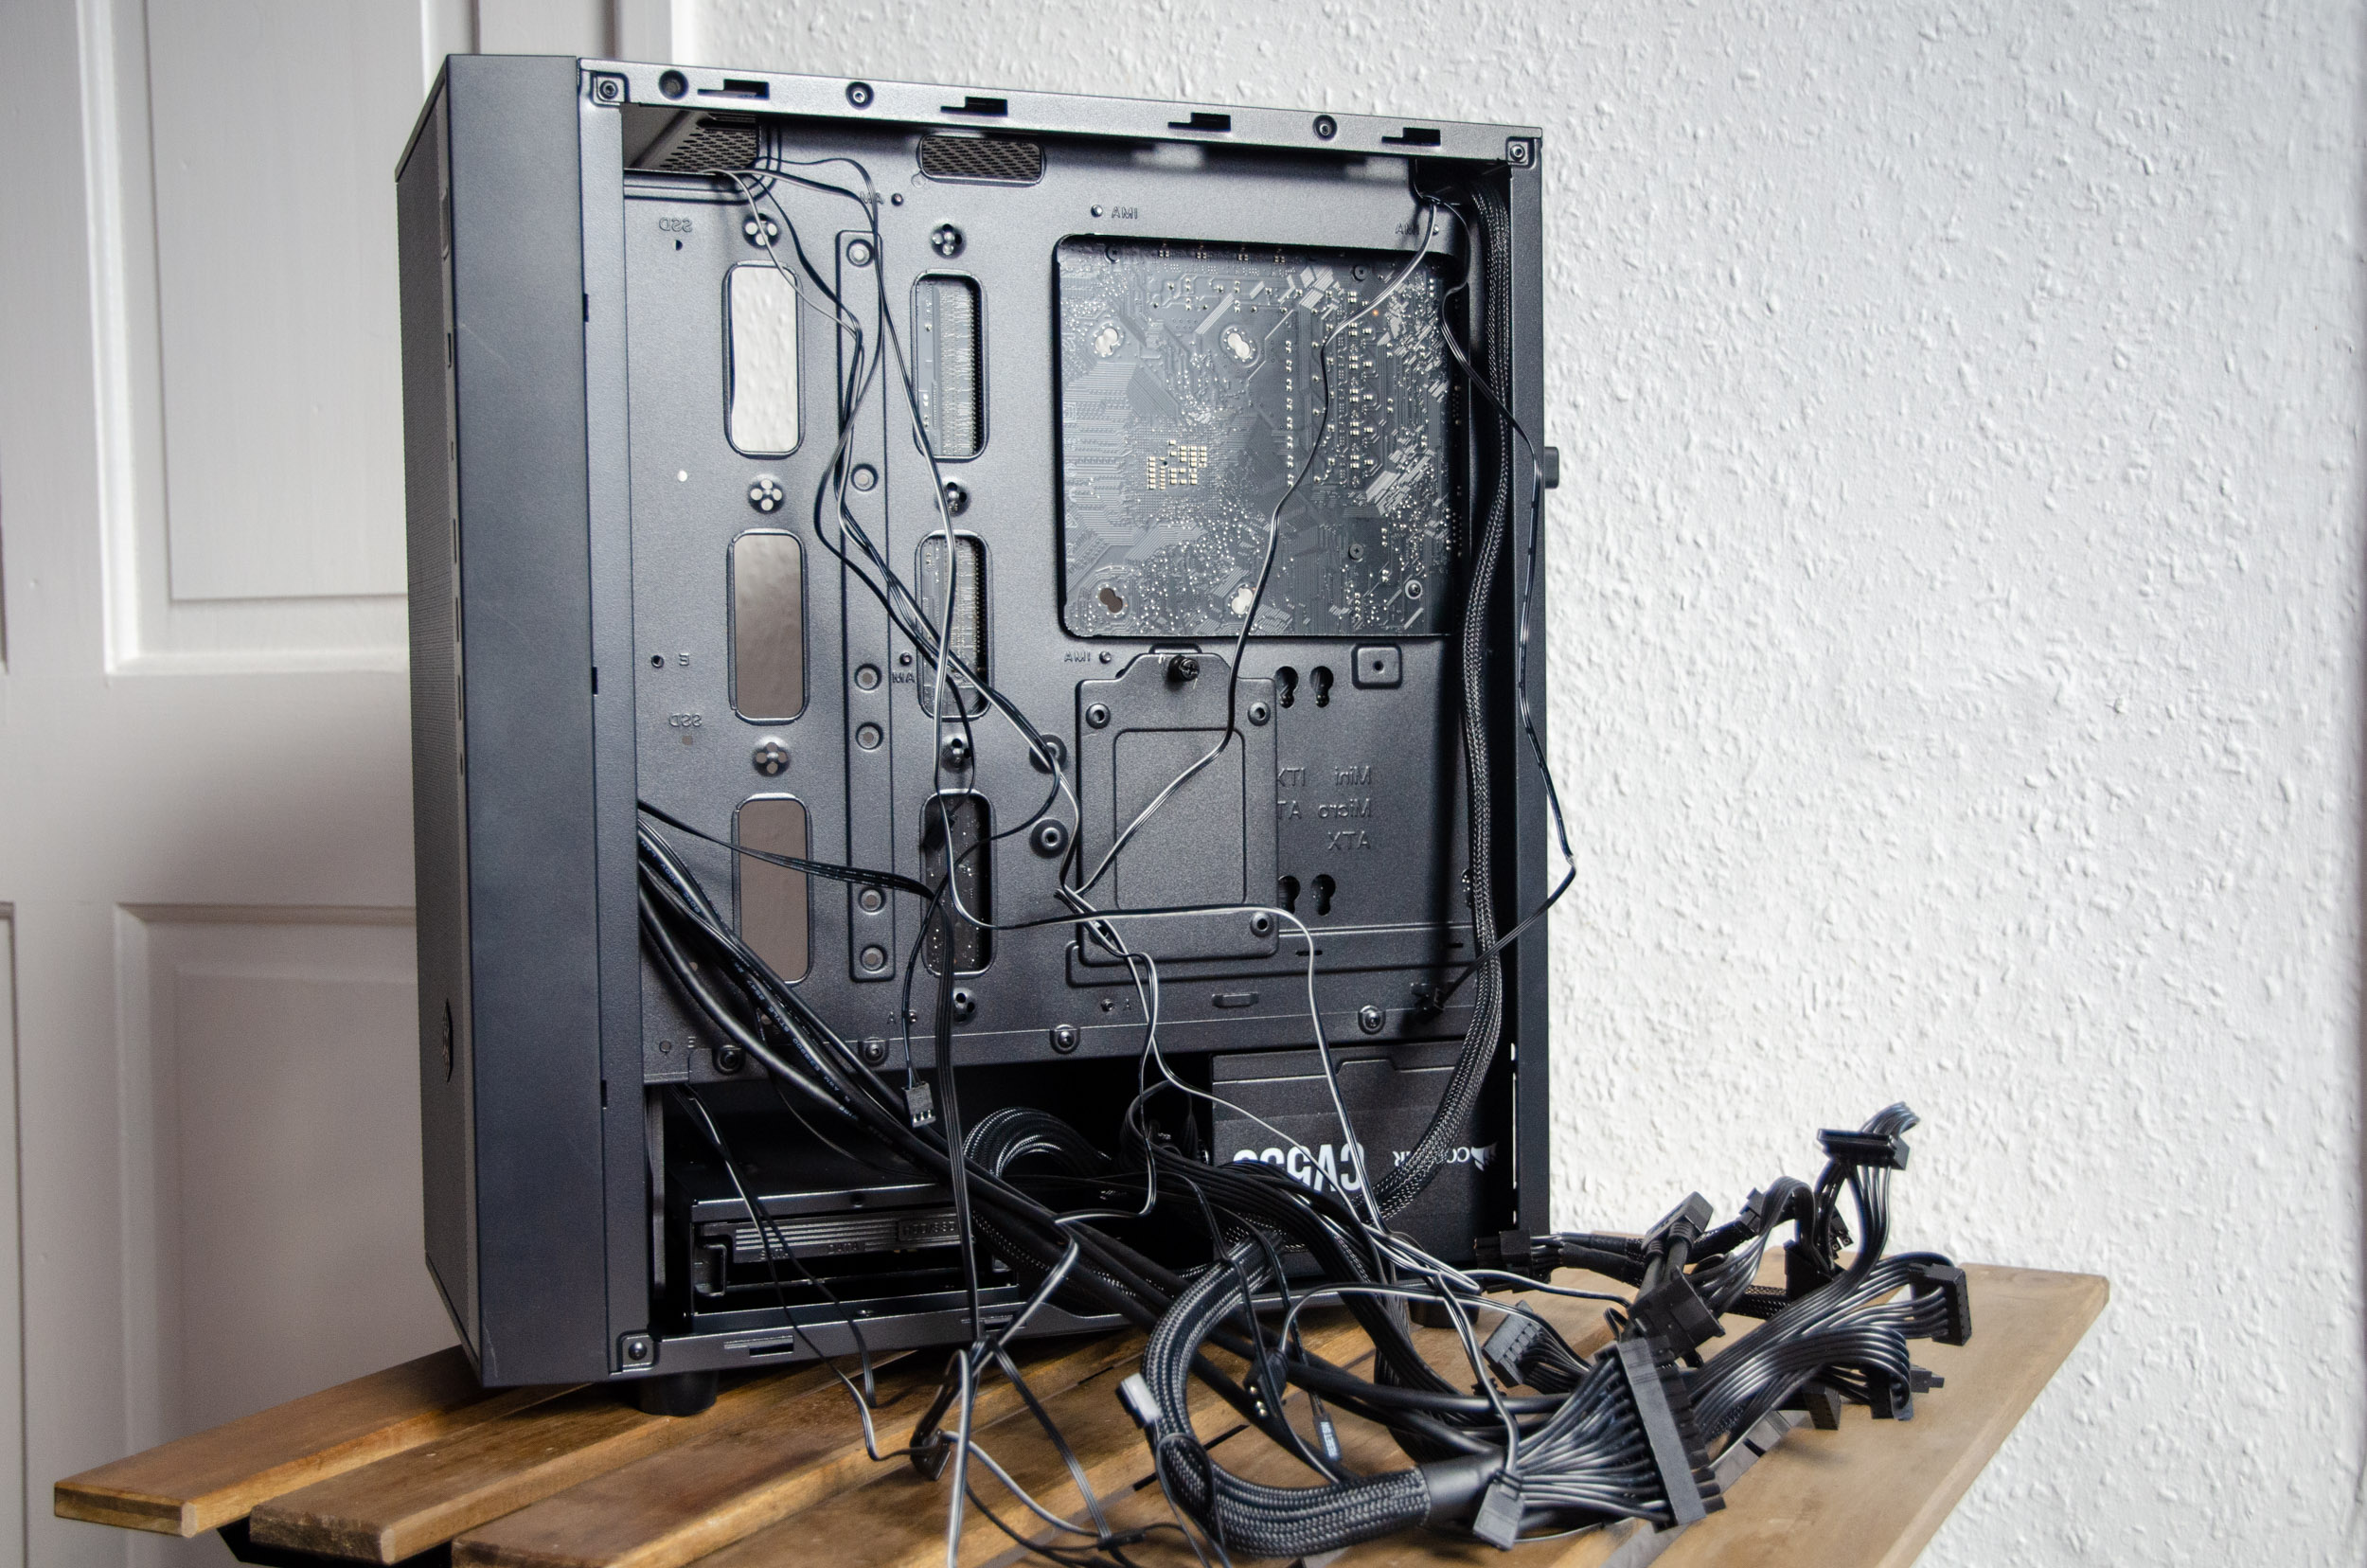

This process is further simplified if you possess a modular PSU but for this review we went for one with fixed cables just to fully test the WM capability of the case. As you can see, there is plenty of legroom to hide the bulk of the wires in the space between the HDD case and the PSU.
The CPU 8-pin has plenty of space to reach its motherboard port due to the generous cut-out.

The front connectivity has no problem reaching the designated locations. Also notice that we have attached the case’s fans to the motherboard directly - this is where if you motherboard lacks that many ports, the integrated hub would have been critical.

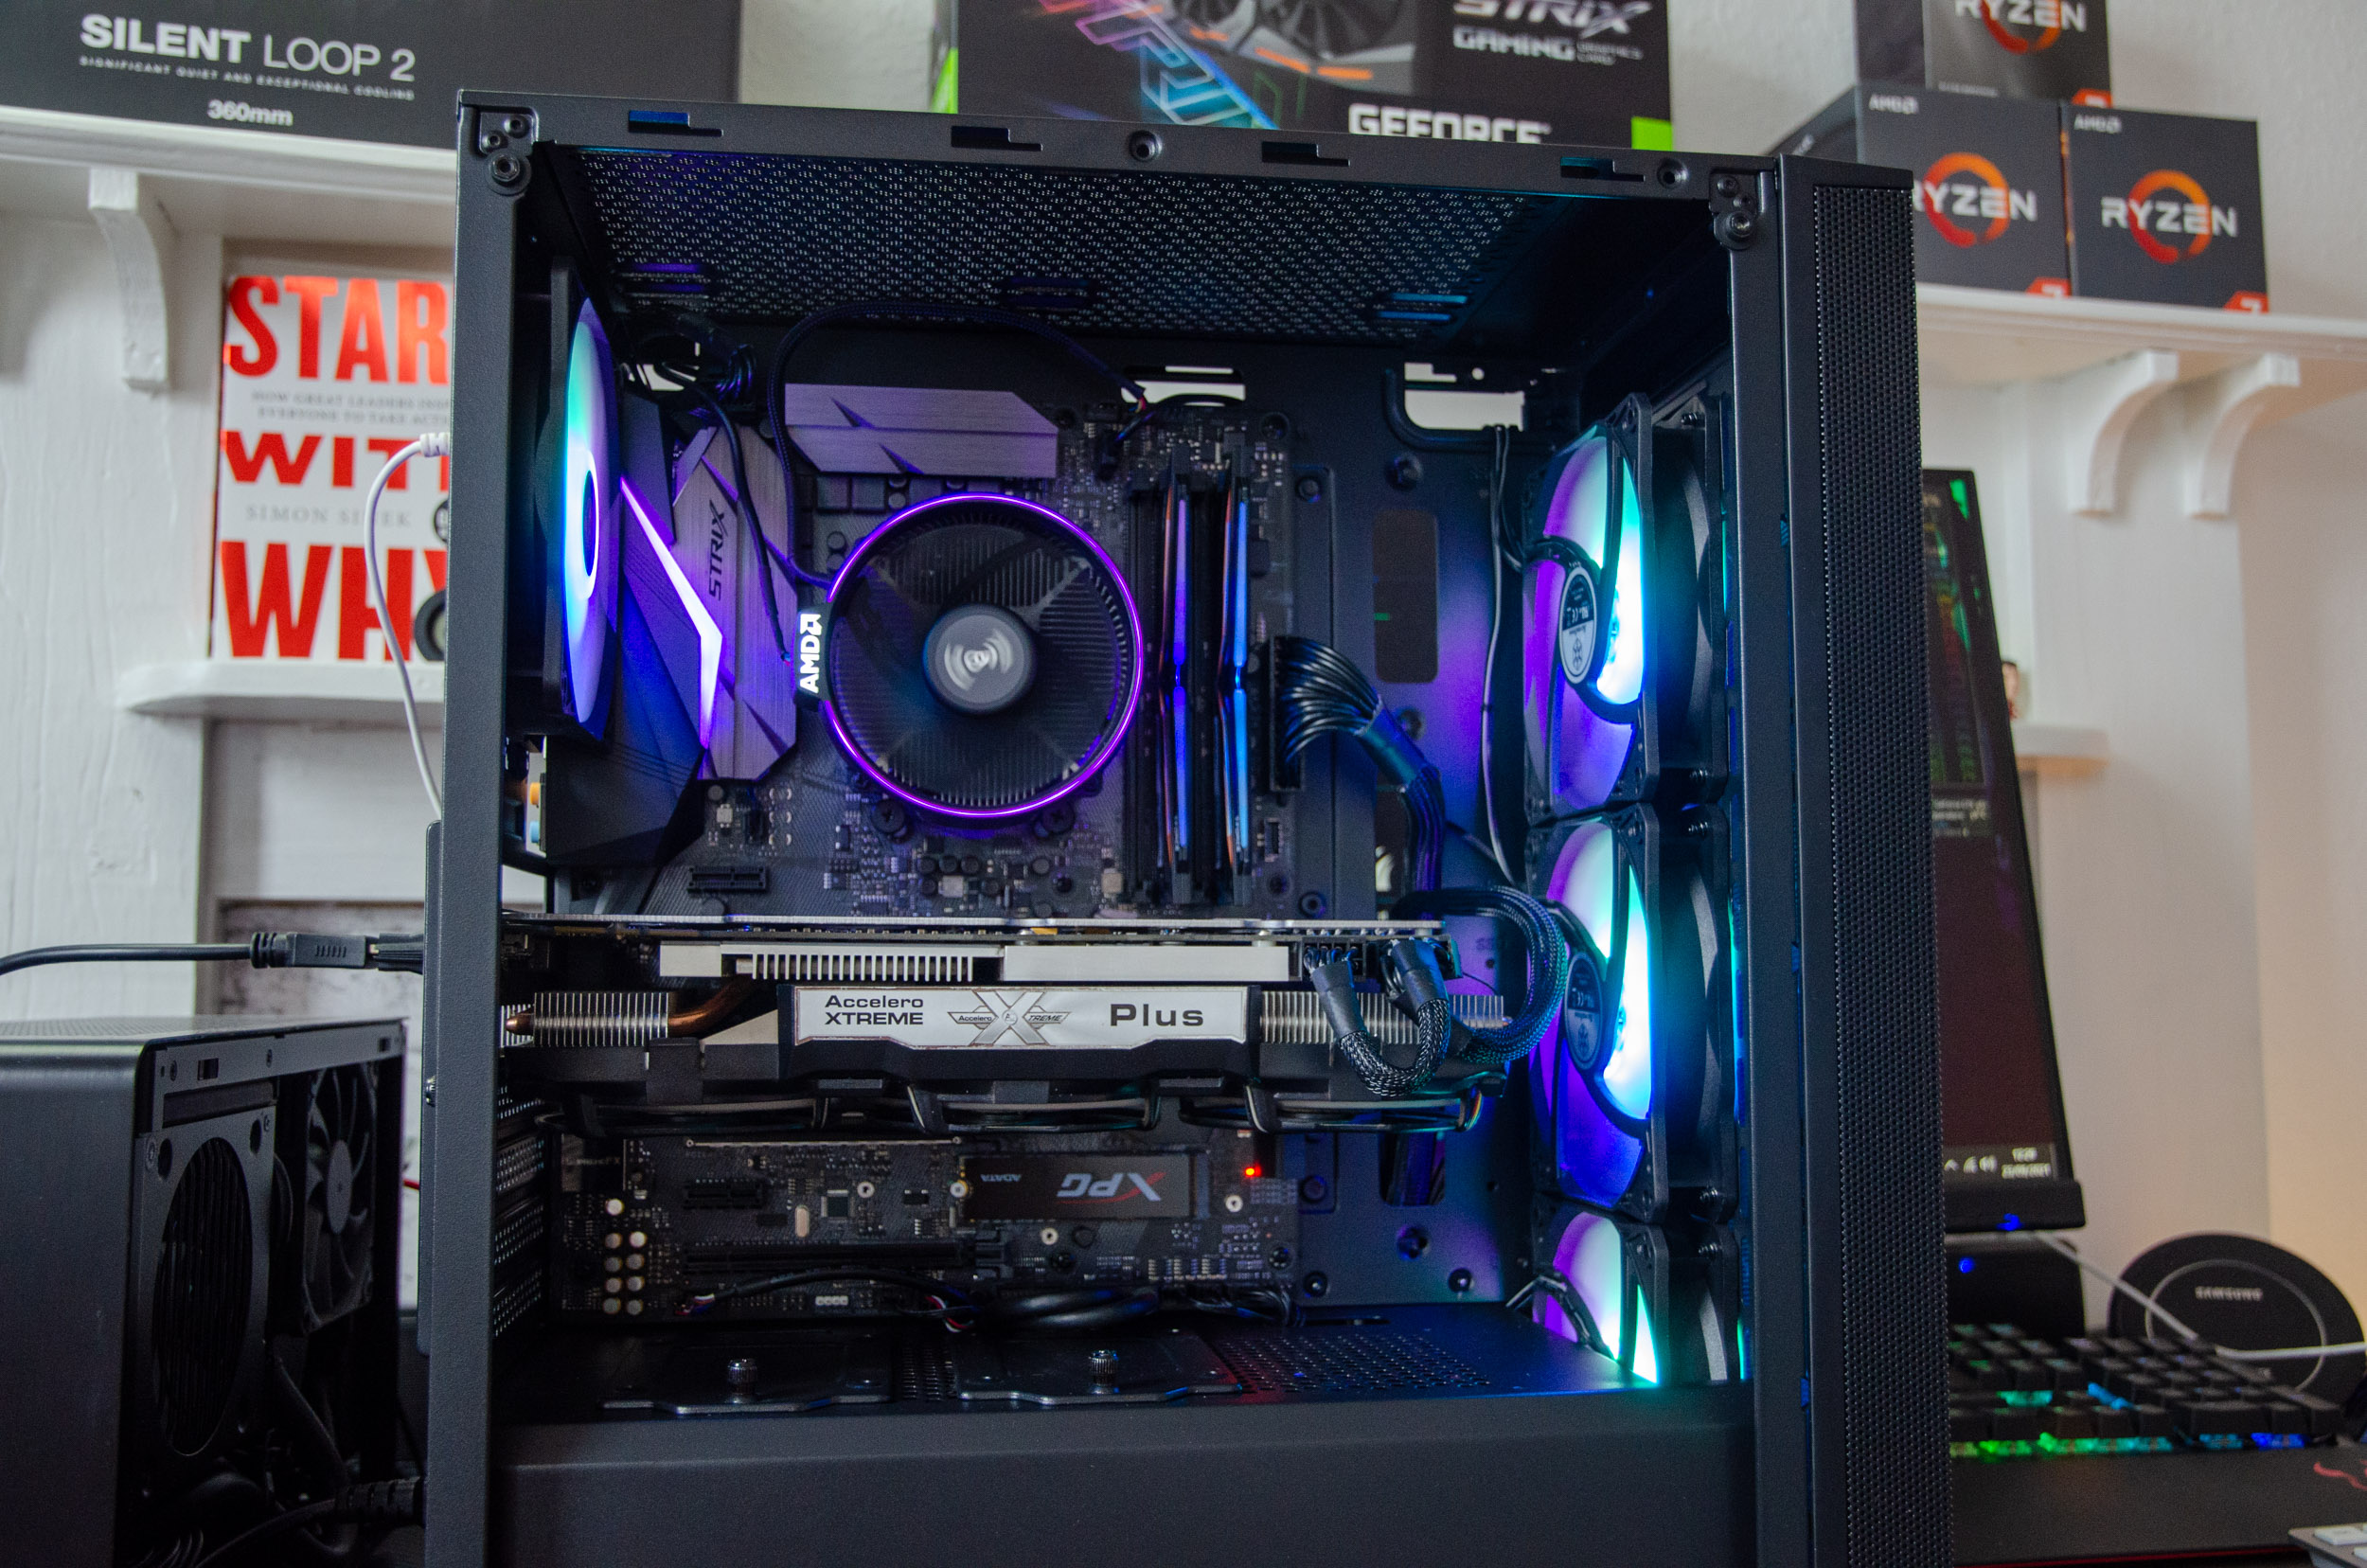
The CPU cooler, was a breeze since you get total access to the backplate; the 24-pin and GPU cables were routed from the side and as you can see there is no clearance issue even with such a beefy GPU.


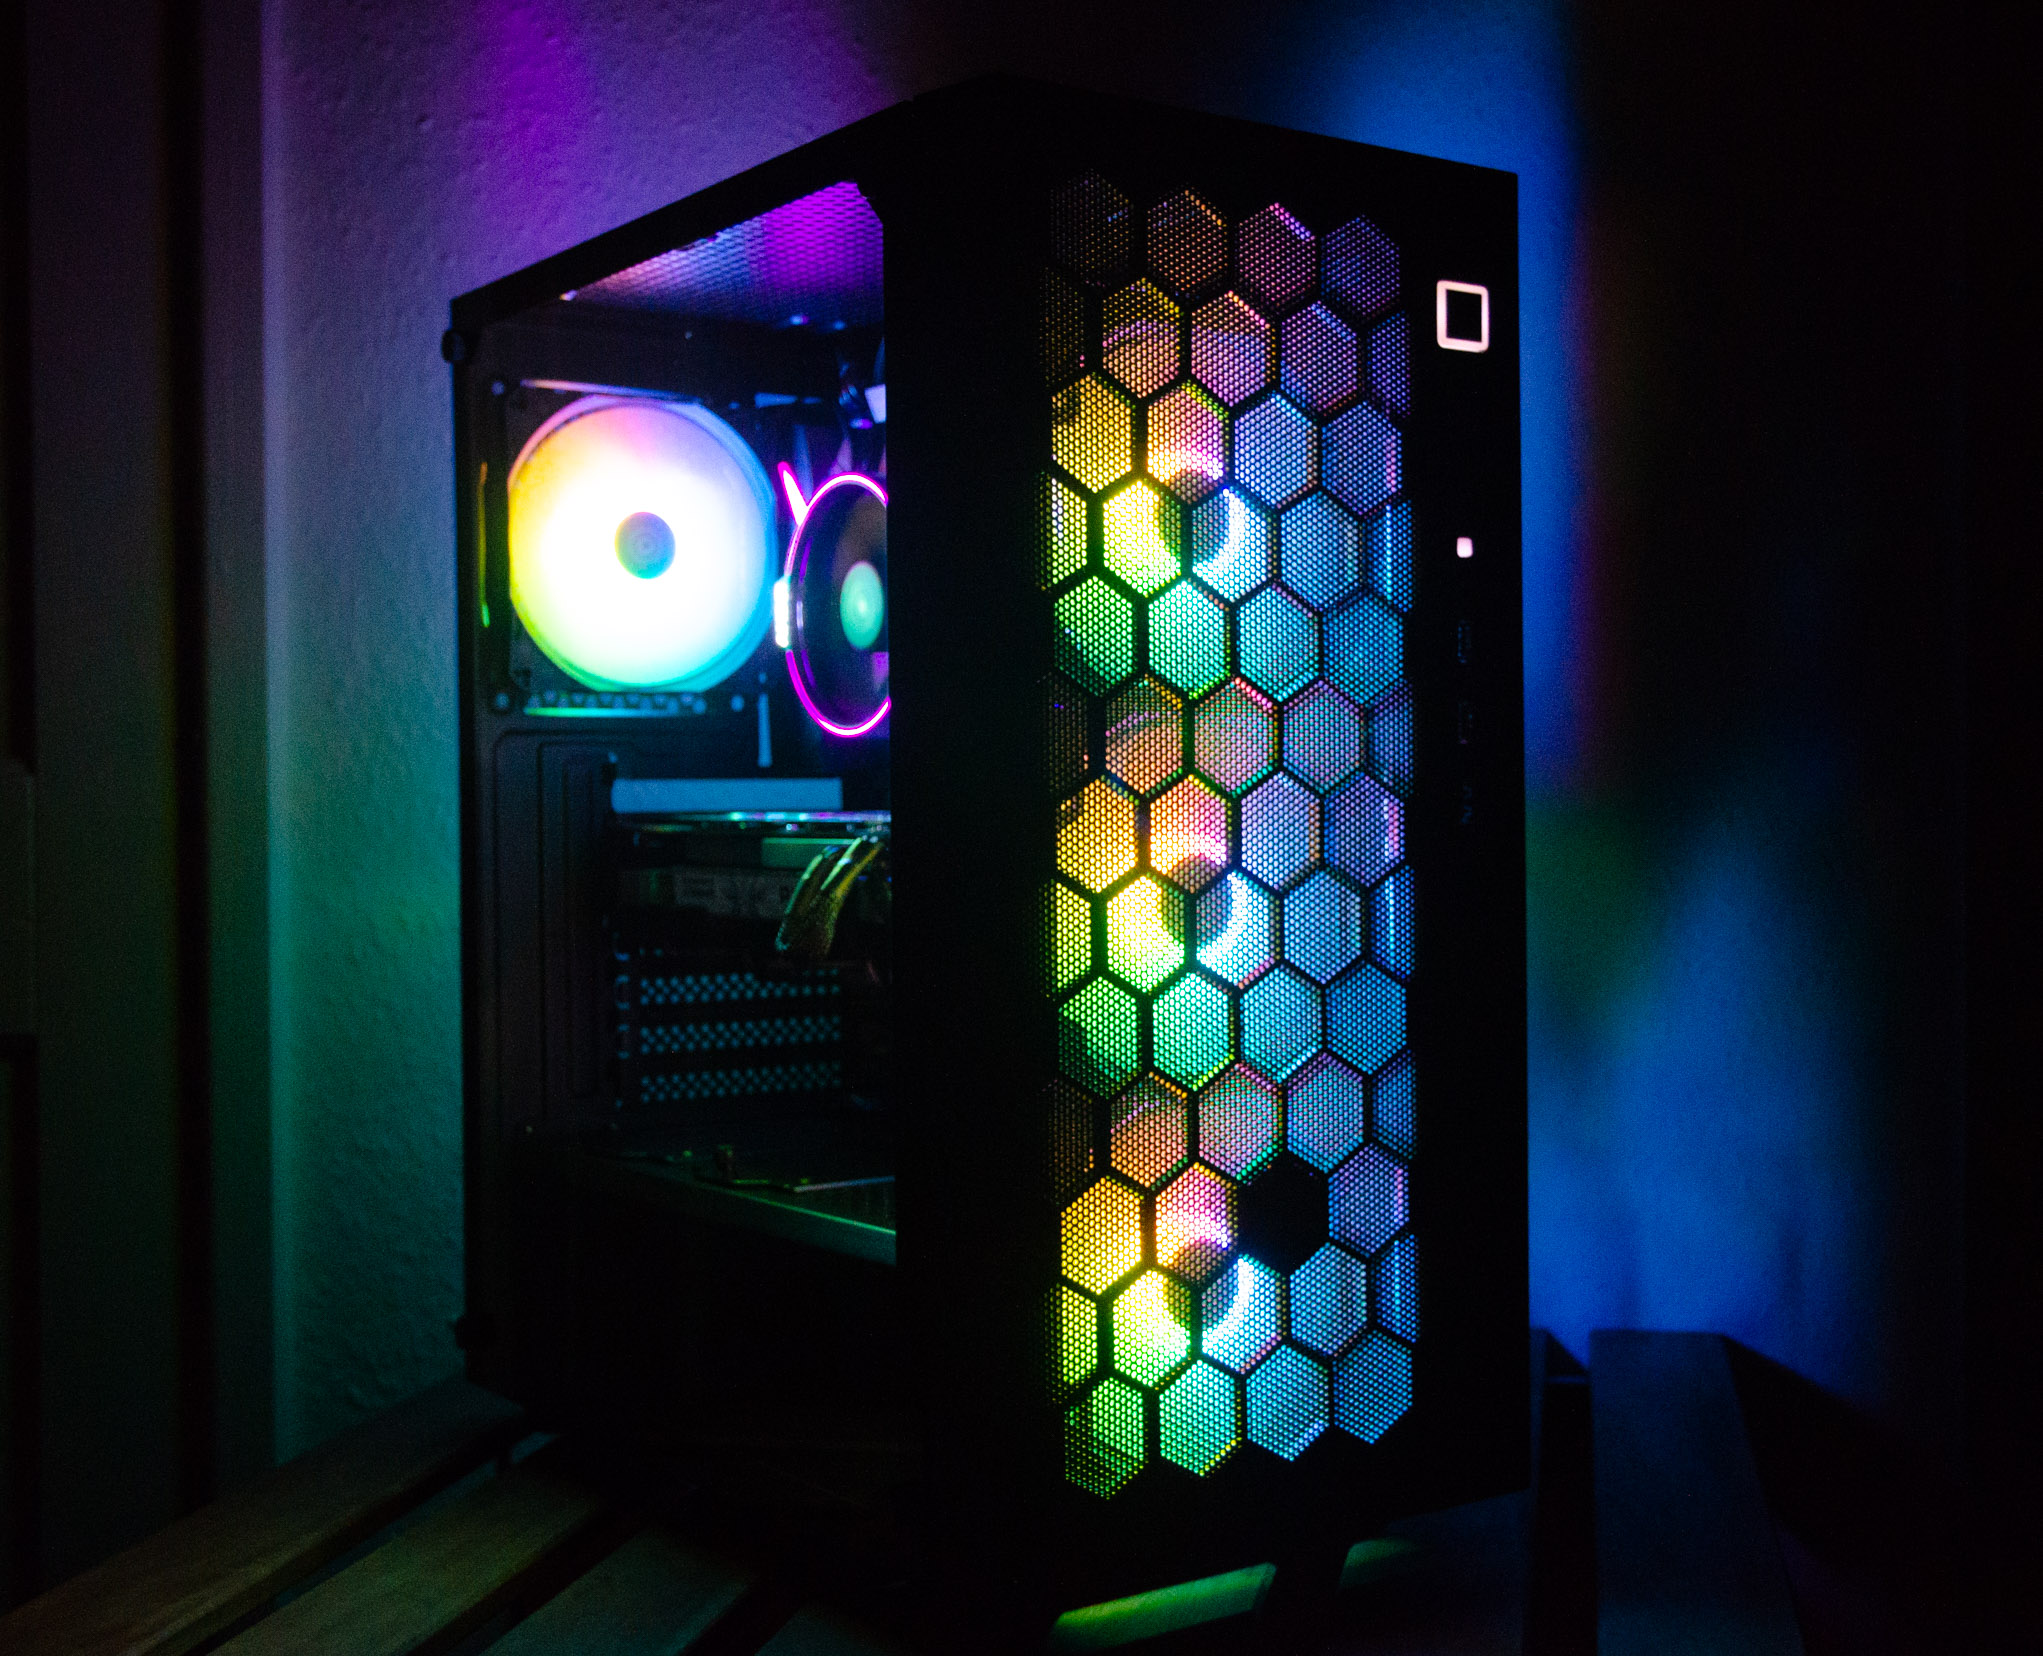
The ARGB does a great job to illuminate and attract your attention even during day time. Alas, the brightness for the front I/O power button and activity LED are kinda’ week.

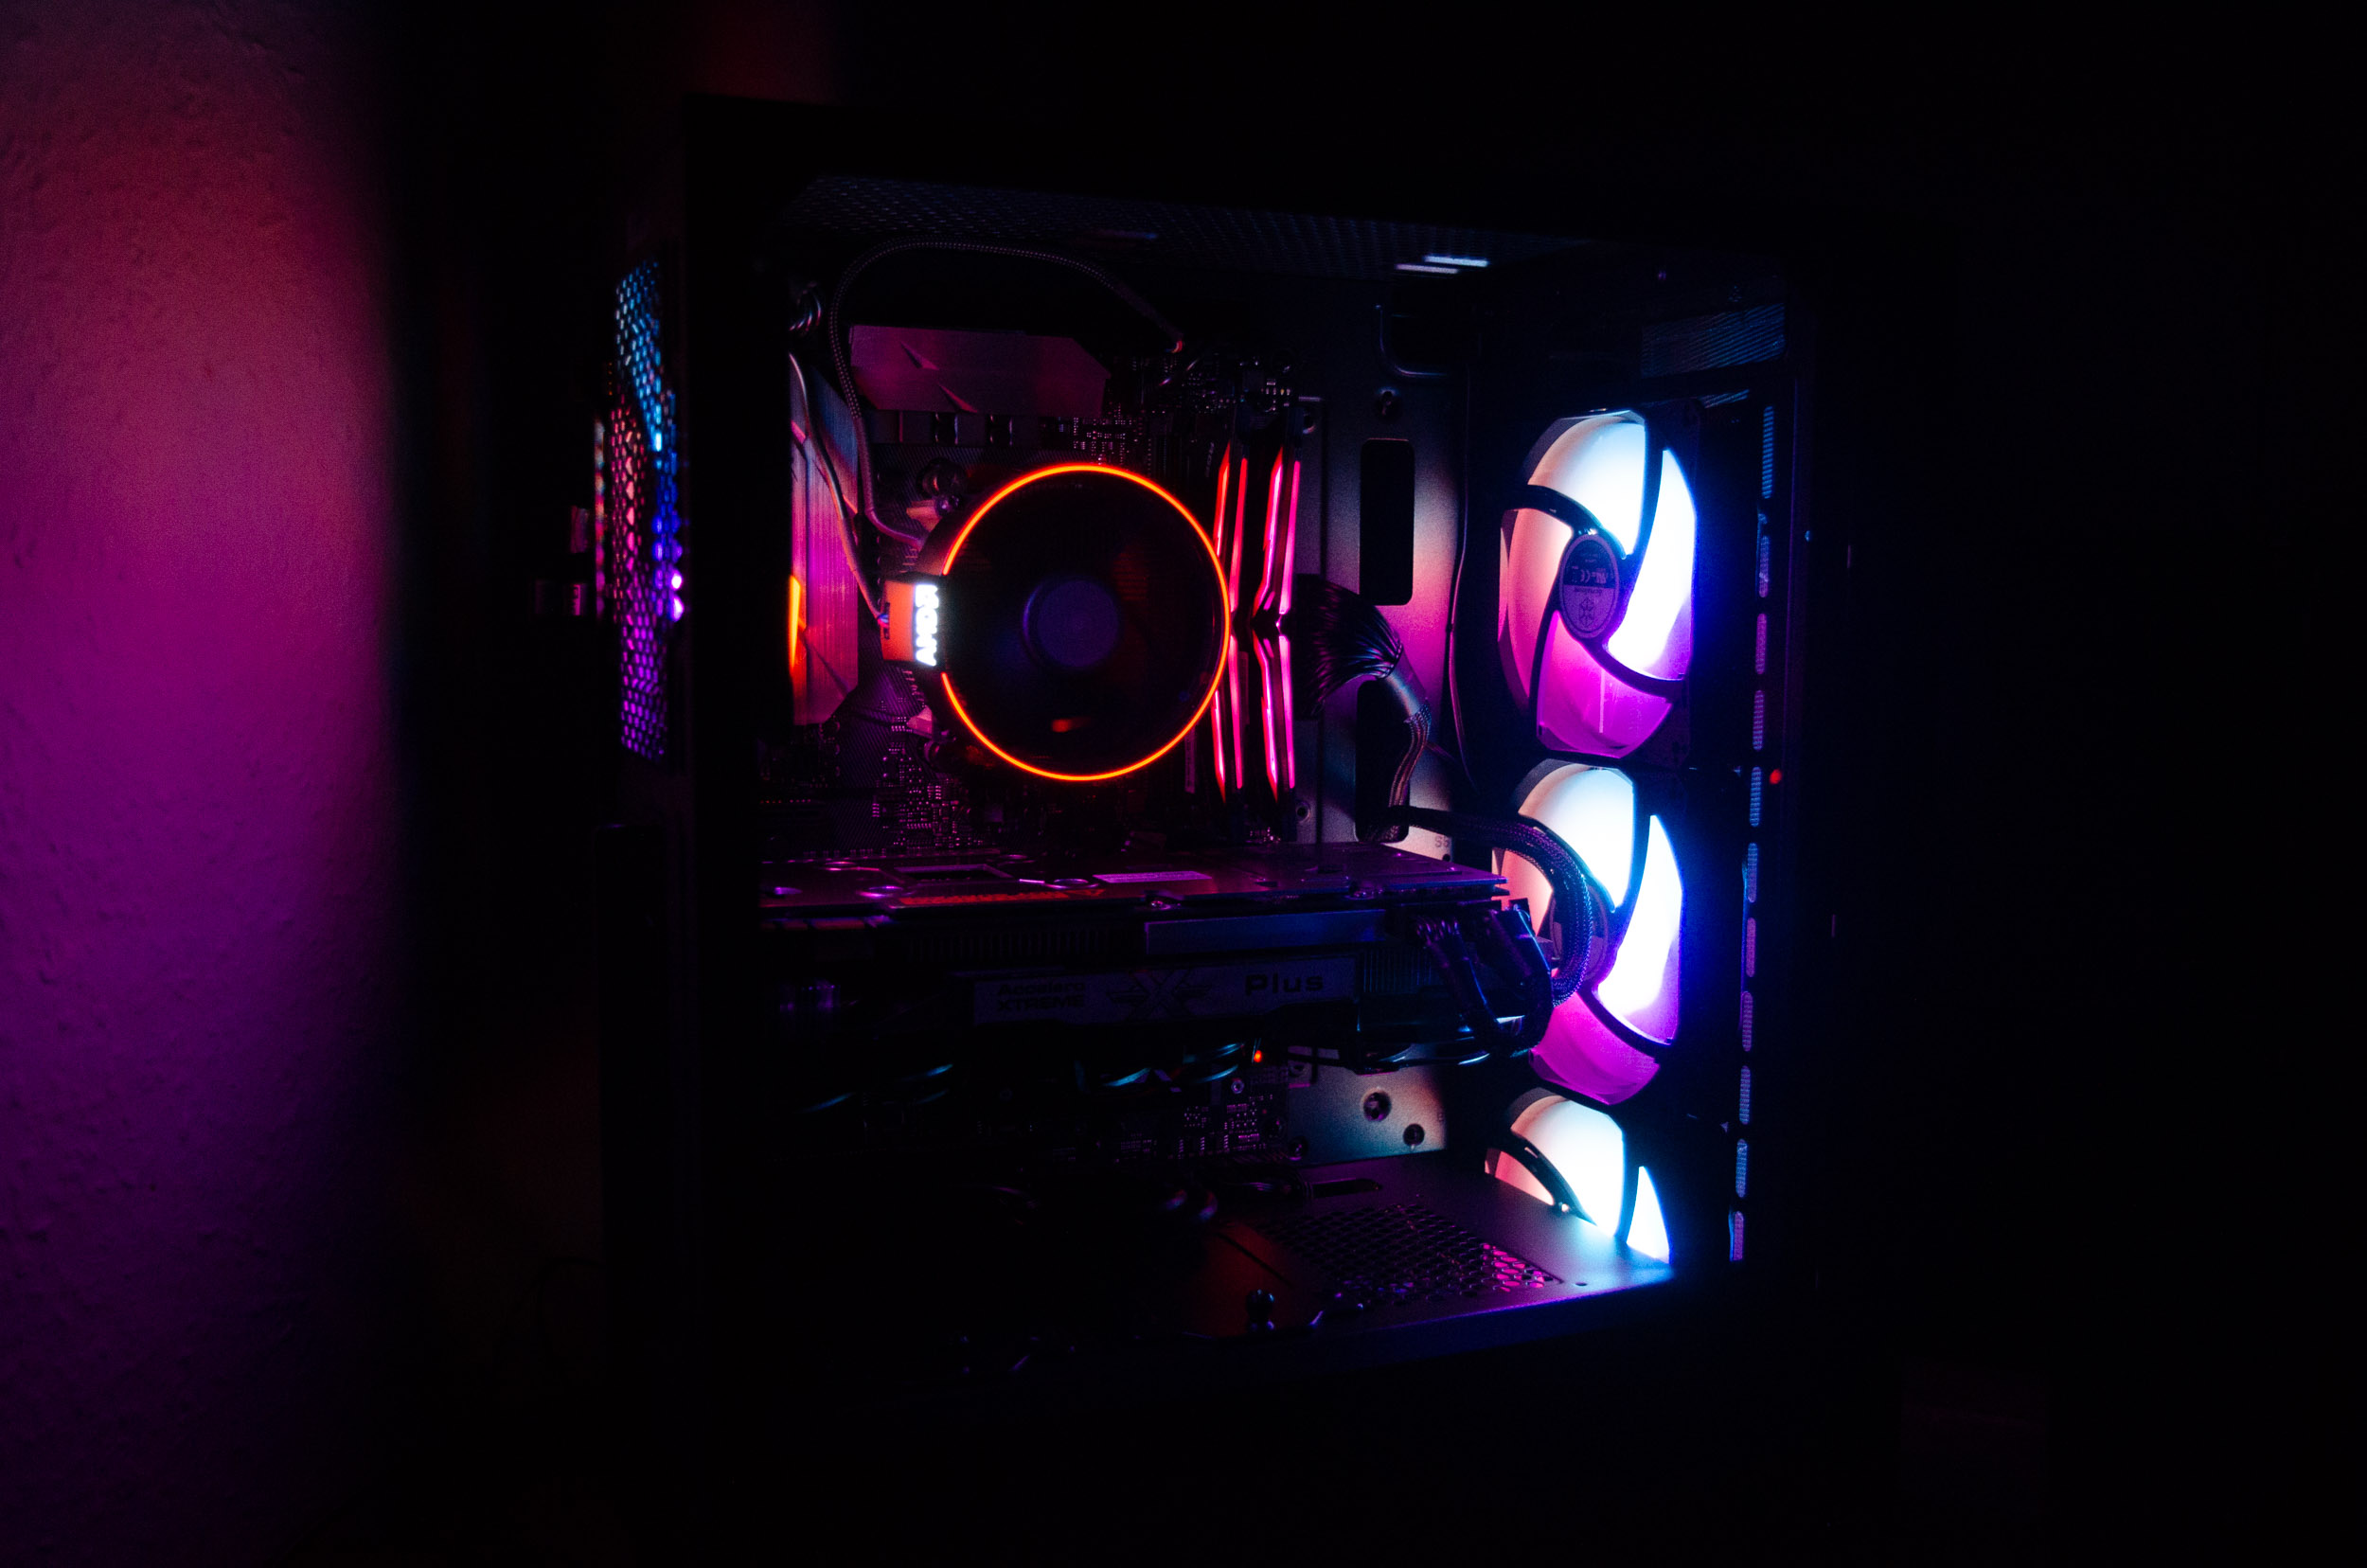
But at night time is when the case shines visually the most.

Testing methodology
- The SilverStone case will be packed with a variations of component to test for any clearance issues and then we will test the build with the fans at 30, 50 and 100% RPM points to record the CPU & GPU temperatures
- The AMD Ryzen 7 1700 CPU will be overclocked at 3.70 GHz for 1.325v
- As the main torture test, we will employ a 2 minute run in AIDA64
- Room temperature was recorded at ~ 22°C
- For the noise testing, we used our Pyle PSPL01 placed 30 cm away from the setup - all other fans will will be off or set at minimum RPM
- Thermal paste used Noctua NH-H2
- All CPU fans will be left on the ‘standard’ auto % rpm curve to simulate real life usage patterns with the side panel attached and the case fans will be tested at 30, 50 and 100% RPM points
- Any results over 90°C in any condition are considered a fail
Testing platform:
- CPU: AMD Ryzen 7 1700 AM4
- CPU Cooler: AMD Wraith Spire RGB
- RAM 16GB DDR4 T-Force Night Hawk RGB 3000 MHz CL16
- Motherboard: ASUS ROG STRIX X370-F Gaming ATX @ BIOS 5220
- Boot SSD: ADATA SX6000 XPG Pro 256GB M.2 NVMe 1.1 TLC Gen3 x4
- Video card(s): KF2 GTX 480 Anarchy Accelero Xtreme Plus
- PSU: Corsair CV550W 80+ Bronze
Software:
- OS: Windows 10 Pro x64 Build 21H1
- GPU Drivers: NVIDIA GeForce WHQL 391.35
- Core Temp v1.17 - To see the temperatures in real time
- CPU-Z v1.95 - To verify the CPU’s statistics
- AIDA64 Extreme v6.23 - Another popular total system stability test
- MSI Afterburner v4.62 - To record the FPS and load/temperatures
Resolution for our test game Rise Of the Tomb Raider, is set at 1920×1080 with everything at Medium quality settings and no AA.
Testing, Results and Analysis
Let’s inspect the CPU temp in an overclocked scenario. This is already too much voltage for the stock AMD cooler but the case even with its compact footprint still provides ample airflow for day to day usage.

In the GPU department we see the delta variation between the RPM spots increasing since the GPU is getting such a direct and close airflow from the case’s fans.

Regarding the noise test, realistically most people will keep the settings at 30 or 50% RPM for the fans, hence why we haven’t included the 100% spot, because no matter what the components do in the case, their sound will be overridden by the case’s fan which is around 50 decibels. Thus at 30 and 50% with a recording spot from 30cm away, the overall noise output is decent.

Conclusion
This is a very interesting proposition since most buyers either go really big or really small in terms of overall footprint. This FARA R1 PRO is quite compact for an ATX format and it’s for those that want some bling with their build without breaking the bank nor the desk if space is limited. Storage wise, it offers a decent amount of drive support and even AIO cooling - for example you can even install a long GPU that has a 120mm AIO that can go at the rear of the case and then even do a 240/280mm AIO for the CPU. Of course, there are some drawbacks with this shorter design (no 280mm AIO top side support) and entry-level frame quality since most of the asking price consists of the supplied ARGB fan and the side tempered glass. Also, on the next iteration they should offer a complete fan and ARGB fan combo controller that will solve a lot of headaches with the WM.
The good:
+ Great storage support given its compact size for an ATX frame
+ Front metal mesh for optimal airflow
+ Real tempered glass
+ 4x 120mm RGB included
+ 4-way RGB hub
+ Two colour options to choose from - black or white
+ Wide enough for tall CPU coolers (165mm)
The bad:
- Entry level thin metal construction
- Support for radiators is quite limited due to its compact format
- Given the price maybe should have made offered instead of the RGB hub, a proper fan and RGB hub combo to greatly simplify the WM
Glob3trotters “Recommend” Award - 4 out of 5

Many thanks to Silverstone for supplying us with this sample!