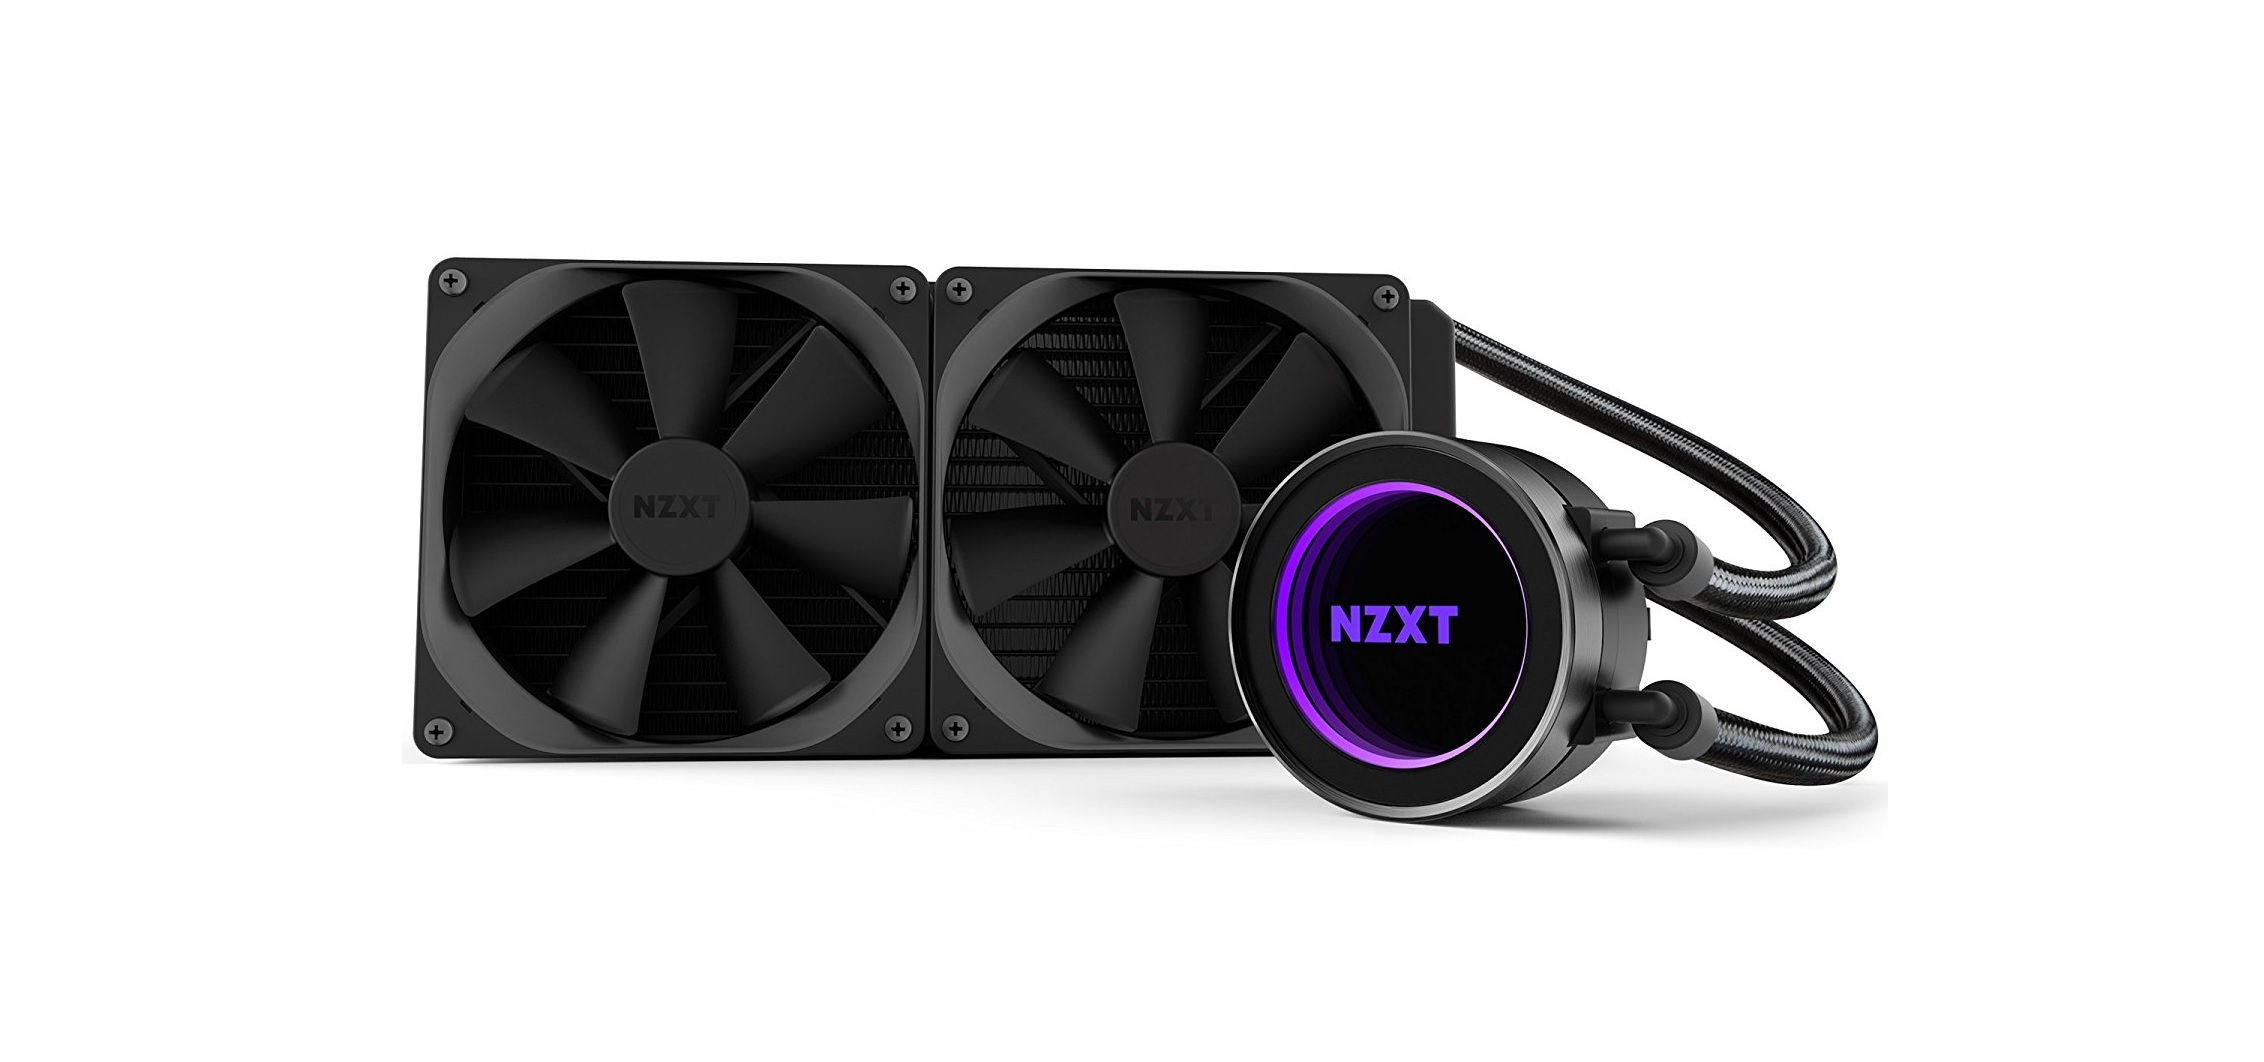
Yup. This puppy right here is pure awesomeness! Let’s begin … by Releasing The Kraken ! Oh yes, sorry, couldn’t control myself. But this is another product that makes me giggle with excitement. Yes, it has RGB like everything now from kitchen sinks to .. pets? But this is one way to do it perfectly.
Not only that, as we will soon discover that looks aren’t everything, because this is one hell of an AIO liquid cooler.
First about NZXT :
Nzxt (stylized as NZXT) is a computer hardware manufacturer based in Los Angeles, California. The company is best known for being a major manufacturer of computer cases, components, and accessories for the PC gaming market.
The name NZXT is a corruption of the word “next” in uppercase and they take pride in 13 years of successful service.
They have a list of core values and principles (passion, courage, community etc) that inspire their creativity, drive their decision-making, and guides them in bringing the best PC gaming products possible to the customers.
Price when reviewed:
£ 149.99 - via Amazon.co.uk
NZXT RL-KRX62-01 280 mm Kraken Series All-in-One Liquid Cooler - Black
$ 169.95 - via Amazon.com
NZXT Kraken X62 All-in-One CPU Liquid Cooling System Cooling, Black RL-KRX62-01![]()
Here is the full video review as well. Enjoy !
Presentation and specification
Courtesy of their website:
-
The all-new Kraken Series features the most advanced controls ever to be included in an all-in-one liquid cooler.
- New performance engineered pump
- Individually addressable RGB and infinite mirror design
- CAM Powered for complete software control
- Includes Aer P radiator-optimized fan
- Advanced lighting modes for a fully dynamic lighting experience
- Reinforced, extended tubing for increased durability
- Industry-leading 6-year warranty
Through CAM’s software interface, users can fine-tune settings to ensure an optimal performance, even in the most intense gaming sessions.Everything, including the pump, radiator, and the fans, have been redesigned to bring you the greatest experience in liquid cooling, all backed by an industry-leading 6-year warranty.
NZXT did a wonderful job presenting their products and new technologies hence no need for to explain further. It’s not me being lazy, but take a look for yourselves.
NZXT is debuting the Aer P series of high static pressure fans, which feature chambered intake and exhausts, winglet designed fan blades and fluid dynamic bearings. These will be available separately, in 120 mm (included with the Kraken X52 and 140 mm models (included with Kraken X42 and X62). The Aer P series also includes sleeved cables, as well as vibration dampeners.
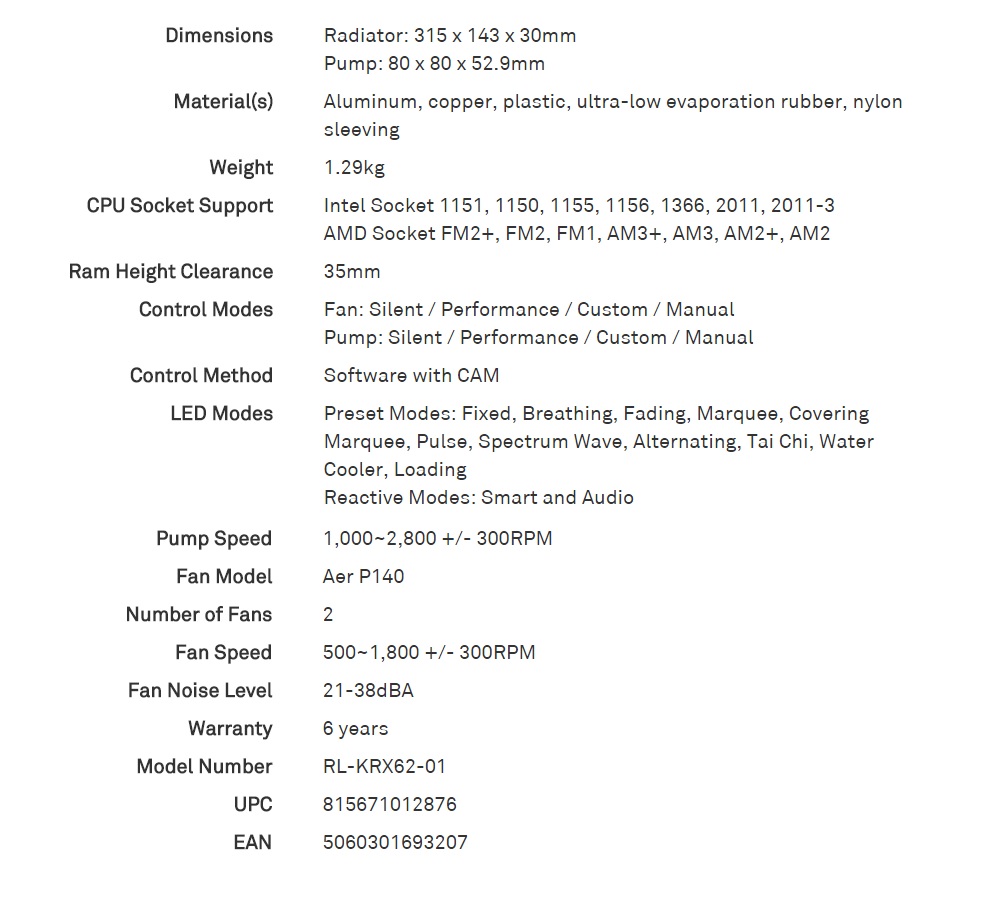
Then here are the specs:
Packaging and Visual Examination
So first things first.
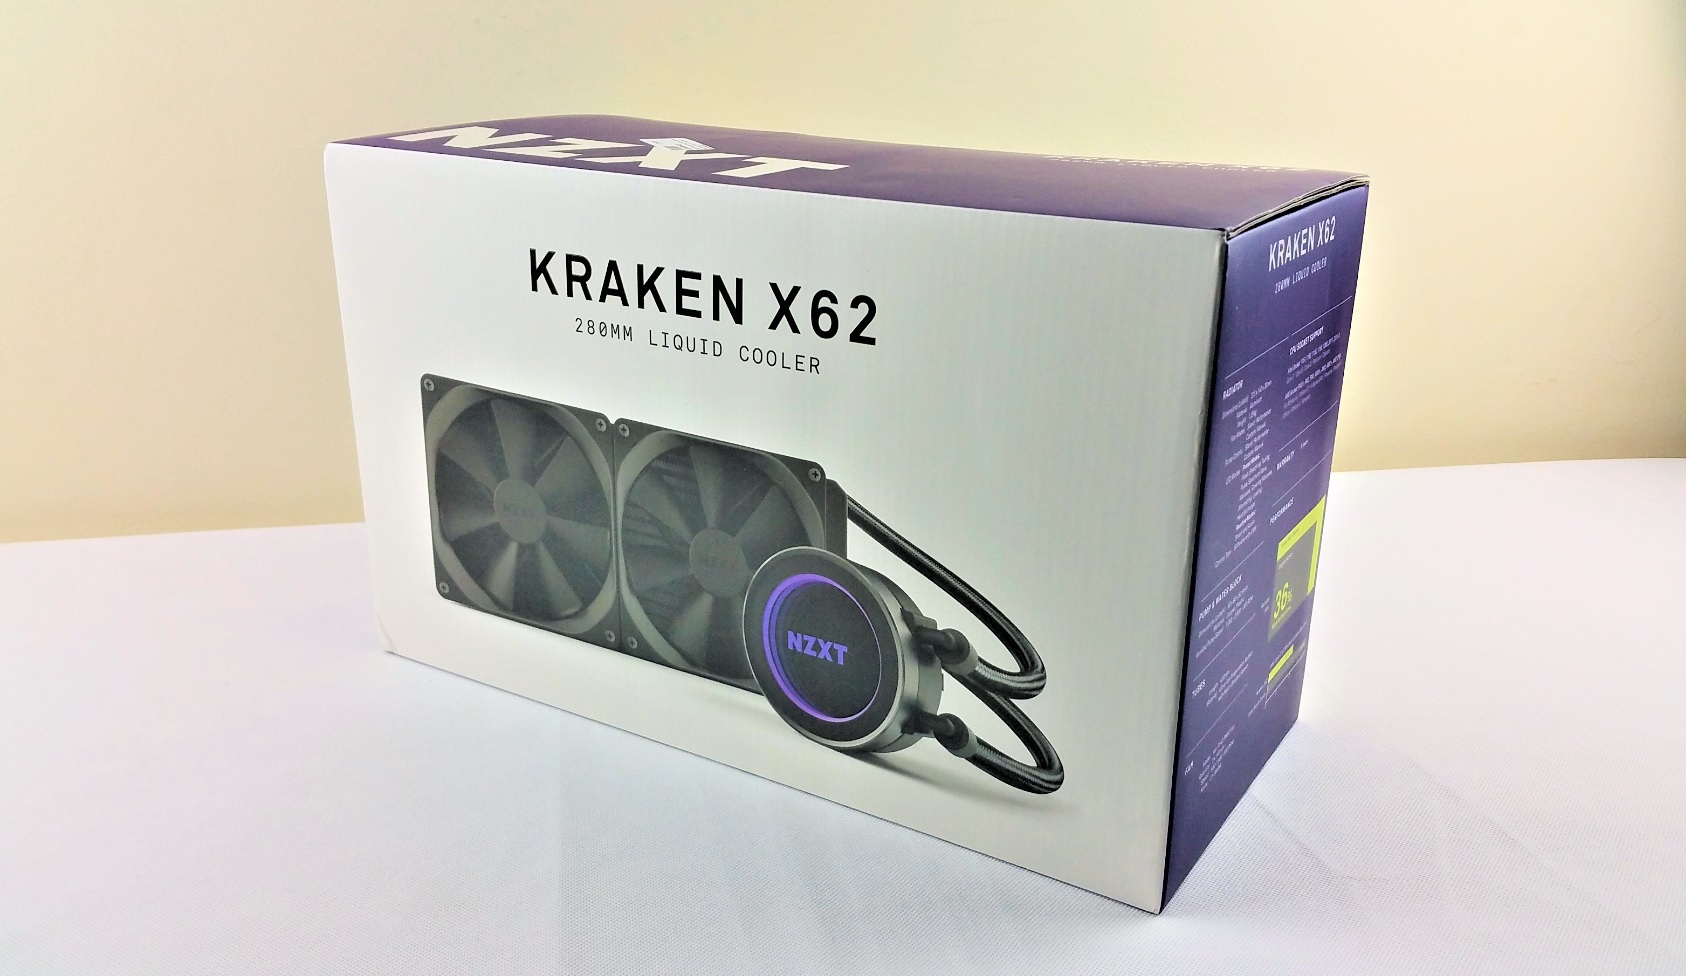
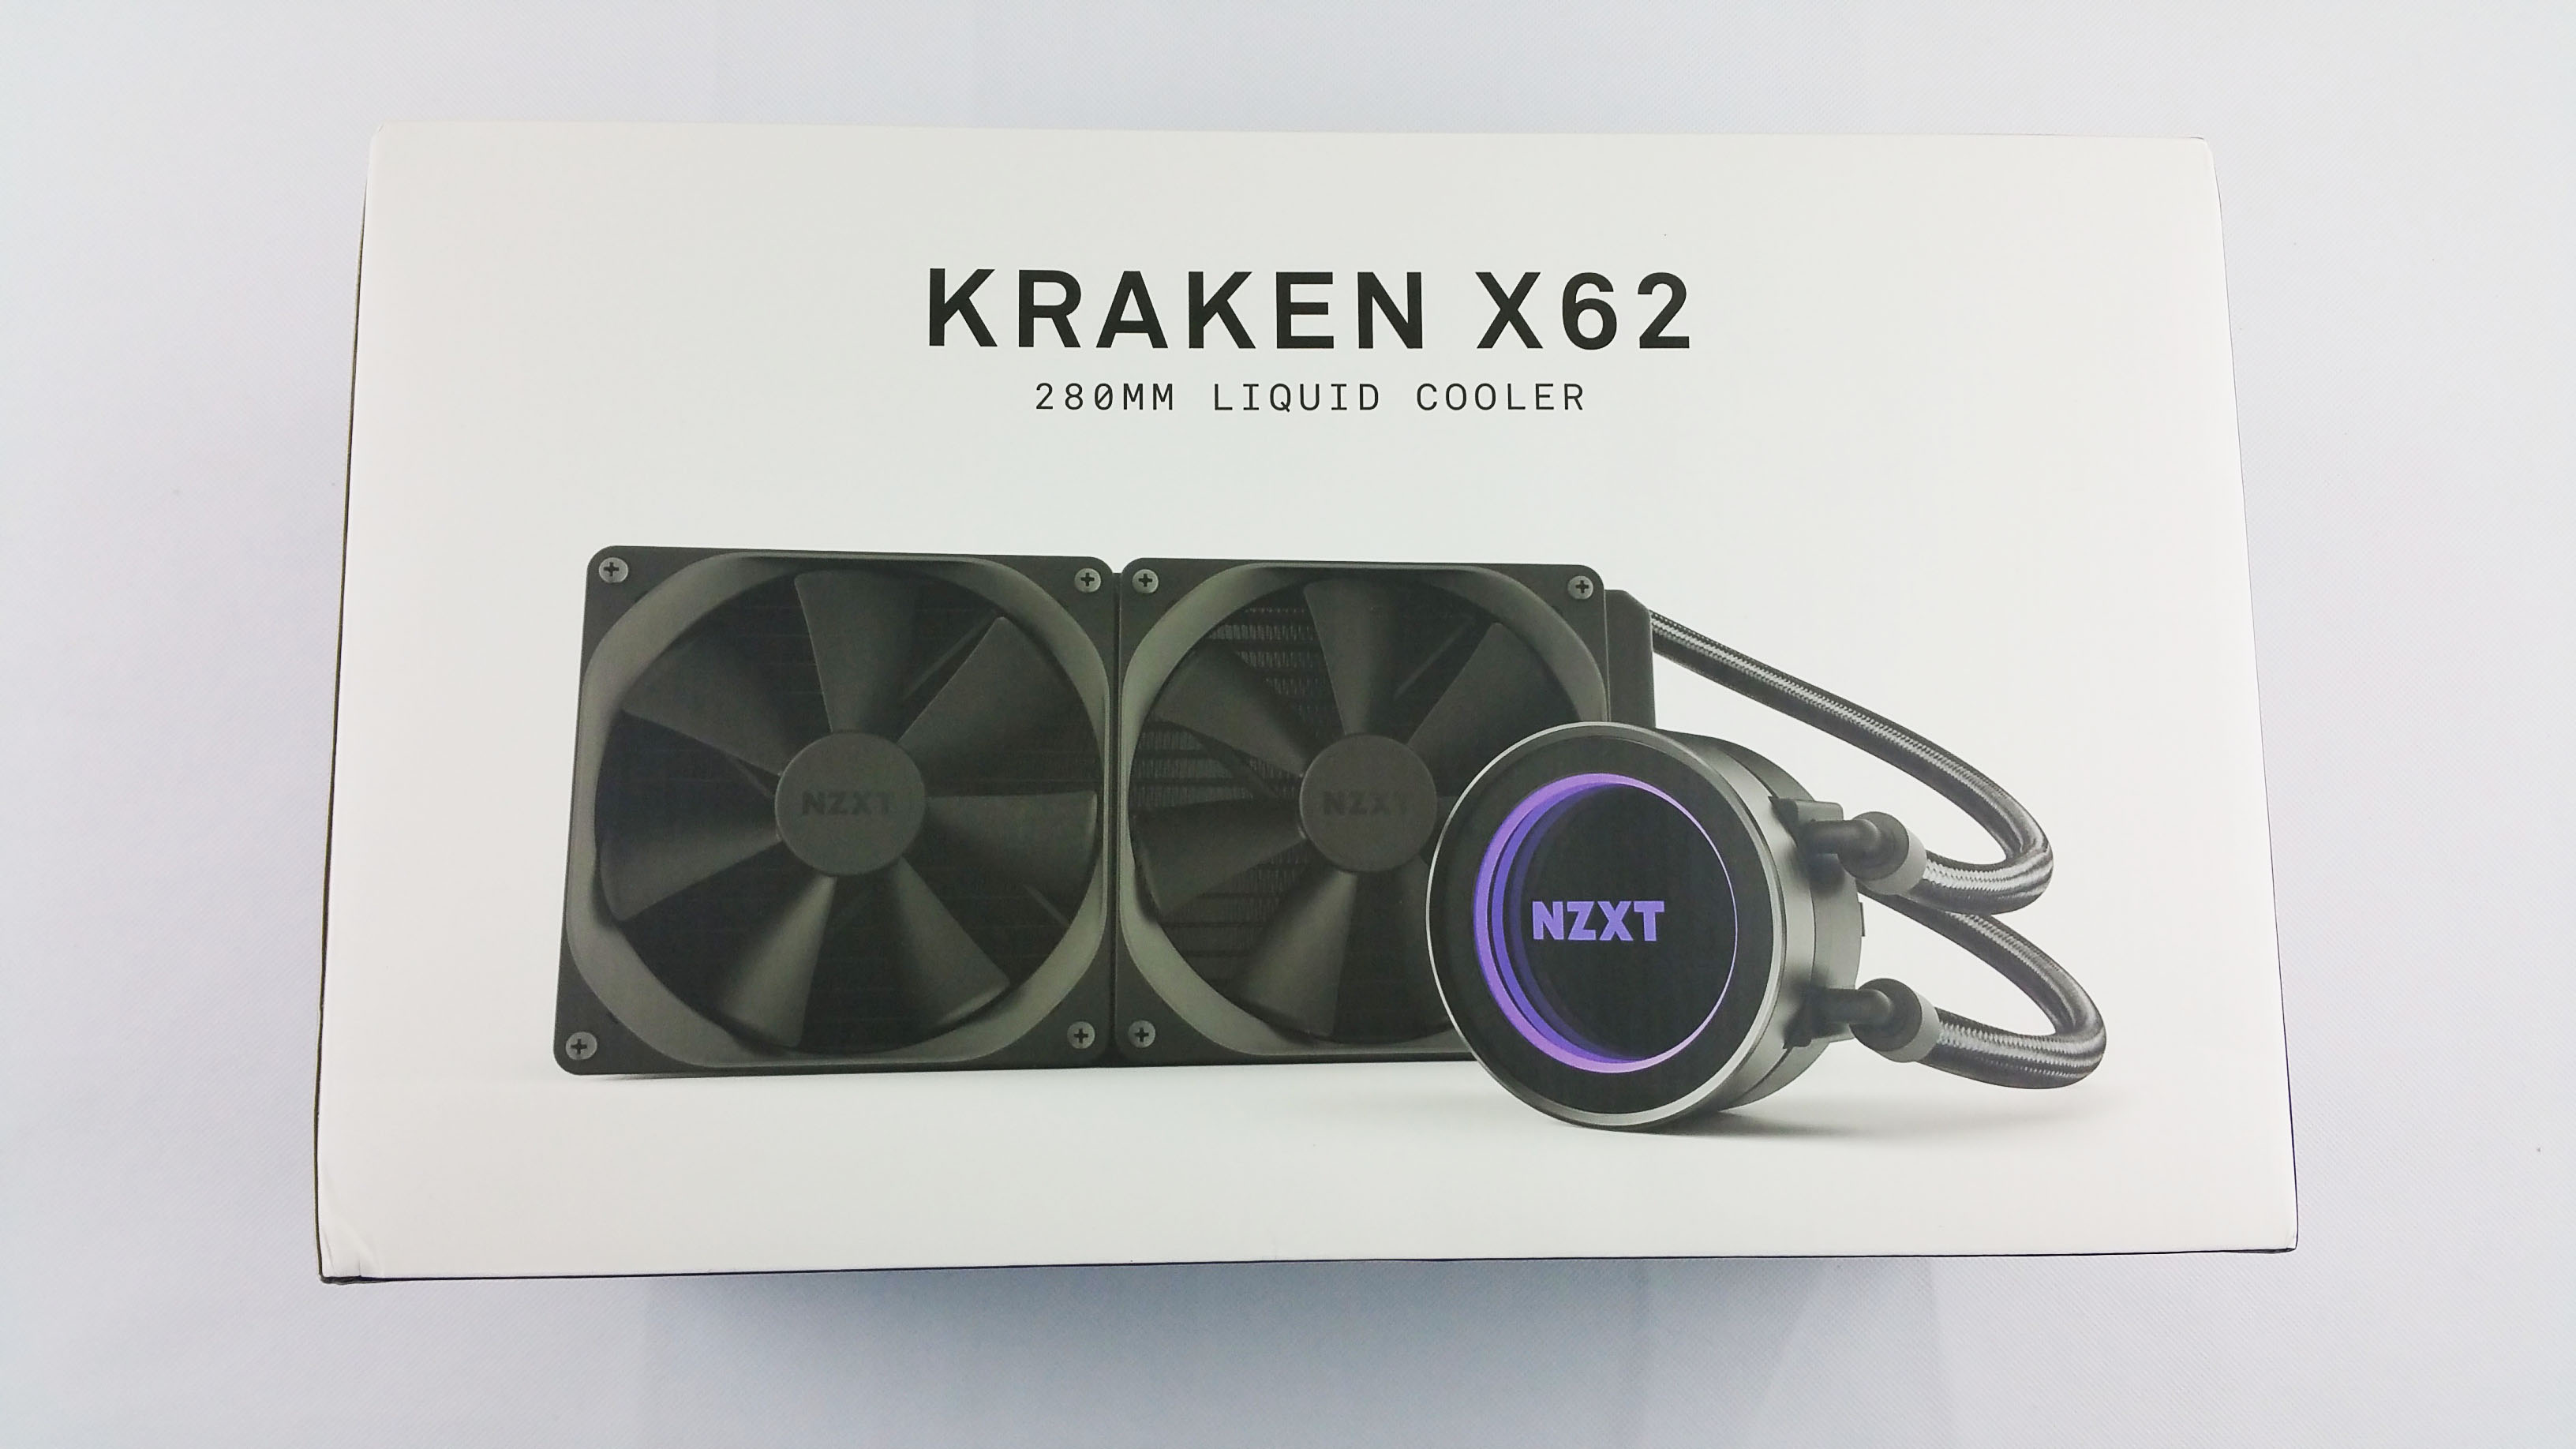
The main side has a minimalist approach, just the name of the product onto an all white background with a full graphical drawing of the Kraken X62.
On the back we have a quick preview how the AIO will look if the radiator will be mounted vertically in the font, then some of the highlights that you previously saw and the introduction of their proprietary monitoring and control CAM software.
The top side is all purple and carries the NZXT logo.
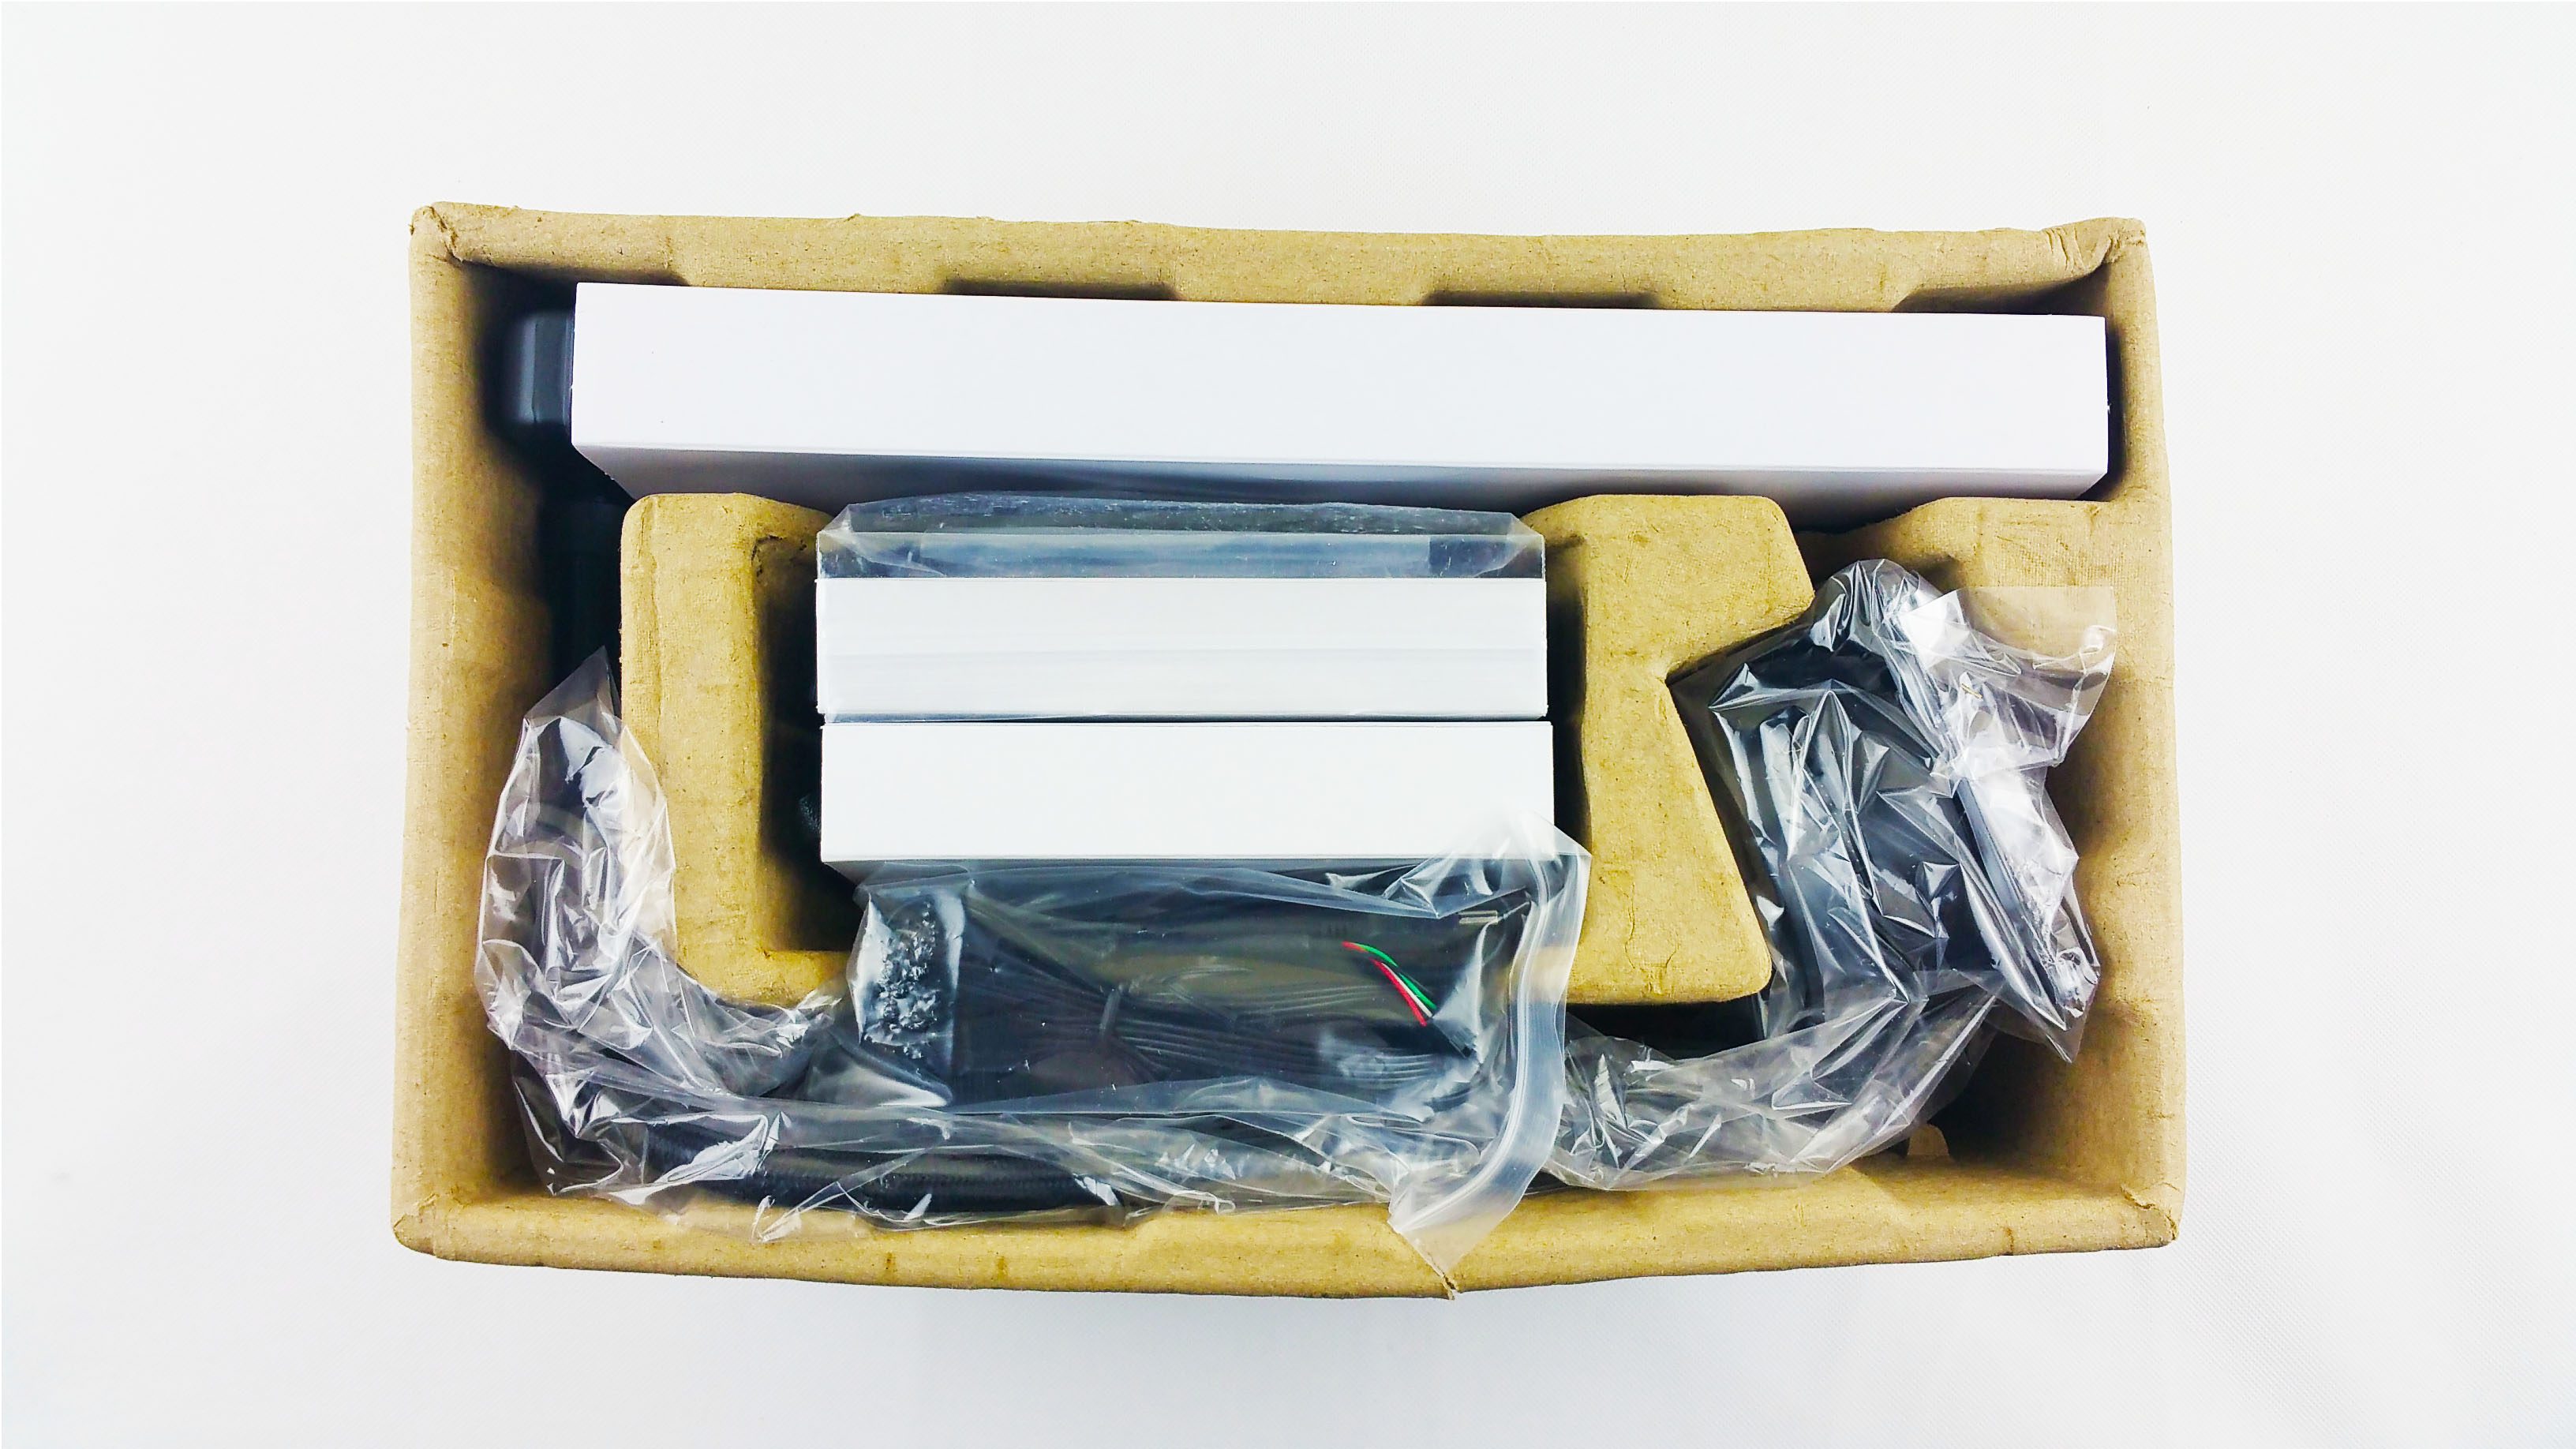
Let’s move inside.
First up we have the Kraken X62 dual 140 mm radiator. Notice the excellent sleeving for the tubes and the mirror like face of the CPU socket/pump assembly.
Speaking of, on the side, these are the power and control plugs for the pump, fans and the light show.
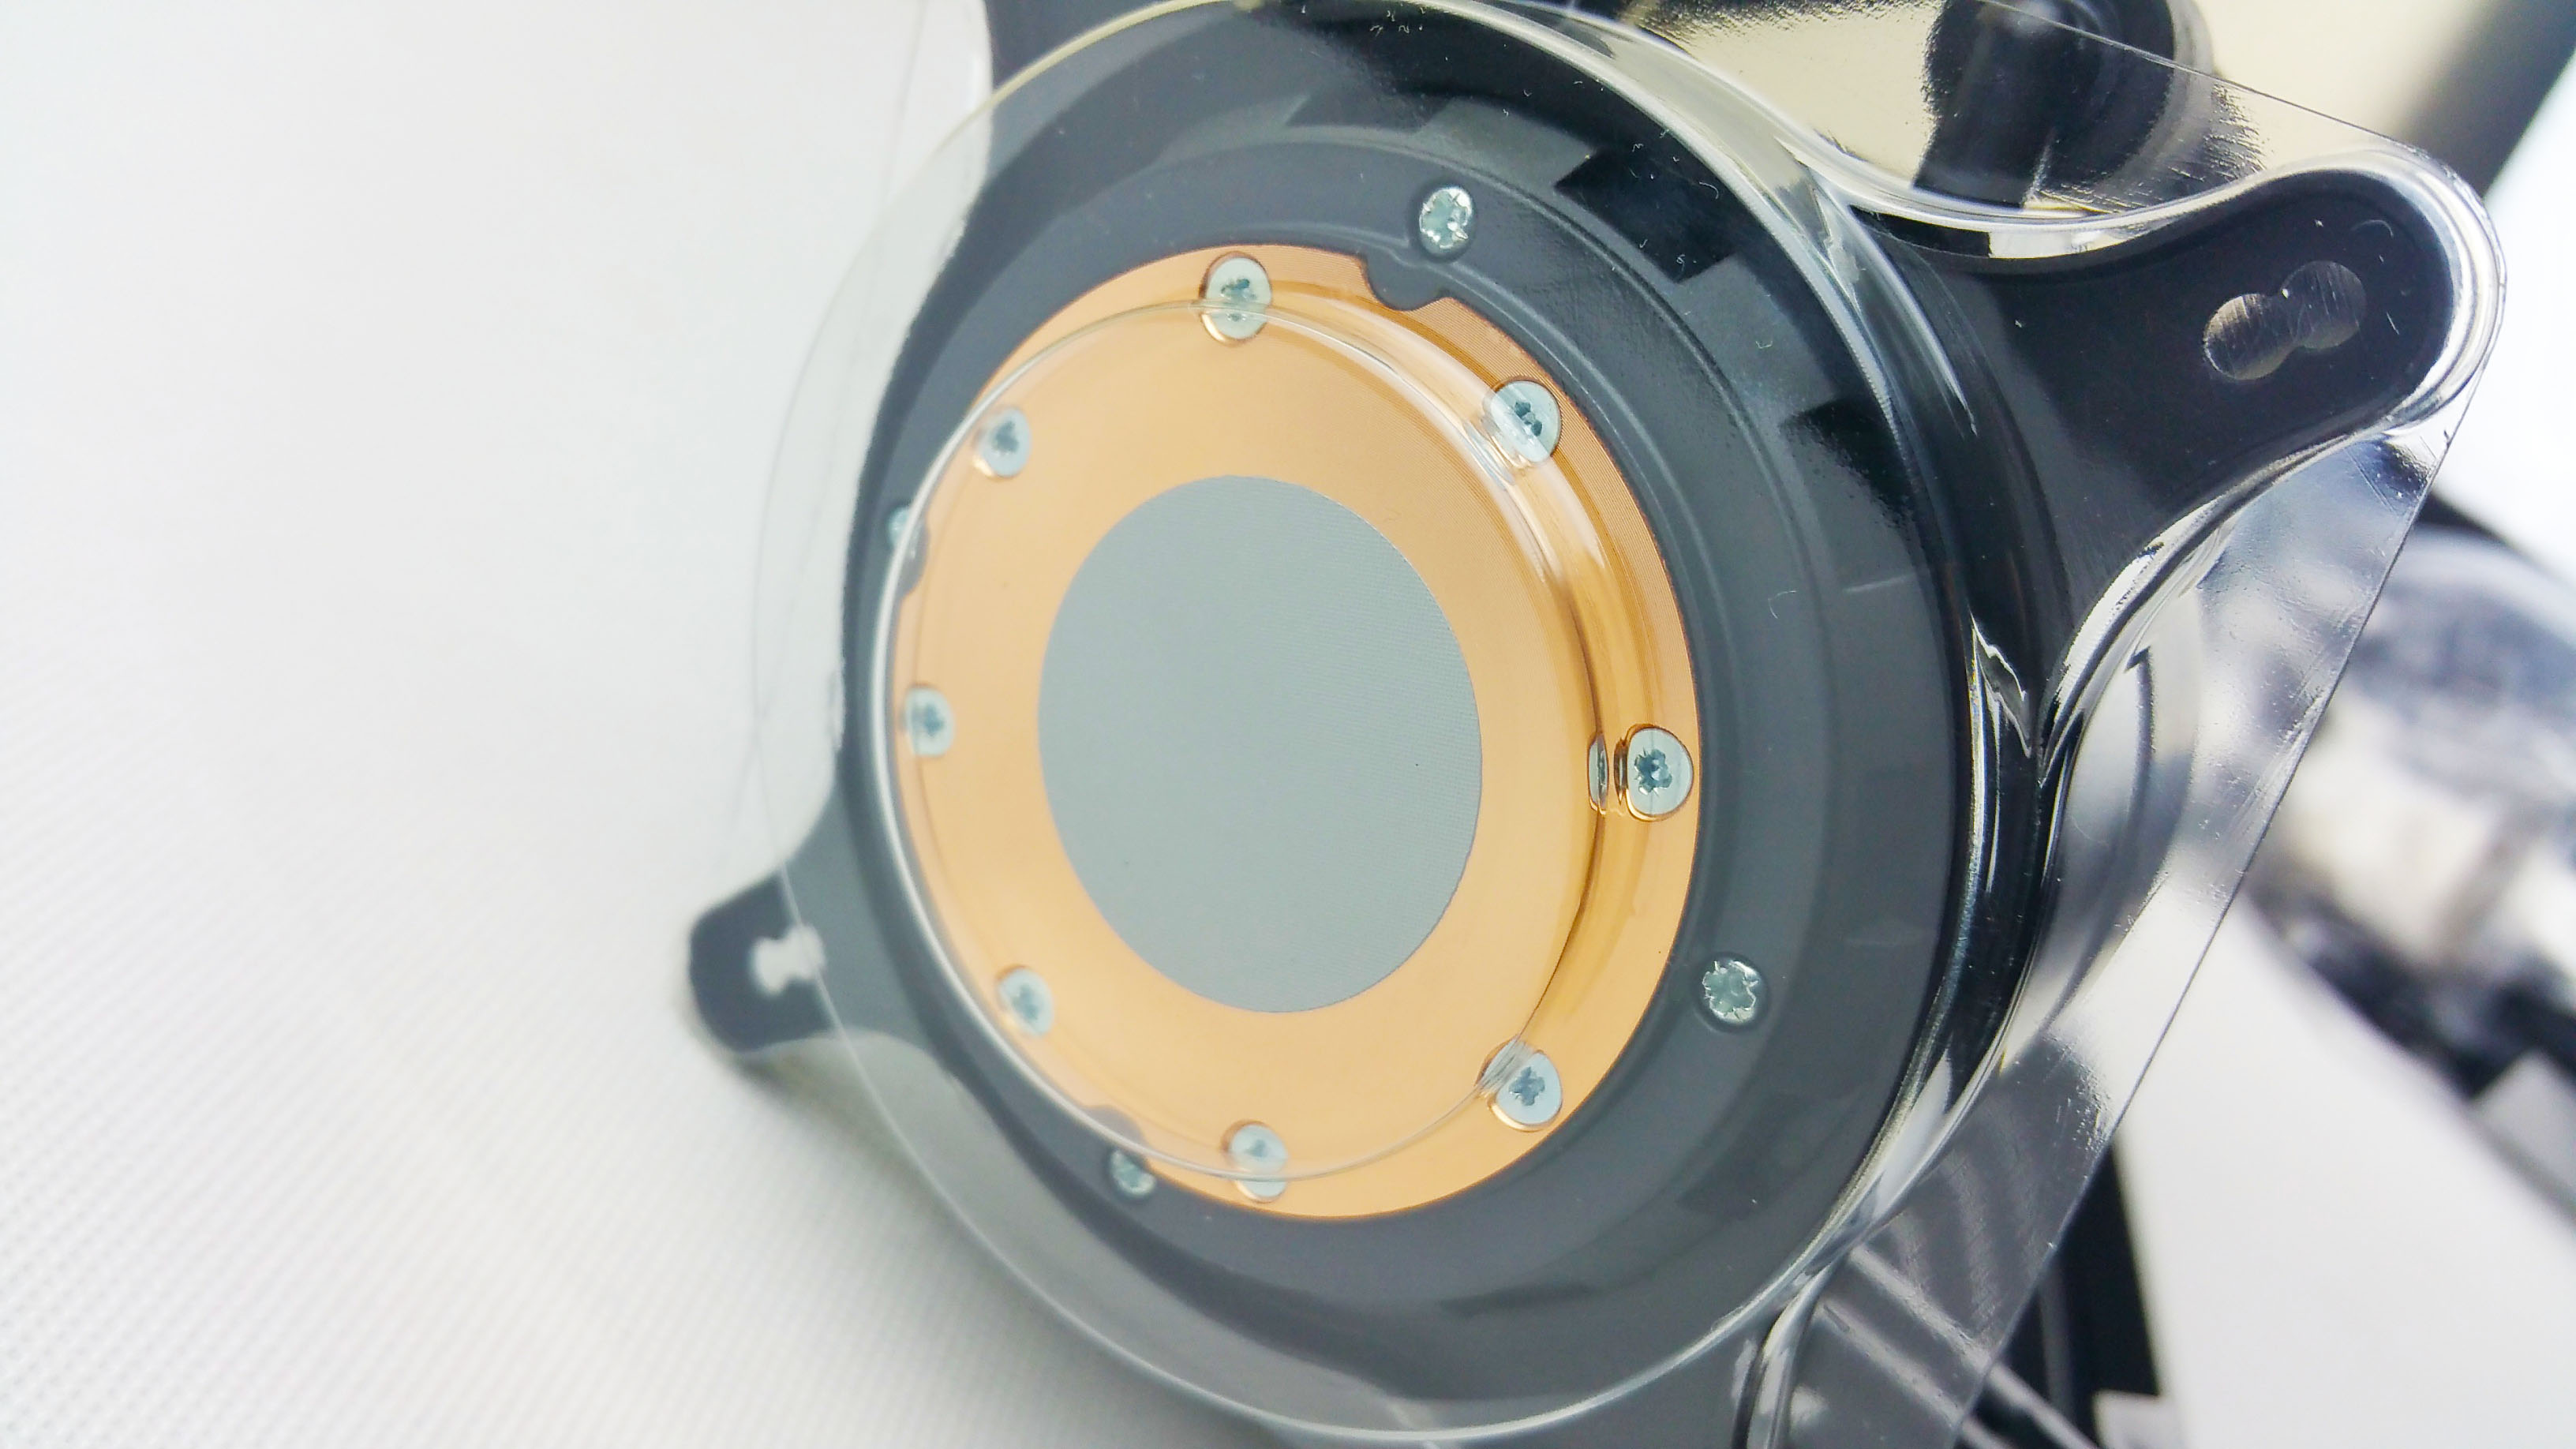
The Kraken X62’s CPU socket/pump assembly comes with a pre-applied thermal paste.
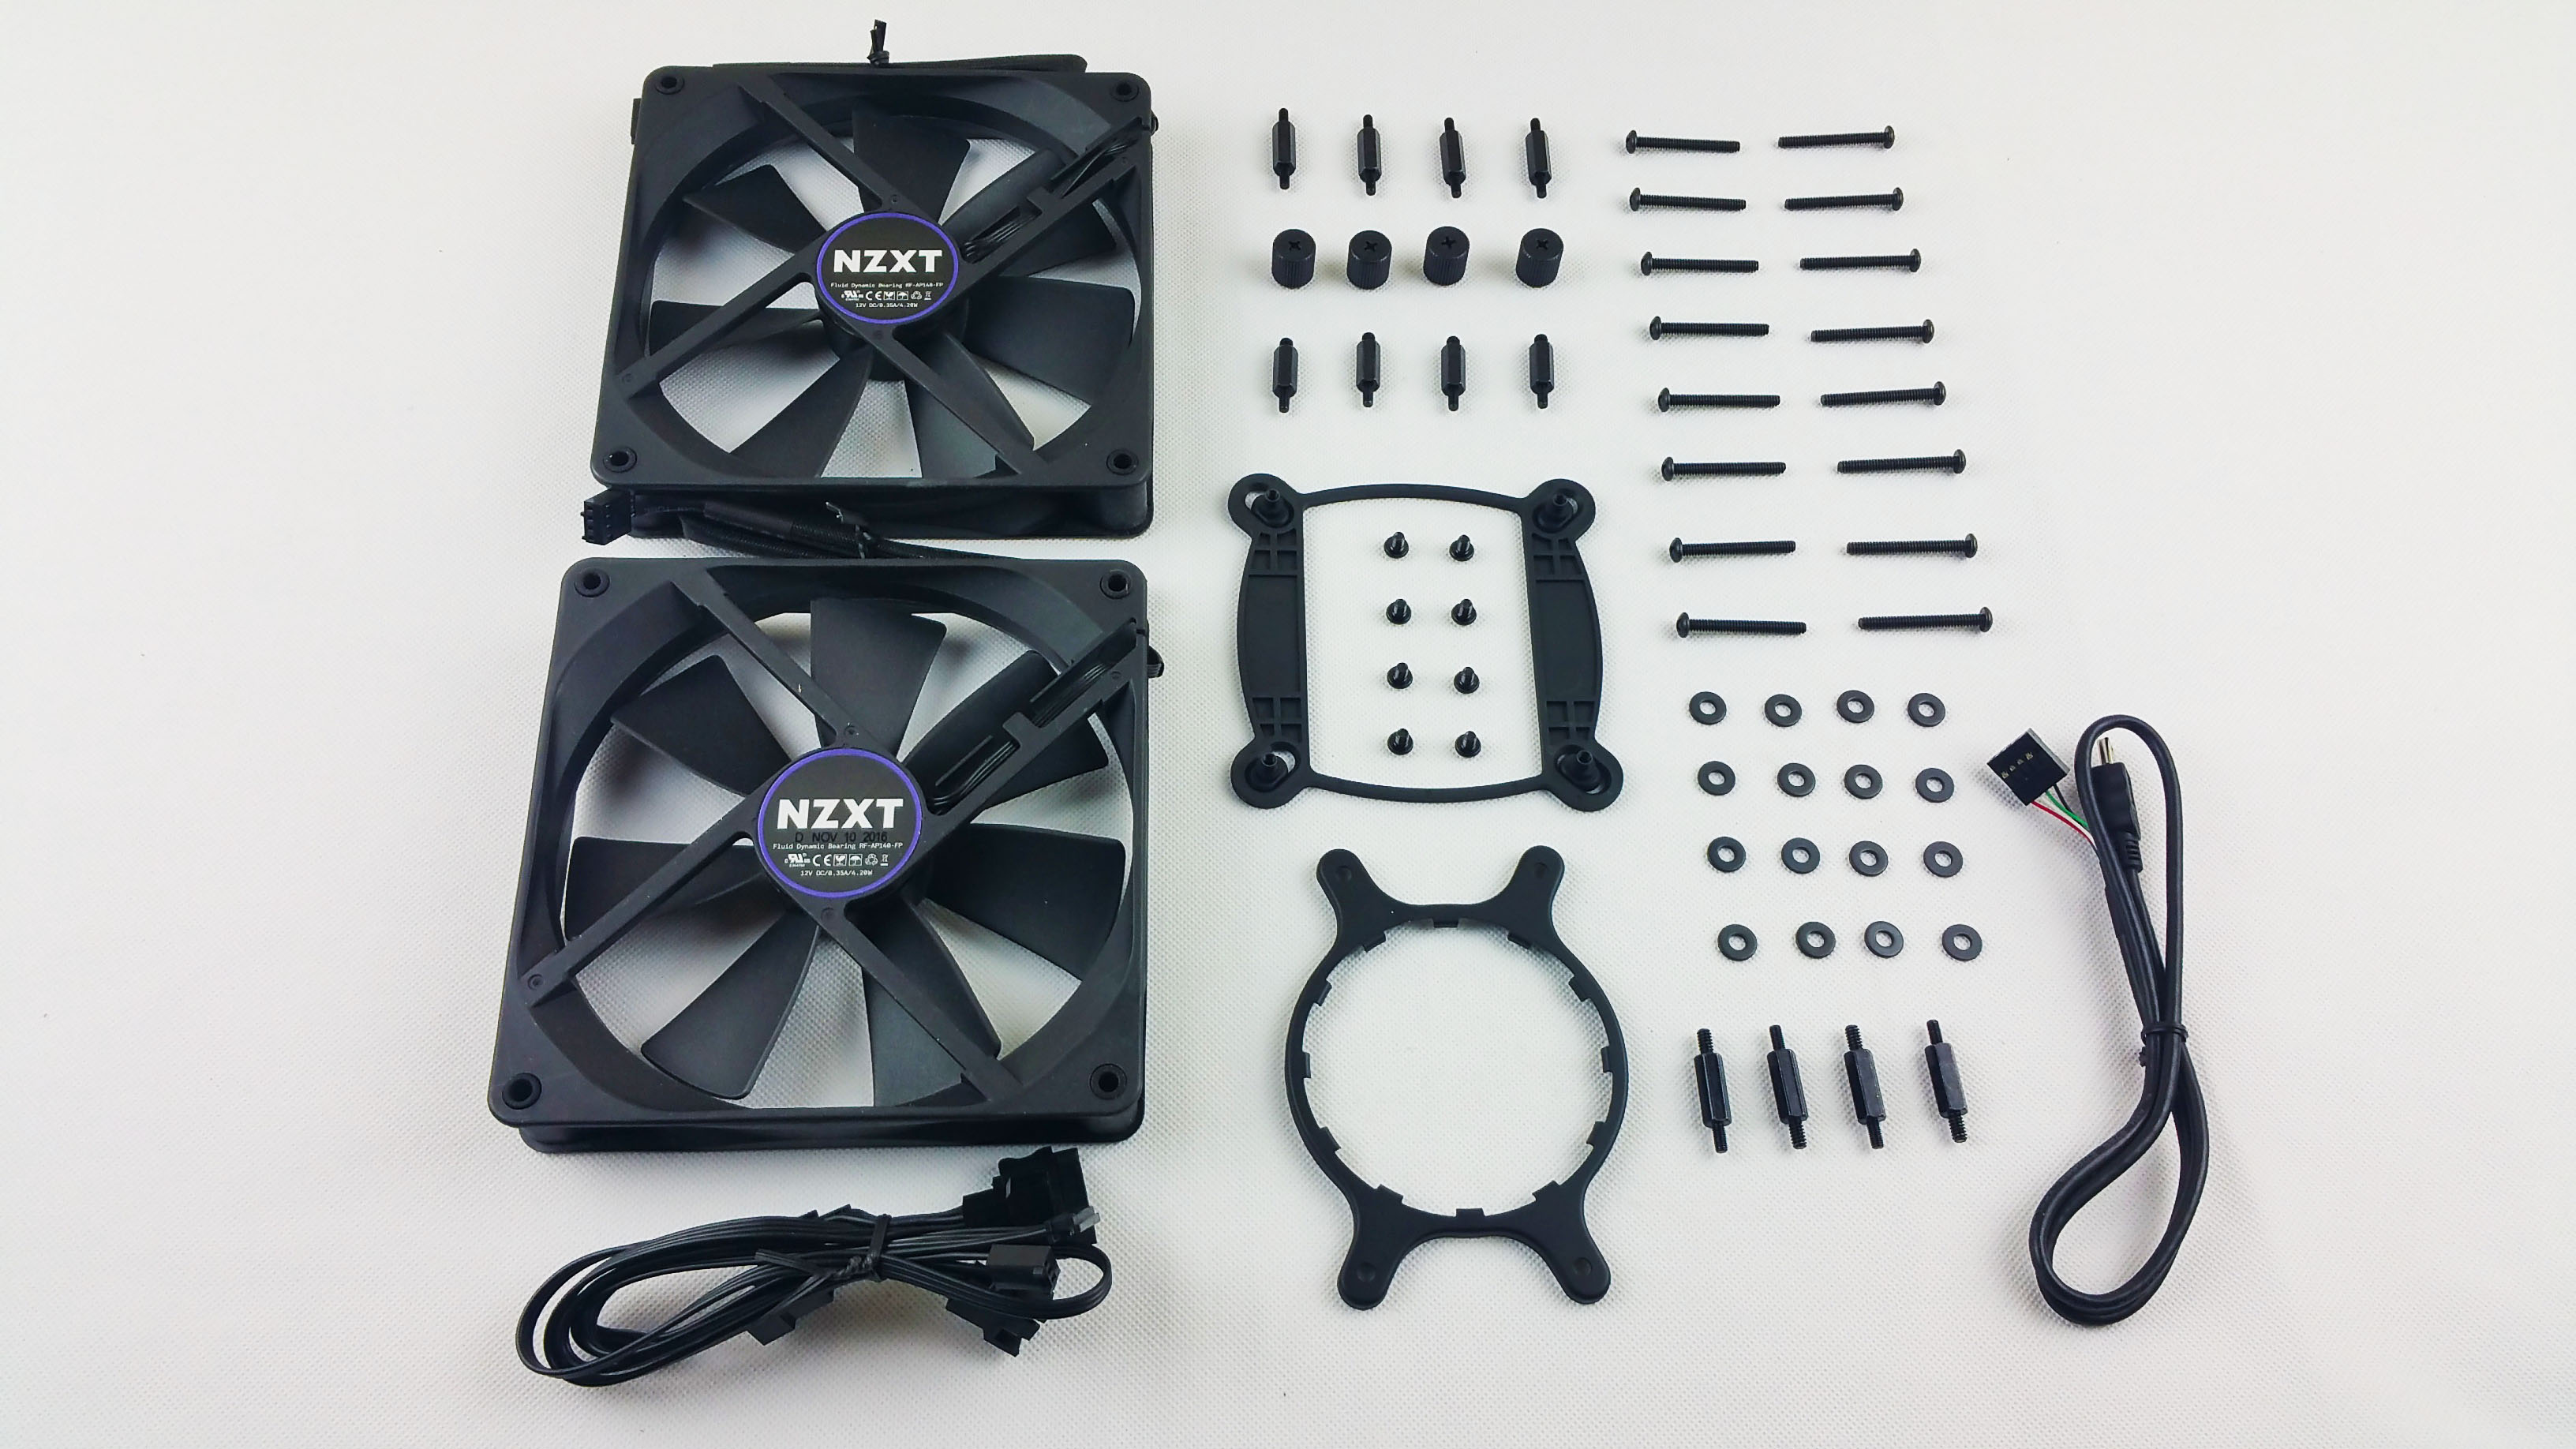
Then all the accessories, detailed as follows:
- 1x AIO Liquid CPU Cooler
- 1x Mounting kit for all INTEL CPU sockets
- 1x Mounting kit for all AMD CPU sockets
- 2x NZXT Aer P 140 mm High Performance PWM Fans
- 1x SATA powered fans cable
- 1x USB control cable
- 1x Thermal compound (pre-applied)
- 1x Quick Start Guide
- 4x Thumb locking screws
- 8x Short Philips screws
- 12x Adapters (Intel / AMD )
- 16x Metal washers
- 16x Long Philips screws
Can’t wait to install it !
Installation
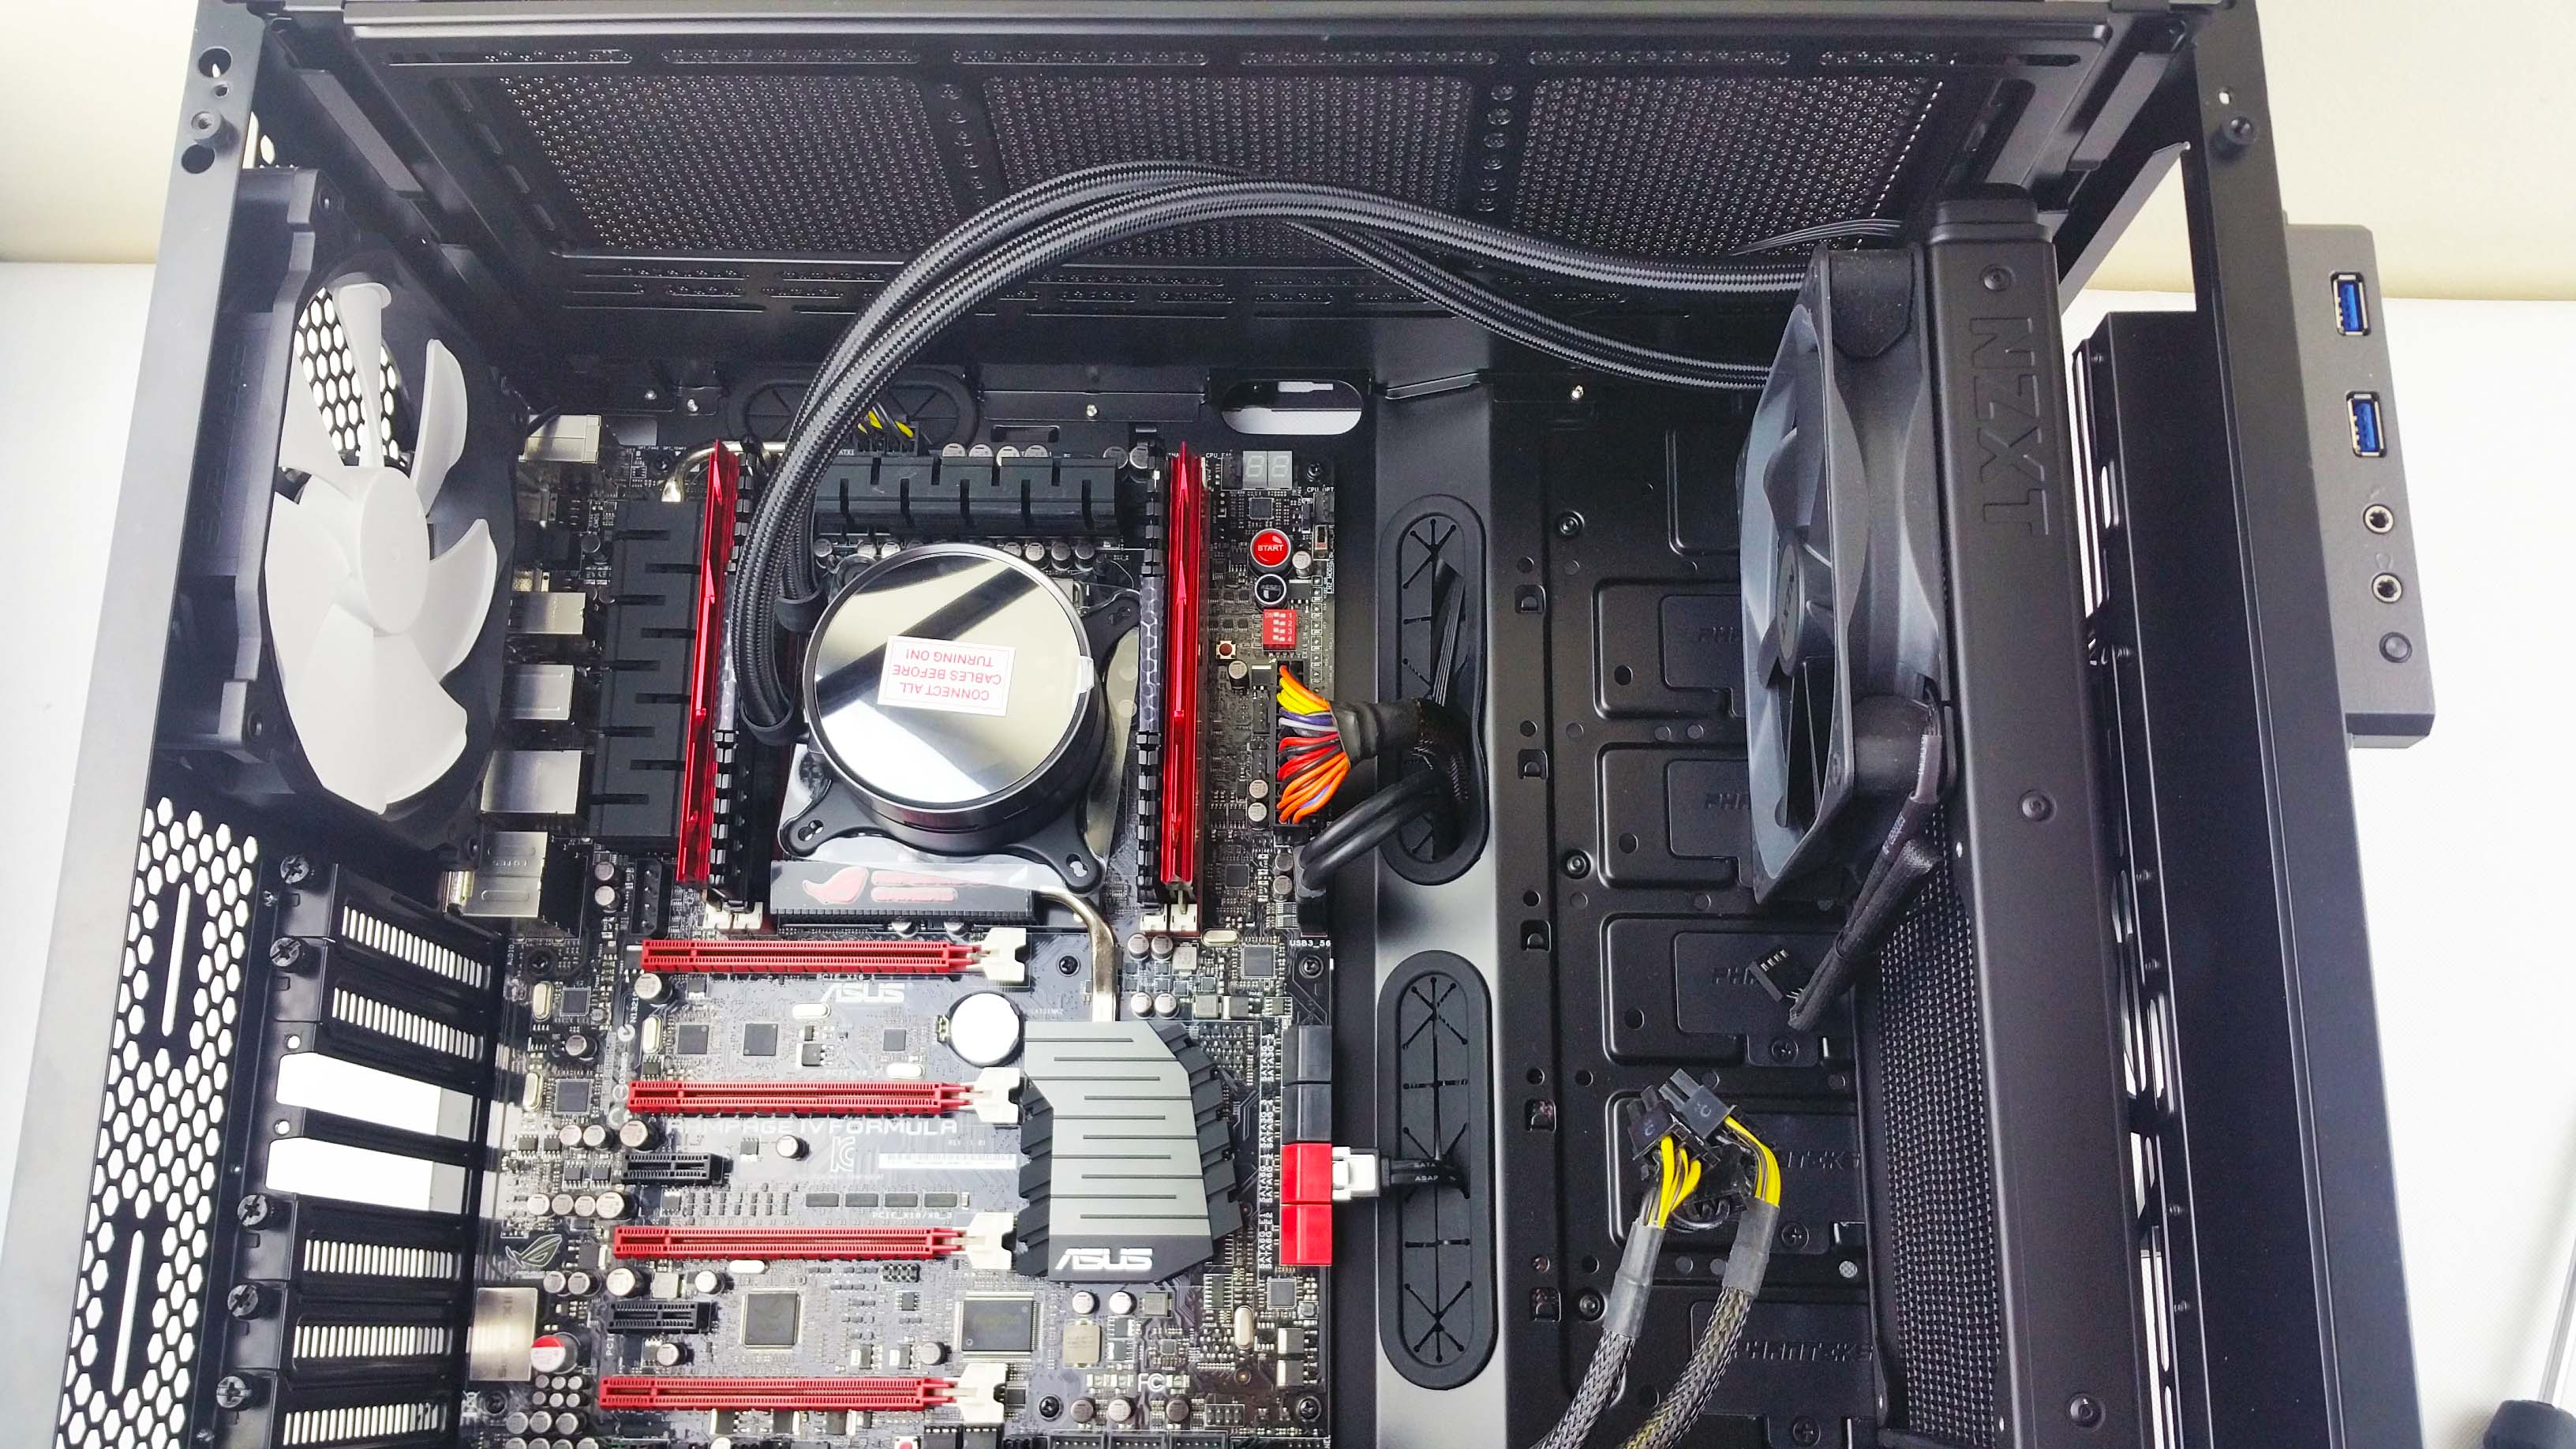
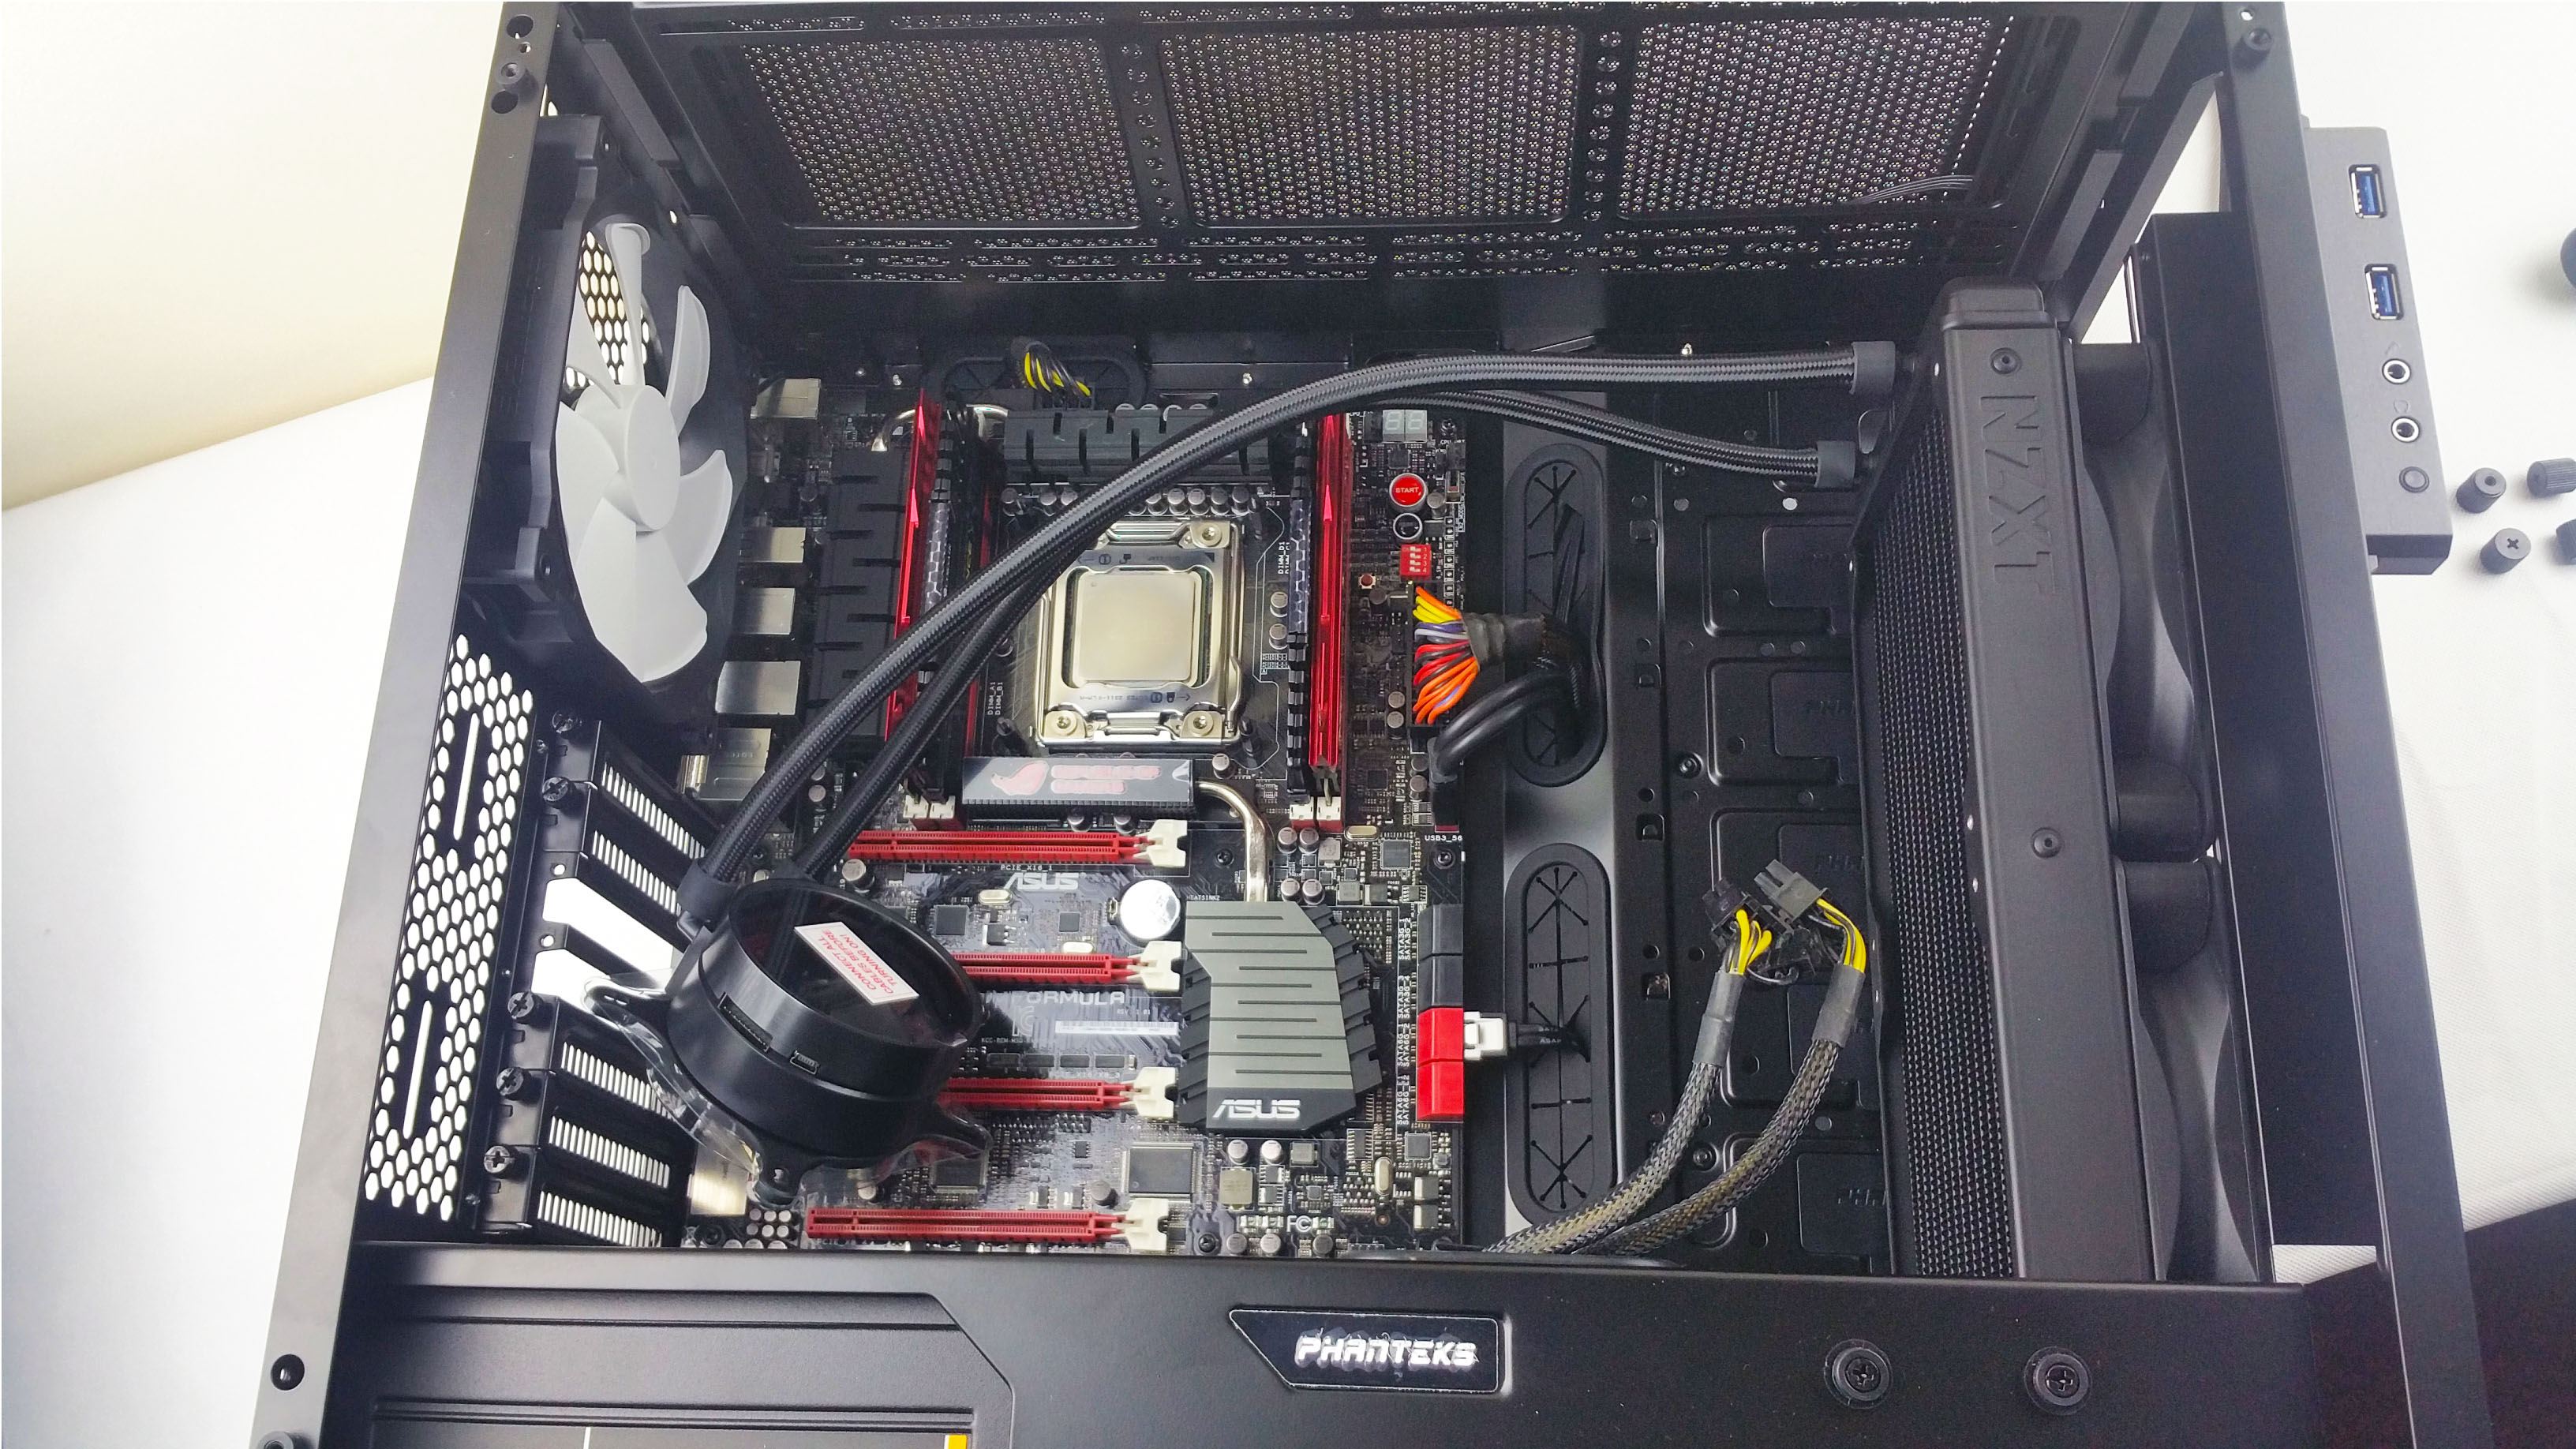
Select your mounting orientation. Most likely it will be a top or a front mounted layout. Just be sure to have the tubes that come out of the CPU block/pump on the right side. This is the only orientation if you want your logo to be facing you correctly when it lights up.(Not as seen in the picture).
If you choose the front mounting location, one school of though is that you mount the fans to intake the air.
So, in this case, the fans will be sandwiched between the radiator and the case - hence you will use the long screws. Like this:
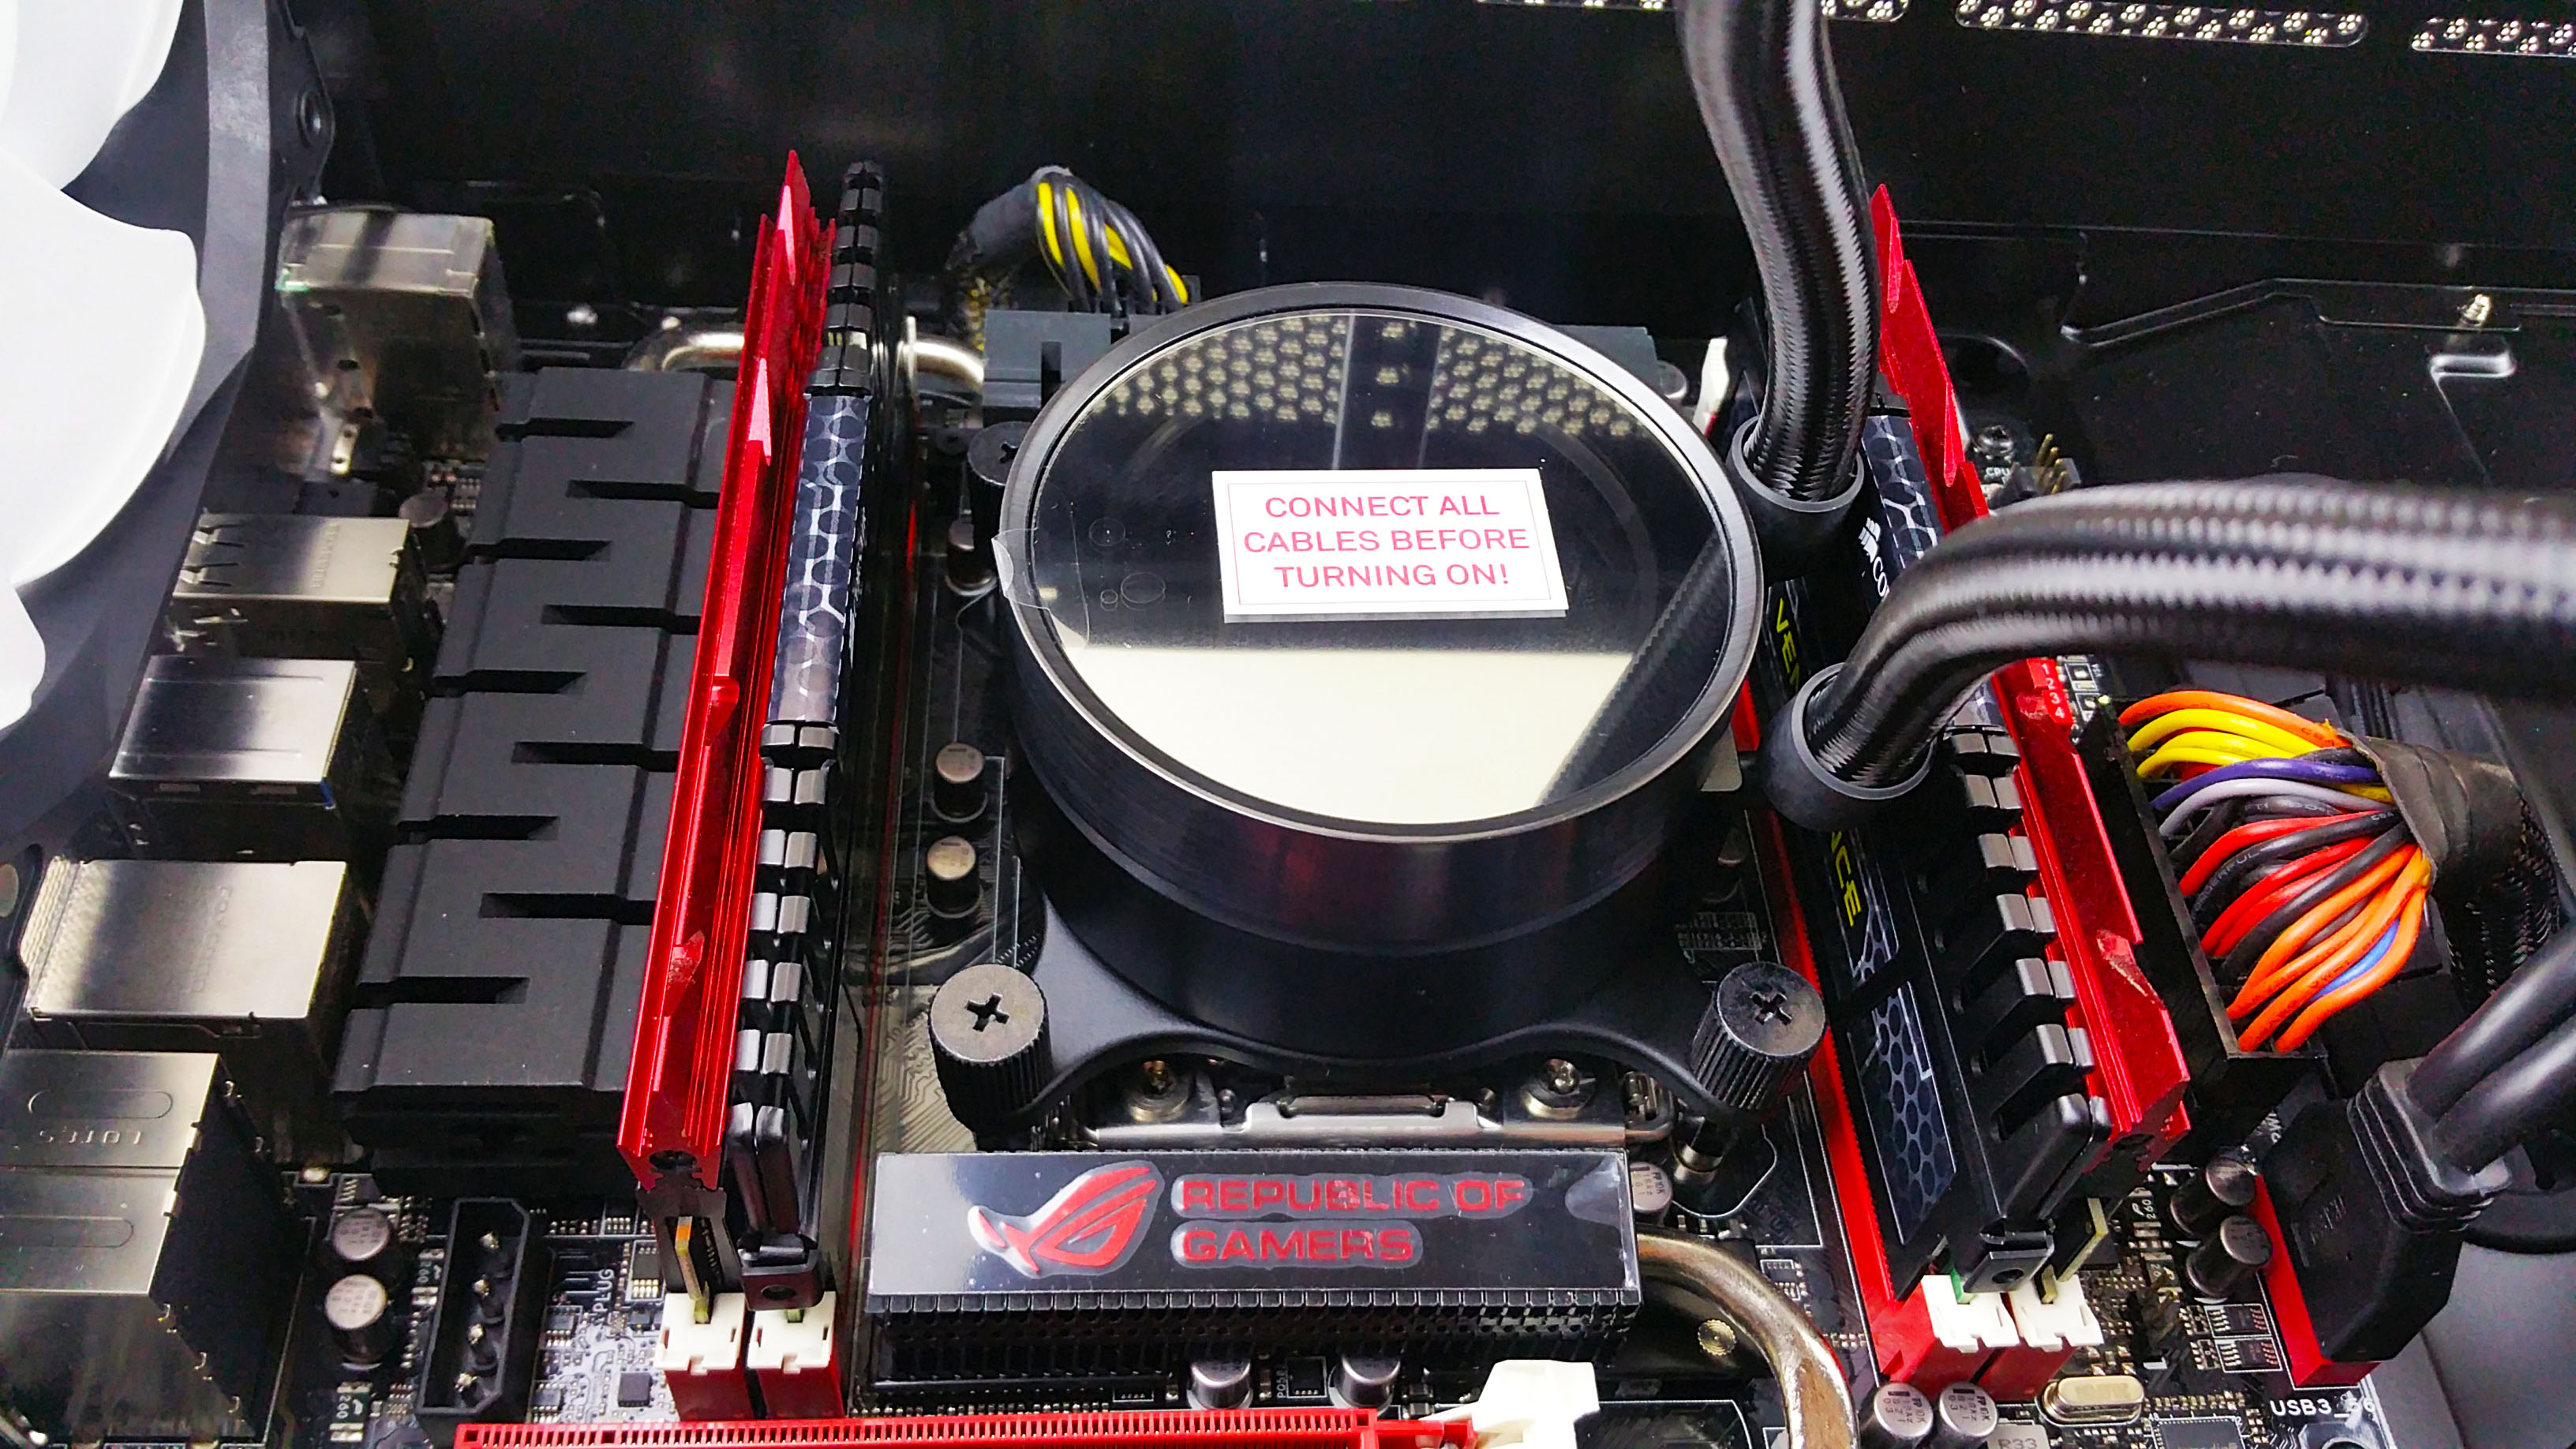
Then, remove the transparent protective cap on the CPU pump and secure the whole assembly via the 4 double threaded adapters plus the 4 thumbscrews, remembering the correct orientation that we discussed earlier.
Note that for the big LGA 2011 sockets there is no need for the back bracket because of the native design. Hence this is the easiest form of installation you will experience. The tubing is quite flexible so kudos to that.
As the protective film on the PCU block states, please plug in the power and control cables before turning on the PC.
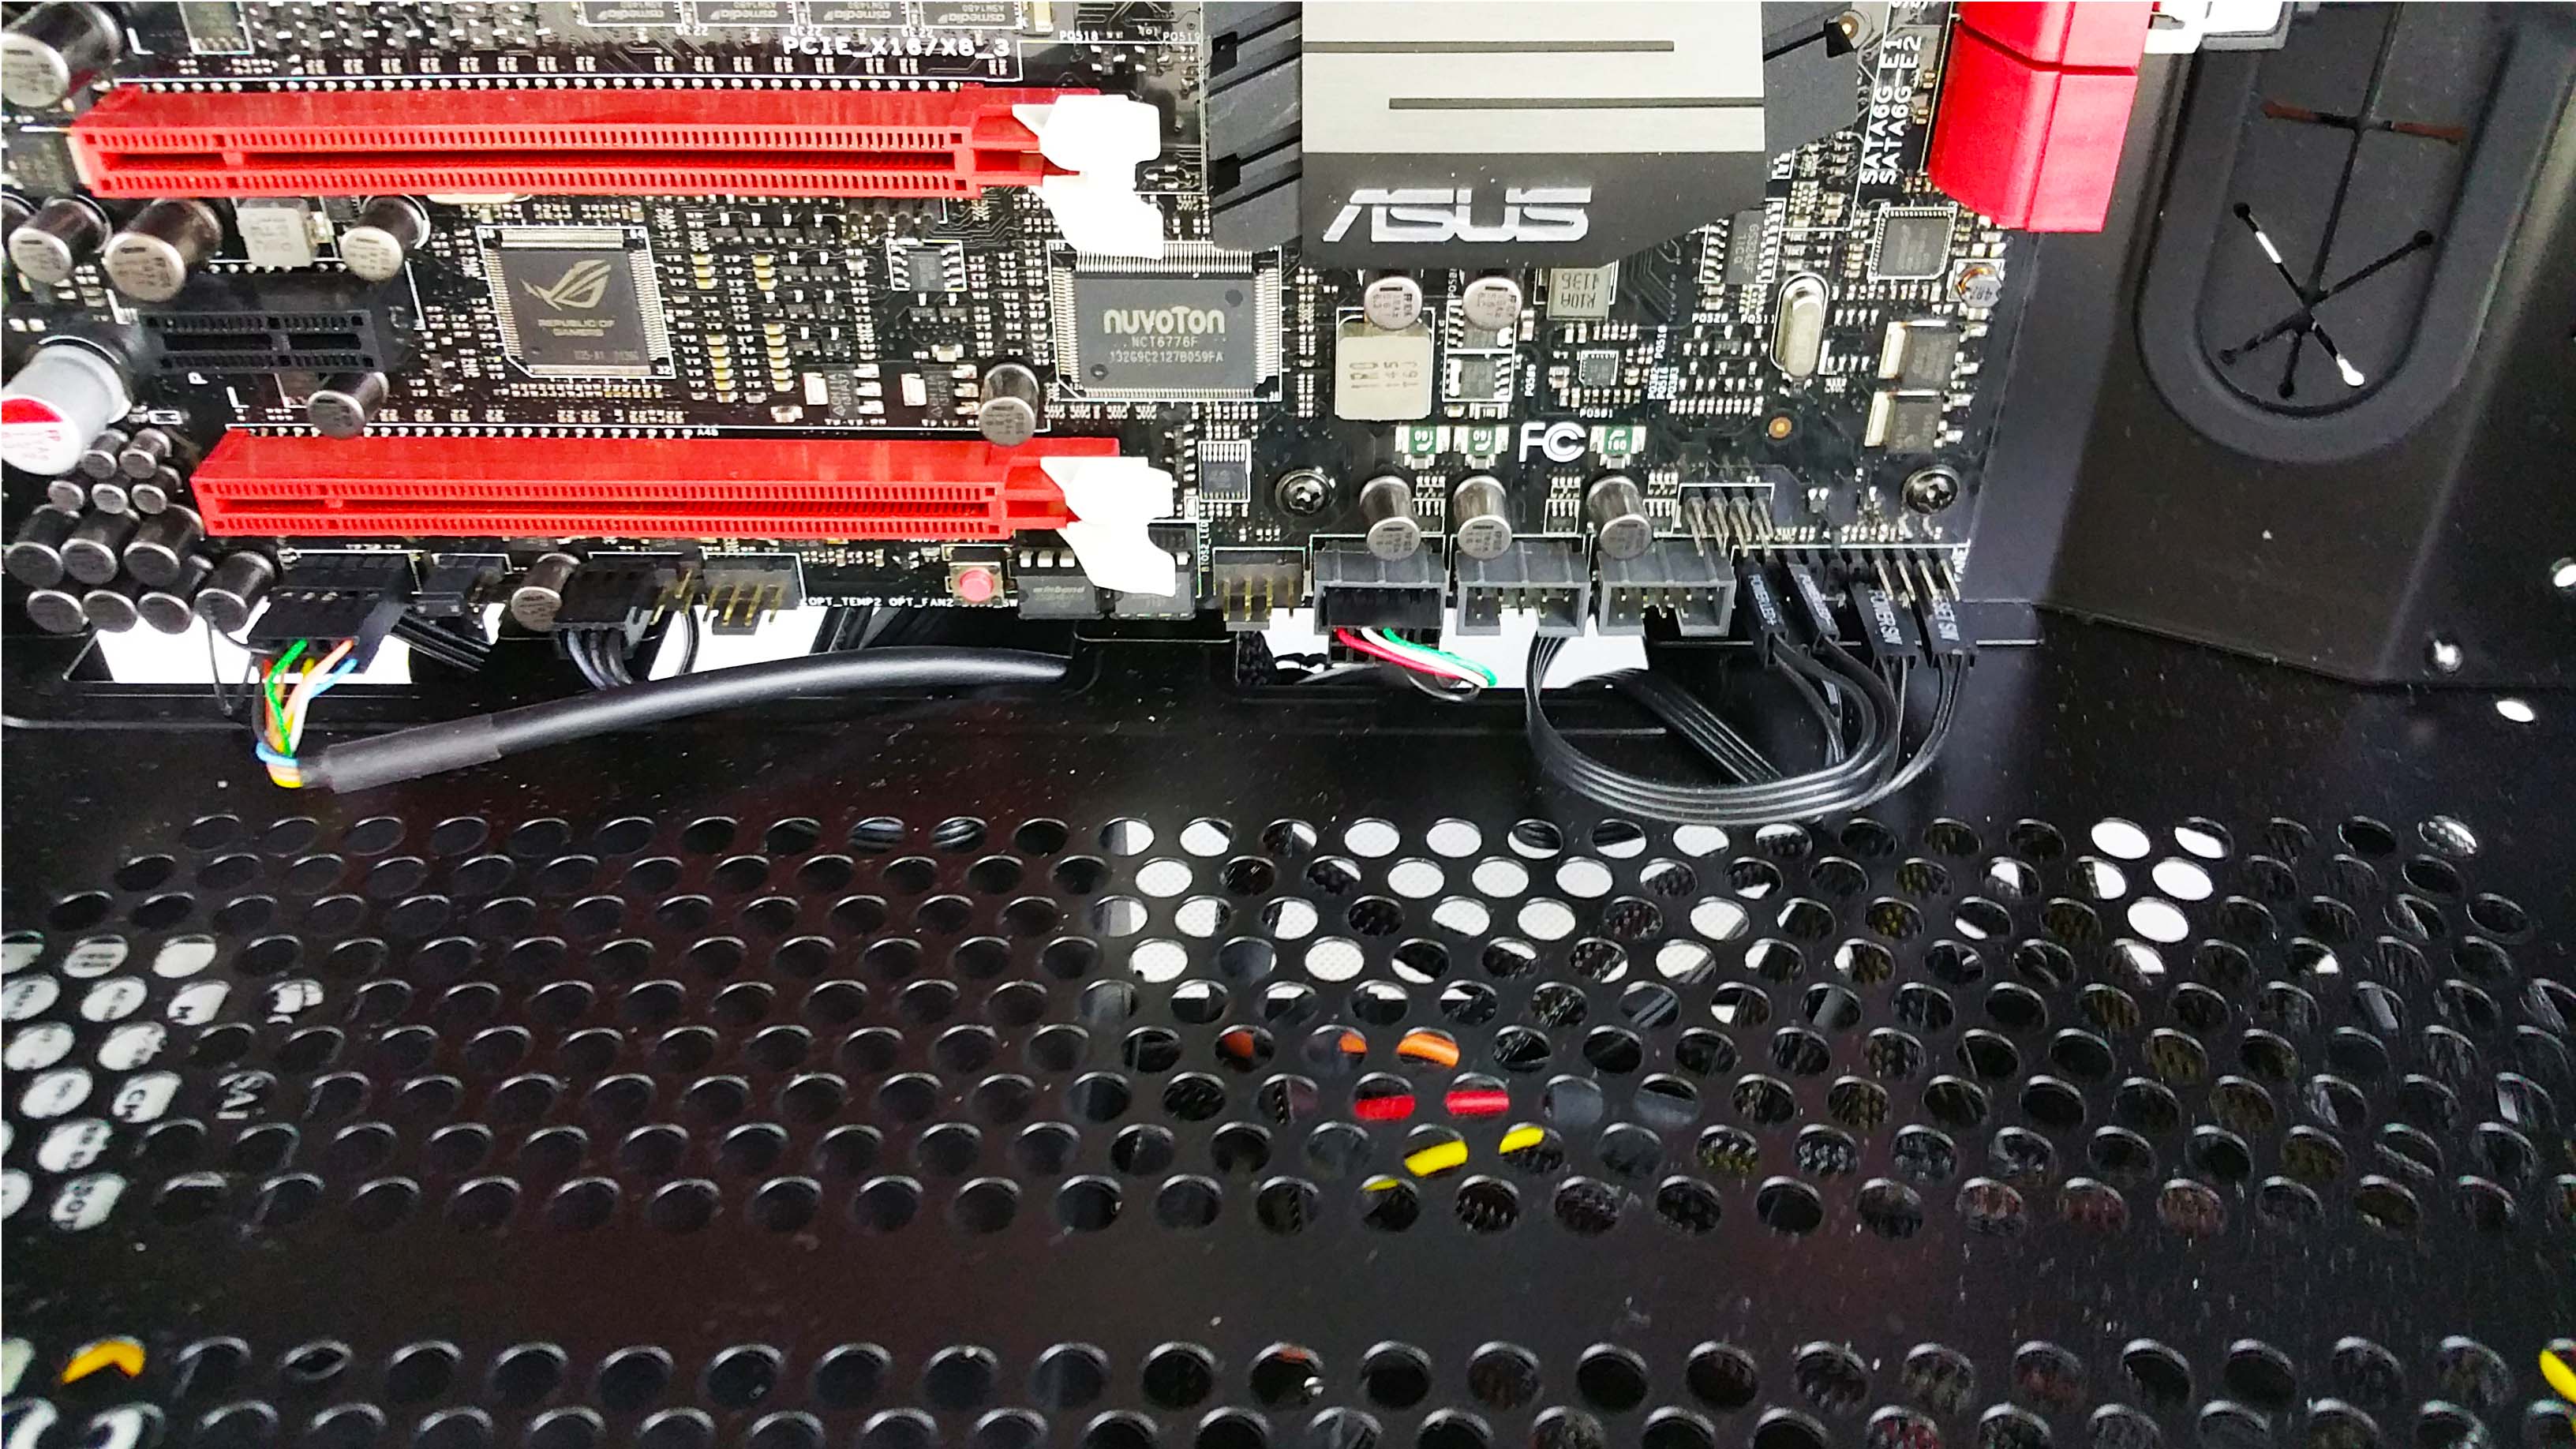
The fans splitter is SATA powered so after you take care of that, install the control cable in a USB 2.0 port on the motherboard.
And that’s basically it ! Behold as our title states …
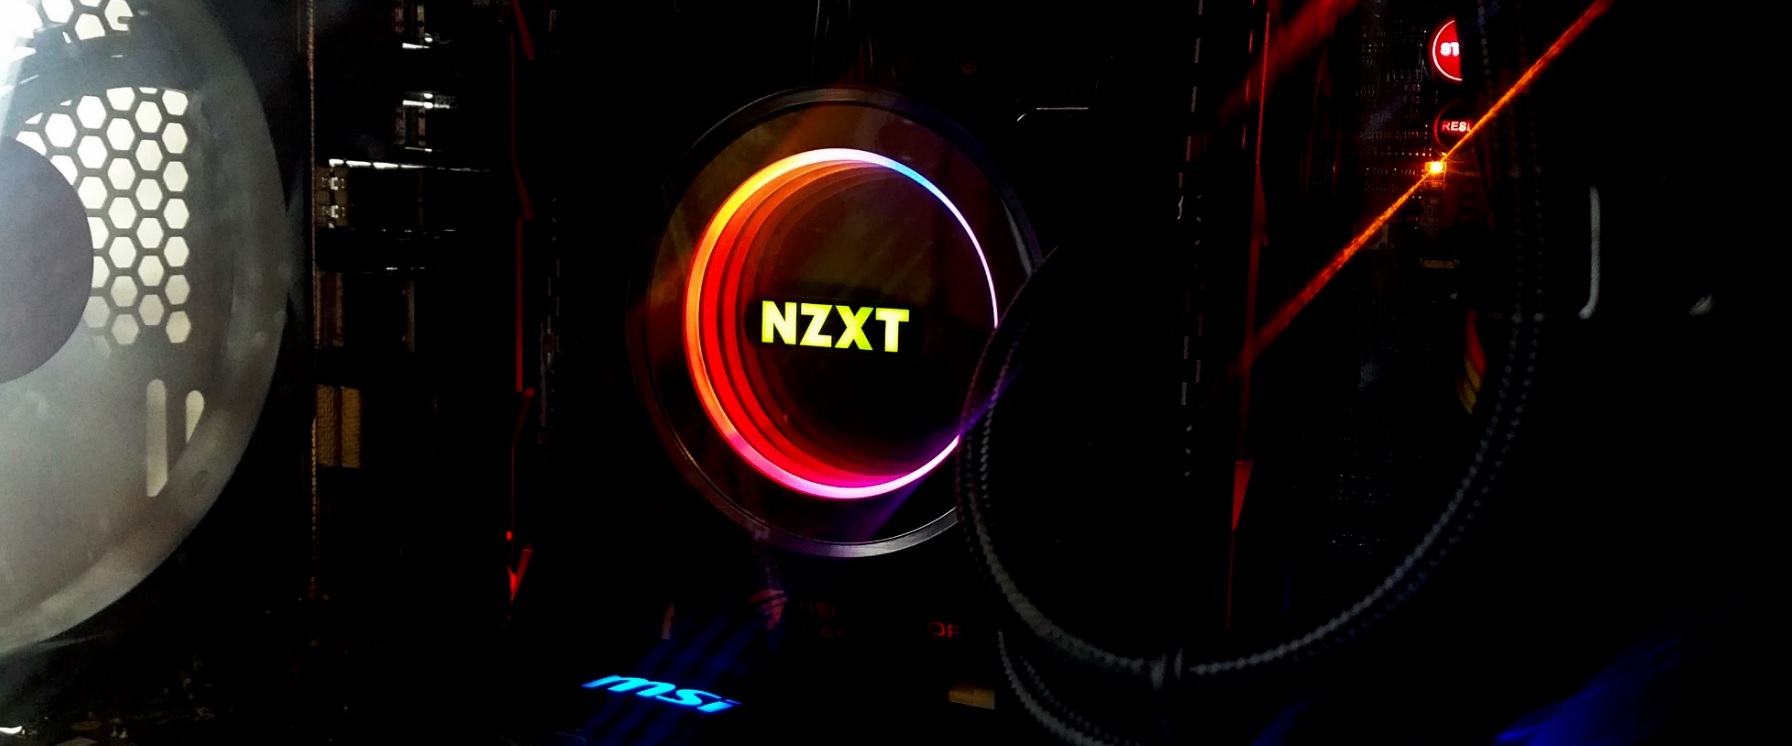
Turn it on and the magic starts. More on the RGB lighting later on.
Here is a quick preview.
Ok, after we analyse the CAM software, let’s find out if it performs as well as its looks.
NZXT CAM Software & RGB Control
So, download for free the application from NZXT.
Create an account so you can save you profile settings on their cloud but you can also use it guest mode.
With this you got full control for your NZXT products like the HUE+ or/and the KRAKEN AIOs.
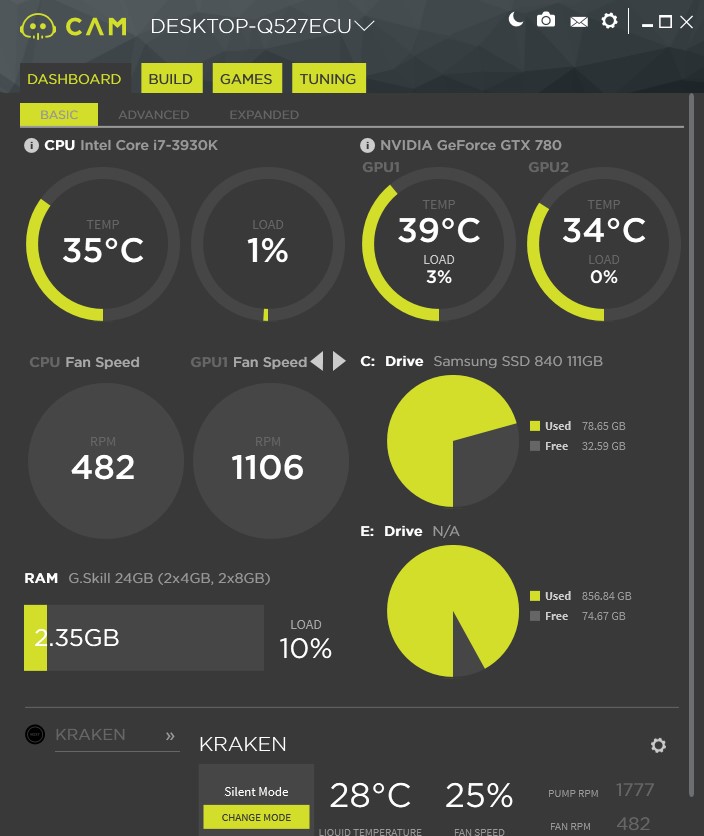
On the main dashboard you get the quick overview of your PC statistics such as temperature, load and RPM.
Down below you will see KRAKEN X62 active and which profile setting it is using.
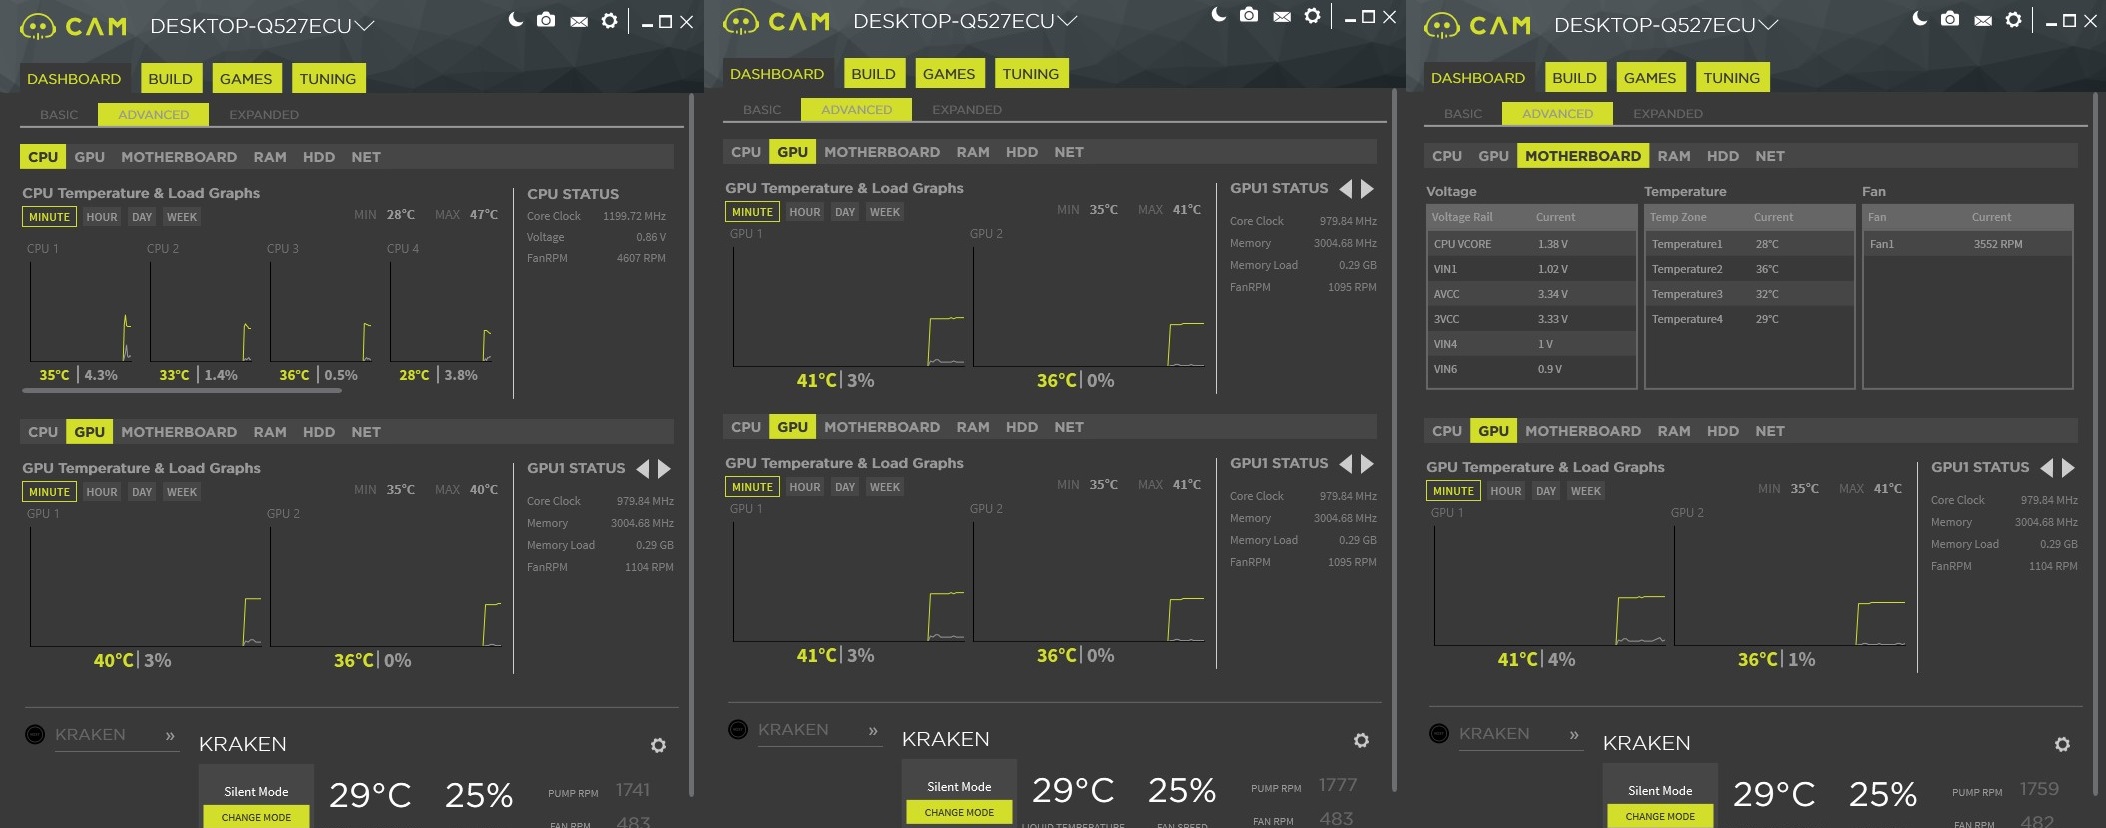
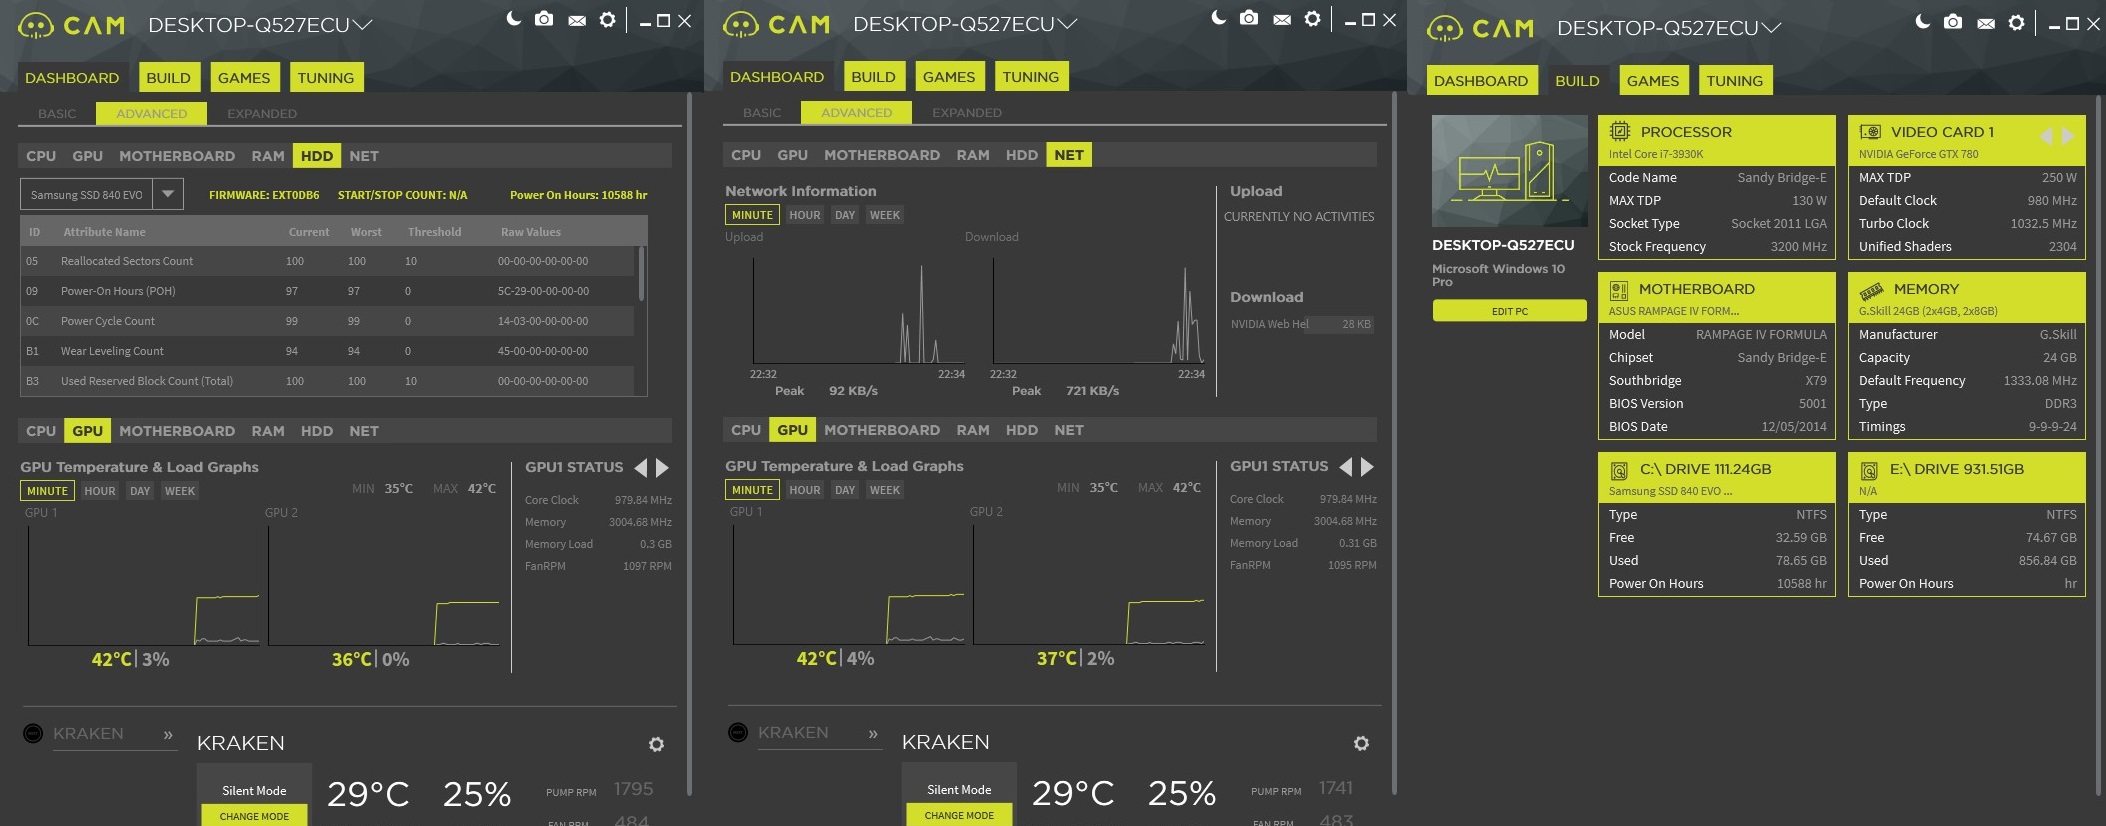
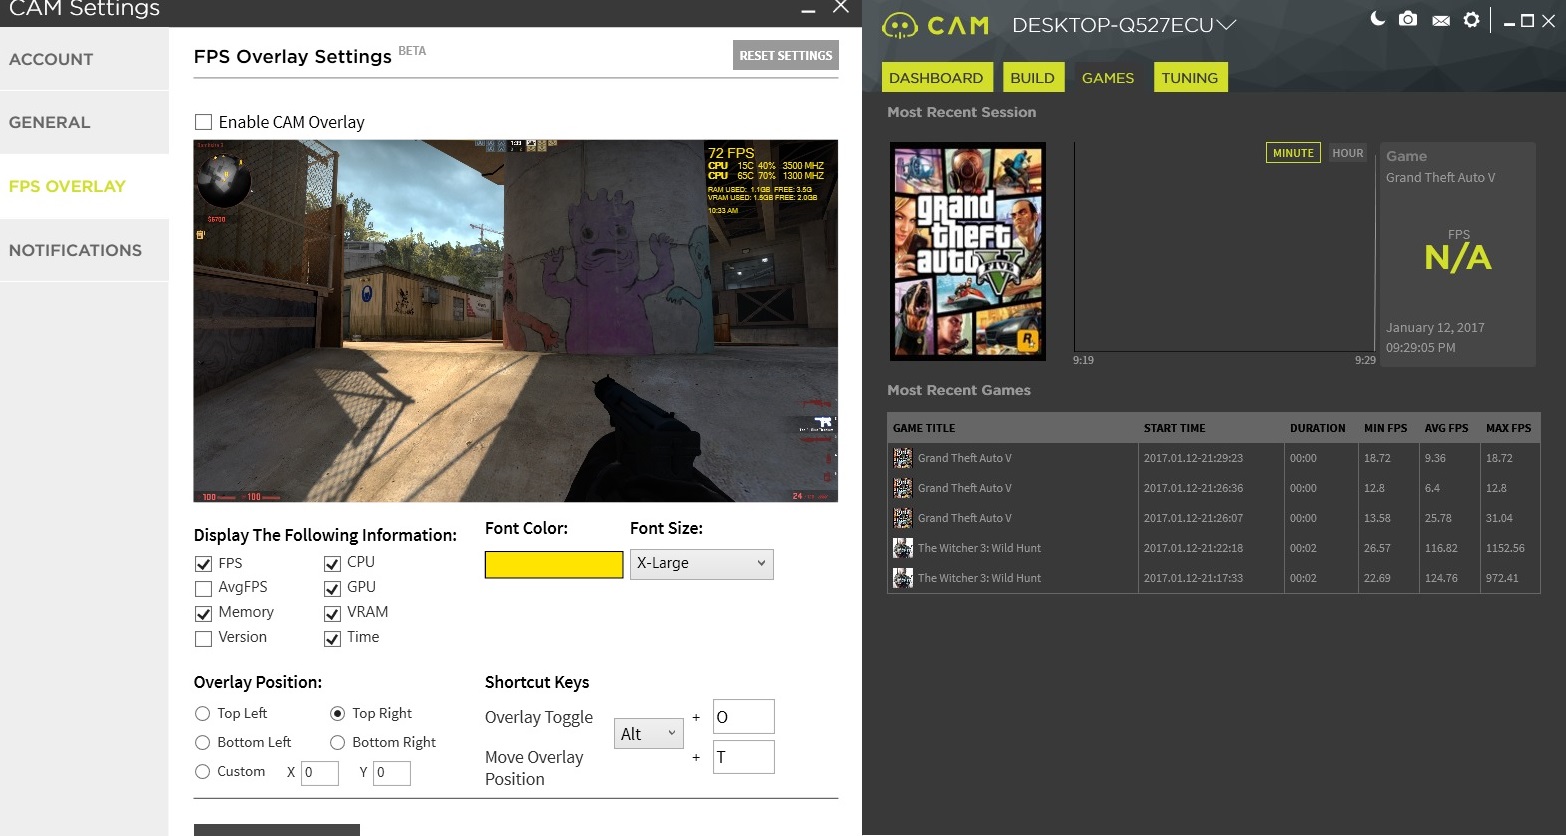
It also has an advance mode for more detailed statistics.
I even has an overclocking ability like MSI’s Afterburner software.
Also as the above, it offers as well an overlay for in game FPS and monitoring and a detailed game statistics tab.
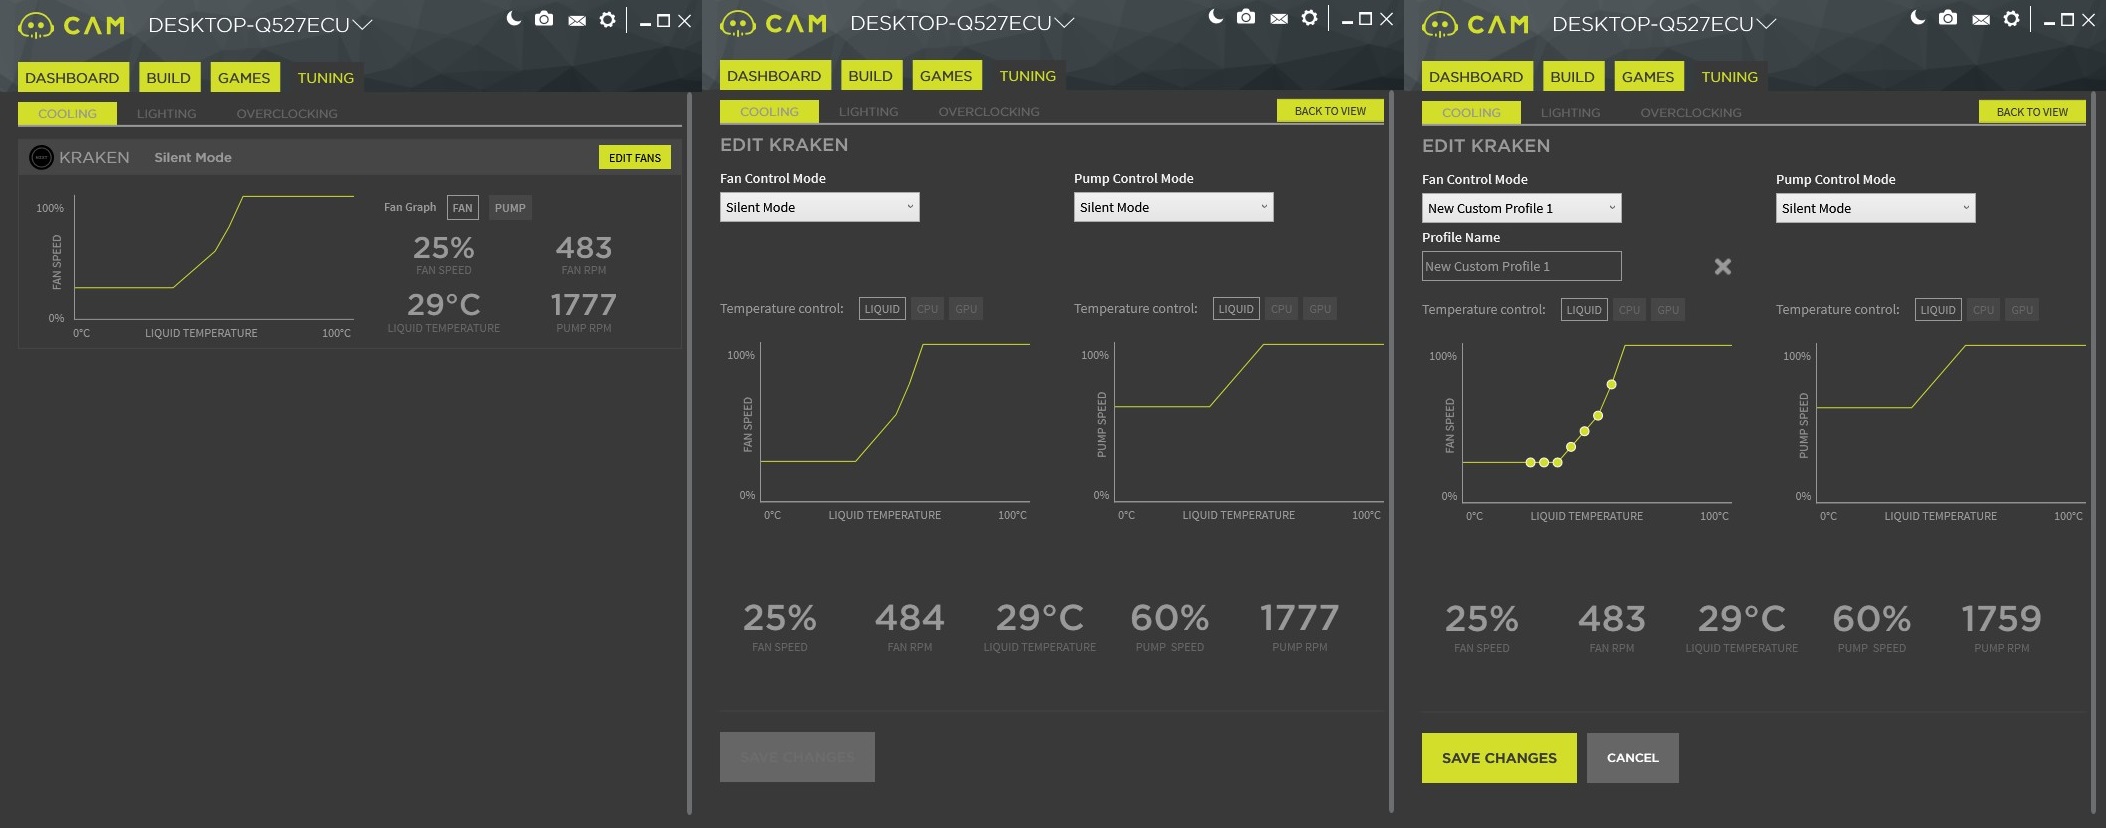
Then here is the KRAKEN control tab. You have real time information regarding CPU and liquid temperature, pump and fans RPM. Plus you get out of the box profiles like “Fixed”, “Silent” and “Performance” mode and of course you own customizable profiles.
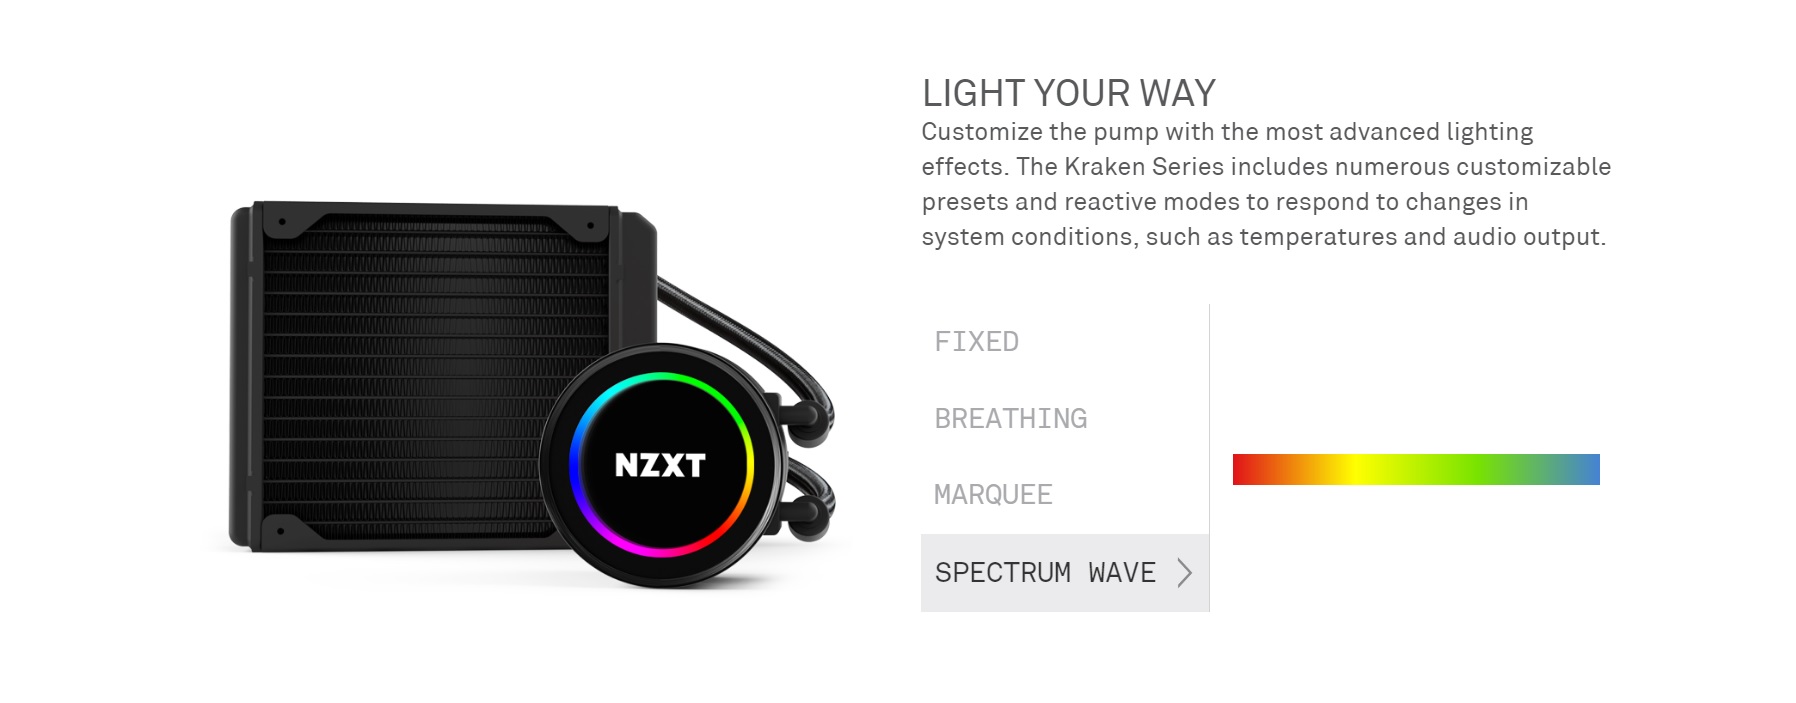
And finally the RGB lighting and animations effects. You can customize each effect, add colors, adjust the speed of the effects and the rotation of the LED rings. The list would not be complete if it didn’t have temperature, audio and even frames per second interaction. Brilliant !
And here is the magic in action with some of the effects. Absolutely stunning !
Testing methodology
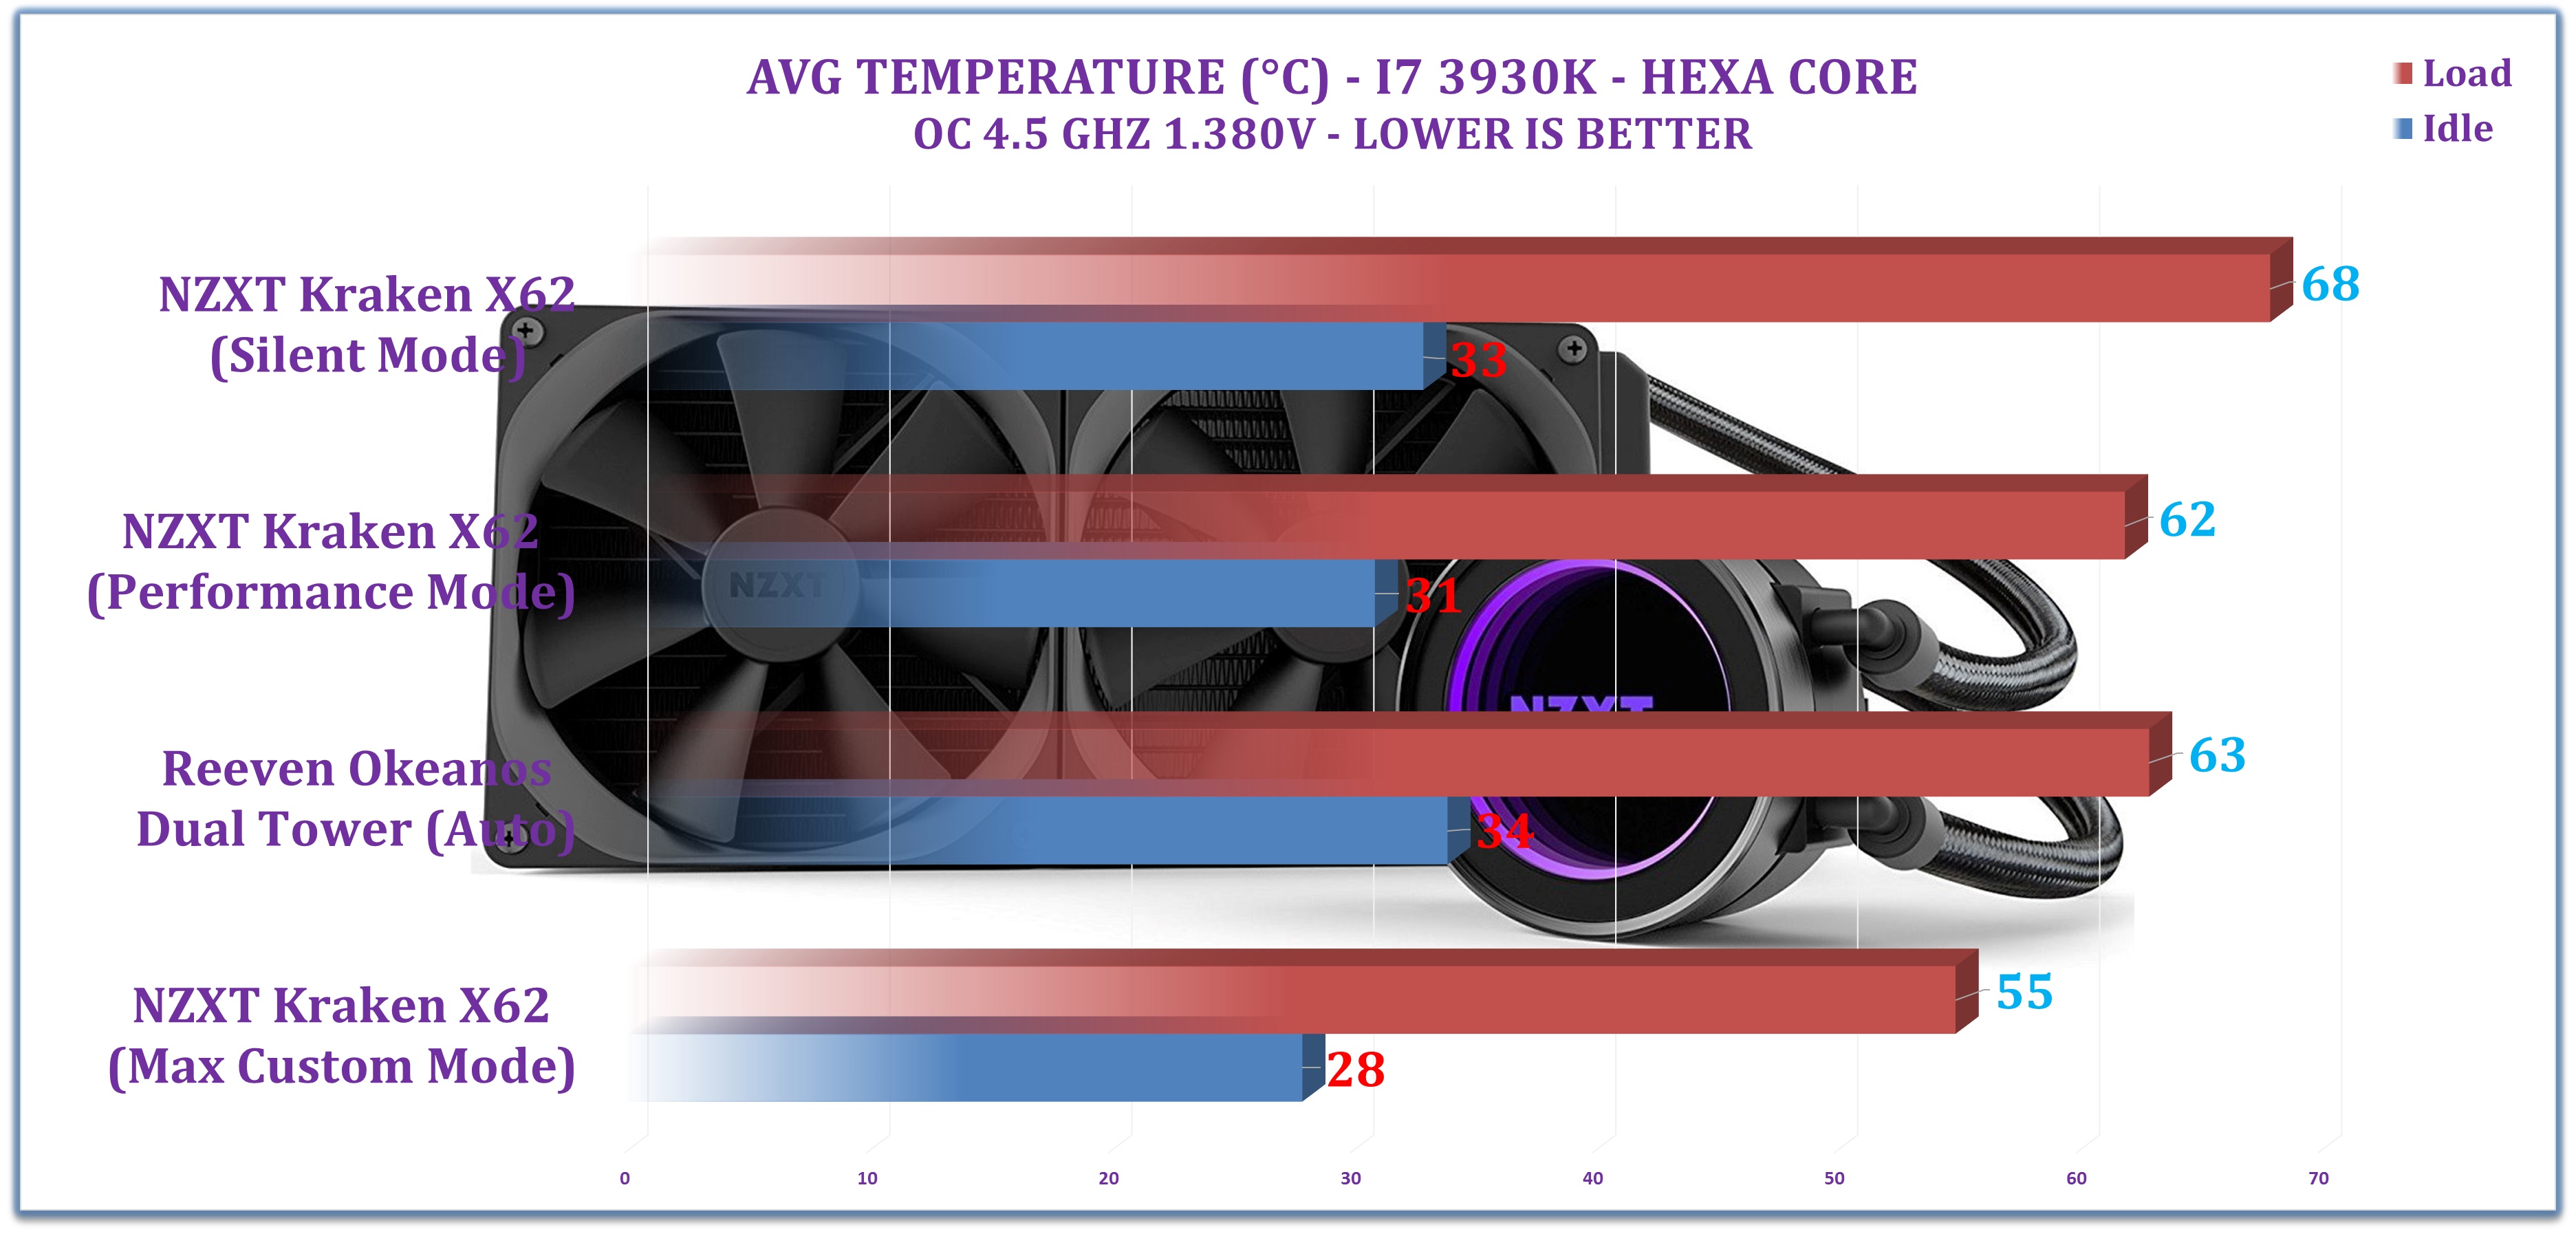
The CPU will be tested in 2 main scenarios: at stock settings and then overclocked at 4.5 Ghz with 1.380v, both scenarios with an Intel Burn Test run set at High stress settings.
Let it ran for 20 minutes and the let the CPU 10 minutes to cool, after which we measured the idle temperature.
For the noise we used our Pyle PSPL01 placed 30 cm away from the setup.
Thermal paste used was the pre-applied one by NZXT and for the other testing cooler, the extra stock paste that came with it.
We will compare the results with a dual tower cooler because we upgraded (again) our testing platform and this is the only one that was also tested in the new setup.
Any results over 90° C in any condition are considered a fail.
Let’s proceed.
Hardware used:
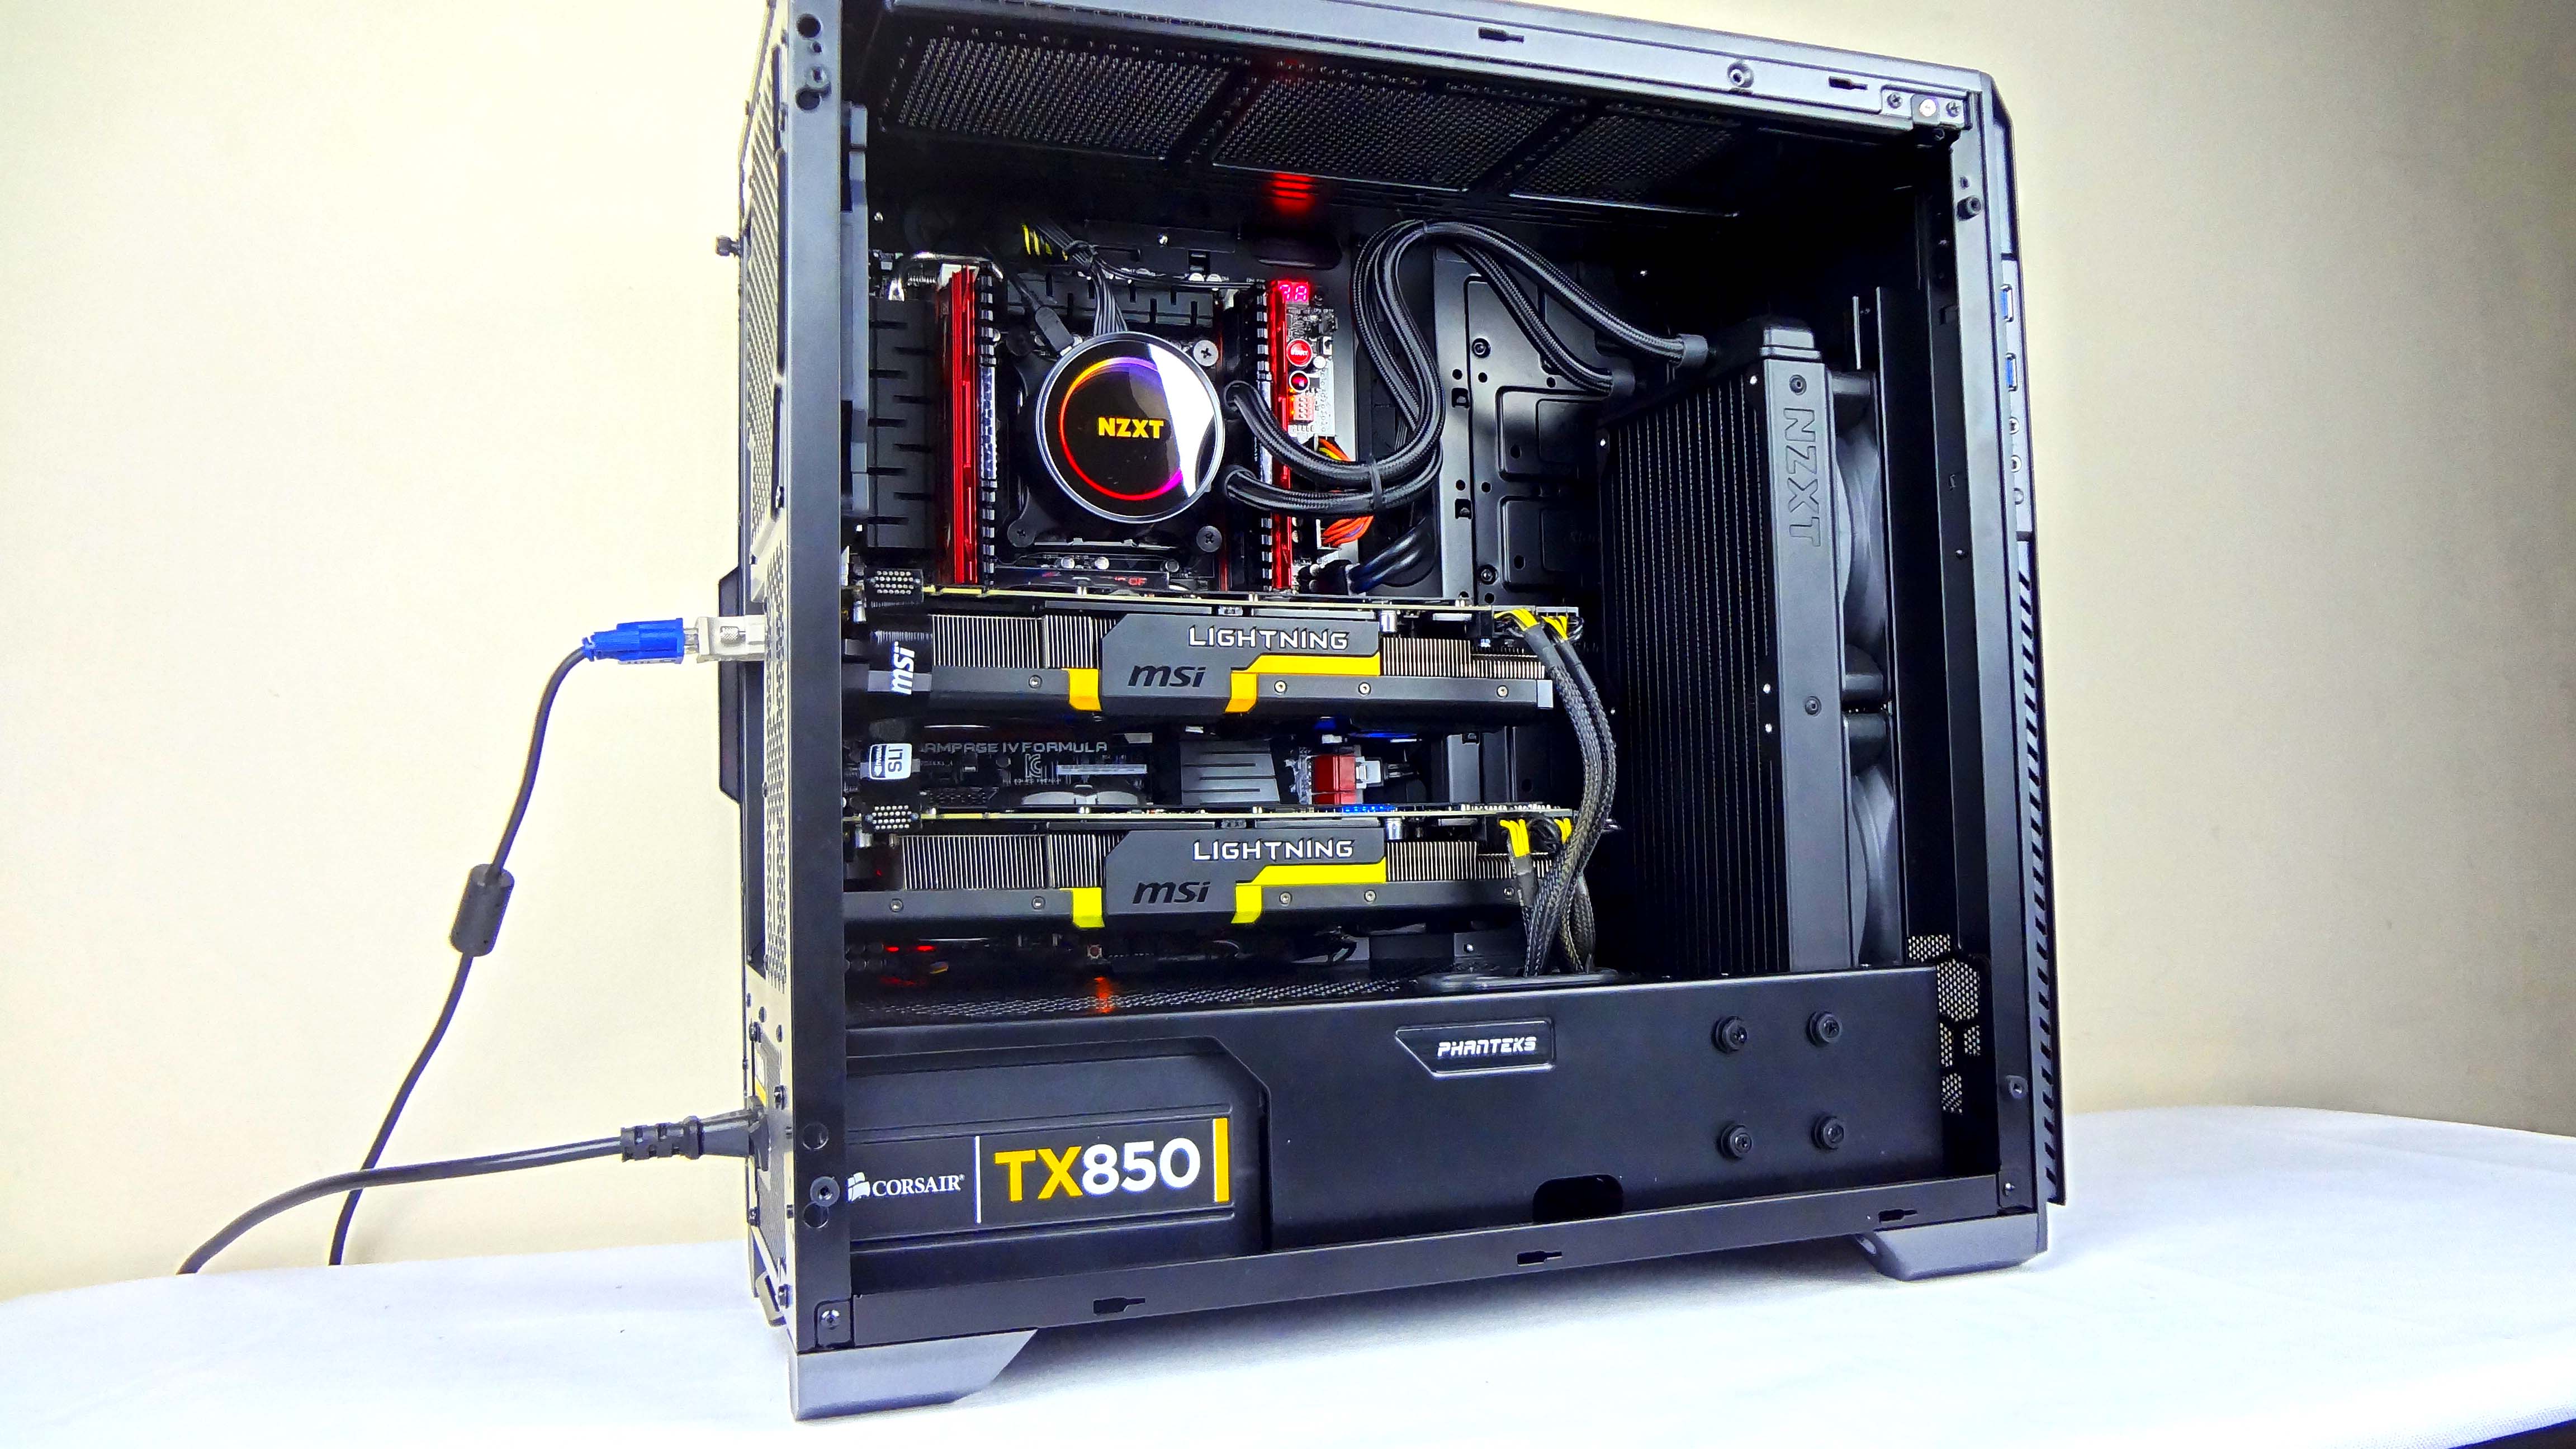
Processor: Intel i7 3930k @ OC’ed to 4.5 Ghz - 1.380v
Case: Phanteks Enthoo Pro M Acrylic
Motherboard: ASUS ROG Rampage IV Formula X79 ATX
RAM: 24 GB (2×4) G.Skill Trident X DDR3 2400 Mhz + 16 GB (2×8) Corsair Vengeance DDR3 1600 Mhz - all running at 1333 Mhz
GPUs:2x Way SLI MSI GTX 780 LIGHTNING
SSD: Samsung 840 Evo 120 GB
PSU: Corsair TX850 V2
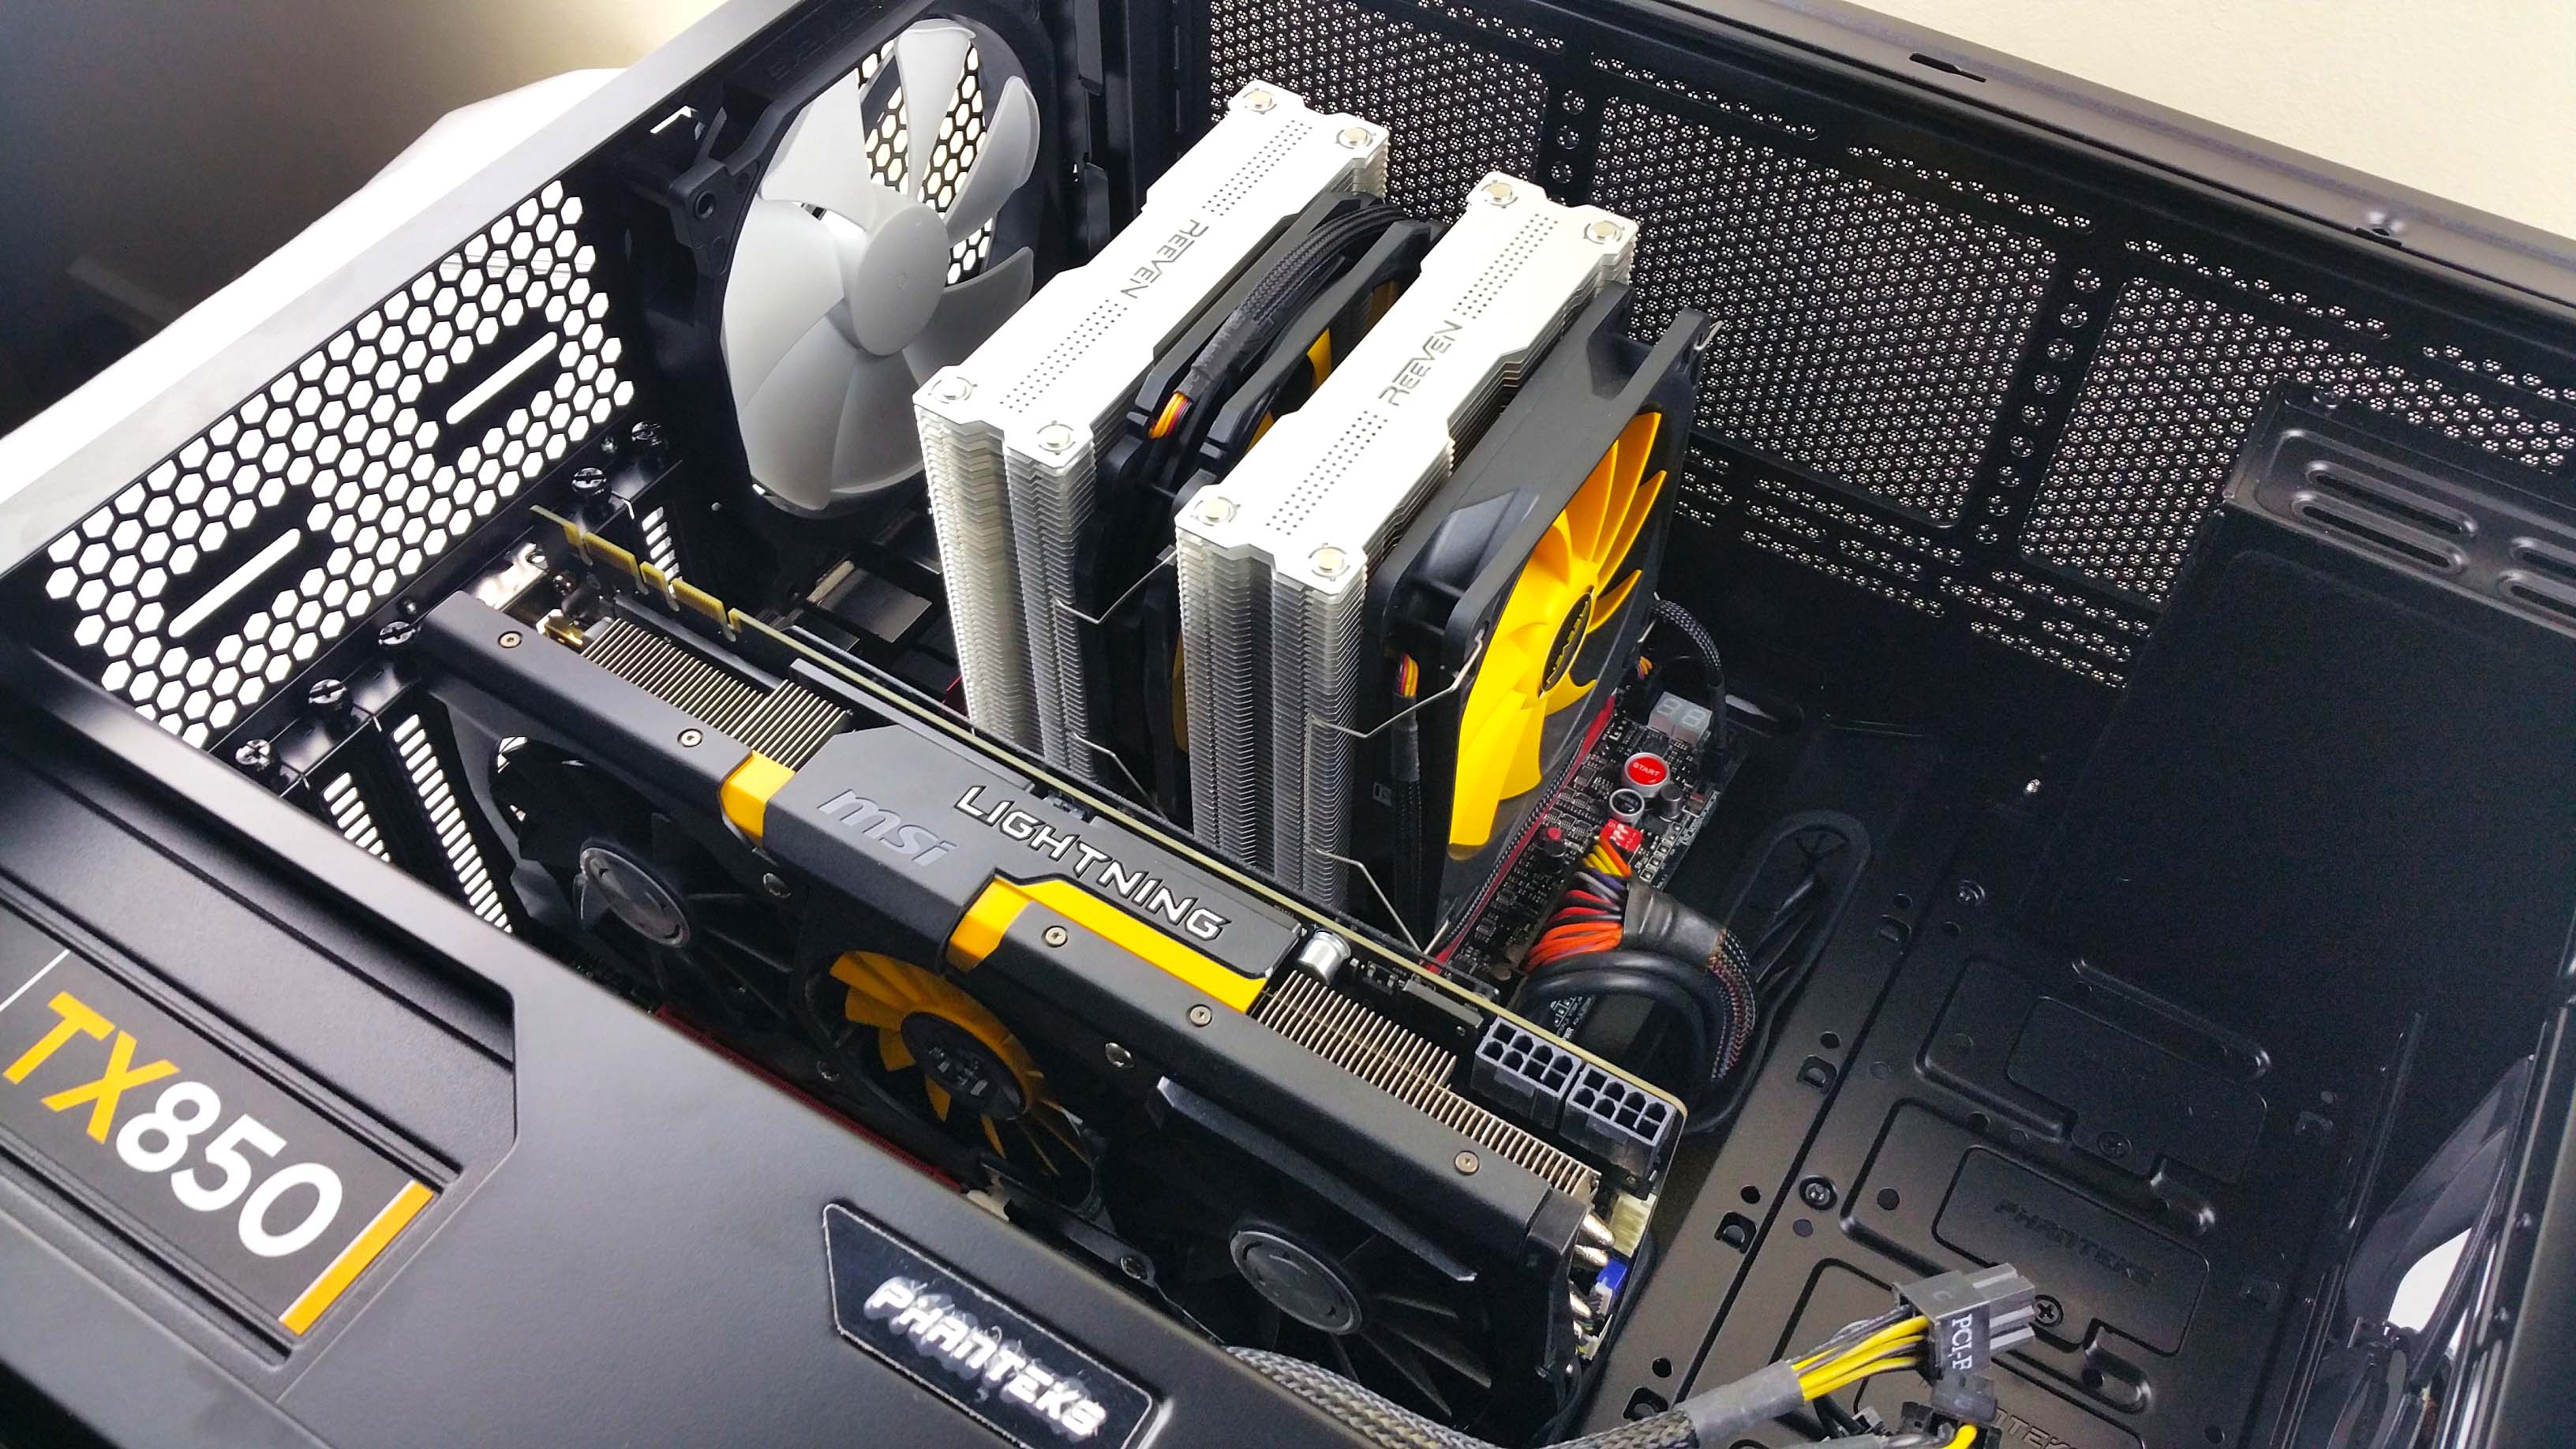
Air cooler comparison: REEVEN Okeanos Dual Tower 120+140 mm
Software:
- Windows 10 Pro x64 Build 1607
- NZXT CAM v3.3.0
- NVIDIA GeForce WHQL 375.63
- Core Temp v1.7 R6
- CPU-Z v1.71 ASUS ROG Skin
- Intel Burn Test v2.54
Results
So one run in the Intel Burn Test at stock cpu voltages and speed and then overcloked at 4.5 Ghz on all 6 cores with a fixed voltage of 1.380v
Analysis
Full disclosure, this being our first ever AIO to review, we didn’t know what to expect.
Our main testing dual tower air cooler already was a very good performer and thus the Kraken X62 had a lot to prove.
But it did just that. On all counts it was better than the air cooling. Fantastic results considering we used and overclocked a power hungry old-school grunt hexa core CPU which the Kraken had no problems to keep under control.
Conclusion
NZXT overdone themselves with this epic AIO liquid cooler that not only has maximum eye candy but offers the complete package regarding cooling performance, design, build quality and noise output. Well done !
The good:
+ Outstanding build quality and finish
+ Excellent cooling and noise performance
+ User friendly / easy to flex tubing
+ Easy installation
+ Excellent implementation of the CAM software
+ Maximum eye candy from the continuous mirror effect and RGB light rings
The bad:
- Maybe for the price it would have been perfect it would have had 4 included fan for push and pull configuration
- At full chat it is noisy but that’s with any cooler.



















Hey guys:)
Did you also tried the X62 in pull configuration? So fans-rad-case?
I wonder what the temperature difference is..
Also how about dust building up in that push configuration?
Greetings
Maax
Hi Max. Yes. We tried and noticed some small postive increase (lower 1-2 degrees) but with different fans. Will try to get the exact ones that come with the X62 for a complete testing.
Regarding dust, the case the Phanteks Entho Pro M does a great job stoping the dust. And i have for some wierd reason loads of dust in the house.
Best regards,
Alex
Hi, I’ve had great deal of problem when installing Kraken X62 in Phanteks Enthoo Pro M Acrylic. Where does your HDD Cage go?
Hello. Yes unfortunatly you have to remove the cage. I managed to do a workaround here - https://youtu.be/hWJLiMCA1Gw
Good luck.
All the best,
Alex
Wow, you did good, but my internal pedantic guy would not stop whining about that: “This HDD is mounted only with two screws!!” so I’m not sure if it will work for me. 🙁
Thank you. I know I have the same ocd 🙂 The other option is to drill the rest of the 2 wholes.
Or get the 3-4tb 2.5″ hdd ones from seagate and put them in the back side.
https://amzn.to/2sJhbuW
Or mount Kraken to the top 🙁
That too…
Let me know what you did in the end 🙂
I managed to mount this HDD with three screws 😛
Victory :d