In the world of small form factor builds, limited choices are a normality. One such ‘easy’ choice is present when it comes to choose an 92 mm AIO. So far there are only two. A very interesting one from Cooler Master, the MasterLiquid Maker and the one that we are reviewing today, a standard/classic layout, the Asetek 545LC.
Well, why do we need such a small AIO? Well, scroll down to find out.
First about Asetek :
Asetek is the global leader in liquid cooling solutions for data centers, servers and PCs. Founded in 2000, Asetek is headquartered in Denmark and has operations in California, Texas, China and Taiwan.
Pricing and availability
*At the time of the review:
$ 90.00 – via their website
or via OcUK which sells it as a bundle kit for £63.94.
And for those curious about the other option from Coolermaster, you can get that from here:
£ 54.99 – Amazon.co.uk – Cooler Master MasterLiquid Maker 92 CPU Liquid Cooler ’92mm Radiator, 2x 92mm Air Pressure PWM Fan, White LED’ MLZ-H92M-A26PK-R1
$ 80.37 – Amazon.com – Cooler Master MasterLiquid Maker 92 CPU Cooler, All-in-one Hybrid Liquid Cooler, 92mm Fans, Vertical and Horizontal Positions
Presentation and specification
*Courtesy of their website:
Designed for smaller chassis, this cooler delivers mainstream performance with a 92mm intake or exhaust port.
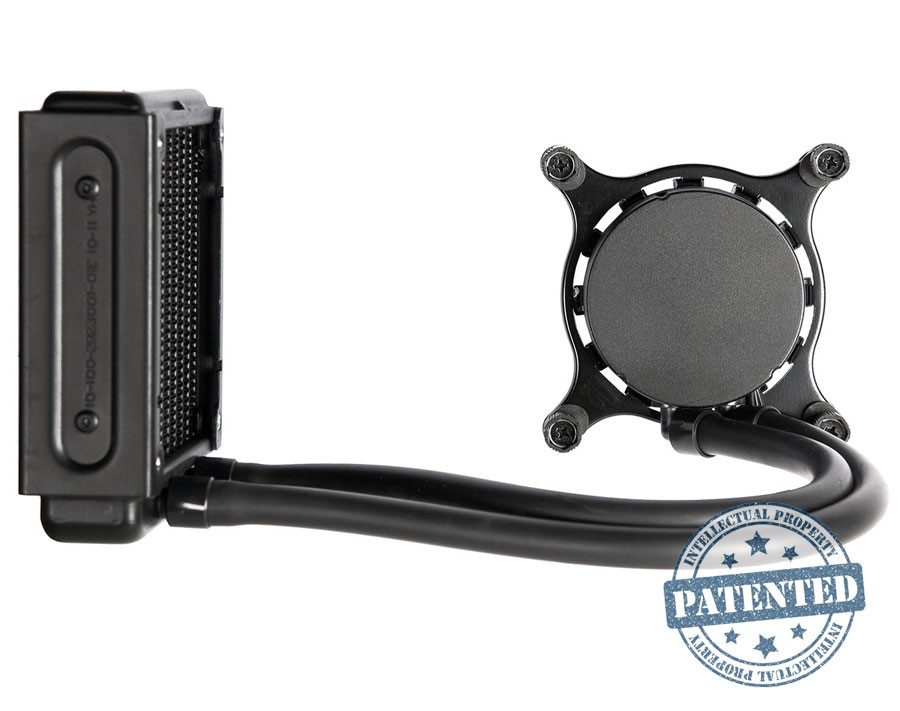
* Gen 4 Integrated Pump and Copper Cold Plate
* Includes Intel 115X, 20XX, and AMD AM4 Retention Ring Kits.
* Standard 92mm Aluminum Heat Exchanger
* Designed for Single Fan Operation
* Factory Filled and Sealed, No Refilling Needed
* High Flexibility, Low Permeability Tubing
* Standard Thumbscrew and Premium Tool-less Pump Mounting Systems Available
* 90 Day Warranty.
There is not much available specs besides these, giving the fact that it is mostly an OEM product.
Packaging and Visual Examination
Again, as mentioned before, given its OEM nature, this will come shipped in an ordinary brown box without any branding. So not much to show here. Inside, this is what you get:
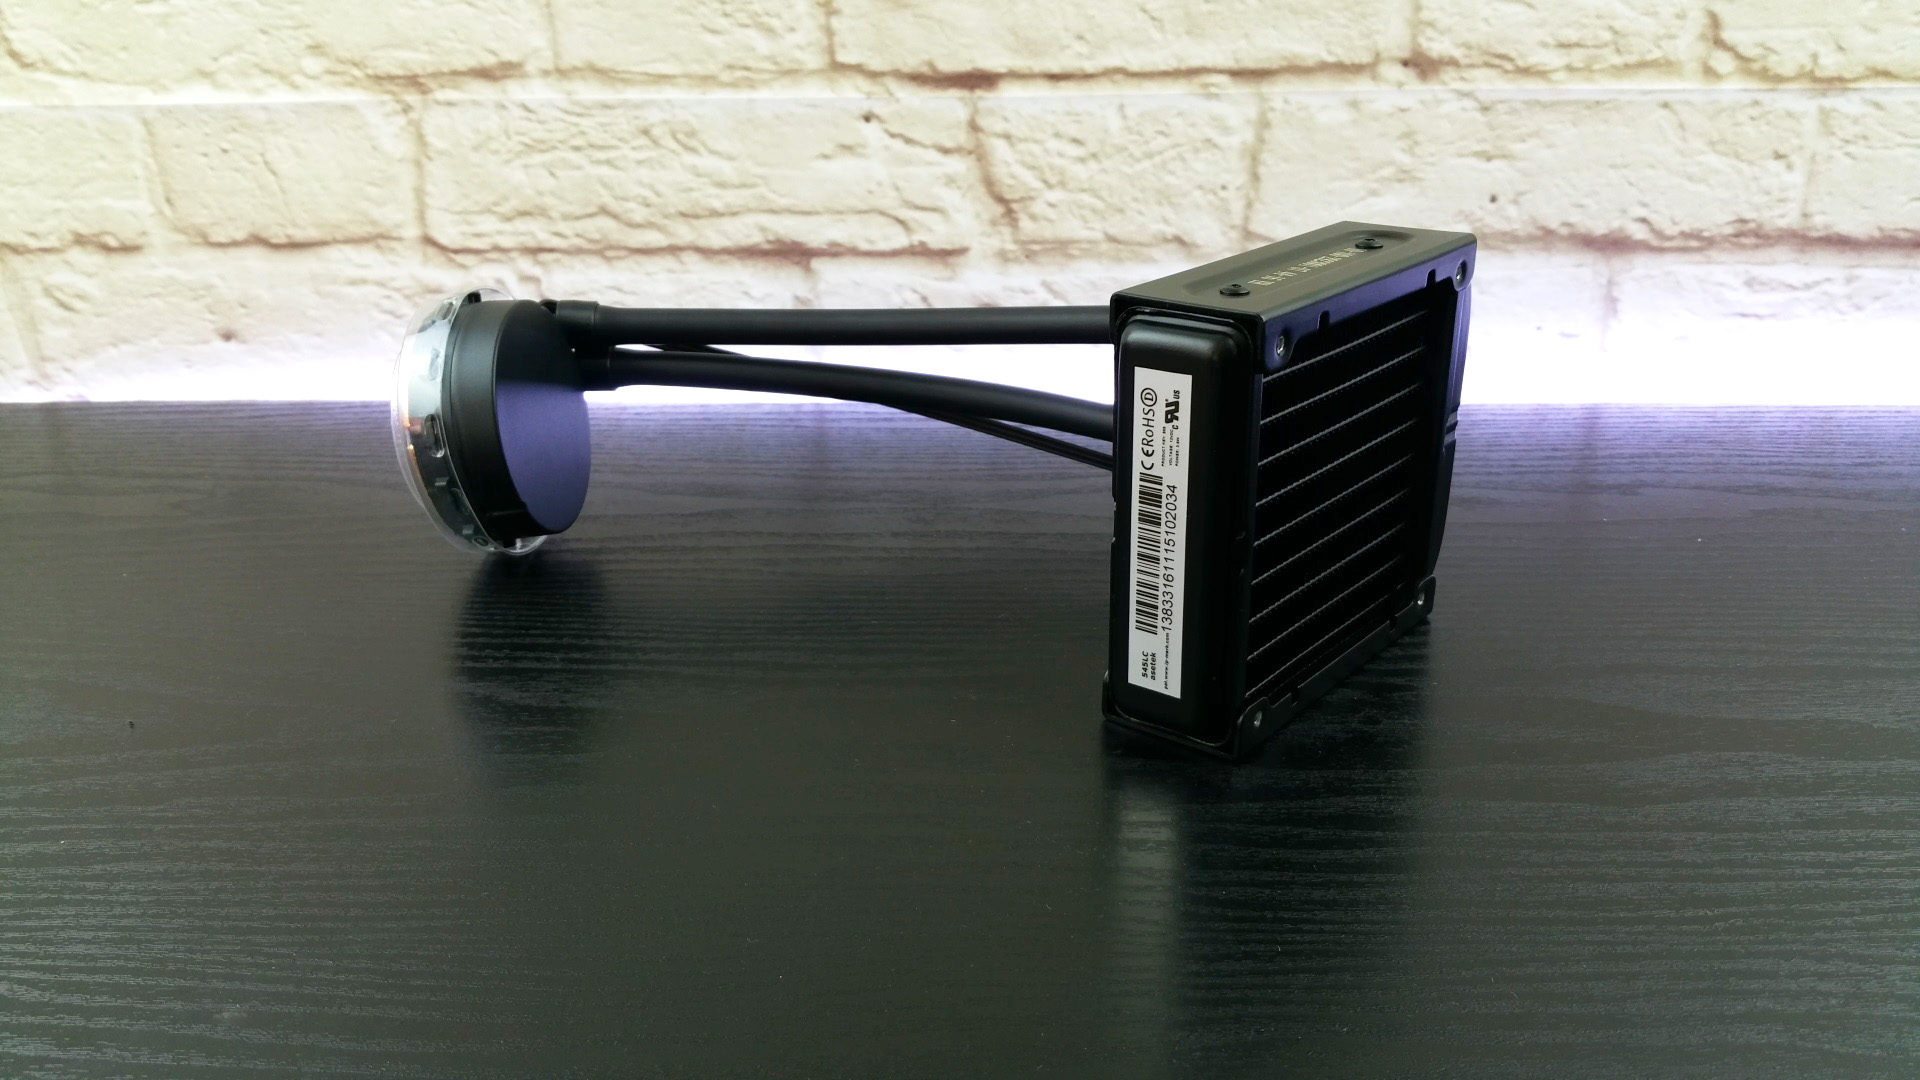
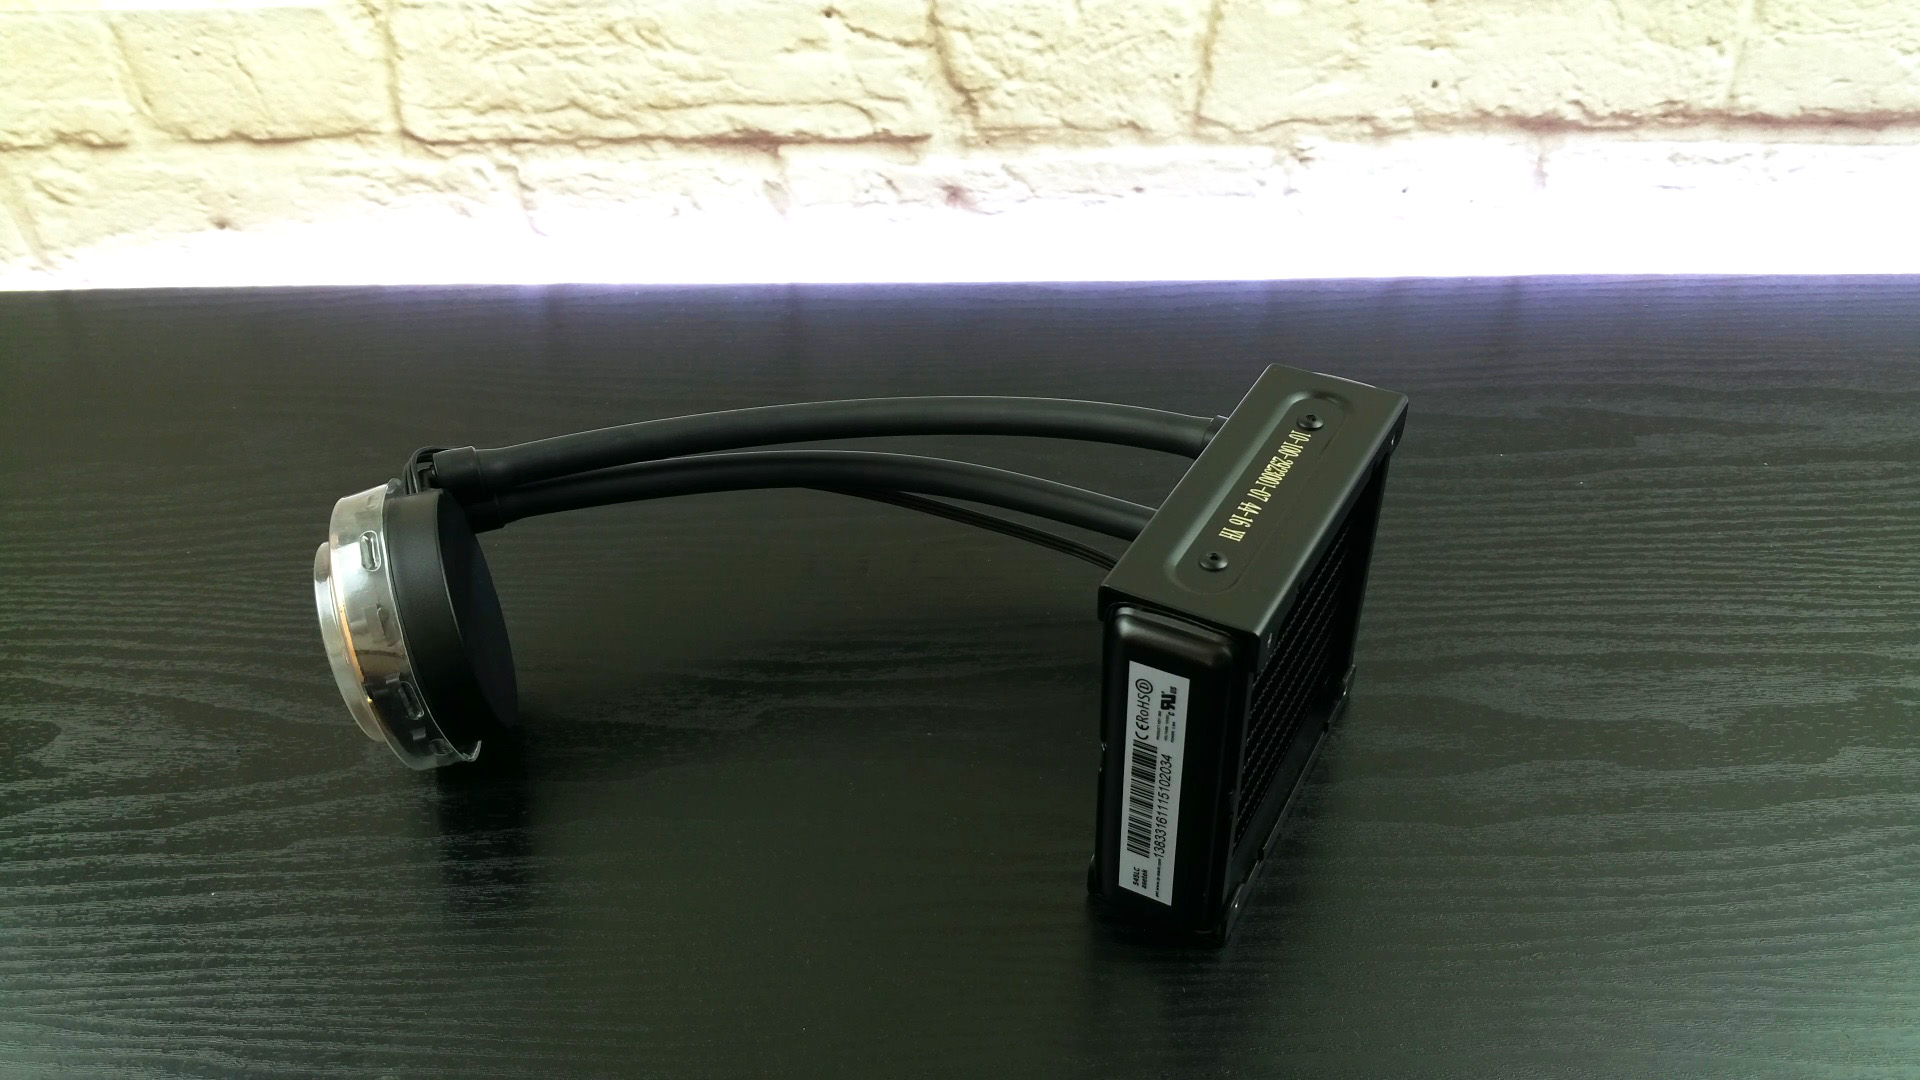
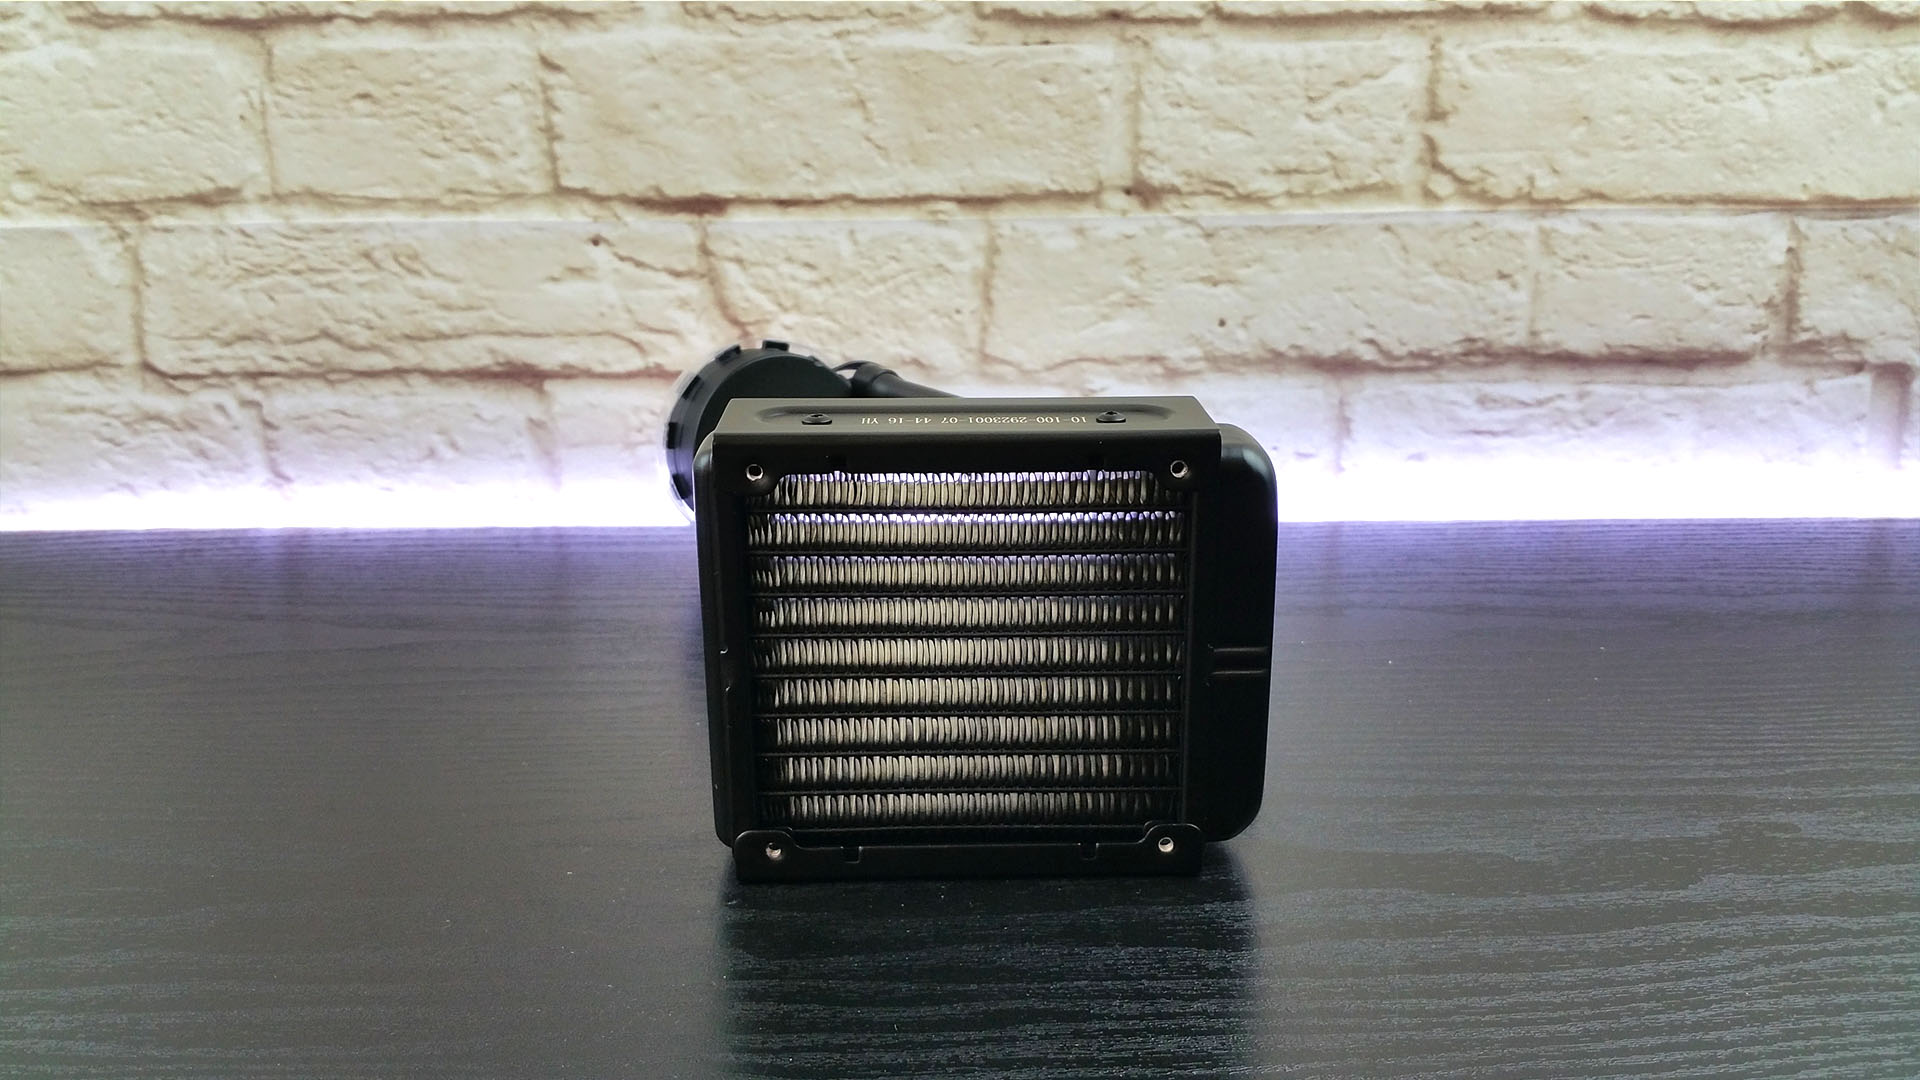
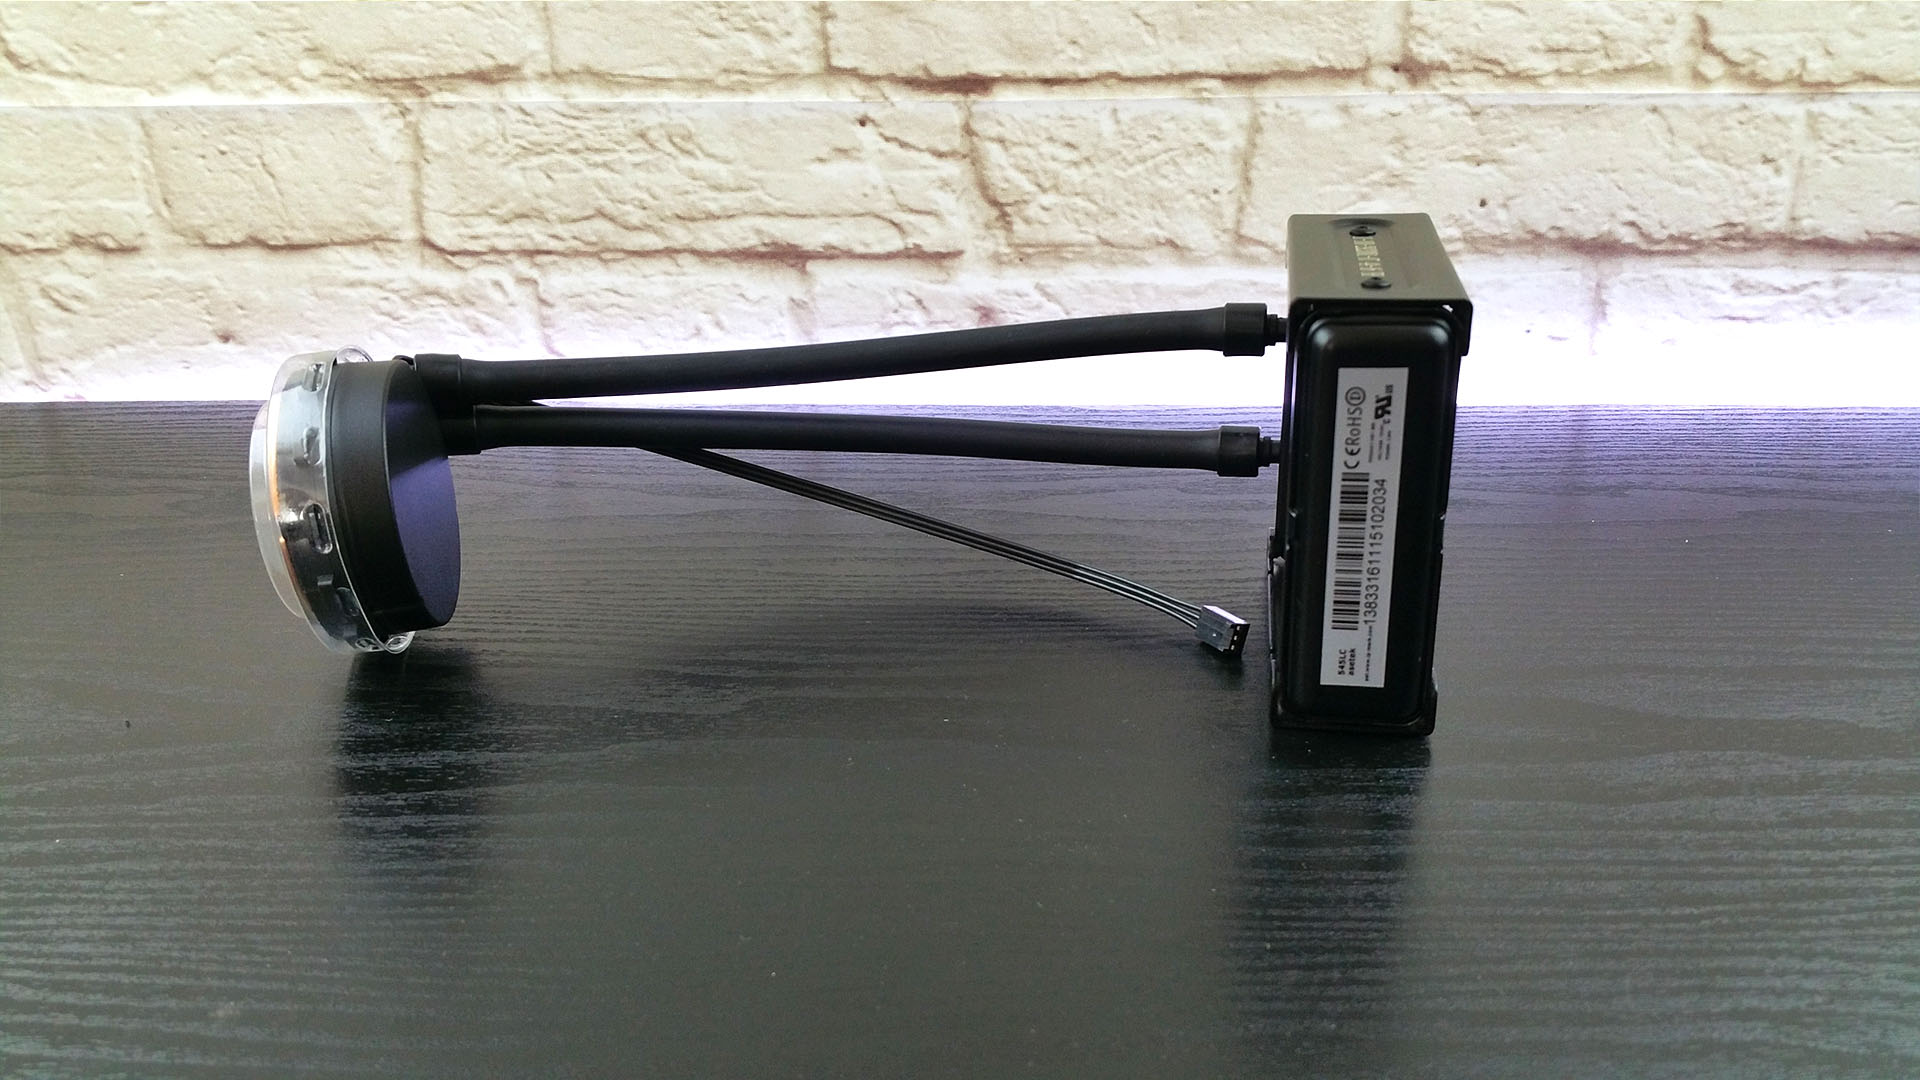
First, the Asetek 545LC 92 mm AIO. It has serial numbers on two of its sides and the radiator measures ~ 4 cm in thickness.
From this angle we can see the reservoir on the right and the 92 mm fin array.
The tubes measure ~ 20 cm long and are very bendable as we shall soon see, despite their tough construction. Then the pump has a 3 pin power connector.
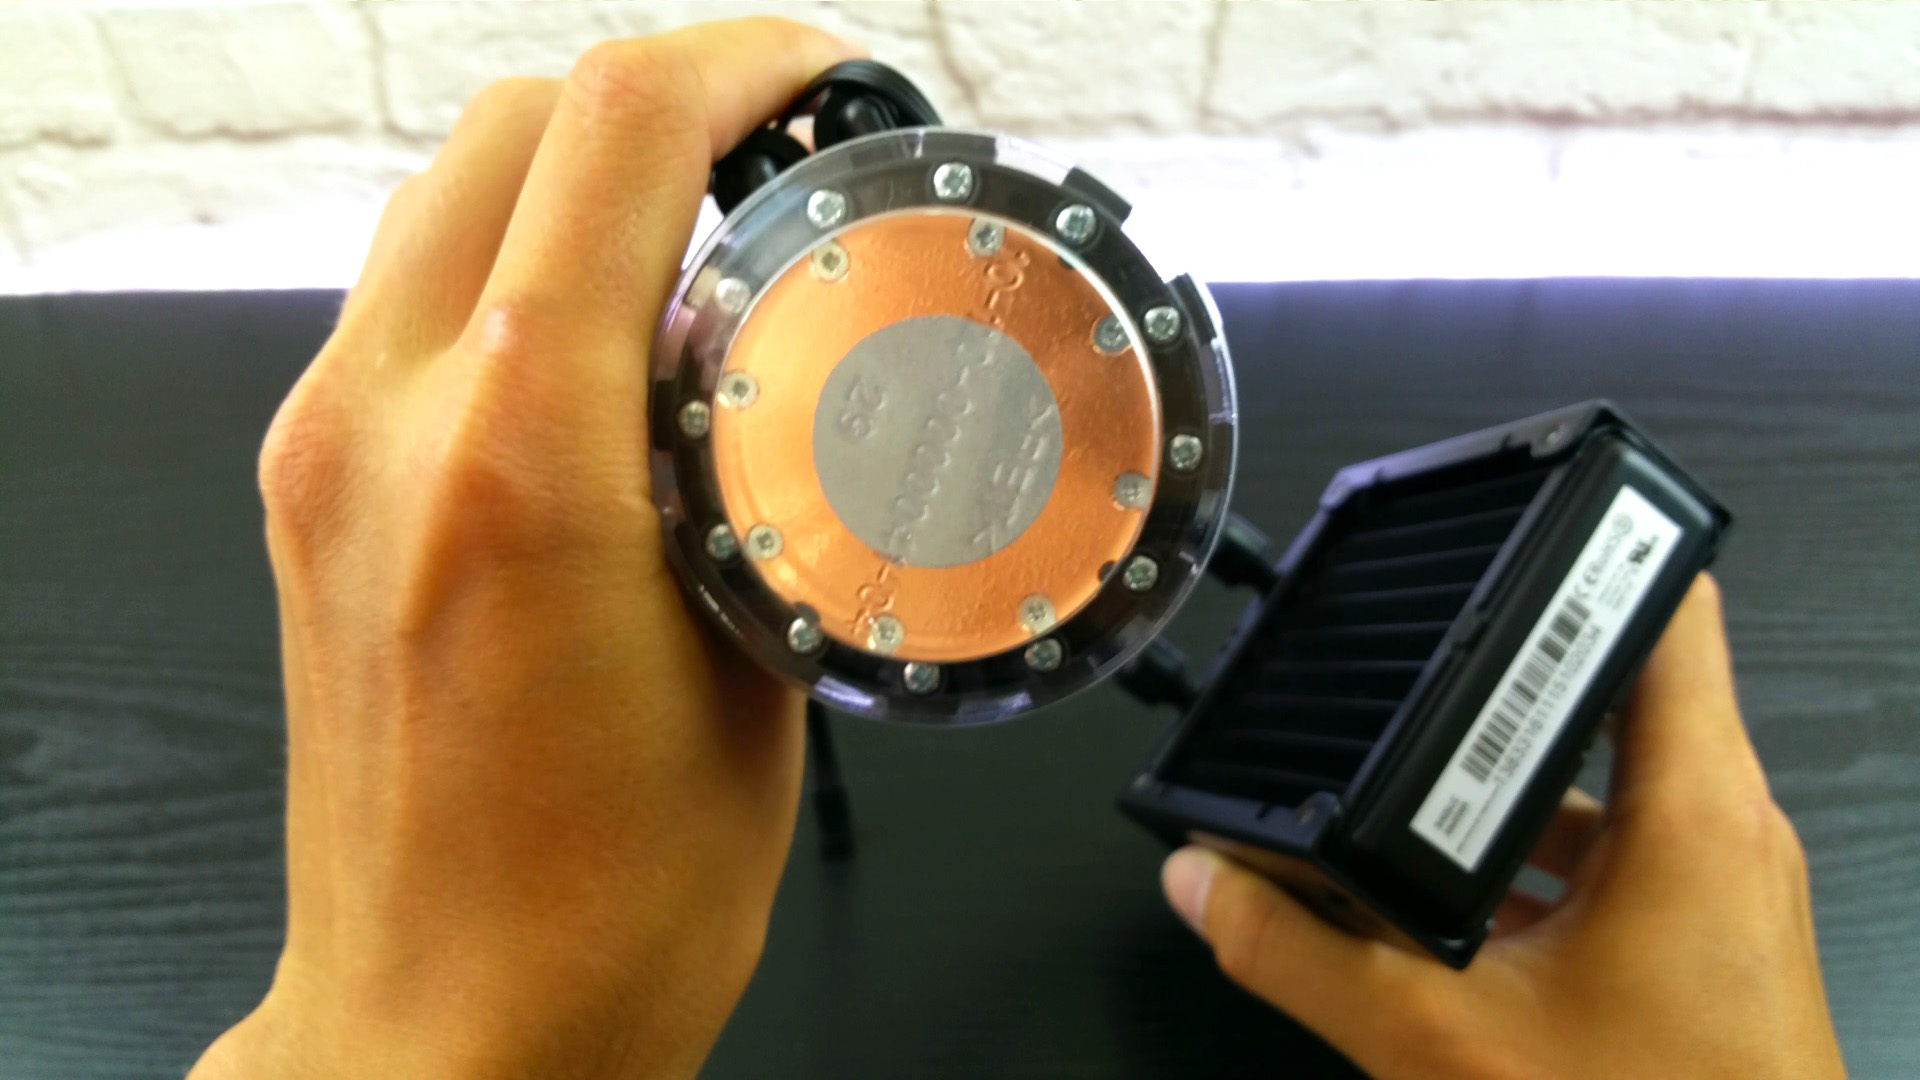
Moving to the contact area, which measures approximately 5.5 cm in diameter, the 545LC comes with a pre-applied layer of thermal paste.
Now to put things into perspective, here we have from left to right some fans near the AIO:
120 mm vs 92 mm vs Asetek AIO 92 mm vs 140 mm fan
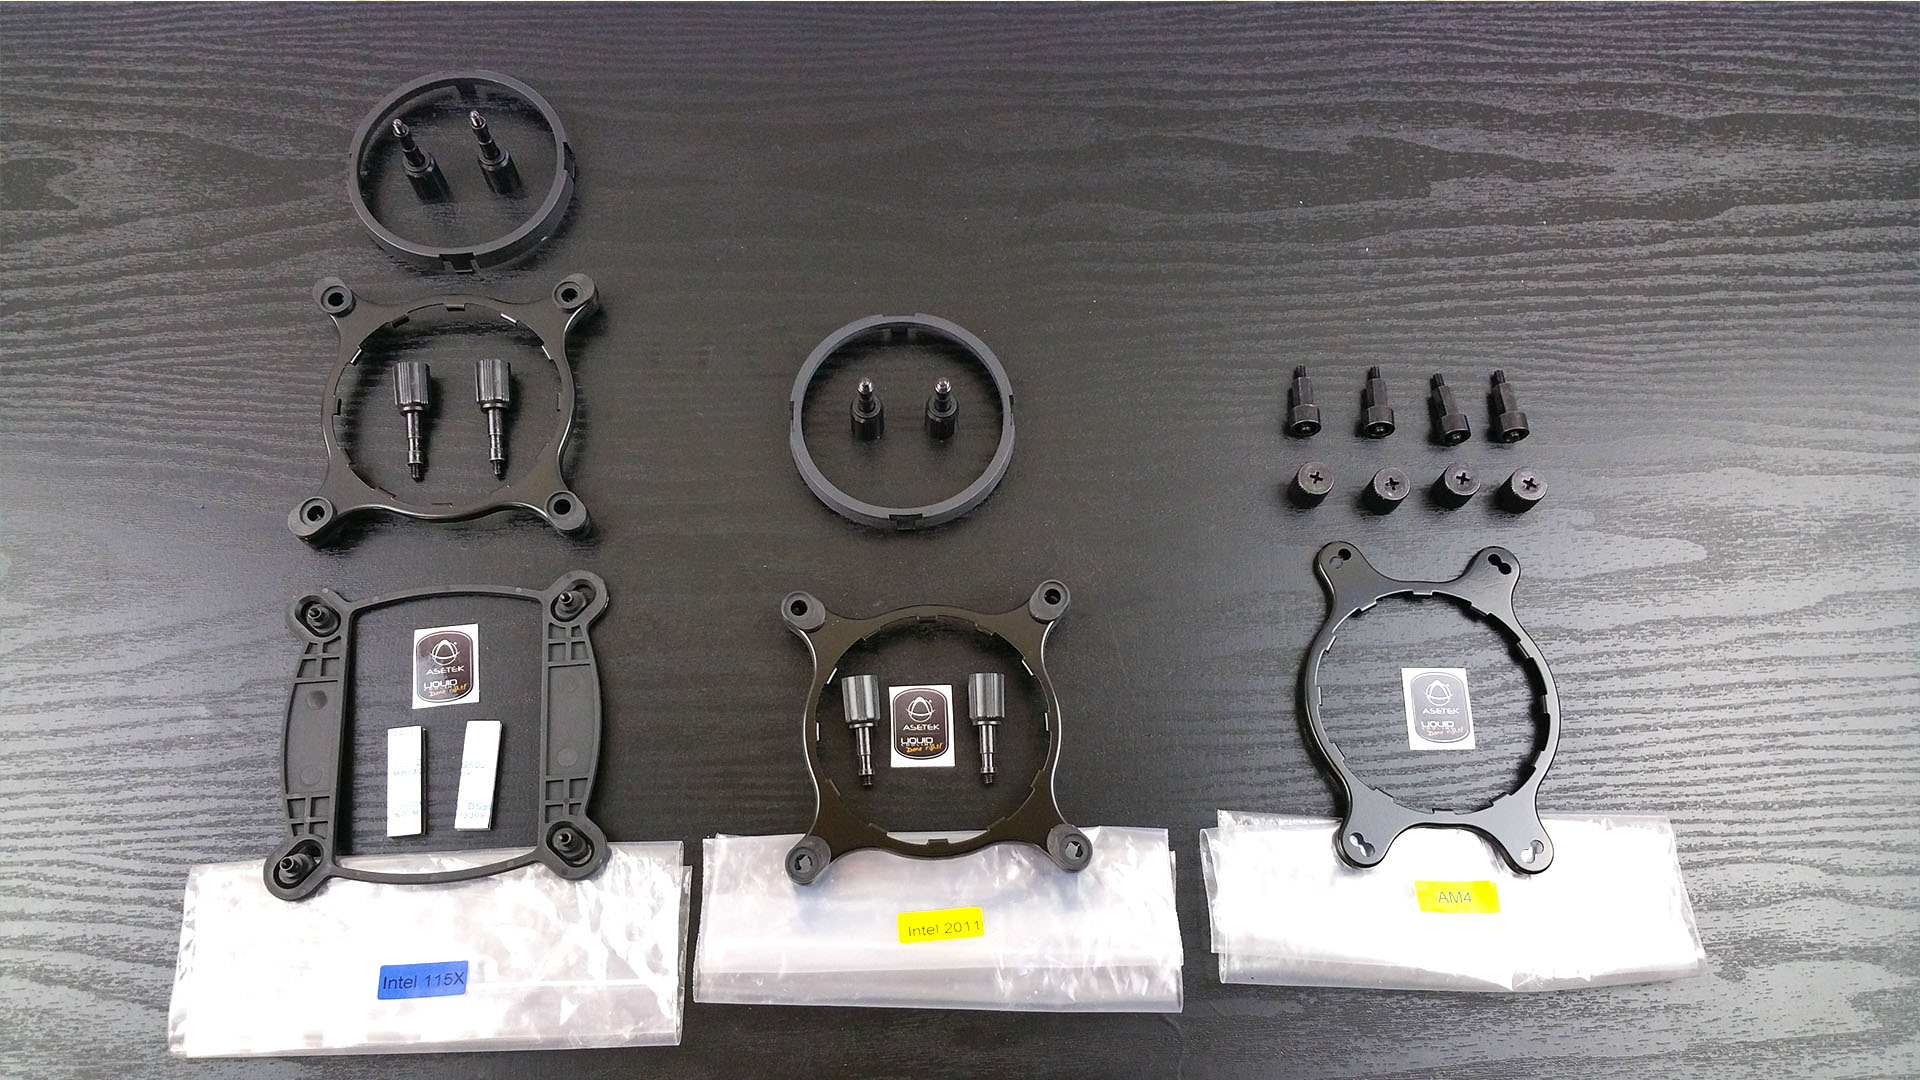
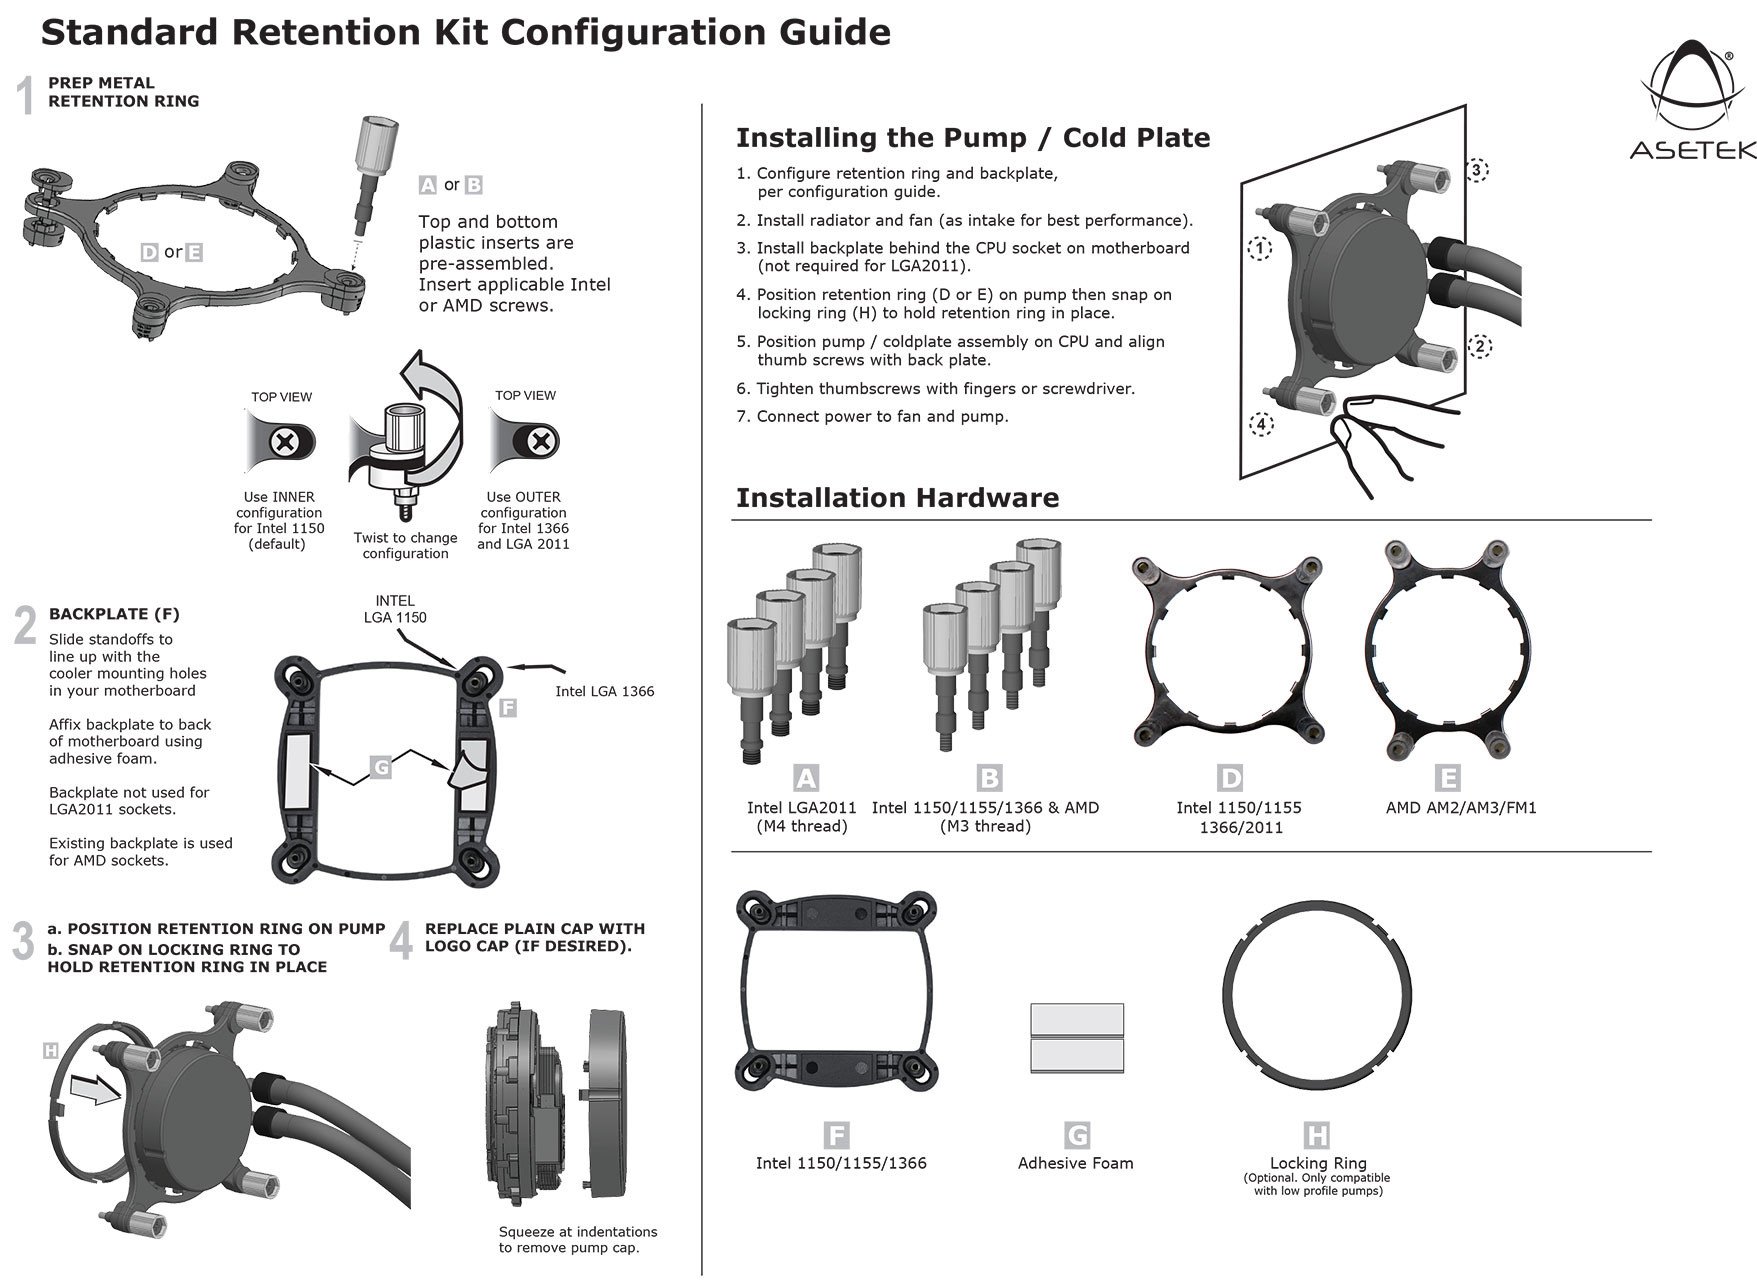
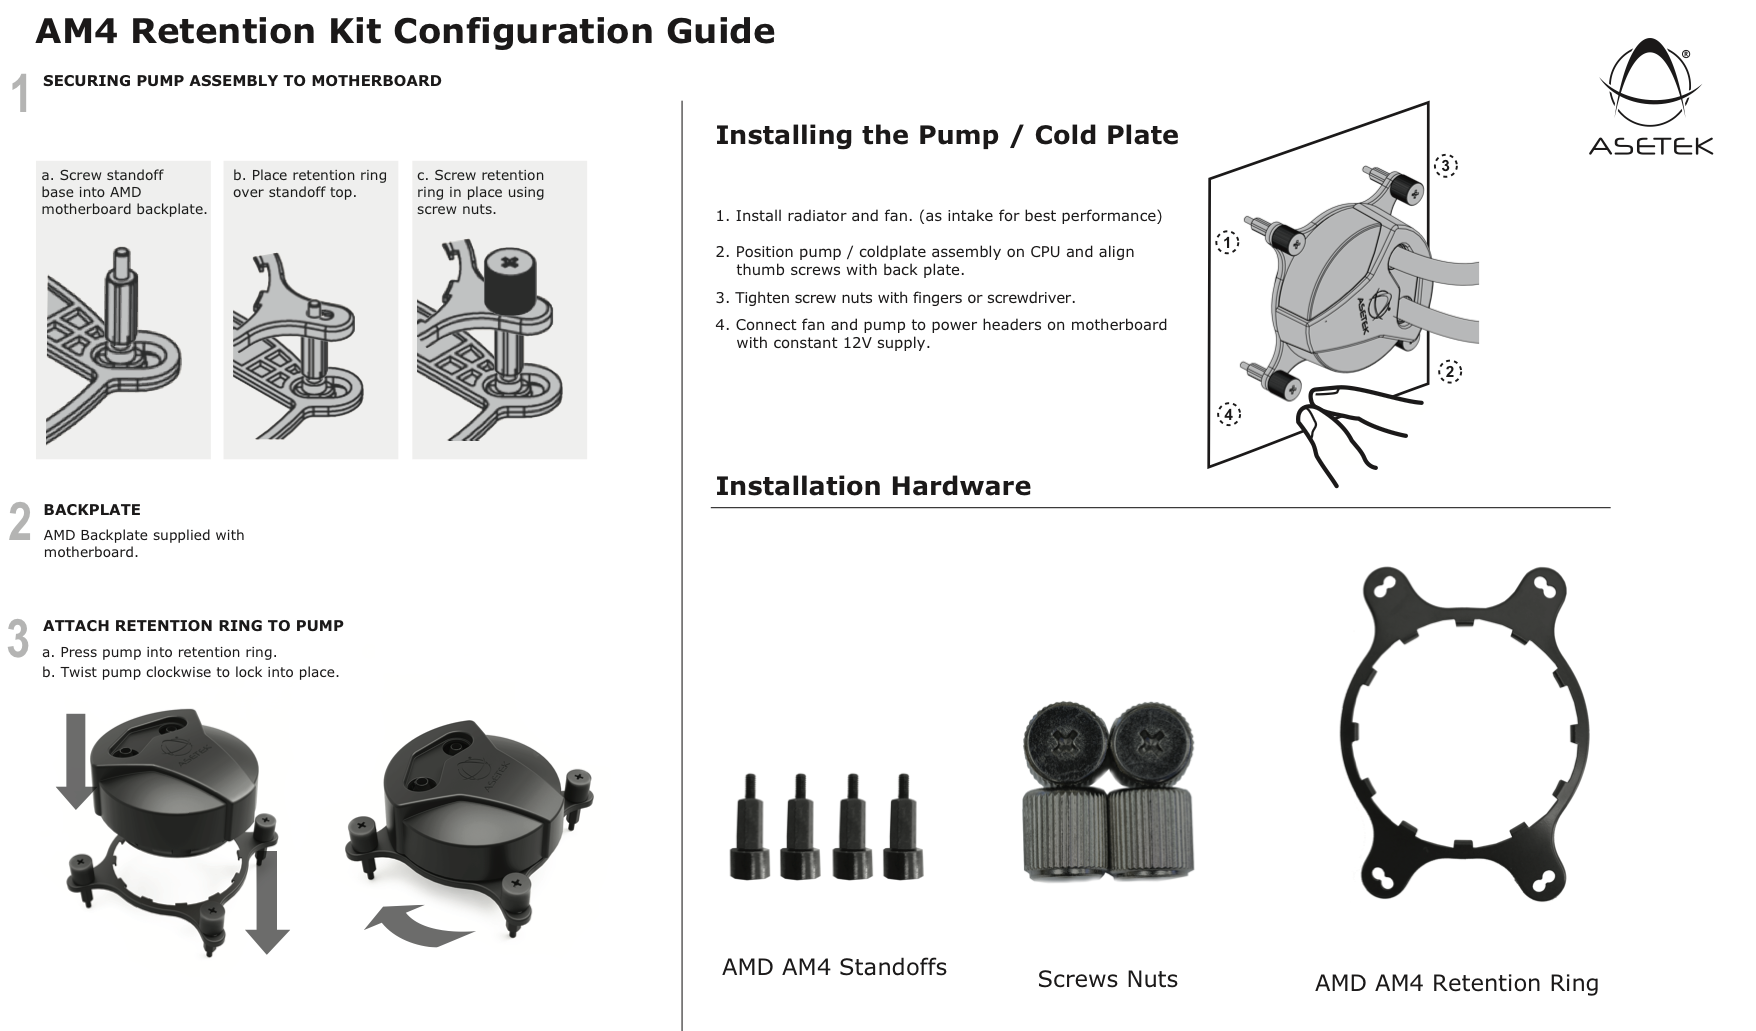
To finish off the visual inspection, here are the accessories which cover the retention kits for these sockets: LGA 115x, 1366, 2011(-V3) & AMD’s AM4.
And we got separately a narrow ILM 2011v3 kit for our needs.
Installation
The included manual is very brief and straight to the point. Overall the installation process is easy and becomes even easier when tackling the bigger Intel sockets like the 2011(v3) because they don’t require any back-plates.
And here is my installation process, the only difference is that I used the new narrow retention ring kit.
Now let’s see if this tiny AIO can even cope with stock CPU TDP requirements, considering the fact that it claims to support such big sockets.
Testing methodology
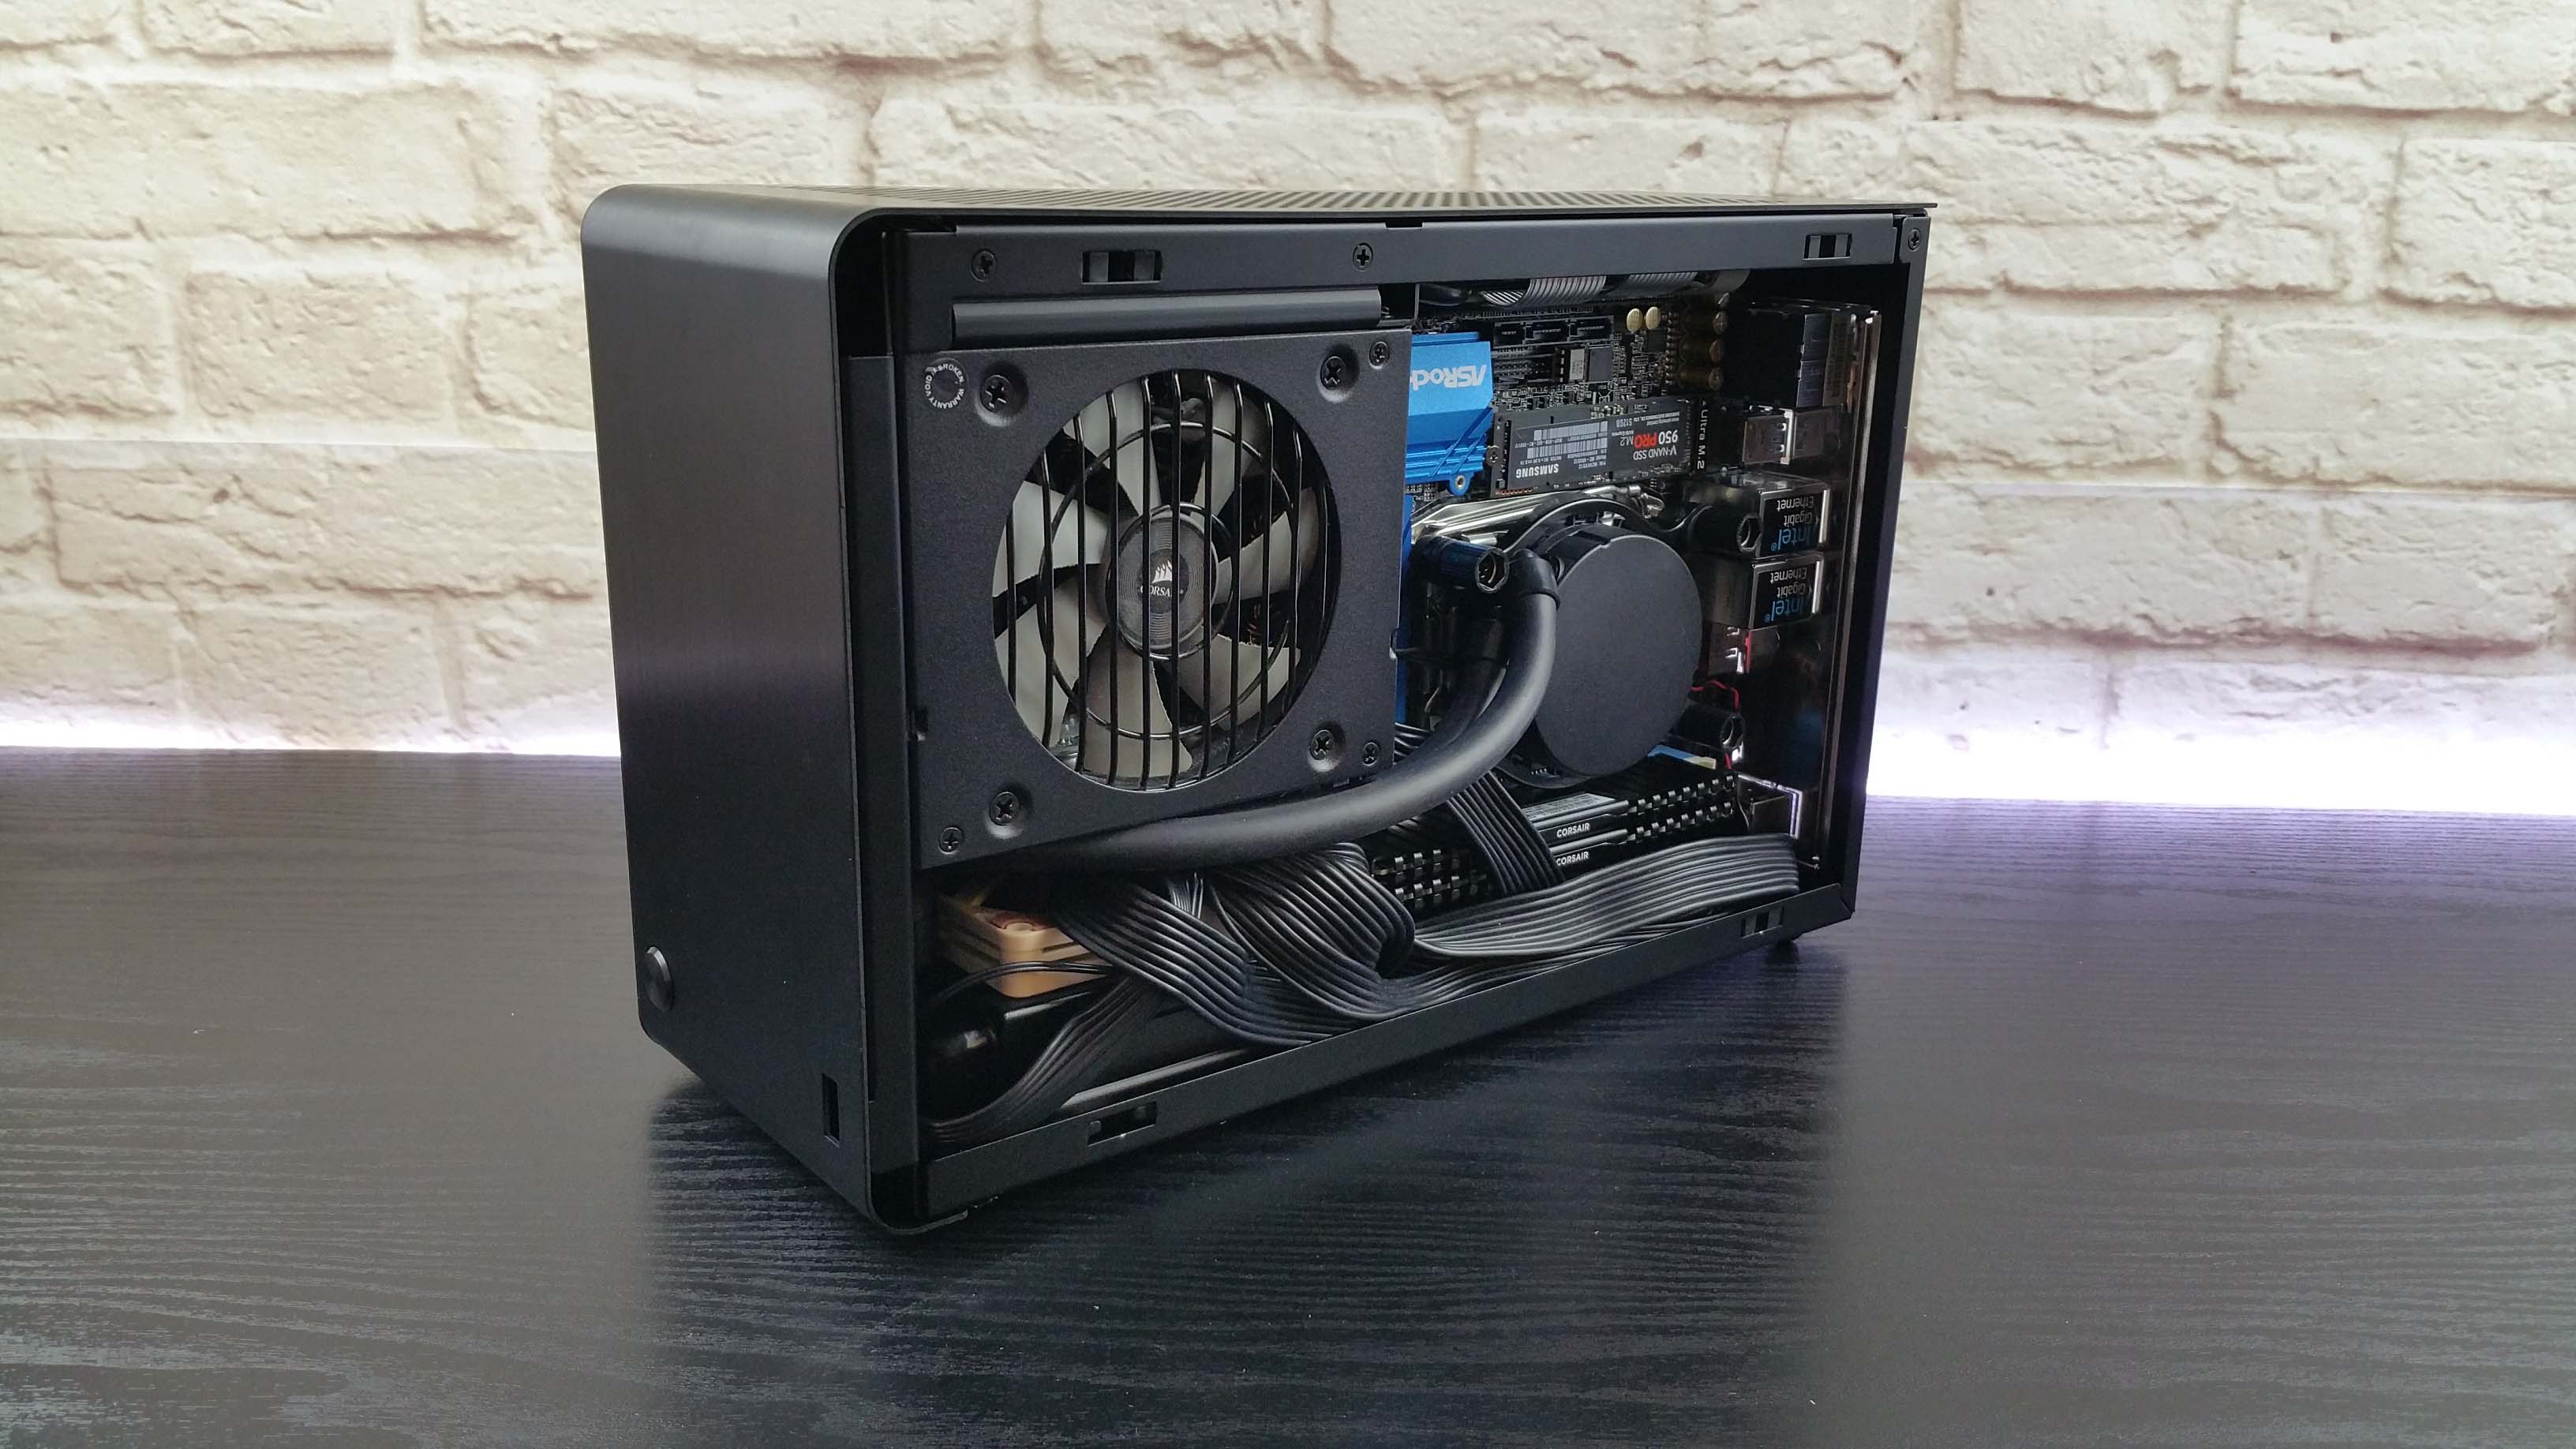
As mentioned in the intro of this review, if you are interested in something like this, you will defiantly will use it in a very small PC build. And we will do just that, throw it into the fighting arena, to prove himself against one of the smallest mITX computer cases on the planet, the DAN A4 SFX V1.
The CPU, which is a behemoth and easily a big test for any cooling solution, will be first set at stock settings and then OC’ed to an average value of daily use. Any results over 90° C in any condition are considered a fail.
Room temperature is set at ~ 20°C.
The thermal paste used was the one that came pre-applied on the Asetek 545LC.
We will compare the results of the Asetek 545LC 92 mm to a 240mm AIO.
The fans will be set on the auto % rpm curve becasue we are interested in measuring the pumps noise levels. For the noise we used our Pyle PSPL01 placed 30 cm away from the setup.
Let’s proceed.
Hardware used:
– CPU: Intel i7 Extreme 5906x -8c/16t – stock / then OC’d at 4.0 Ghz @ 1.180v
– Motherboard: ASRock X99E-ITX/ac
– SSD: Samsung M.2 950 Pro 512 GB MLC PCIe NVMe
– RAM: 32 GB (2x 16GB) DDR4 Corsair Vengeance LPX 2666 Mhz
– Video card: MSI Gaming X GTX 1070 8G TF6
– PSU: Corsair SF-600W SFX
– Case: Dan A4 SFX V1
– AIO Fan: Noctua NF-A9x14 PWM
Competition AIO
– Corsair H100i 240 mm
Software:
– Windows 10 Pro x64 Build 1709
– NVIDIA GeForce WHQL 388.00
– Core Temp v1.7 R6 – To see the temperatures in real time
– CPU-Z v1.71 – To verify the CPU’s statistics
– Intel Burn Test v2.54 – Main torture and stability test
– Cinebench R15 – Popular CPU benckmark
– MSI Afterburner v4.11 – To record the FPS and load/temperatures
– Intel Extreme Tuning Utility v6.4.1.15 – Another testing benchmark suite
And for the games we did a 20 min run for and used a title that is also CPU bound.
Resolution is set at 1920×1080 with everything set to maximum quality settings and no V-sync.
– The Witcher 3 v1.21
Results
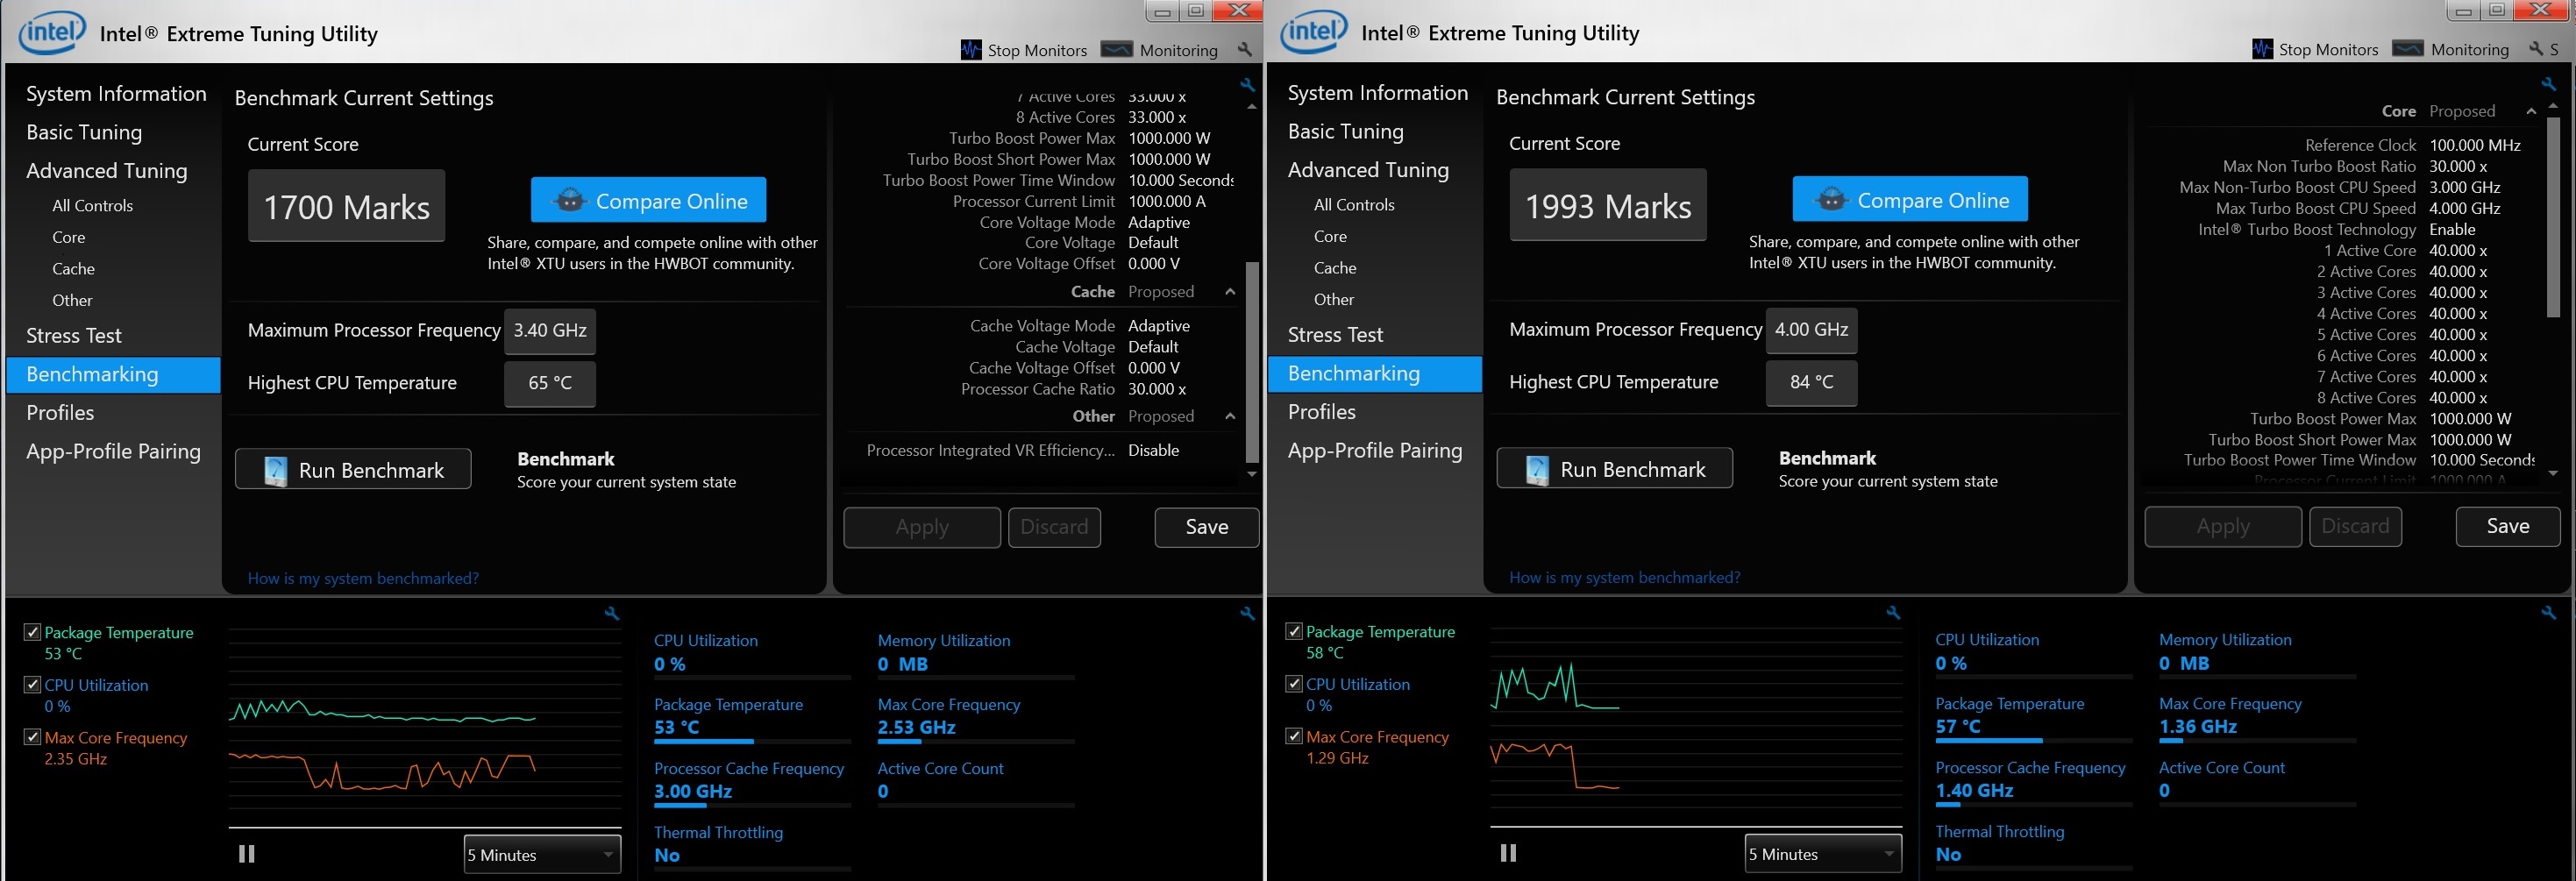
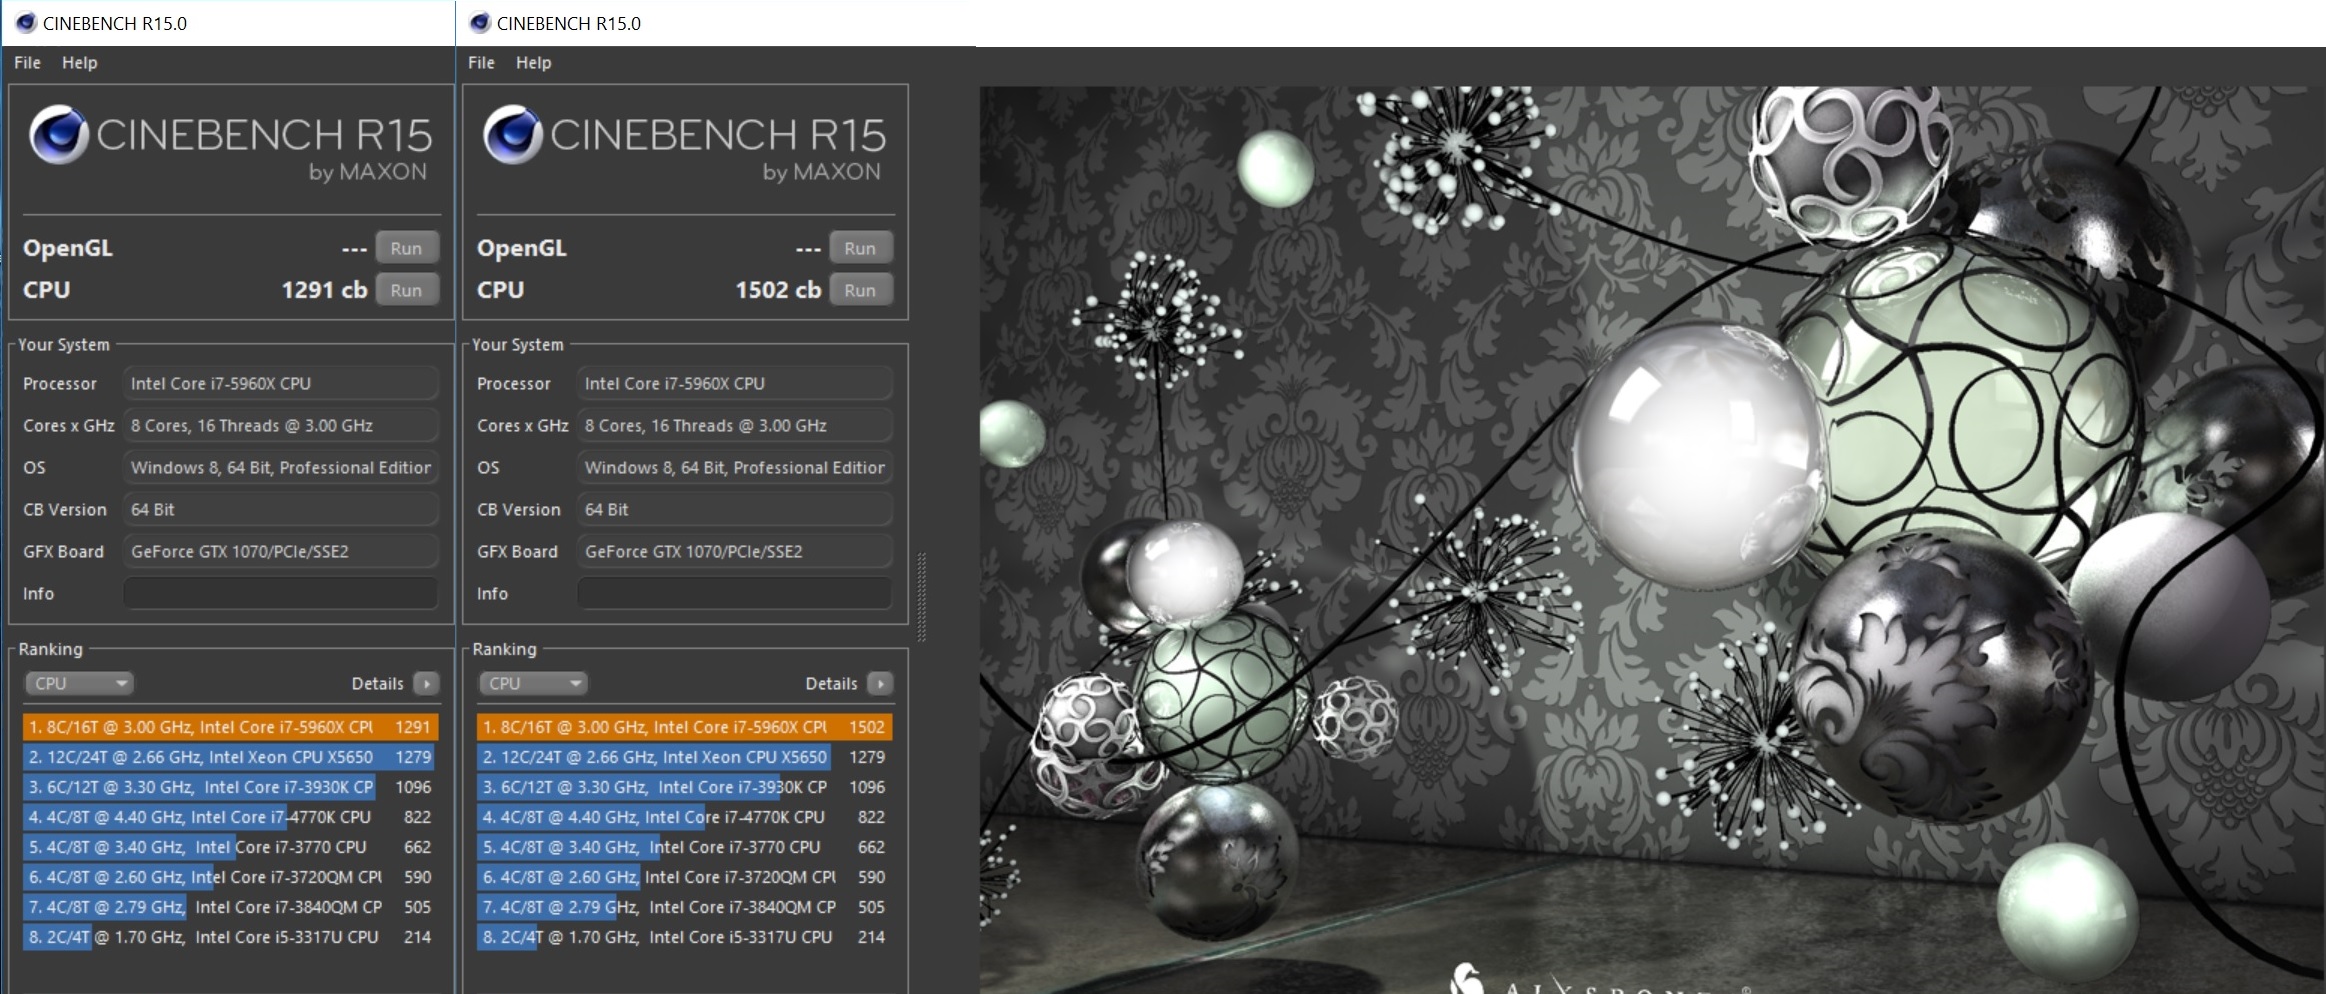
First we start with some synthetics via Cinebench and Intel Extreme Tuning Utility.
This means we are looking at an increase of over 17% when overclocked at 4.0 Ghz from stock, in Intel’s benchmark.
Then we see similar results in Cinebench R15, over 16% overall increase.
Now let’s move onto gaming. In Witcher 3 we see minor increases like 5% in overall/average frames per second.
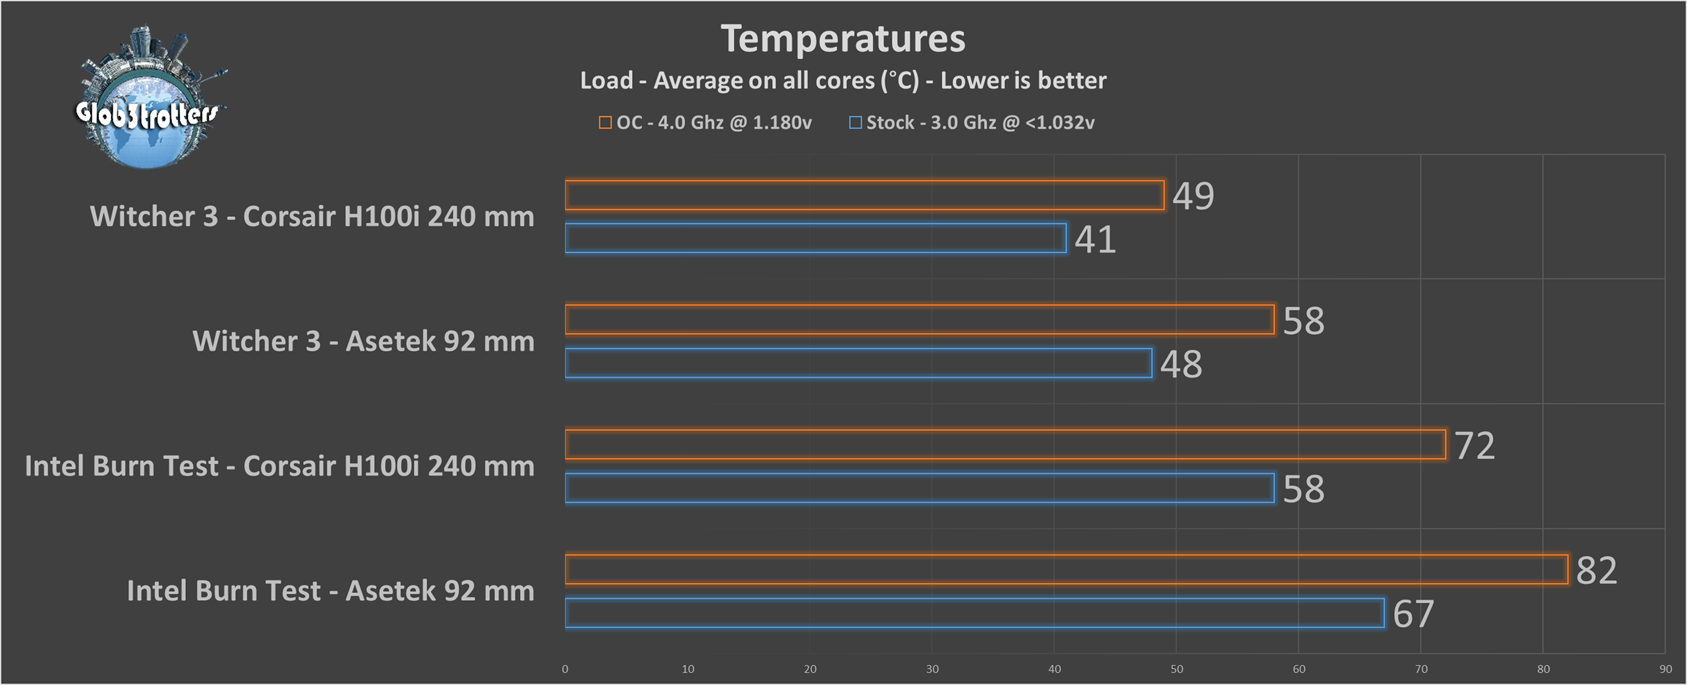
And now for the moment of truth – can the Asetek 545LC 92 mm AIO, with a single slim 92 mm fan put on exhaust, handle stock and even a mild OC, on such a big TDP CPU, in a restricted airflow environment?
Well, here it goes. A run in Intel Burn Test.
Now let’s centralize all the temperature results.
Last one is the noise output.
Analysis
So far I am impressed with the little AIO. It managed to keep the 5960x under control with no problems in stock form, and even with a mild OC at 4.0 Ghz @ 1.180v. With a bit of tinkering I have a felling that we could have reached a higher OC value but not all chips are created equally.
The pump only makes a splash sound when you first boot up the PC aka when it starts to move the liquid around. Other than that, it is completely silent even though I kept the PC on the table with no side panel, at 20 cm from me. The actual noise we recorded was mostly the fan we used as an exhaust.
Build quality wise, Asetek did a great job. Sturdy tubes but really good when it comes bending scenarios. I mean if you saw my build video, I had to bend them at 90 degrees in some areas.
Conclusion
A few years ago, a system this small built with of the shelves parts, then not to mention that it could ever be this powerful and cool and silent, was a pipe dream. Now, with products like Corsair SF600, Ncase M1, Dan A4 SFX, mITX x99/x299 motherboards and now AIO coolers this small, we have a new generation of epic small form factor builds.
Hence Asetek’s 545LC is in a league of its own. Currently it is the only standard format 92 mm AIO out there. In our tests today, it proved itself as an overall good performer in noise output and decent to good temperature numbers, even when used with such a powerful CPU, in such a strict and limited environment. Hope we will see more products like this in the future.
The good:
+ Impressive performance given its small size
+ High compatibility with virtually all modern sockets on the market.
+ Silent operation
+ Excellent build construction
+ Easy installation process.
The bad:
– Needs proper branding and marketing
– Being so small, the flip-side is that the cooling performance is limited, don’t expect breaking world records in OC’ing
– Too simple of a design, no logo(s), no RGB LEDs
– A bit to expensive but it’s the only choice you have
– No fan(s) included












Hey man!
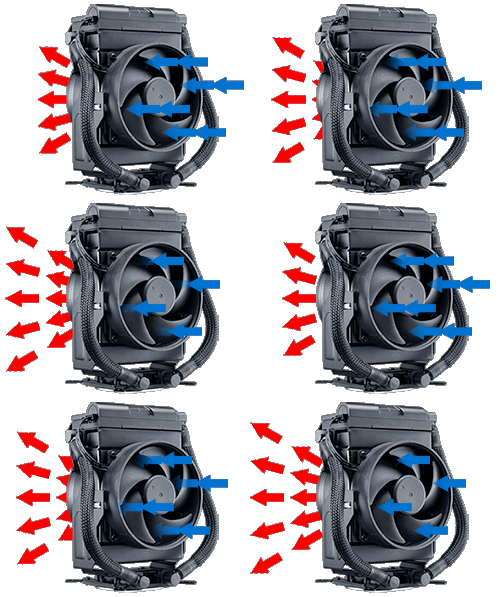
Great info. Thank you! I actually came across your video a few weeks ago on YouTube. I have a Dan A4 V1 I got on release and currently have a delidded 7700k in it. I’m considering upgrading the 8700k for the two extra cores. I’m a designer and have a beast for Win10 (i9-7940X) and then this little guy runs strictly as my Hackintosh – I have the Noctua in it now. Do you have the total clearances handy from the bottom of the PSU to the bottom of the case for a rad/fan? I’m thinking of going cooler master and redoing the hoses so it will reach being that it has software and PMW fans. Also, there are mounts on the actual block so I can add a fan using some sort of fabricated bracket – pushing cool air around the MB. Thoughts? Let me know about the clearances if you have them handy…
Thanks again!
Hi Daniel ! Thanks for the comment and kind words!
That sounds very nice what you want to pull off. Good luck 🙂 What Cooler Master model? The one here as the other option from the review?
Well regarding the clearances I will measure it for you. From the PSU, I presume you have the same the Corsair SF600? Anyway, an SFX format?
Regarding the 8700k, delid that as well 🙂
All the best,
Alex