
We need to bow to a product line that has been with us for over a decade - the Hyper 212 coolers. These have always been the go to choice for many overclockers and any enthusiast who wanted cooling performance on a budget. Today we are looking at their latest version, the RGB one which promises even more value for money.
First about Cooler Master:
They state that “The simple desire to make something better is exactly why Cooler Master is the standard in thermal innovation today. The aspiration to provide better cooling was a matter of personal preference, inspired by the freedom and enjoyment in building and creating something new. Now, our strategic partners like NVIDIA and AMD, our loyal community of gamers and PC enthusiasts, all rely on Cooler Master to strive for thermal excellence. That’s the result of simply wanting improved functionality and wanting to tailor something to fit our personal preference. That’s how innovation starts.”
Pricing and Availability
They go for $38.99 from Amazon.com for the RGB edition or $34.52 for the non-RGB one.
Presentation and Specification
*Courtesy of their website
SLEEK FINISHING
Anodized gun-metal black with brushed aluminum surface finish to the top cover for a more refined look.
PRECISE AIR FLOW WITH NICKLE BLACK
Stacked fin array ensures least airflow resistance which allows cooler air flow into the heatsink. The nickel plated jet black also enhances radiation cooling performance.
DIRECT CONTACT TECHNOLOGY
4 heat pipes with exclusive Direct Contact Technology providing effective and excellent heat dissipation.
THE NEW SF120R RGB FAN
Is certified to sync with Motherboard RGB software or controlled by our controller. The wide speed range can be fine-tuned for maximum cooling performance or silent operation.
OPTIONAL PUSH-PULL FAN CONFIGURATION
To avoid dynamic losses and help accelerate heat exhaust, an additional fan helps pulling heat away faster from heatsink.
RGB IN THE PALM OF YOUR HAND WITH INCLUDED WIRED RGB CONTROLLER
A compact size RGB LED controller that allows you to easily customize your RGB devices without the need for either an RGB capable motherboard or software. You can have the colorful rig you’ve always wanted with just the touch of a button.
UNIVERSAL MOUNTING KITS DESIGN
The improved universal bracket design ensures easy and worry free installation on all platforms.
Then as for the specs we have:
The main ideas to visualize are that it supports any modern Intel and AMD socket and it gives you the option to mount a second 120 mm fan. The RGB even provides you with a modular remote so you control the RGB fan manually if you don’t own an RGB compatible motherboard.
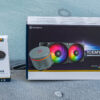
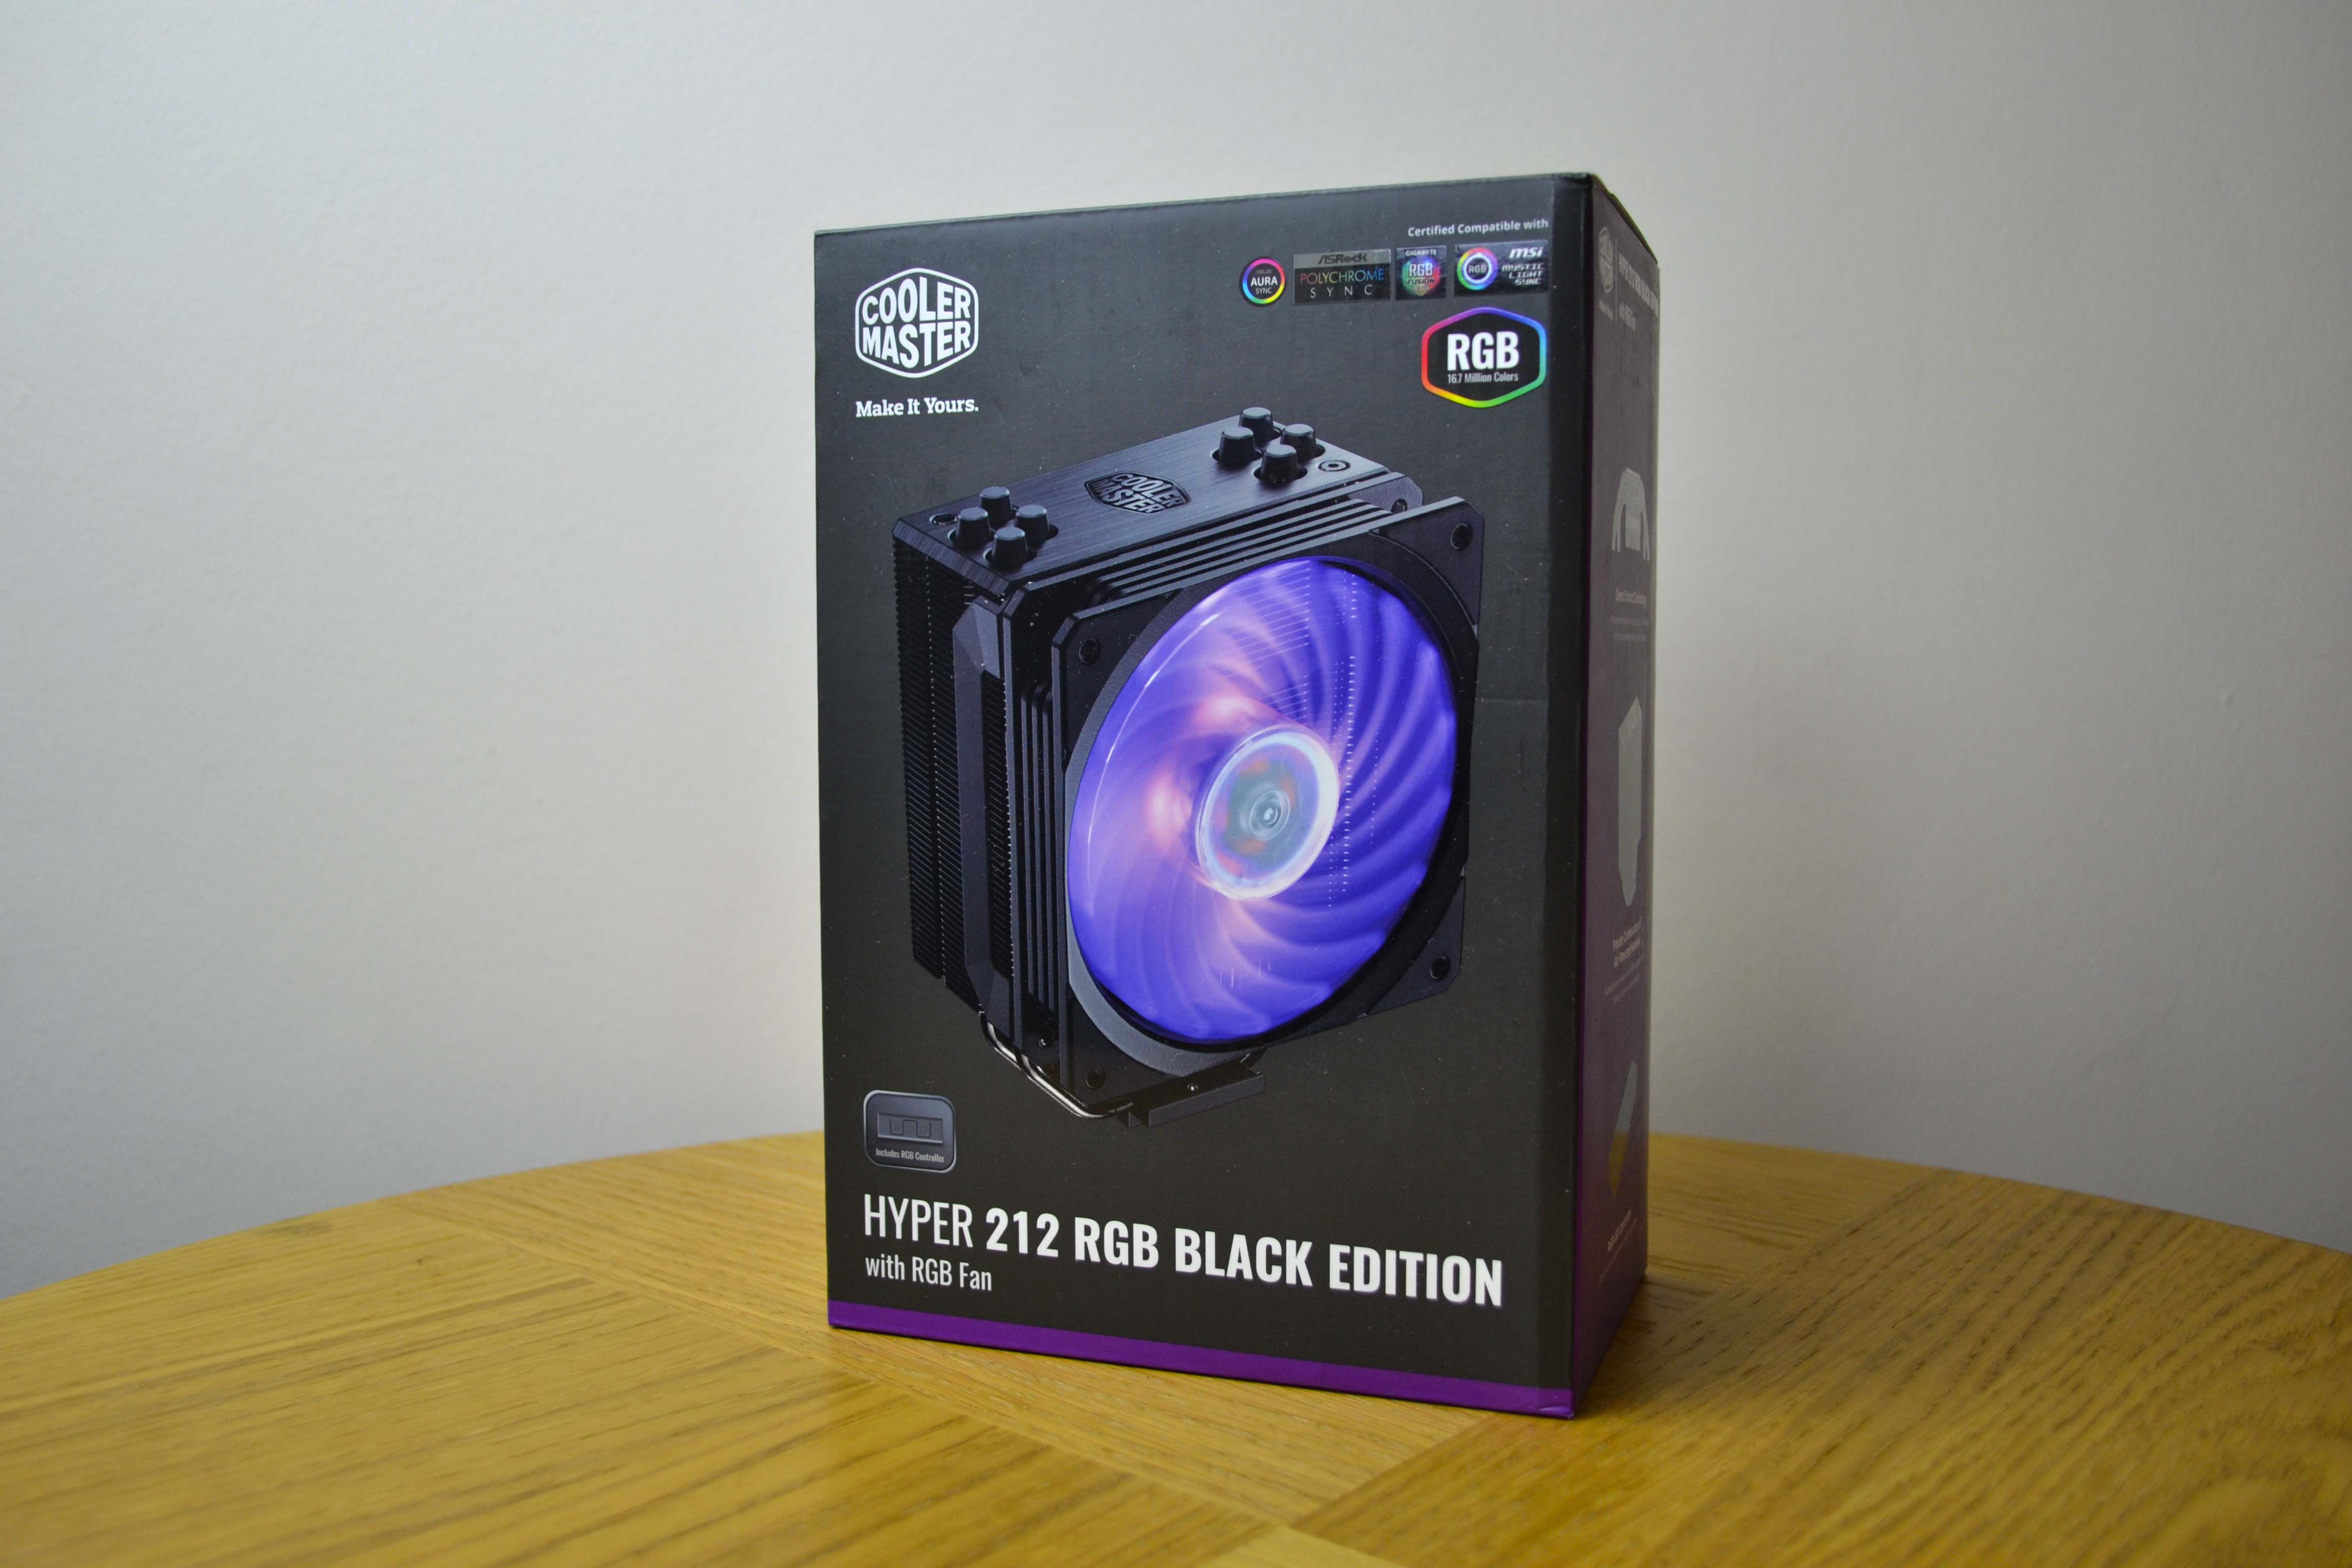
Packaging and Visual Examination
The box design stands out very easily due to the visual depiction of the RGB fan of the cooler.
One of the sides show some of the most important features of the cooler like the 4 heatpipes and the RGB remote.
The back side gives us the critical size and clearance numbers.
As for the other side, we have a table containing the full specs of the cooler and the RGB fan.
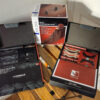
The accessory box sits on top of the cooler as you open the box.
The Hyper 212 Black RGB tower cooler sits in its own plastic tray and thus it is well secured inside the box.
Now let’s see all the included accessories.

1x Universal socket bracket
2x Intel securing side brackets
2x AMD securing side brackets
4x Hex spacers/bolts
4x LGA 20xx Intel socket bolts
2x Securing Philips screws
1x Securing wrench allen-to-screwdriver adapter
4x Intel side bracket plastic brackets
4x AMD side bracket plastic brackets
4x Square socket fixing bolts
2x Extra Frame rails for an extra fan
1x Fan PWM splitter
2x Rubber pads for the extra fan
1x Cooler Master thermal paste
1x Installation manual
1x Warranty booklet
The single tower 120 mm cooler has this anodized gun-metal black with brushed aluminum surface finish which makes it look very stealthy and cool. We can see the top plate with the ‘Cooler Master’ logo while the 4 main heat pipes are secured with those metal caps. Also the fin array is reinforced further (besides the 4 heat pipes) with the additional of one rod per each side, locked down via Allen bolts.
It stands just shy of 160 mm tall (158.8) so make sure your case will accept it.
The fins have these cut outs on both sides to facilitate an easier installation when you have to screw in later the securing brackets.
In between the top plate and the first fin we have this pad which I believe is for reducing vibration.
The base plate has this extra fin array for even more heat dissipation.
Speaking of the base plate, it has a smooth finish, almost mirror like and you can almost see the heat pipes blending in.
Now for the included fan.
It has a very interesting sequence to mount it.
You have to remove these rubber pads to access the screws that holds the fan to the brackets.
The 9 blade 120 mm RGB fan is rated for a maximum airflow output of 57.4 CFM and an air pressure of 2.0 mmH2O. It has a range of 650 to 2000 RPM with a noise output of 8 to 30 dB/A and it is rated for 160.000 hours which is a lot - around 18 years of non stop use. Insane theoretical numbers.
The fan has a 4 pin PWM plug and an extra RGB port. You can connect this one to any RGB header on a supporting motherboard or into the included remote which will be powered by a Molex plug.
Here is the remote which give you control over the effects, brightness and colors.
Now let’s install this bad boy.
Installation
The procedure is fairly easy. The short version is: back plate -> bolts -> brackets on the cooler -> tight everything in. Voila. Alas, the long version goes like this:
First remove the motherboard’s original stock AM4 brackets.
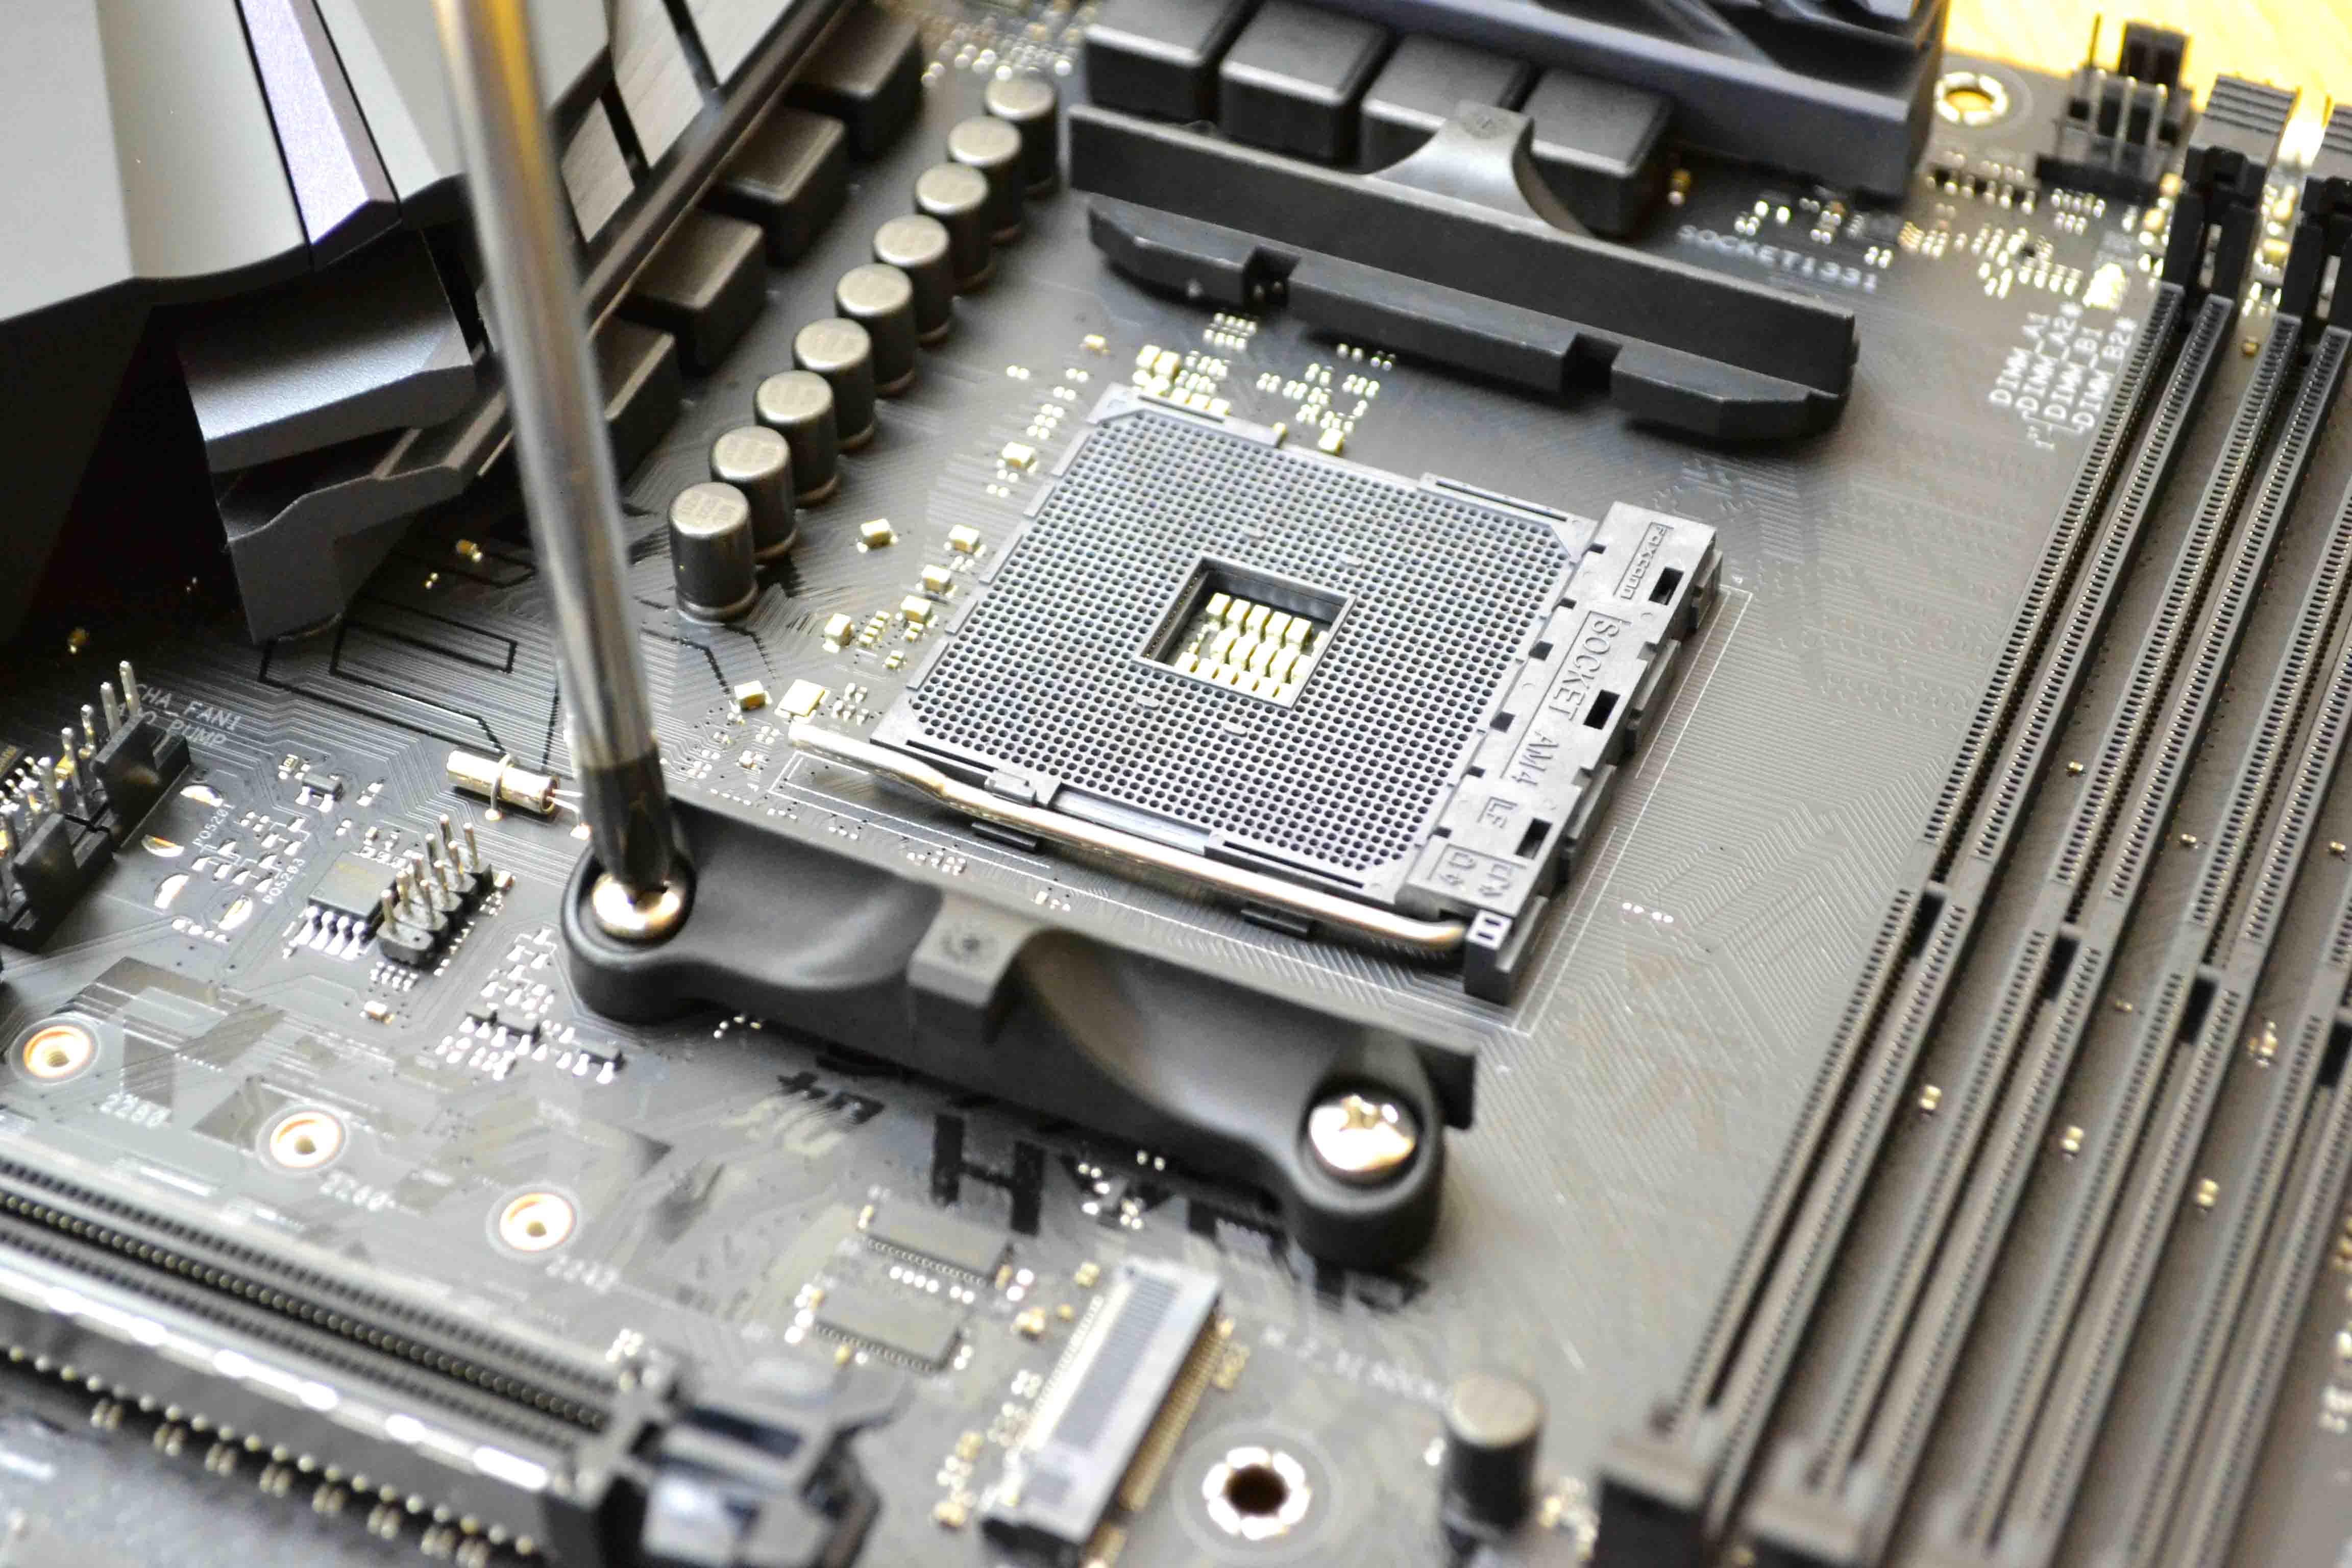
Depending on your CPU, in our case a Ryzen 7 1700 CPU, orientate the Cooler Master 212 Hyper RGB socket bracket accordingly.
Insert the square custom bolts to match the AM4 distance and secure them with the plastic tops.
Attach the bracket to the motherboard and tighten it via the 4 hex bolts using the included adapter.
Apply the thermal paste.
This is how it will spread via the ‘pea’ method.
Now attach the correct socket side brackets onto the heatsink.
Screw in the heatsink to the motherboard in an X pattern to distribute the pressure equally.
Plenty of headroom each way with this ASUS STRIX B450-F motherboard.
Then attach the fan and install both PWM and RGB to the corresponding headers.
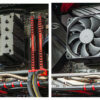
Done. Here it is installed and running. I must say it looks amazing !
As for the effects and colors here is a quick video. This is fully controllable via the motherboards RGB software - in our case the ASUS AURA.
Testing methodology
The CPU, a low power 8 core 1st-gen Ryzen, which still packs a punch, will be tested in stock form, then OC’d to 3.8 GHz at 1.3V. Any results over 90° C in any condition are considered a fail.
Room temperature is set at ~ 20°C.
The thermal paste used was the one that came with the Cooler Master 212 RGB.
We will compare the results of the Cooler Master 212 RGB Black Edition tower cooler with the stock AMD Ryzen 7 Wraith Spire and the low profile Noctua L9a 92mm cooler for extra perspective.
The fans will be set on the auto % rpm curve because we are interested in measuring the noise levels as well as the fan’s curve. For the noise measurement, we used our Pyle PSPL01 placed 30 cm away from the setup.
Hardware used:
- CPU: AMD Ryzen 7 1700 AM4 - 8c/16t
- Motherboard: ASUS ROG STRIX B450-F Gaming ATX
- RAM: Crucial Ballistix Elite DDR4 2666 MHz
- Boot SSD: Samsung 860 QVO 1TB QLC
- Video card(s): ASUS STRIX GTX 1080 8G Advanced
- PSU: BeQuiet! 700W Pure Power 11 ATX
- Case: Phanteks Eclipse P400A
- Monitor: ACER 27″ FHD KG271 75 HZ 1ms Freesync
Competition (air) coolers
- Noctua L9a - 92 mm
- AMD Wraith Spire - 92 mm
Software:
- Windows 10 Pro x64 Build 1903
- NVIDIA GeForce WHQL 436.30
- Core Temp v1.13 R6 - To see the temperatures in real time
- CPU-Z v1.88 - To verify the CPU’s statistics
- Intel Burn Test v2.54 - Torture and stability test
- AIDA64 Extreme v5.99 - Another popular total system stability test
- Cinebench R15 - Popular CPU benckmark
- MSI Afterburner v4.50 - To record the FPS and load/temperatures
Resolution for our test game FarCry: New Dawn, is set at 1920×1080 with everything cranked to the maximum quality settings and the refresh rate is locked at 75 Hz.
Results and Analysis
We start the benchmarks with a CPU stress test via AIDA 64. On the left we have the CPU at stock speeds while on the right we have the overclock numbers.
Temperatures numbers are excellent ! Stock figures are expected to be this good considering this is a 65W TDP CPU. But the overclock is the real test with such high voltage. So this Cooler Master 212 RGB has a clear win in this test even if we forget for a minute about the fact that the coolers we are comparing are not that powerful and just be mindful of the voltage.
Cinebnech R15 doesn’t put that much stress onto the CPU like AIDA64 but still it will reflect a real life workload scenario.
So the temperatures are again really good. Still even more OC potential is left.
Intel Burn Test is even more demanding than AIDA64 so it is the perfect stability test and to check the cooling potential of any cooler.
This is where the other small coolers will struggle even with the stock form of the CPU. Both the stock AMD and the L9a failed this OC test because they went over 90 degrees C.
Gaming should be a breeze considering that the CPU will not use in a worst case scenario, more than 50% of its total power.
Finally a very important test is the noise output. Even in an OC scenario the Cooler Master 212 was quiet. At 100% it will be loud but that’s why we set the RPM curve on auto settings to reflect a real life usage circumstance.
Conclusion
This is a very good example what a complete package looks like and no wonder considering the ‘pedigree’ of this particular cooler’s history. It demonstrated that it can handle without a problem an overclocked Ryzen 7 CPU at 1.3v while being quiet. That says it all around this price range. This combined with the looks and even the RGB fan, what more can you ask for?
The good:
+ Excellent performance for the price
+ Easy installation
+ RGB with modular remote for older systems
+ Quiet operation
+ Very cool design
+ Ability to add a second fan
The bad:
- None - until we upgrade the testing CPU and have more coolers to offer it competition at this price range
Glob3trotters “Best Bang For Buck” Award - 5 out of 5