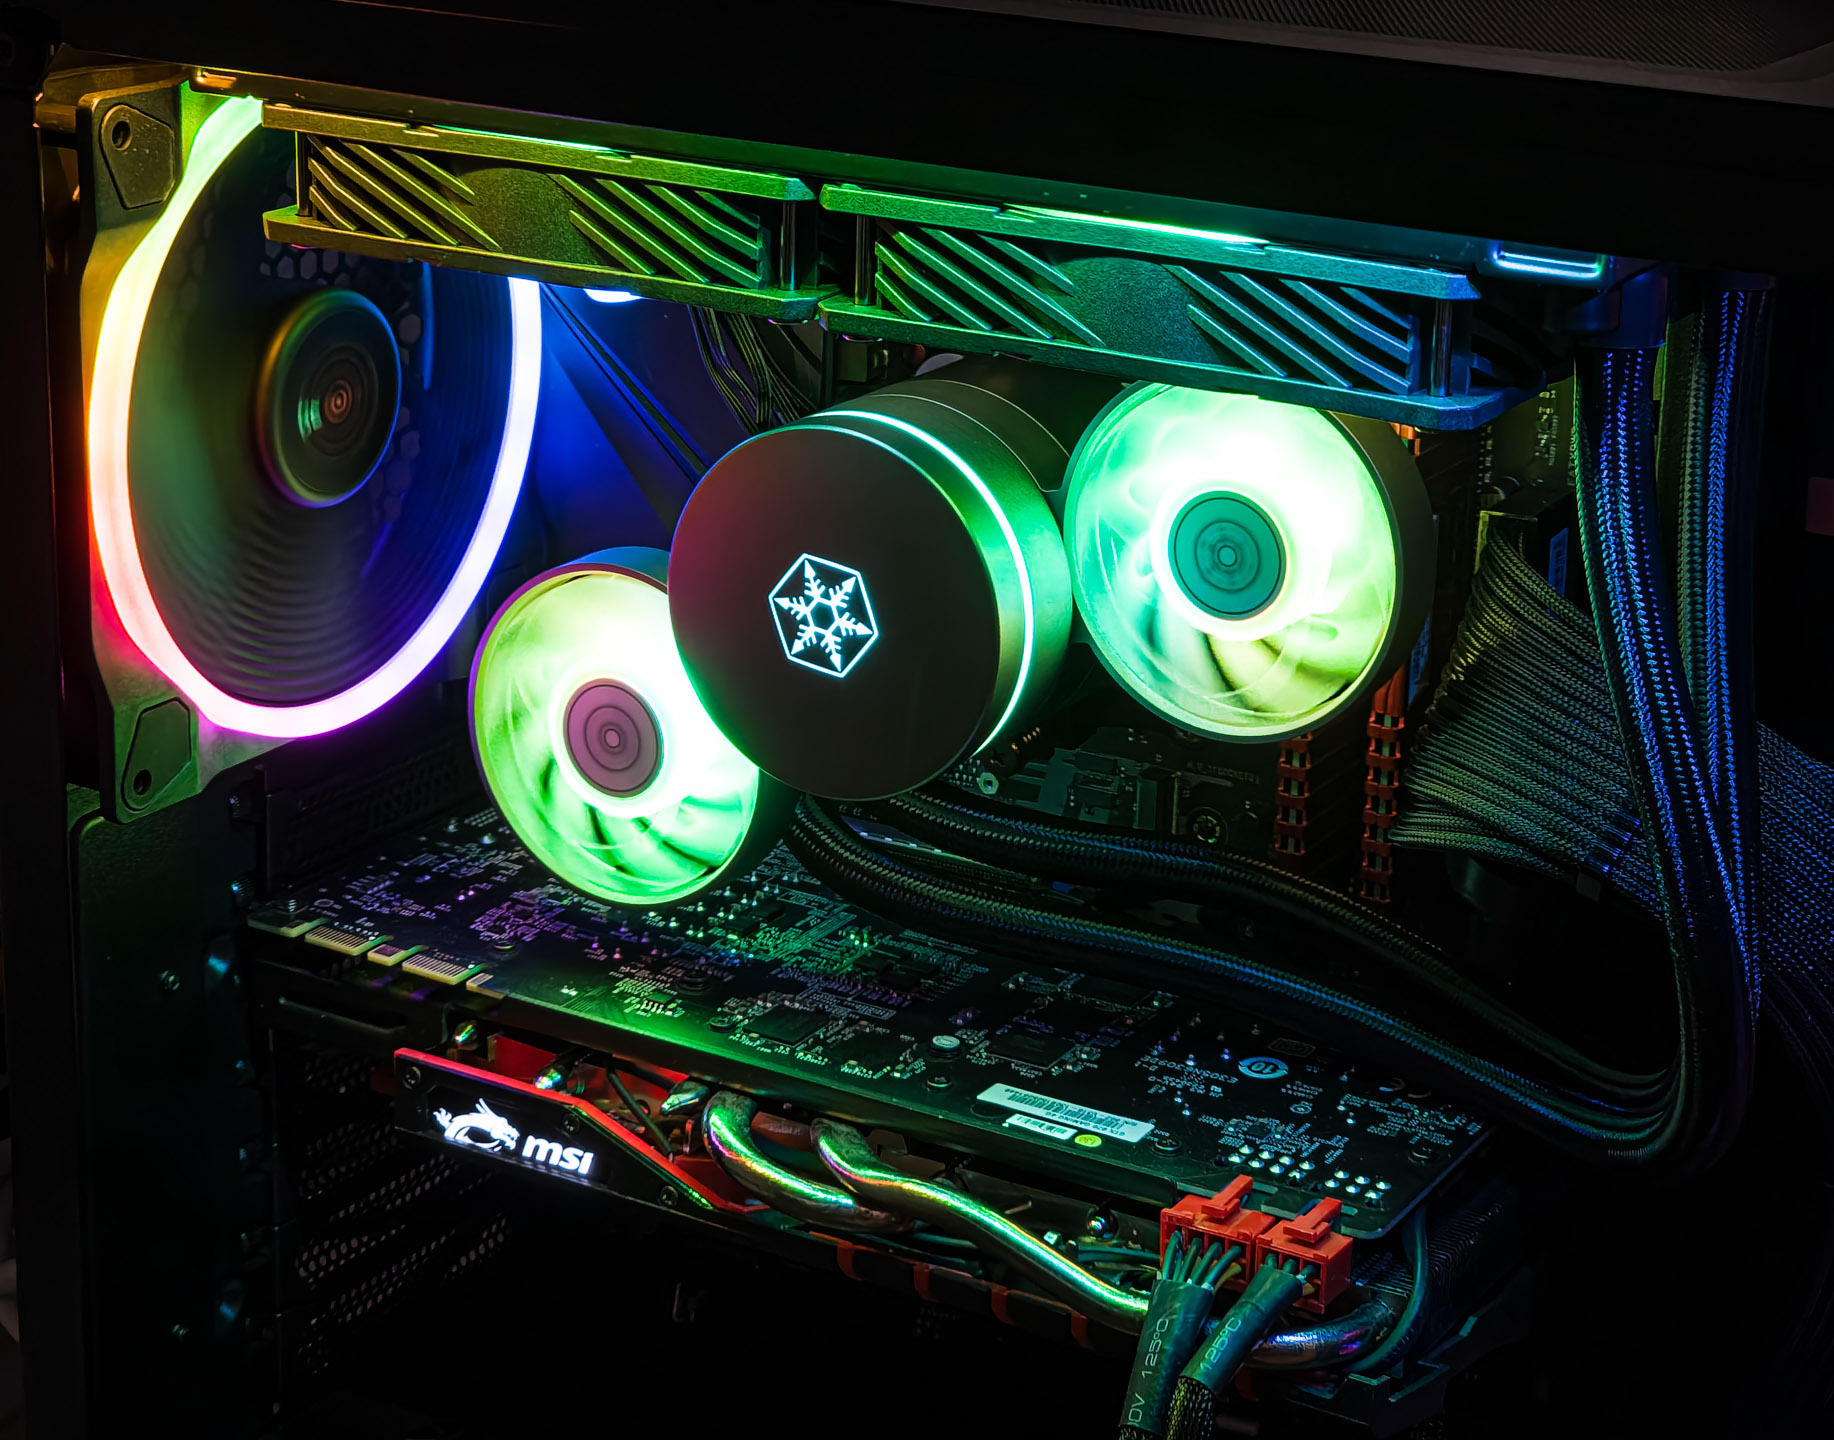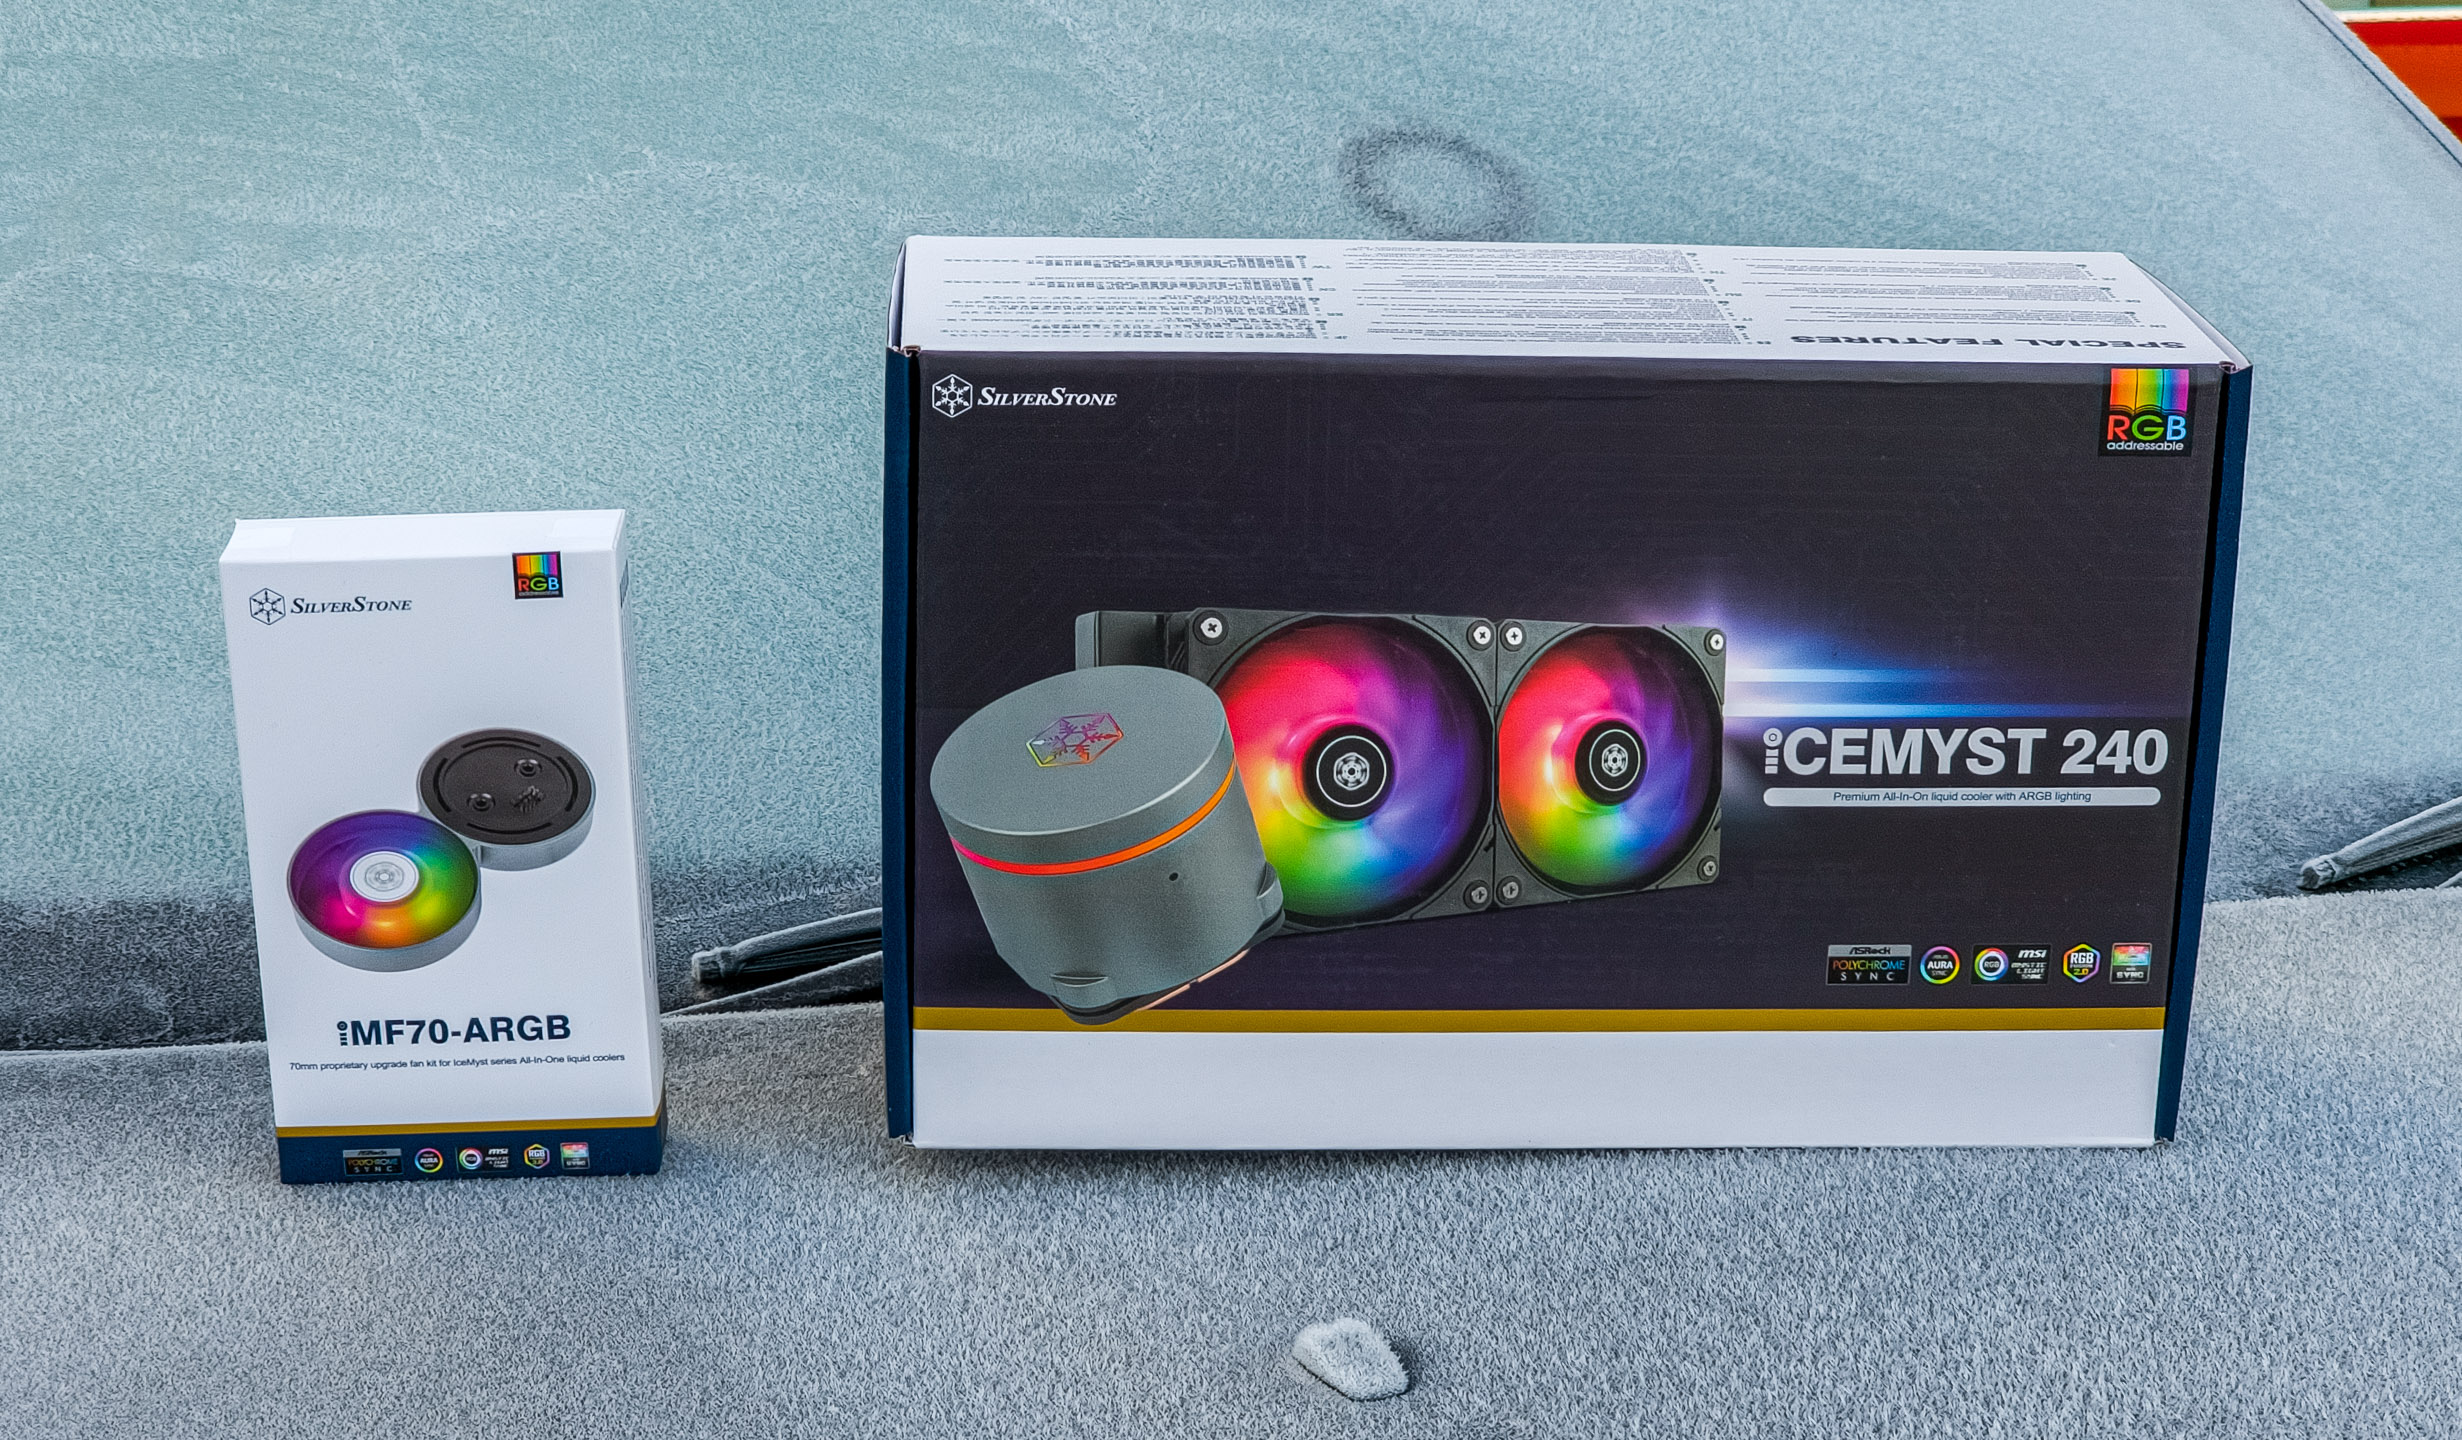
Since their inception, an AIO (all-in-one) CPU cooler hasn’t deviated too much from its original formula, of a closed loop system. Thus today, SilverStone has managed to increase its versatility and literally, its reach, thanks to a clever and modular design implementation.
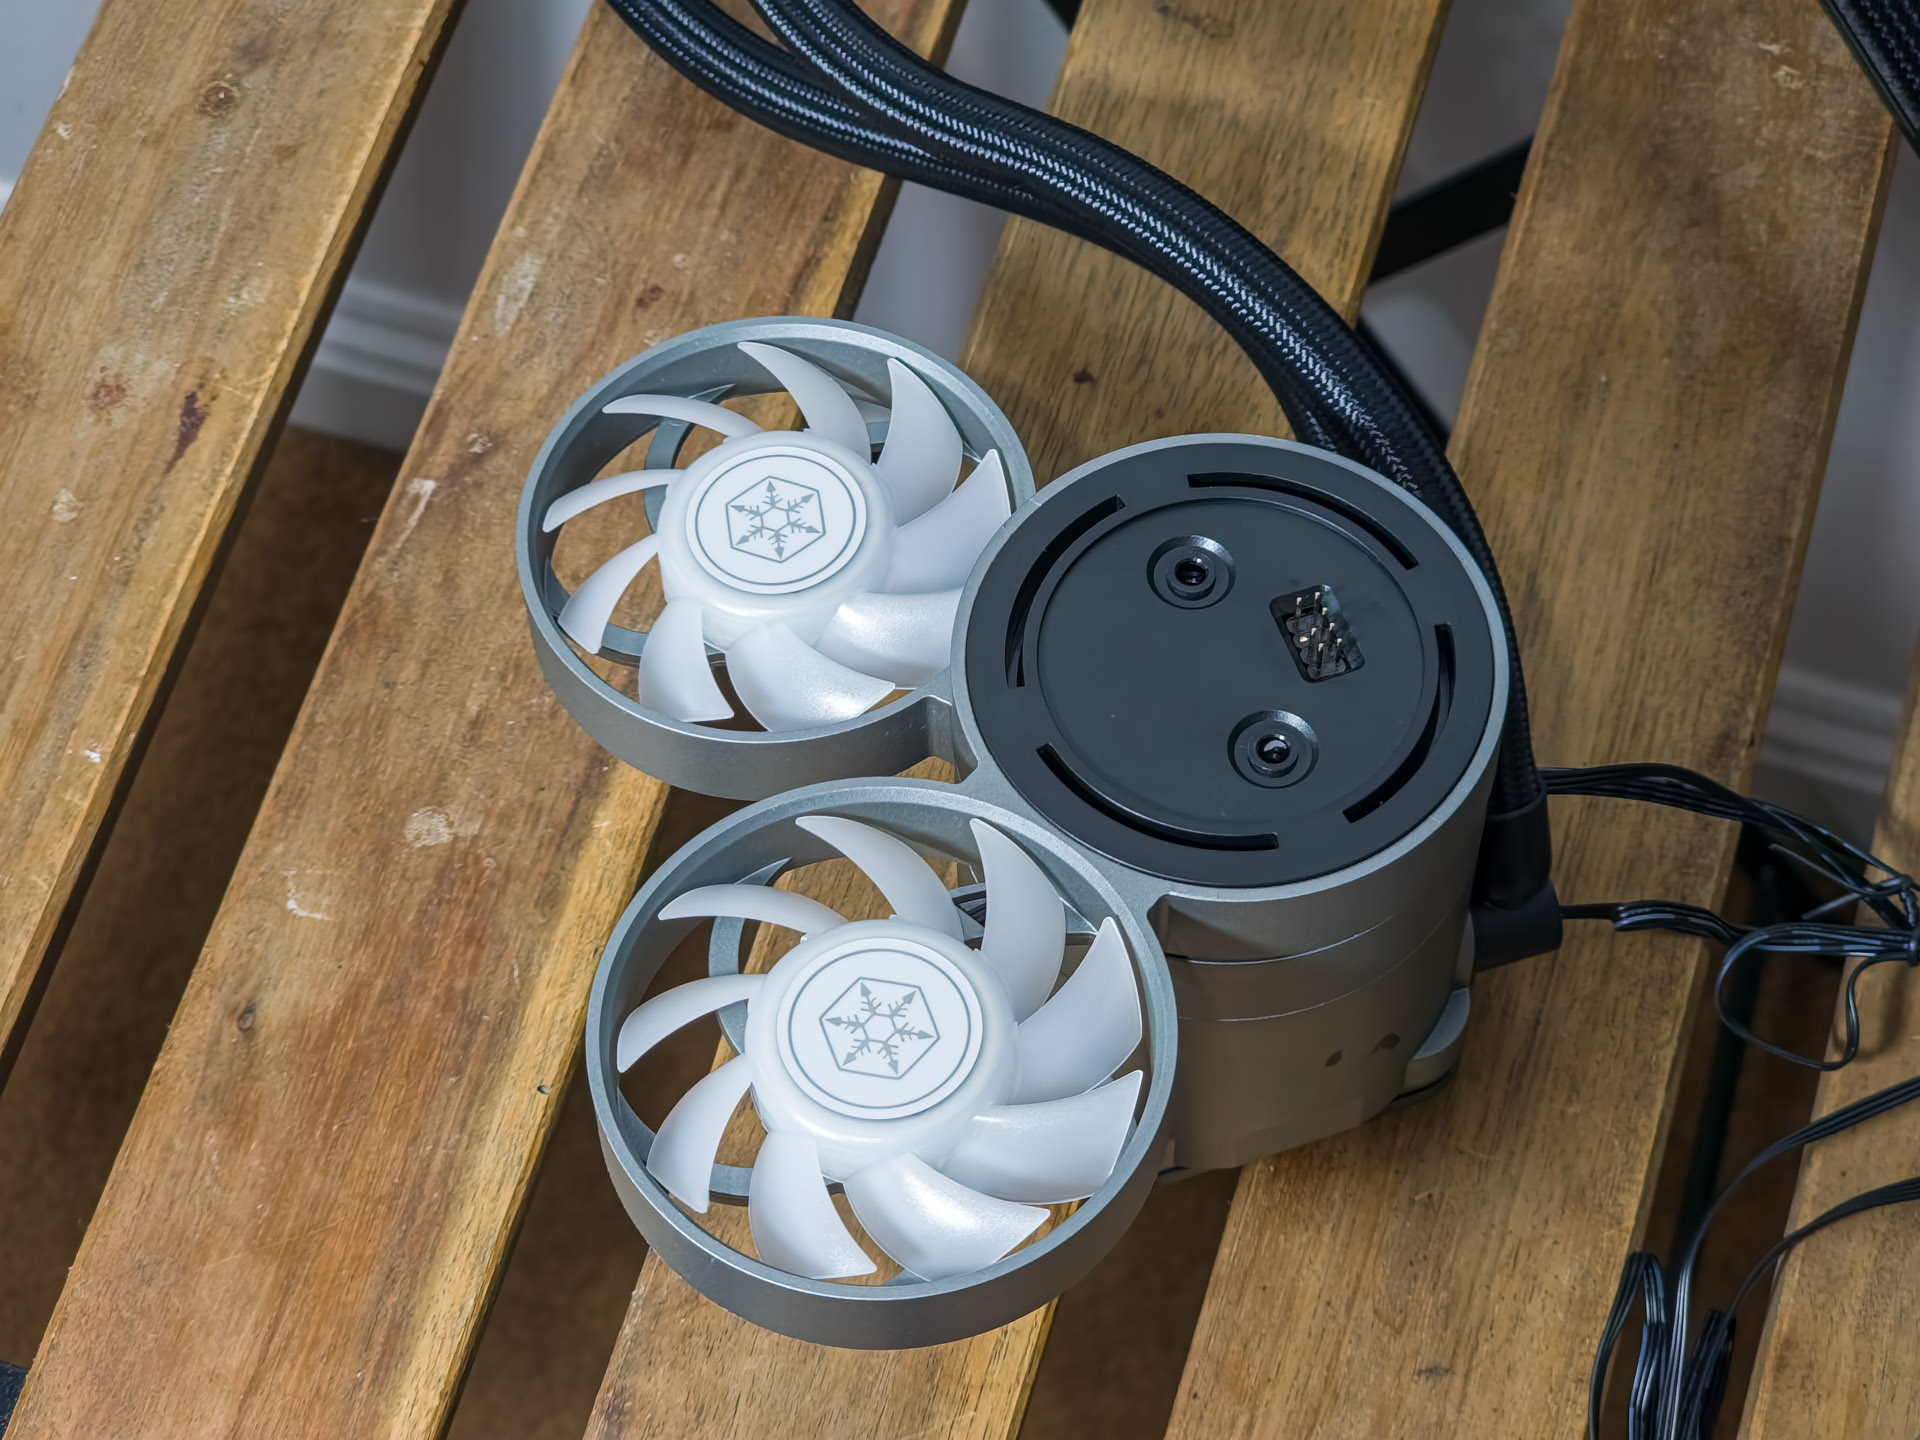
Basically, you can stack as many proprietary side fans that you can fit in your case, which, in return, will offer you the choice to direct airflow around the motherboard area. So, depending on your boards layout, anything from the RAM sticks, VRM heatsinks and M.2 slots. This is possible because said side fans swivel up to a 320° angle.
SilverStone Technology Co., Ltd is a company based in Taiwan, founded in 2003 that makes computer cases, power supplies, and other peripheral for personal computers. Their goal was to provide products that create inspirations and customers a wide selection of choices.
With distribution centres in different areas of the globe, SilverStone products can be seen all over the world, not just for computer users but also for home entertainment use. Thus providing leisure with integration of advanced technologies that is functional and making them enjoyable to use.
Prices and Availability
MSRP is around $120 for the 240mm variant and $10 a pop for the IMF70 fans.
Presentation and Specifications
* SilverStone’s newly designed expandable water block features a seamless 360° rotatable top cover
* Modular cabling design greatly simplifies connection and management of cables
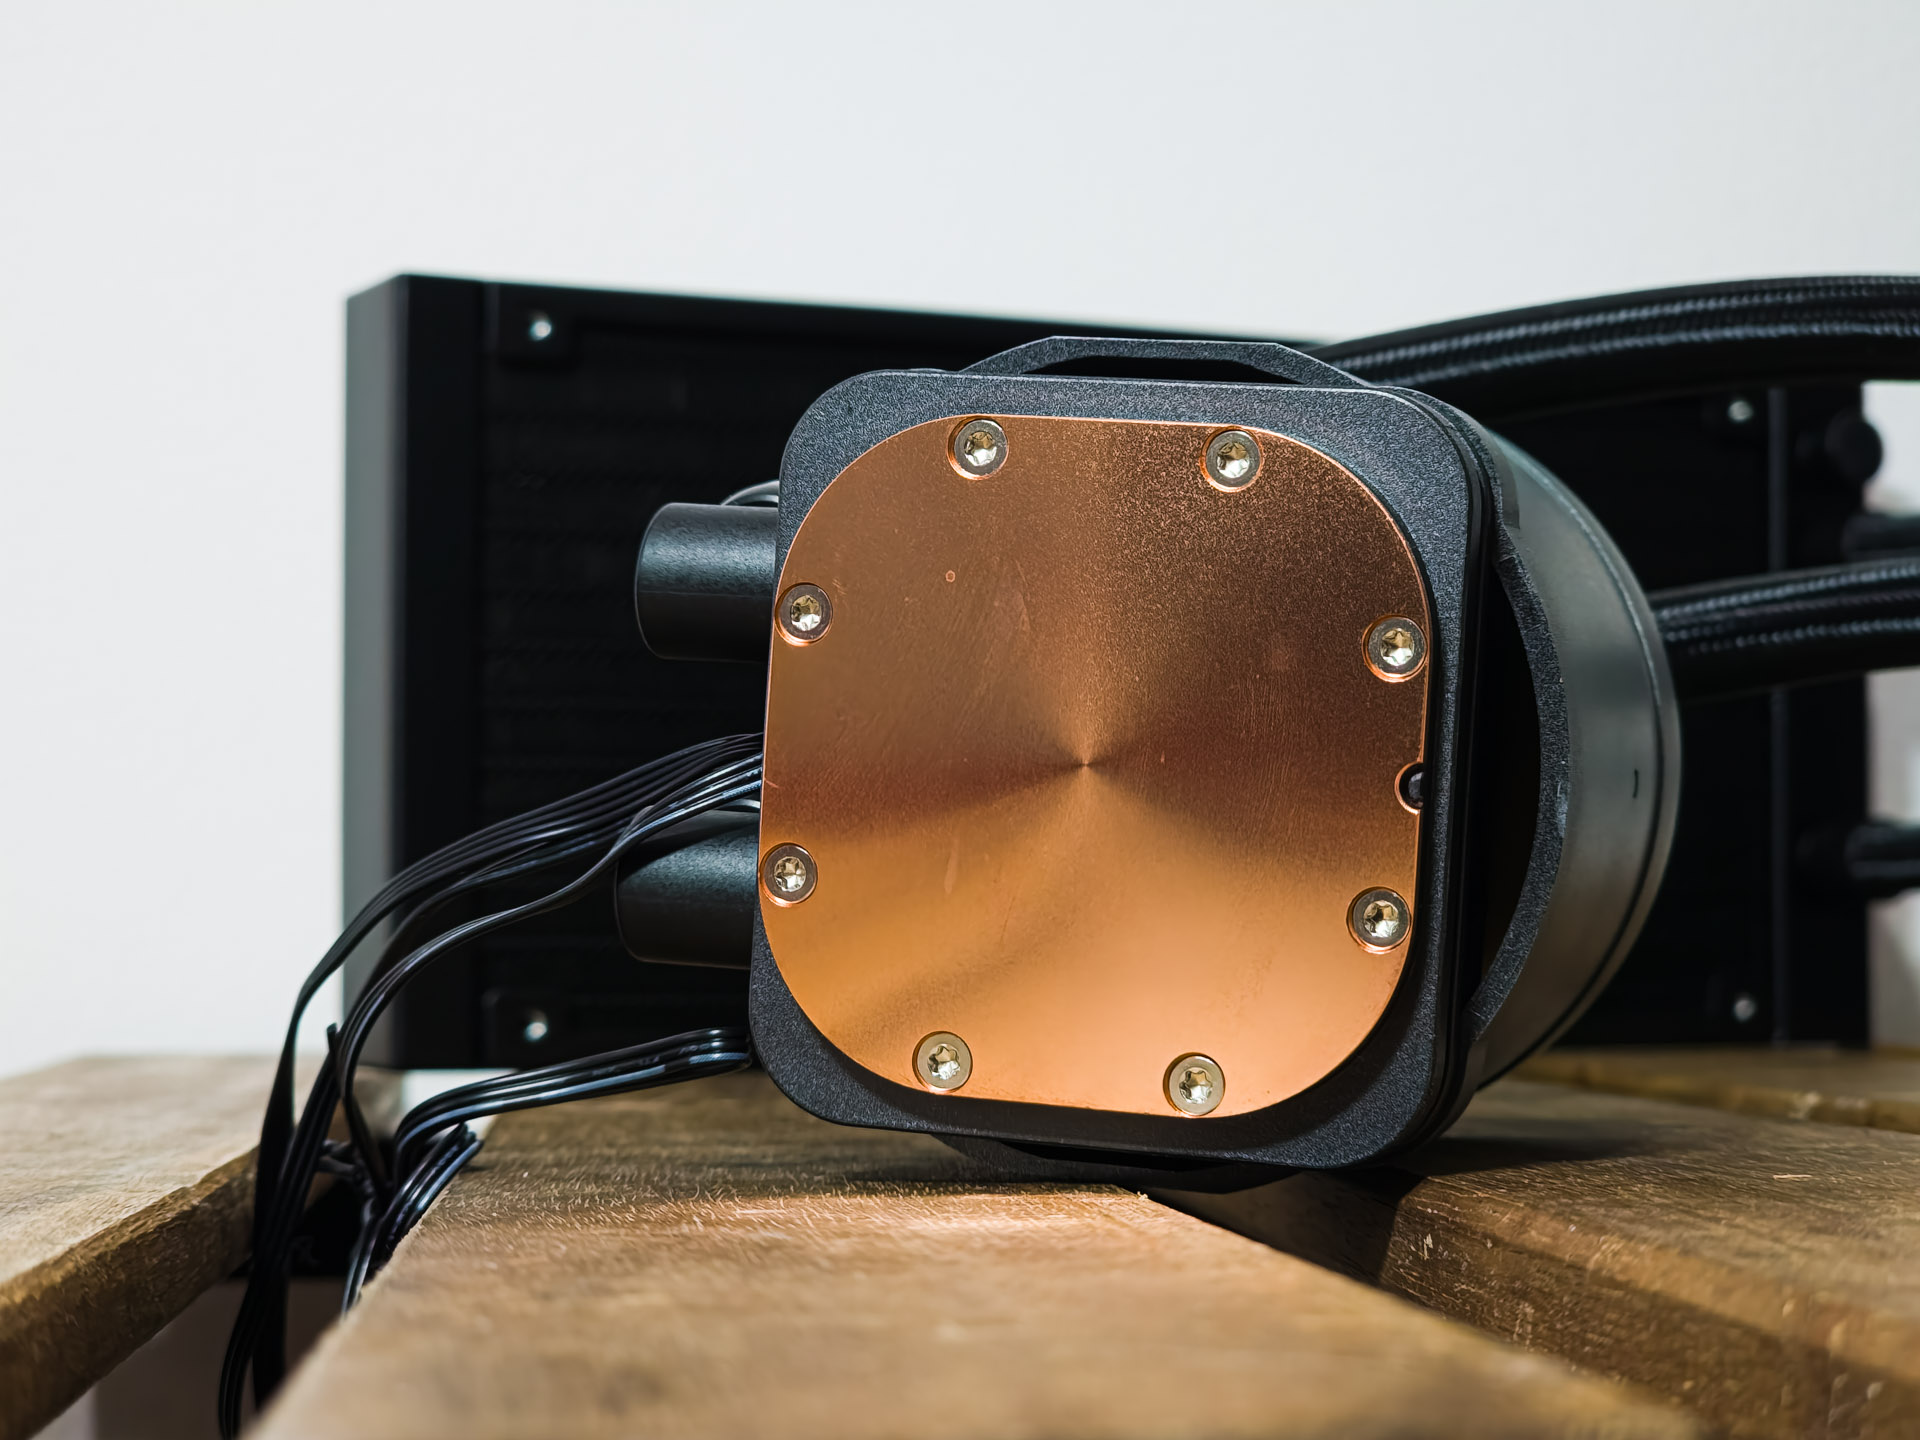
* Slight-convexed copper baseplate ensures firm contact with the processor
* Radiator-optimized cooling fans with tremendous airflow and static pressure figures
* Three-phase, six-pole motor design
* ARGB controller included with 10 lighting modes, along with adjustable brightness and color-changing speed
* Mounts directly to IceMyst series of All-In-One CPU cooler pump blocks
* 320° mobility to address component hotspots around CPU socket
* Modular design without any additional cables
* Equipped with ARGB lighting effects
* Wide 500~2,800 RPM speed range via PWM control
* Hydraulic bearing for extended life and low operational noise
Visual Inspection
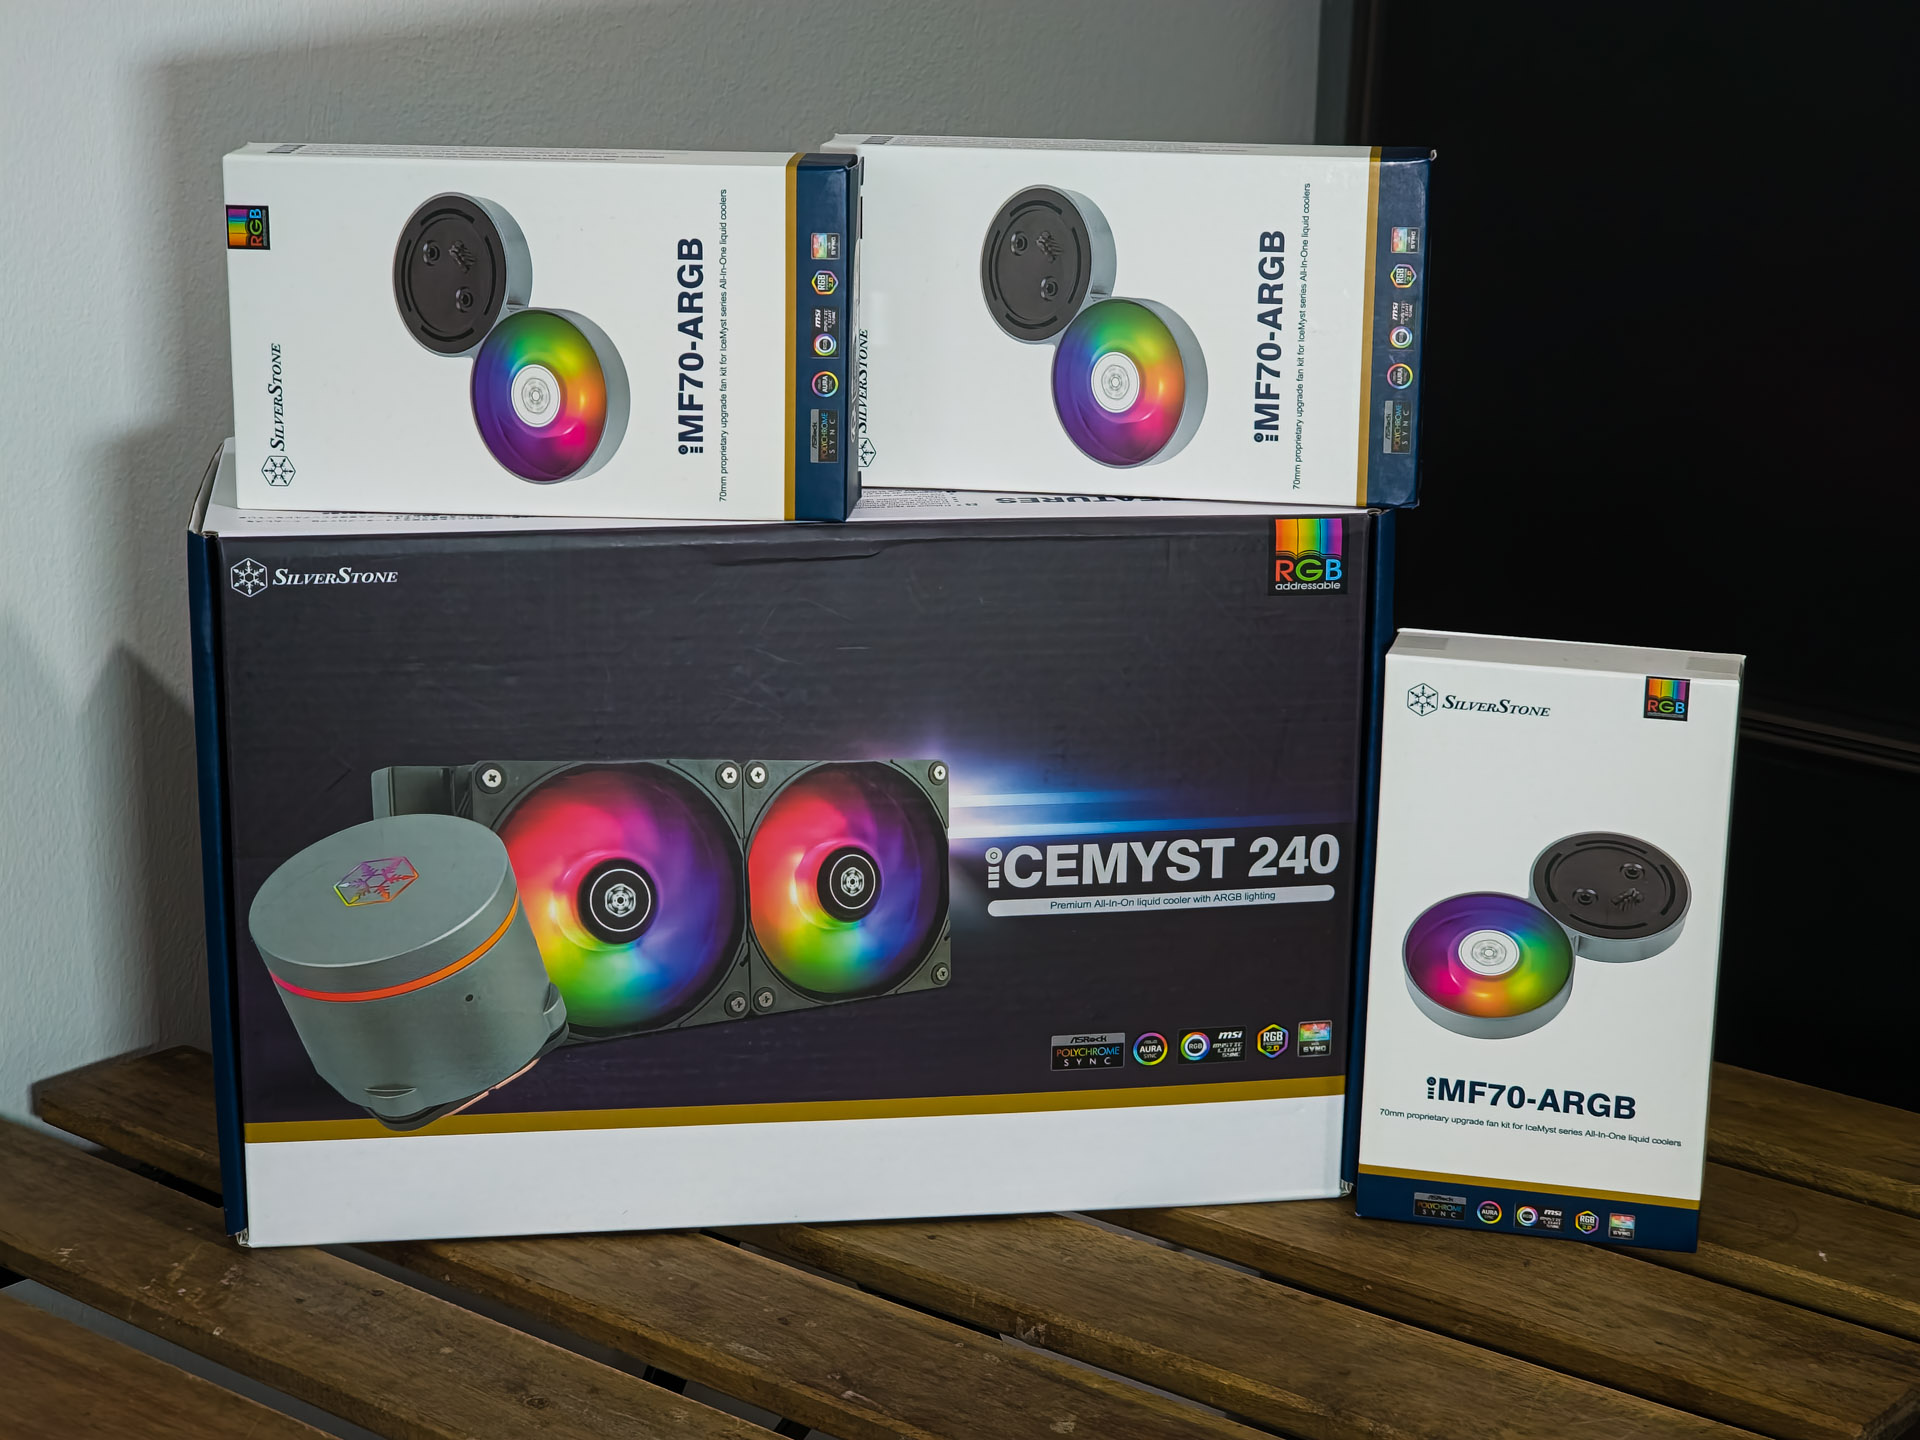
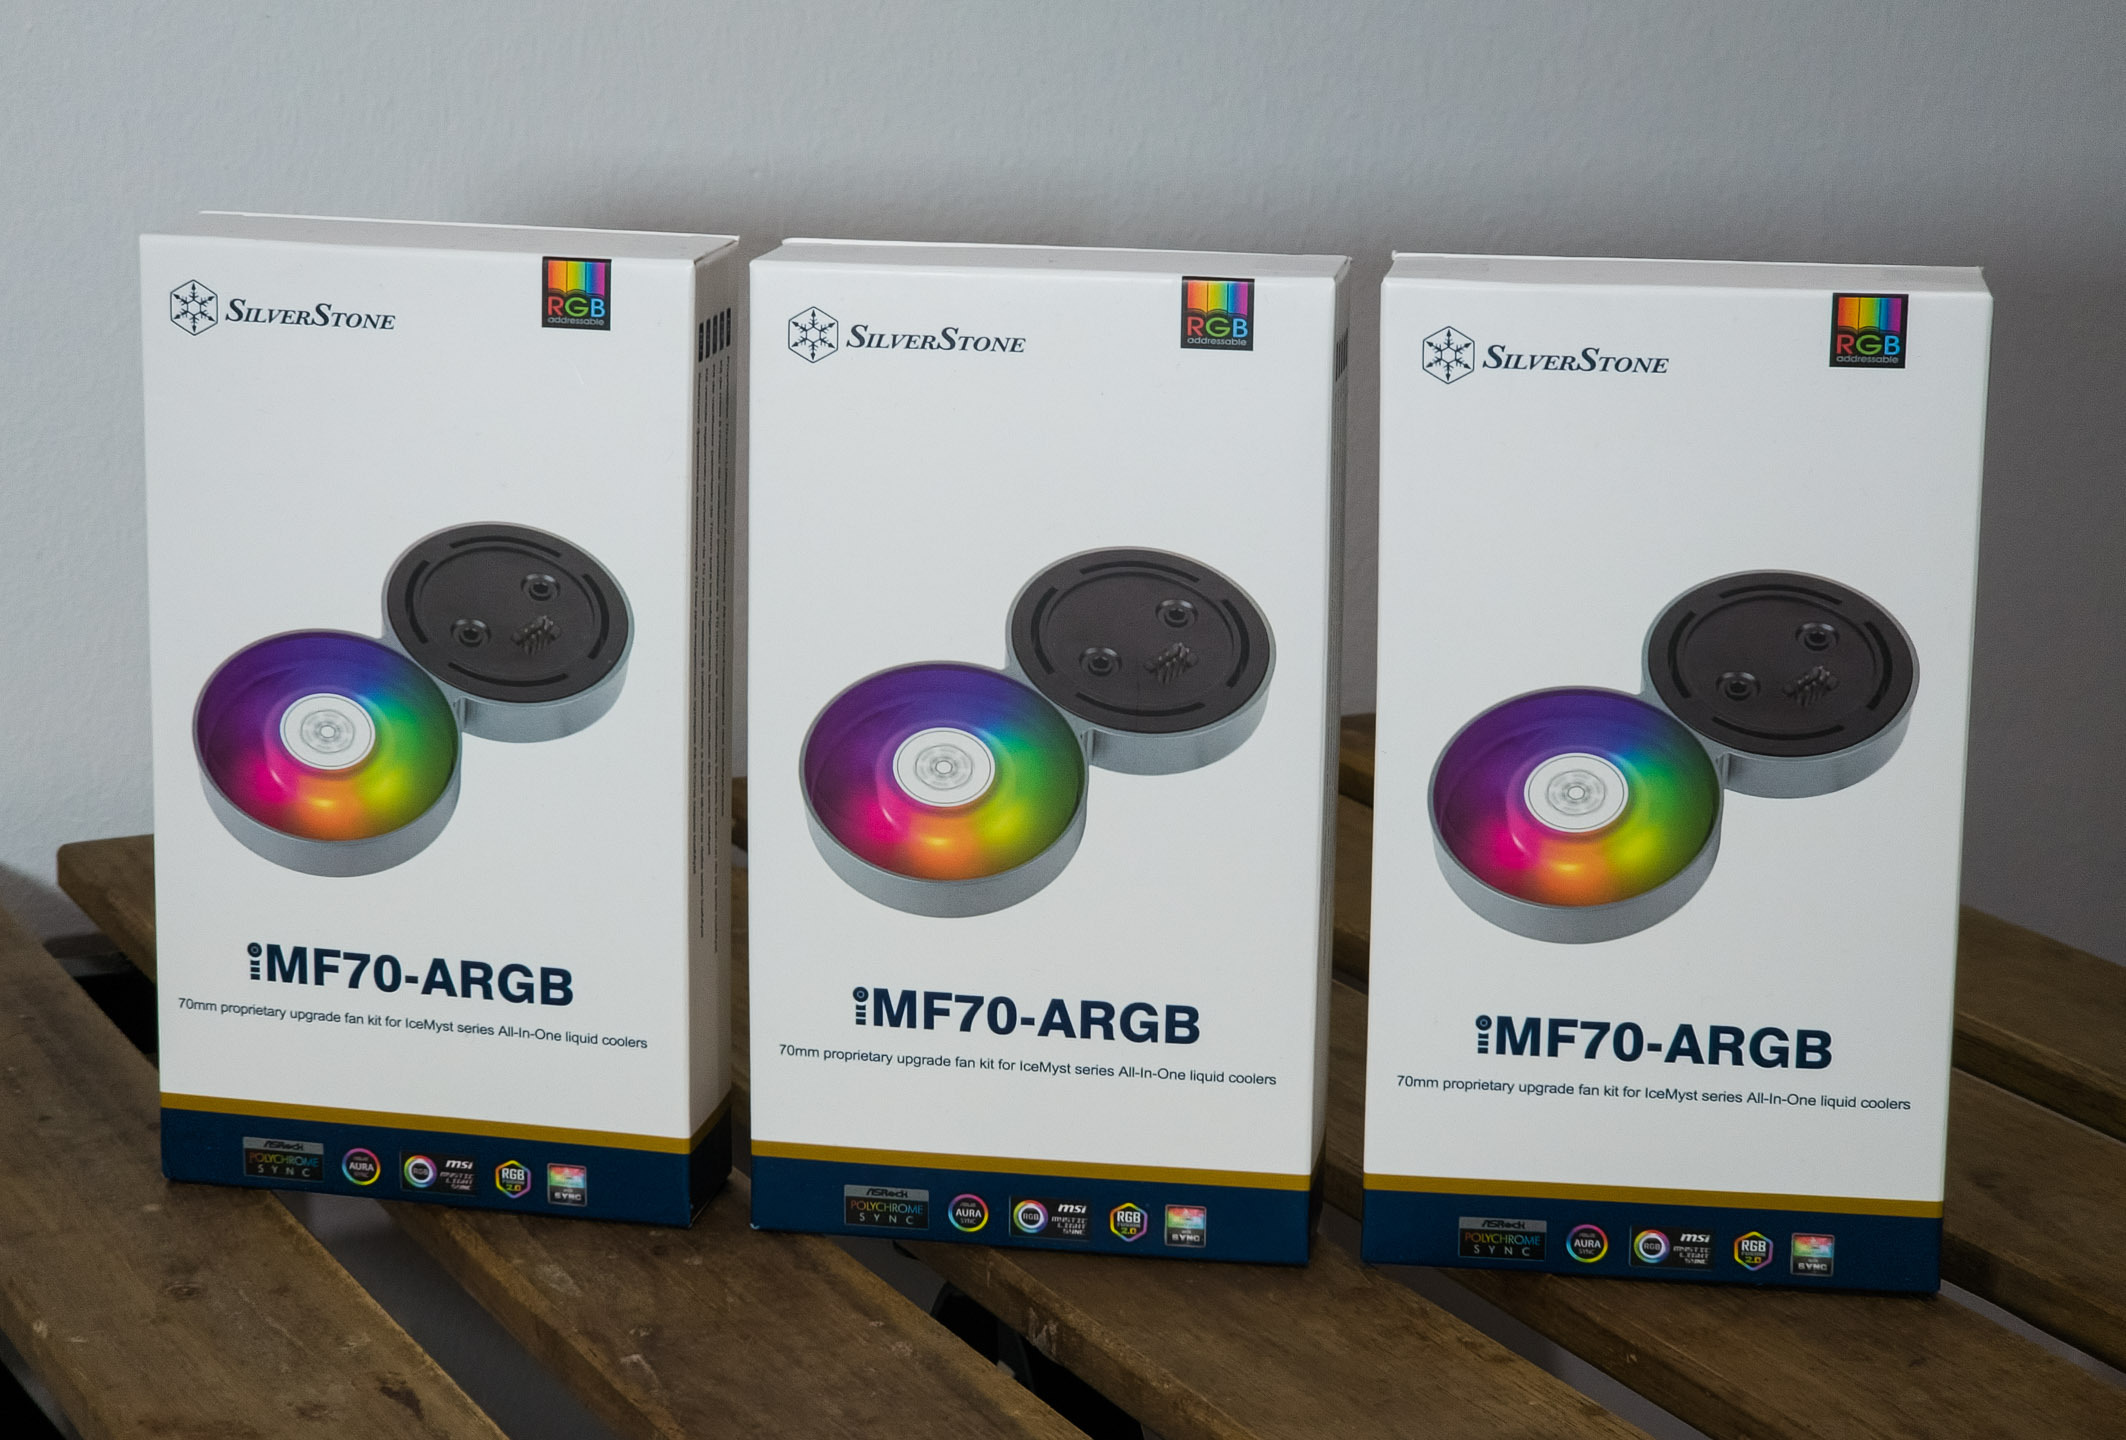
We have the standard SilverStone livery with a great overall presentation.
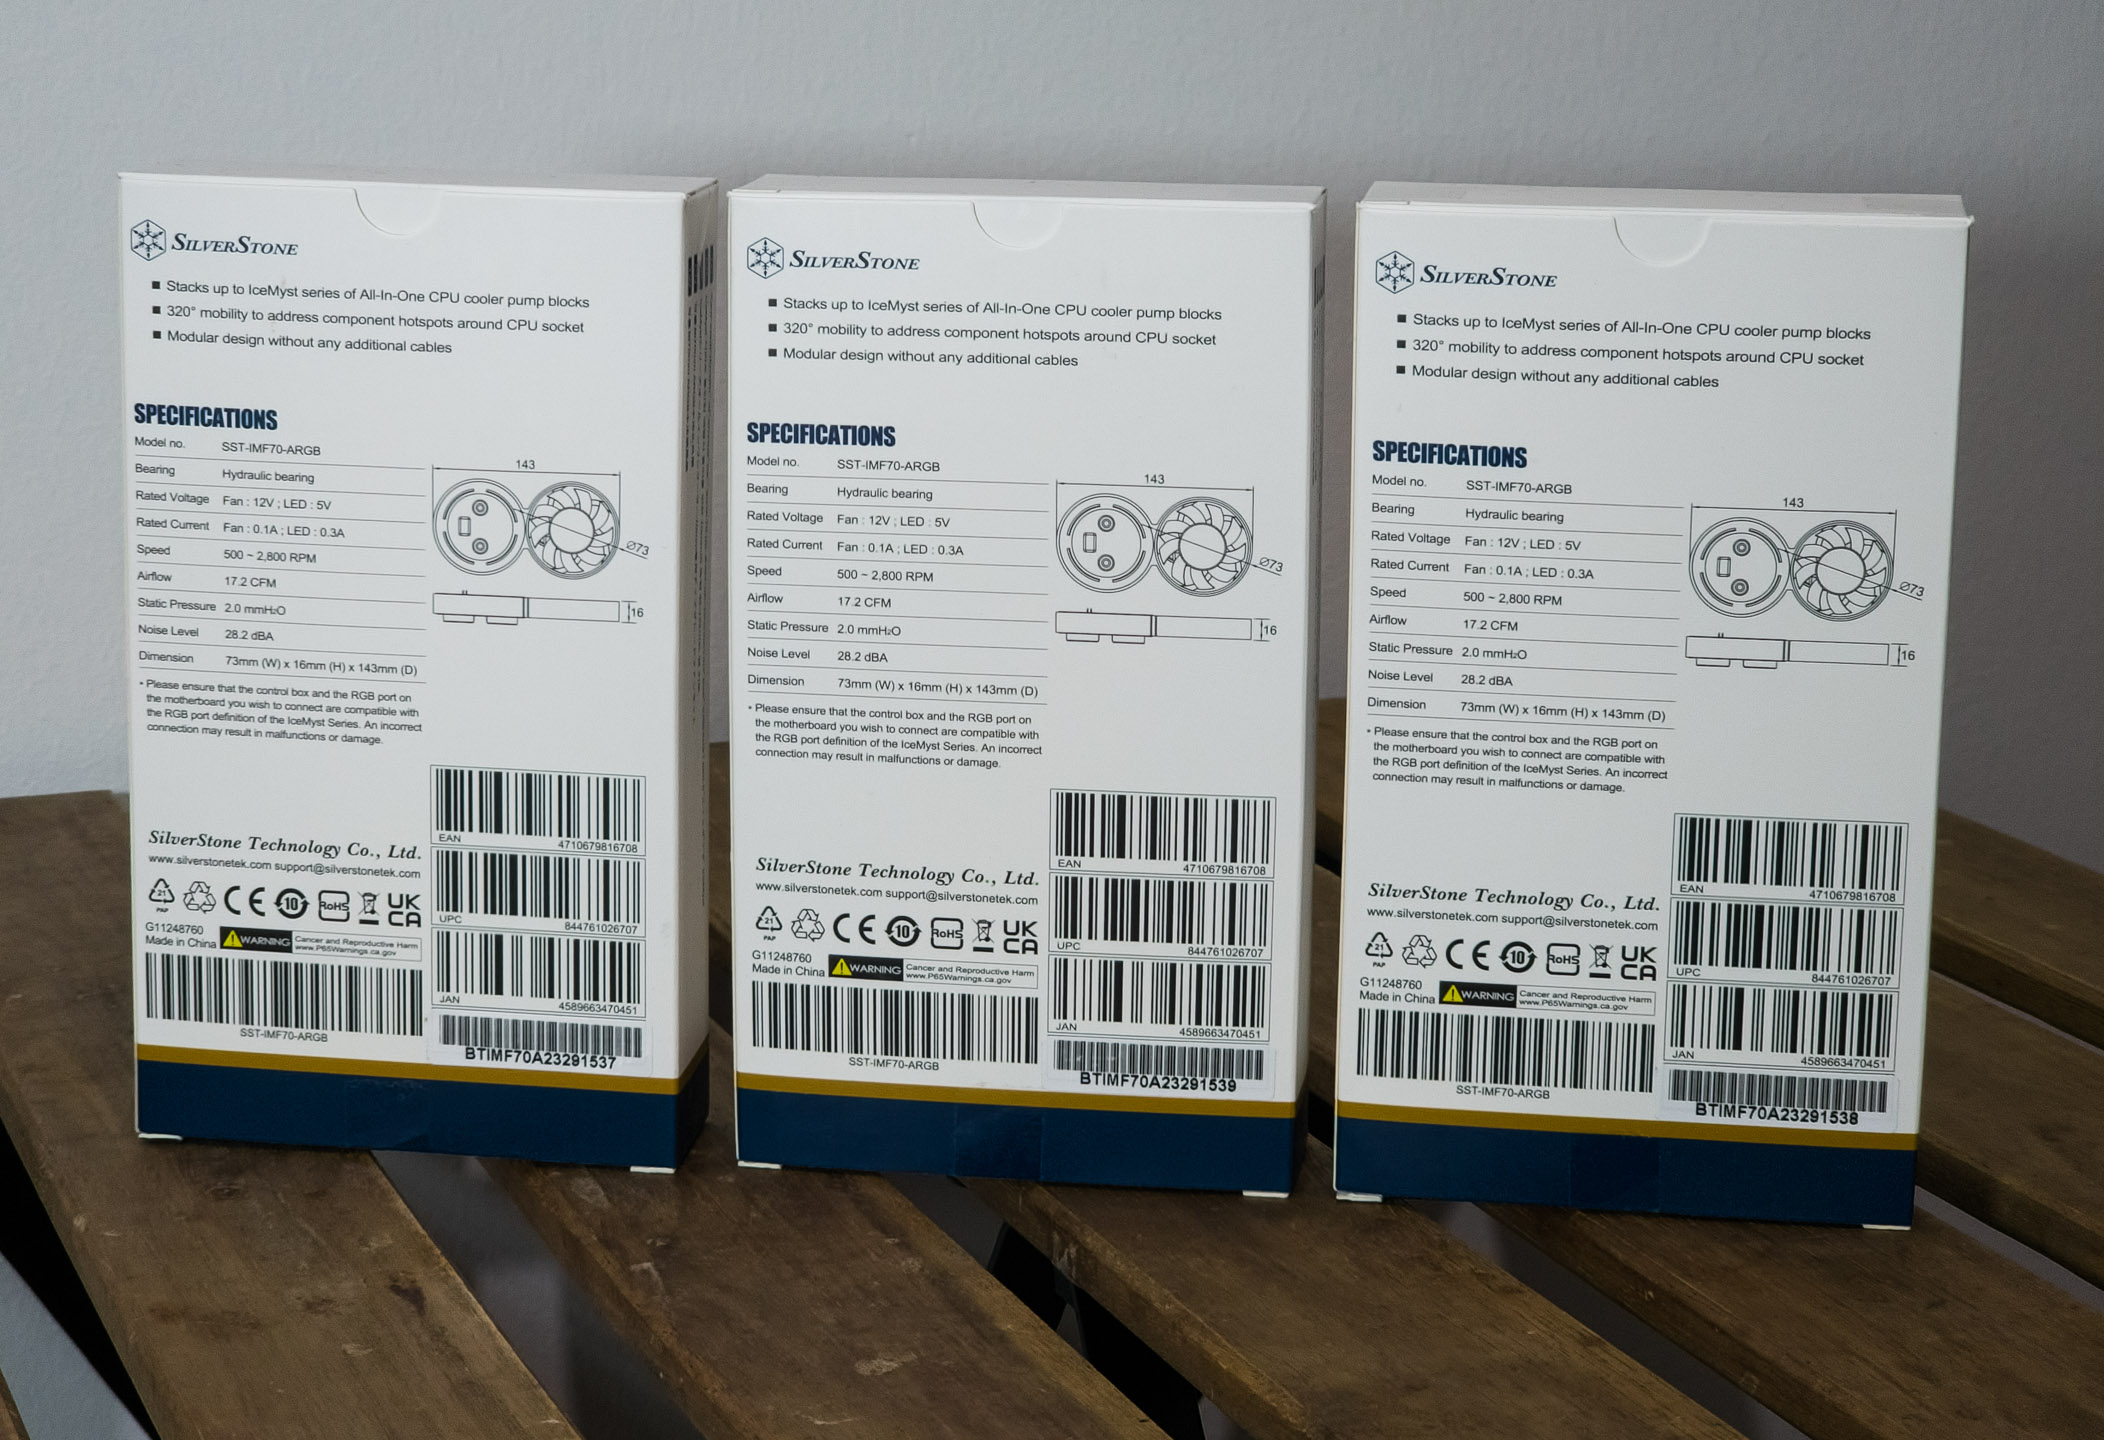
A comprehensive list of specs is available at the back of the box for all the items, including the fans.
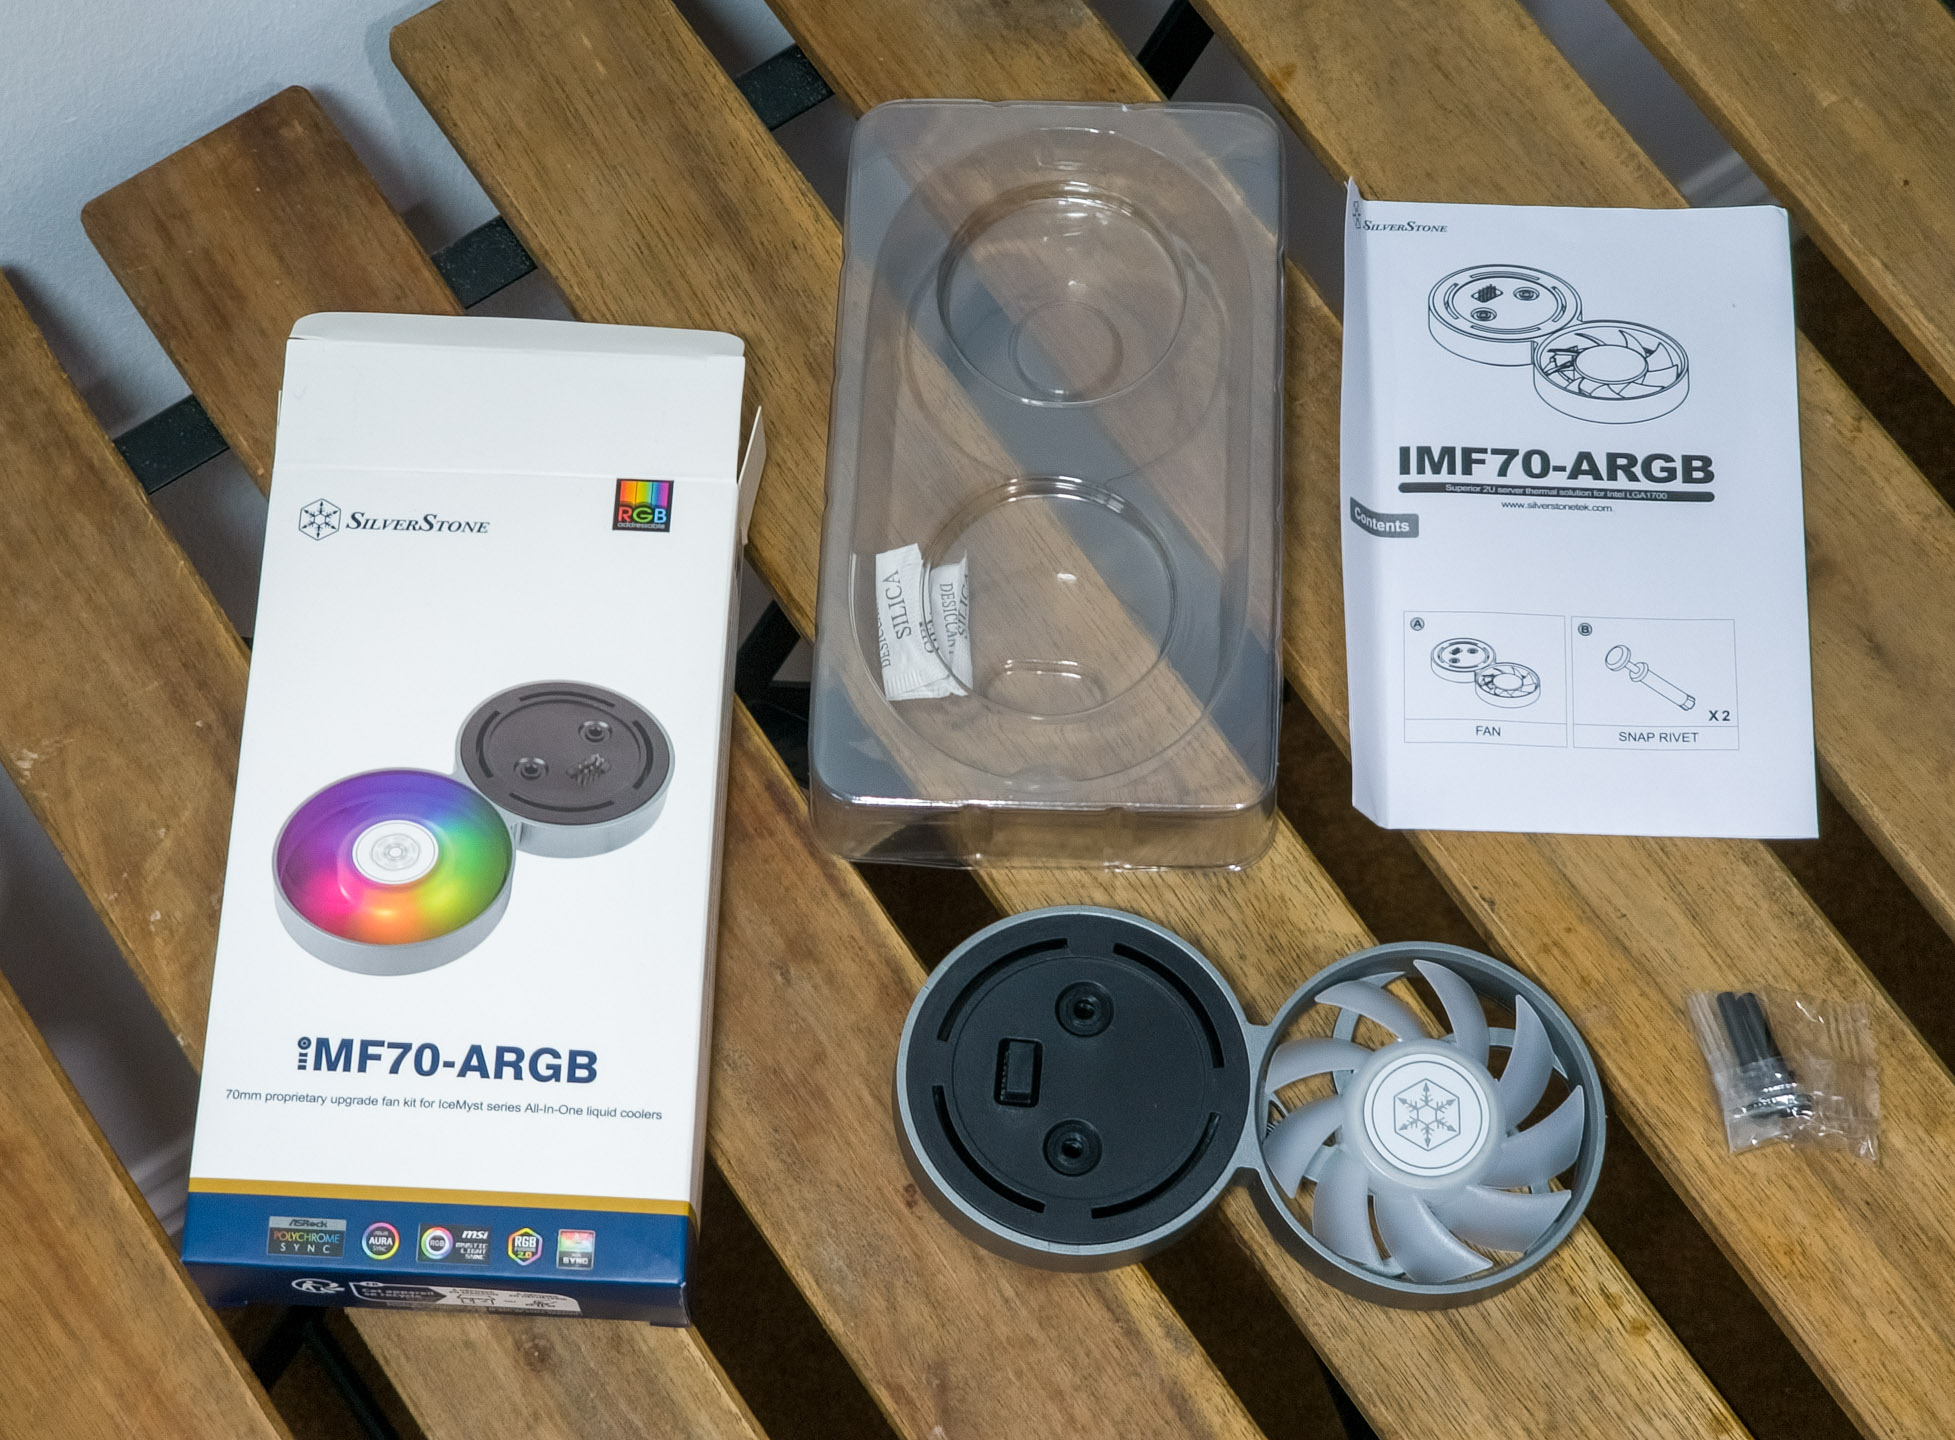
Let’s start with the side fans. They come with a pair of proprietary securing bolts and a small user’s guide.
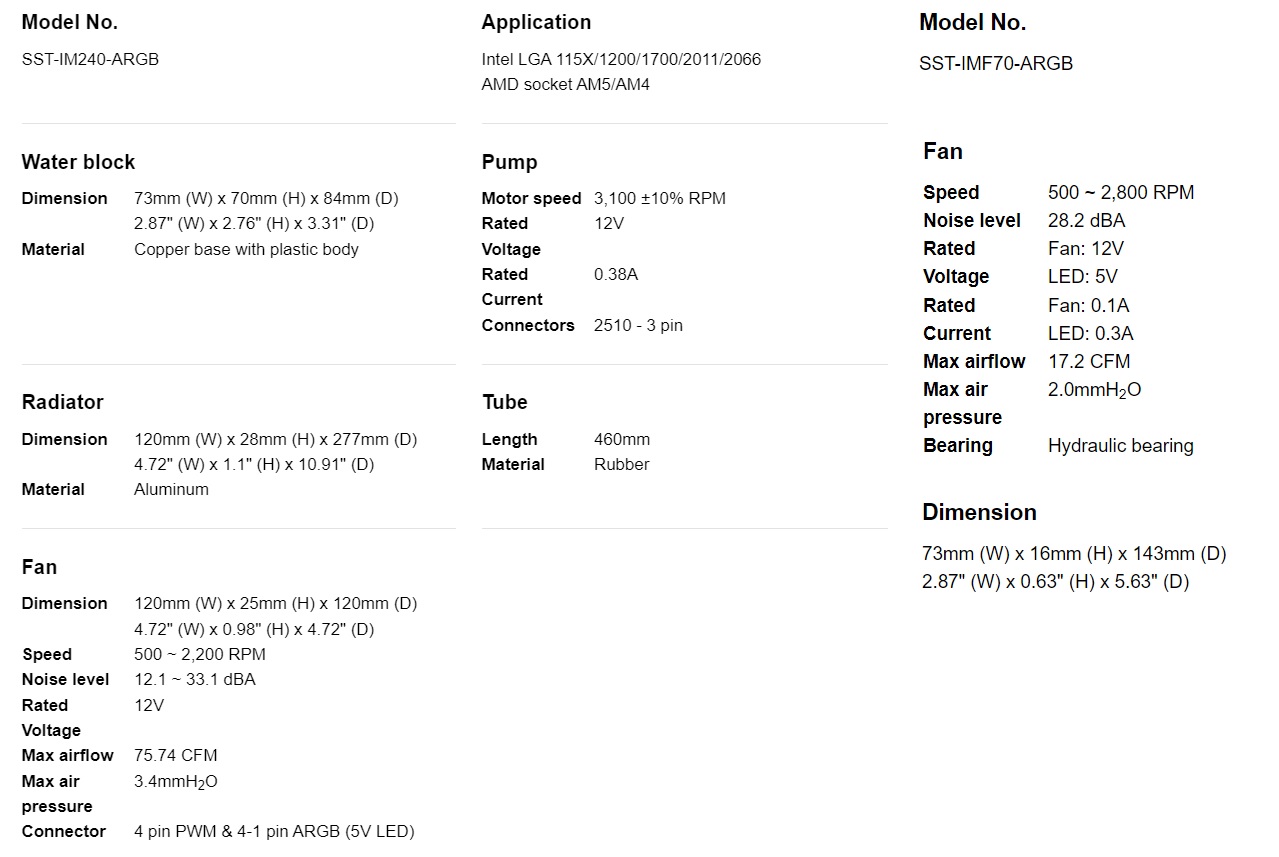
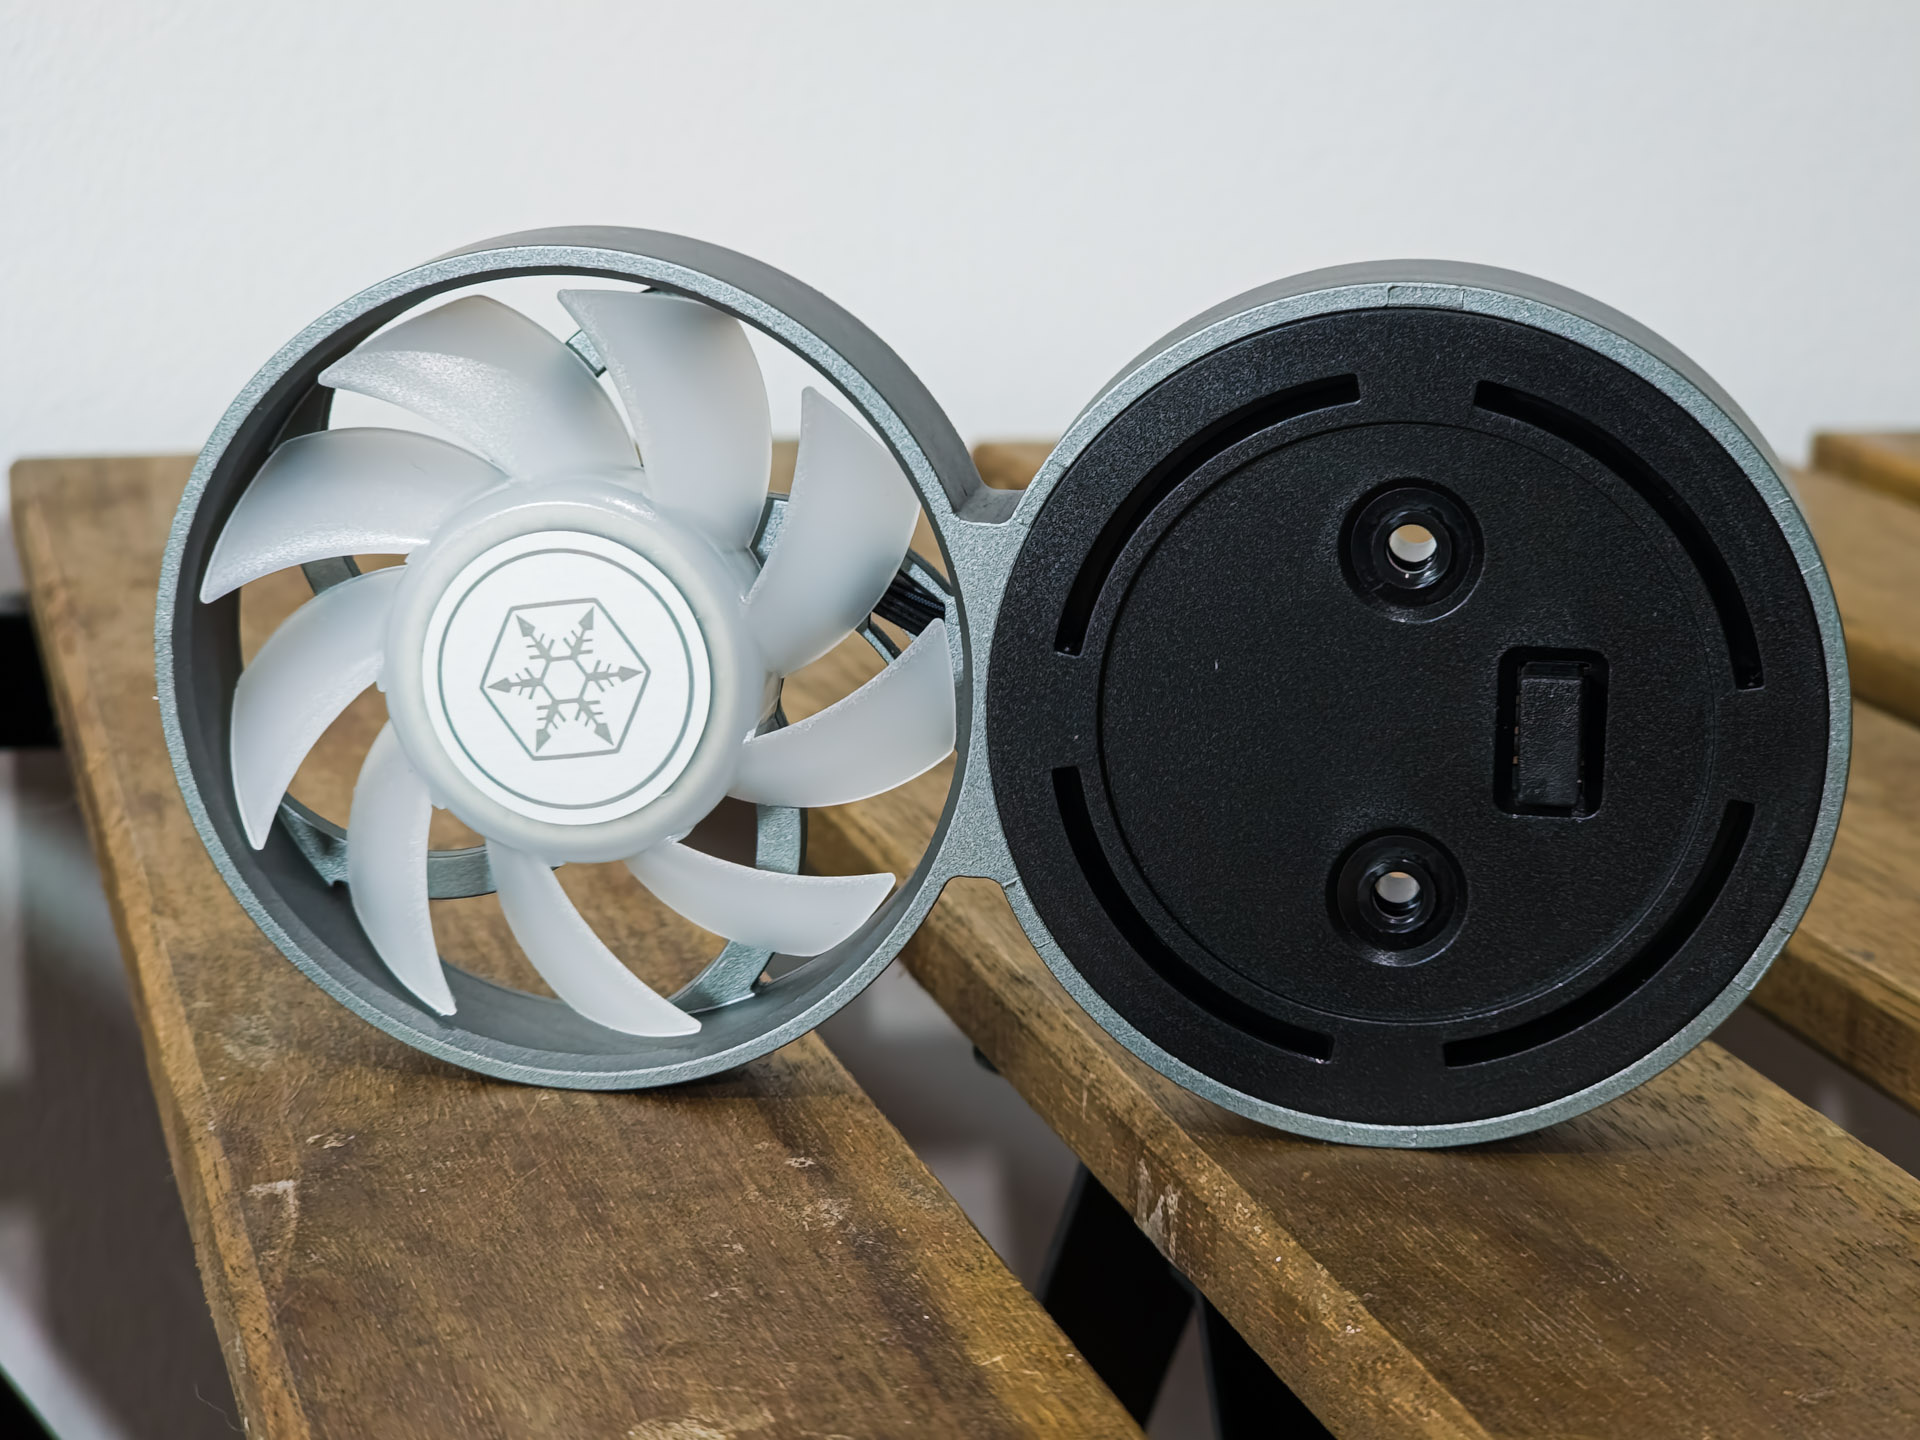
They are rated up to 2800 RPM, with a static pressure of 2.0 mmH2O and can push up to 17.2 CFM of air. They fit only way and stack vertically. Even more importantly, they swivel but more on this later.
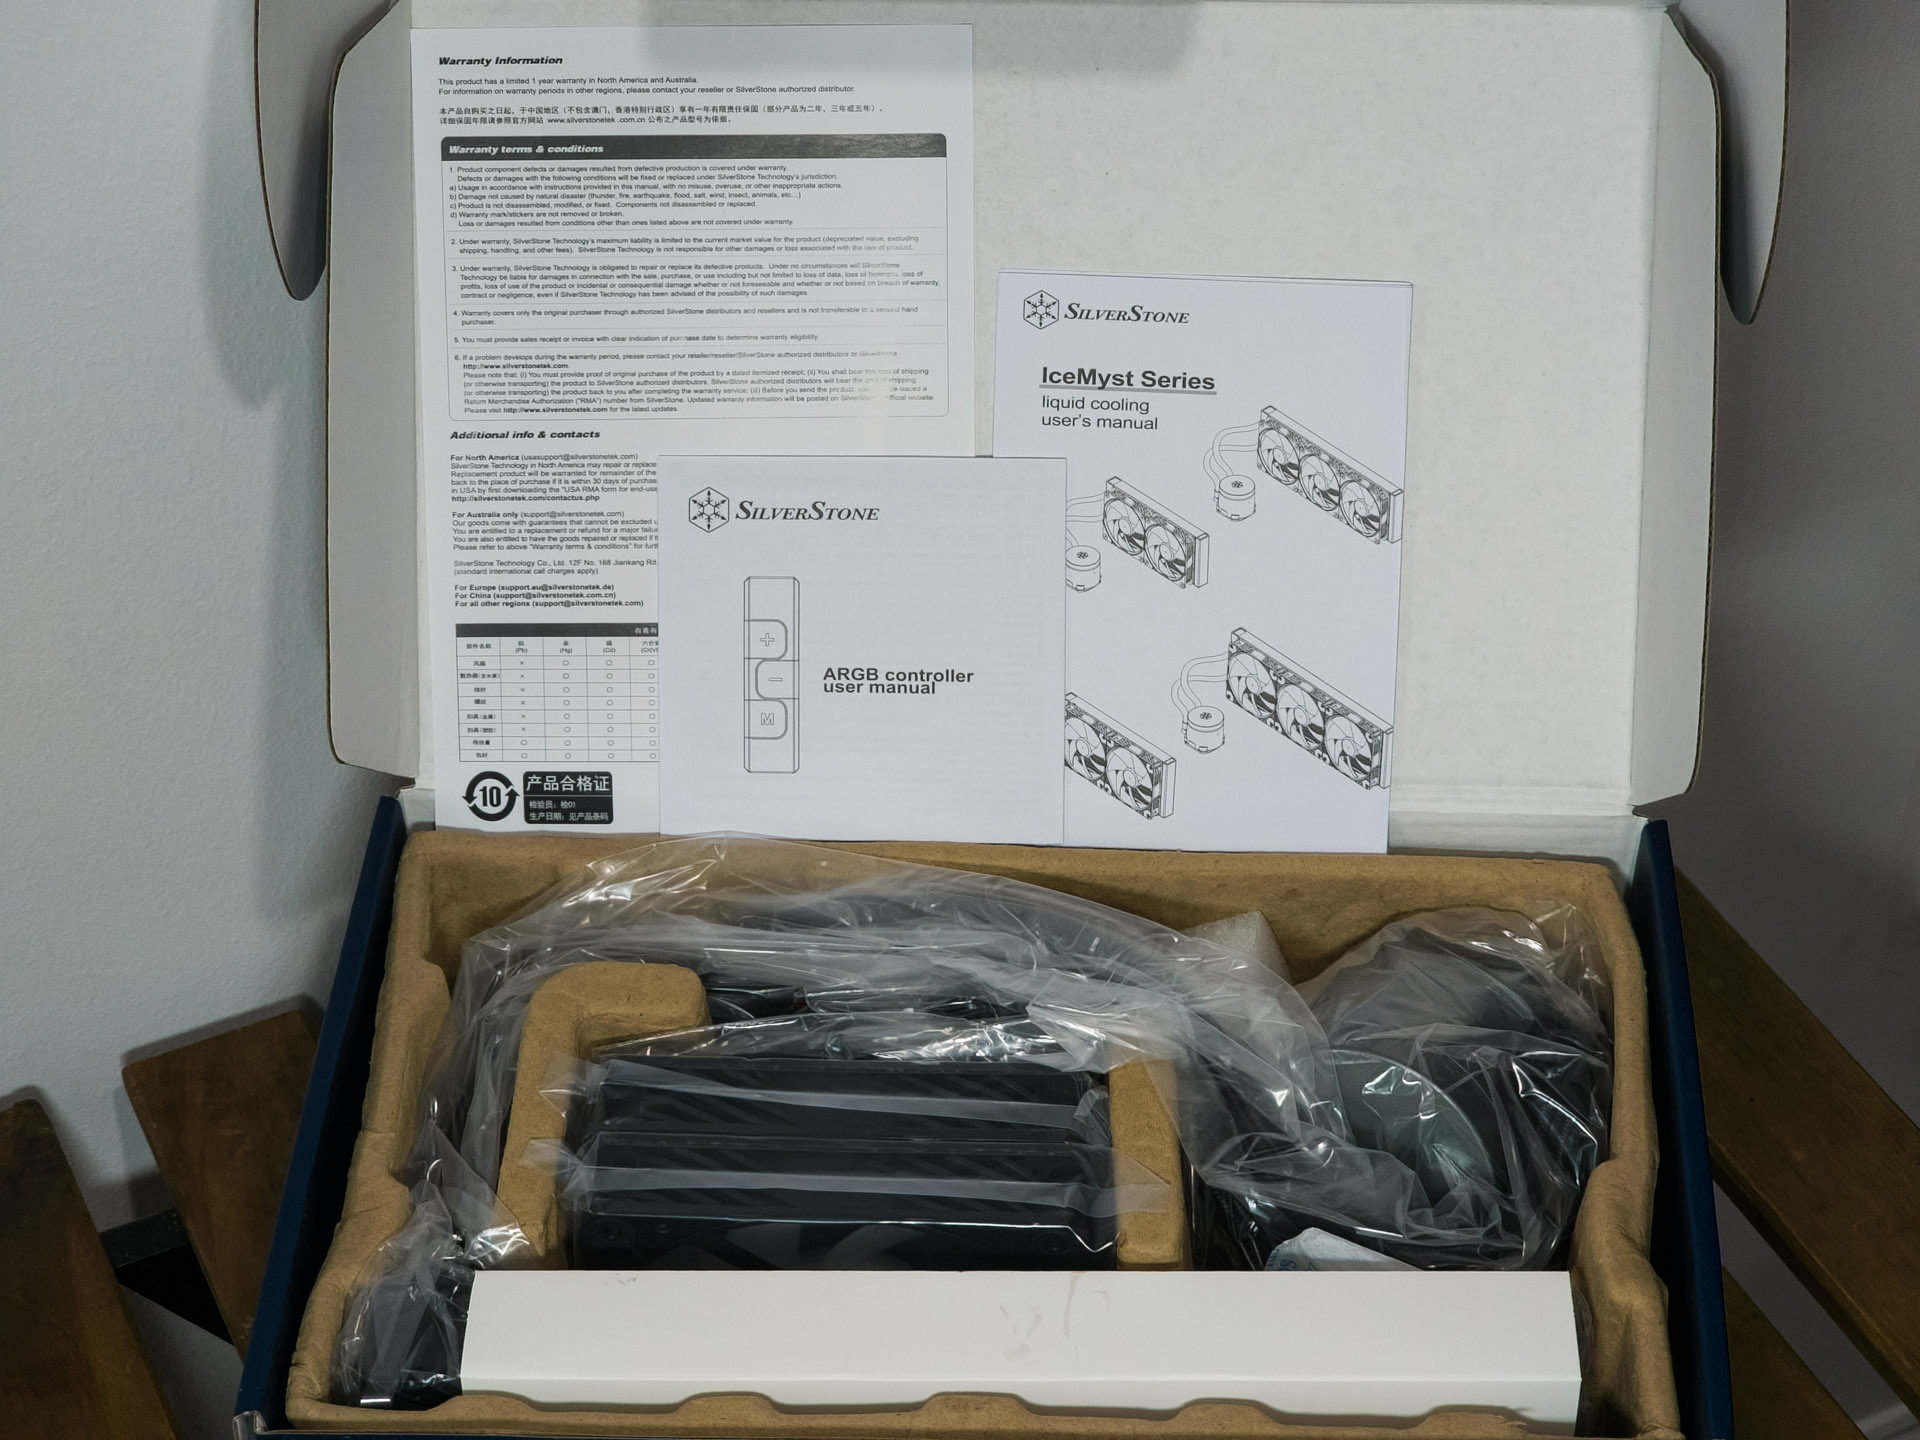
As for the 240mm IceMyst, we have the standard but sufficient layout and protection. The radiator has a cardboard sleeve as well.
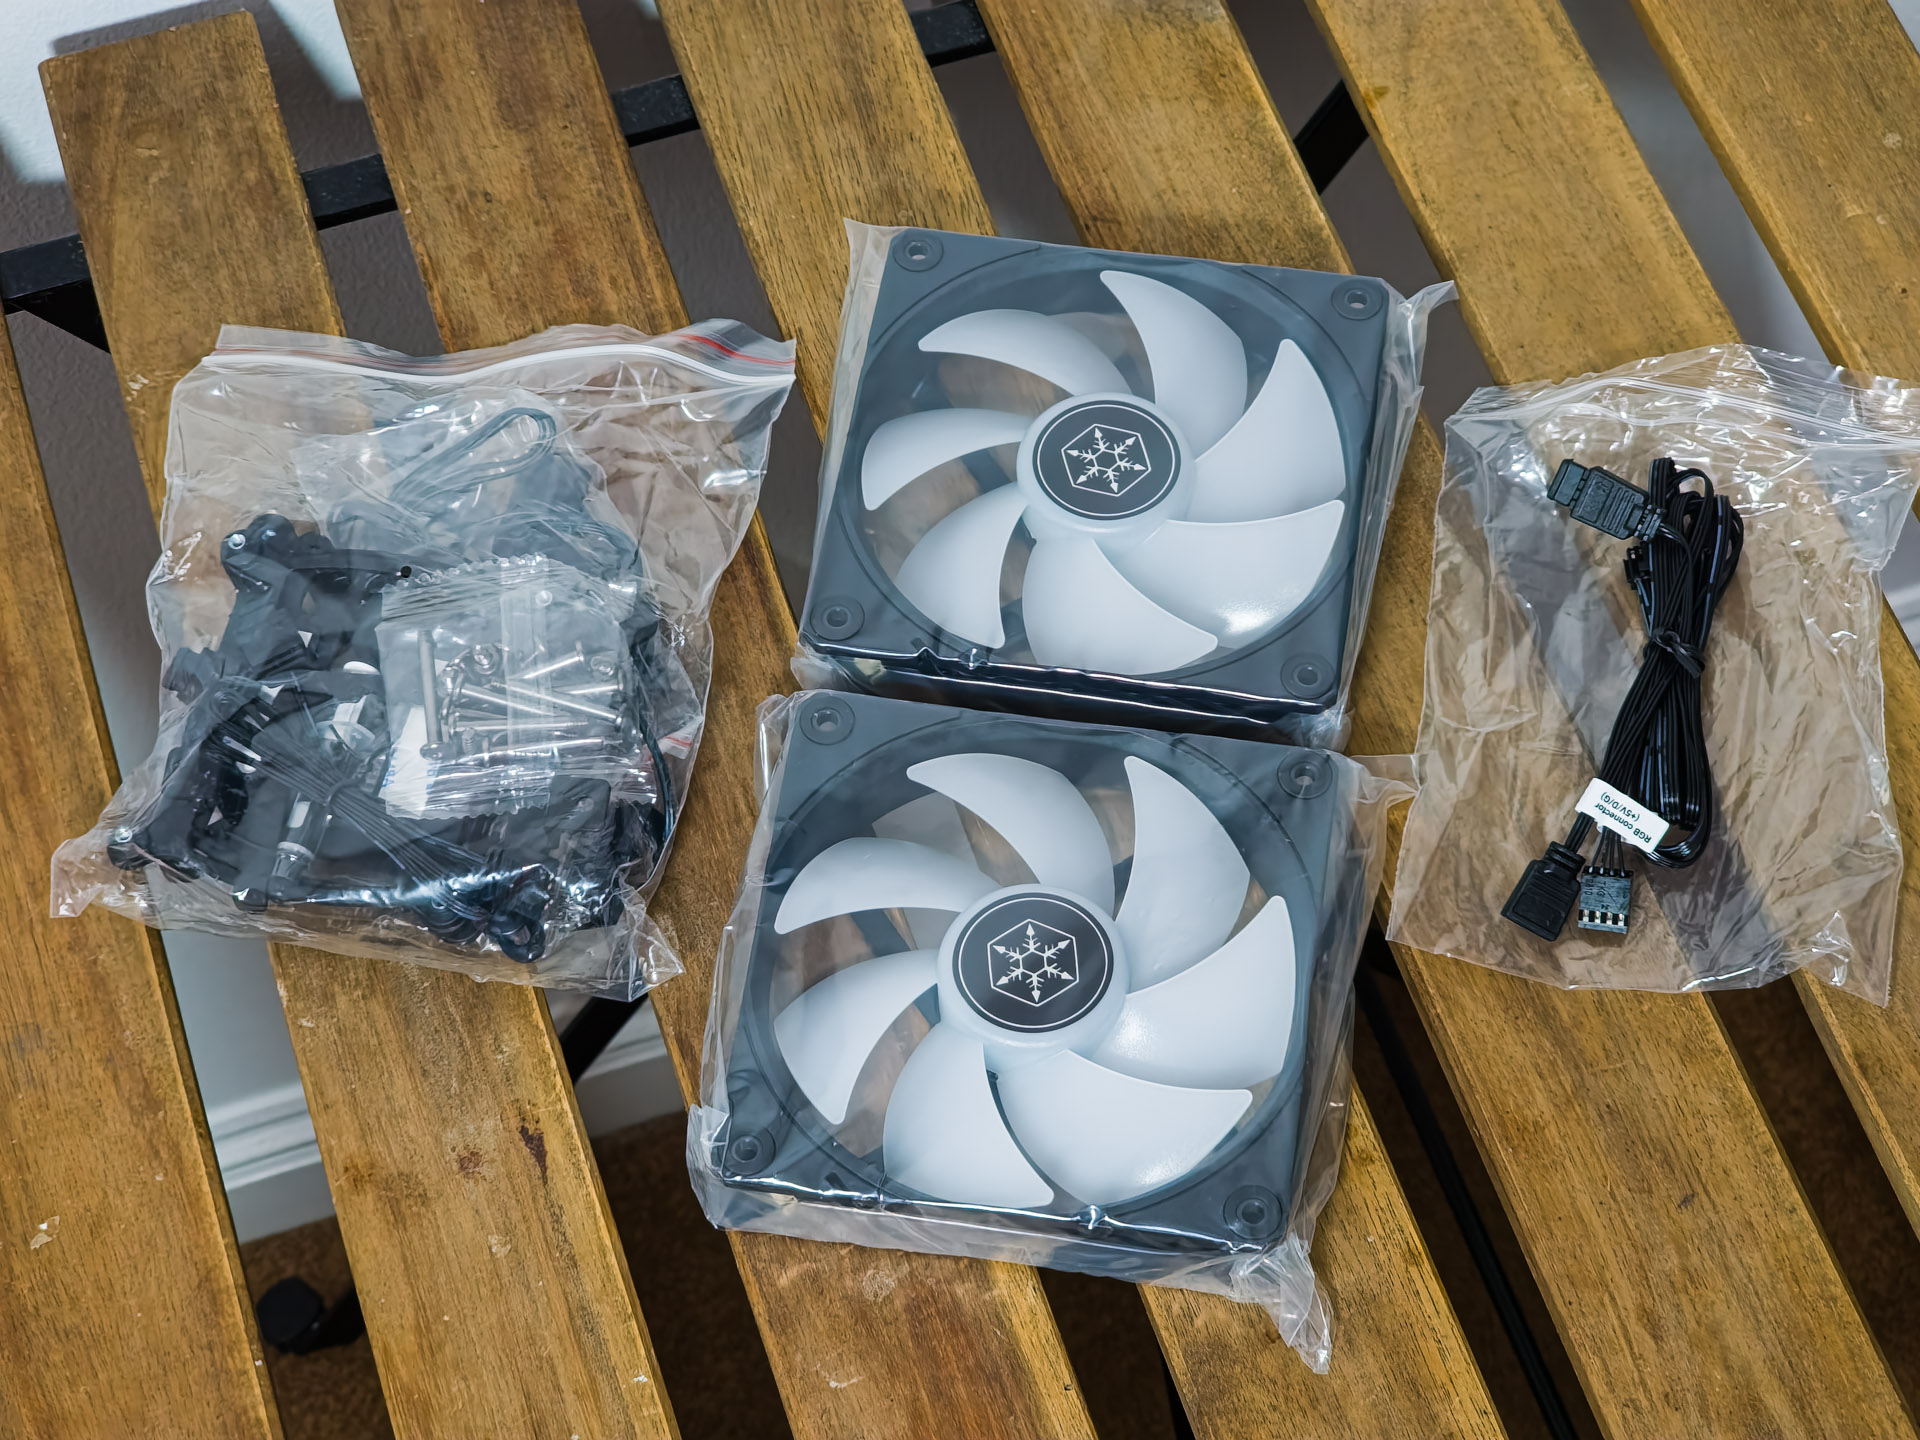
The 120mm ARGB fans and the accessories reside in plastic bags.
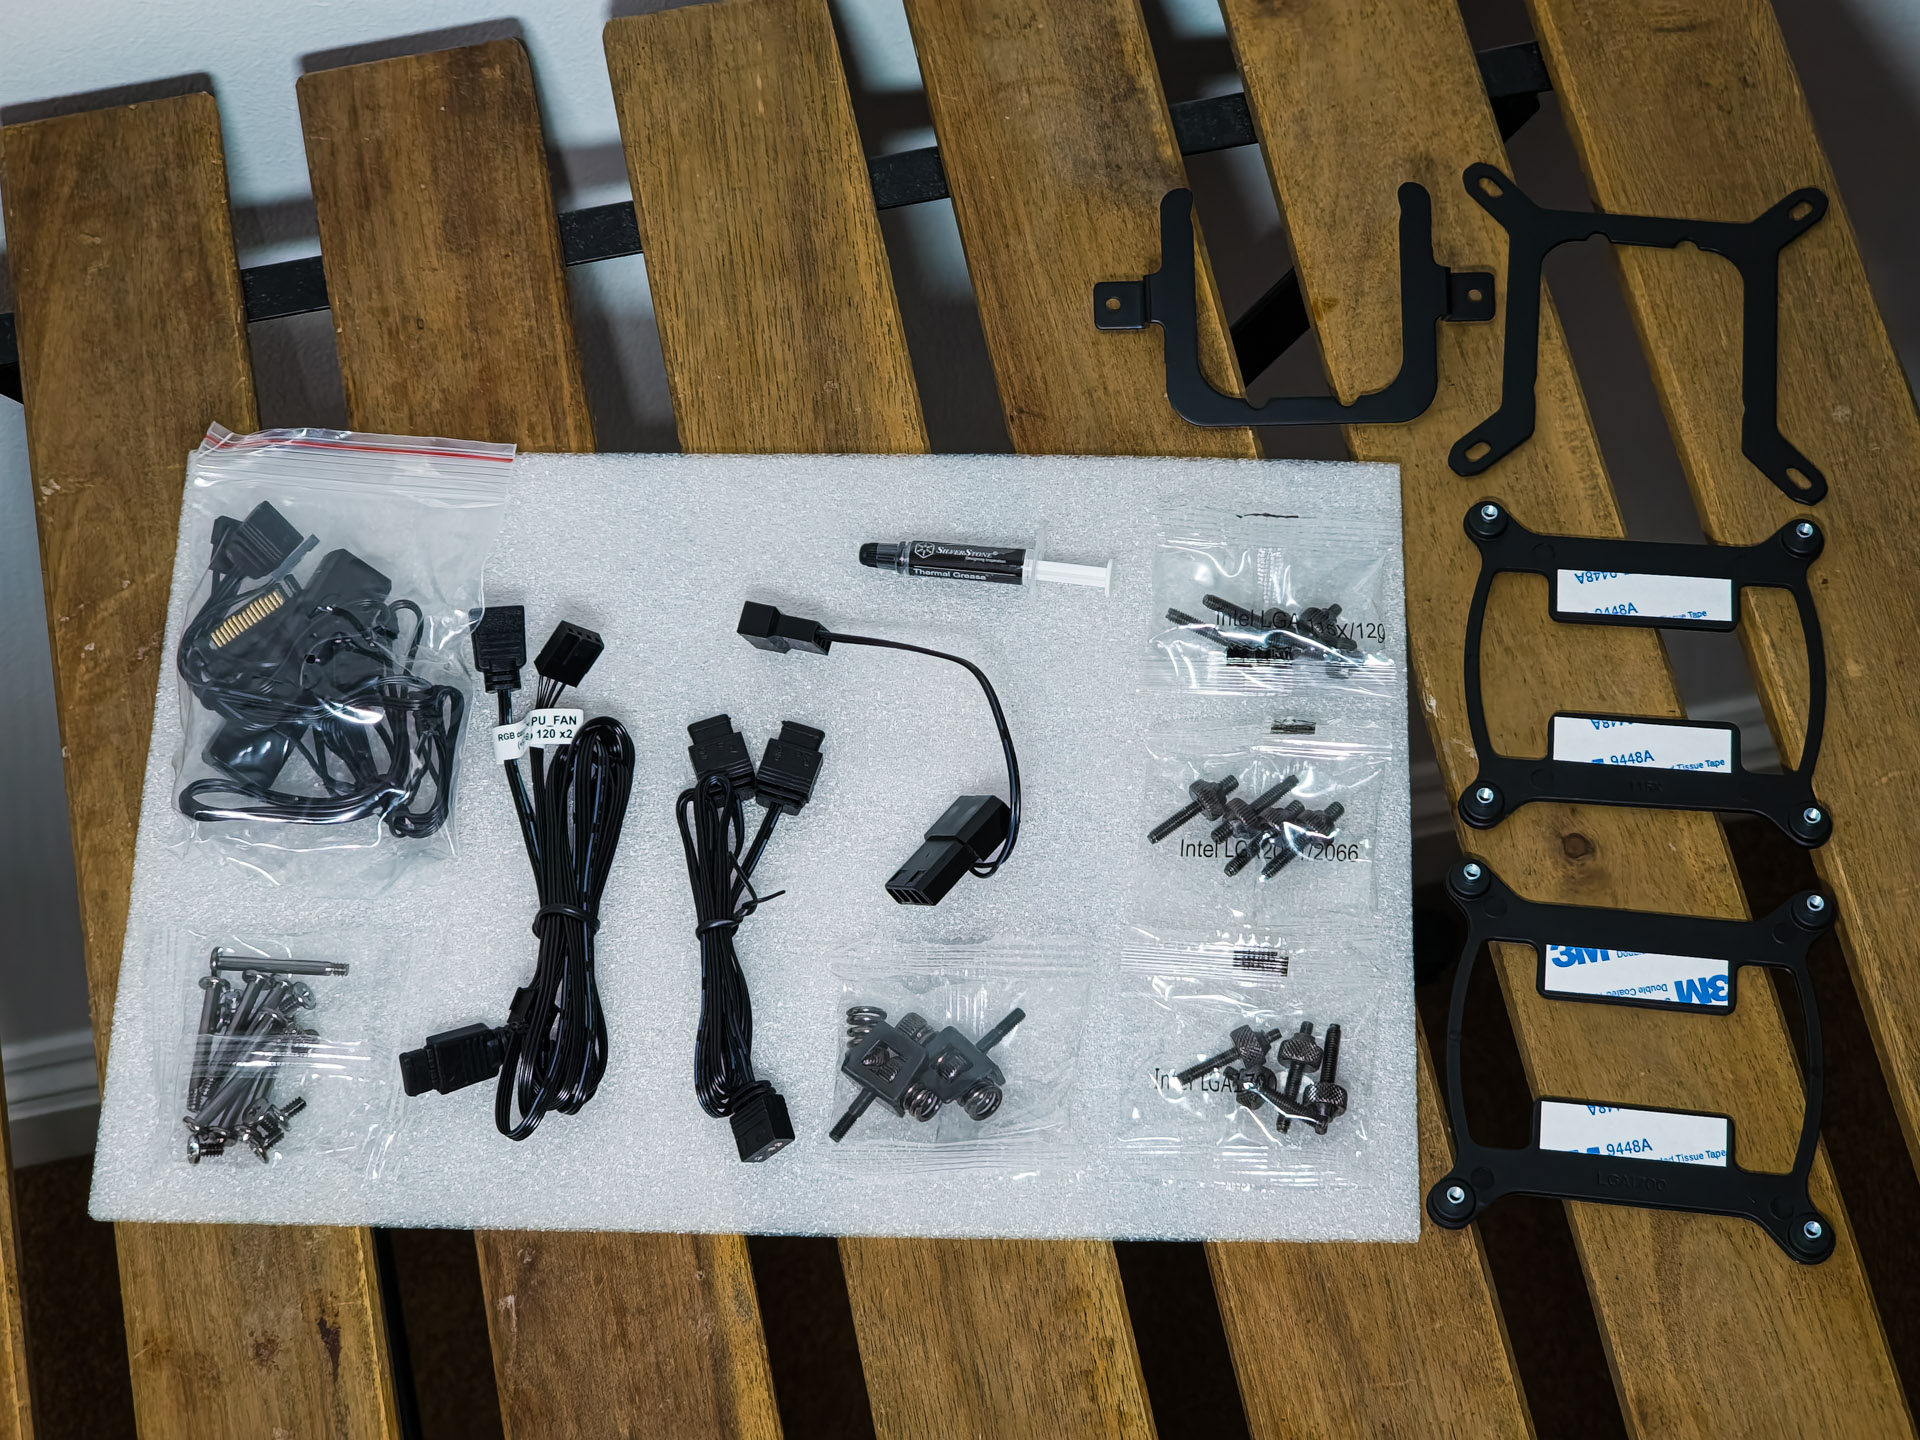
Bonus points goes to the separate ARGB control module which is highly welcomed if you plan to install this AIO on an older non-RGB motherboard. Then for each Intel socket you get a different backplate with individual labeled bags for the securing screws.
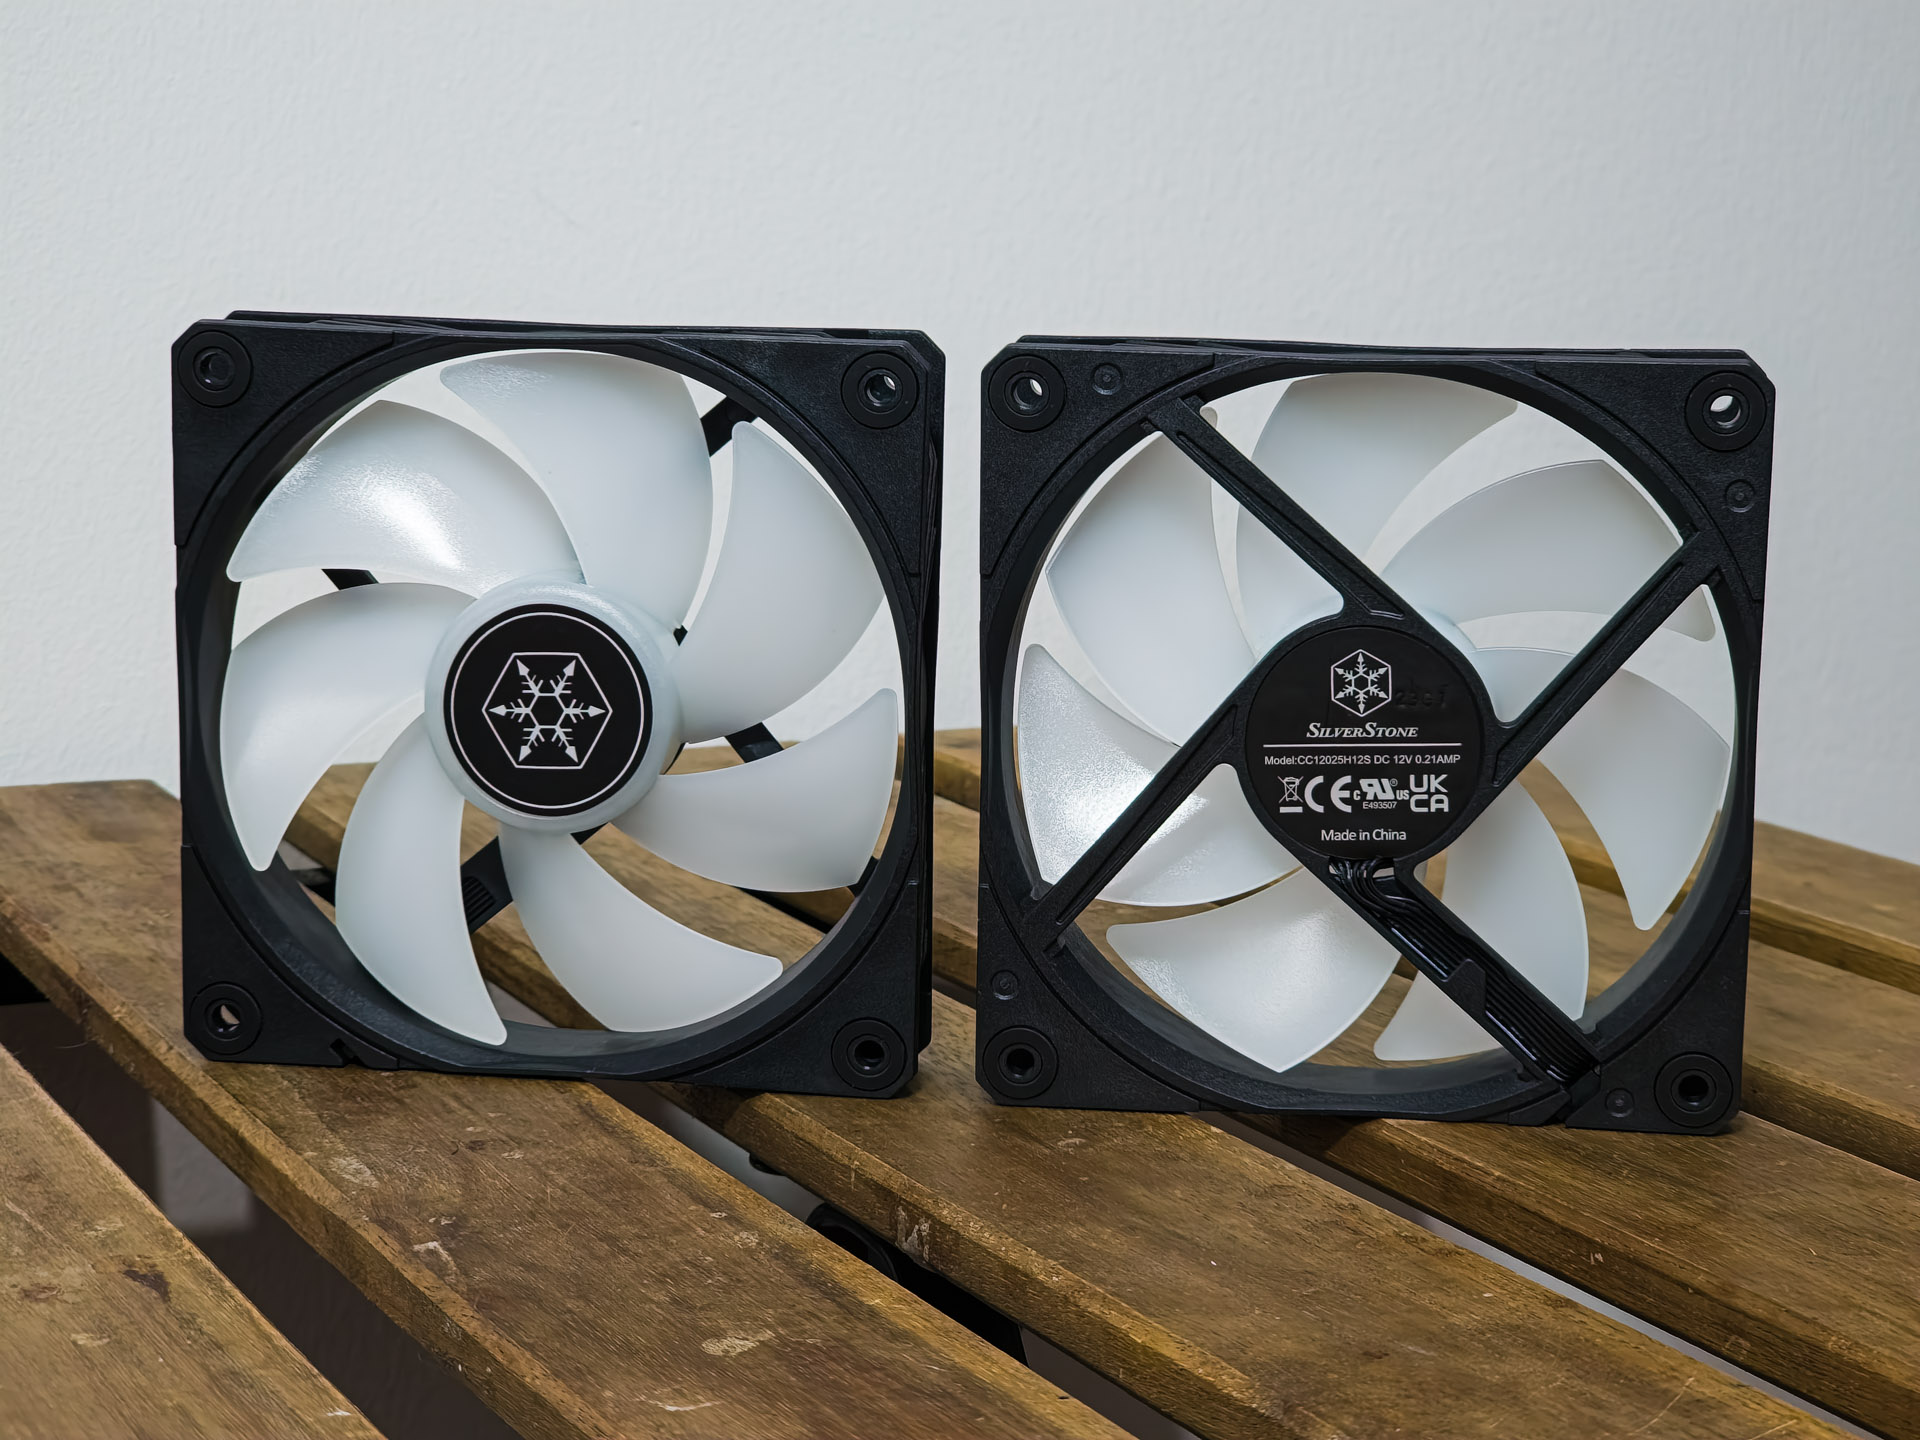
The ARGB 120mm fans are rated up to 2200 RPM, 75.74 CFM of airflow and static pressure of 3.4mmH2O while not going above 33.1 dBA of noise output.
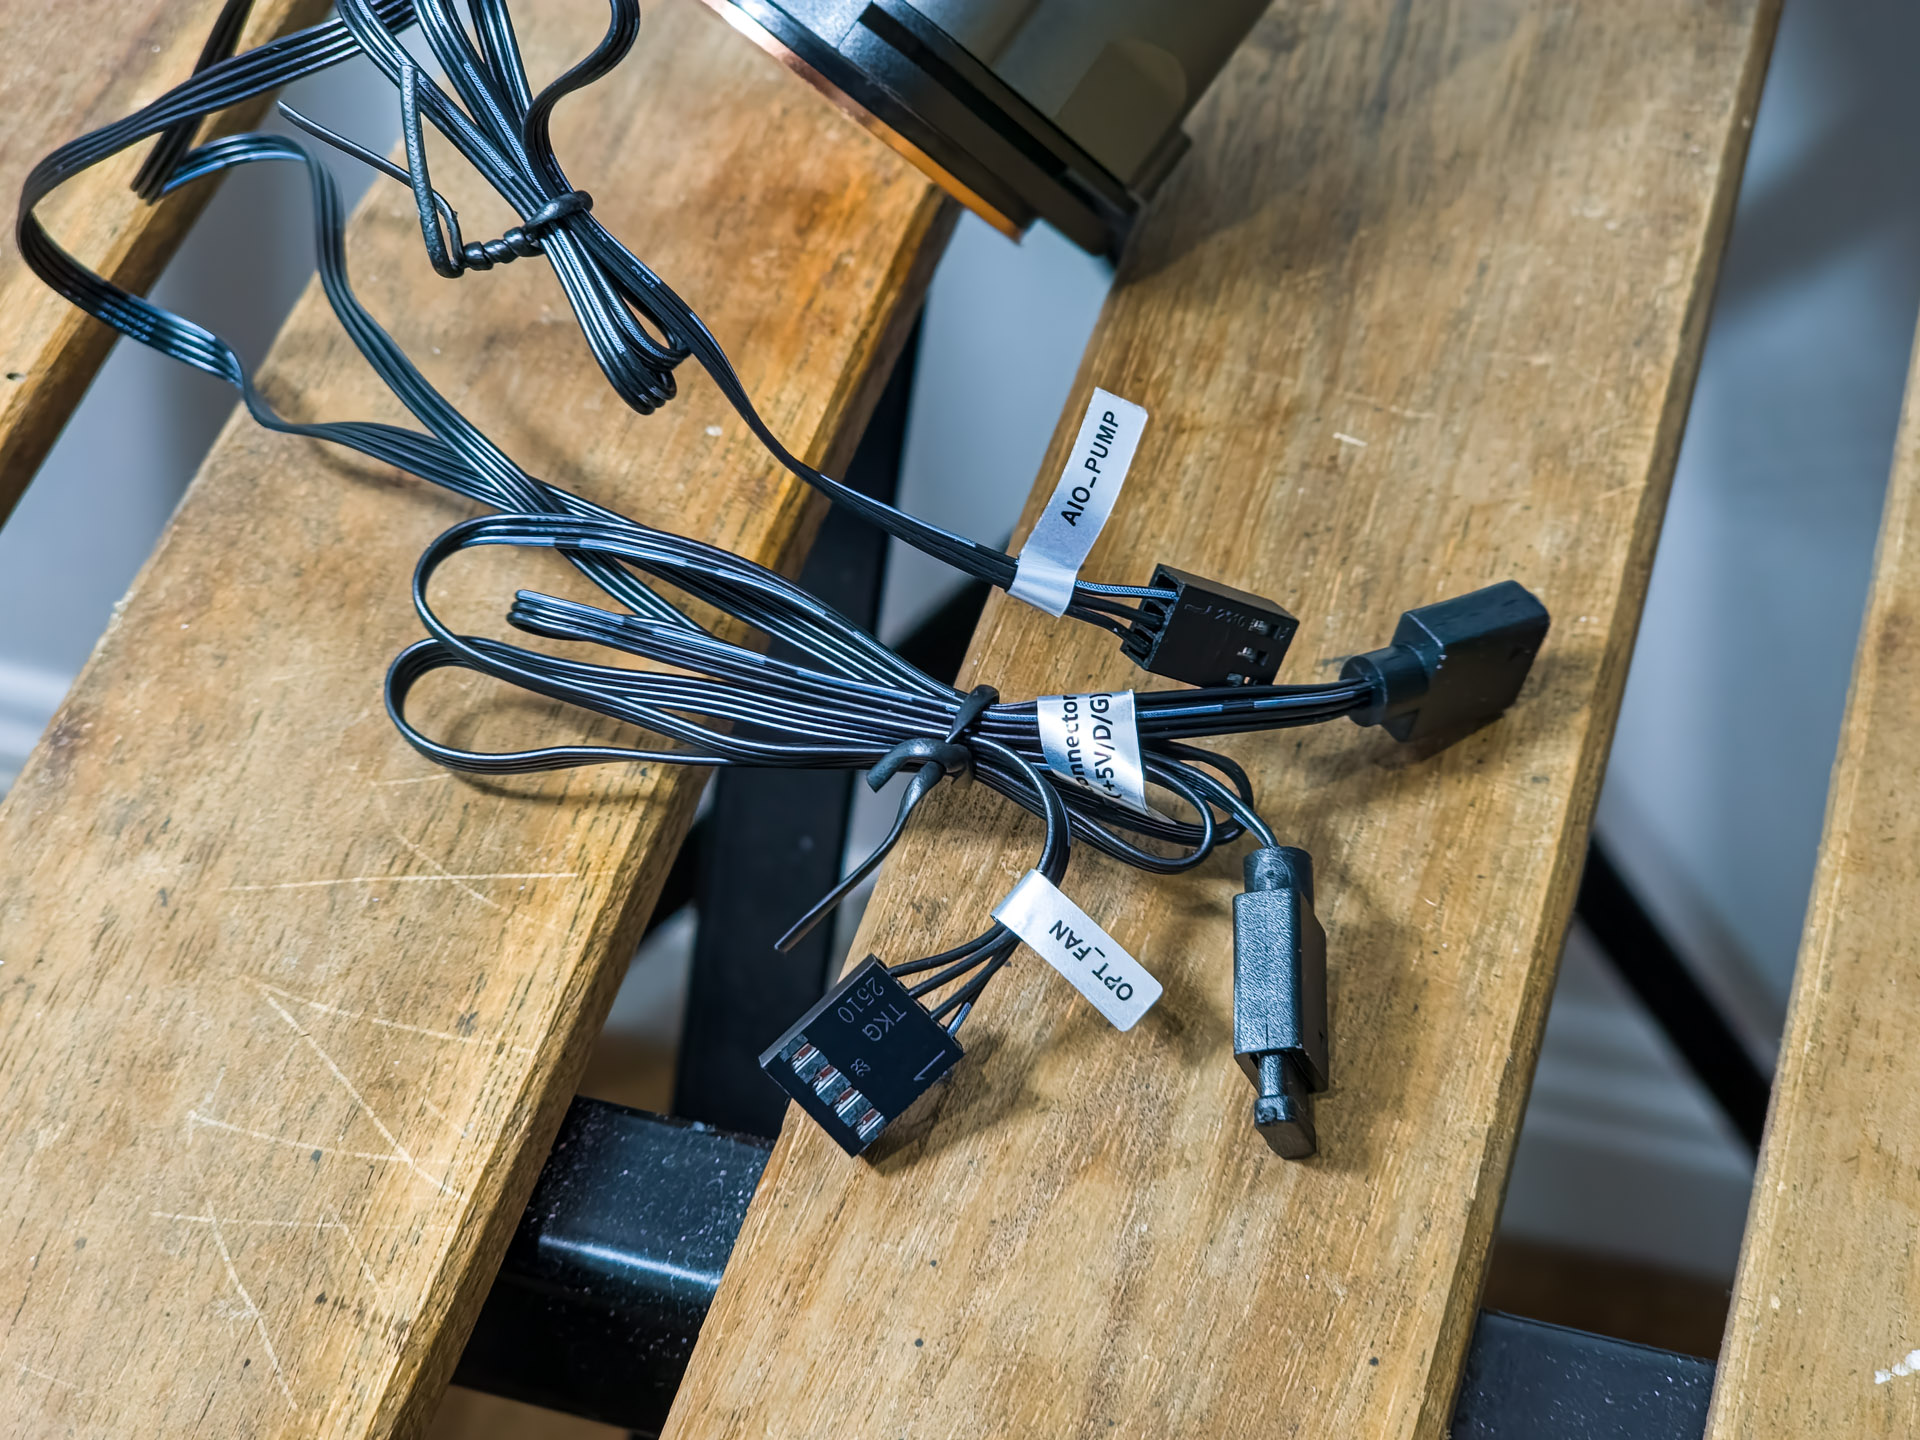
A cool feature of these fans is that they have a modular interface regarding power and illumination. Thus the cables have the exact length you need to daisy-chain them onto the radiator.
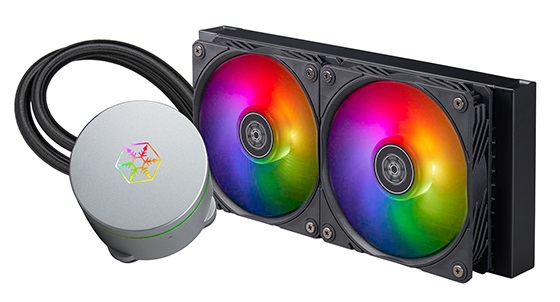
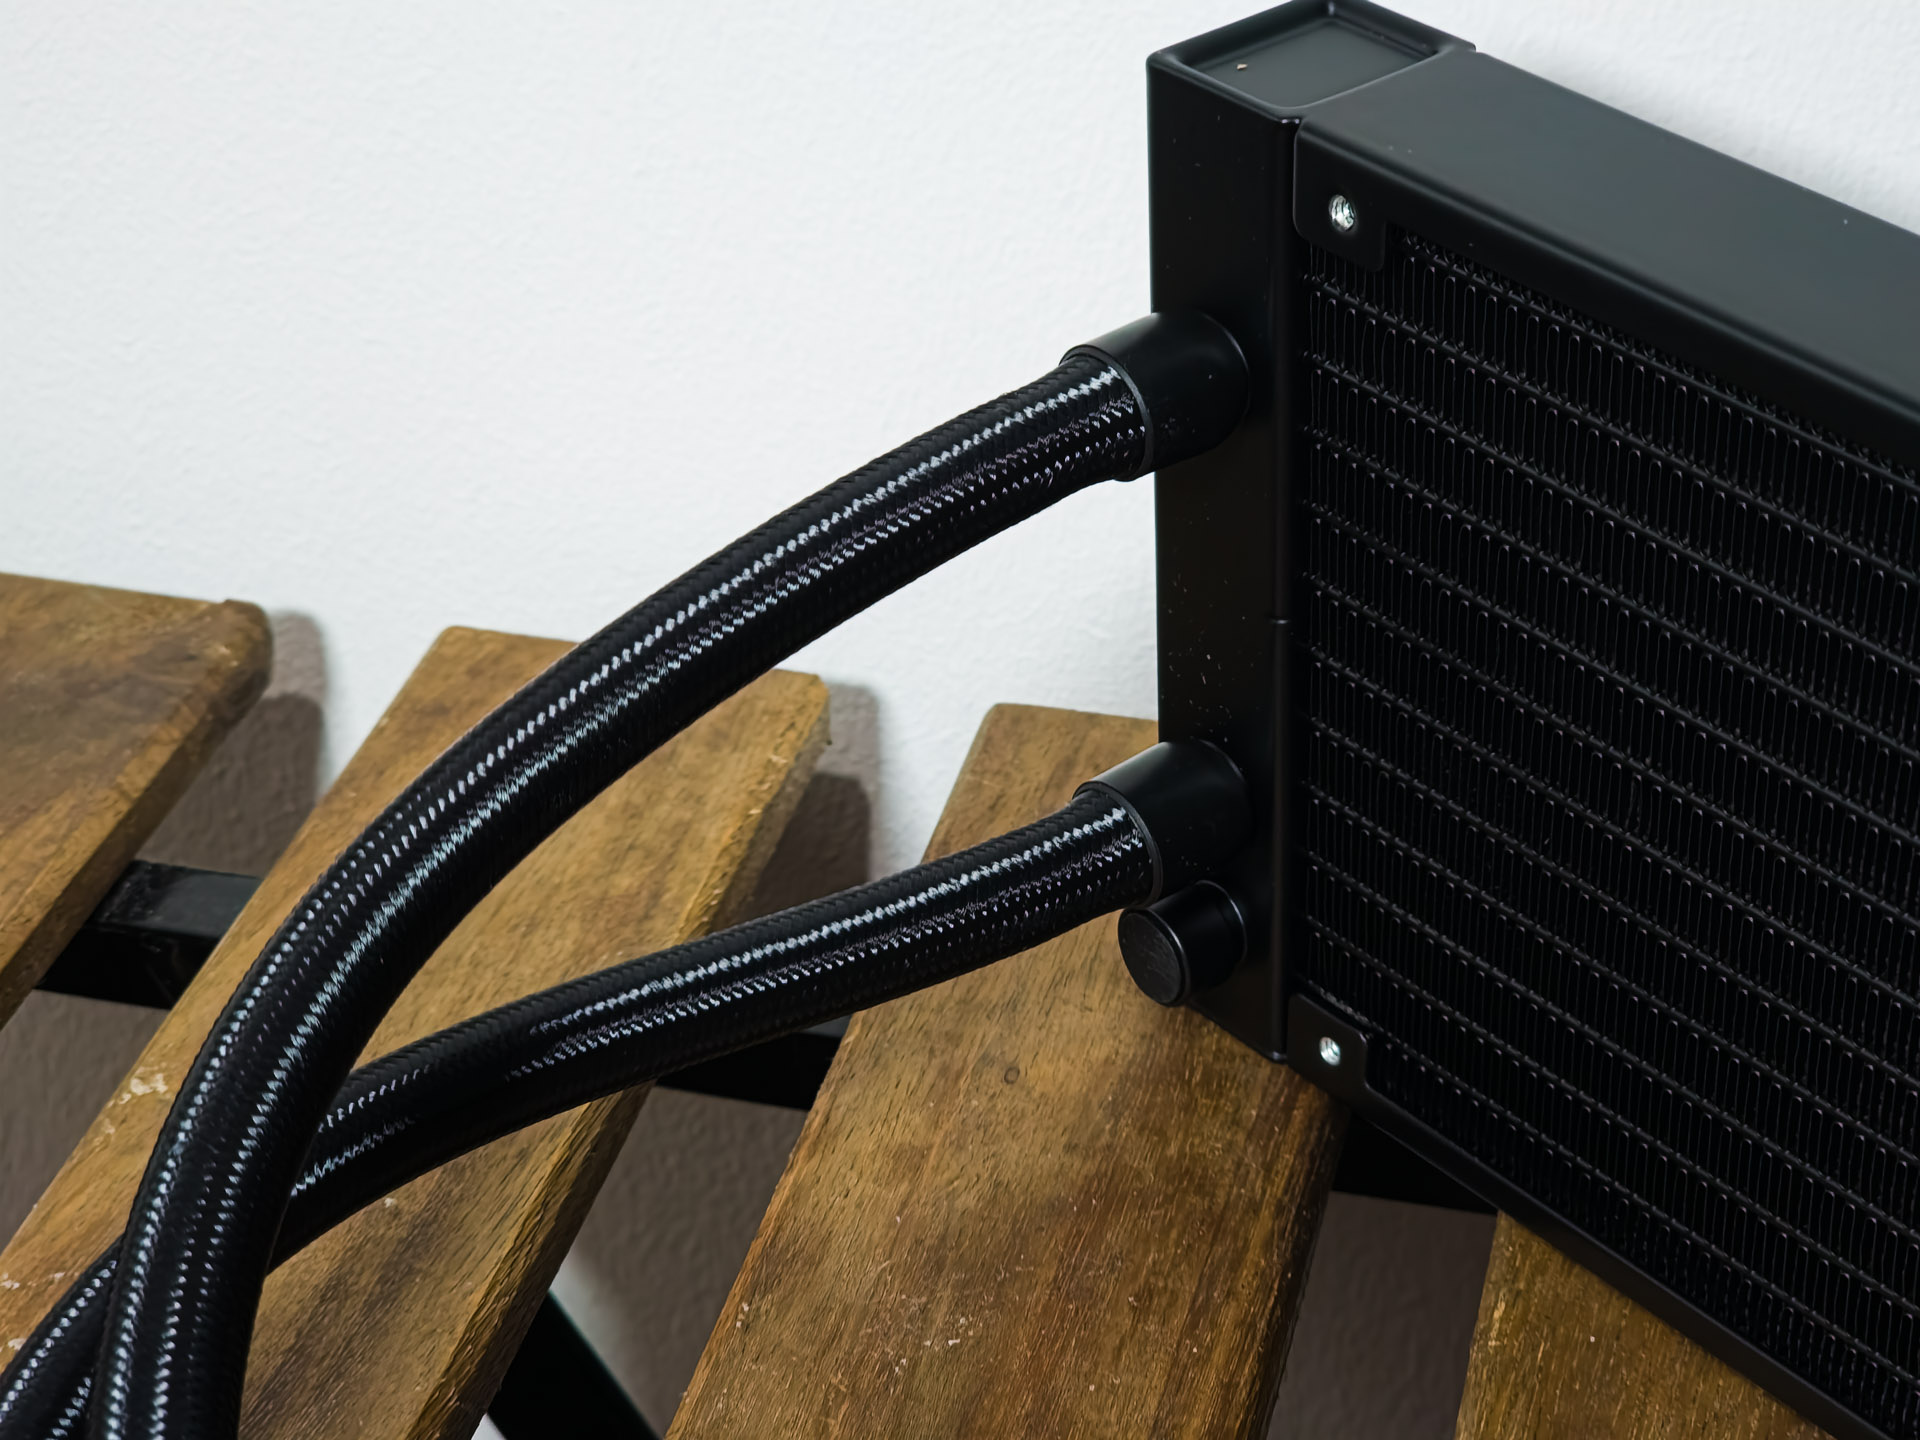
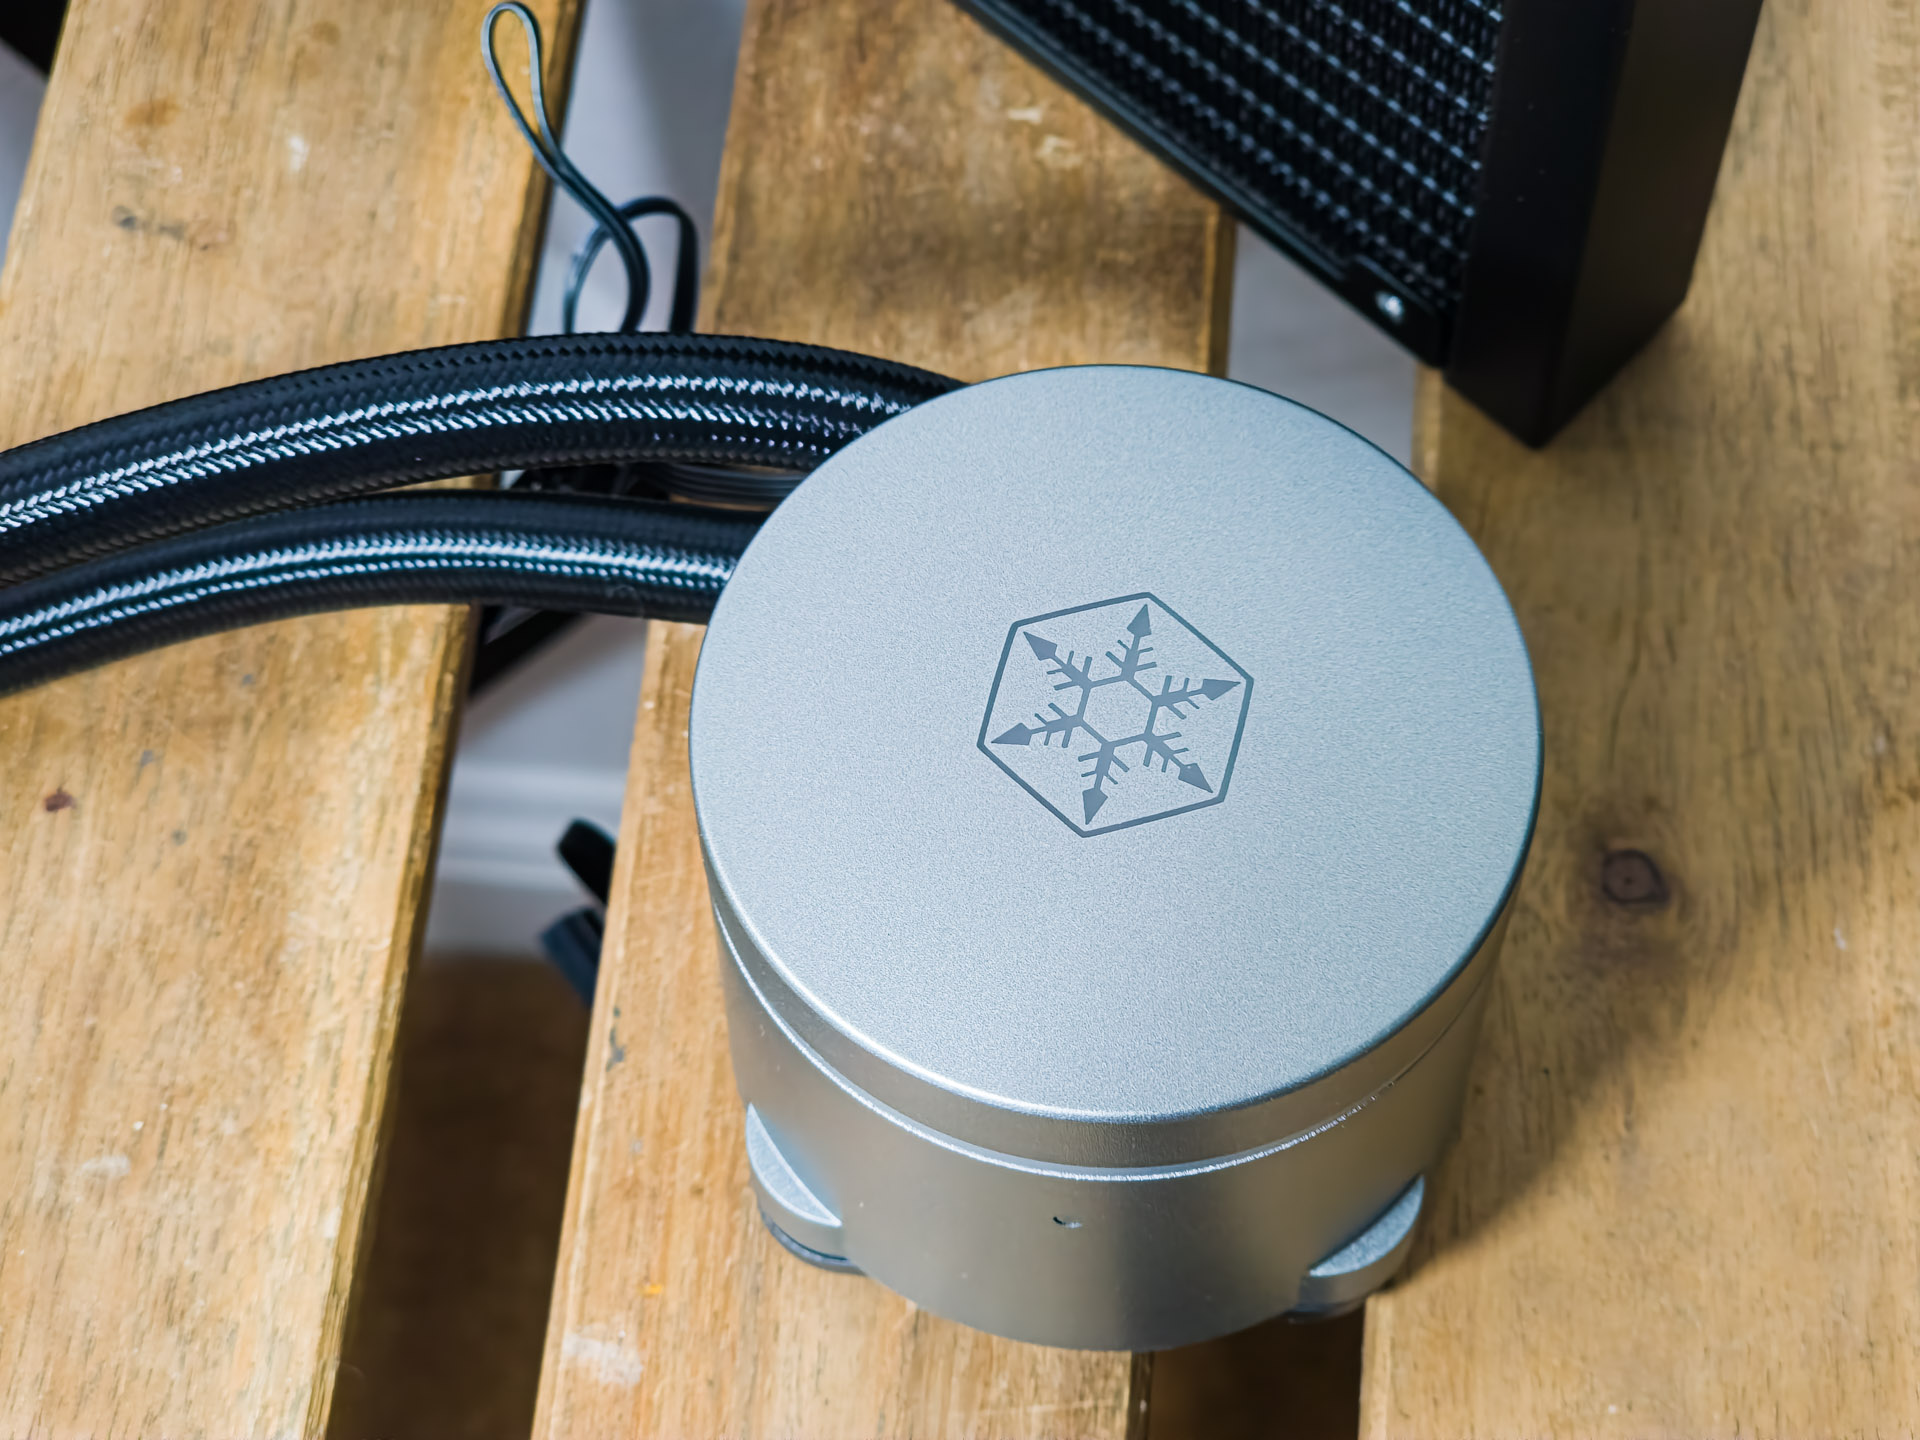
The IceMyst 240mm AIO at first glance, looks like your regular all-in-one cooler. A sleek design for the heatsink and pump and a standard aluminium 120mm (W) x 28mm (H) x 277mm (D) radiator. The rubber tubes are 460mm in length and nicely sleeved.
The pump is rated up to 3,100 RPM thanks to its three-phase, six-pole design for smoother and quieter operation compared to the more common single-phase, four-pole design. Additionally, this design enhances energy efficiency.
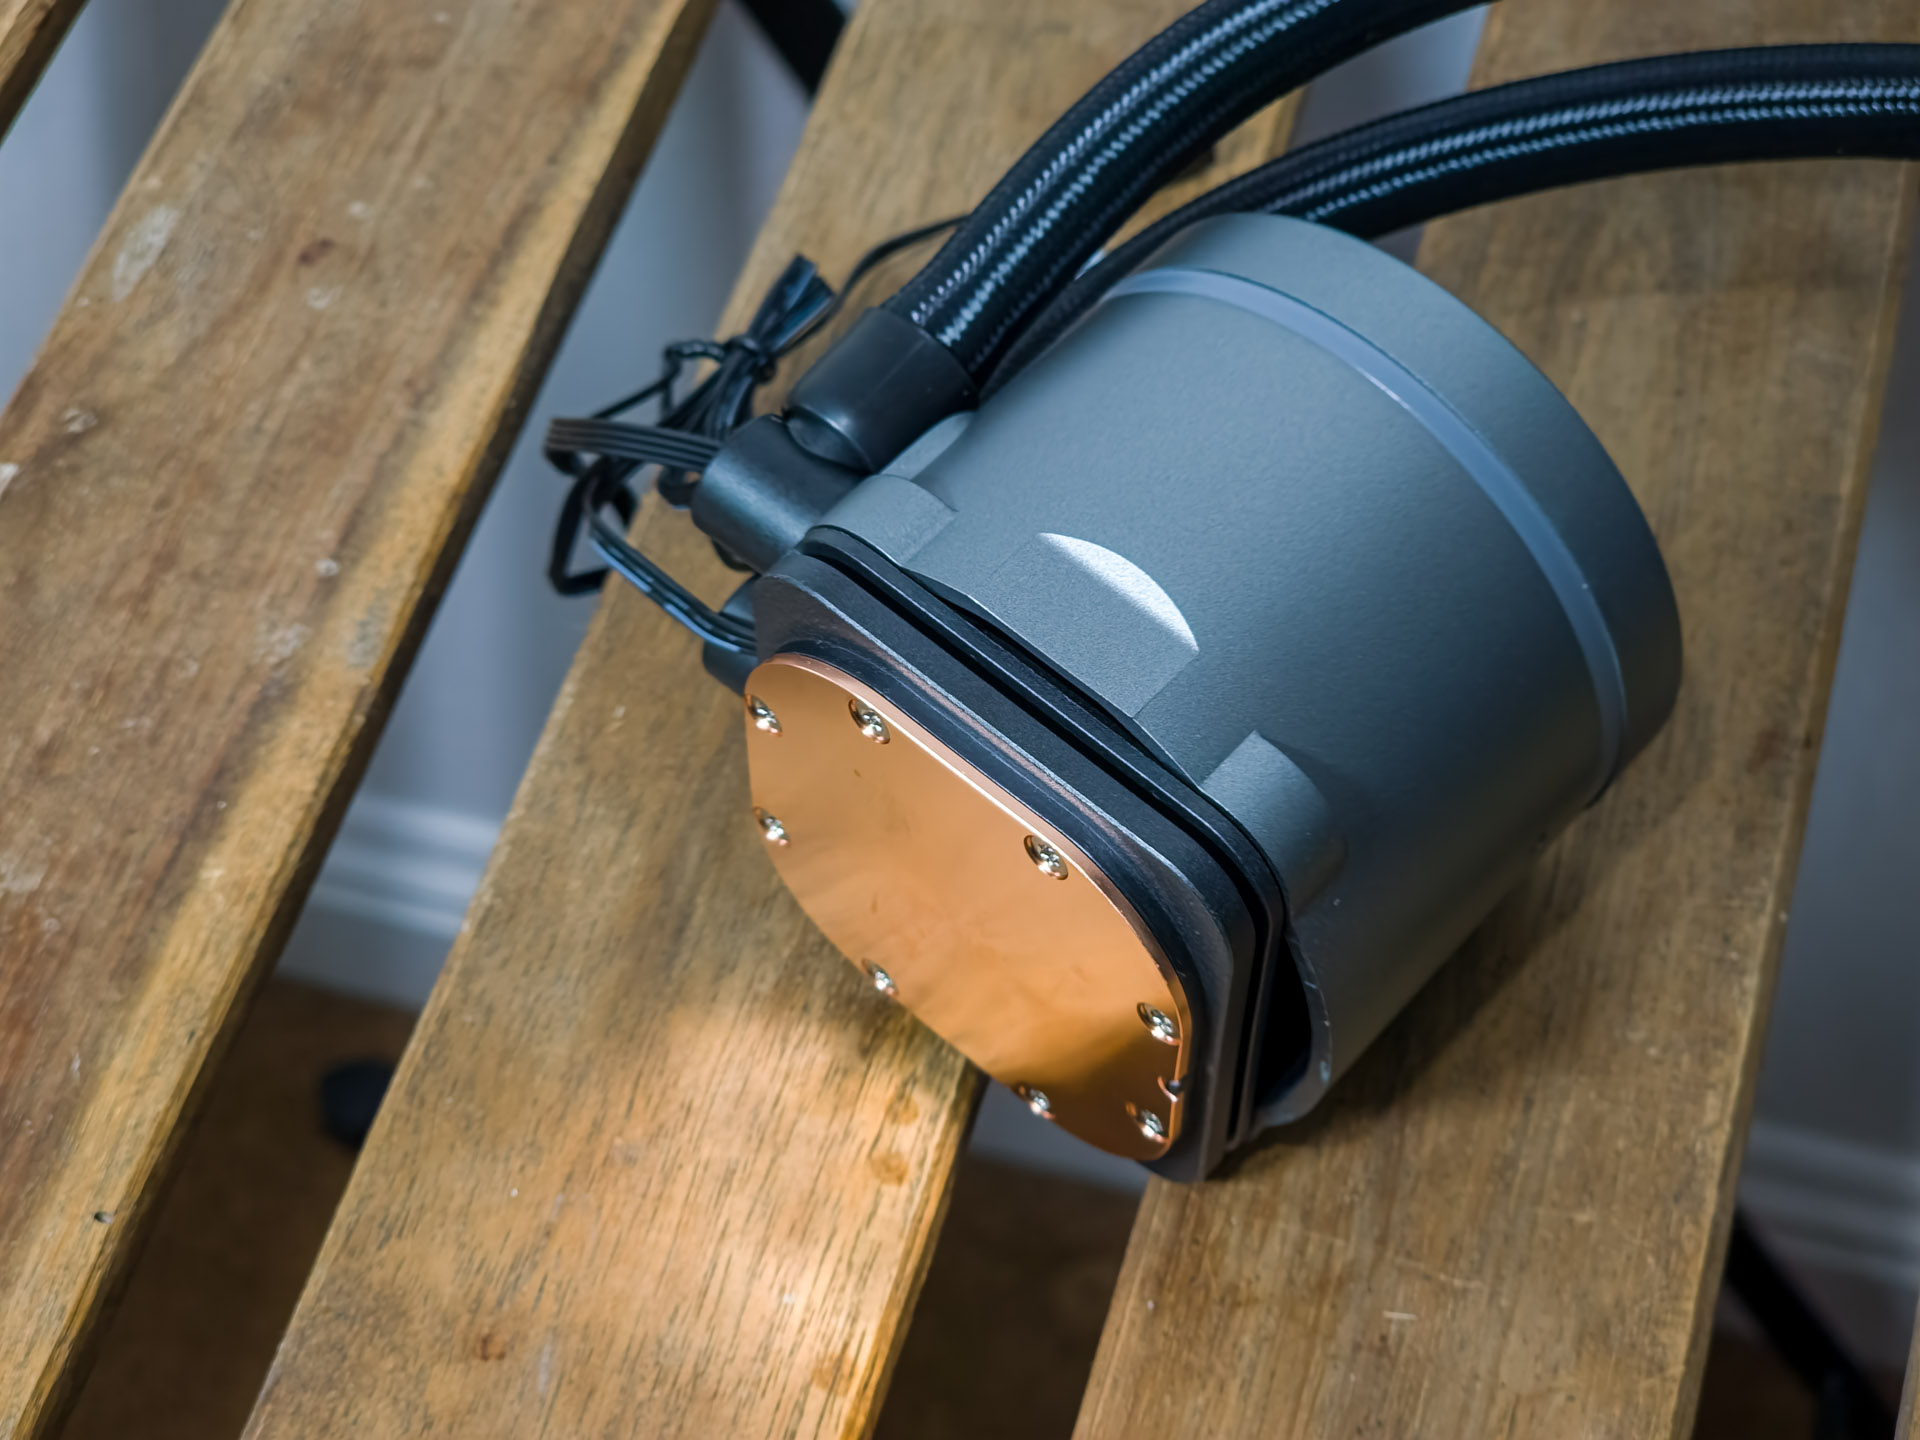
The contact area is made of cooper and is slightly convex.
Then the tubes swivel with ease despite the exiting RGB and power cables that exist the block in the same area.
Everything is nicely labeled and marked.
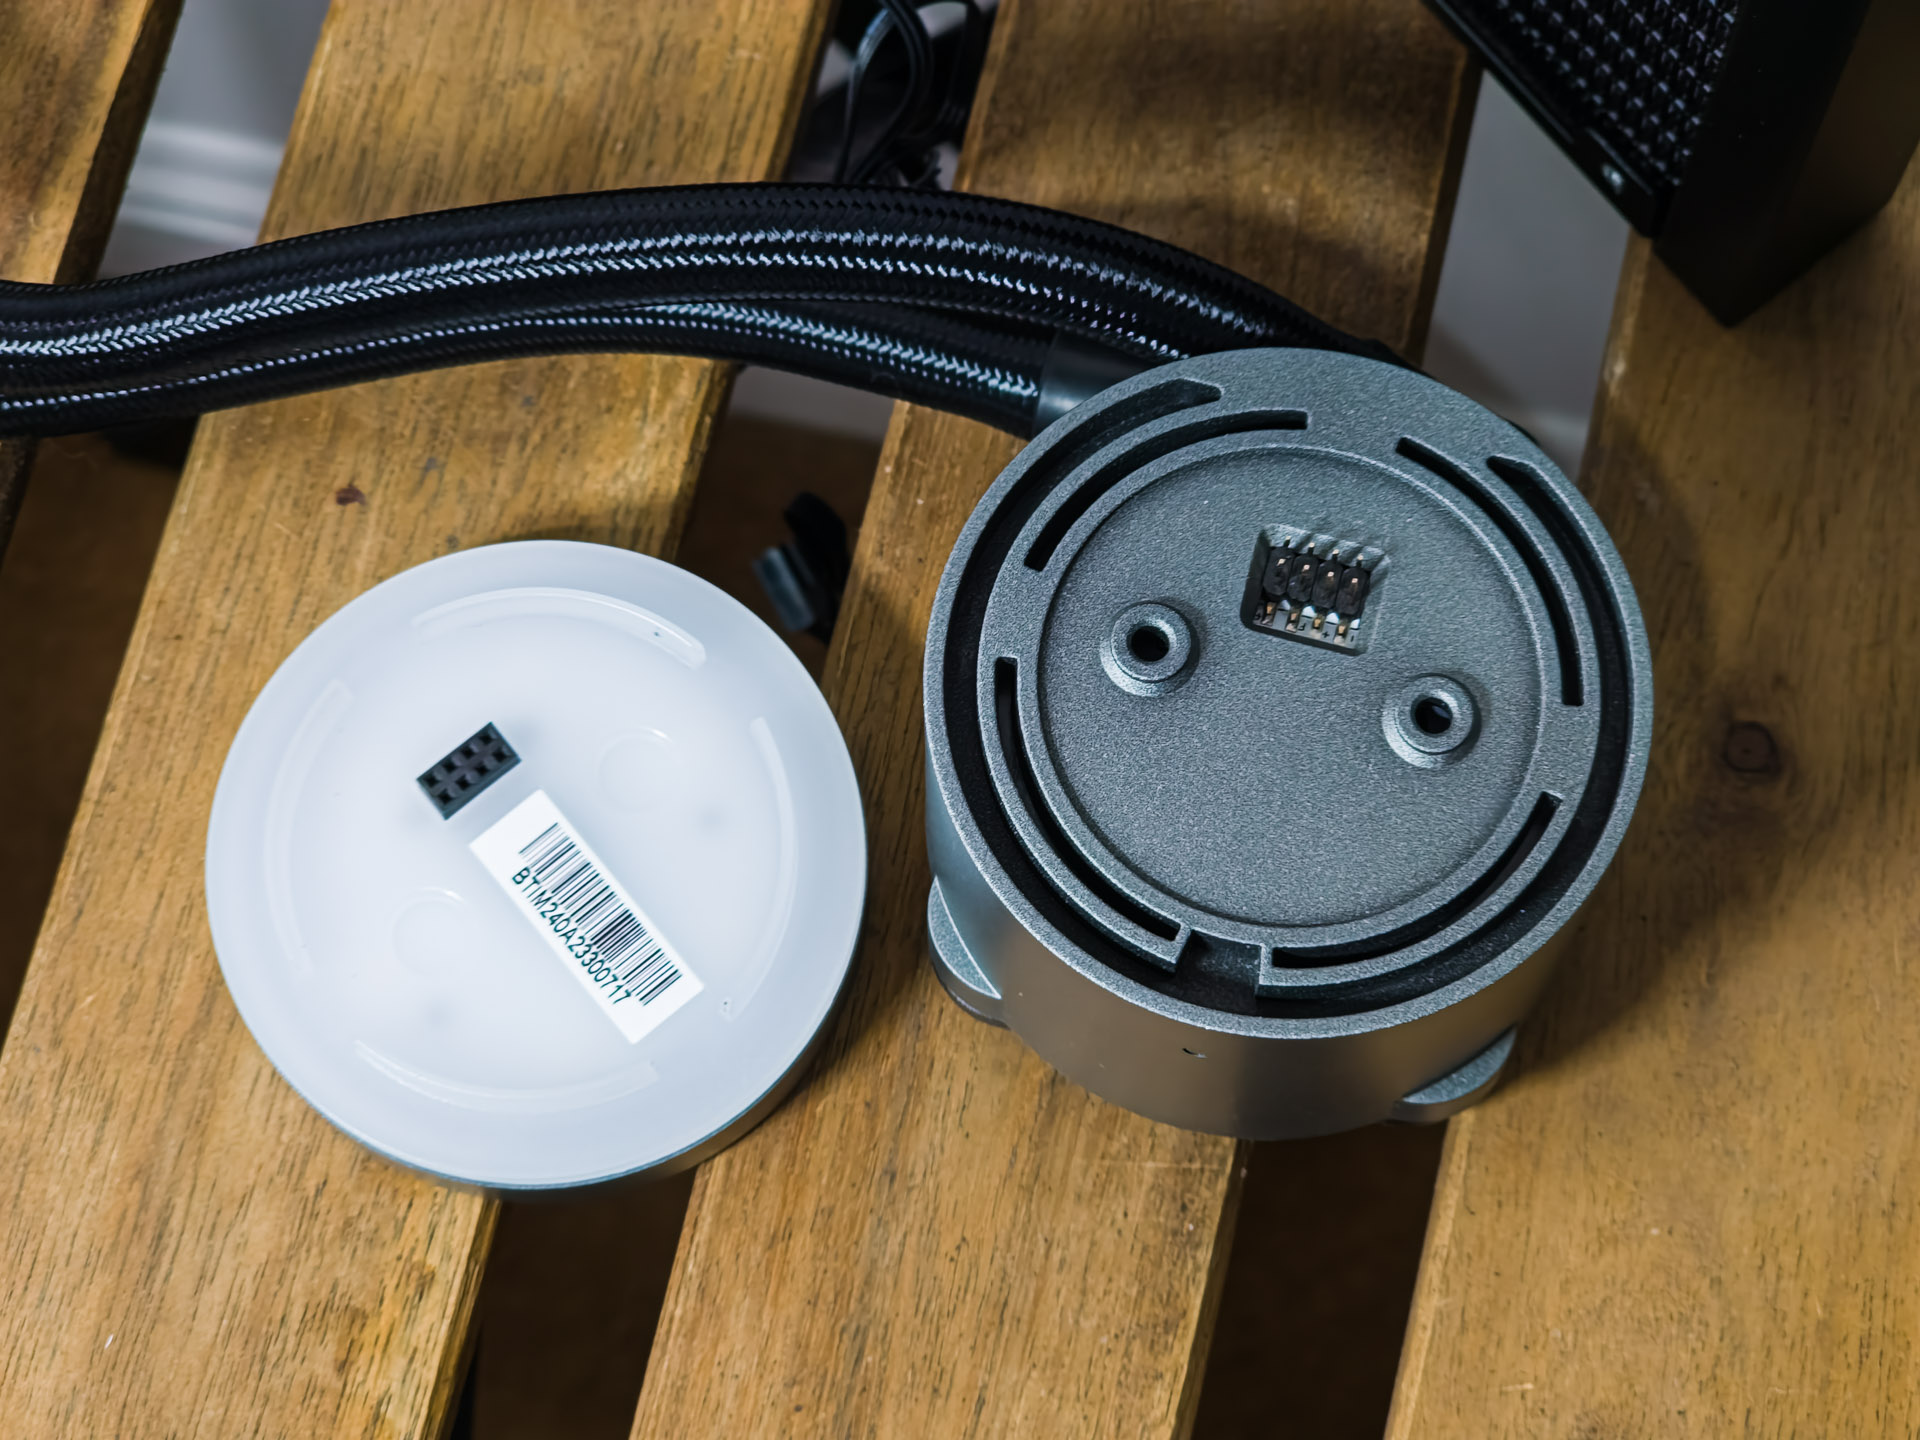
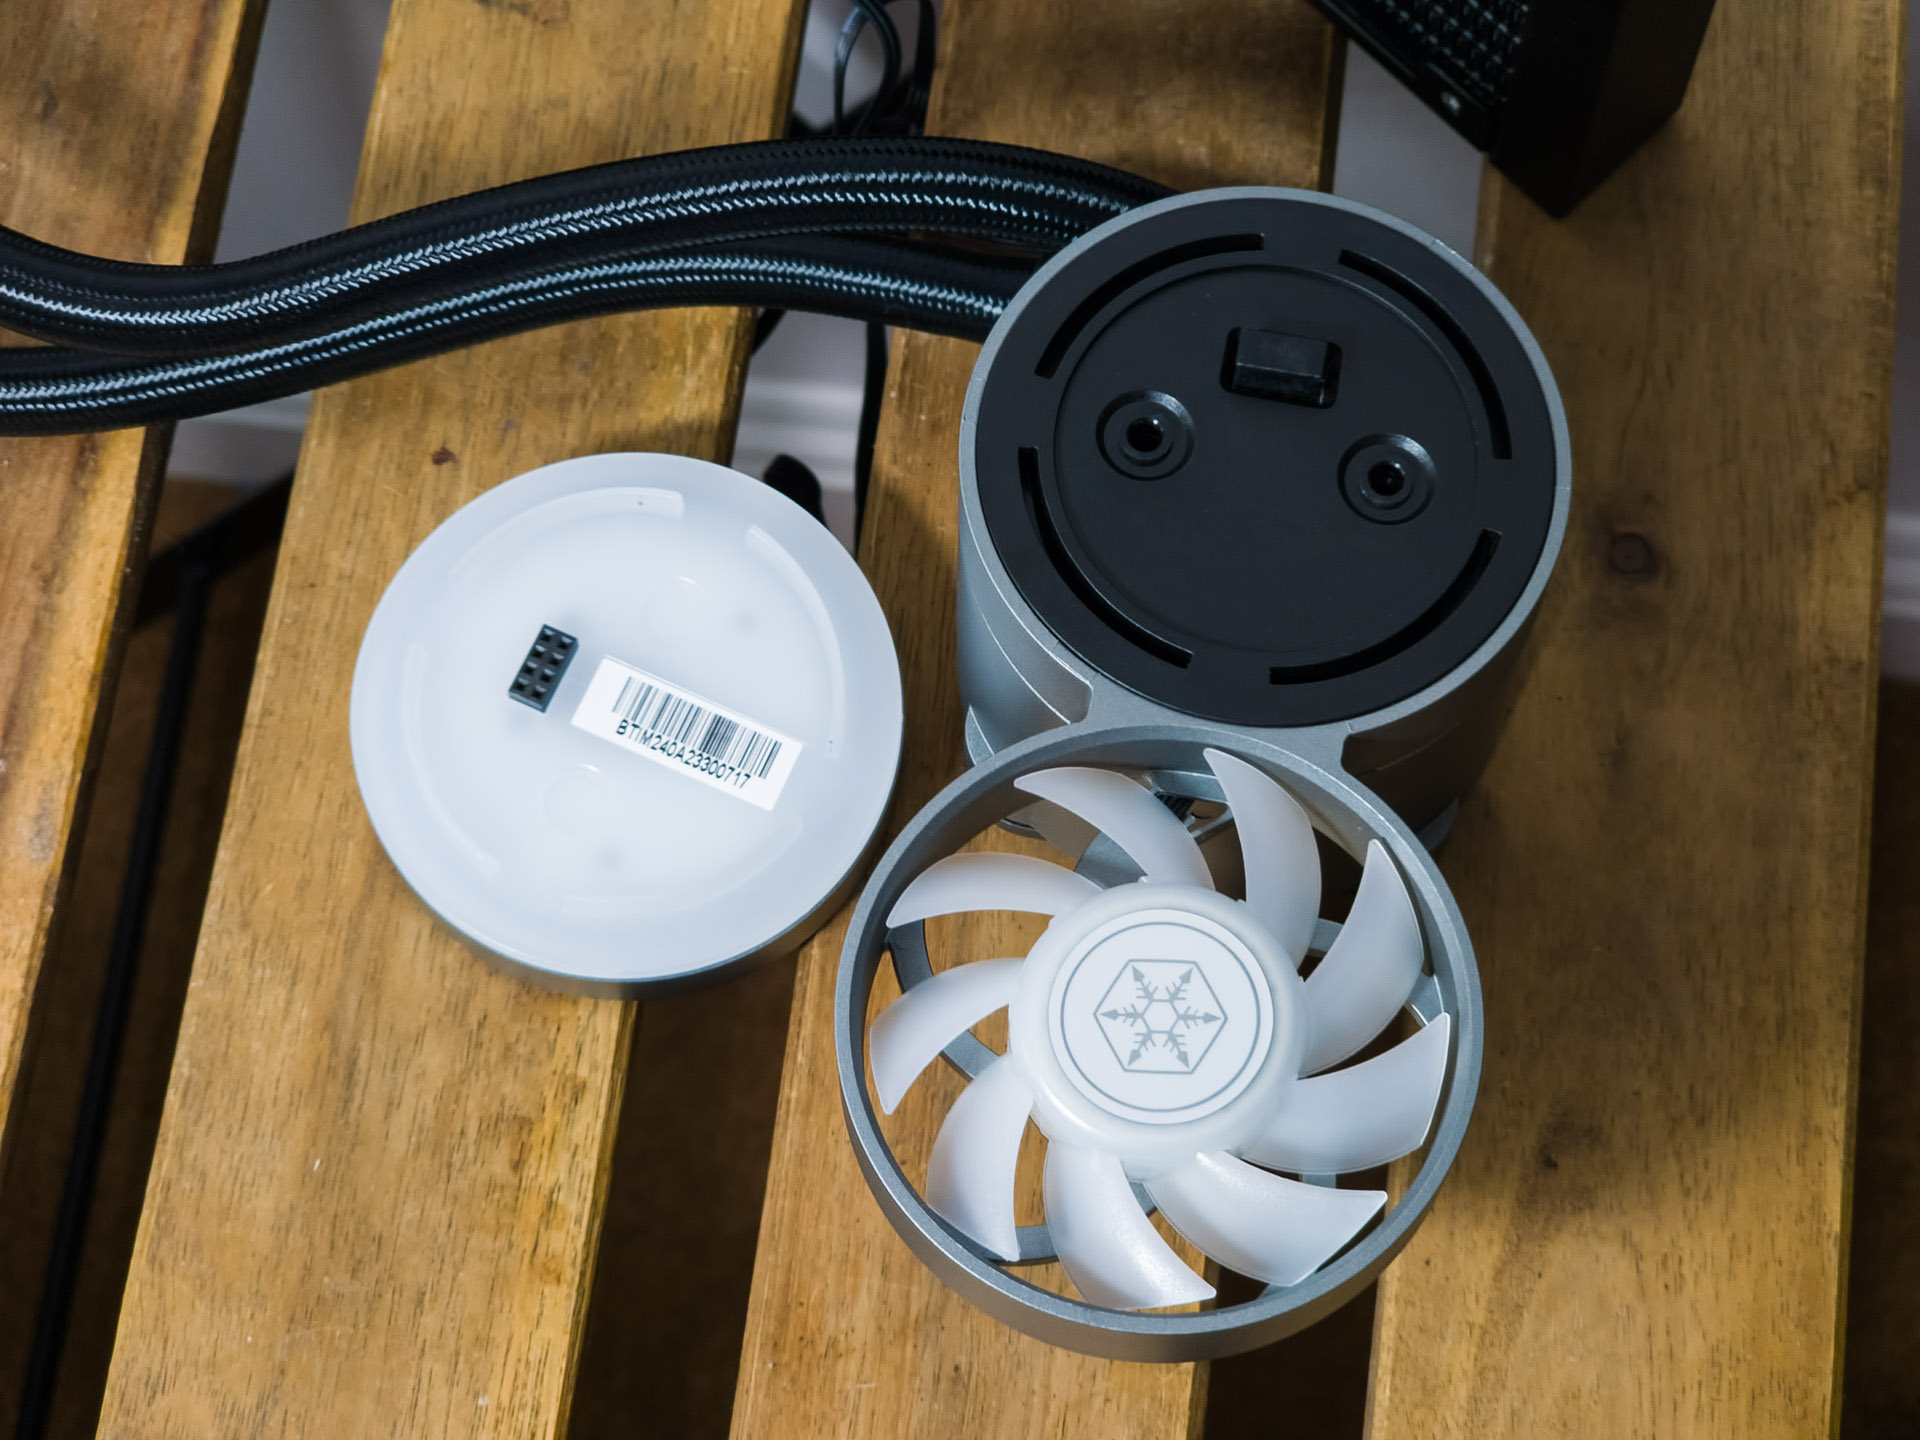
Circling back, this is where the magic happens. Remove the top pump cap and you will see where to install at least one of the securing fan bolts and how they communicate, thanks to the 8 pin port (7 on the side fans).
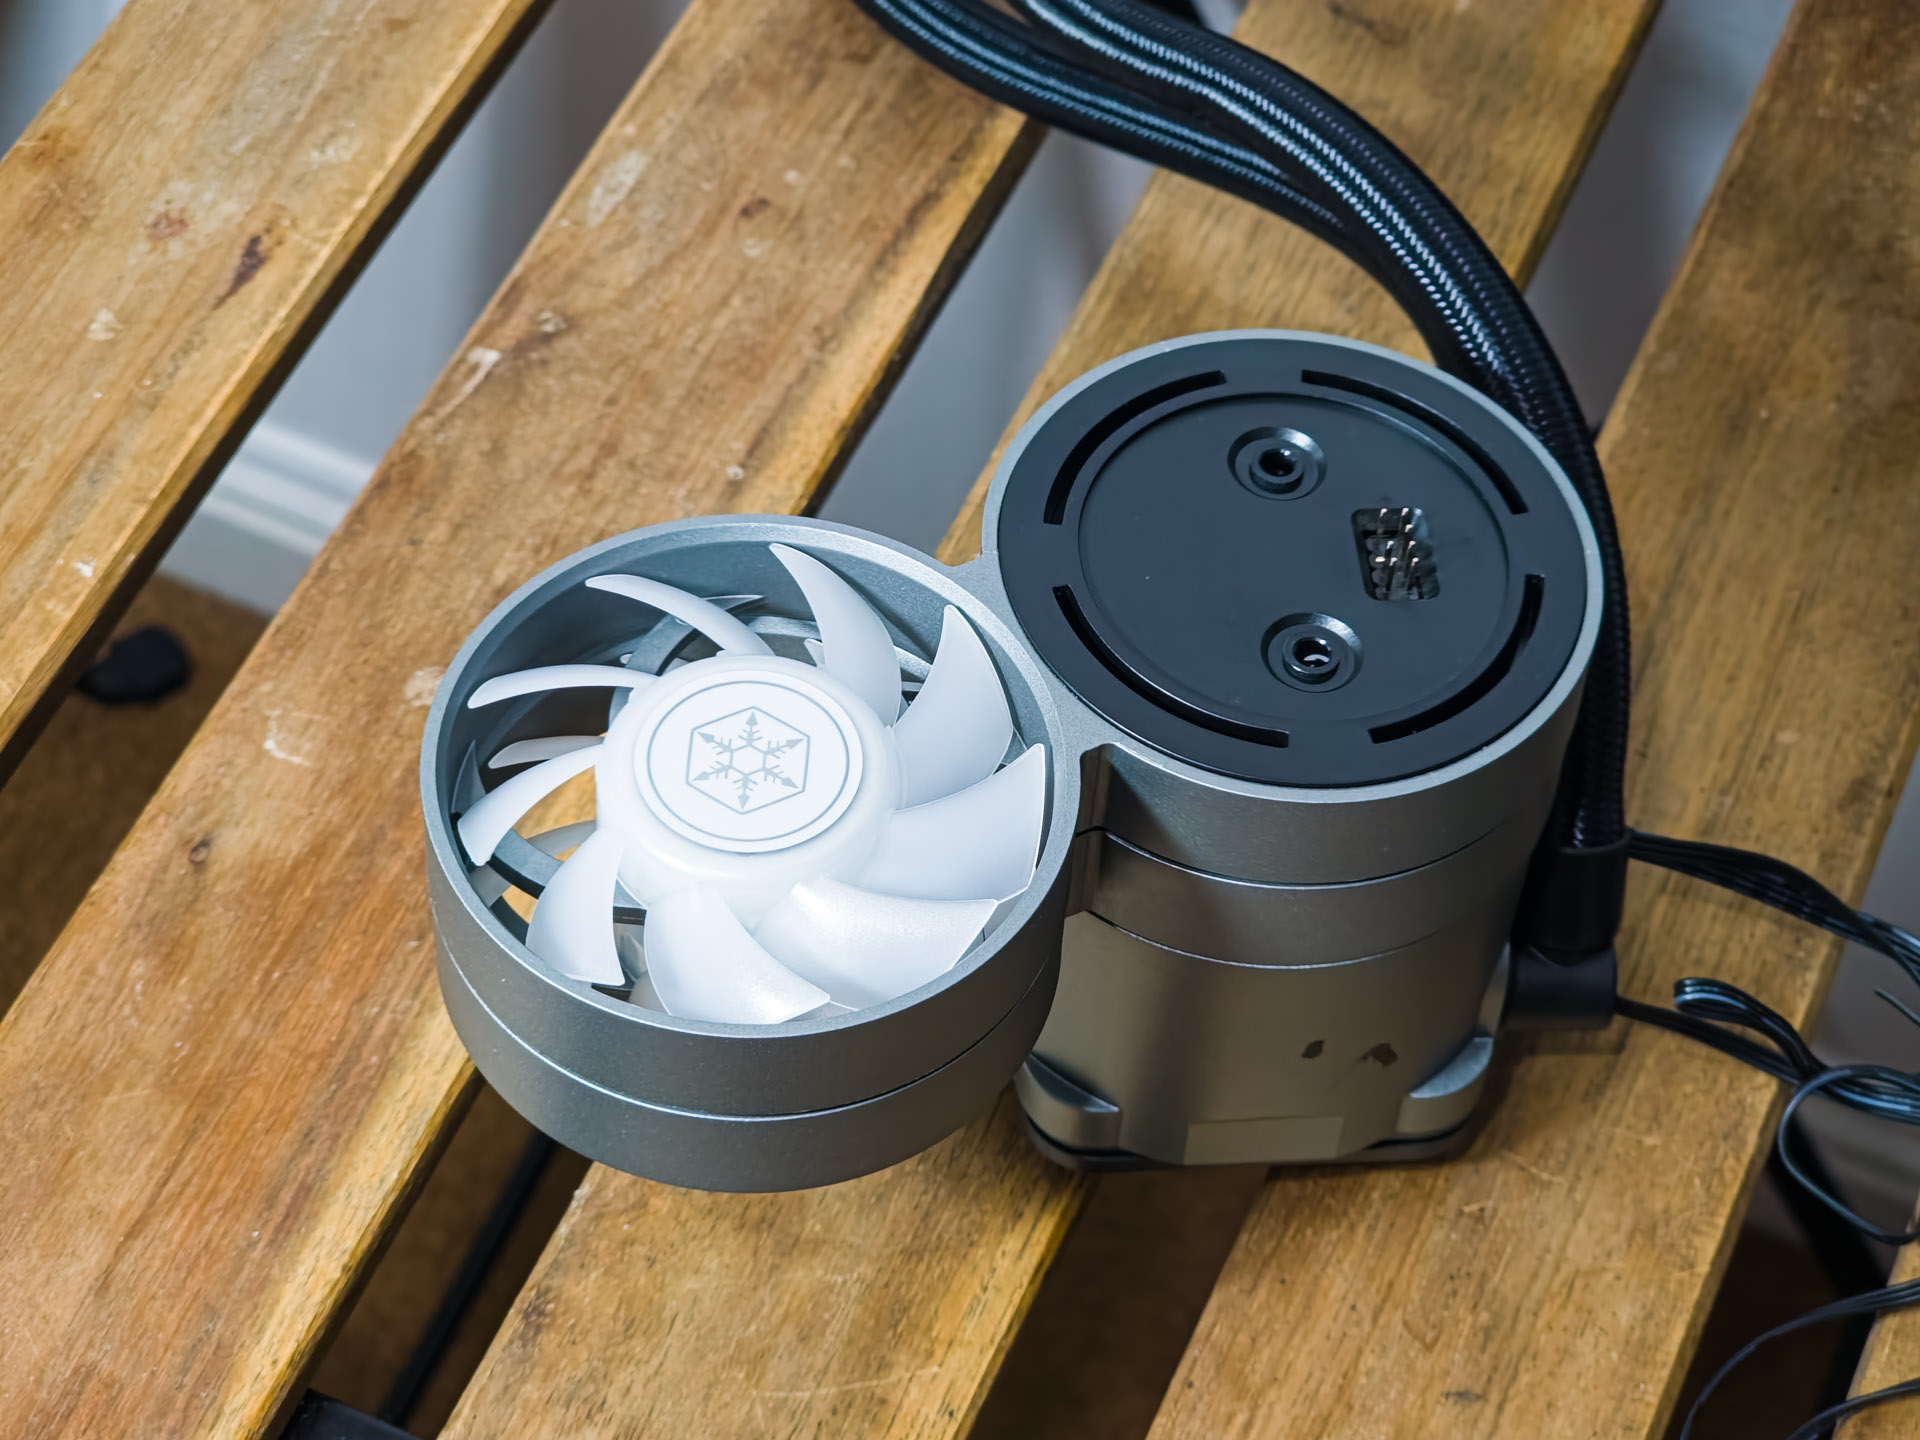
They make a secure fit and you are to add as many as you want, that fit in your case, of course.
As mentioned, they swivel up to a 320° angle.
Attach the top cap and you’re ready to go.
Installation
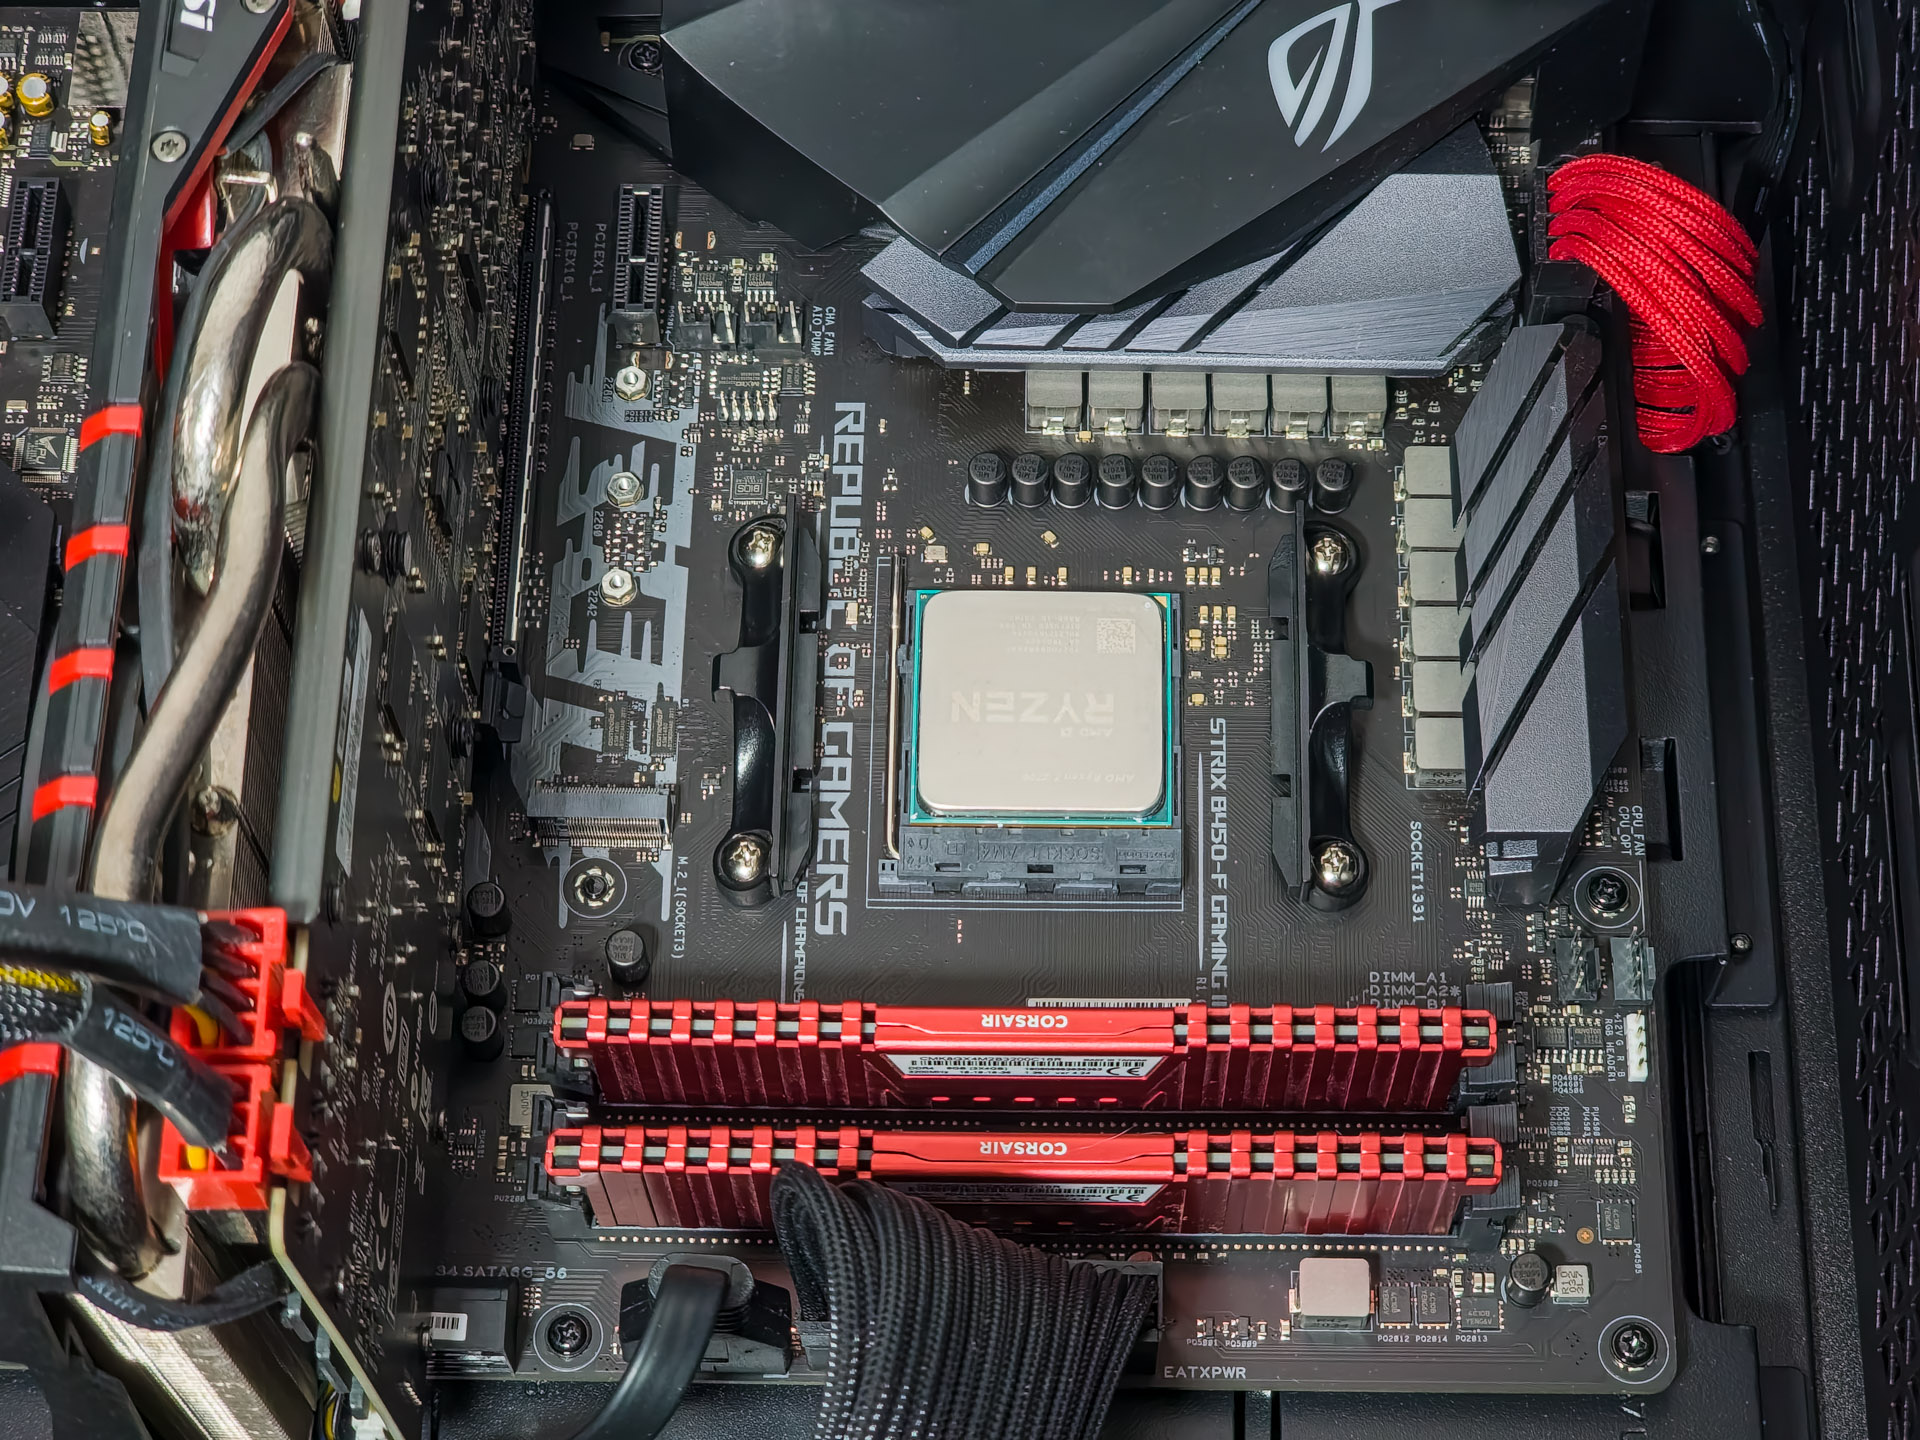
The process is more straightforward on the AMD AM4 and AM5 sockets since there are less parts to install, when compared to the Intel ones. Thus, on the AM4, the first step is to retain the stock motherboard brackets.
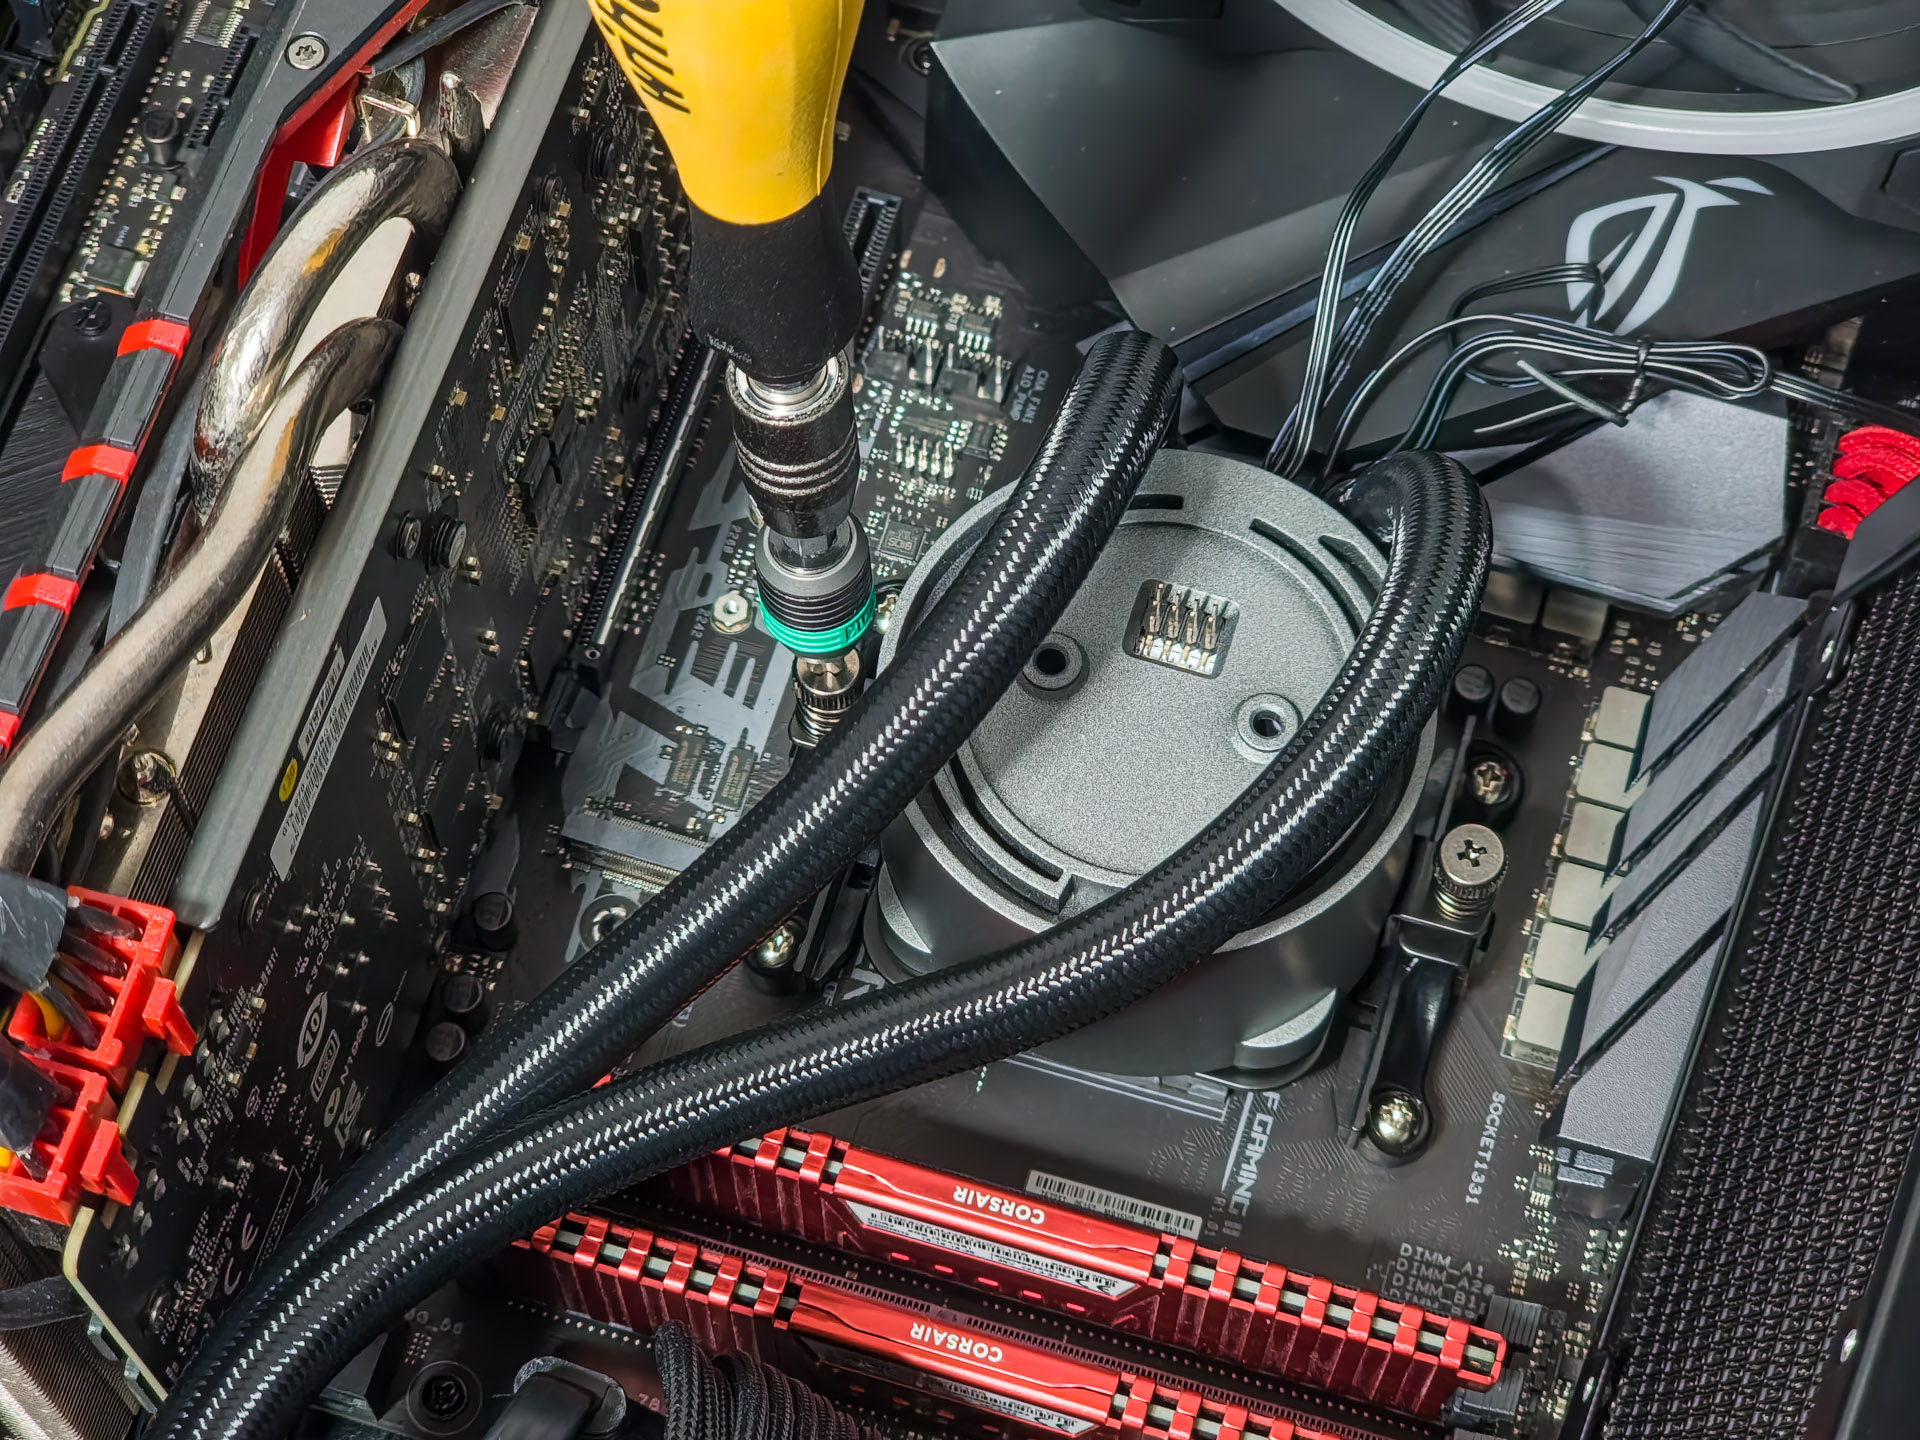
Slide, opposite the tubes, onto the pump, the securing bracket, with the bolt areas facing upwards.
Then attach the side L-brackets alongside the metal spring-loaded bolts.
Considering the orientation of the side fans, make sure you install the pump with the tubes exiting on the opposite side of the RAM area. Then bolt down the whole assembly.
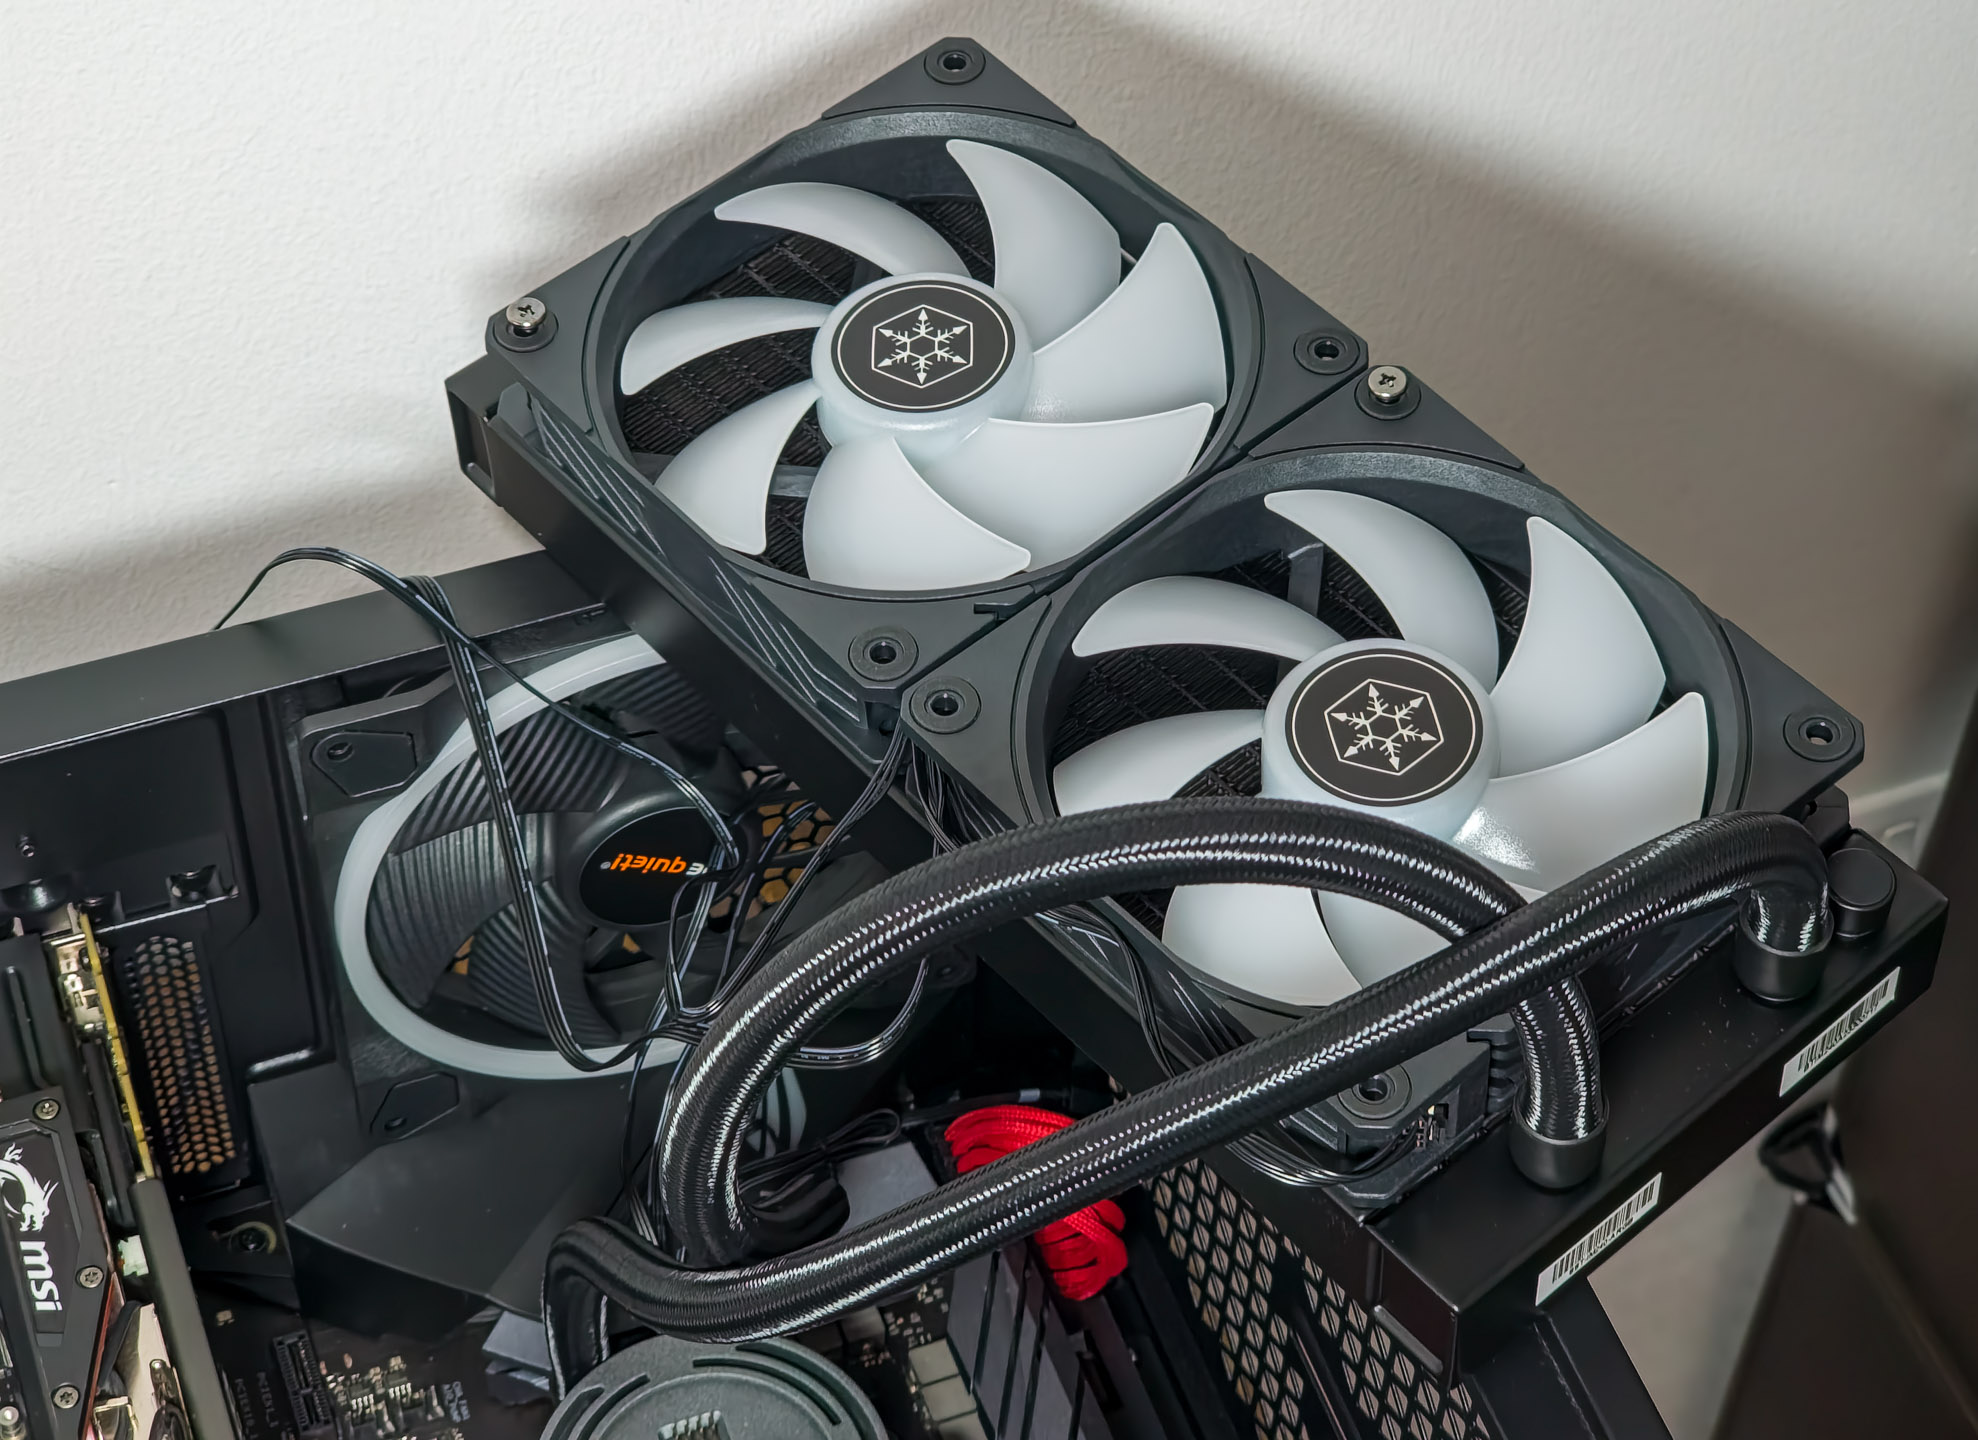
Attach the fans and the custom cables.
Install the radiator and bolt it down.
Plug in everything and regarding the illumination, it’s straightforward if your case has an integrated hub. Otherwise, use the included SATA powered remote.
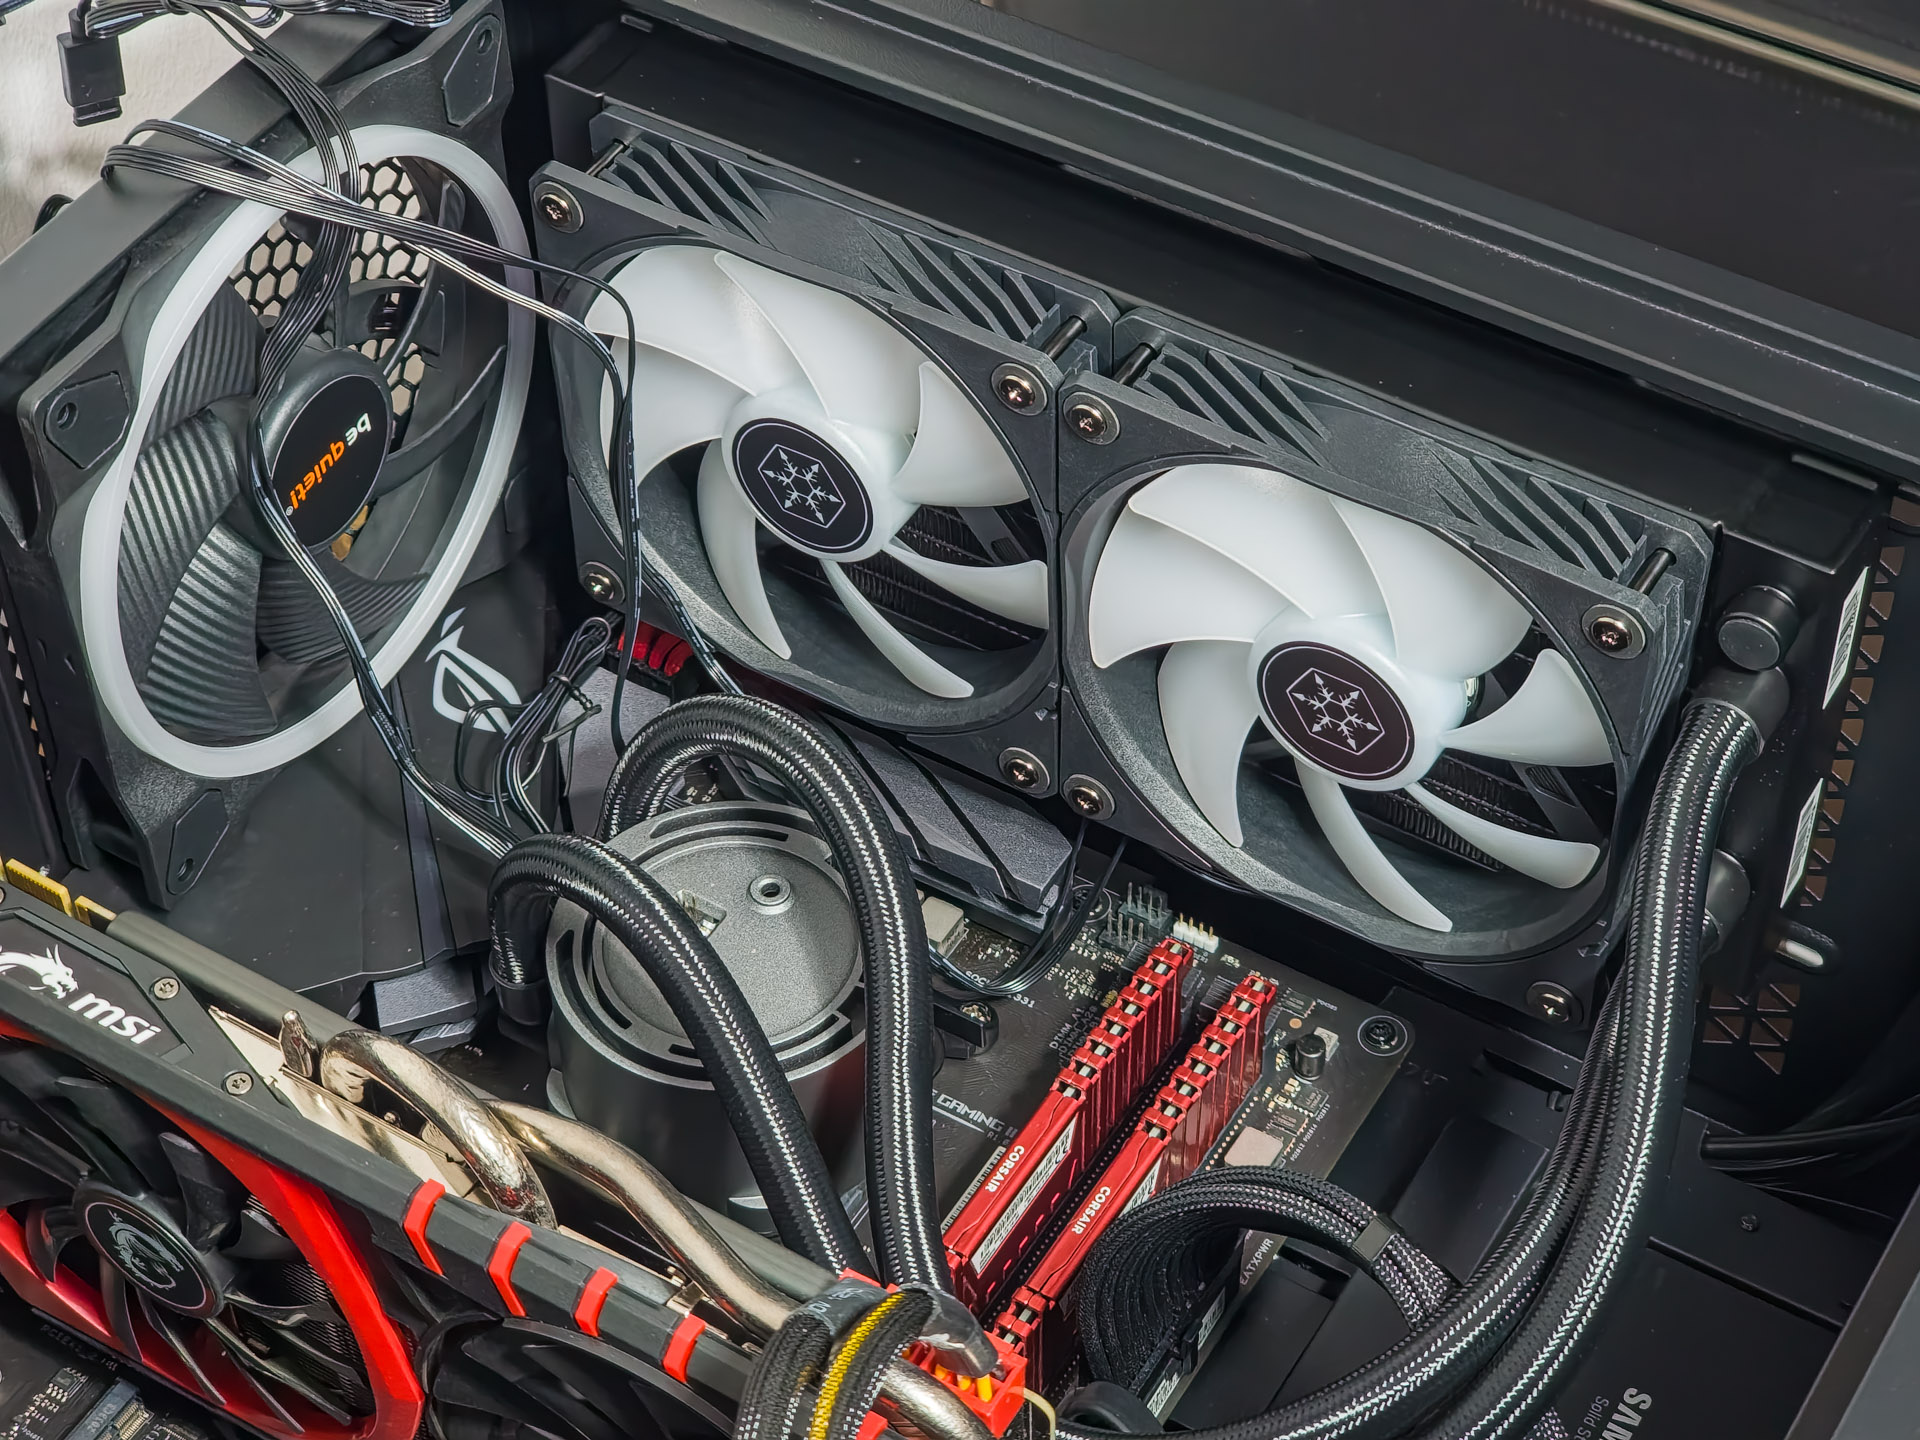
Now for the final step, the side fans. We went with two extra IMF70 – one to blow onto the RAM area and one to blow on the M.2 slot, parallel with the first PCI-E slot.
The regular clearance checks are all on point and the only variable are the side fans which will fit depending on your case and motherboard. You have around 53mm to play with for the first fan (for the RAM area for example) and each fan adds 16mm of thickens as you stack them. So, if you need more clearance for taller RAM sticks, position the second fan above the RAM area instead of the first.
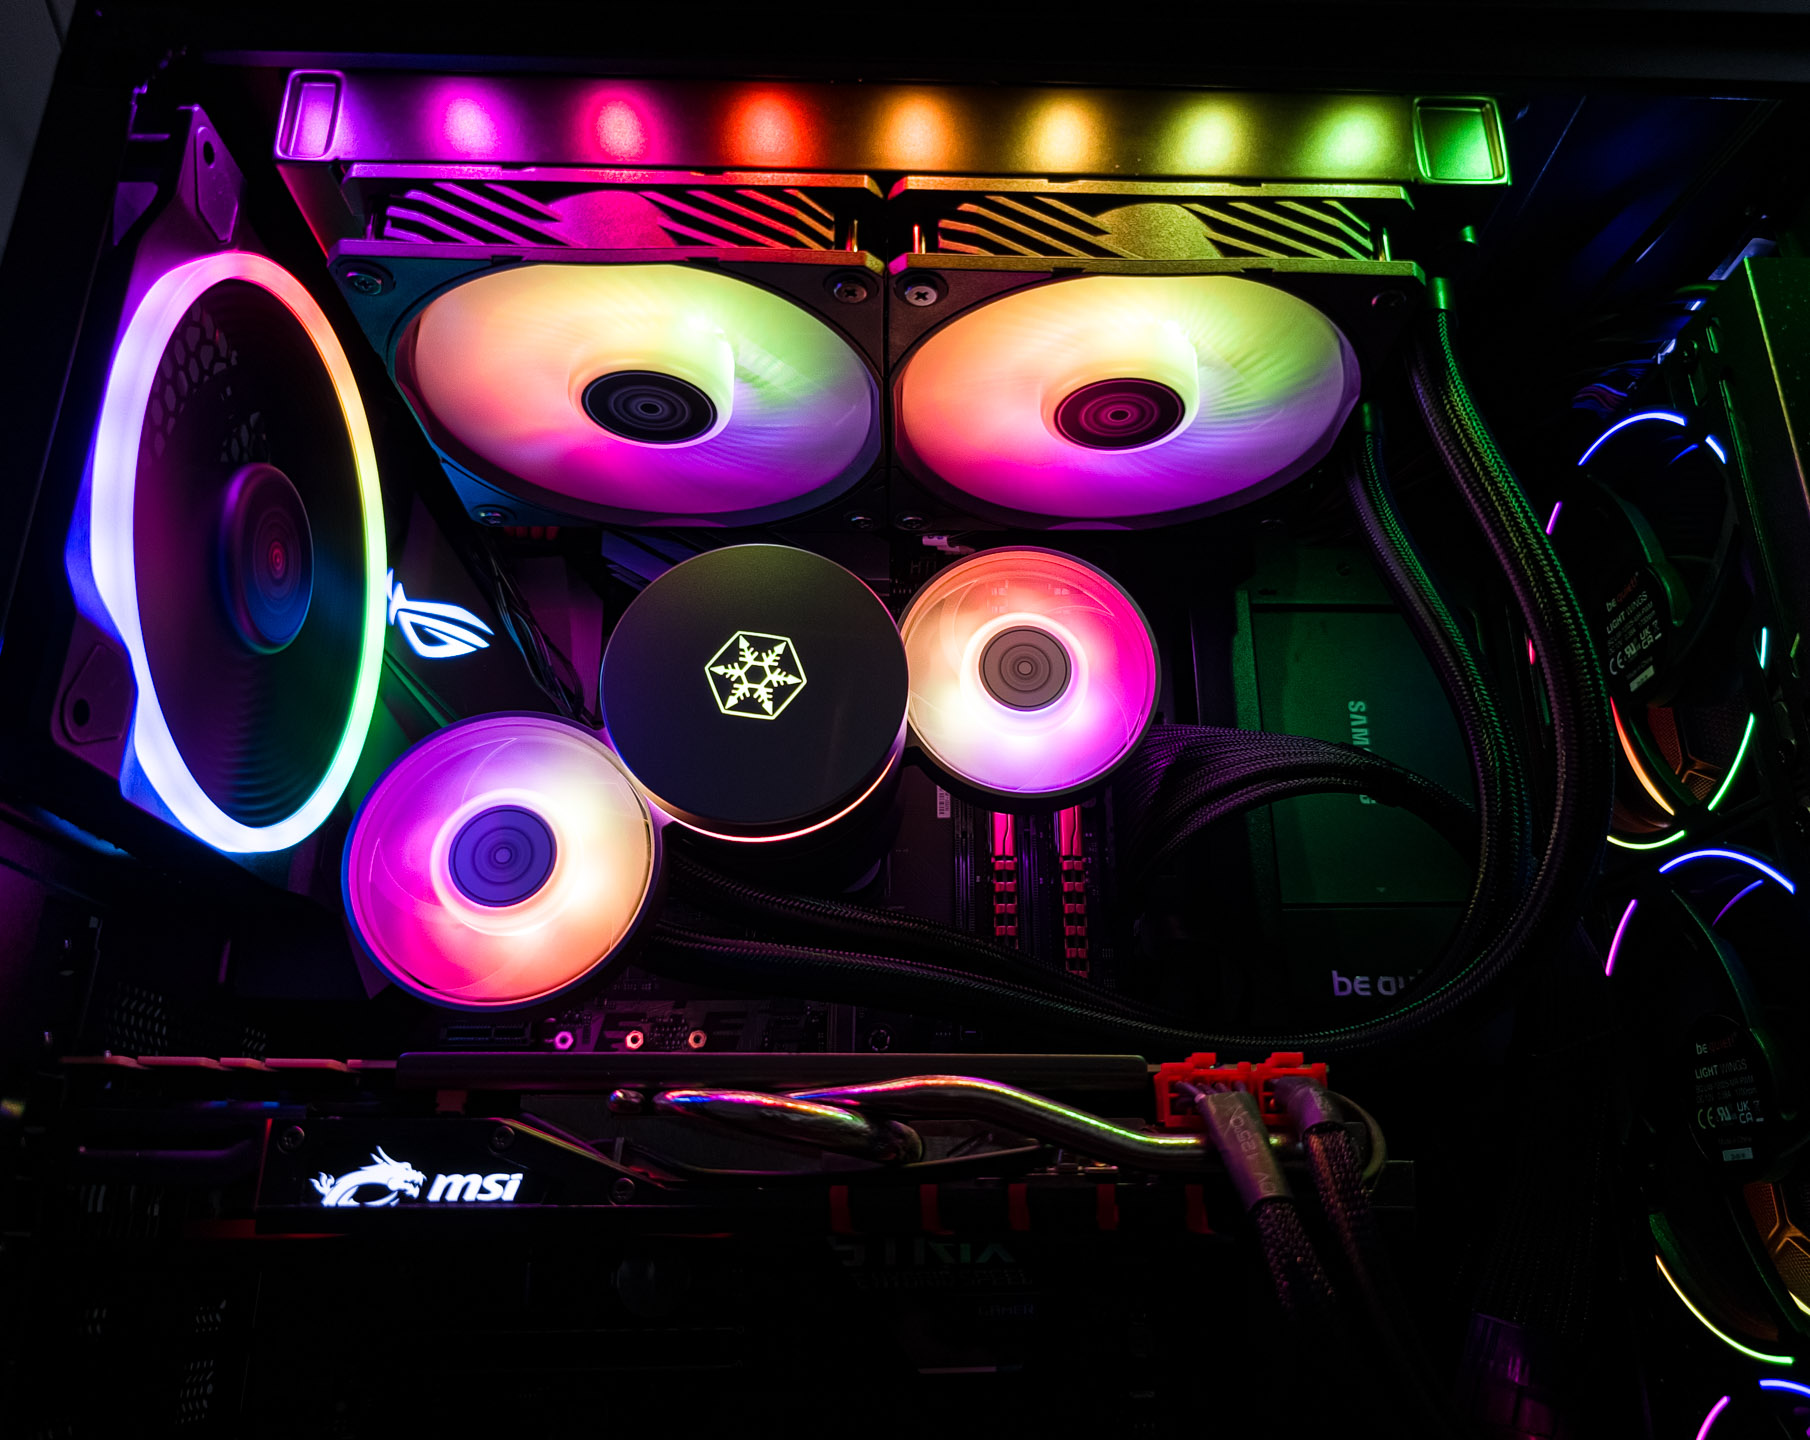
As you would expect, the eye candy will be glorious! Plus you can control the side fans as you wish like any other regular ARGB fan.
Testing methodology
- The CPU cooler will be tested in 2 different scenarios with the help of the AMD Ryzen 7 2700 CPU, first at stock settings and then overclocked at 3.8 GHz for 1.30v
- As the main torture test, we will employ a 2 minute run in AIDA64
- Room temperature was recorded at ~23°C
- For the noise testing, we used our Pyle PSPL01 placed 30 cm away from the setup – all other fans will will be off or set at minimum RPM and a lav mic was places at the same distance for the audio sample
- Thermal paste used Noctua NH-H2
- All of the side panels will be attached, then the case’s fans are set to their lowest setting and finally the Alpenföhn’s fans will be left on auto % RPM to simulate real life usage or manually adjusted and pointed out accordingly
- Any results over 90°C in any condition are considered a fail
Hardware used:
– CPU: AMD Ryzen 7 2700
– RAM: 16GB DDR4 Crucial LPX Vengeance 3200 MHz CL16
– Motherboard: ASUS ROG STRIX B450-F Gaming II ATX @ BIOS 5102
– Boot SSD: Samung 870 EVO 1TB SATA III SSD
– Video card: MSI GTX 970 4G OC
– PSU: EVGA 600W W1 80+ ATX
– Case: be quiet! Pure Base 500 FX RGX ATX
– Competition AIO: Alpenföhn Glacier Water HS “der8auer” 240mm AIO RGB
Software:
– OS: Windows 10 Pro x64 Version 22H2
– NVIDIA Drivers – 546.17
– CPU-Z v1.95 – To verify the CPU’s and RAM’s statistics
– Core Temp v1.18 & HW Monitor v1.51 – To see the temperatures in real time
– AIDA64 Extreme v6.60 – Memory analysis and Benchmark suite
– MSI Afterburner v4.64 – To record the FPS and load/temperatures
– Cinebench R23 – Great overall CPU benchmark tool
– 3D/Game(s) – Rise of the Tomb Raider, set at 1080p, high quality settings, no V-Sync
Testing, Results and Analysis
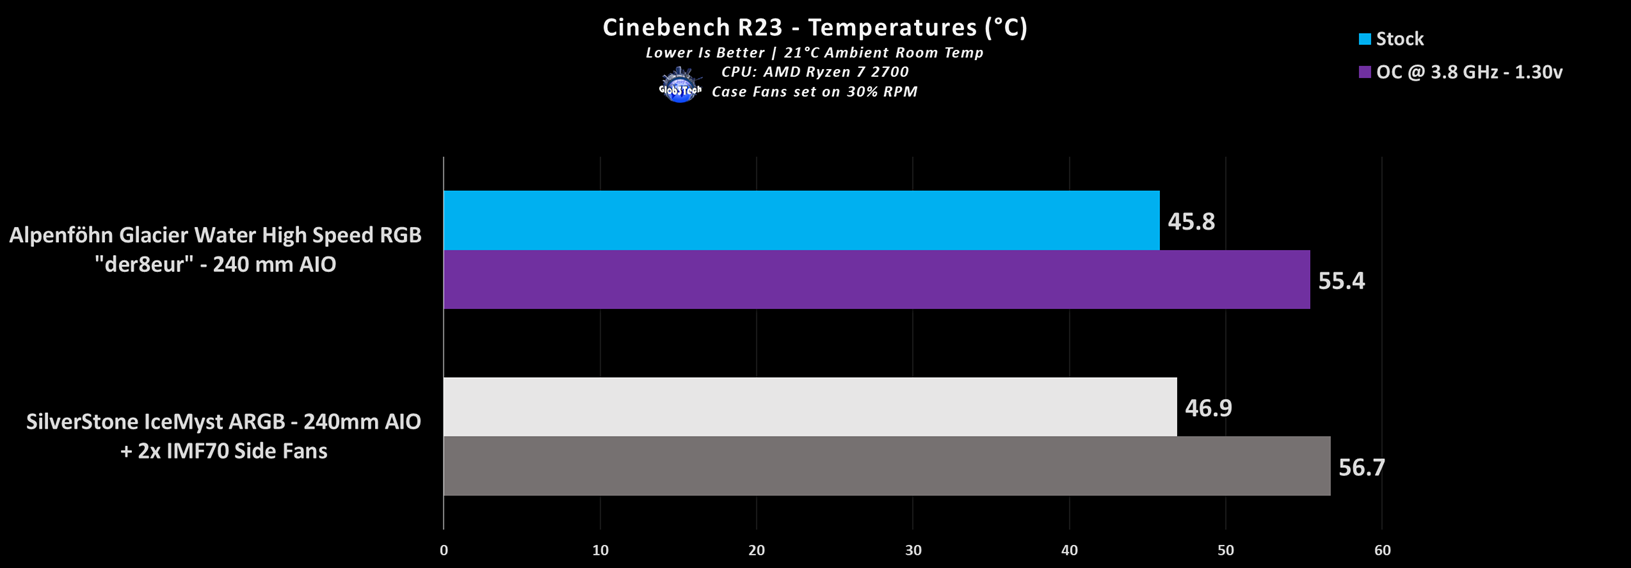
The first series of tests come from Cinebench R23 which will put a serious load on the CPU while it renders a specific frame. Thus from left to right we have the stock and OC (3.8 GHz @ 1.30v) scenarios.
It performs, as you would expect, if paired with this CPU and it’s not far behind something similar from the competition.
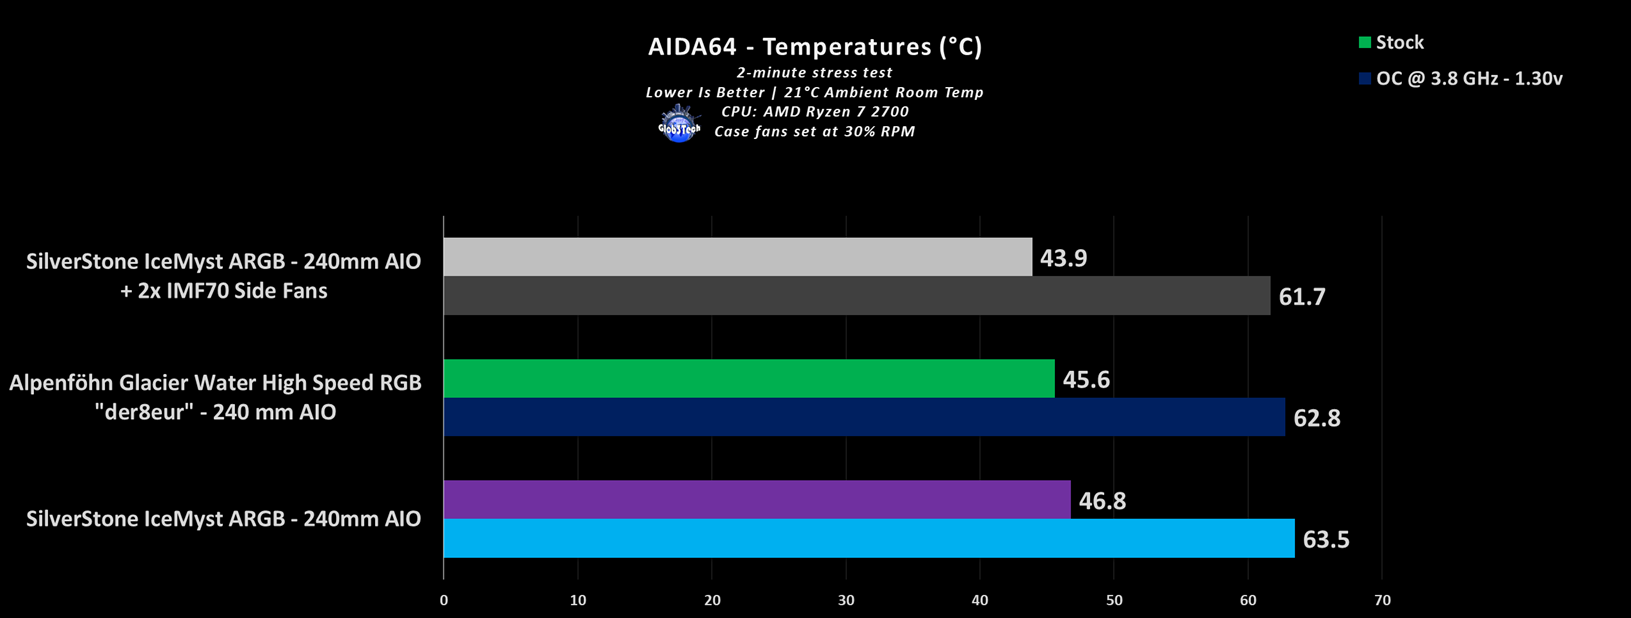
The 2 minute long AIDA64 stress test should impose the maximum workload just for the CPU, therefore we should get the highest stress scenario.
The IceMyst takes the lead with the help of the side fans, which proves that, tactical directed airflow on the socket area helps everything to cool down.
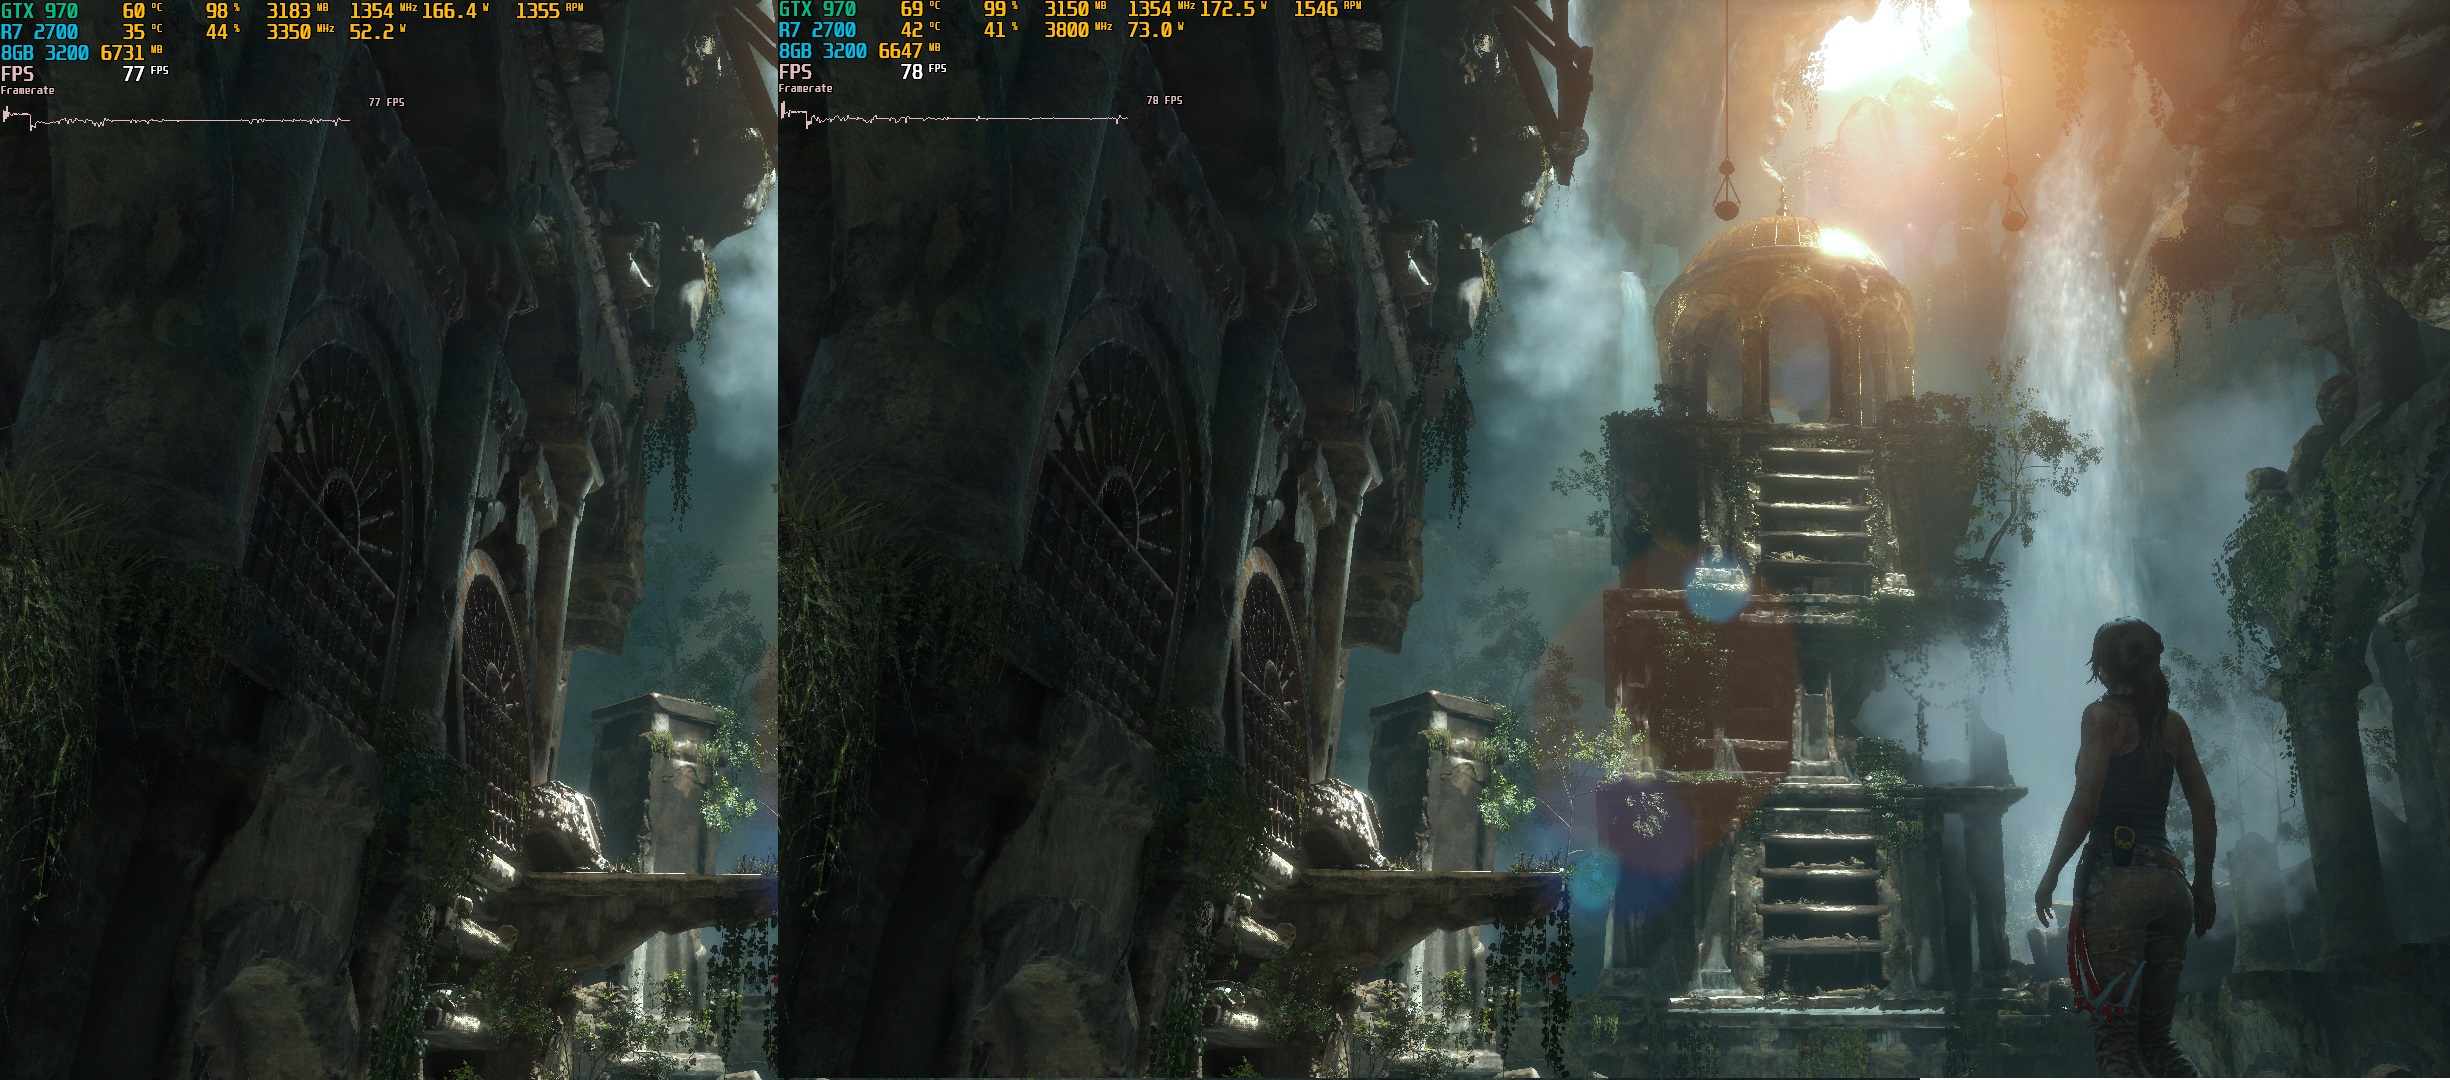
If a CPU cooler manages to survive the torture tests, then a benchmark run in a gaming scenario, should be a walk in the park. Games are not as stressful as a synthetic torture tests but are a great indicator of real life usage.
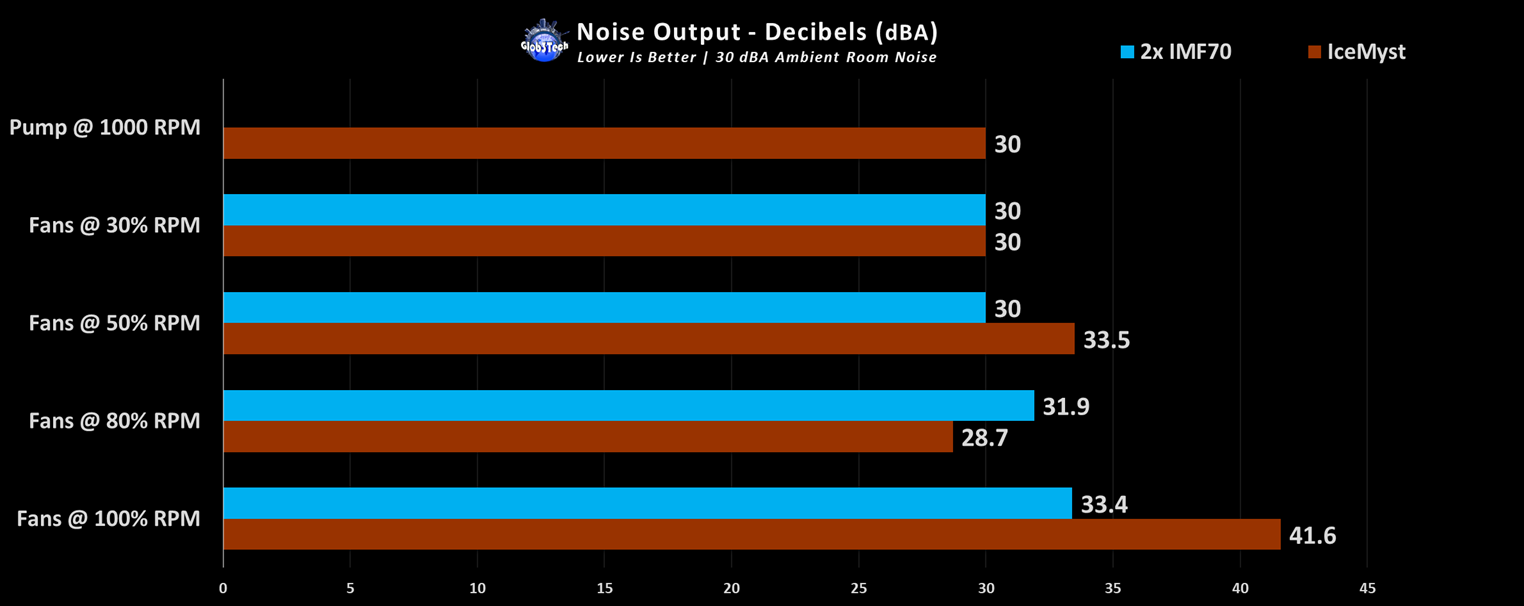
The noise output test is an important challenge for any CPU cooler, especially something like this, with so many moving parts.
The pump is quiet even at max RPM, which is pretty standard nowadays. The 120mm Shark Force fans, perform, again, as expected with good results. They are audible after 80% total RPM. But the more important results are the IMF70 side fans, since they are what make this combo stand out. Happy to report that they are silent even at maximum RPM.
Conclusion
This is great example when a company manages to implement a feature that, on paper looks simple, but nobody has ventured to offer it because they were worried that it will be just a gimmick. Well, we are happy to report that SilverStone did their due diligence and thus the modular system with the side-swivel fans works perfectly. They are easy to install, adjust and remove, no extra wires are required and more importantly they actually help with cooling if used strategically. Furthermore even at maximum RPM they are quiet and for those that want to take the eye candy to the next level, well, these are a perfect choice. As for the IceMyst AIO itself, it’s a great platform that does its job of an AIO. Also it’s pretty streamlined for the AMD sockets with a hassle-free wire system for the fans. This will be a great combo to have if you plan to have an open bench system since you can stack those fans until you make a Christmas tree!
The good:
+ Innovative system with side-swivel fans
+ The IMF70 fans actually work and cool down around the socket area
+ A great solution for open bench and eye candy builds
+ Easy to install on AMD sockets
+ Manual mode for the RGB with a supplied control unit
+ Great cooling and noise results from the AIO
+ Hassle-free wire installation for the 120mm fans
The bad:
– A lot of components regarding the installation process on the Intel sockets
– Not all motherboards will accept more than one side fan due to the area around the socket


