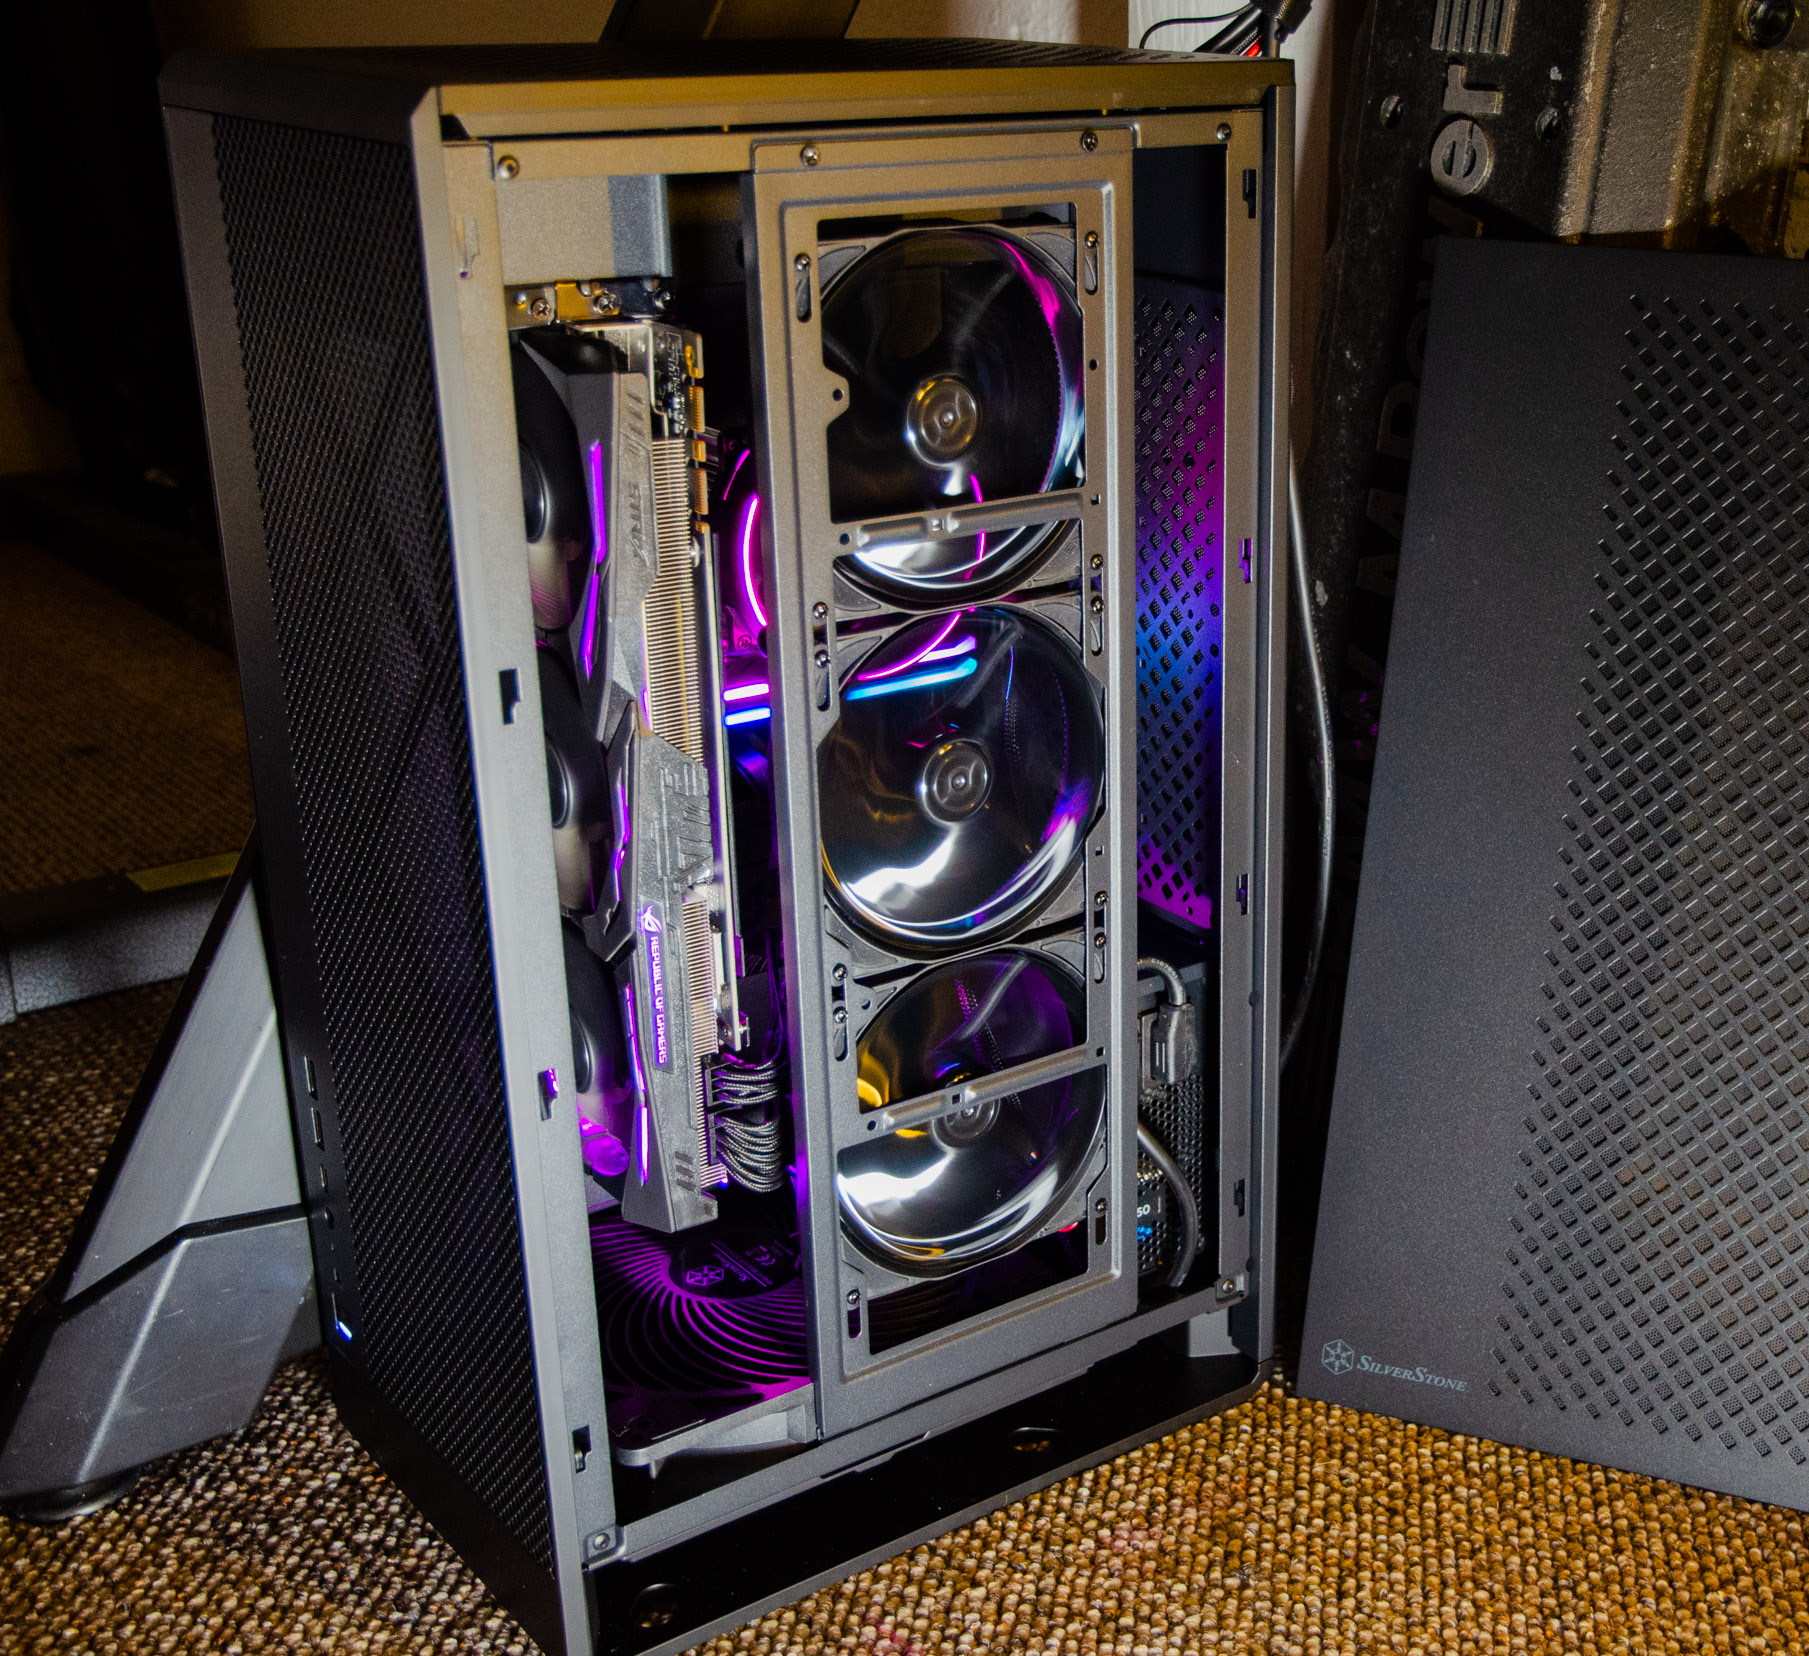
Another interesting trend in the PC chassis world is this ‘stacked effect tower’ layout as SilverStone calls it, which minimises the footprint on your desk for example, while favouring a more tall rectangular shape. Introducing SilverStone’s ALTA G1M Micro-ATX that is surprisingly modular, capable and easy to build in.
So it makes good use of its real estate by accepting GPUs up to 355mm long and 4 slot’s wide, up to a 360mm AIO configuration, clever interior layout for hassle free WM and no visible cabling and offers plenty of airflow from its included 180mm fan.
SilverStone Technology Co., Ltd is a company based in Taiwan, founded in 2003 that makes computer cases, power supplies, and other peripheral for personal computers. Their goal was to provide products that create inspirations and customers a wide selection of choices.
With distribution centres in different areas of the globe, SilverStone products can be seen all over the world, not just for computer users but also for home entertainment use. Thus providing leisure with integration of advanced technologies that is functional and making them enjoyable to use.
Prices and Availability
The black variant should retail for $169.99 (£135) and $179.99 (£142) for the white, respectively. It caries a premium over its main competitor, the Phanteks Evolv Shift 2 but the ALTA G1M is bigger, has the 180mm fan and accepts micro-ATX boards as well, where as the Phanteks is an ITX only frame.
*23.03.2022 - Don’t forget to check out the video review as well!*
Highlights and Specification
*Courtesy of their website.
* By following the natural convection of air, ALTA G1M’s layout design combined with a pre-installed Air Penetrator 180mm fan, contributes to excellent bottom-to-top directional airflow (stack effect), which takes advantage of hot air’s natural tendency to rise
* ALTA G1M is compatible with a maximum of a 360mm radiator whilst capable of accommodating graphics cards of any length, and of any height up to 4 slots
Visual Inspection and Component Installation
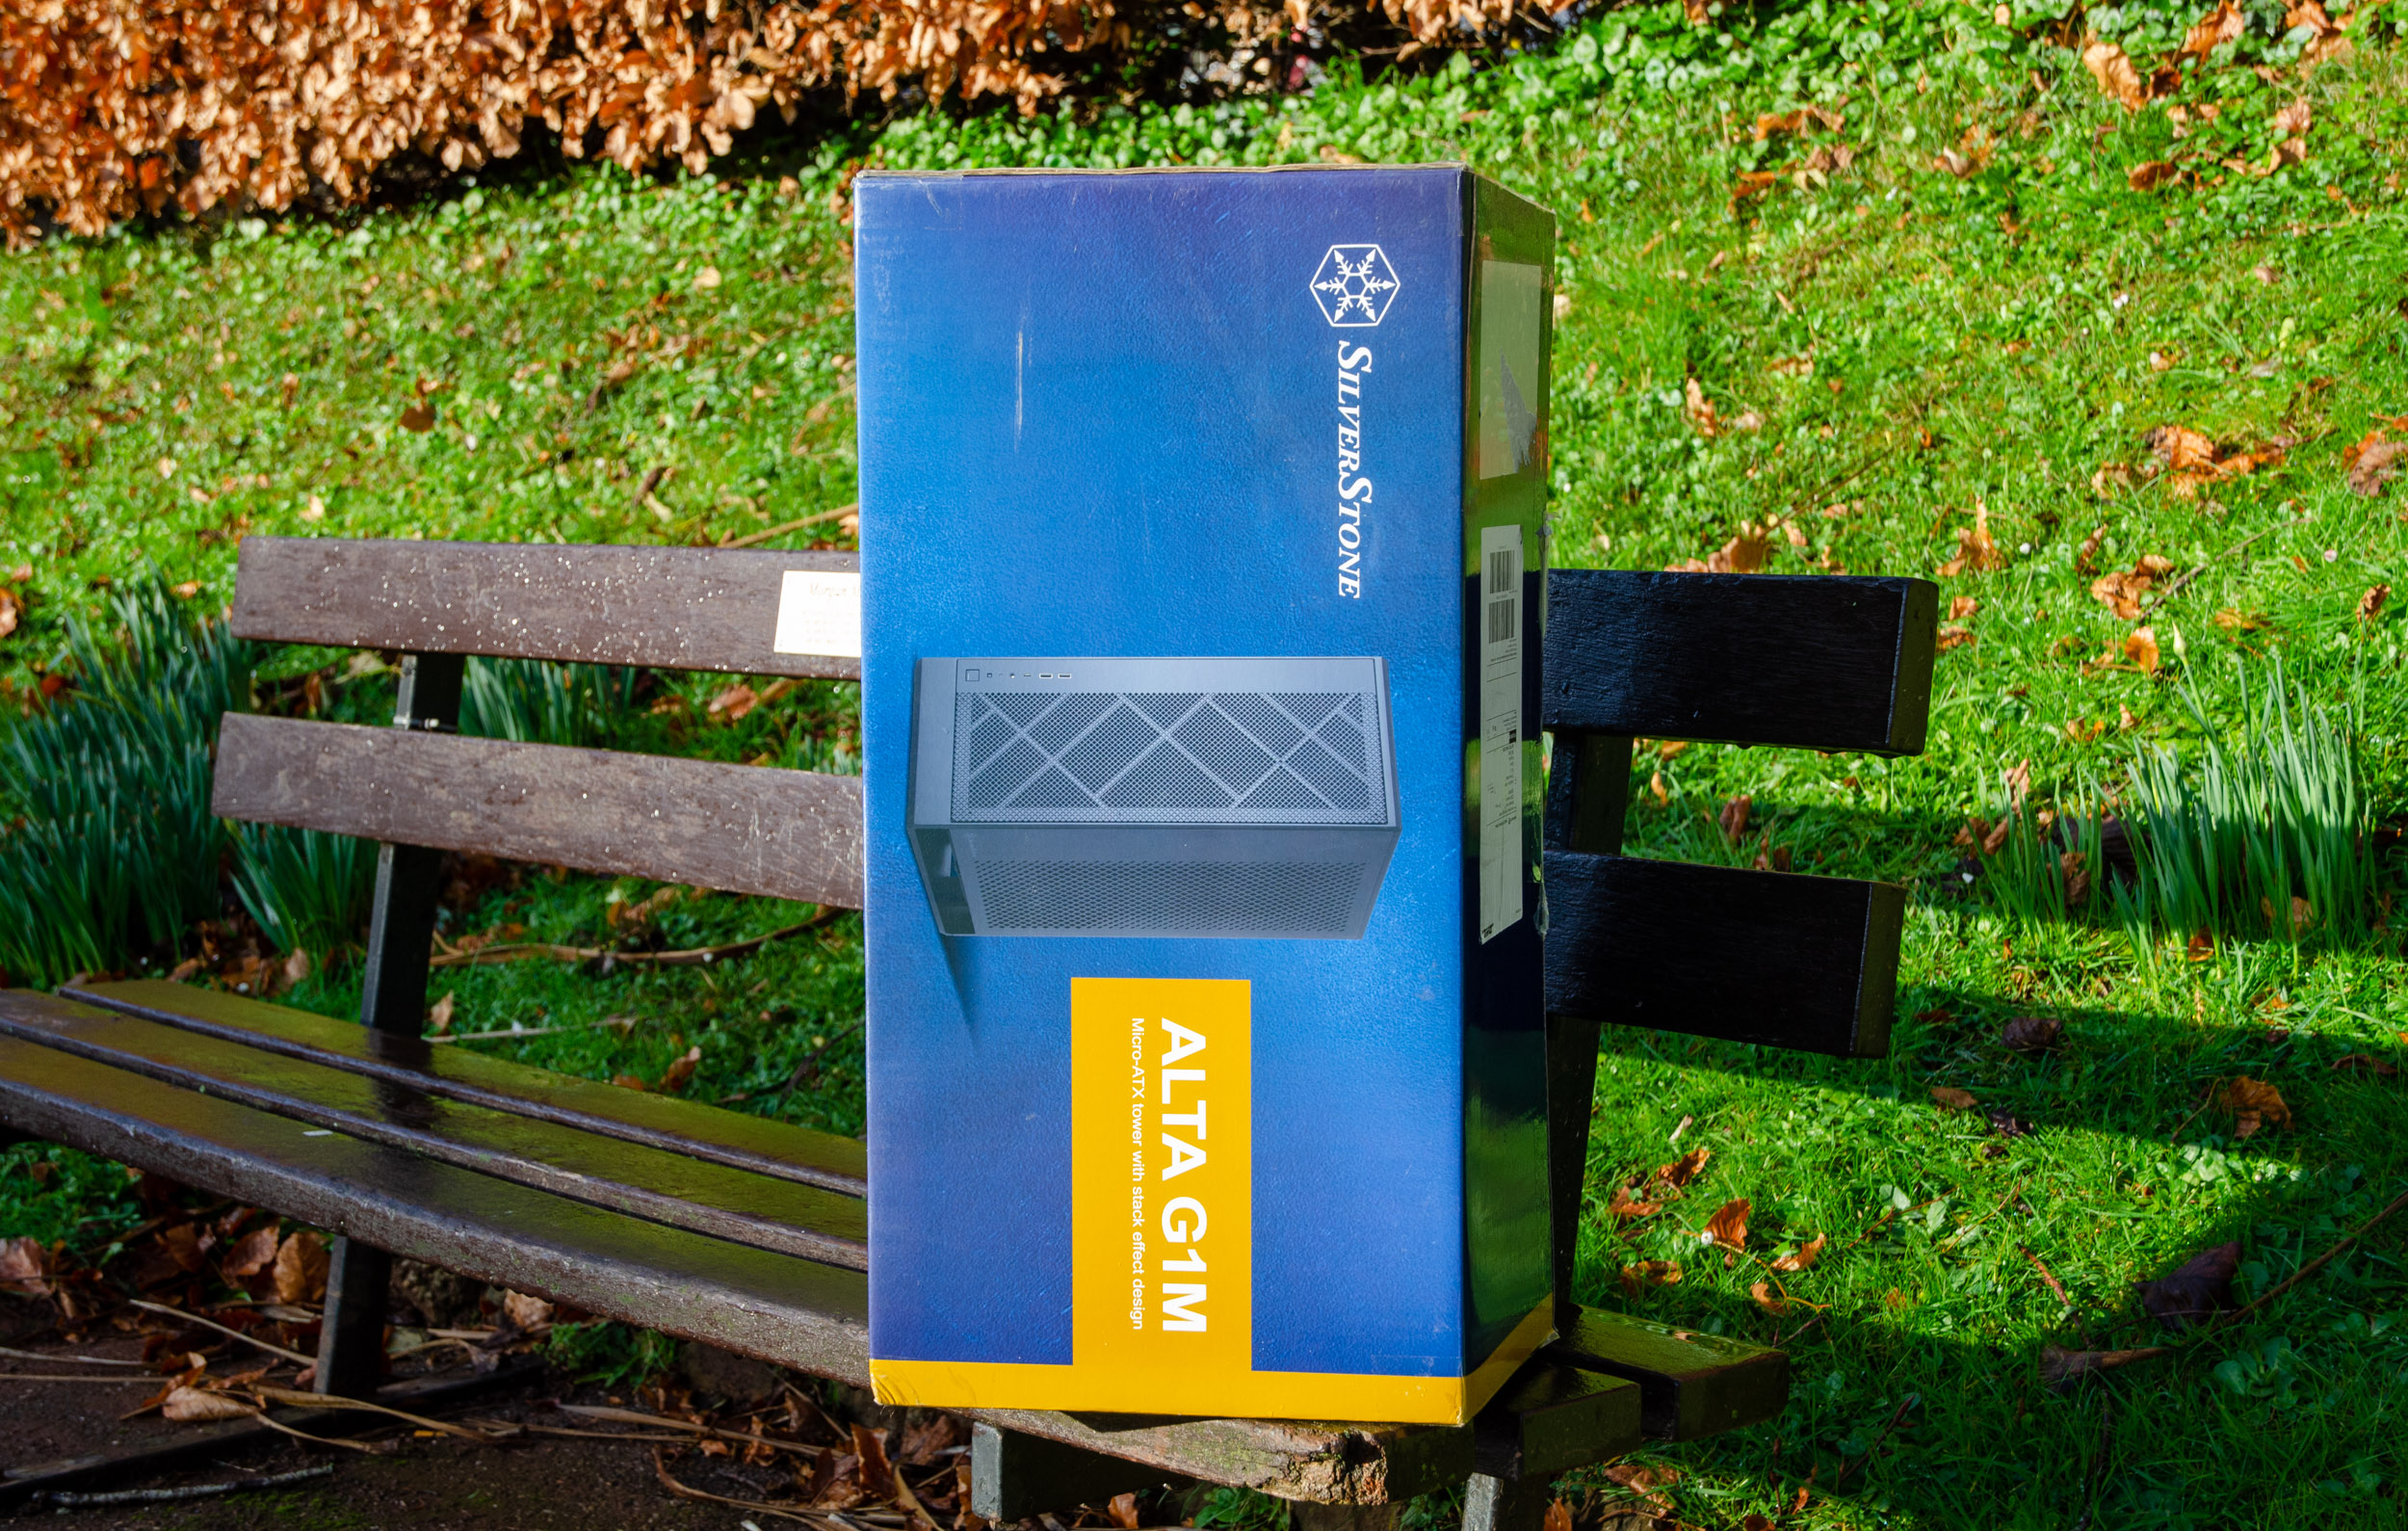
SilverStone’s signature blue themed packaging is still present. Mind you, confirm the specs on the box, to double check your variant since the packaging is universal and it has both colour options displayed, one on each side.
There is sufficient protection from the thick plastic cover and the Styrofoam pads.
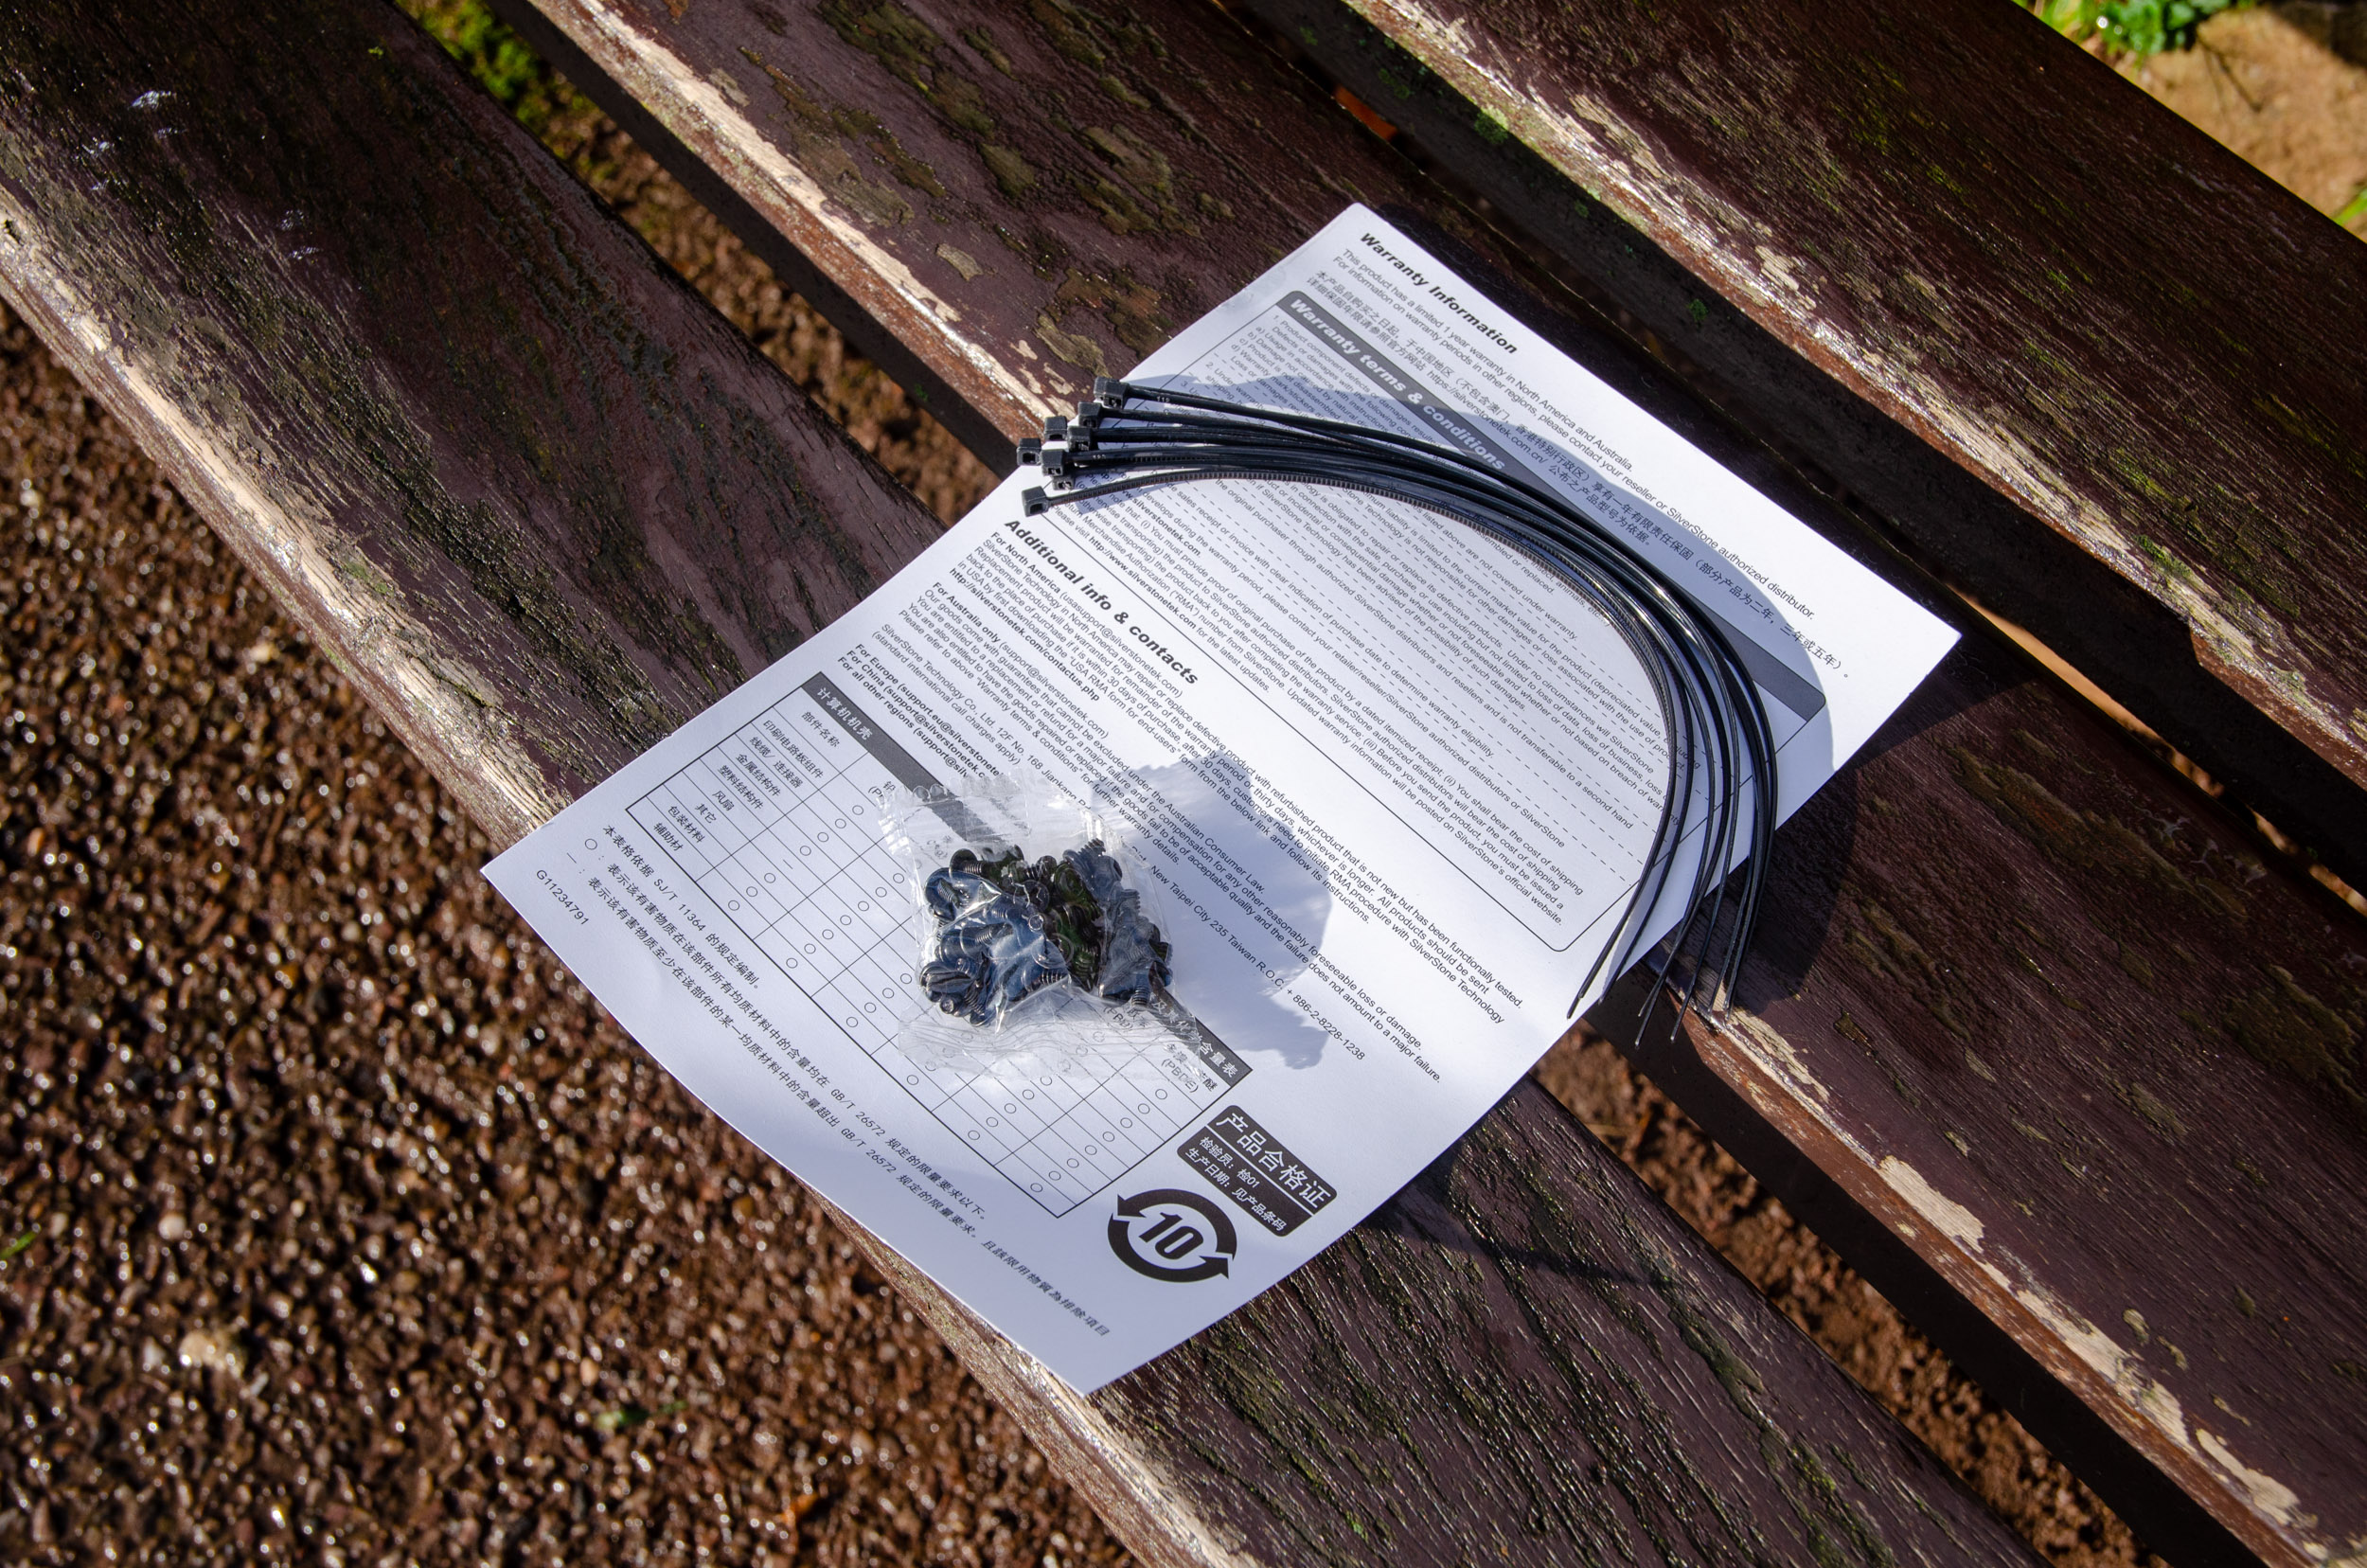
Accessories wise, you only get a quick user’s guide, a bunch of zip-ties and all the required installation screws.
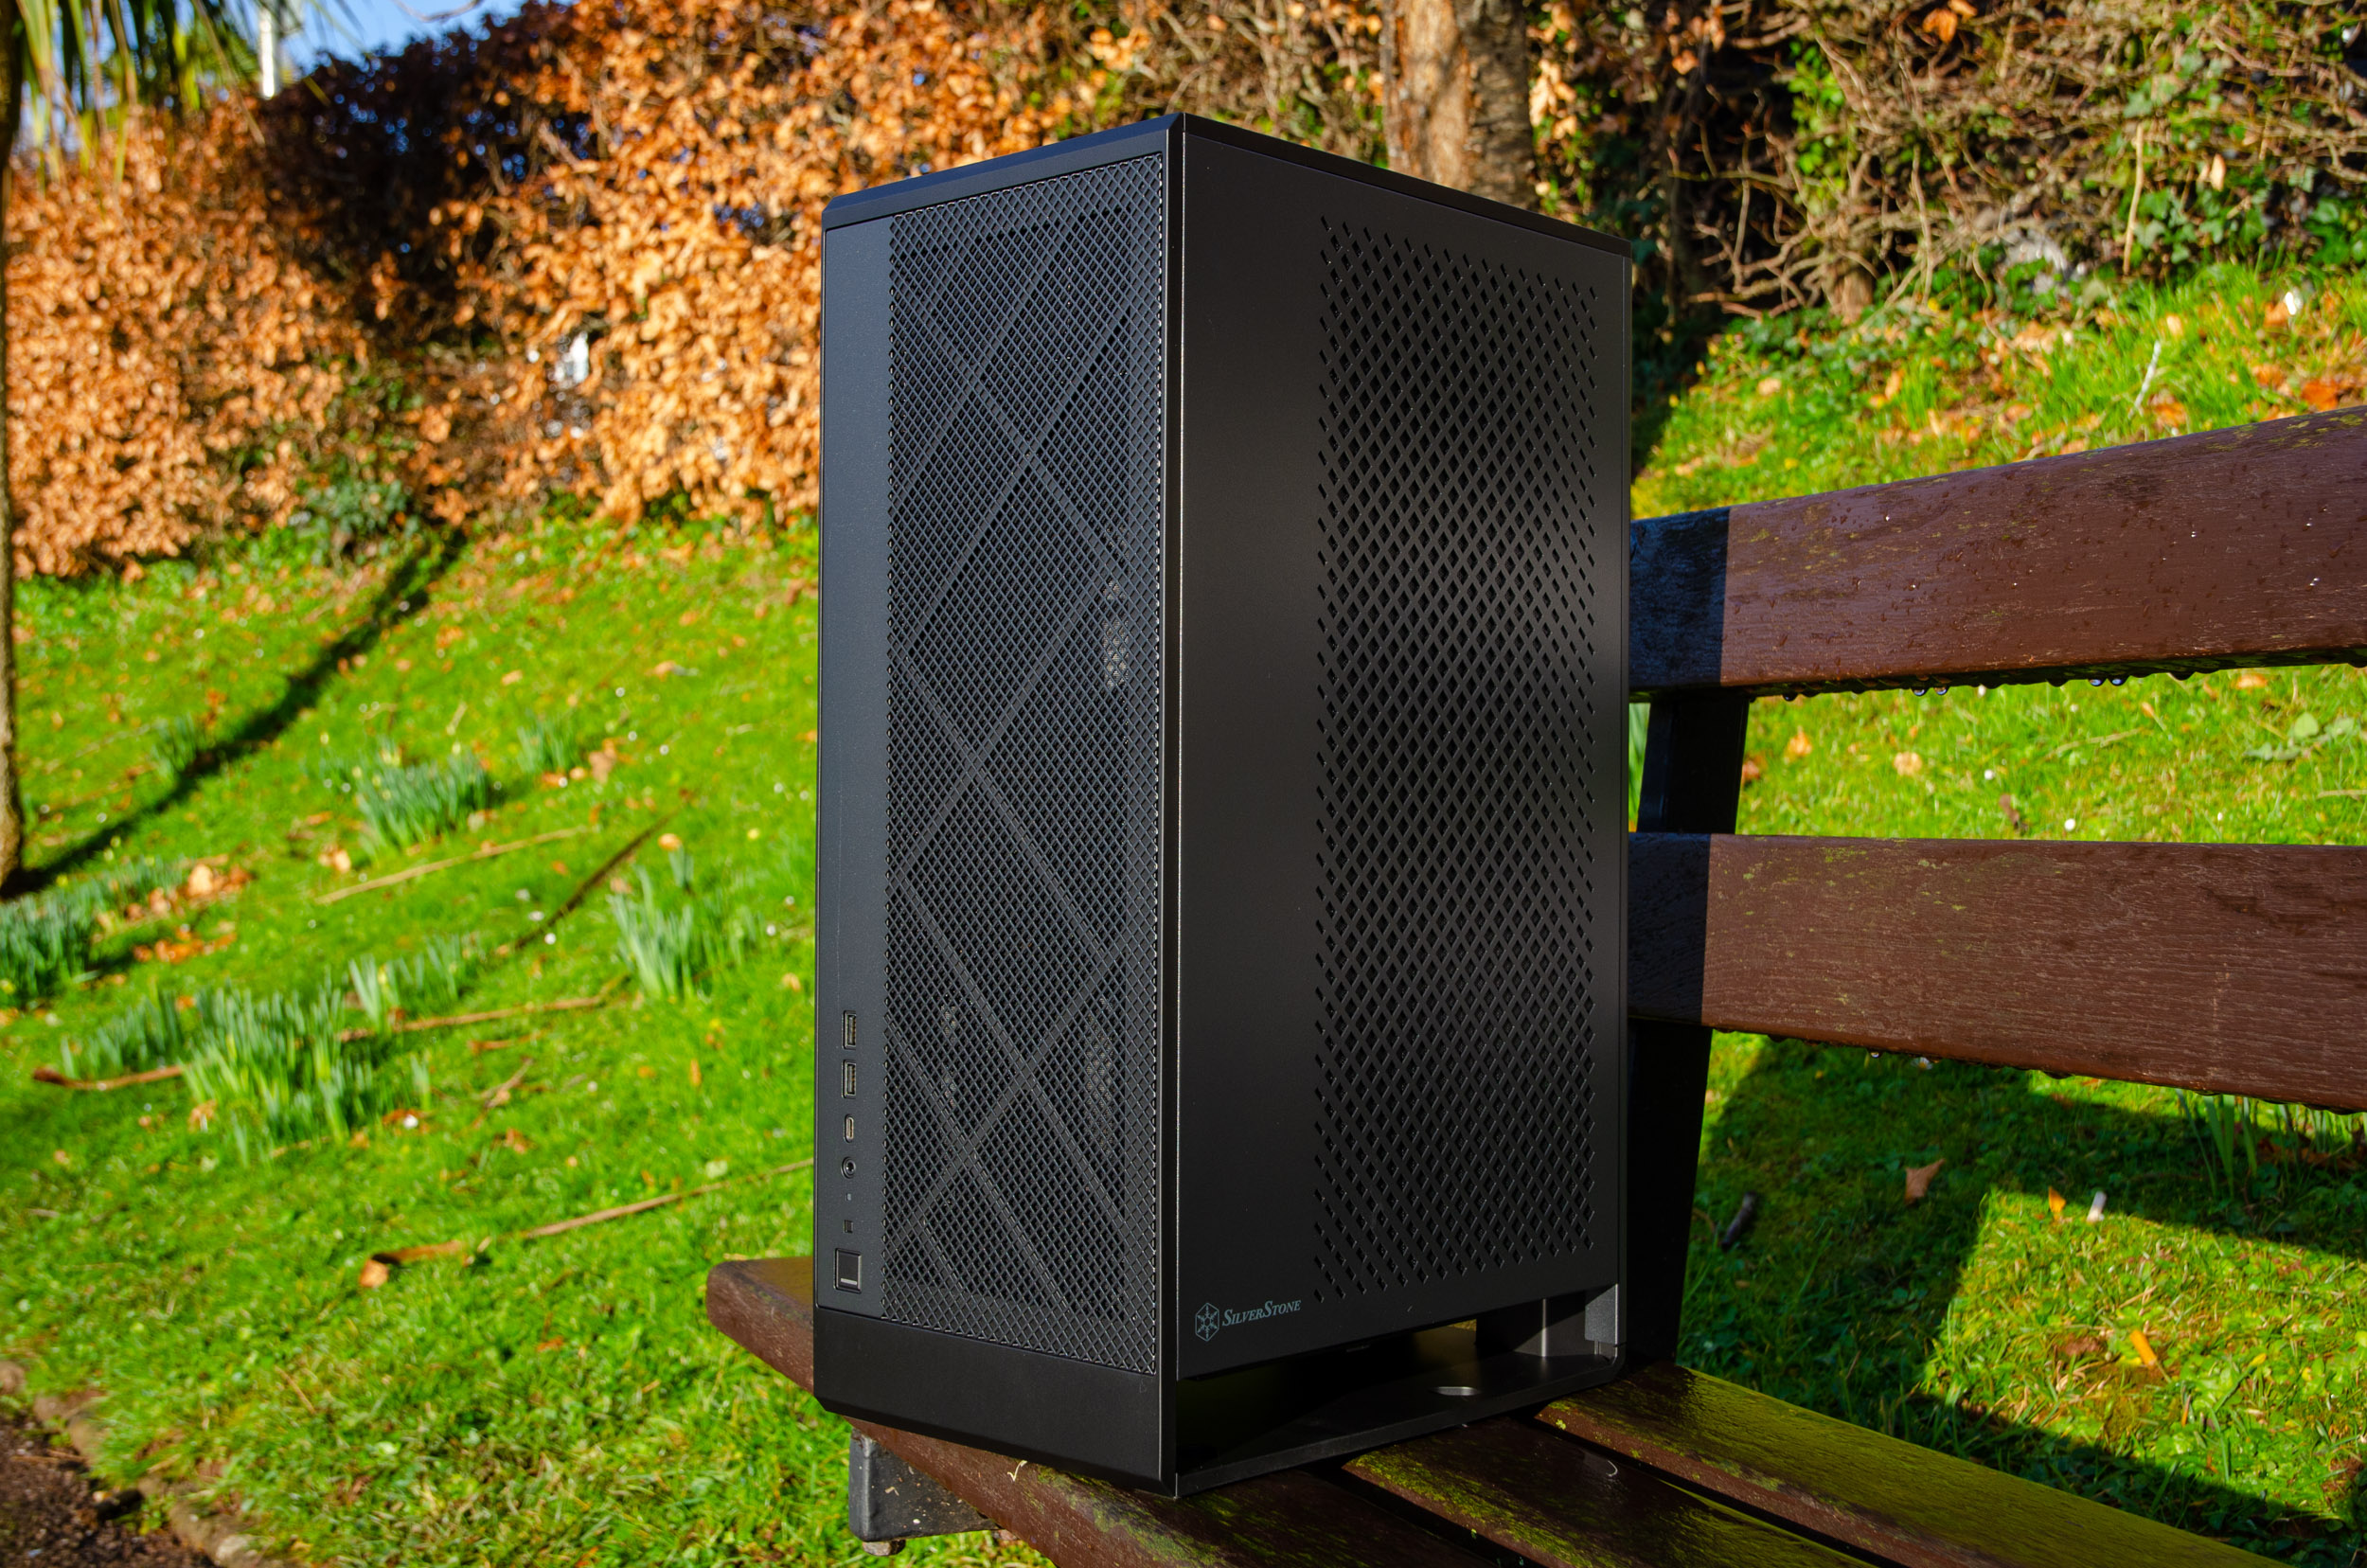
The ALTA G1M tower measures 200 x 507 x 307mm (WxHxD) and it’s made from steel and plastic. The net weight of the chassis is 6KG with a total volume of ~ 31 Litres.
This is the front side since it houses all of the front I/O. As you can see it’s a generous one, with 2x USB 3.0 Type A, 1x USB Type-C, 1x 3.5mm audio jack, 1x activity LED, 1x reset button and one illuminated power button.
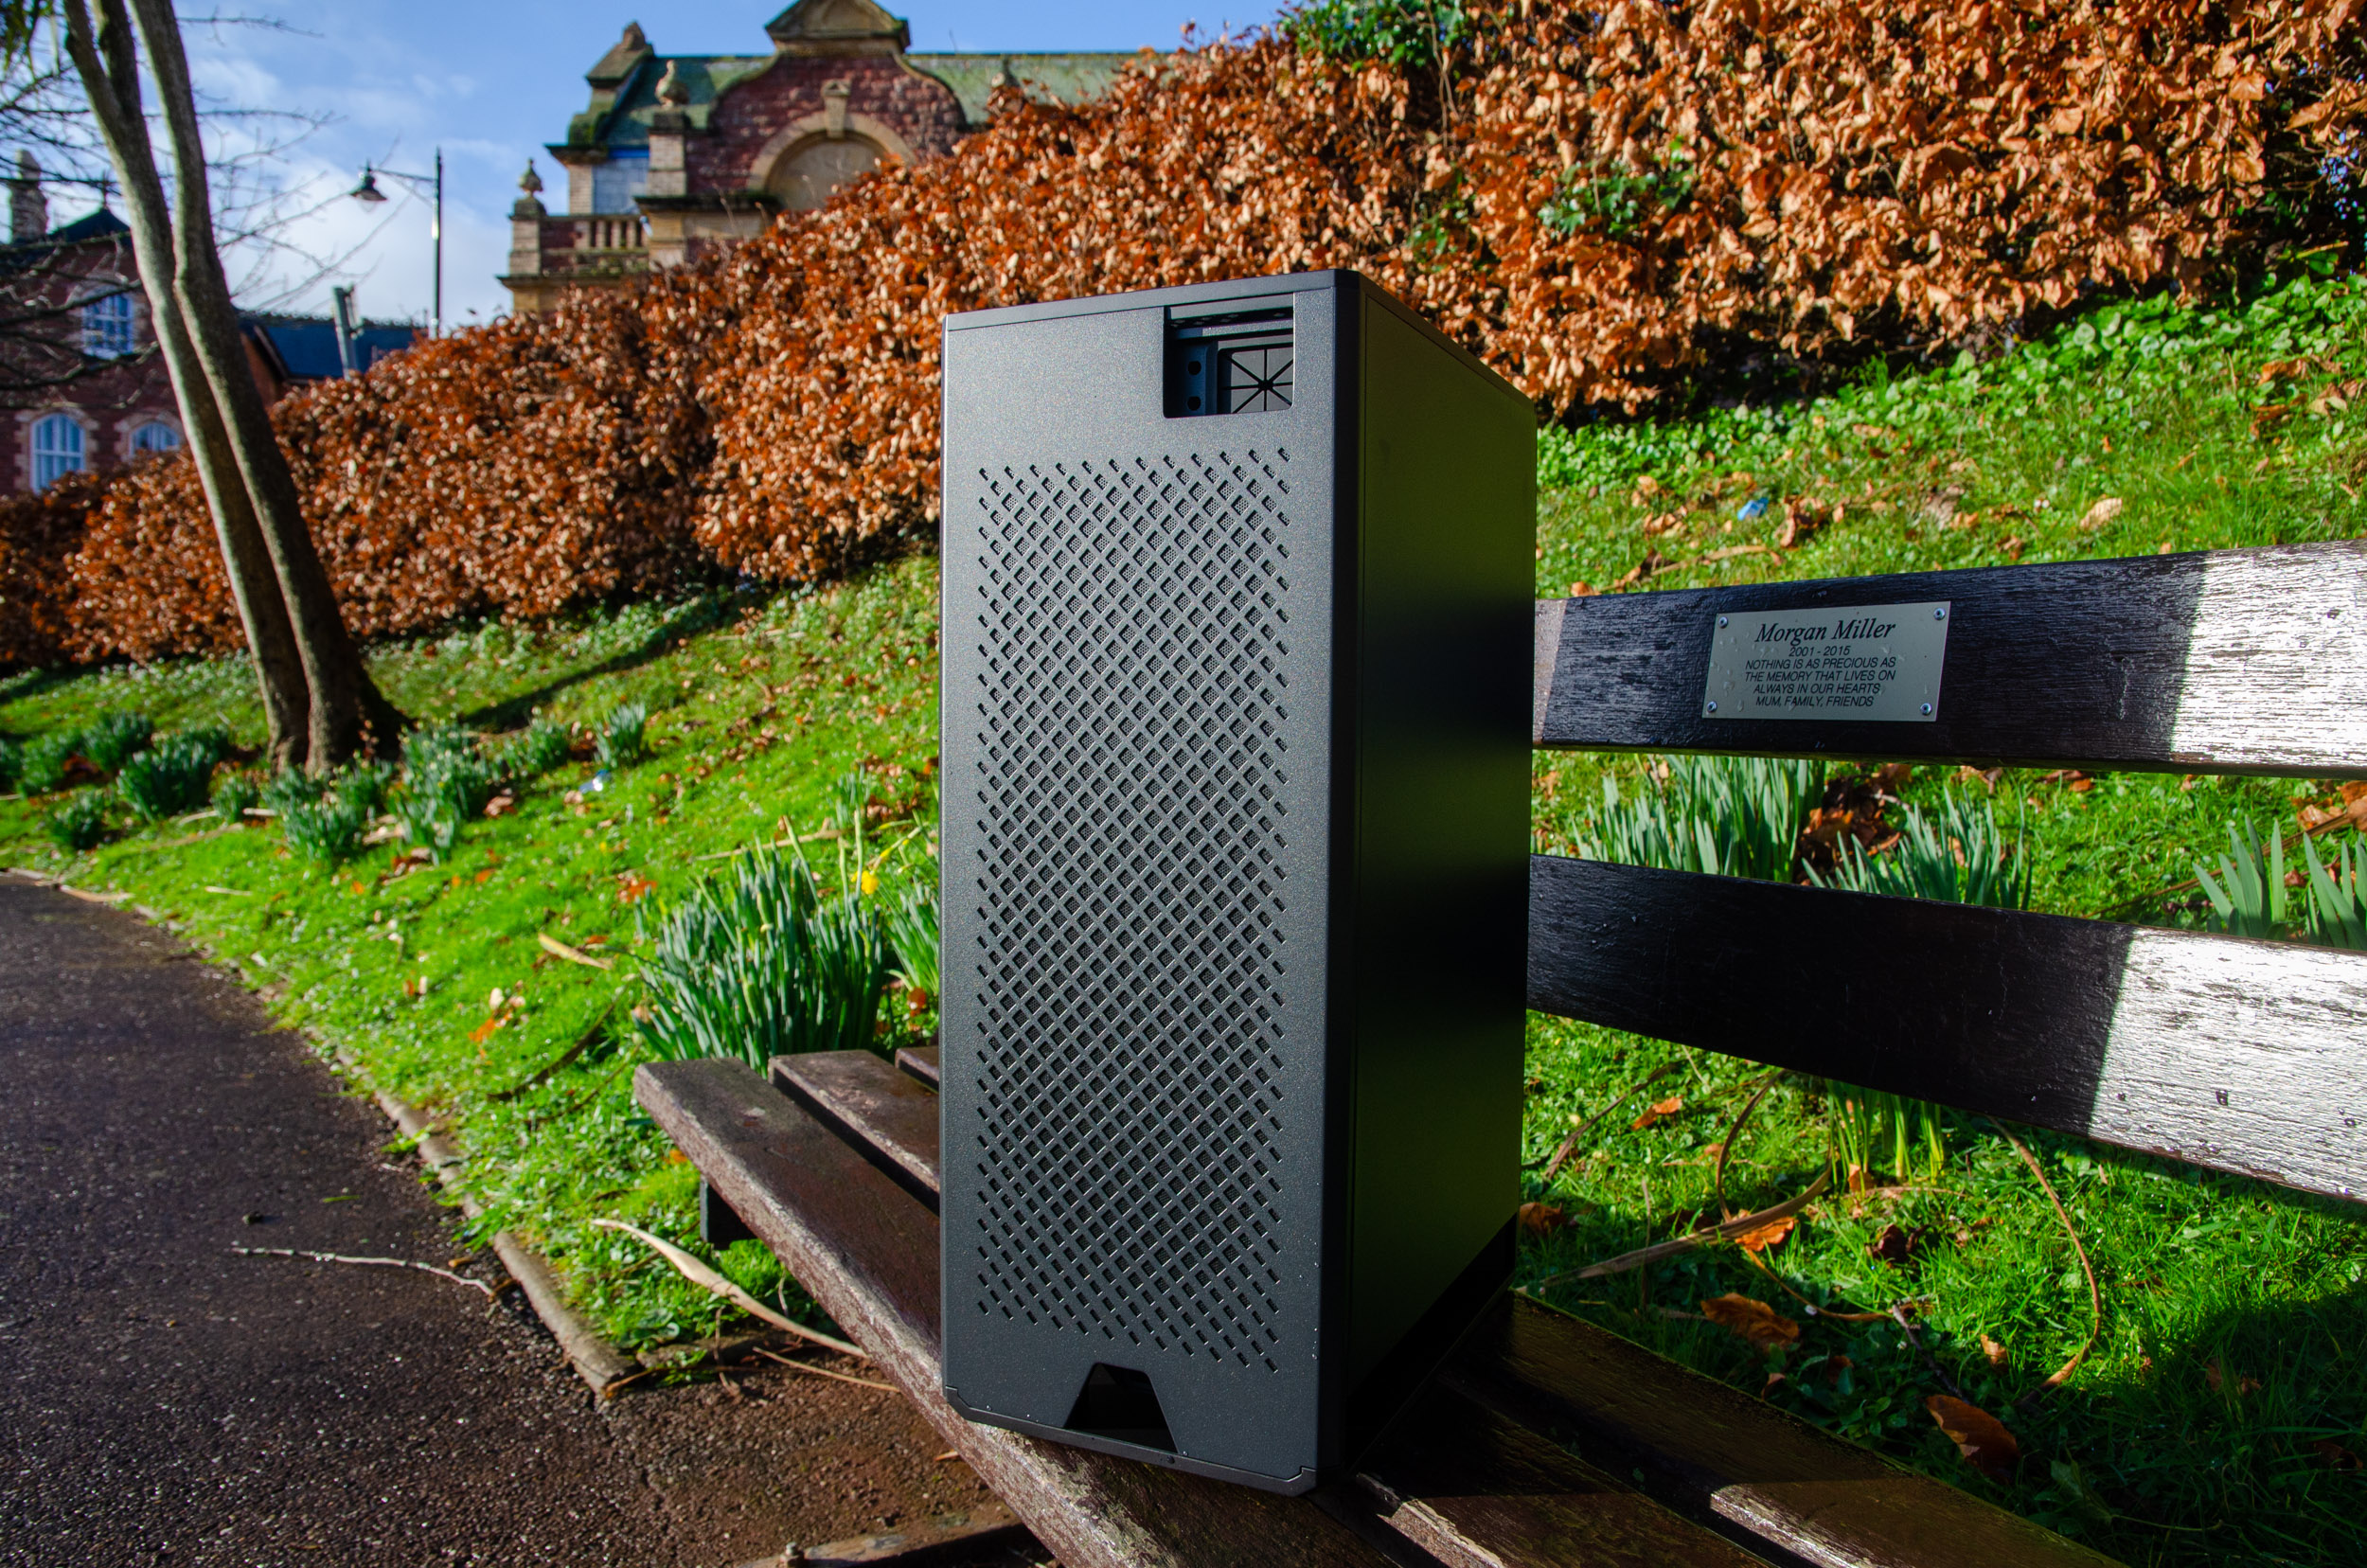
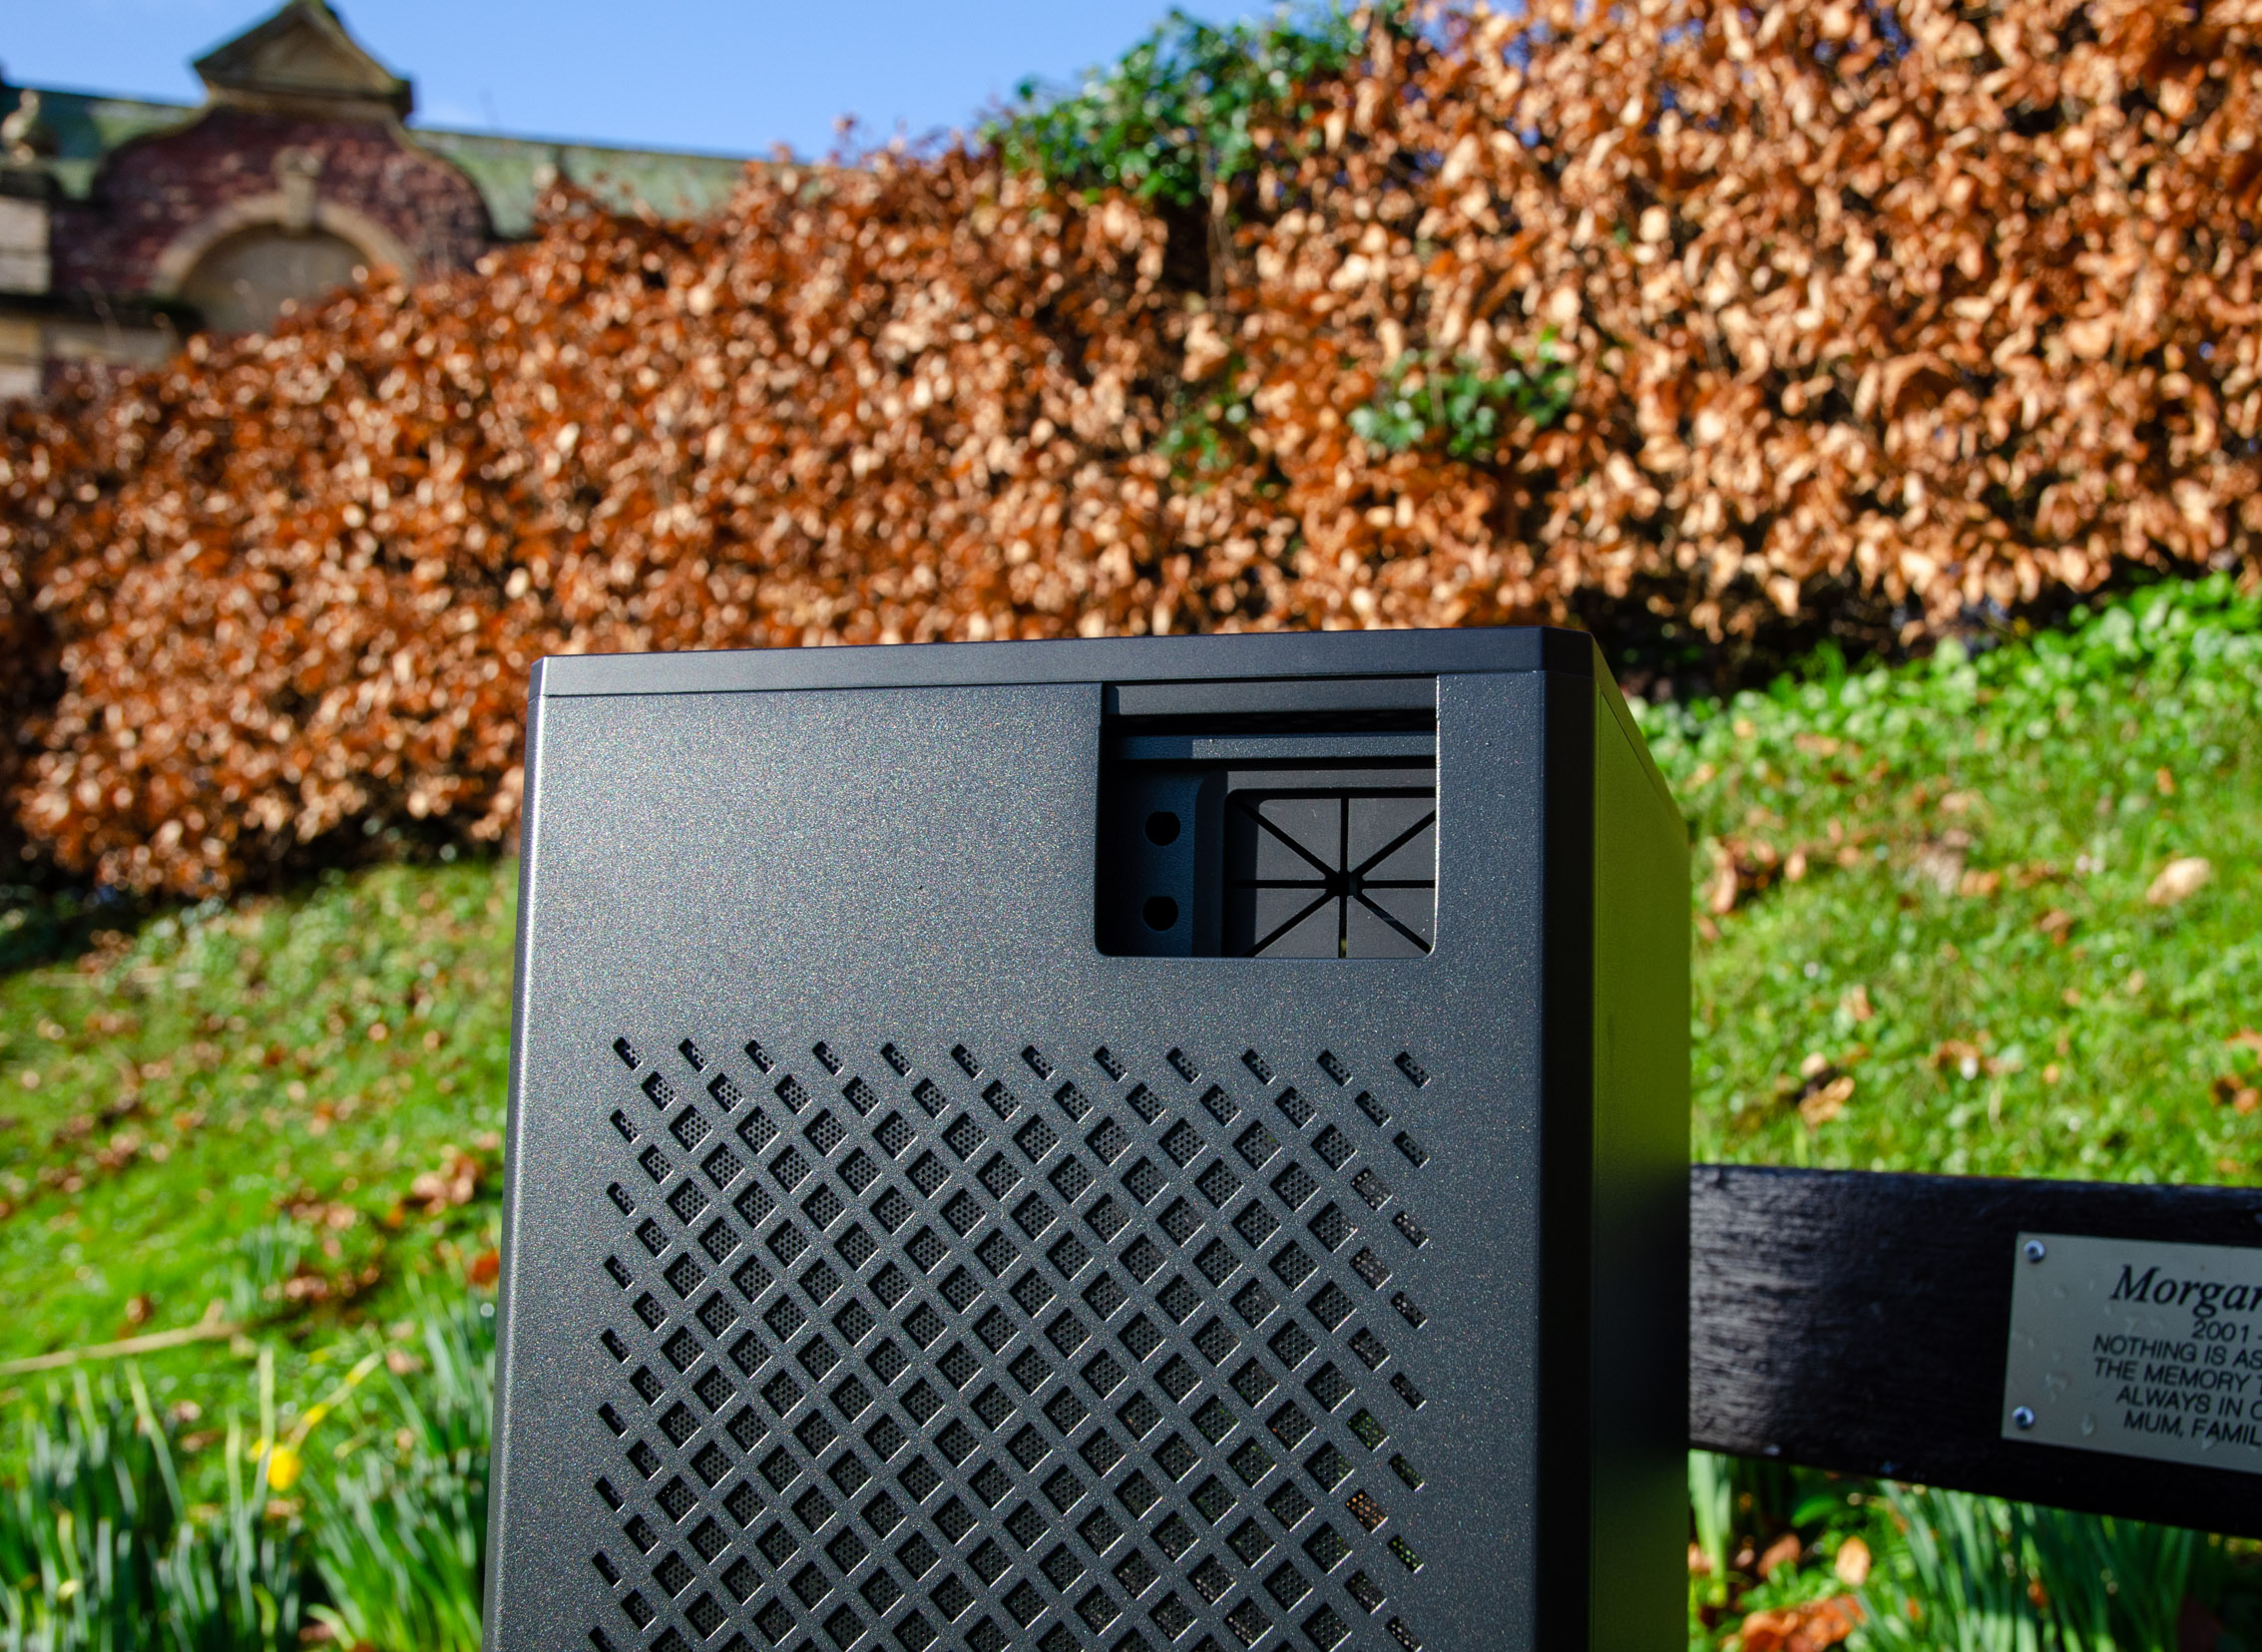
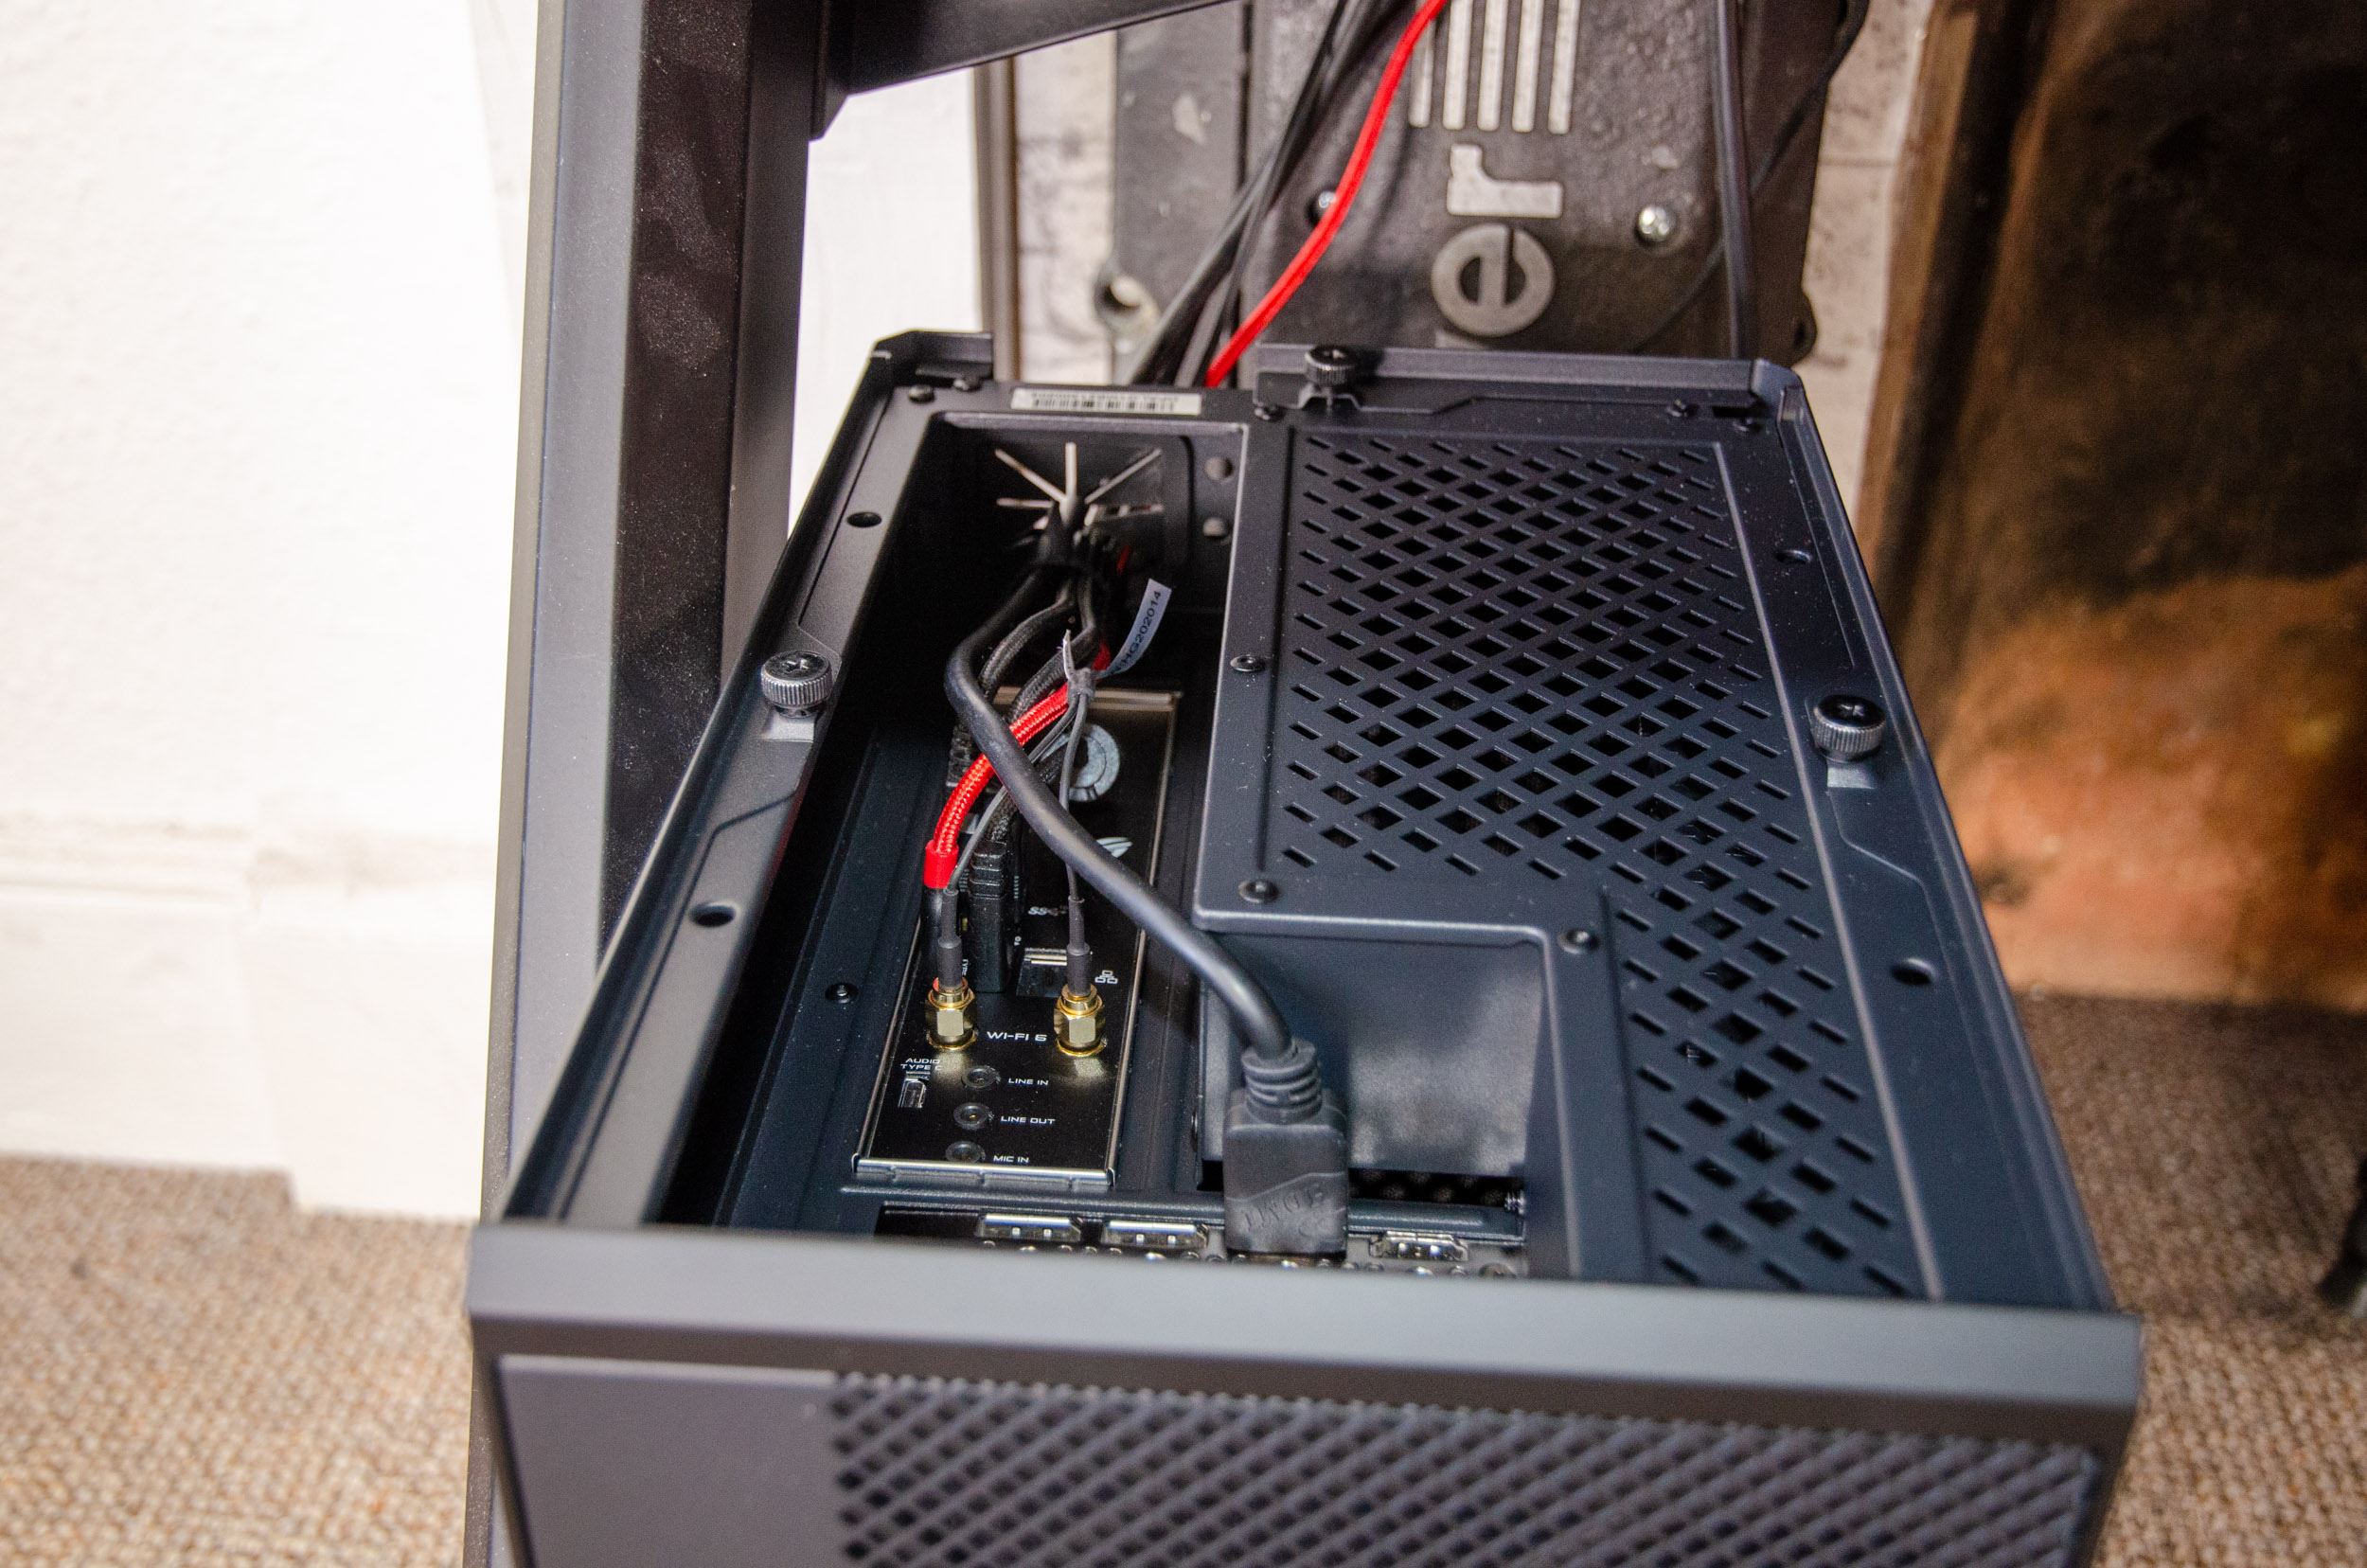
This is the rear side where the power cord will exist on the lower part while the motherboard I/O cables will come out through the top cut-out.
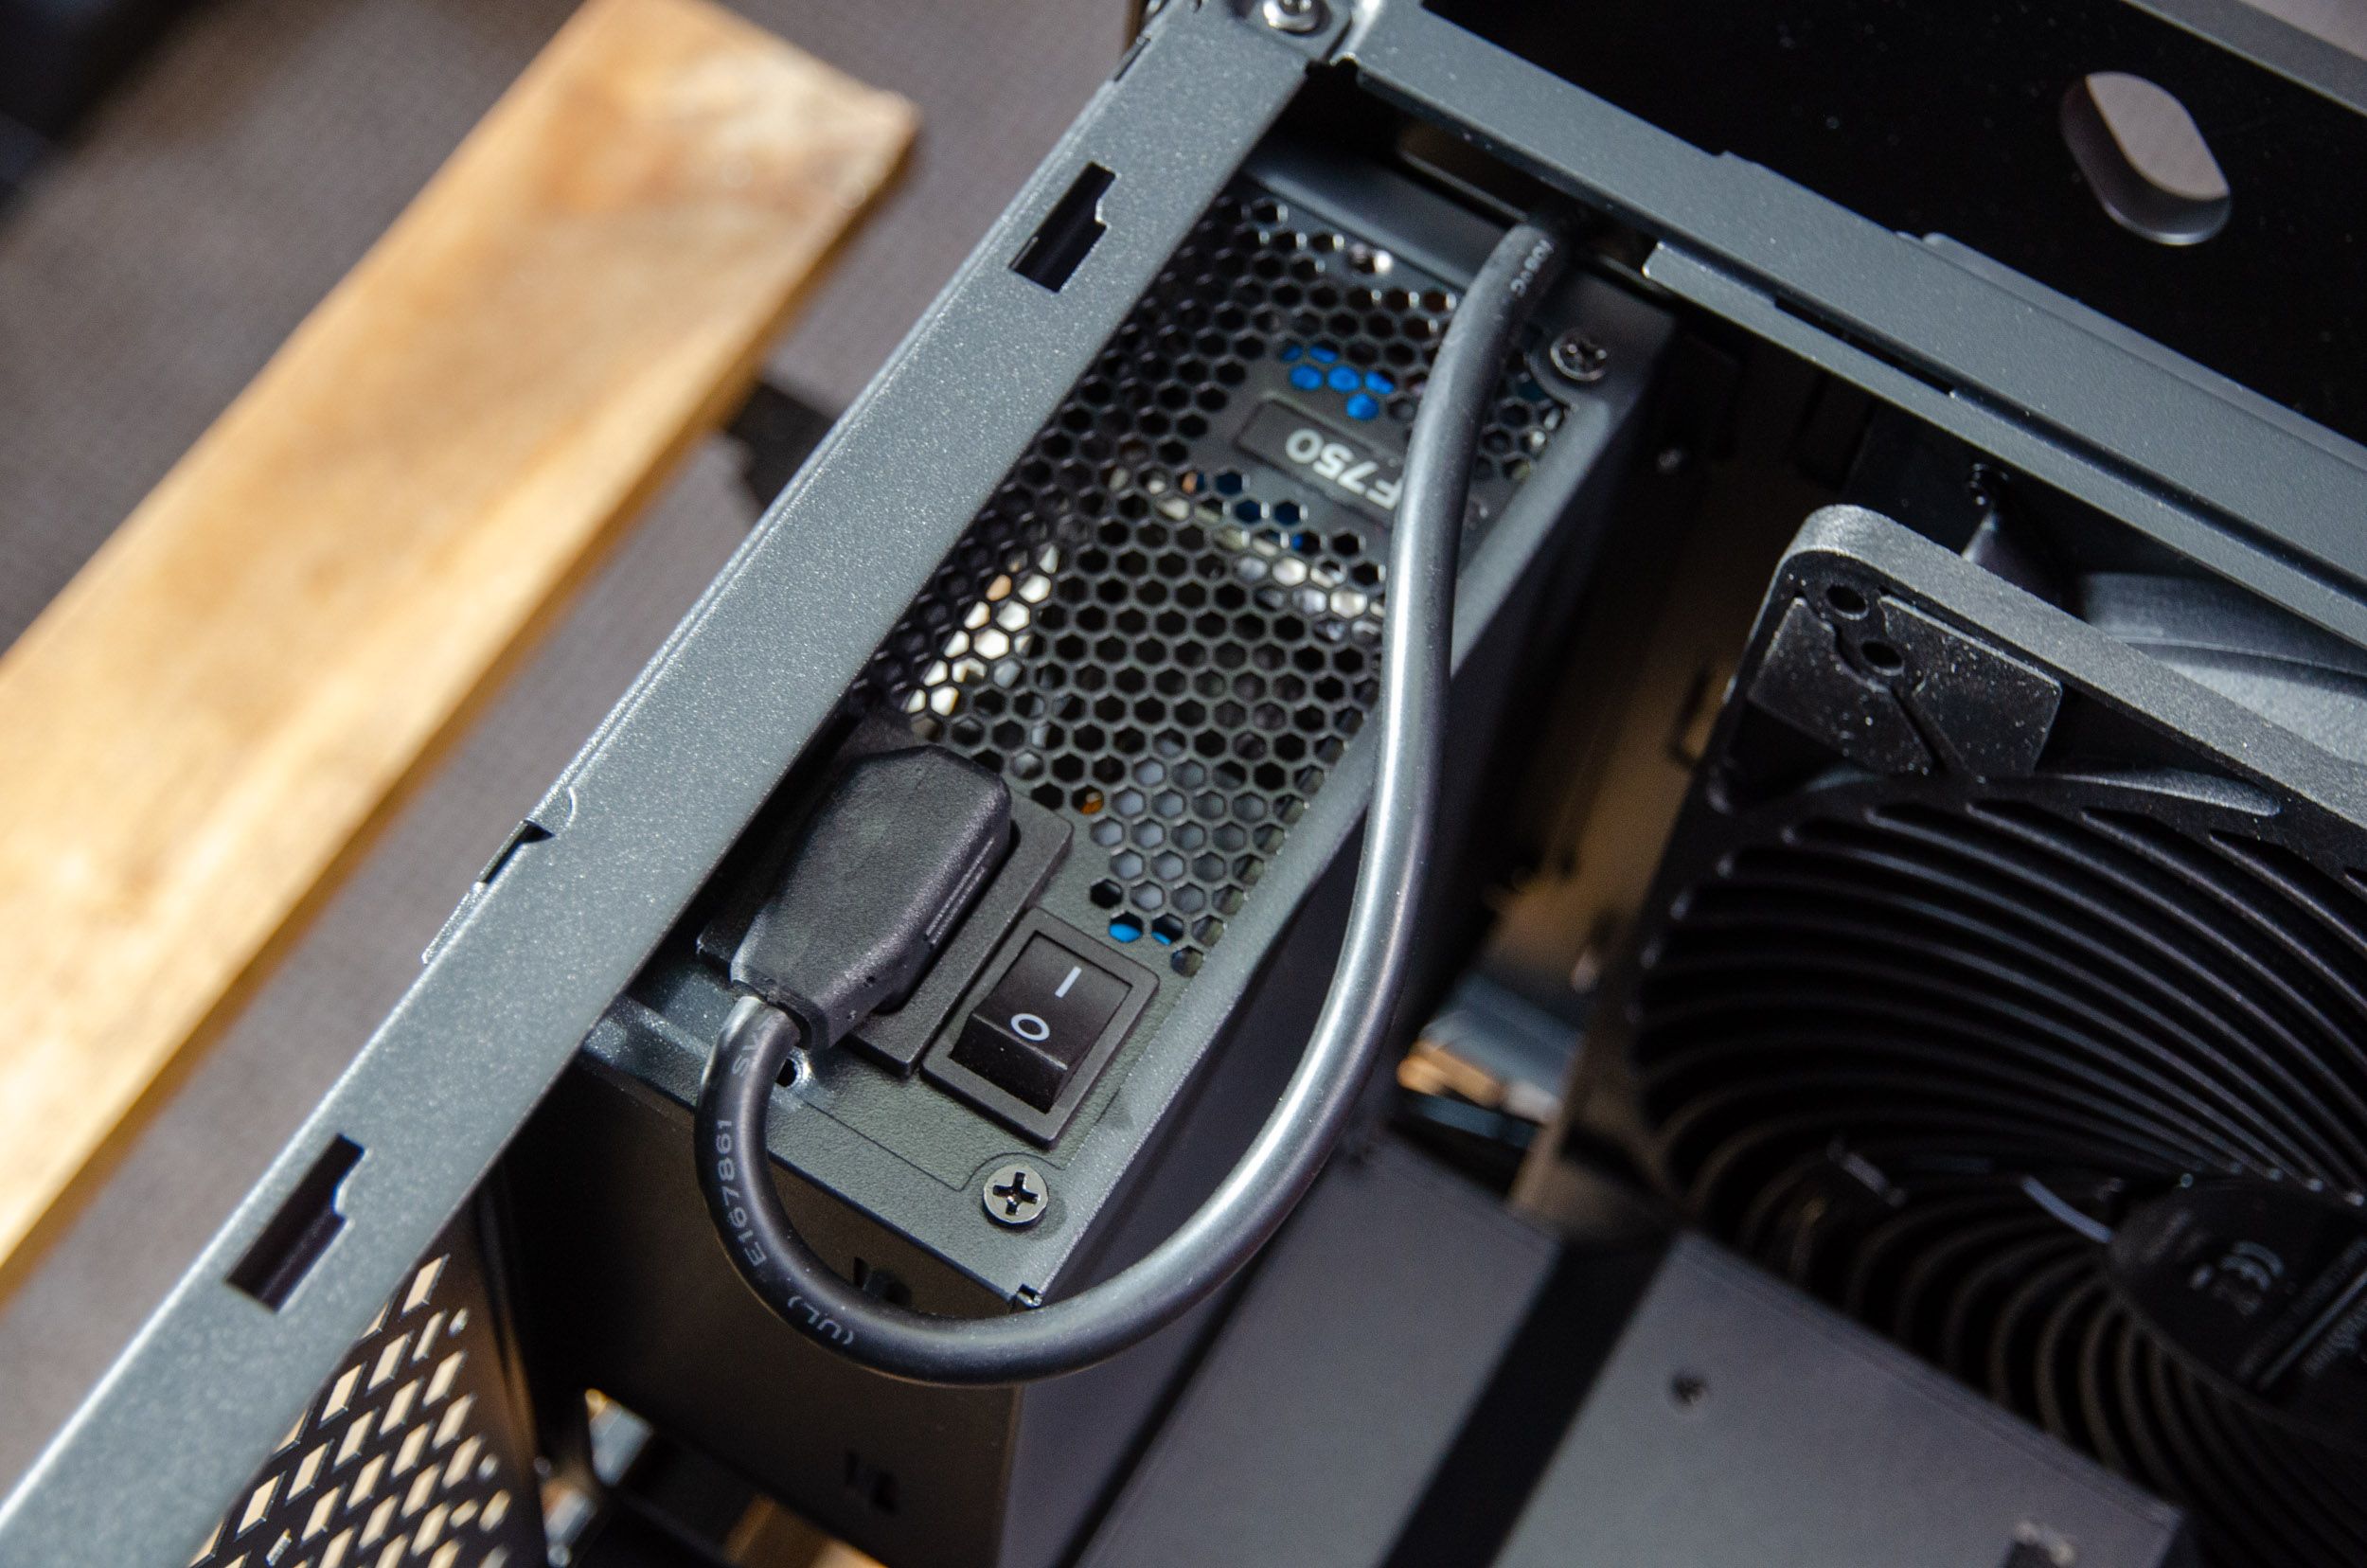
There is an extension lead that will connect to the PSU, more on this later.
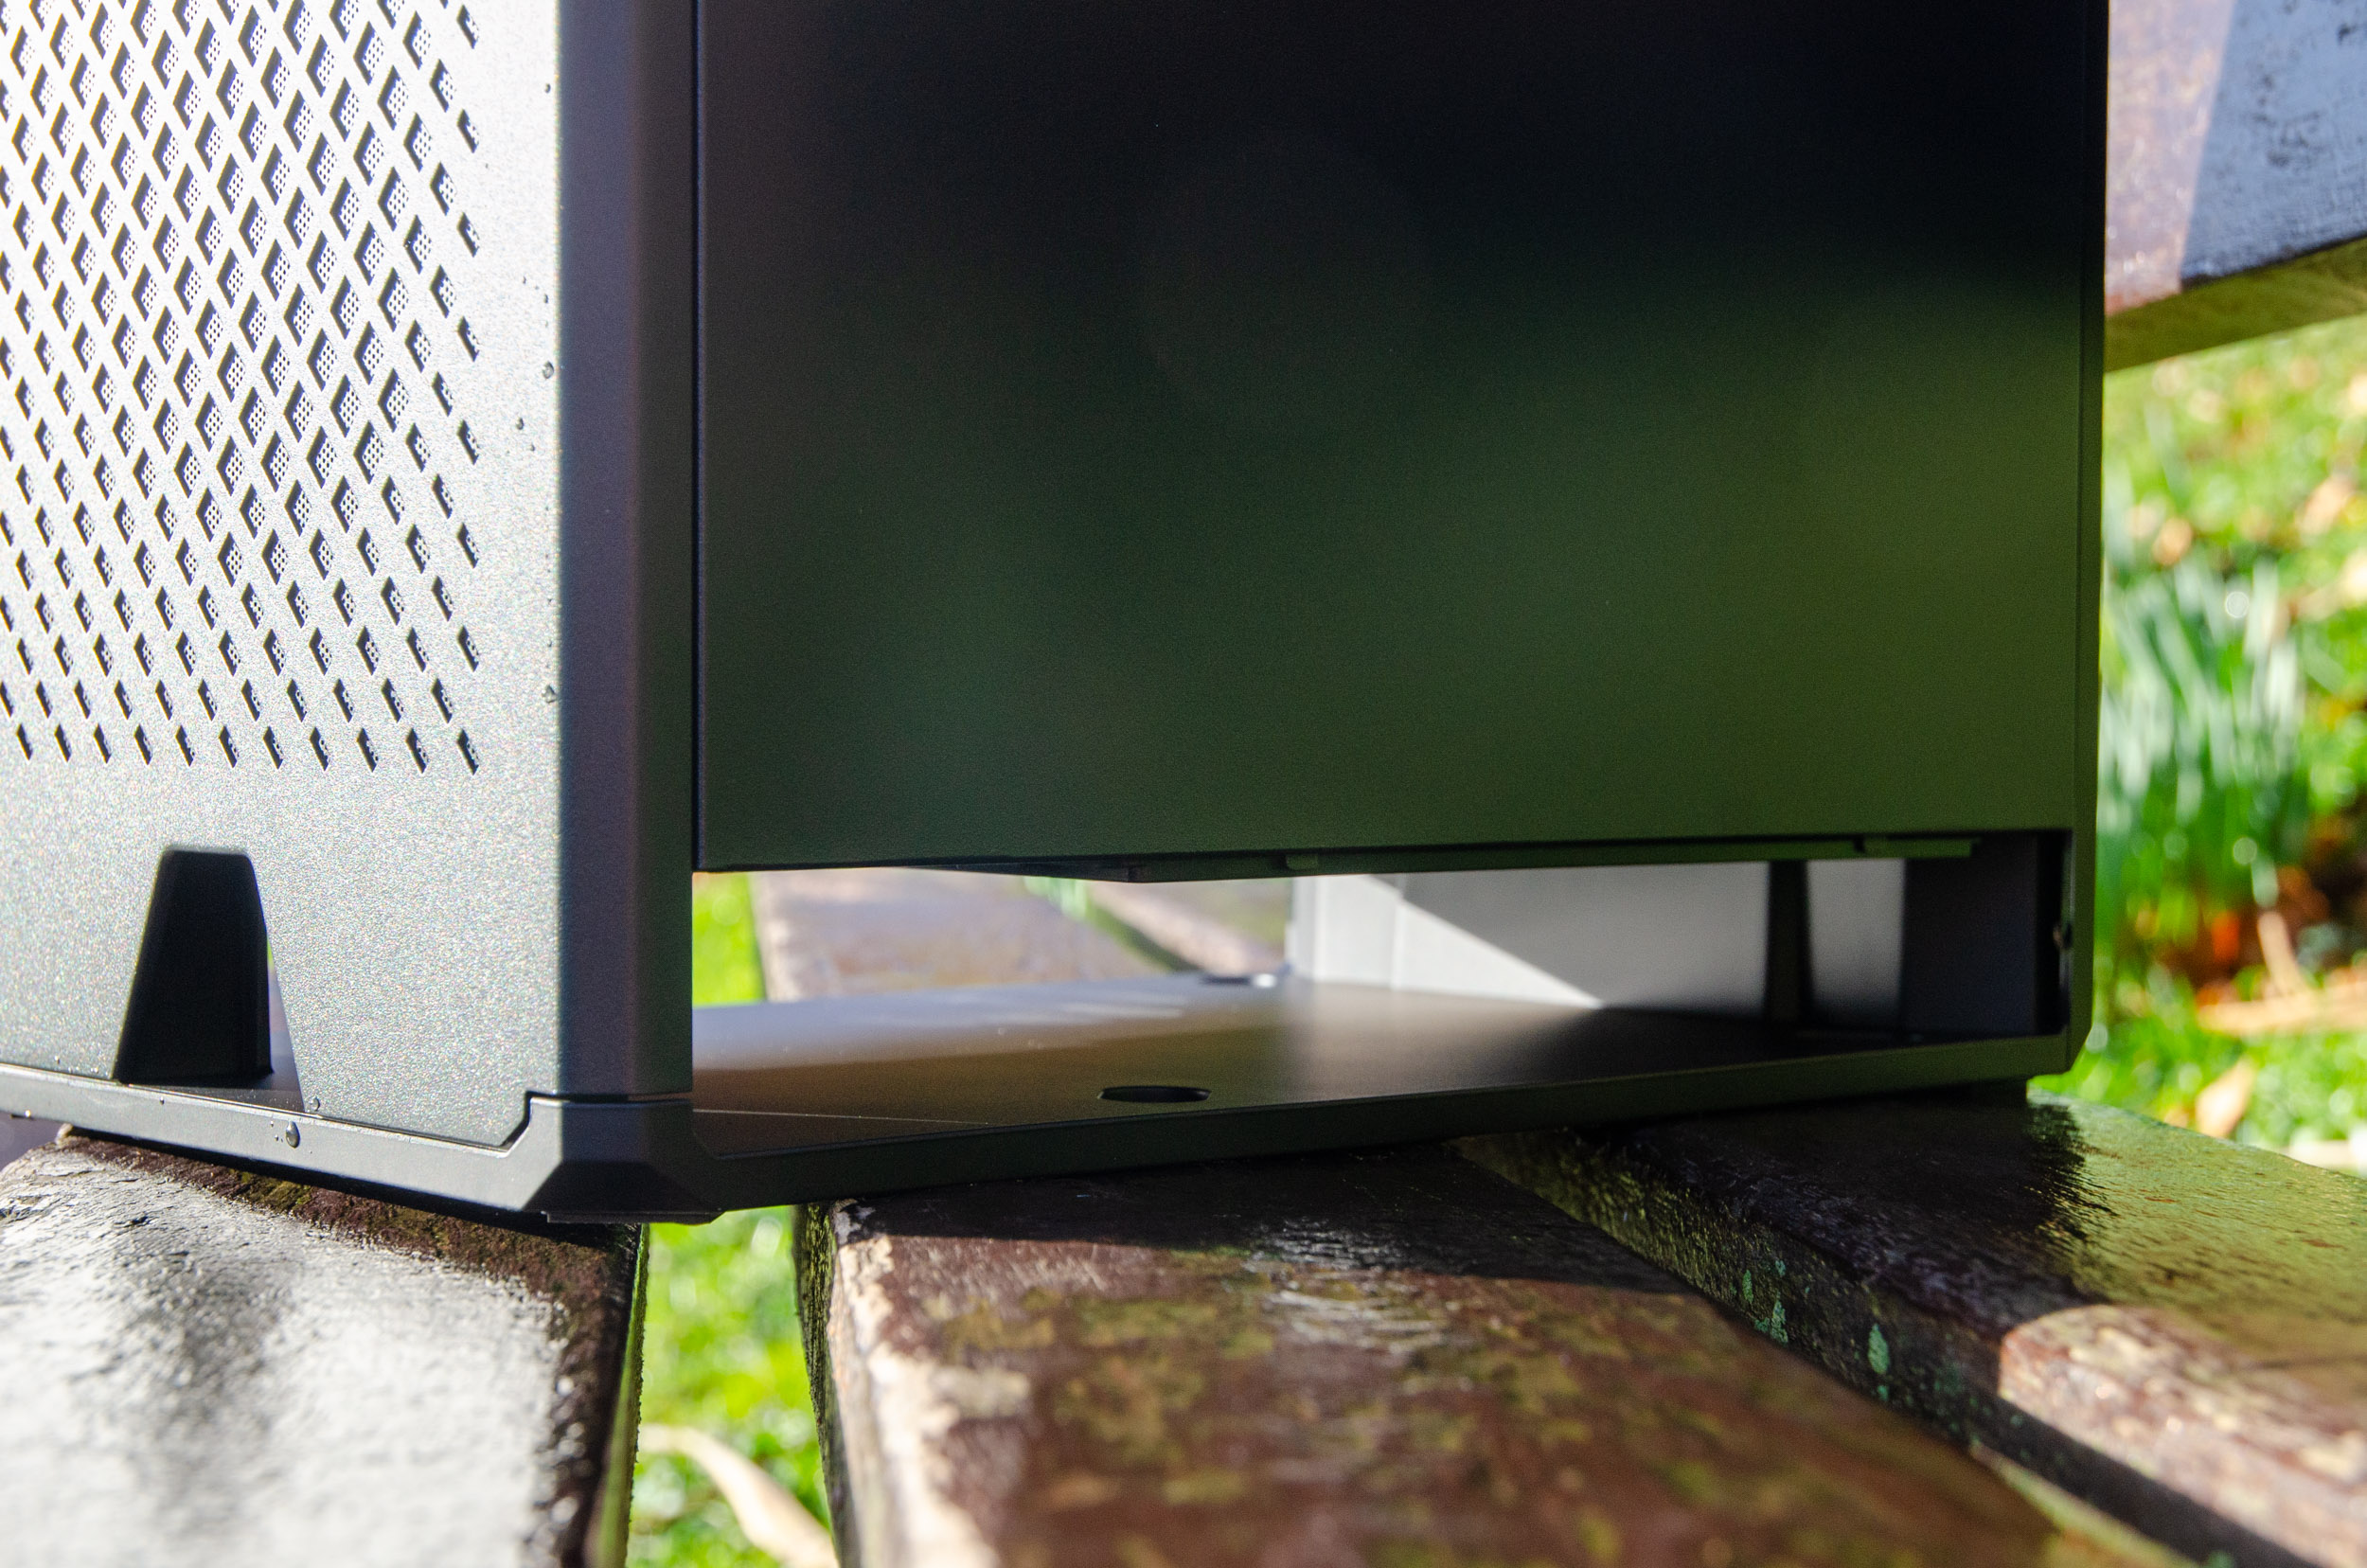
The bottom has this gap which helps the included 180mm fan to suck fresh air and naturally vent it upward through the case.
Notice the included removable fan dust filter as well. Very nice.
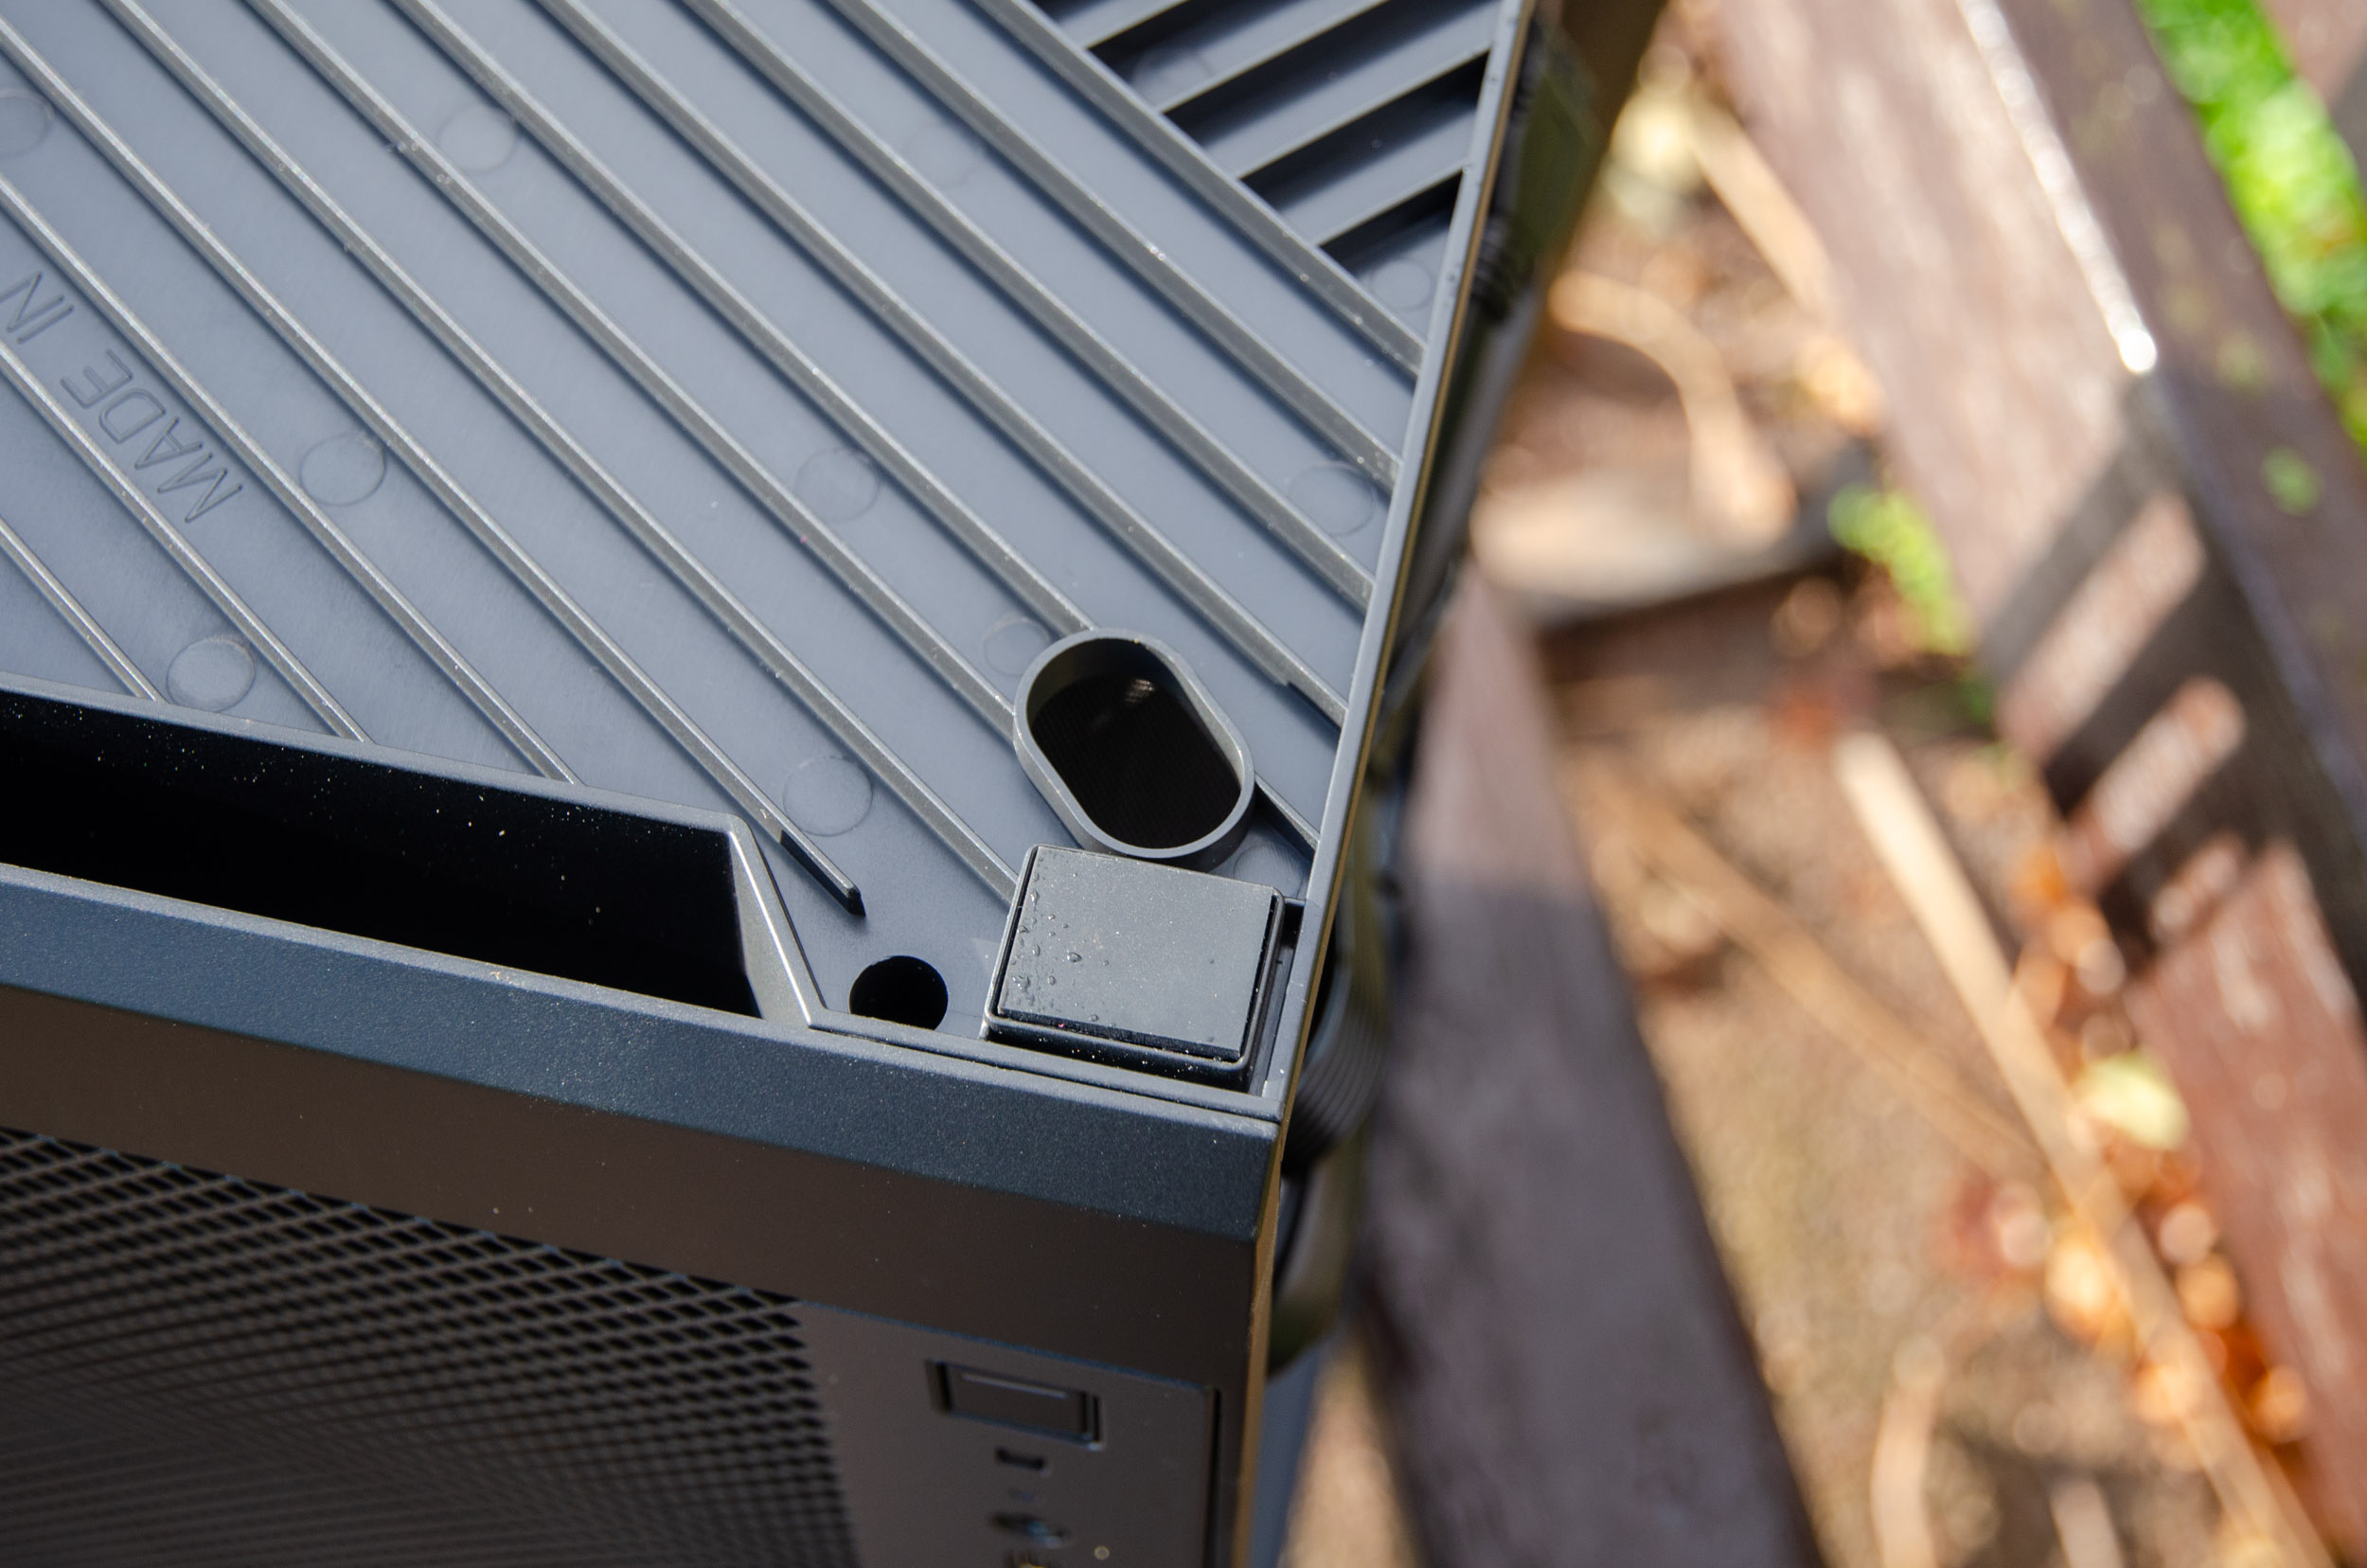
The same base uses 4 rubber pads as its resting contact points. The other 4 holes are for screw access tot the 180mm fan if you wish to remove it.
As we progress you will notice how modular the case is since all of the panels came off to expose the inner main frame. So, this is the top hat/panel which of course has a dust filter. This is held in by some decent magnets.
It reveals basically your motherboard rear I/O. As you can see the case has 4 PCI-E ports.
Great attention to details since it even offers a cables guide before they exit the case through the rubber port.
The two side panels (the full solid metal and the main vented one) use these large thumbscrews that secure them into place.
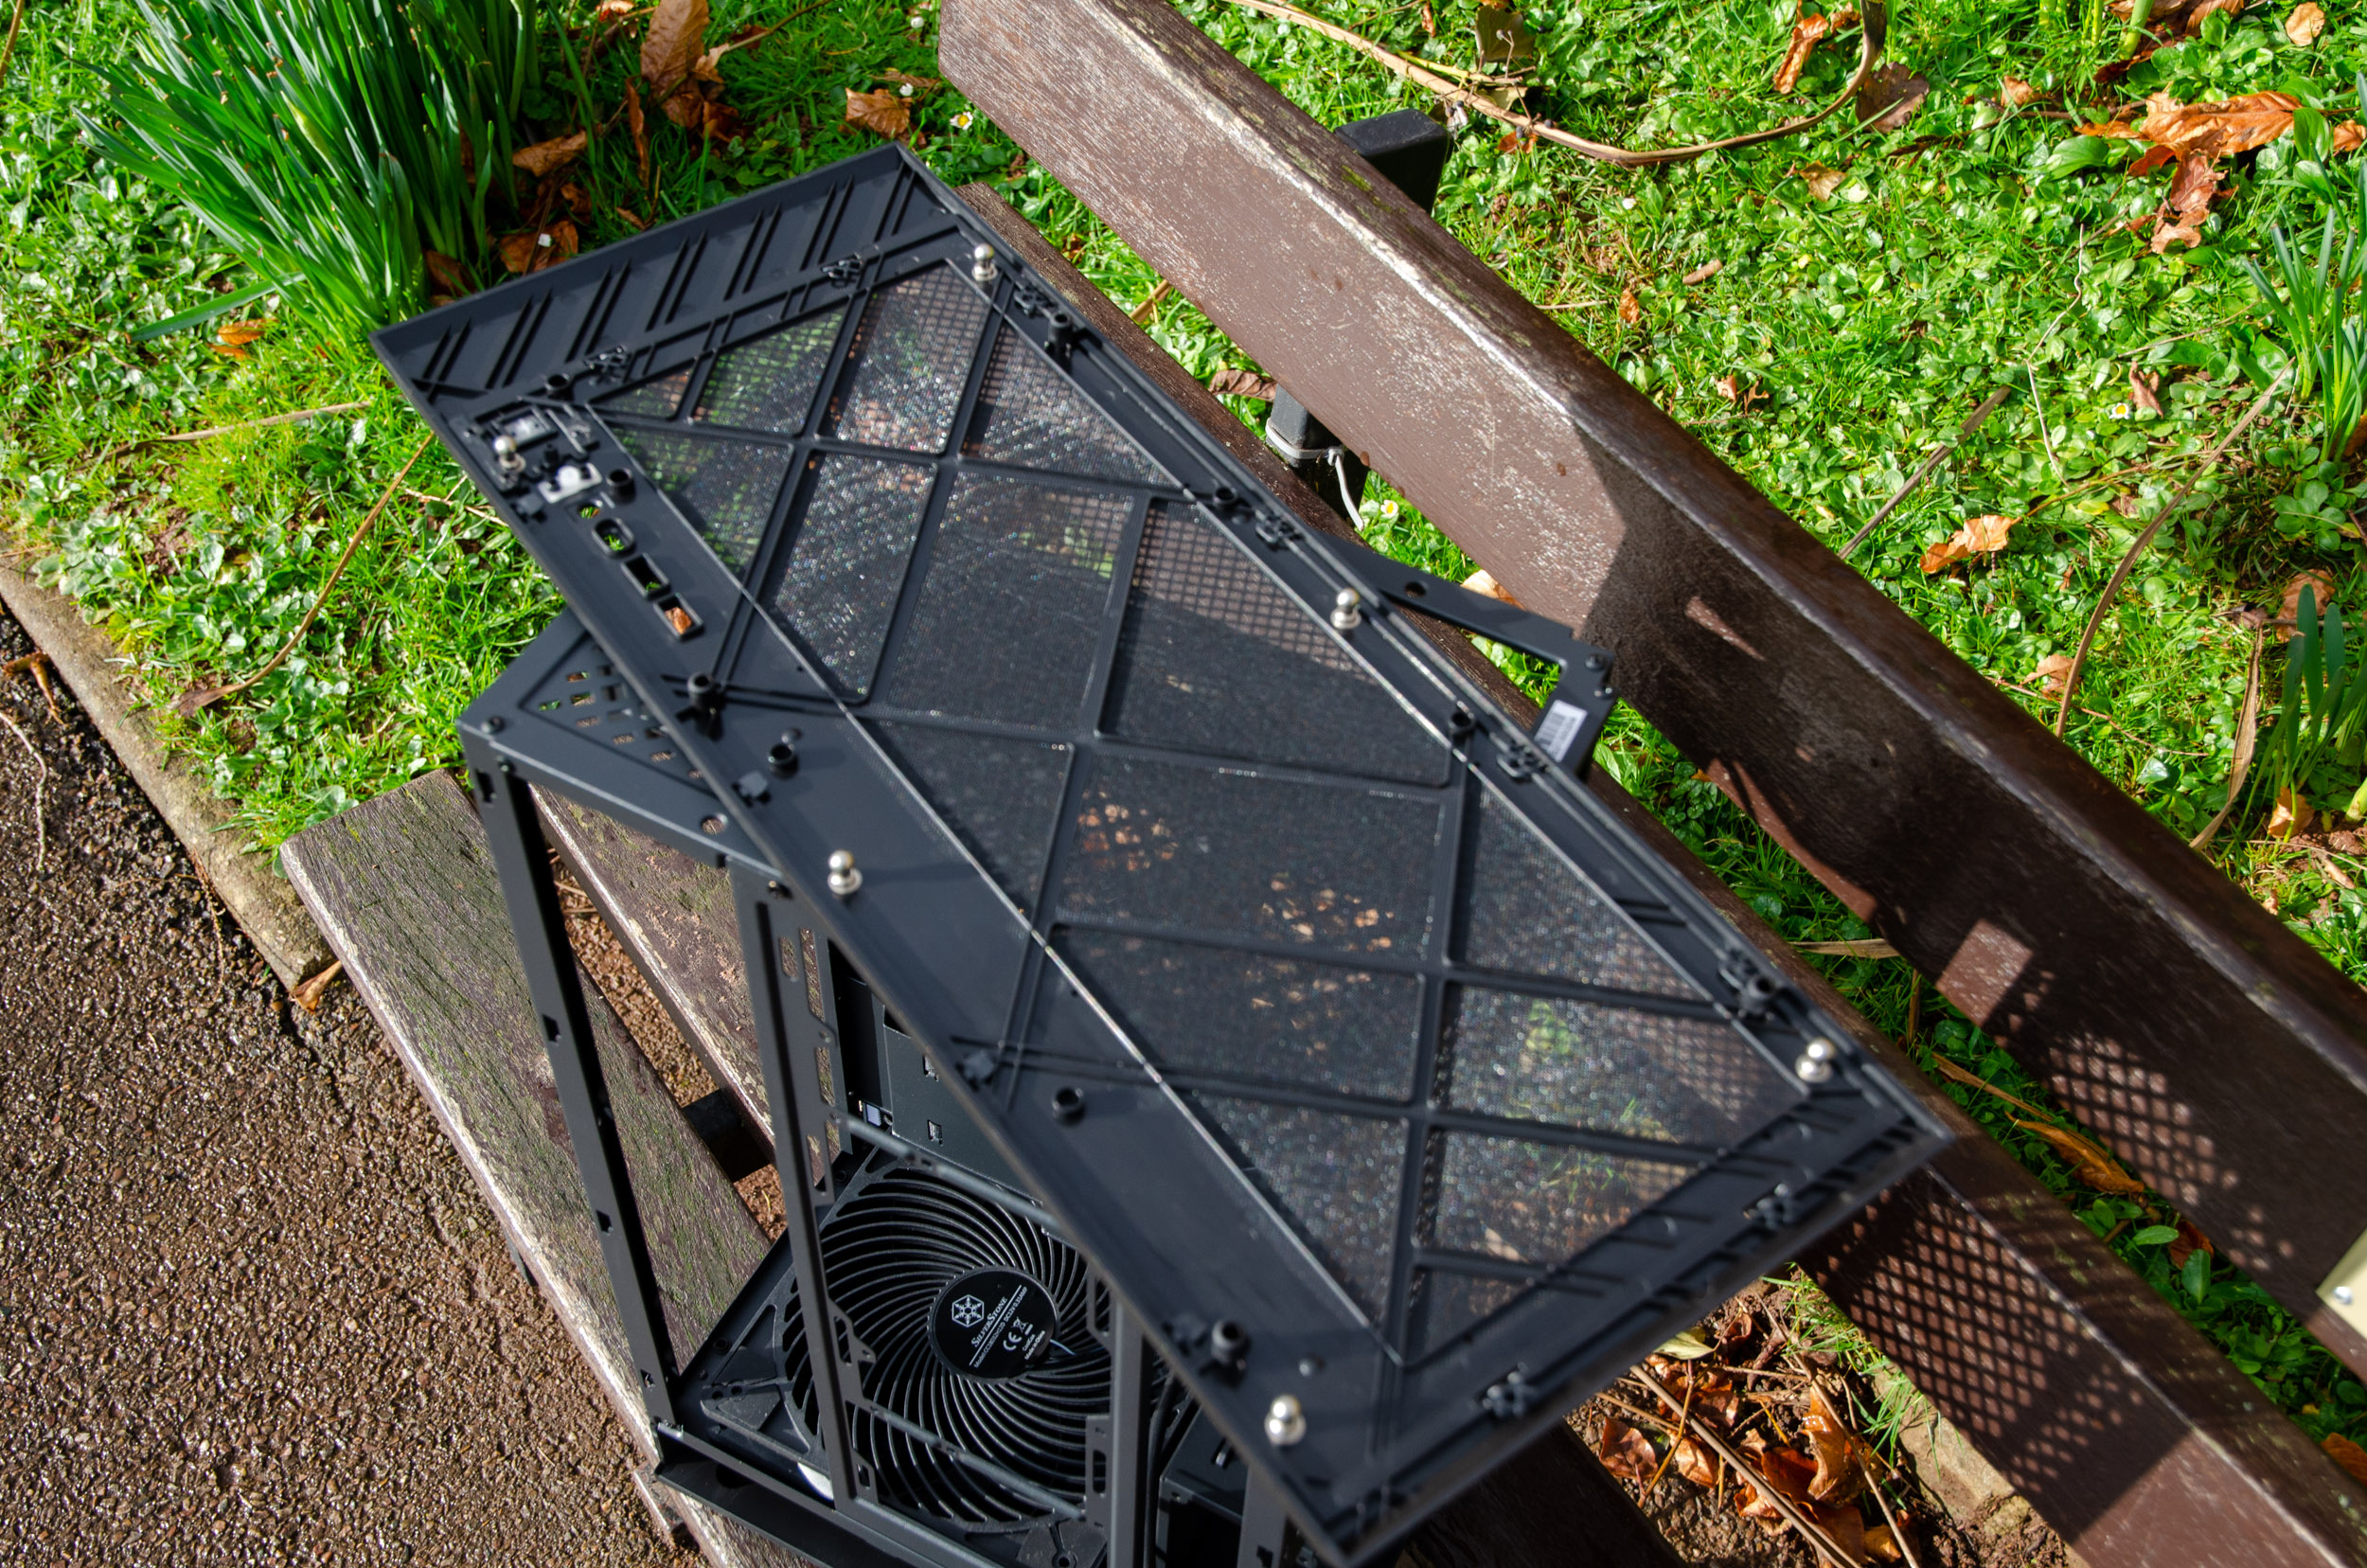
The front panel has a mesh on 90% of its surface with a permanent installed dust filter, which will face the GPU chamber.
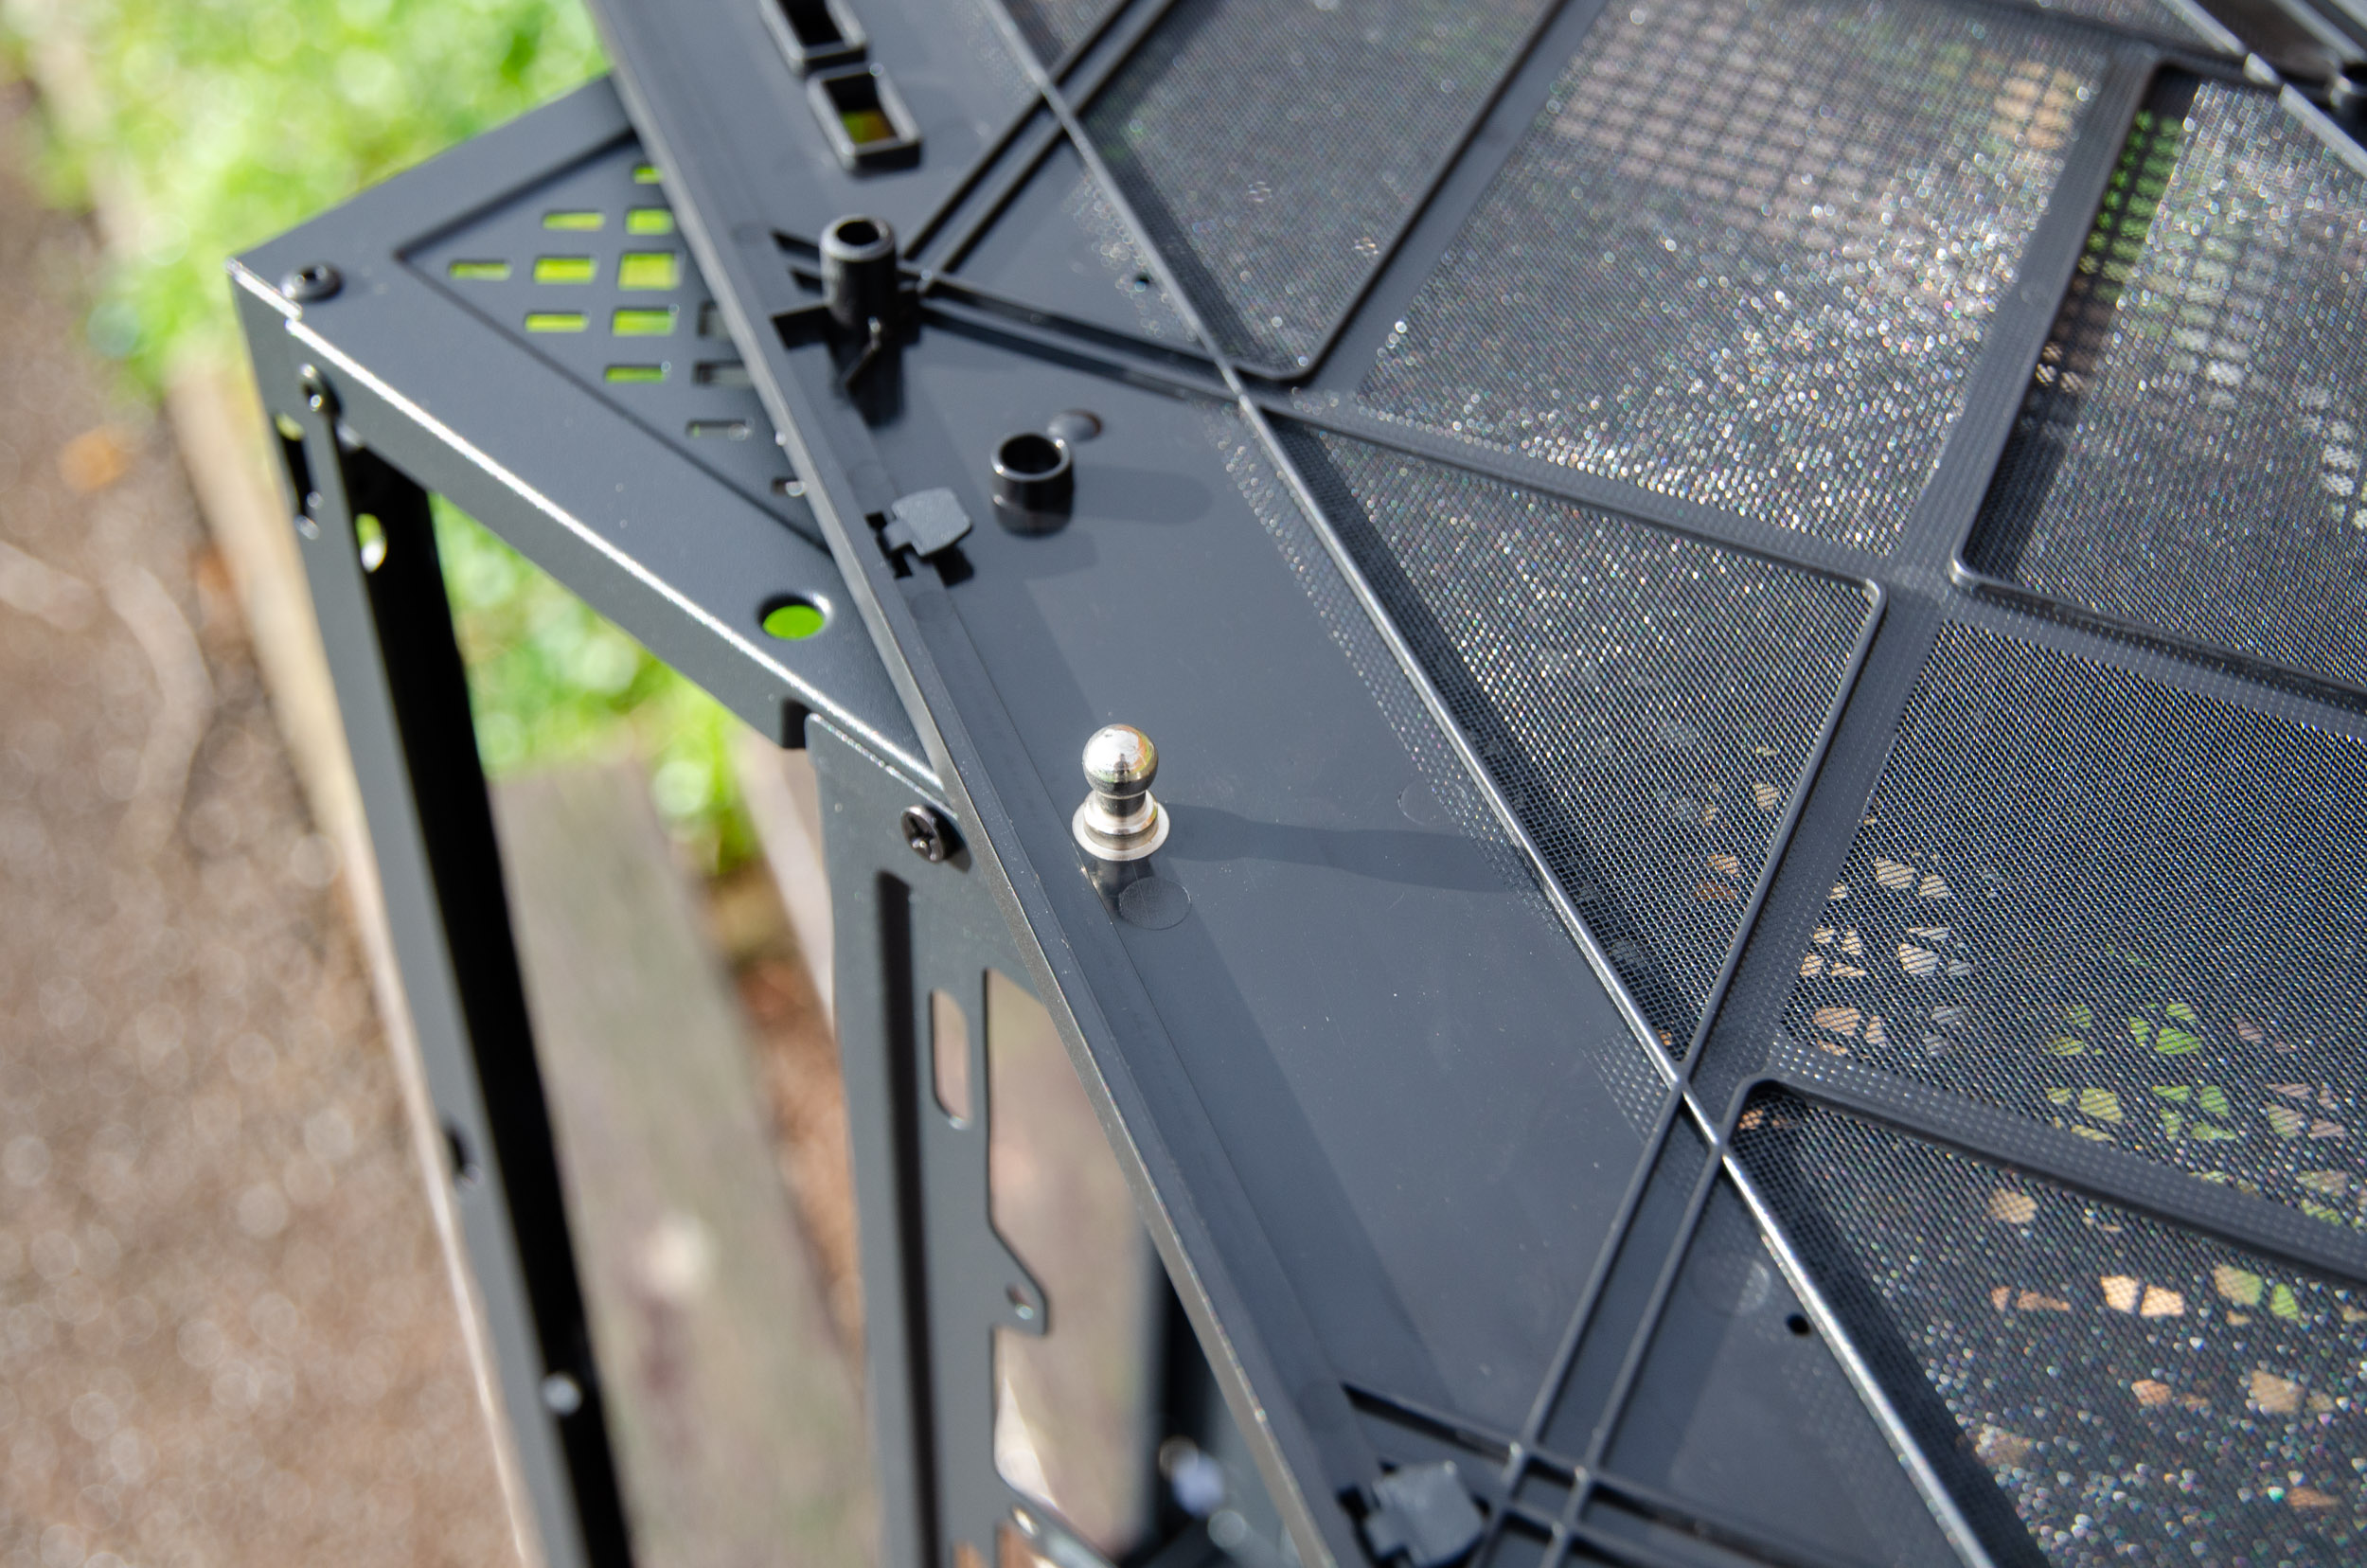
It is held into place with the help of these big metal push-pin-style tabs which make the installation and removal quick and handy.
This is where they slot into the case, while the front I/O buttons are attached to the panel.
It’s interesting to see how they integrated the LED in the middle of the power ON/OFF button.
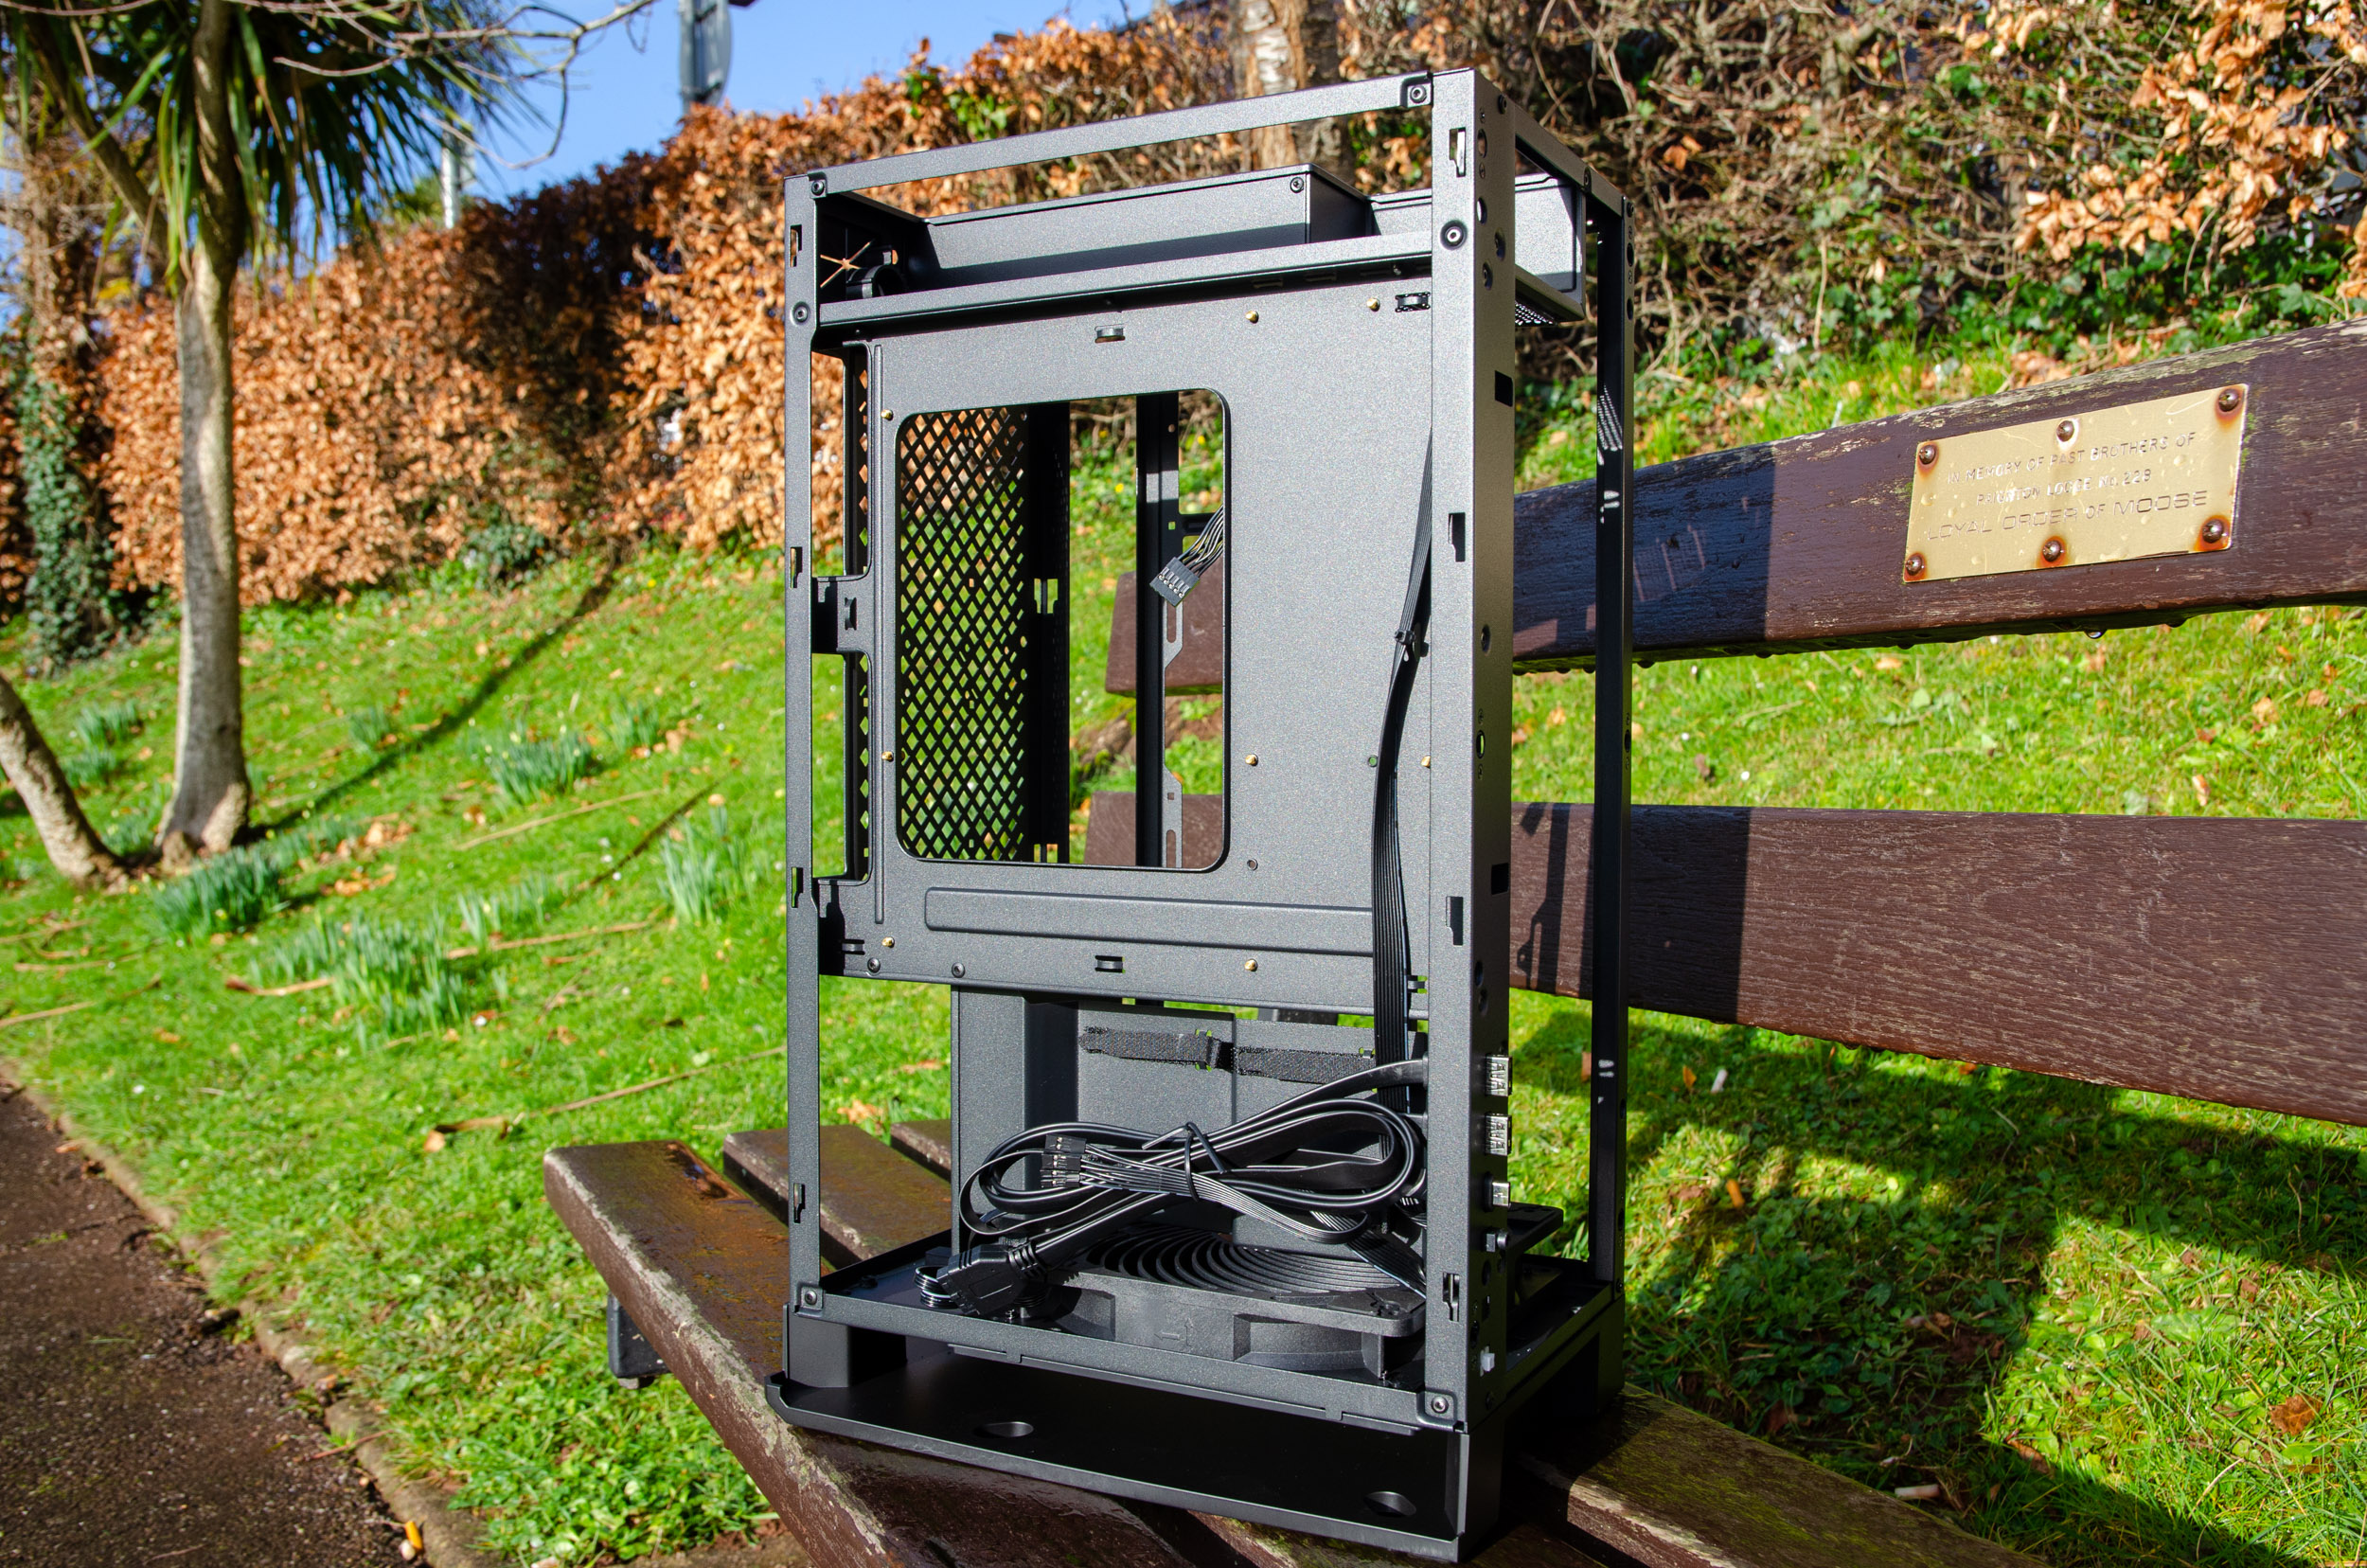
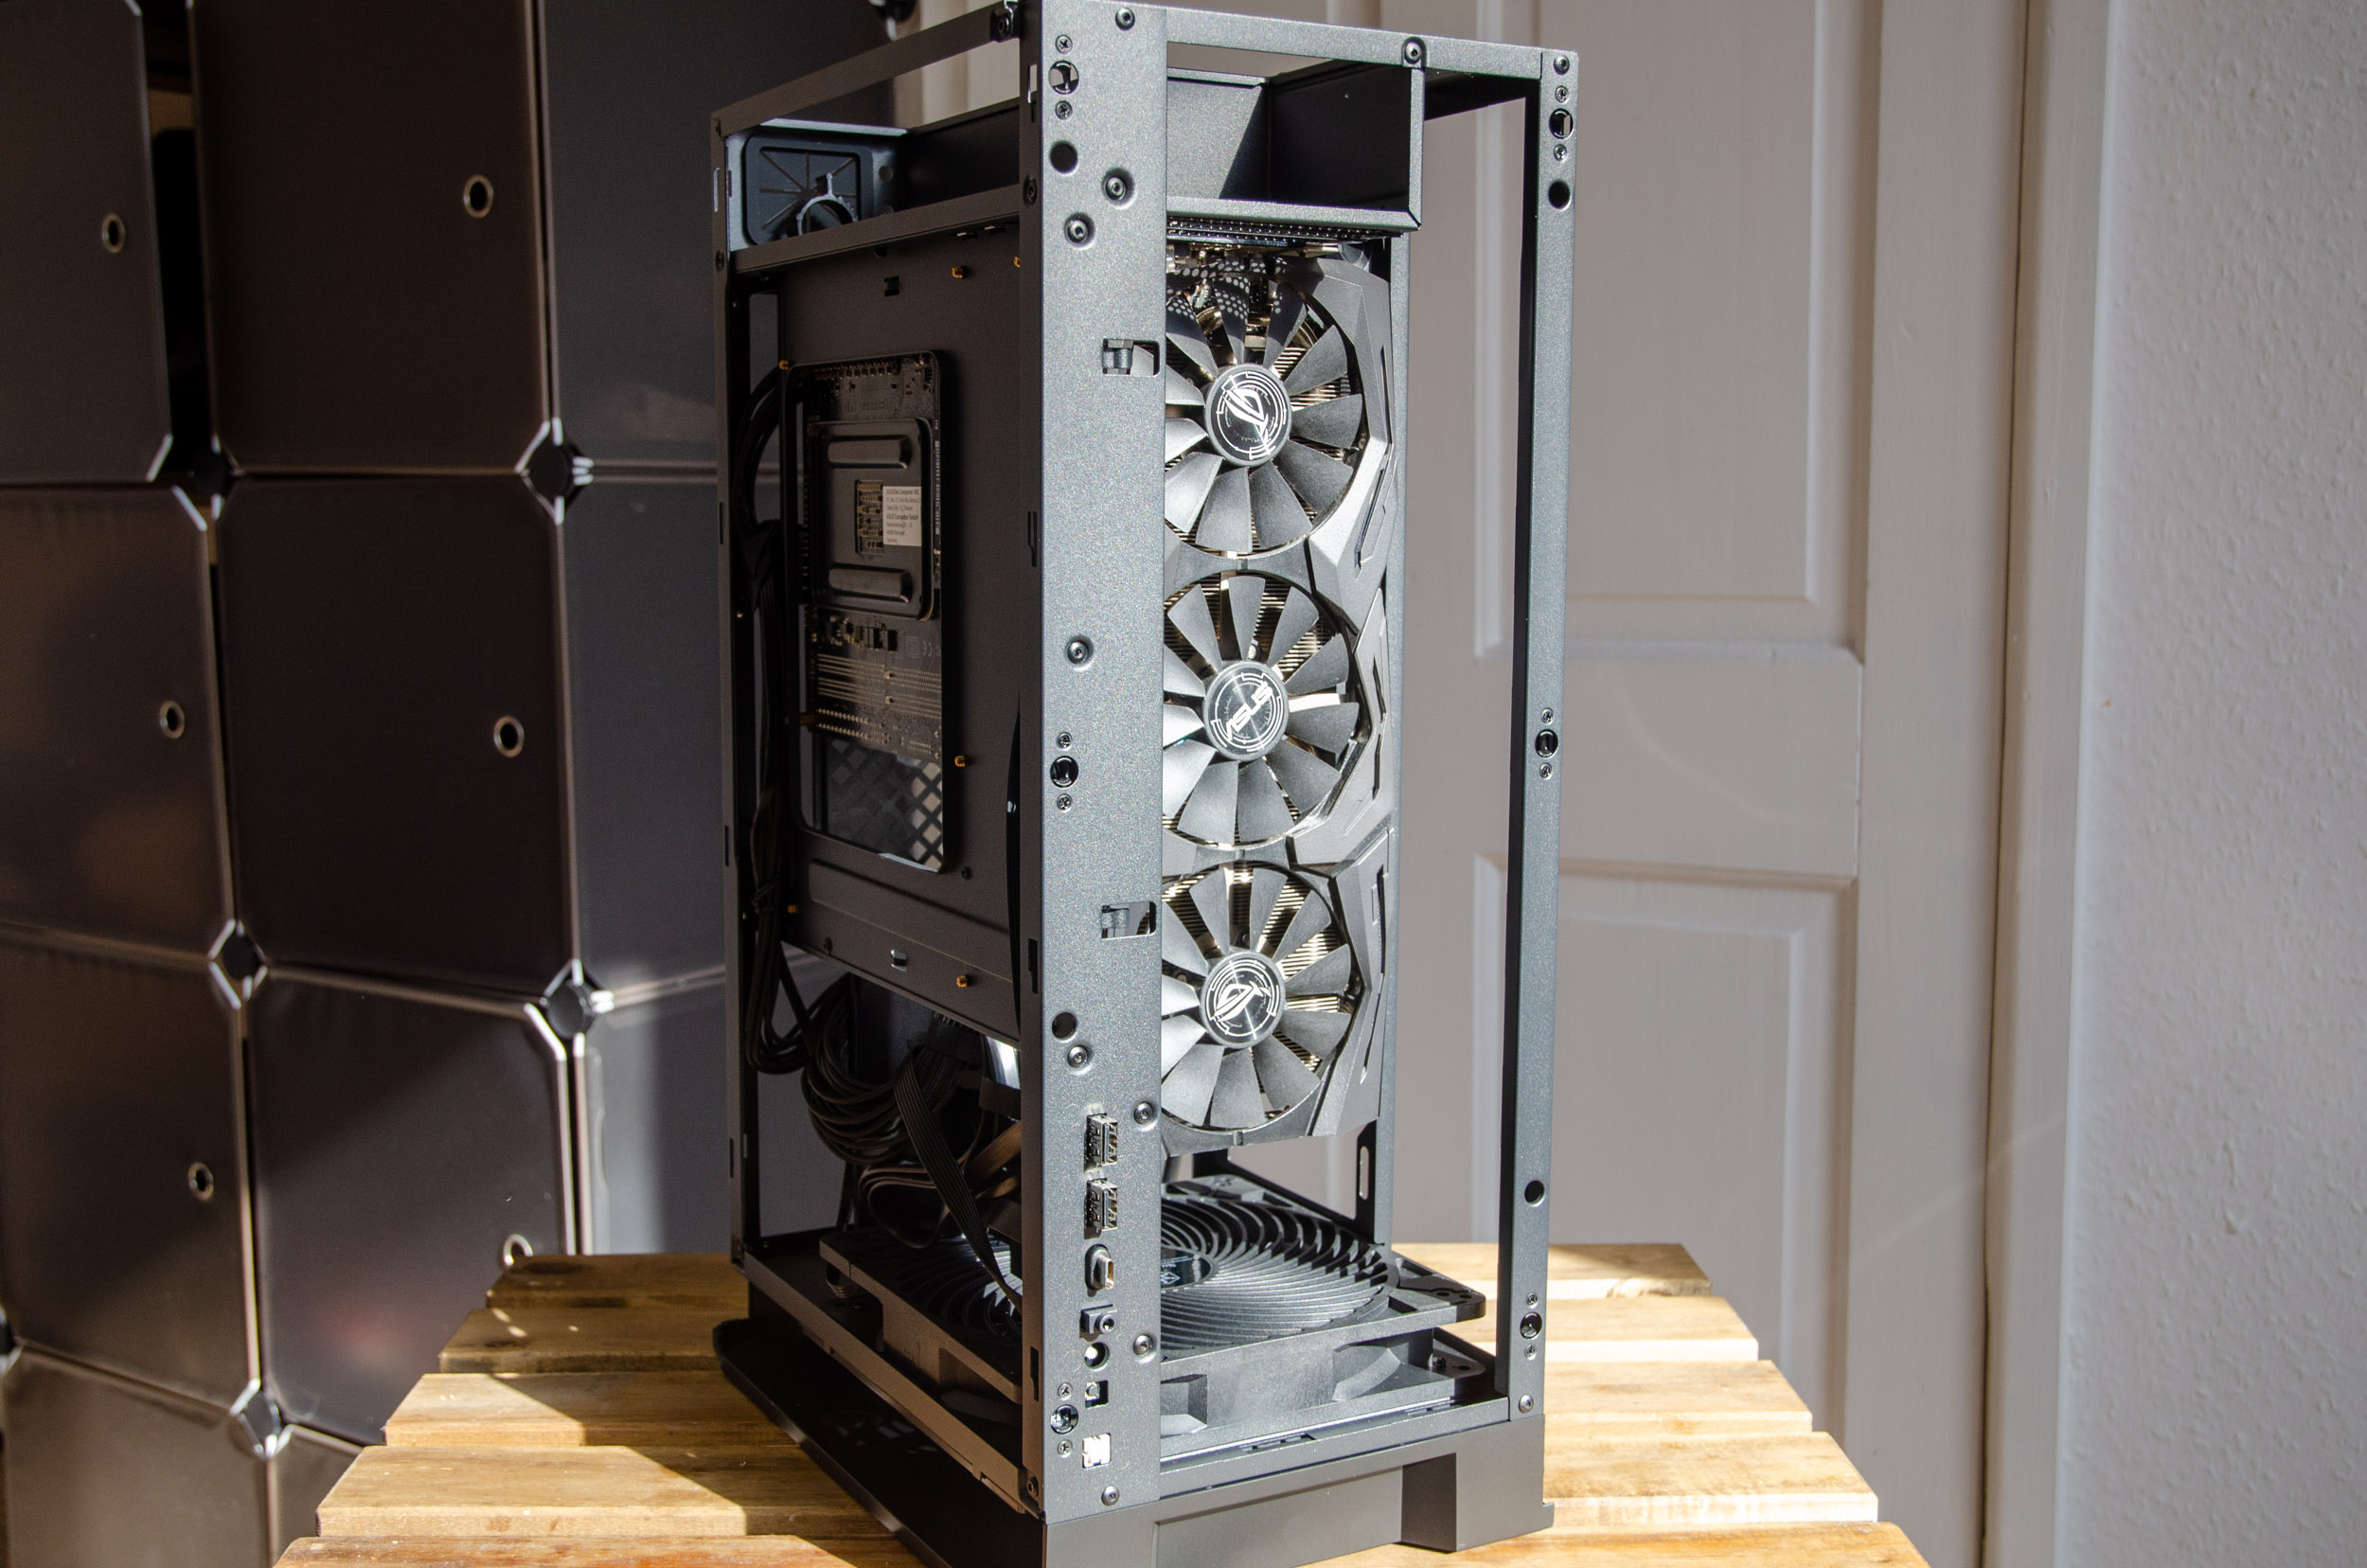
Fully stripping the case, reveals the interior frame which, as we will see, it’s really easy to build in it because you have so much access to everything. From this angle, the GPU chamber is on the left (which is the front of the case), up top we will have the motherboard, CPU support is 159mm, while the PSU (either SFX-L or SFX) will be placed in its specific chamber, on the lower right corner. Then everything will be cooled by the bottom mounted 180mm fan.
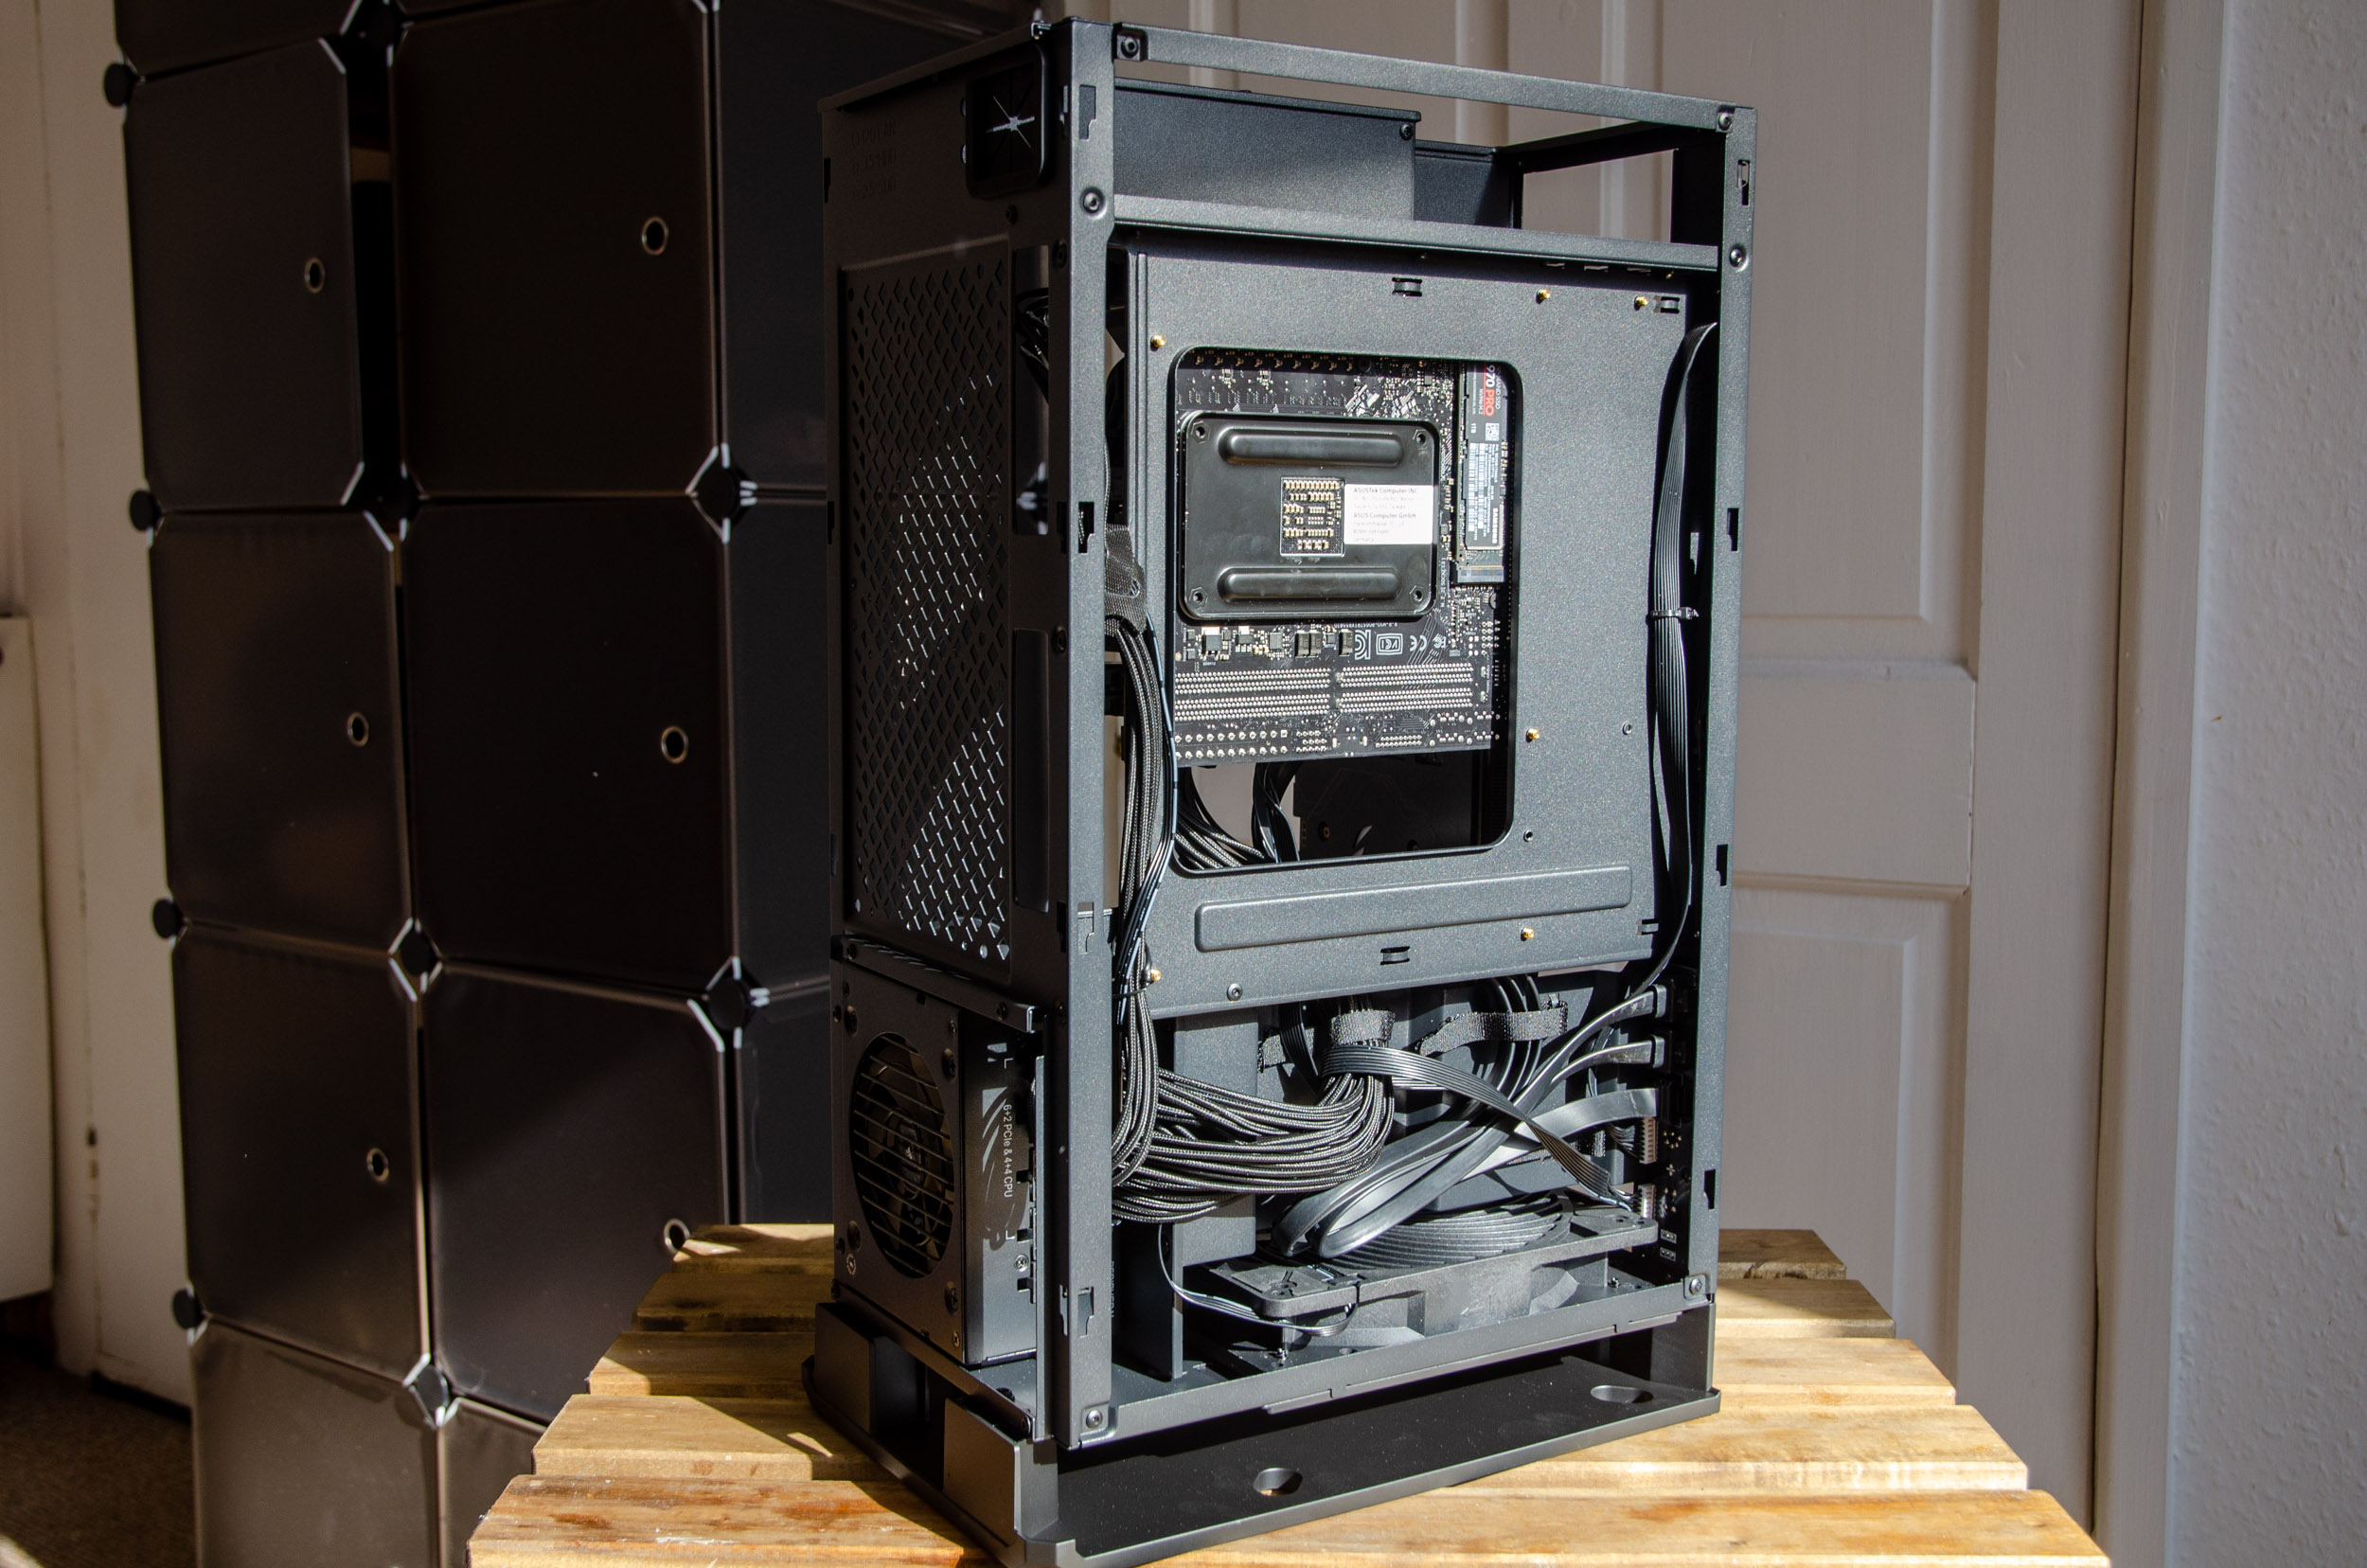
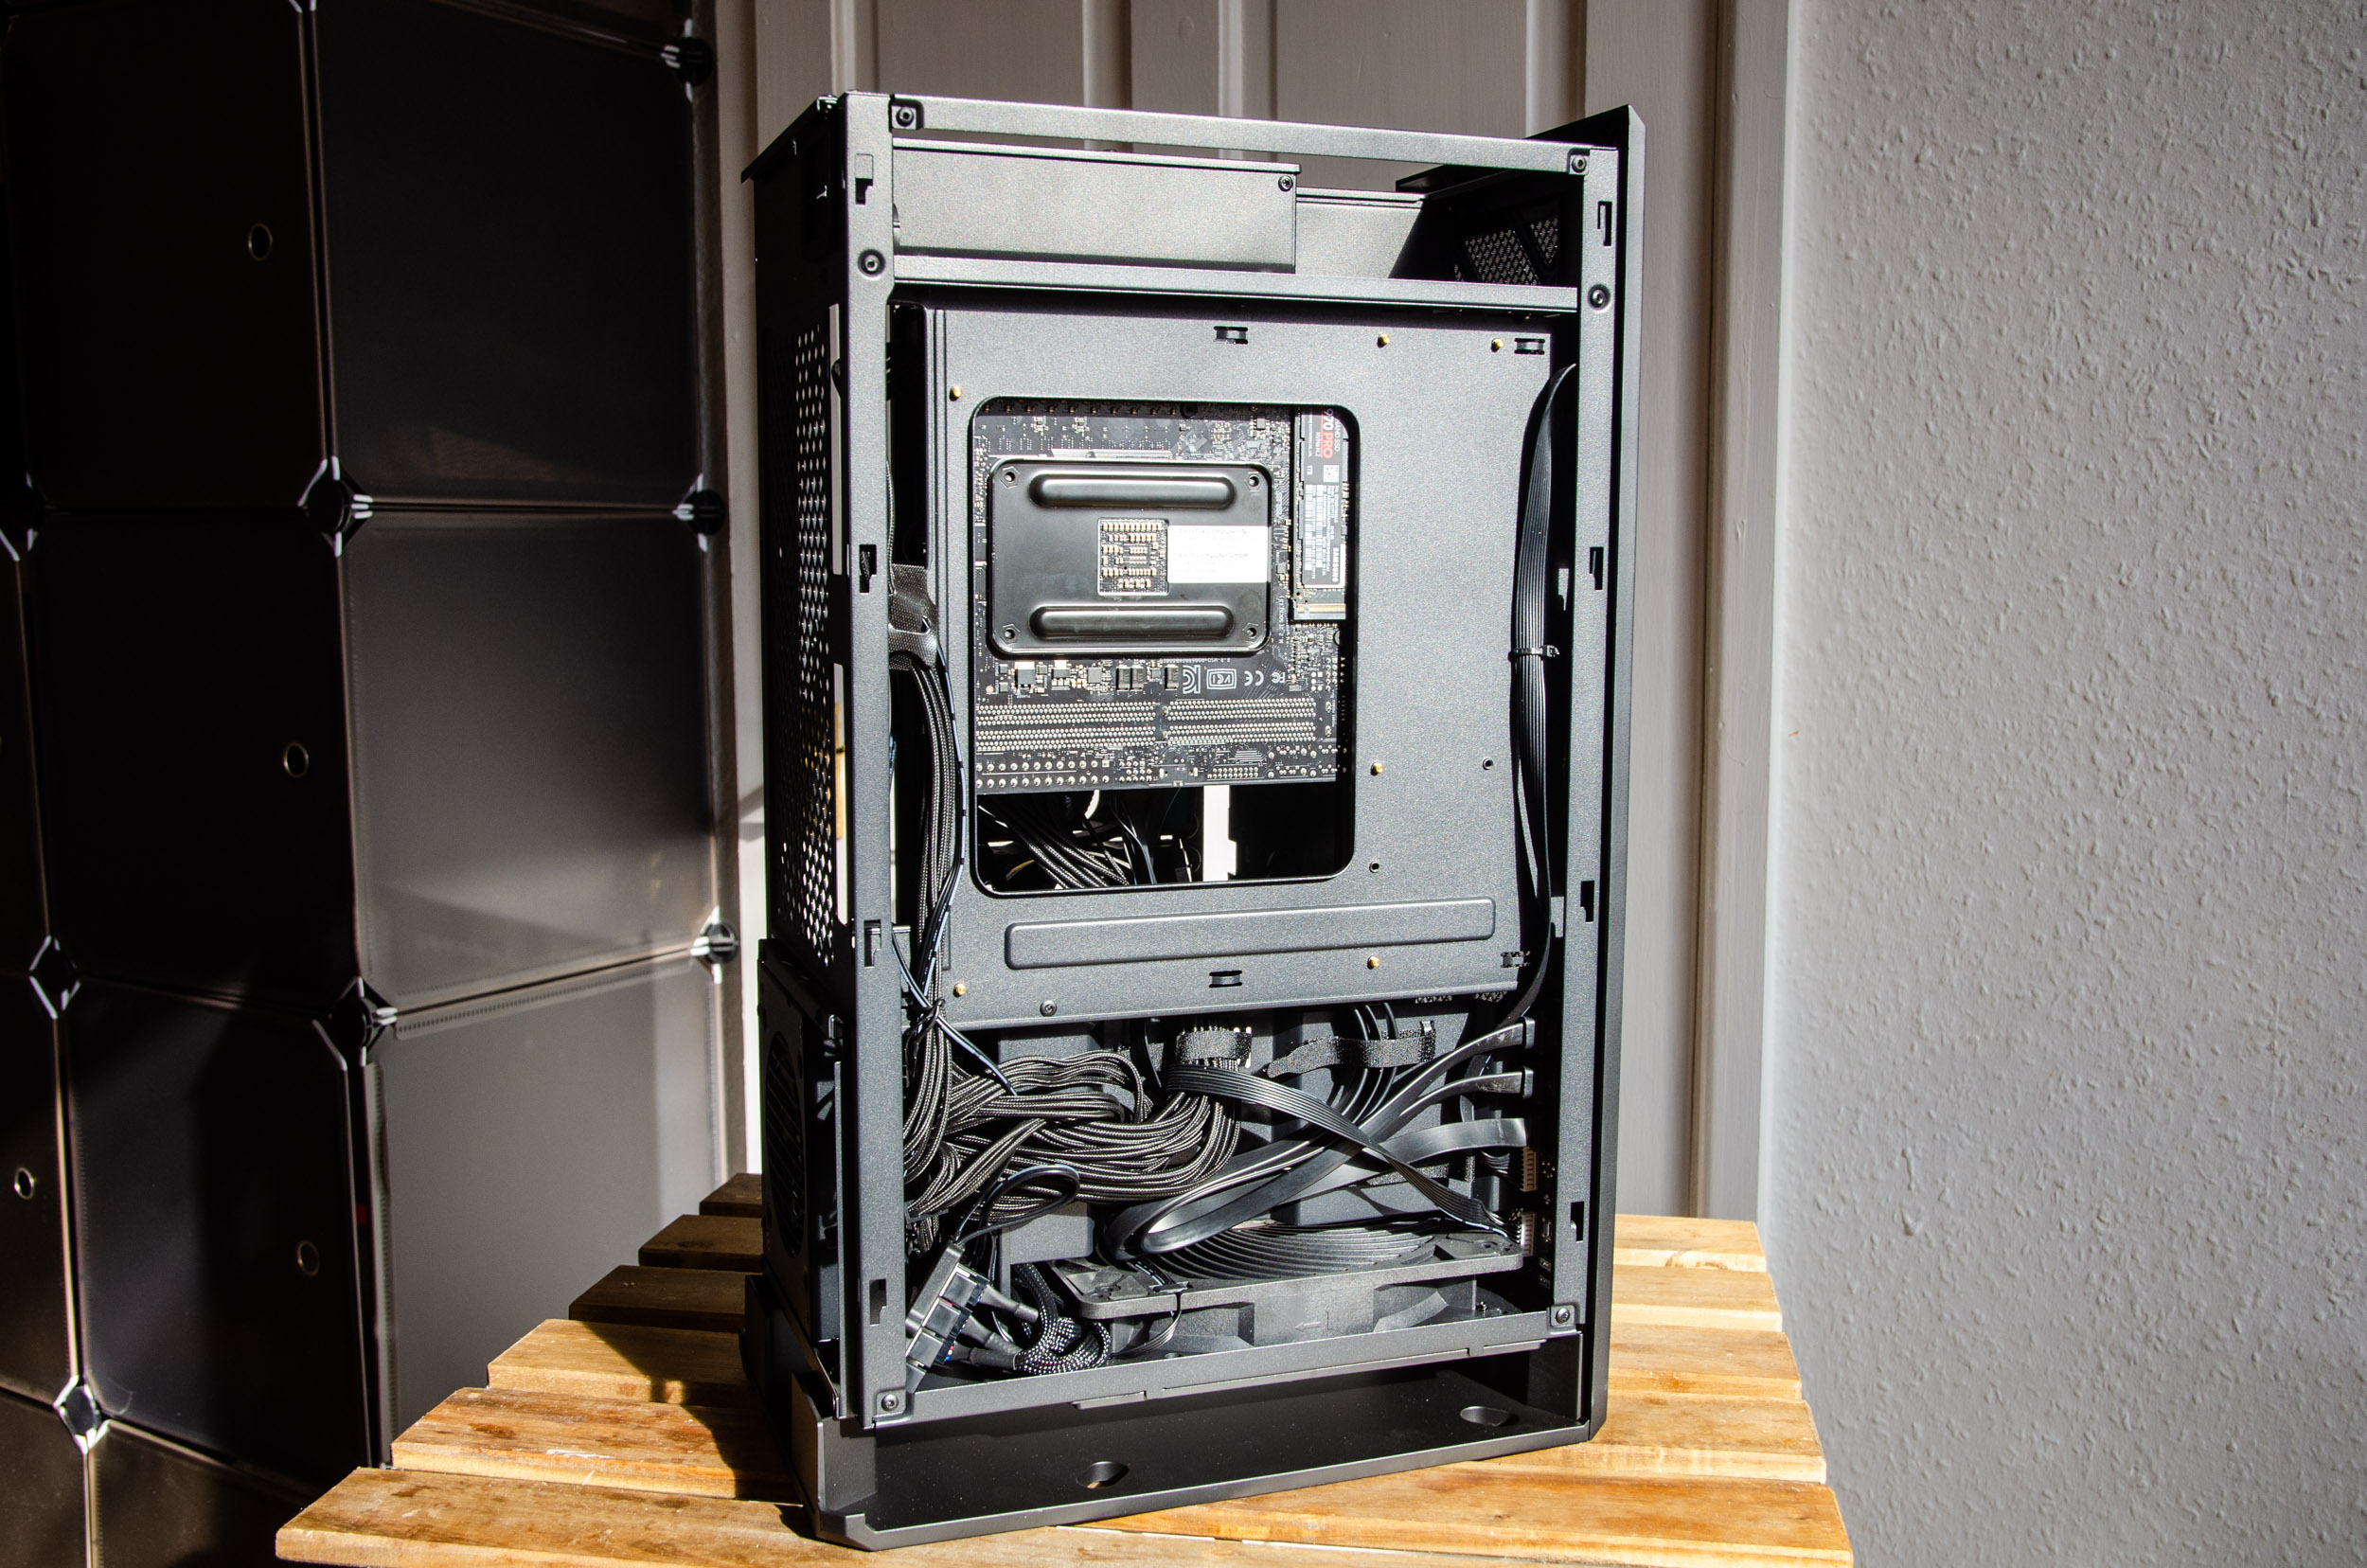
This is the back of the case, since we have the large motherboard cut-out for easy accessing the backplates of CPU coolers. Then the lower chamber will house all of the cables.
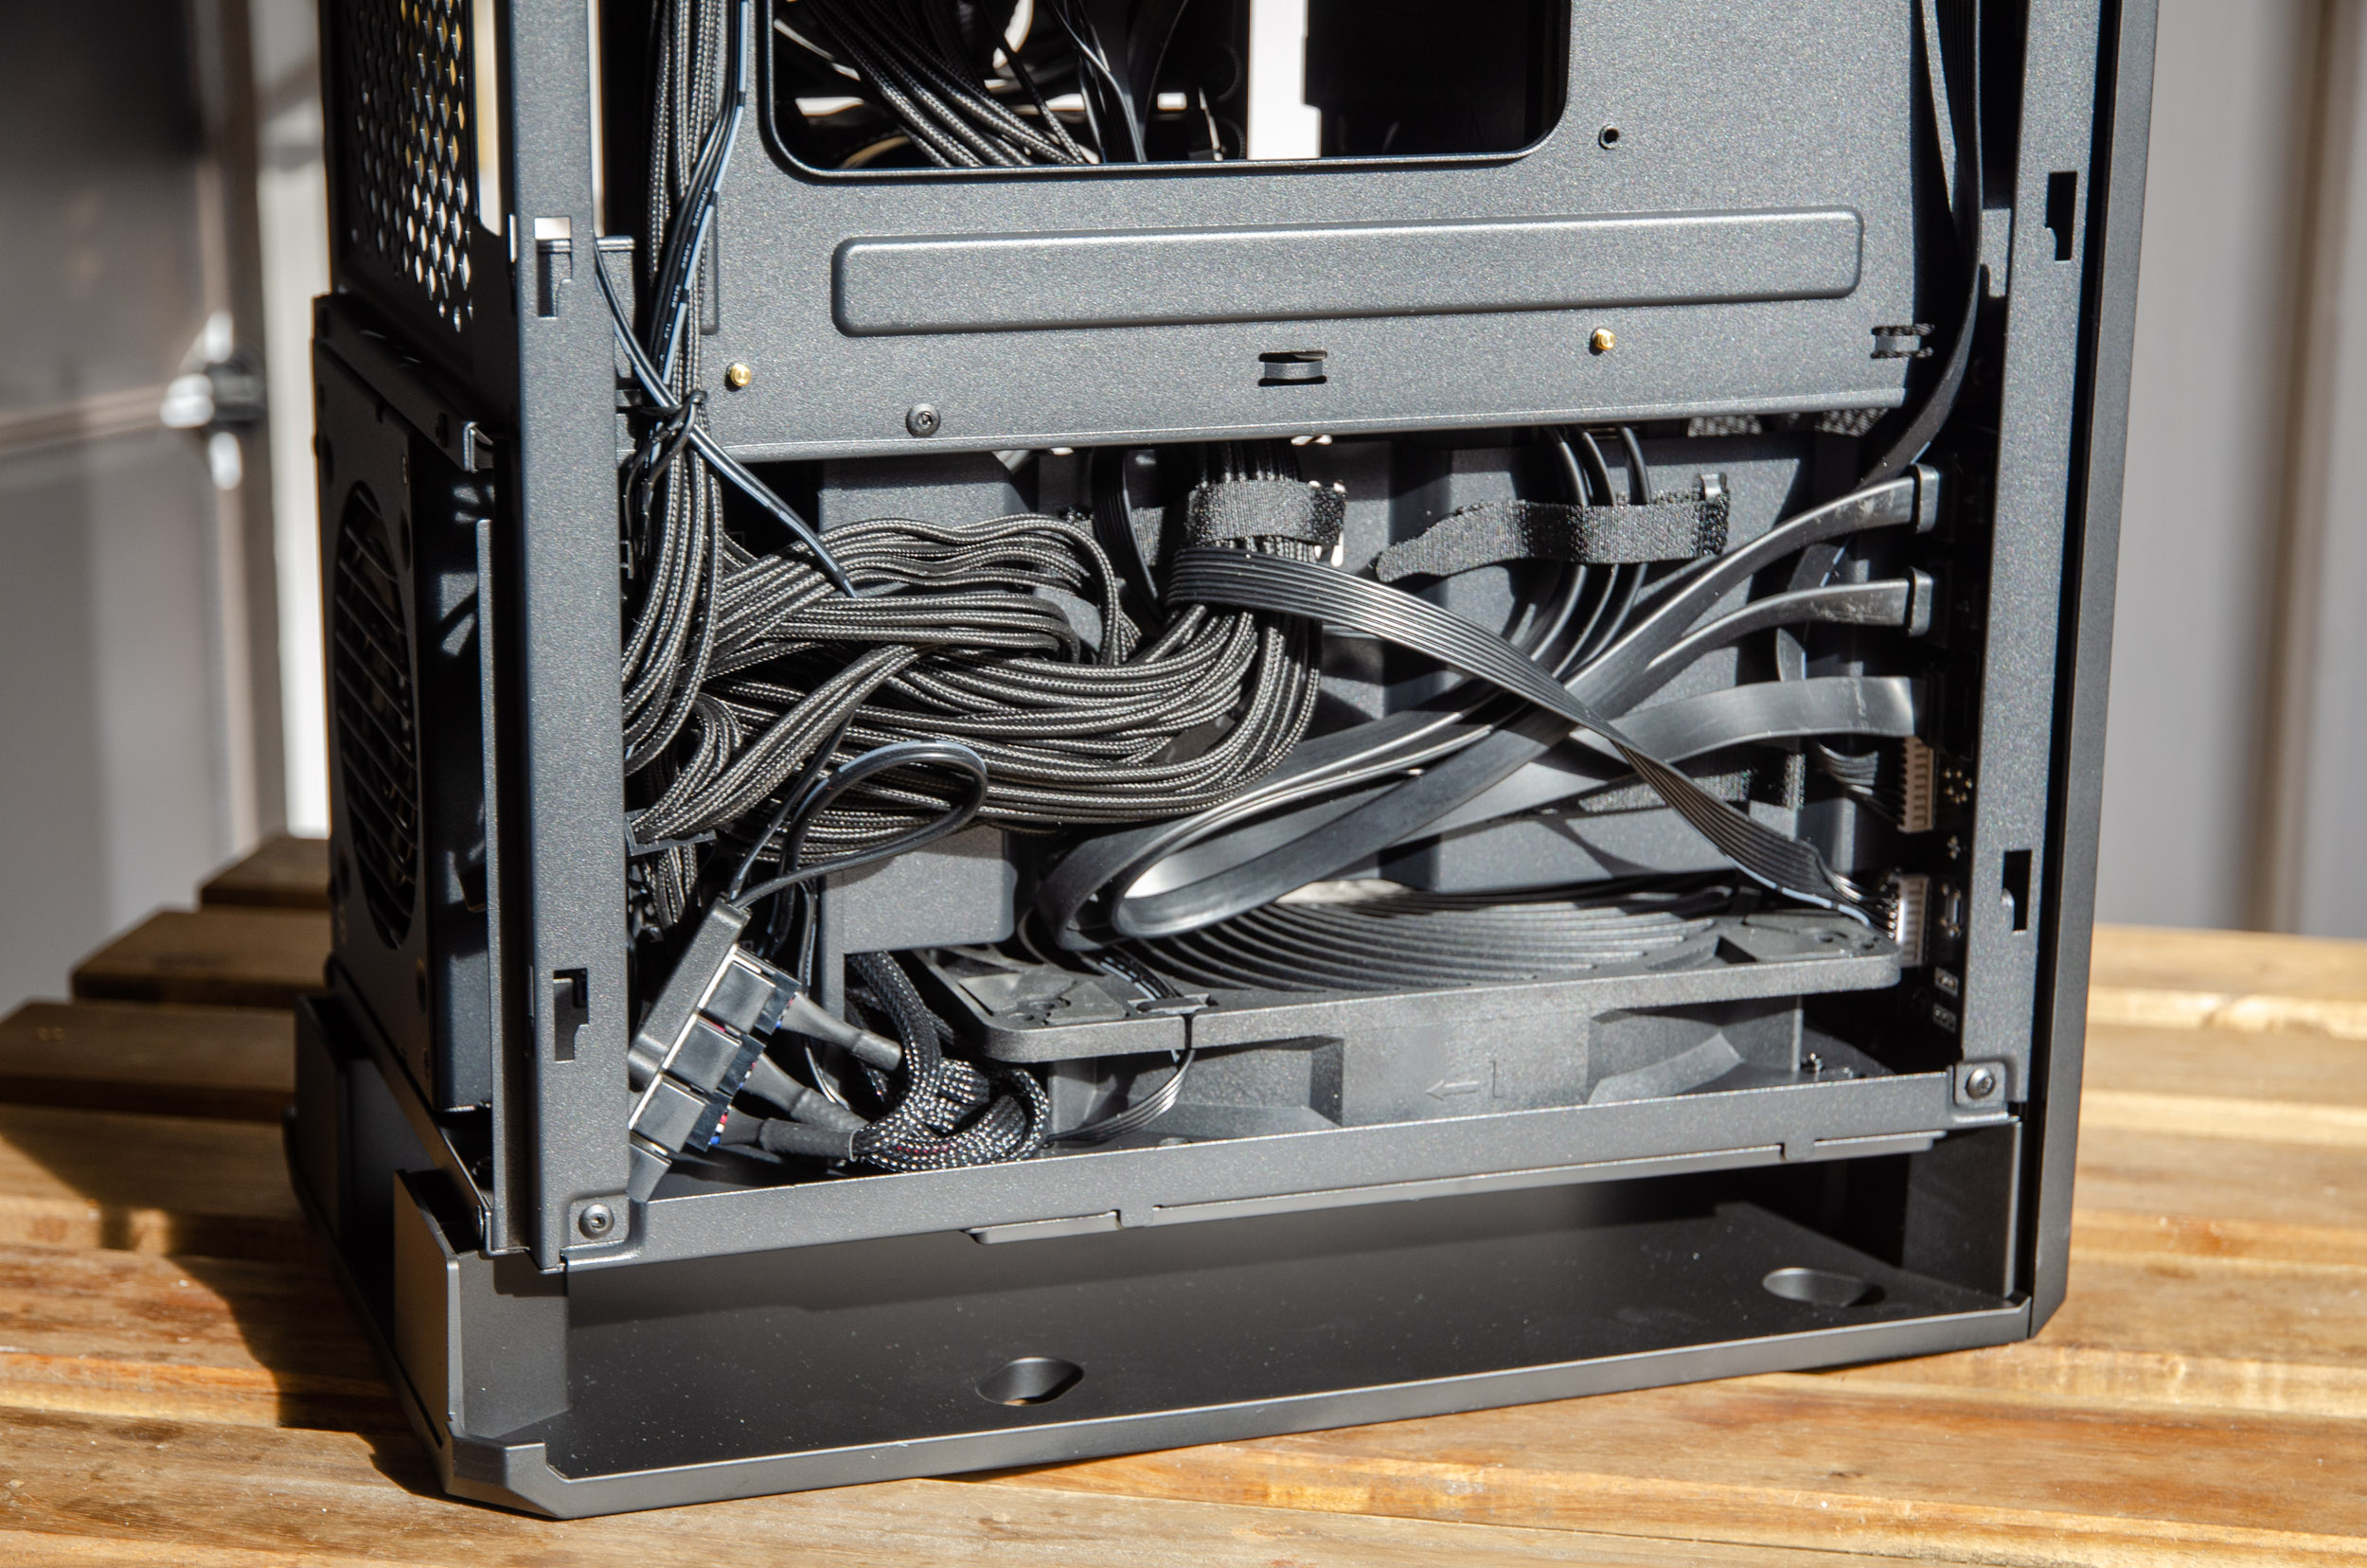
Speaking of wire management, the case has 4 Velcro straps that are highly welcomed.
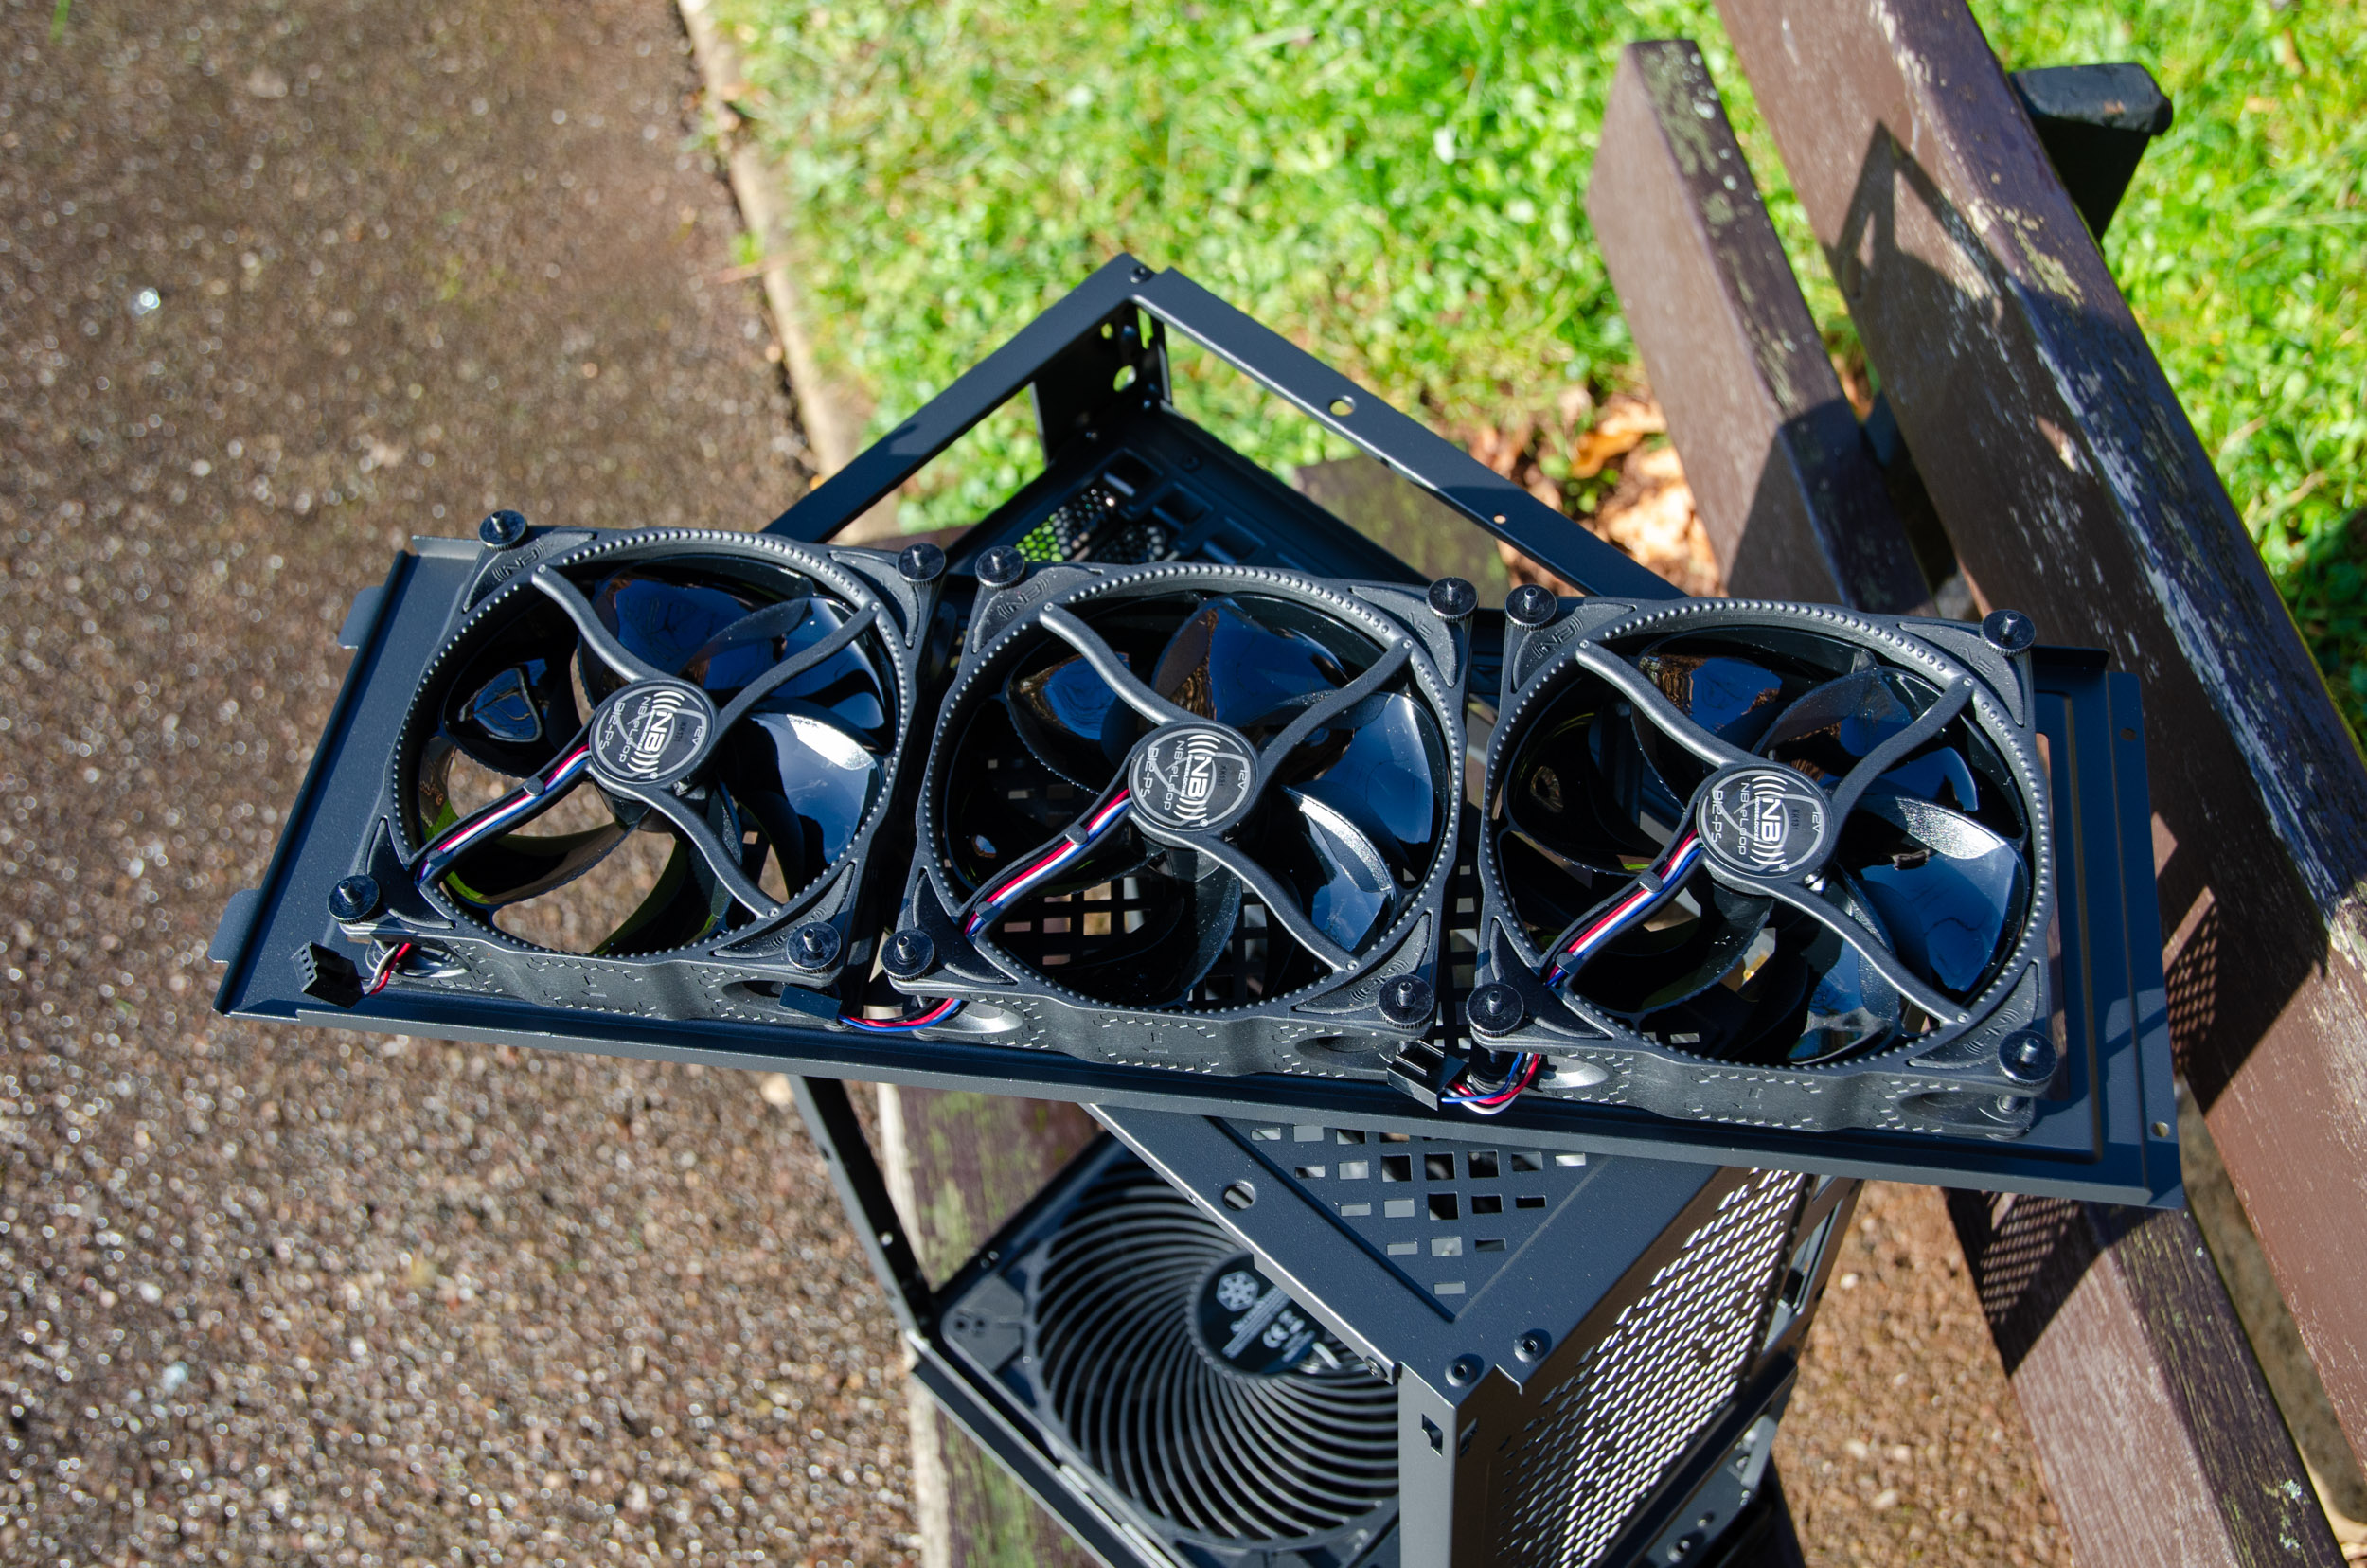
The AIO tray is removable for convenient installation and will accept 120, 240 or 360mm AIO/rads or even 2x 2.5″/3.5″ HDDs/SSDs.
Then on the rear/exhaust side of the case you can install either 2x 120mm fans or 2x 2.5″/3.5″ drives, options mentioned even here.
Really appreciate that all of the front I/O cables are in black and the Type-C port is highly flexible.
The included SilverStone Air Penetrator 184i PRO 180mm fan is 32mm thick and is rated up to 1200 RPM. Thanks to its “Shark Force” fan blade design, dual-ball bearing and actively-cooled motor will displace up to 143.21 CFM of airflow, with a static pressure of 2.22 mmH2O while not going over 34.5 dBA of sound output.
Its powered by a 4-pin PWM all black non sleeved cable, that should reach where you need to.
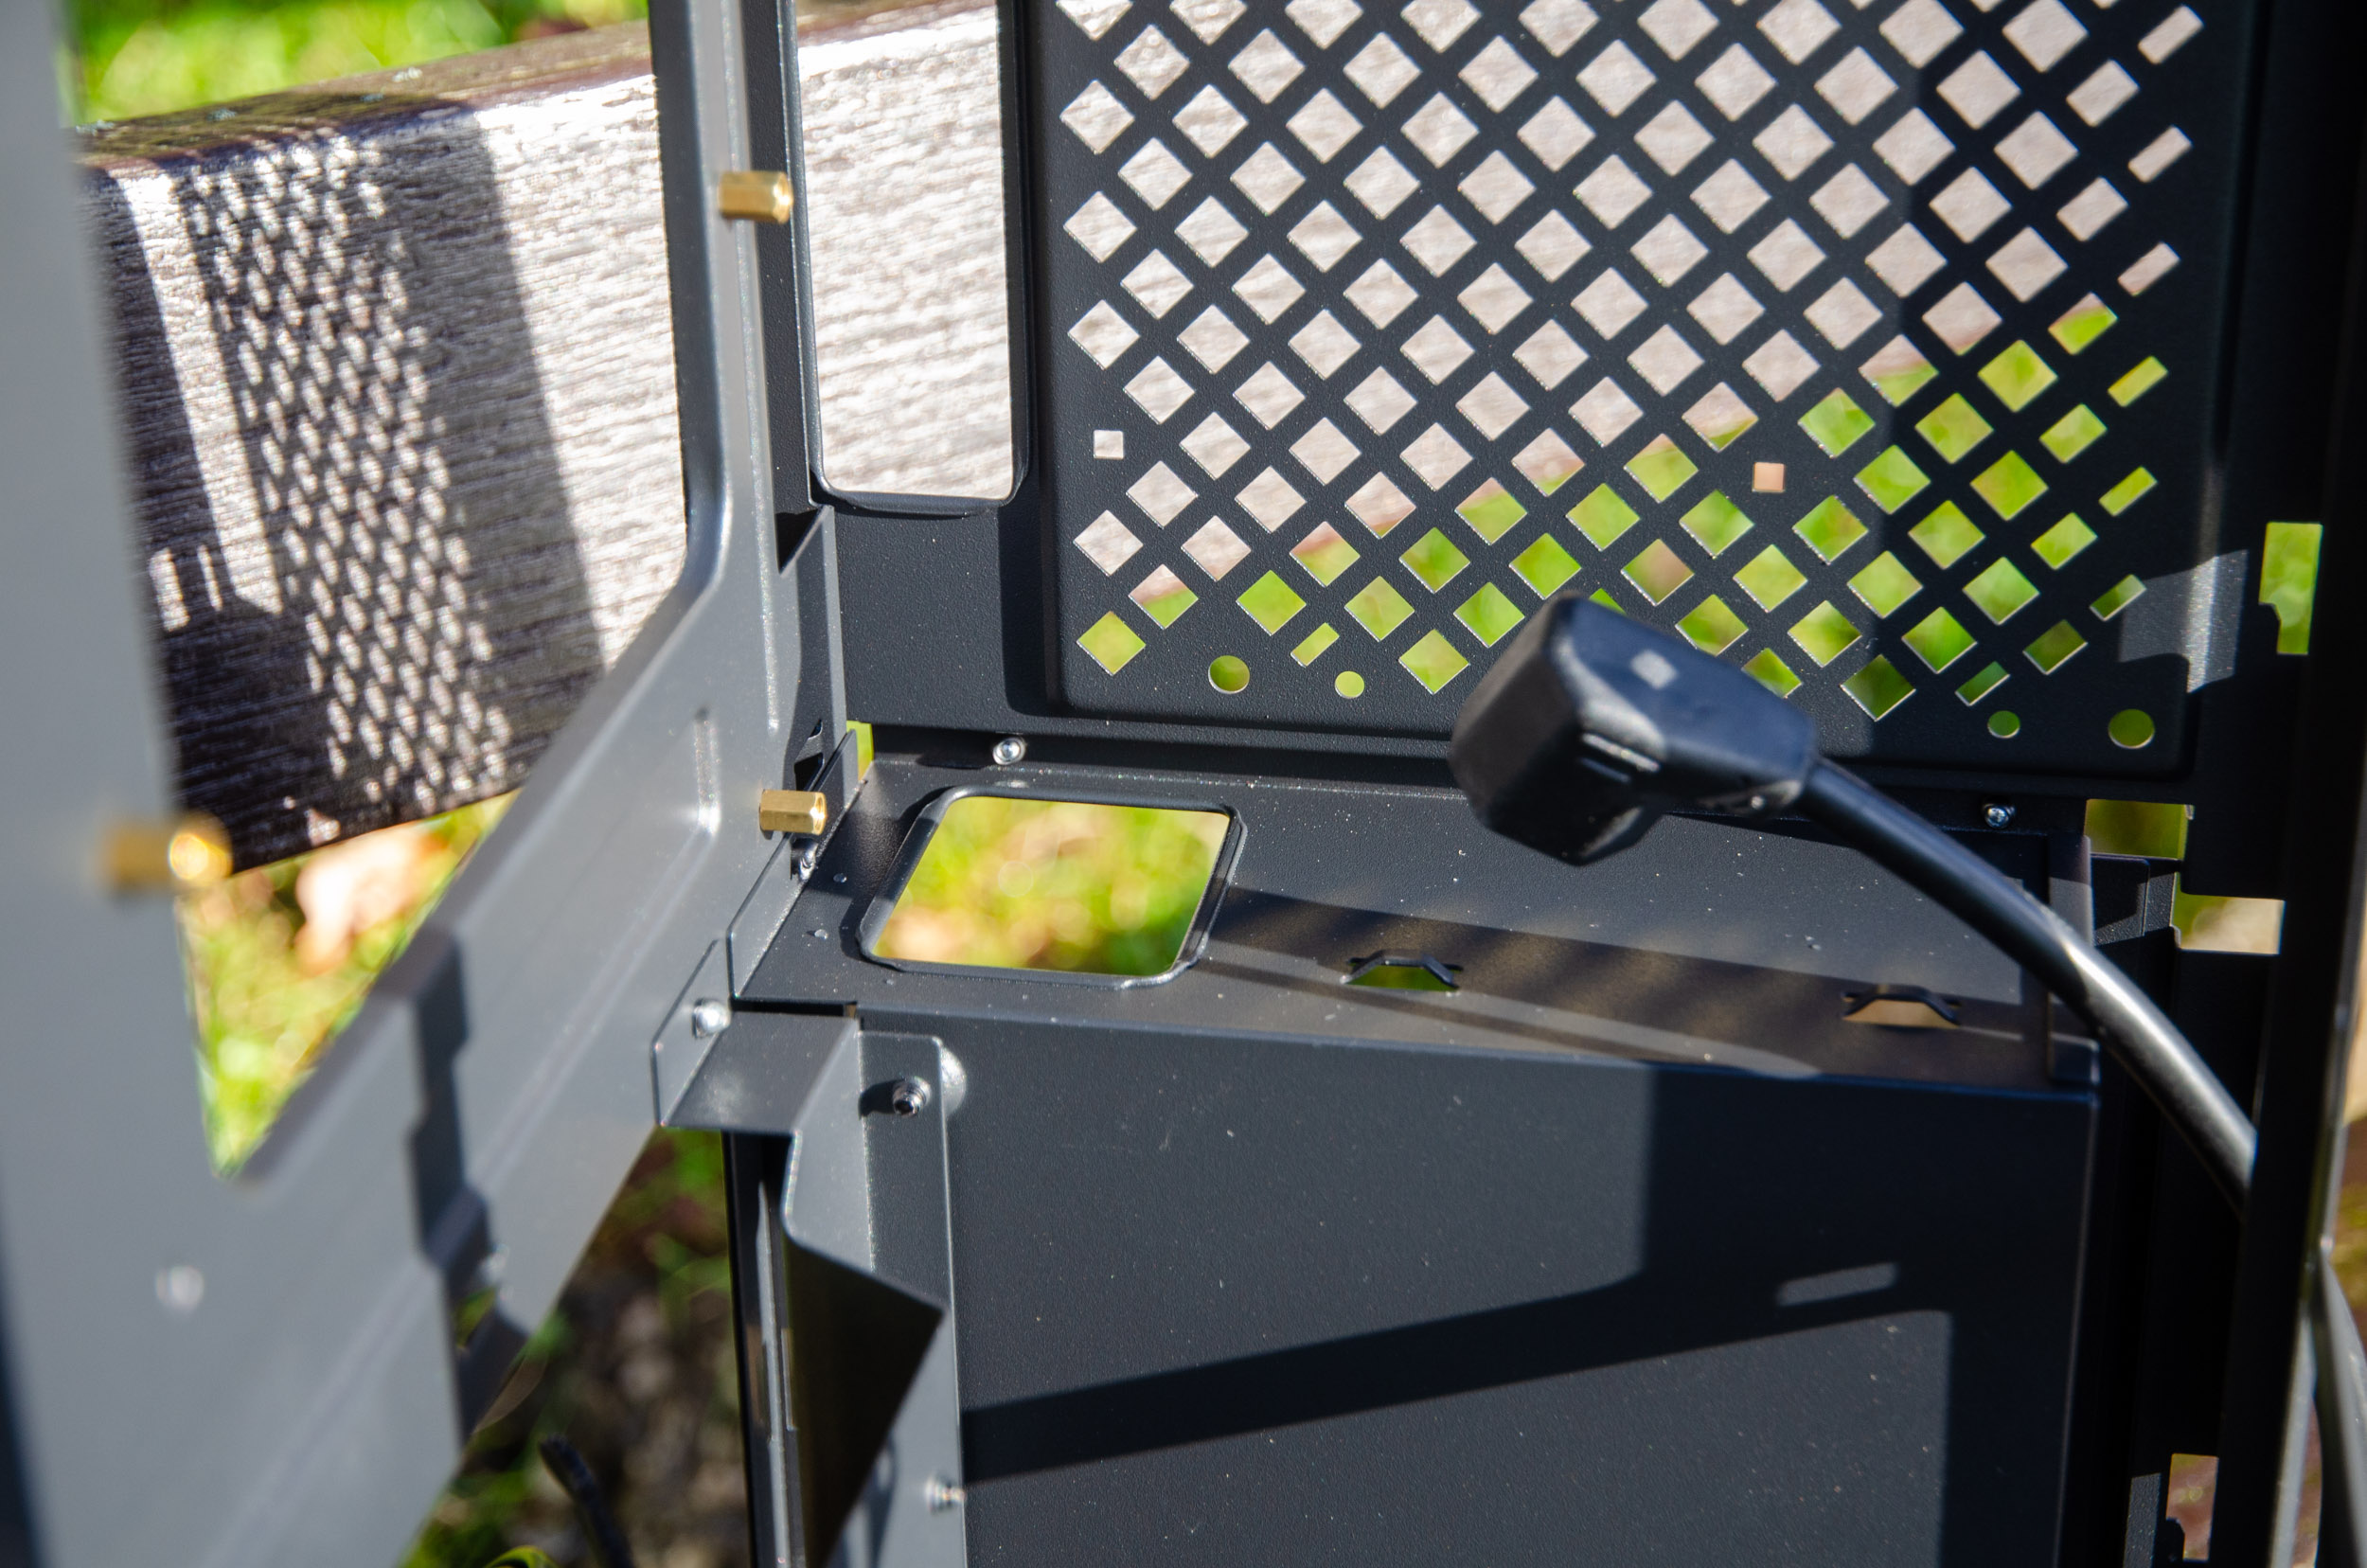
Lastly, the PSU chamber will accommodate SFX-L PSUs up to 130mm long and it has two thick rubber pads for extra fitment and vibration reduction.
This is the extension cable that will connect to the PSU.
Assembly time. Worth mentioning that the case is built and designed to be used in its original tower configuration as in, don’t place it in on its sides on the desk because it will cancel all of its native airflow intake/exhaust cycle.
The first to go in, is the motherboard with its back tray. You can install your CPU cooler later anyway because the ALTA G1M case has a big cut-out.
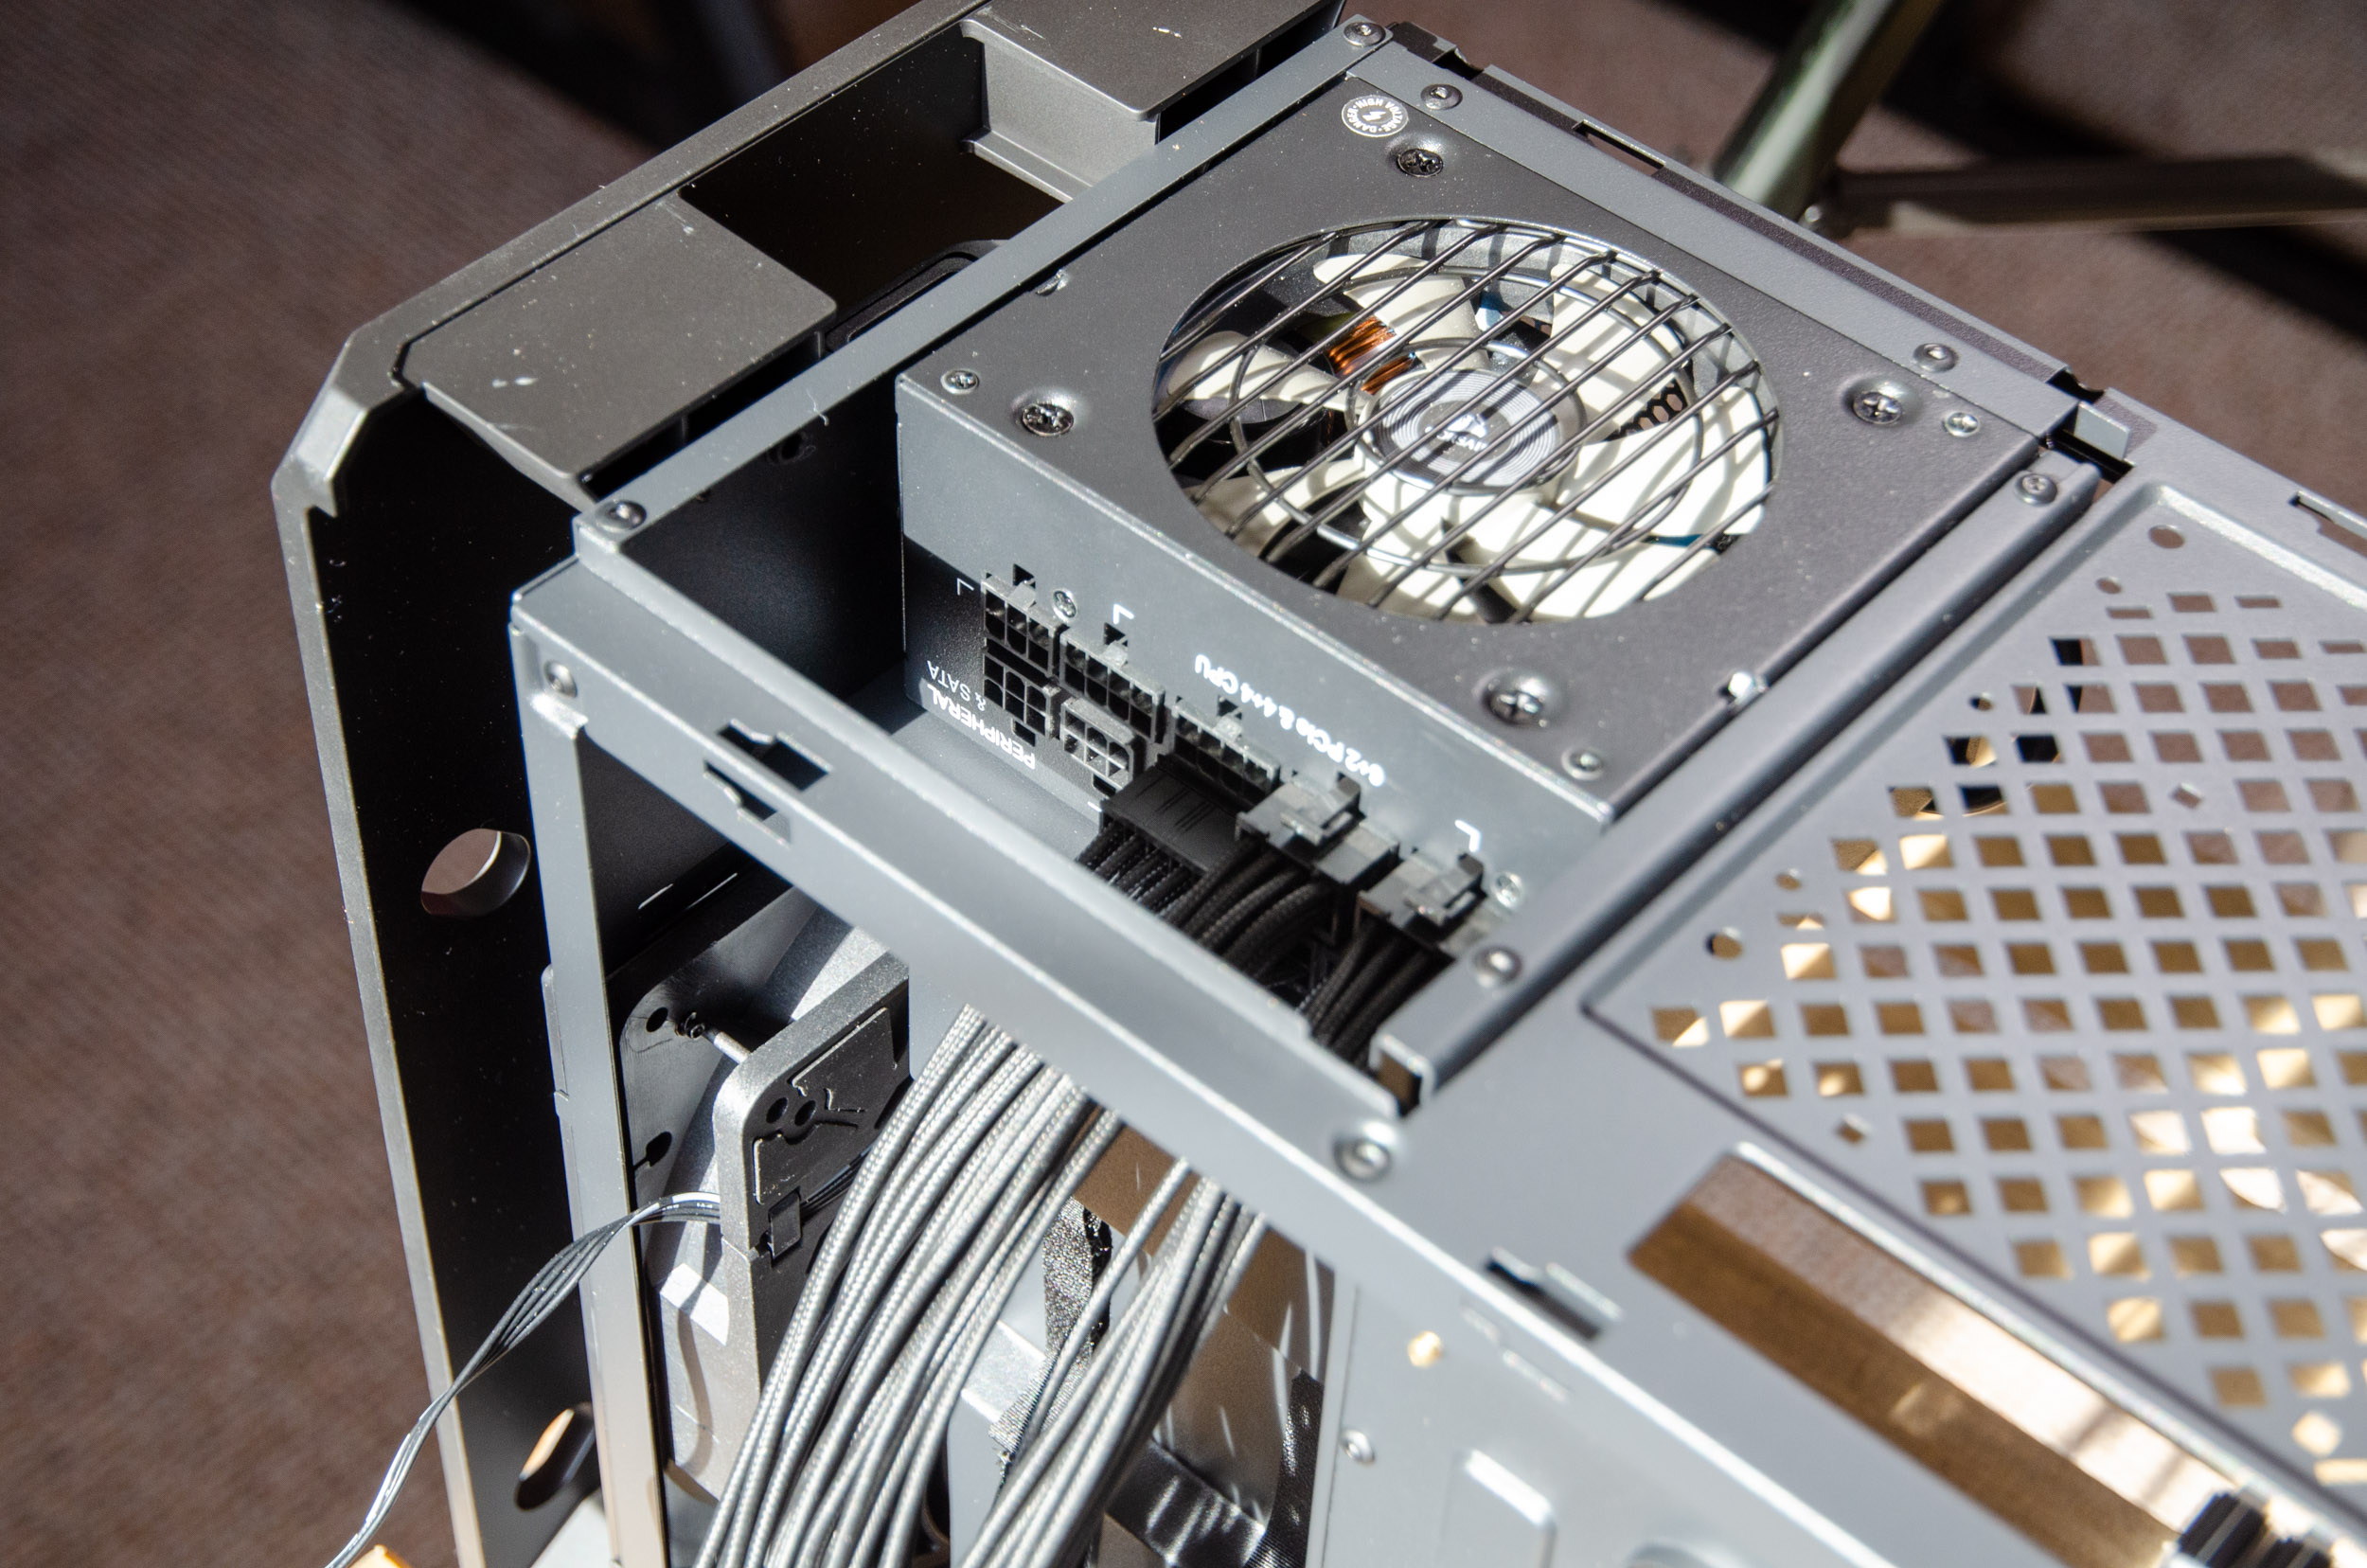
Next to go in is the PSU, in our case the shorter SFX format. This can only be installed in one way and the extension cable is long enough to reach a unit with its port further way, like our Corsair SF750W PSU.
There is plenty of space and access to install the PSU cables.
The first hiccup we discovered is that the audio plug will not reach the designated port on this particular ITX board, because after you install the GPU, there is no way to reach there. Of course, on an M-ATX board, its ports will be closer to the frame of the case because the motherboard is larger and at the same time bypass the GPU.
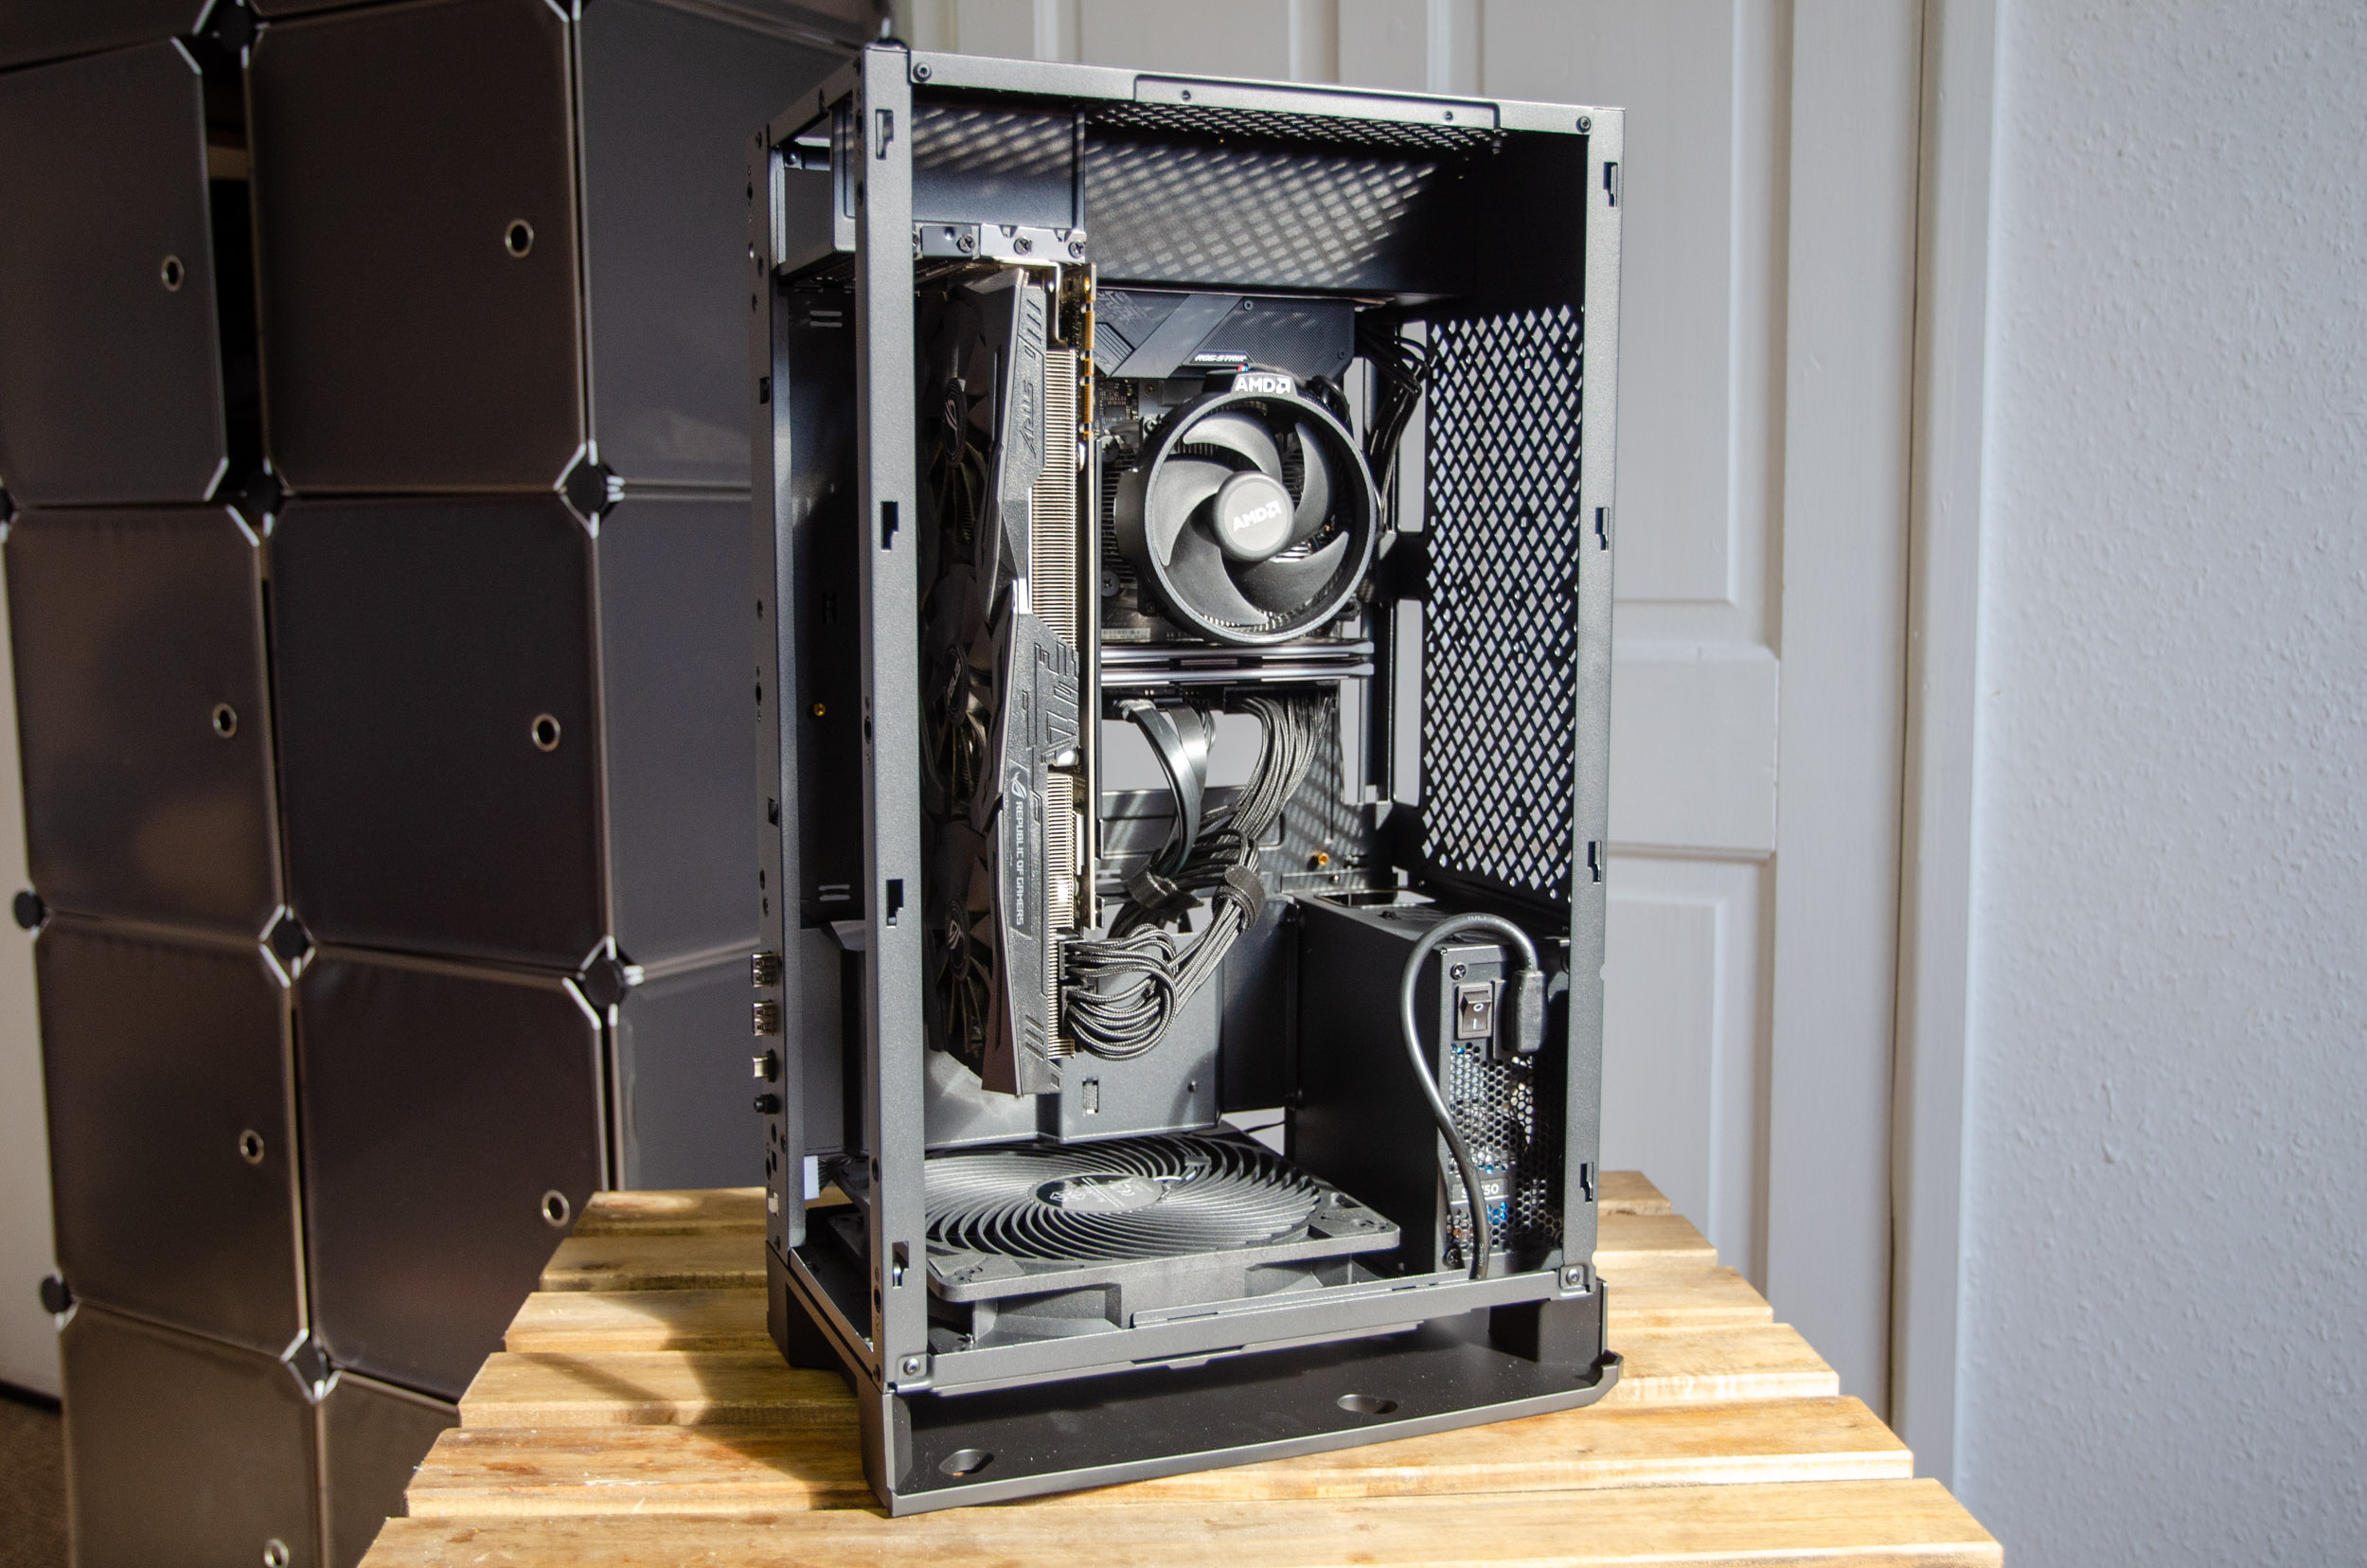
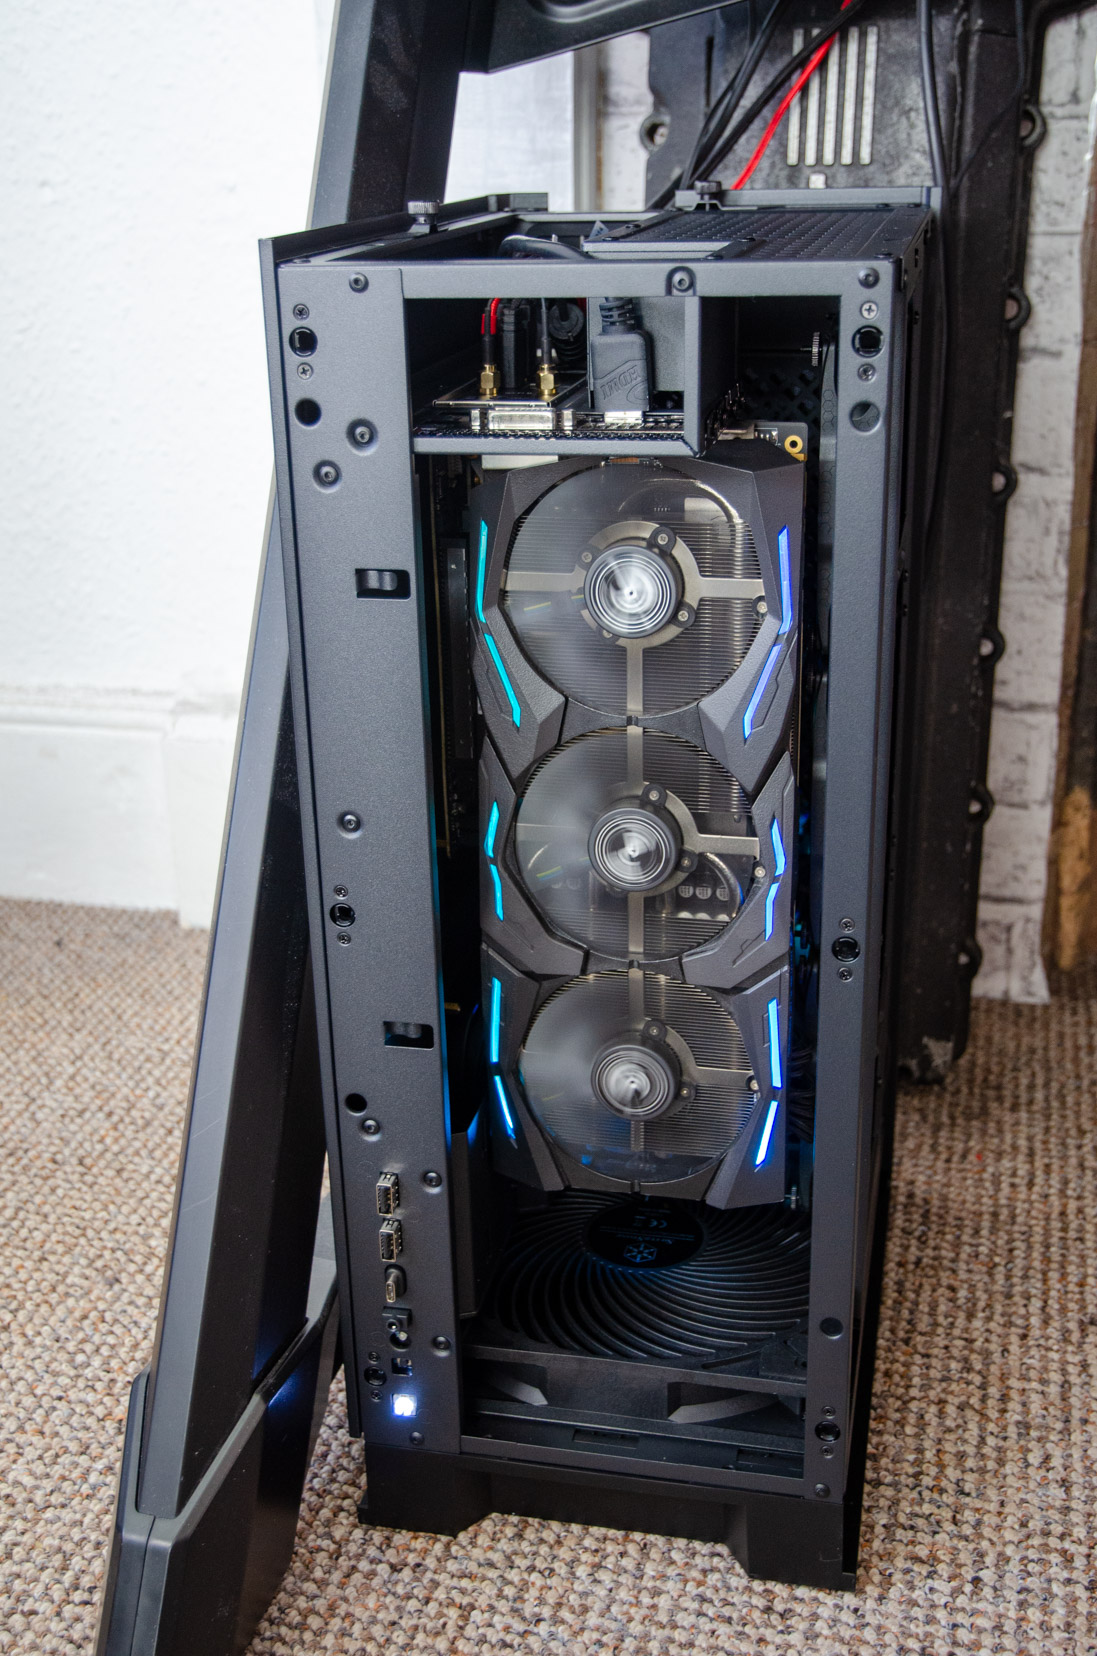
We are almost done. The GPU will “hang” basically and it will have plenty of ventilation from both sides.
Routing the wires is a breeze since we have this strategically placed chamber and the Velcro straps.
Everything reaches comfortably.
When installing a triple 120mm fan setup on the tray (or a 360 AIO) just make sure to bend/re-route on the opposite side, the GPU cables because they will push into the fans.
The fans were connected to this SATA powered fan splitter which comfortably resides in the same WM chamber.
Now for the most important part, let’s see if the case has plenty of headroom to accommodate all of the exiting cables.
Yup, it does, even the thick and hard to bend HDMI cables.
For our tiny desk, the case is a bitt too big to be placed topside, but should feel right at home on normal sized ones. So we settled for the classical under the desk position.
There is no risk of hitting it by mistakes with your legs, since it’s compact.
From this angle we can see how well the GPU will be vented.
The finalized build turned out quite a stunner.
Testing methodology
- The SilverStone case will be packed with a variations of component to test for any clearance issues and then we will test the build with the pre-bundled fan(s) at 30, 50 and 100% RPM points to record the CPU & GPU temperatures
- The AMD Ryzen 5 5600x CPU will be tested at 4.0 GHz @ 1.05v as the baseline parameter since in stock form, the results are highly inconsistent dues to the board’s BIOS pumping highly volatile voltage values
- As the main torture test, we will employ a 2 minute run in AIDA64
- Room temperature was recorded at ~18°C
- For the noise testing, we used our Pyle PSPL01 placed 30 cm away from the setup - all other fans will will be off or set at minimum RPM
- Thermal paste used Noctua NH-H2
- All of the side panels will be attached
- Any results over 90°C in any condition are considered a fail
Testing platform:
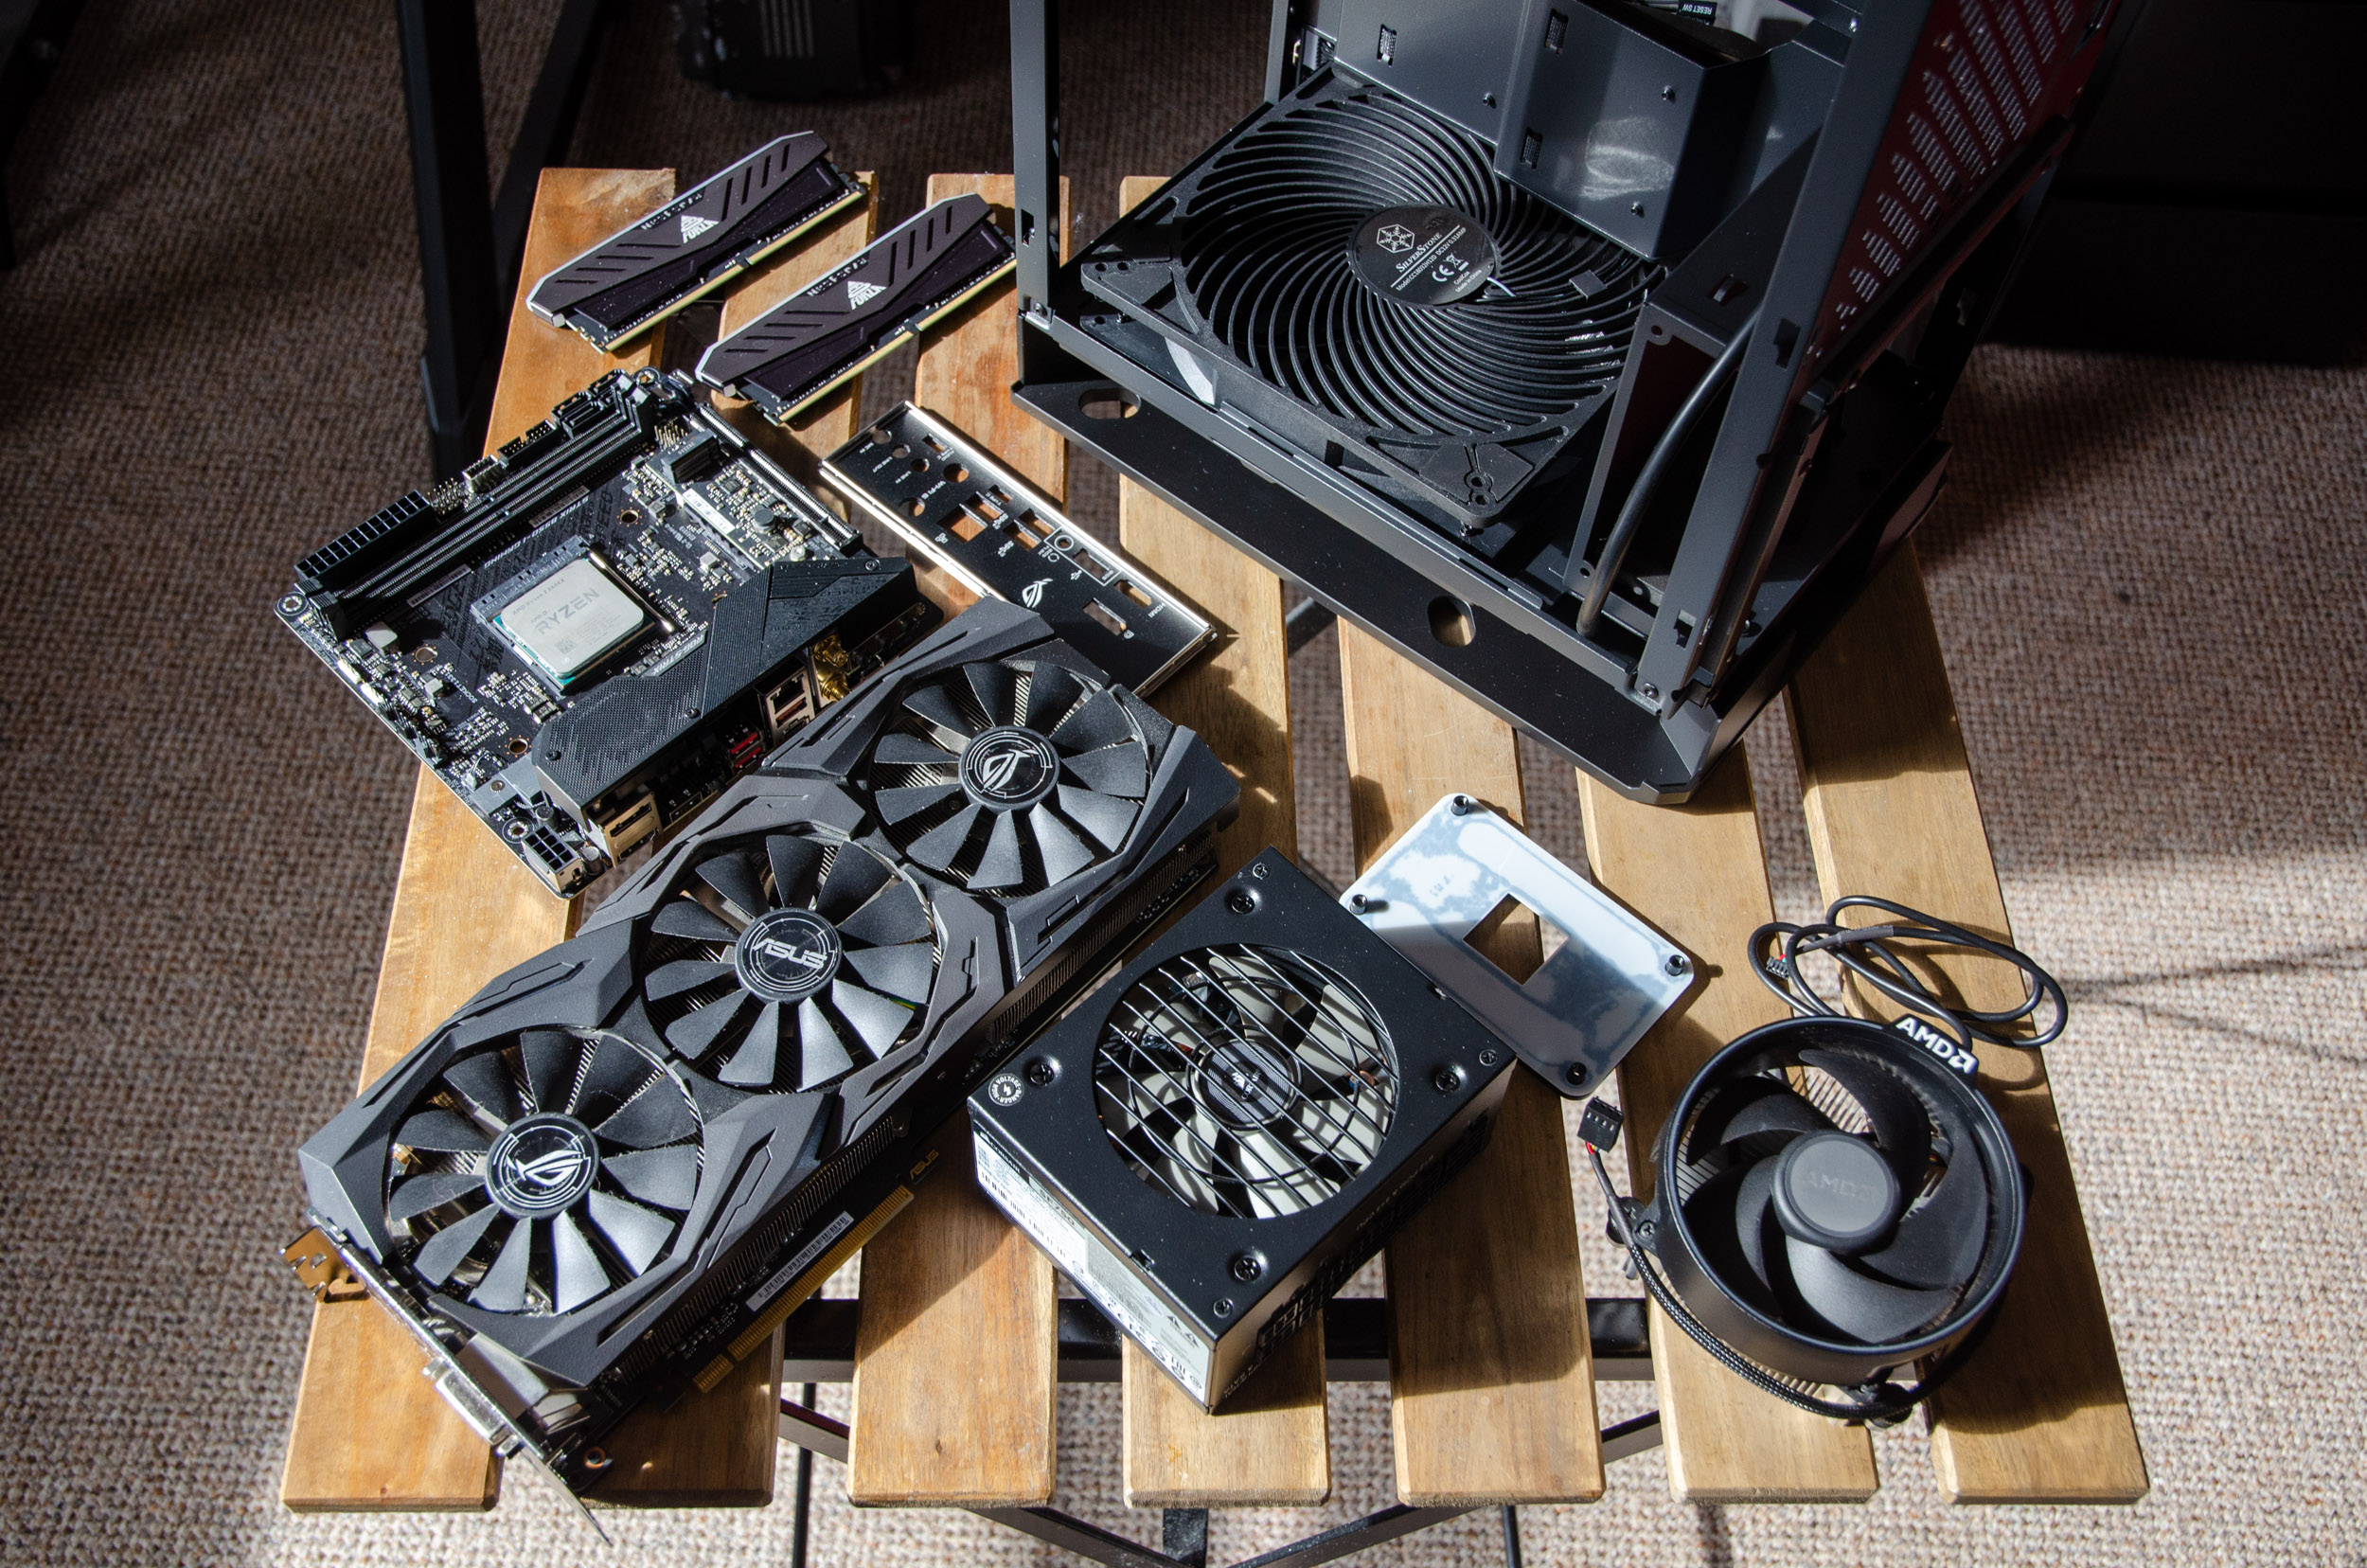
- CPU: AMD Ryzen 5 5600x @ 4.0 GHz/1.05v
- CPU Cooler: AMD Wraith Spire RGB
- Motherboard: ASUS ROG STRIX B550-i Gaming mITX @ BIOS 2407
- RAM: 64GB Neo Forza MARS RGB 3200 MHz CL16
- Boot SSD: Samung 970 PRO 1TB M.2 Gen3x4 MLC PCIe NVMe 1.3
- Video card: ASUS GTX 1080 STRIX A8G
- PSU: Corsair SF750 SFX Platinum
- Case: SilverStone ALTA G1M Micro-ATX Super Tower
Software:
- OS: Windows 10 Pro x64 Version 21H1
- NVIDIA Drivers - 511.79
- CPU-Z v1.95 - To verify the CPU’s and RAM’s statistics
- Core Temp v1.17 - To see the temperatures in real time
- AIDA64 Extreme v6.60 - Memory analysis and Benchmark suite
- MSI Afterburner v4.62 - To record the FPS and load/temperatures
- Cinebench R23 - Great CPU benchmark tools
- 3D/Game(s) - Assassin’s Creed Valhalla set at FHD, with everything at Max quality Settings, no V-Sync
Testing, Results and Analysis
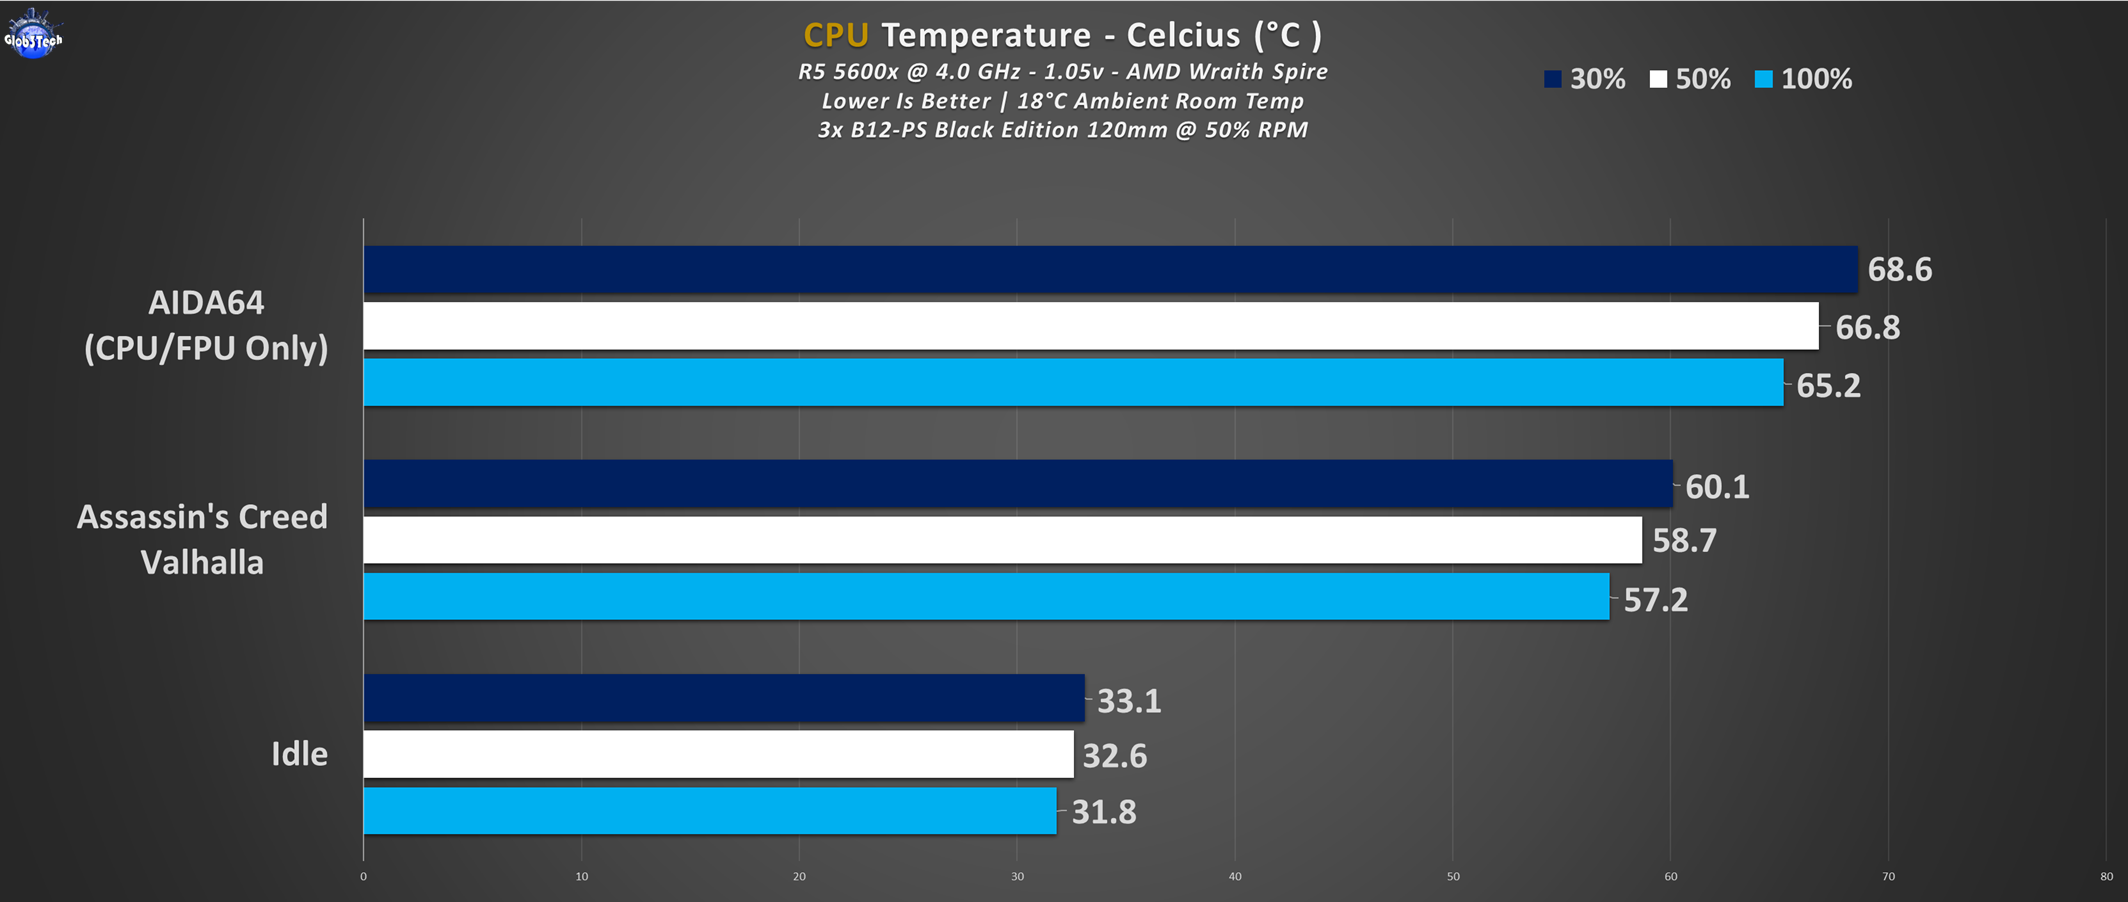
Let’s inspect the CPU temps where the aftermarket fans are set at 50% RPM and we will only monitor the effects of the pre-installed SilverStone 180mm fan. Even with a stock CPU cooler, the case has superb airflow and breathability.
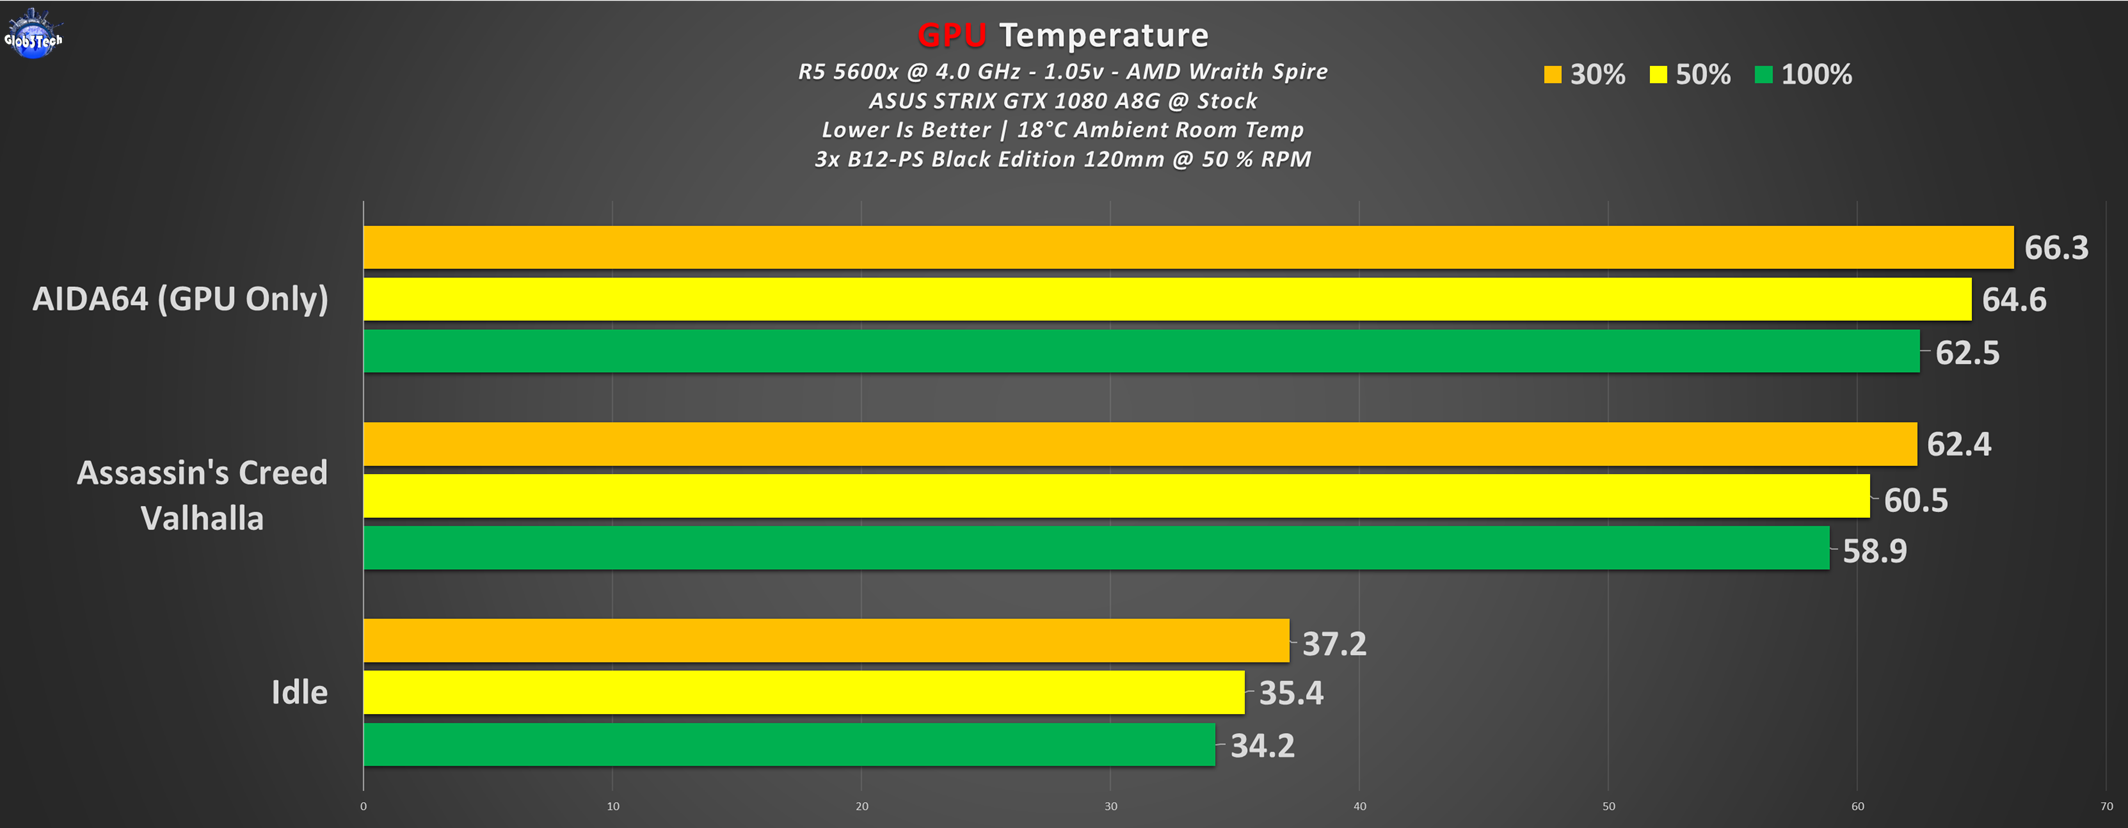
Same scalability in dropping the GPU temps as the 180mm fan’s RPM increase.
Regarding the noise test, realistically most people will keep the settings at 30 or 50% RPM for the fan(s), hence why we haven’t included the 100% spot, because no matter what the components do in the case, their sound will be overridden by the case’s fan(s) which is over +45 decibels.
Thus at 30 and 50% with a recording spot from 30cm away, the overall noise output for this setup, with the OEM CPU cooler set on the Silent mode, and the aftermarket fans and the GPU air cooling set also on minimum RPM, the SilverStone Air Penetrator 184i PRO 180mm fan is quite silent for its size and power.
Conclusion
This is a surprisingly efficient case since it uses the simplicity of its M-ATX support. This in turn helps the layout for ITX builds as well because there is no need to a rise cable, thus reducing build costs. Furthermore it’s highly capable since you can even install a dual-SLI setup if you really want to (on a Micro-ATX board). It will accept any modern GPU you can think of up to a 4 slot wide monster (sans stock AIO ones due to the vertical existing tubes on the GPU). Then the build experience is rewarding thanks to its well thought interior layout. The included 180mm fan is excellent on coping even on its own since it’s placed strategically on the bottom and has direct line of sight of all of the main components. It’s a bit pricey and it my not have an over the top and striking exterior design but these reasons alone should not steer you way from it because, considering its versatility, it’s a long term winner!
The good:
+ Excellent airflow
+ Highly capable of accepting large GPUs and up to 360 AIOs/rads
+ Easy to build in thanks to its clever interior layout
+ Minimalist outer design with plenty of dust filters
+ Supports M-ATX & ITX
+ WM location
+ Included 180mm fan
The bad:
- The front audio plug might not reach the port on certain ITX boards
- Pricey


