

For two years I have waited for this to come true and now the wait is finally over !
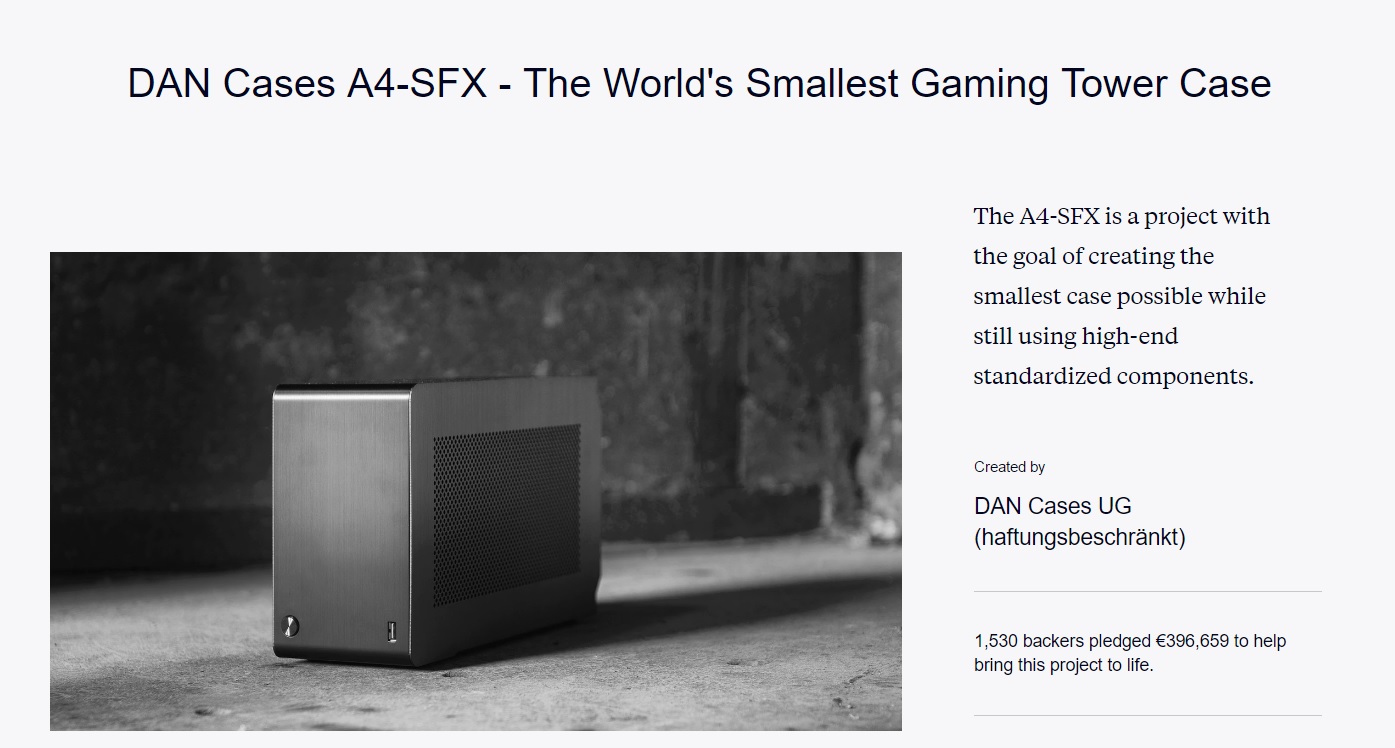
We proudly present another highly successful Kickstarter project, one man’s vision to make the smallest gaming case possible that uses standardized components. And oh my gosh what he has created.
So this is a product addressed to a niche market, a landmark already established by the NCase M1 (another crowdfunded epic case that shares some points with the A4) but the Dan A4 SFX sacrifices some versatility for ultimate form factor and space optimization.
So without further ado, let’s see what makes this thing so damn special.
About DAN Cases UG

Founded in 2016, it’s about one man’s vision to create something unique and special with a single purpose in mind: to create the perfect case for SFF (Small Form Factor) enthusiasts, those who need a highly portable system, developers who require a case with a smaller footprint due to limited desk space, and gamers who want a high-end PC experience in their living room.
Price when reviewed:
£ 249.95 – via Overclockers.co.uk
A4-SFX Mini-ITX Gaming Case – Black/Silver
€ 259.90 – via Caseking.de
A4-SFX Mini-ITX Gaming-Gehäuse – Schwarz/Silber
*As of the date of the review, the above are the only sources to procure/preorder the case when they will become available, later this year – the first batch, of ~ 2000 cases went to the backers.
Please enjoy the full video review as well !
And here is the updated configuration on AIO cooling !
Presentation and specification
Courtesy of Dan’s website:
Passion and vision created this small gem, way back in 2013. The project started on the forums of Computerbase, Hardwareluxx, PC Games Hardware and Hardforum (with over 1,5 million views to date) and with so much support and worldwide interest , Daniel Hansen decided to build the case and make so many PC builders, mini-case enthusiasts and gamers very happy.
Then the Kickstarter campaign started in 2016 and he reached the desired goal in just a few hours !
And by the time the campaign ended almost 400.000 Euros were raised.
So, why is this case so small ? Well because it has a dual chamber design and the trick was that it uses a PCI-E riser that positions the GPU vertically (parallel and opposite with the miTX motherboard).
Thus the end result is one of the most efficient layouts out there.
Even though this case has no support for fans, another bonus of this unique design is that all the main components take fresh air directly from the outside because the panels fit perfectly and so close to the components. Speaking of, all the removable panels are made of 1.5 mm aluminum brushed and anodized perforated sheet, subcontracted by Lian-Li. (again, the same as the NCase M1)

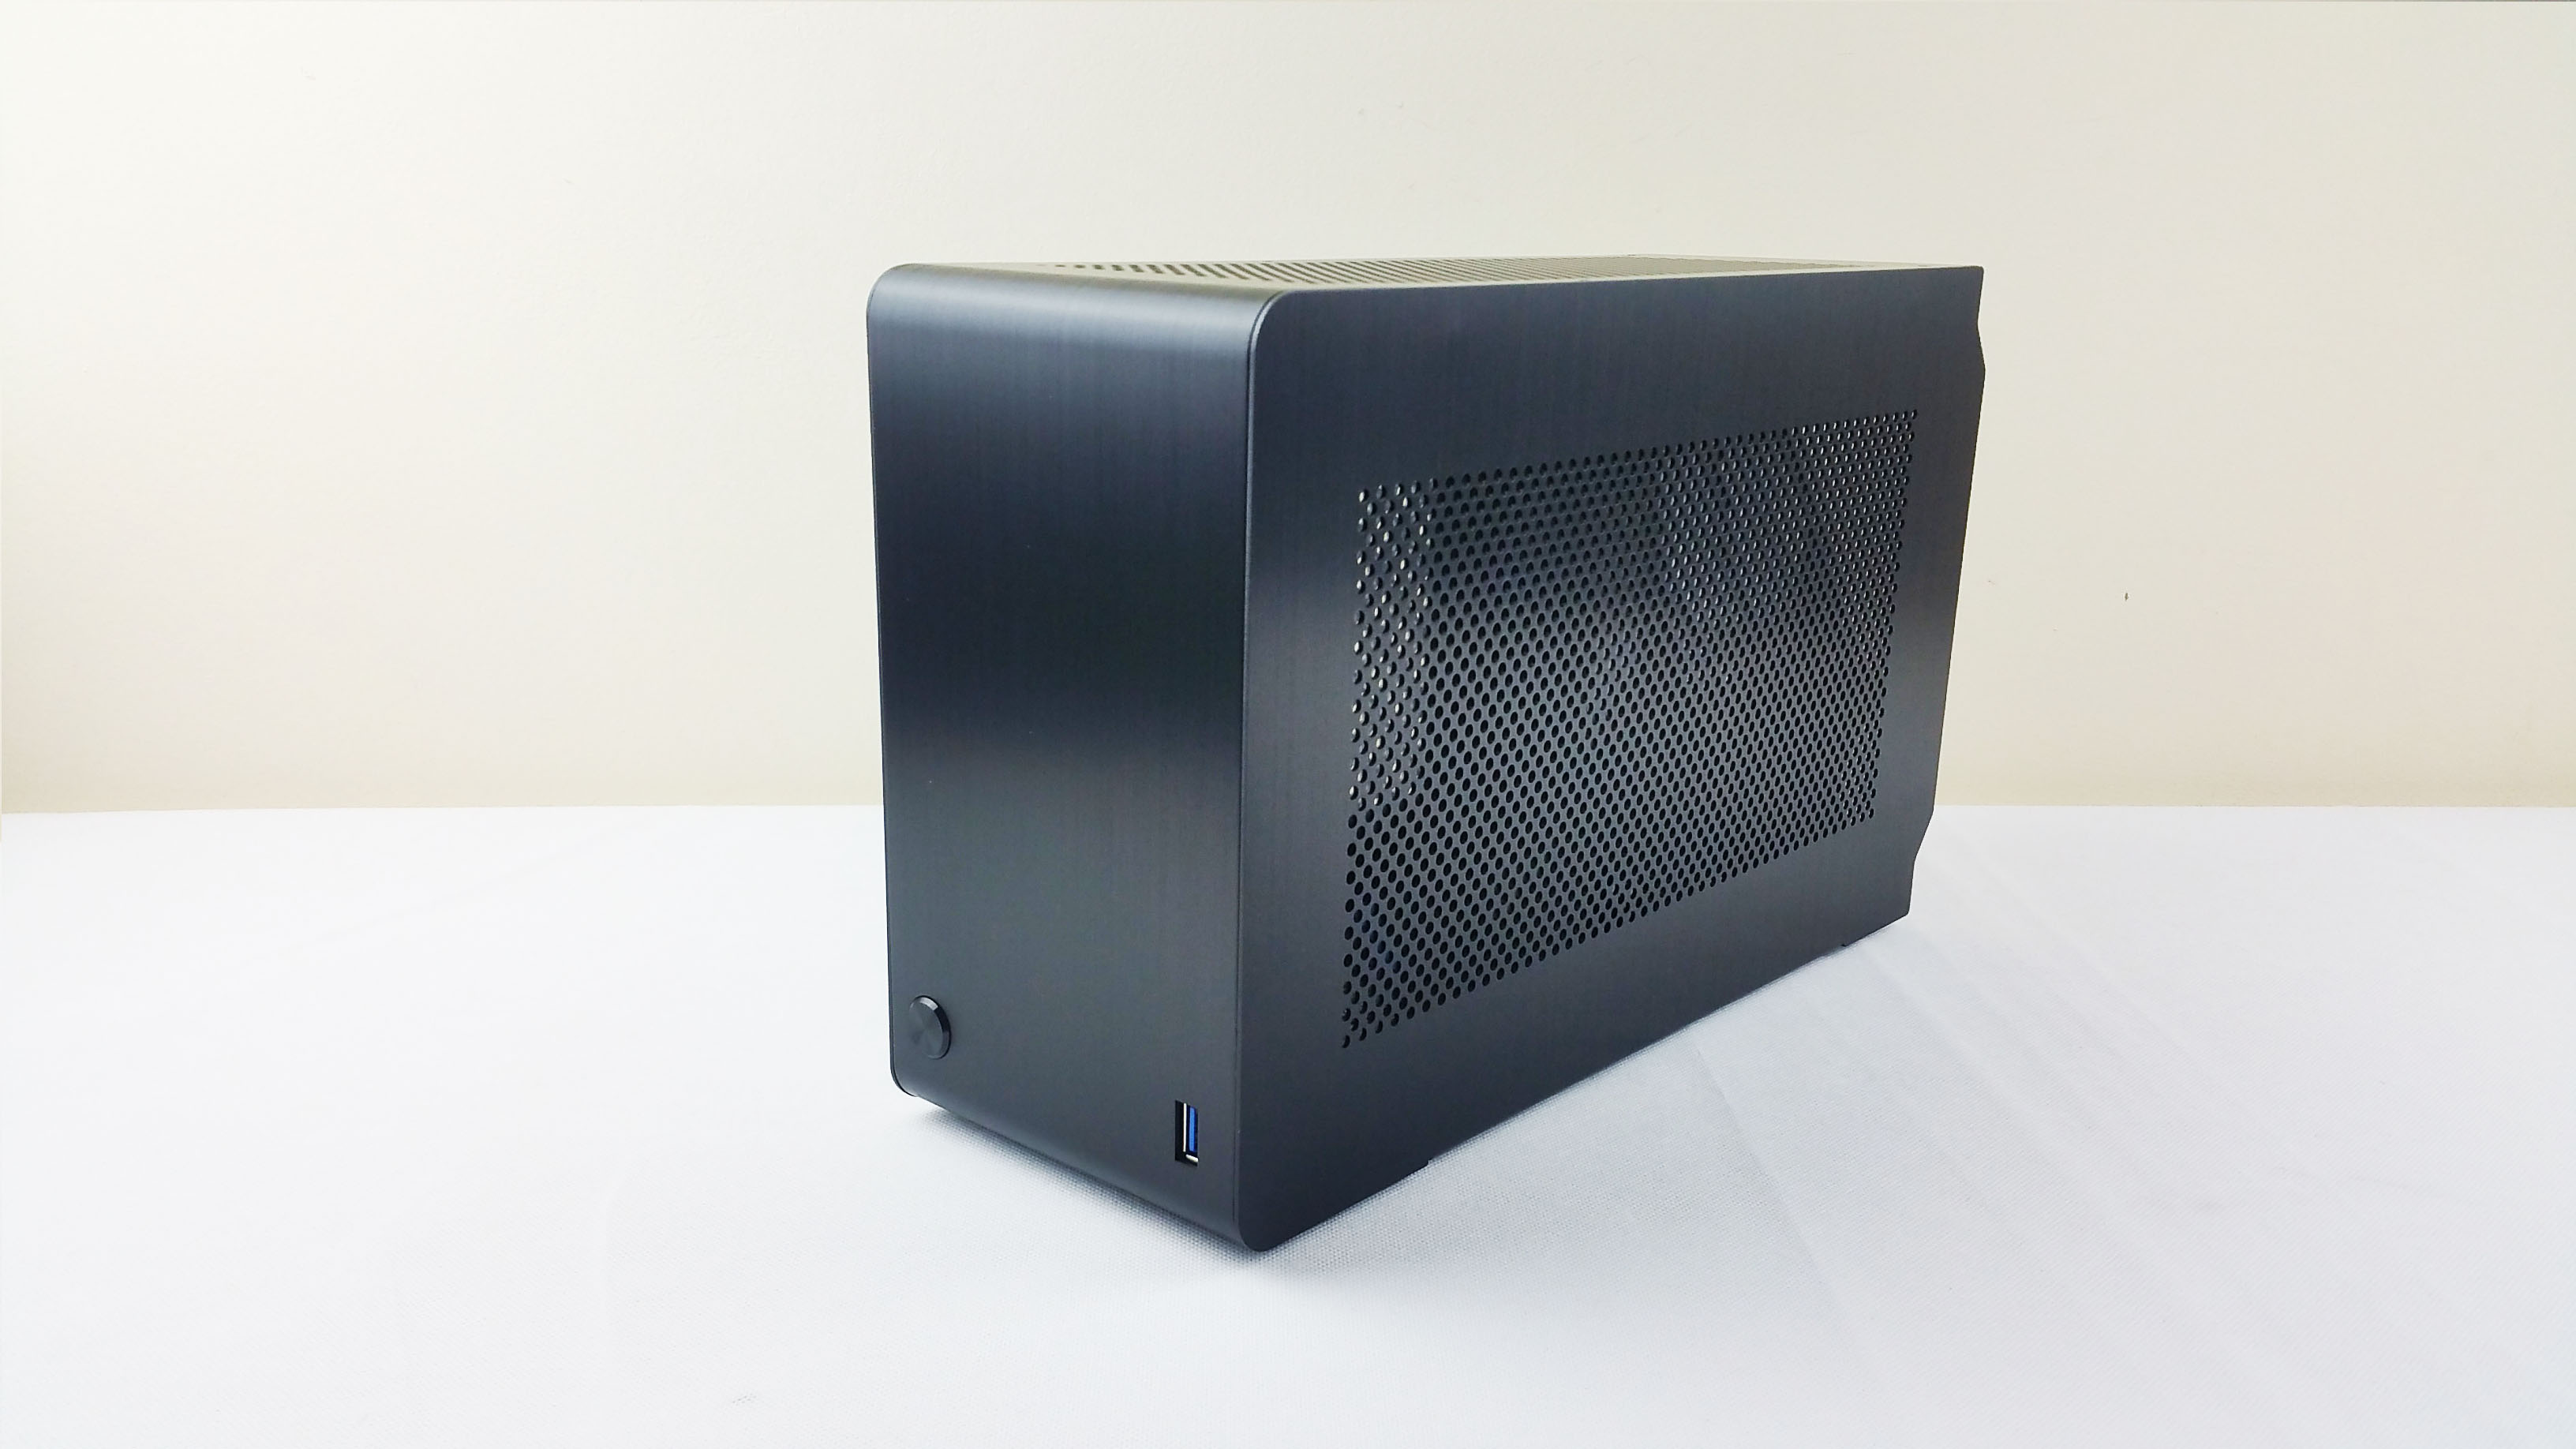
At a mere 7.25 L, nothing gets close to it.
Even the NCase M1 is almost double the volume at 12.6 L.
A cube mITX case like the Thermaltake Core V1 is at 22.68 L, or a mATX case the BitFenix Prodigy M has 26.4 L and a mid tower case they are all over 30-40 L.
So yes, it’s that small.
Heck, if you look at the overall dimensions (11.2 x 20.5 x 32.7 cm), it’s even smaller that a regular shoe box !
So here are the main features:
- Extremely compact dimensions (11.2 x 20.5 x 32.7 cm) with a volume of just 7.25 litres
- Premium aluminium with a brushed surface
- Excellent workmanship thanks to the Lian-Li manufacturing
- Requires no case fans of any kind due to the component-dependant cooling
- Supports full-fledged gaming graphics cards (e.g. NVIDIA GeForce GTX 1080)
- 3M Riser Module with full PCI-Express 3.0 speeds – best on the market
- Accepts mini-ITX form factor motherboards (including all AMD & Intel platforms)
- Space for powerful SFX or SFX-L power supplies & two or three 2.5″ storage devices
- Innovative design with a comprehensive installation guide in German & English
- Dimensions: 112 x 205 x 327 mm (W x H x D – with feet & side panel overhang)
- Dimensions: 112 x 200 x 317 mm (W x H x D – just chassis)
- Material: Aluminium (anodized, brushed)
- Material Thickness: 1.5 mm
- Weight: 1.25 kg
- Volume: 7.25 L
- Colour: Black / Silver
- Form Factor: Mini-ITX
- Total Possible Fans: none
- Drive Slots:
2x 2.5″ (drive enclosure, max. 15 mm height, with SFX-L PSU only 1x possible)
1x 2.5″ (behind the front panel, max. 9 mm height) - Power Supply: SFX or SFX-L (optional)
- Expansion Slots: 2 (Dual-Slot)
- I/O-Panel: 1x USB 3.0 (internal connection)
- Special Feature: 3M PCIe 3.0 Riser module for GPU installation
- Maximum CPU Cooler Height: 48 mm
- Maximum GPU Length: 295 / 306 mm (without/incl. bracket)
- Maximum GPU Height: 144 mm (from the bottom of the PCIe slot)
- Maximum GPU Width: 40 / 45 mm (without/with backplate)
- Maximum RAM Module Height: 52 mm
- Maximum PSU Length: 130 mm
Then technical specs:
Hardware Compatibility:
Don’t let the small footprint scare you, as seen from the compatibility list; you have nothing to worry about – I kid you not; it has better GPU clearances that most mITX or mATX cases.
Scroll down please.
27.05.2017 Update:

Dan just launched another Kickstarter (link) campaign, this time for the V2 variant which will include among the most interesting par, cutouts and mounting area for a 92 mm AIO ! We already modded our V1 case (the video at the beginning) to accept the AIO.

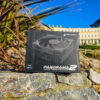
Packaging and Visual Examination
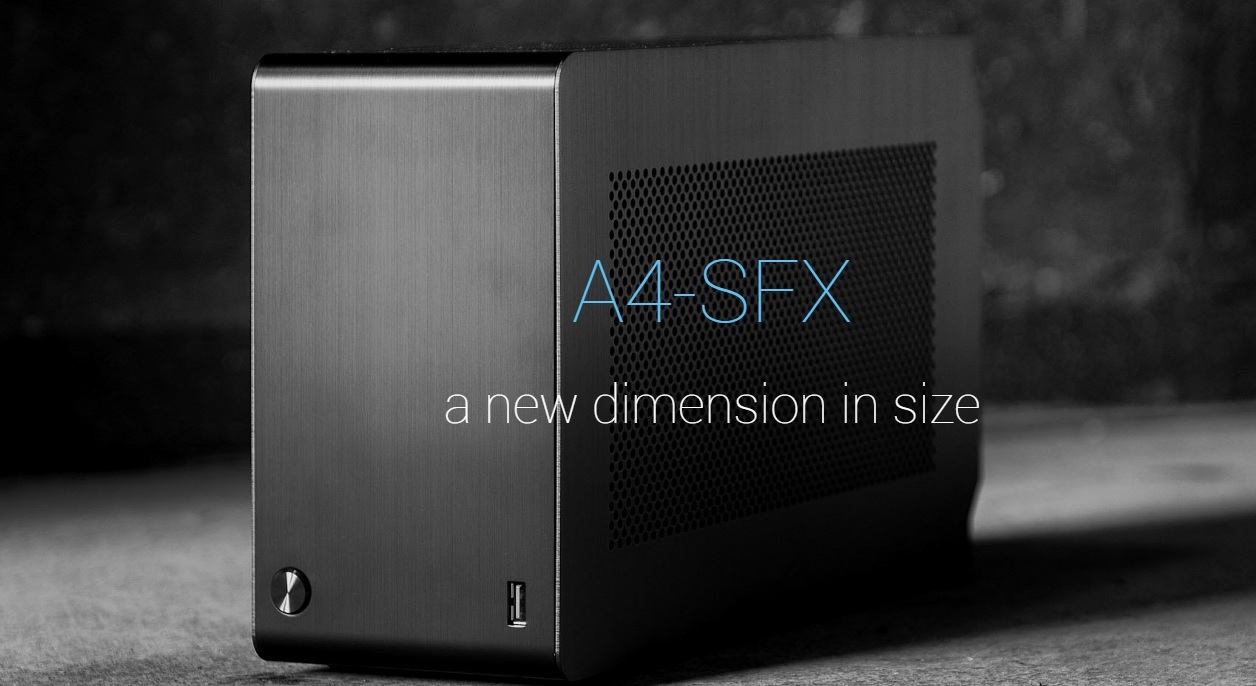
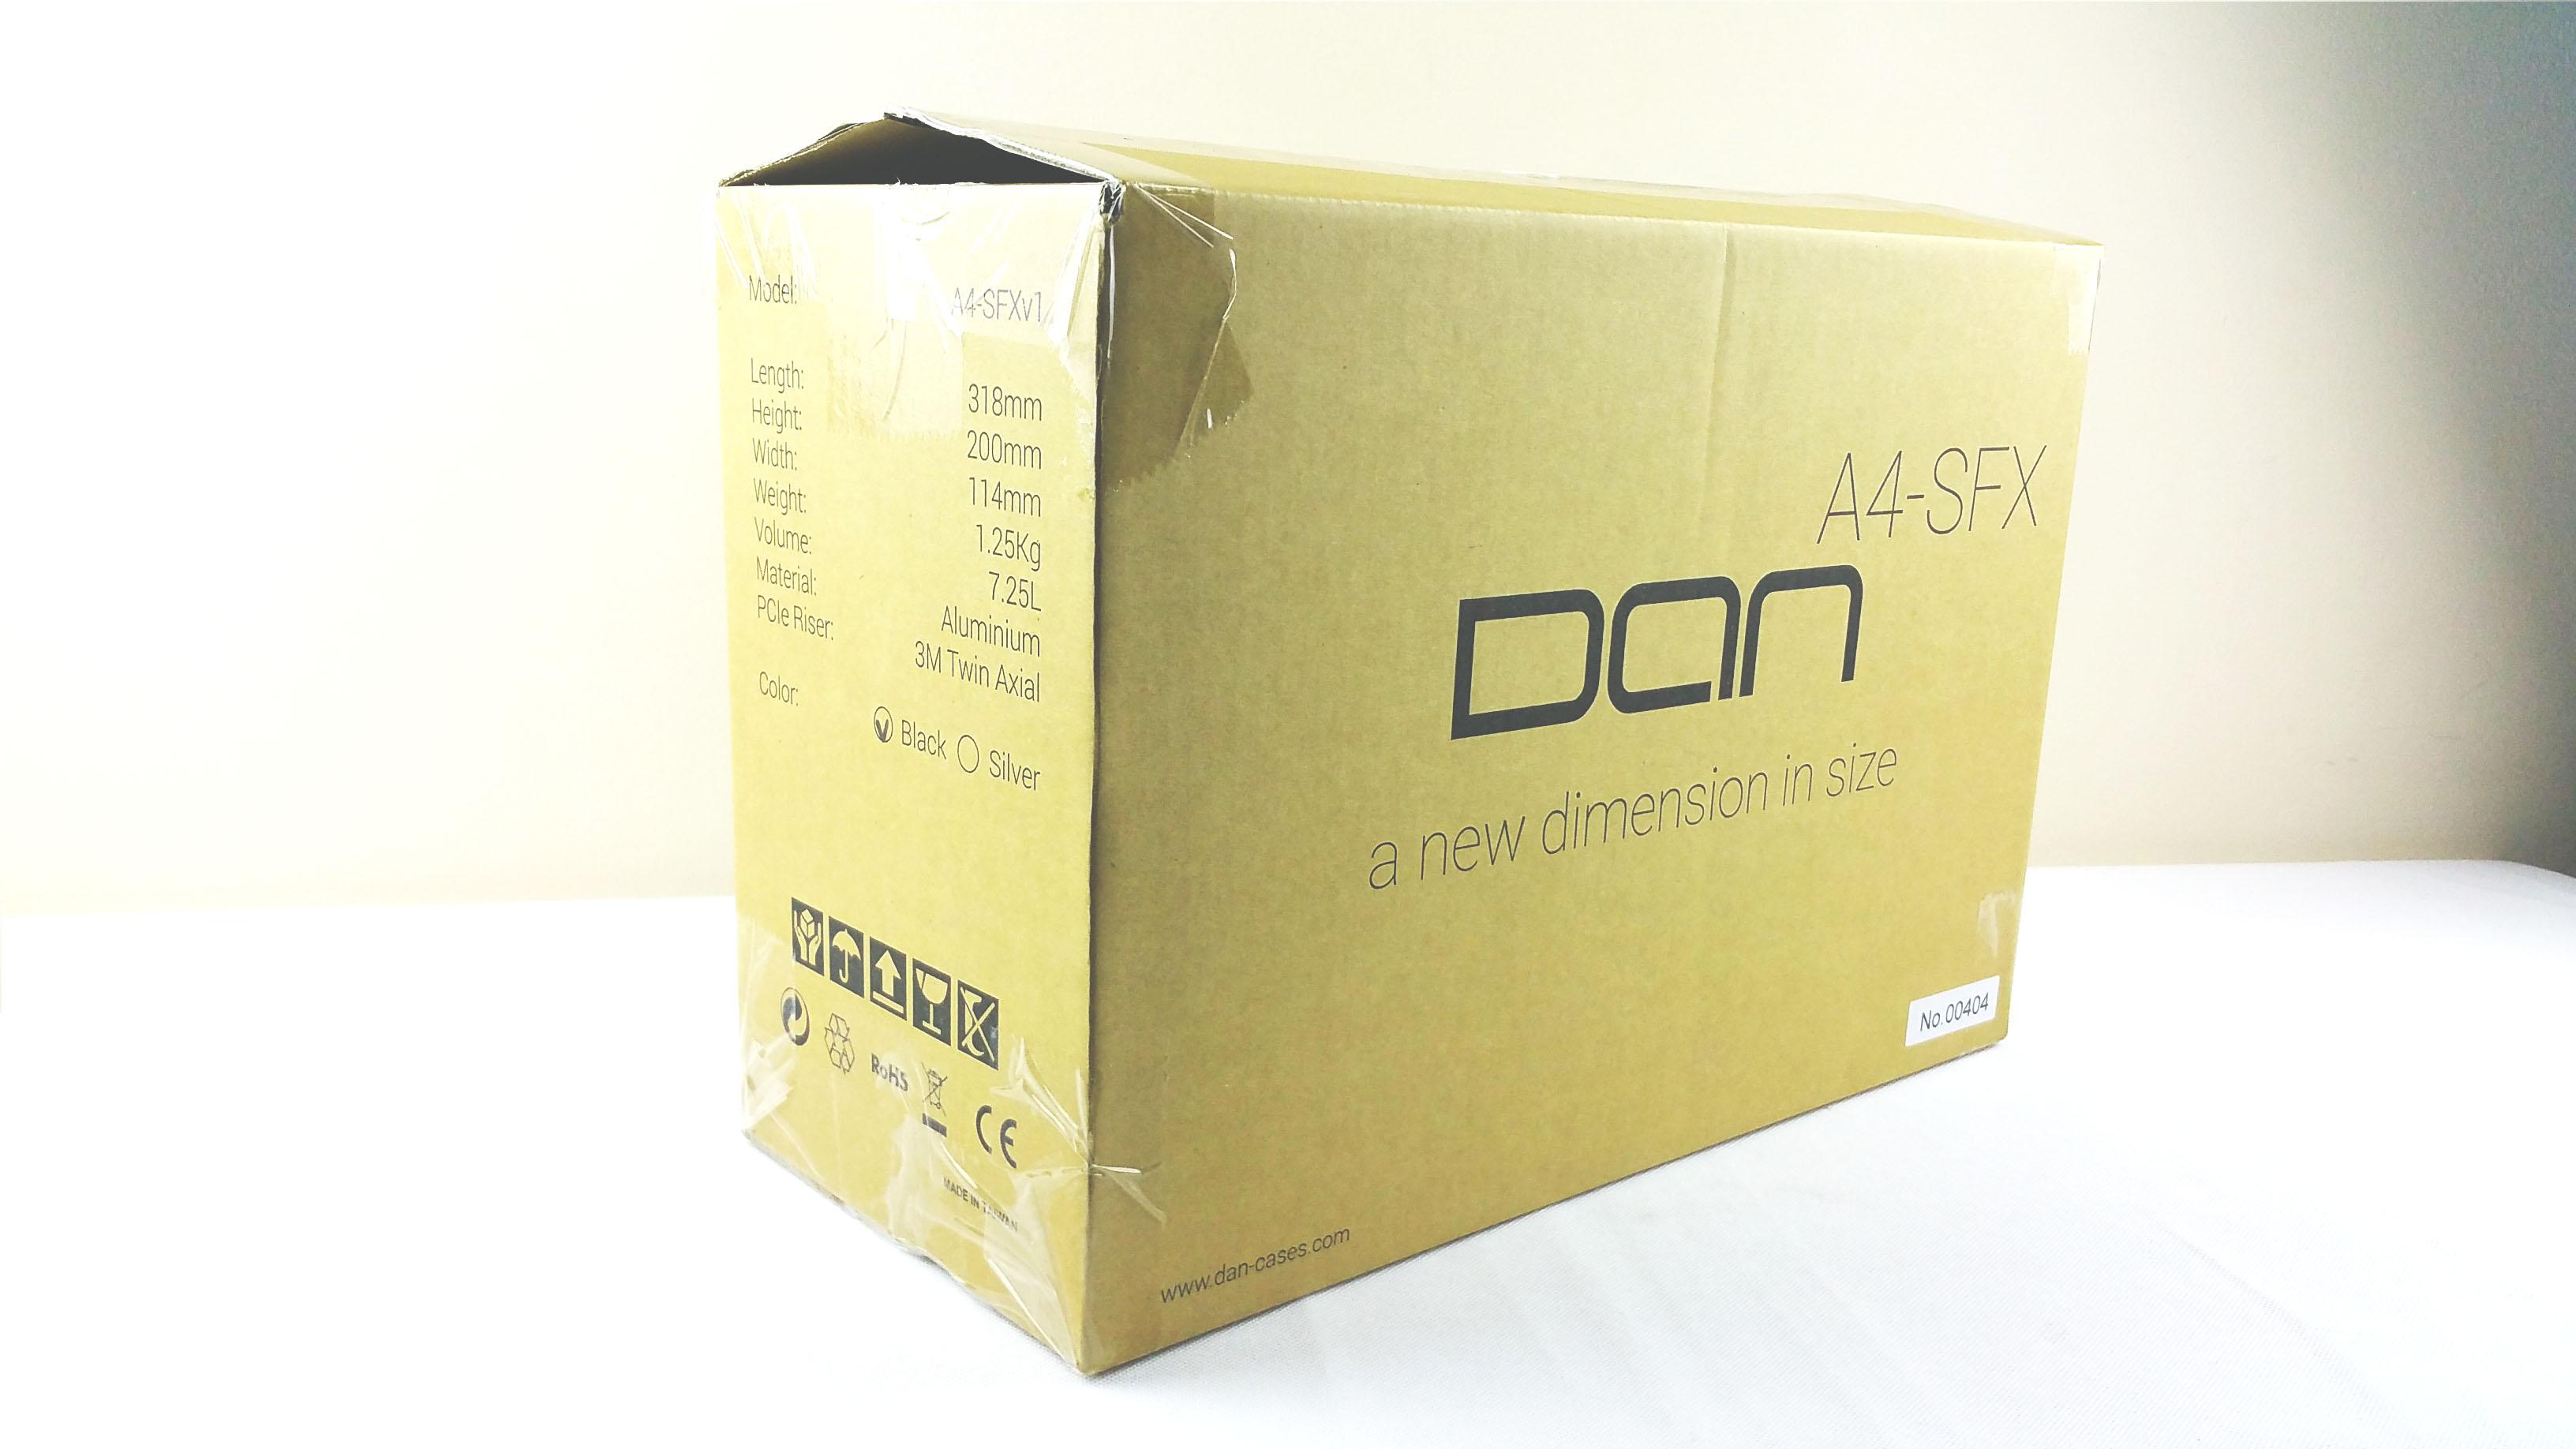
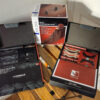
When you get the box, don’t be scared, again it is that small. And light. A plain box which follows the minimalist design approach. Dan’s name in the middle, with the case model up “A4 SFX” and then under we have the logo “A new dimension in size”. Everything makes perfect sense and gives you an idea what it is all about and a size perspectives – A4 come from the A4 sheet of paper format. Duh …
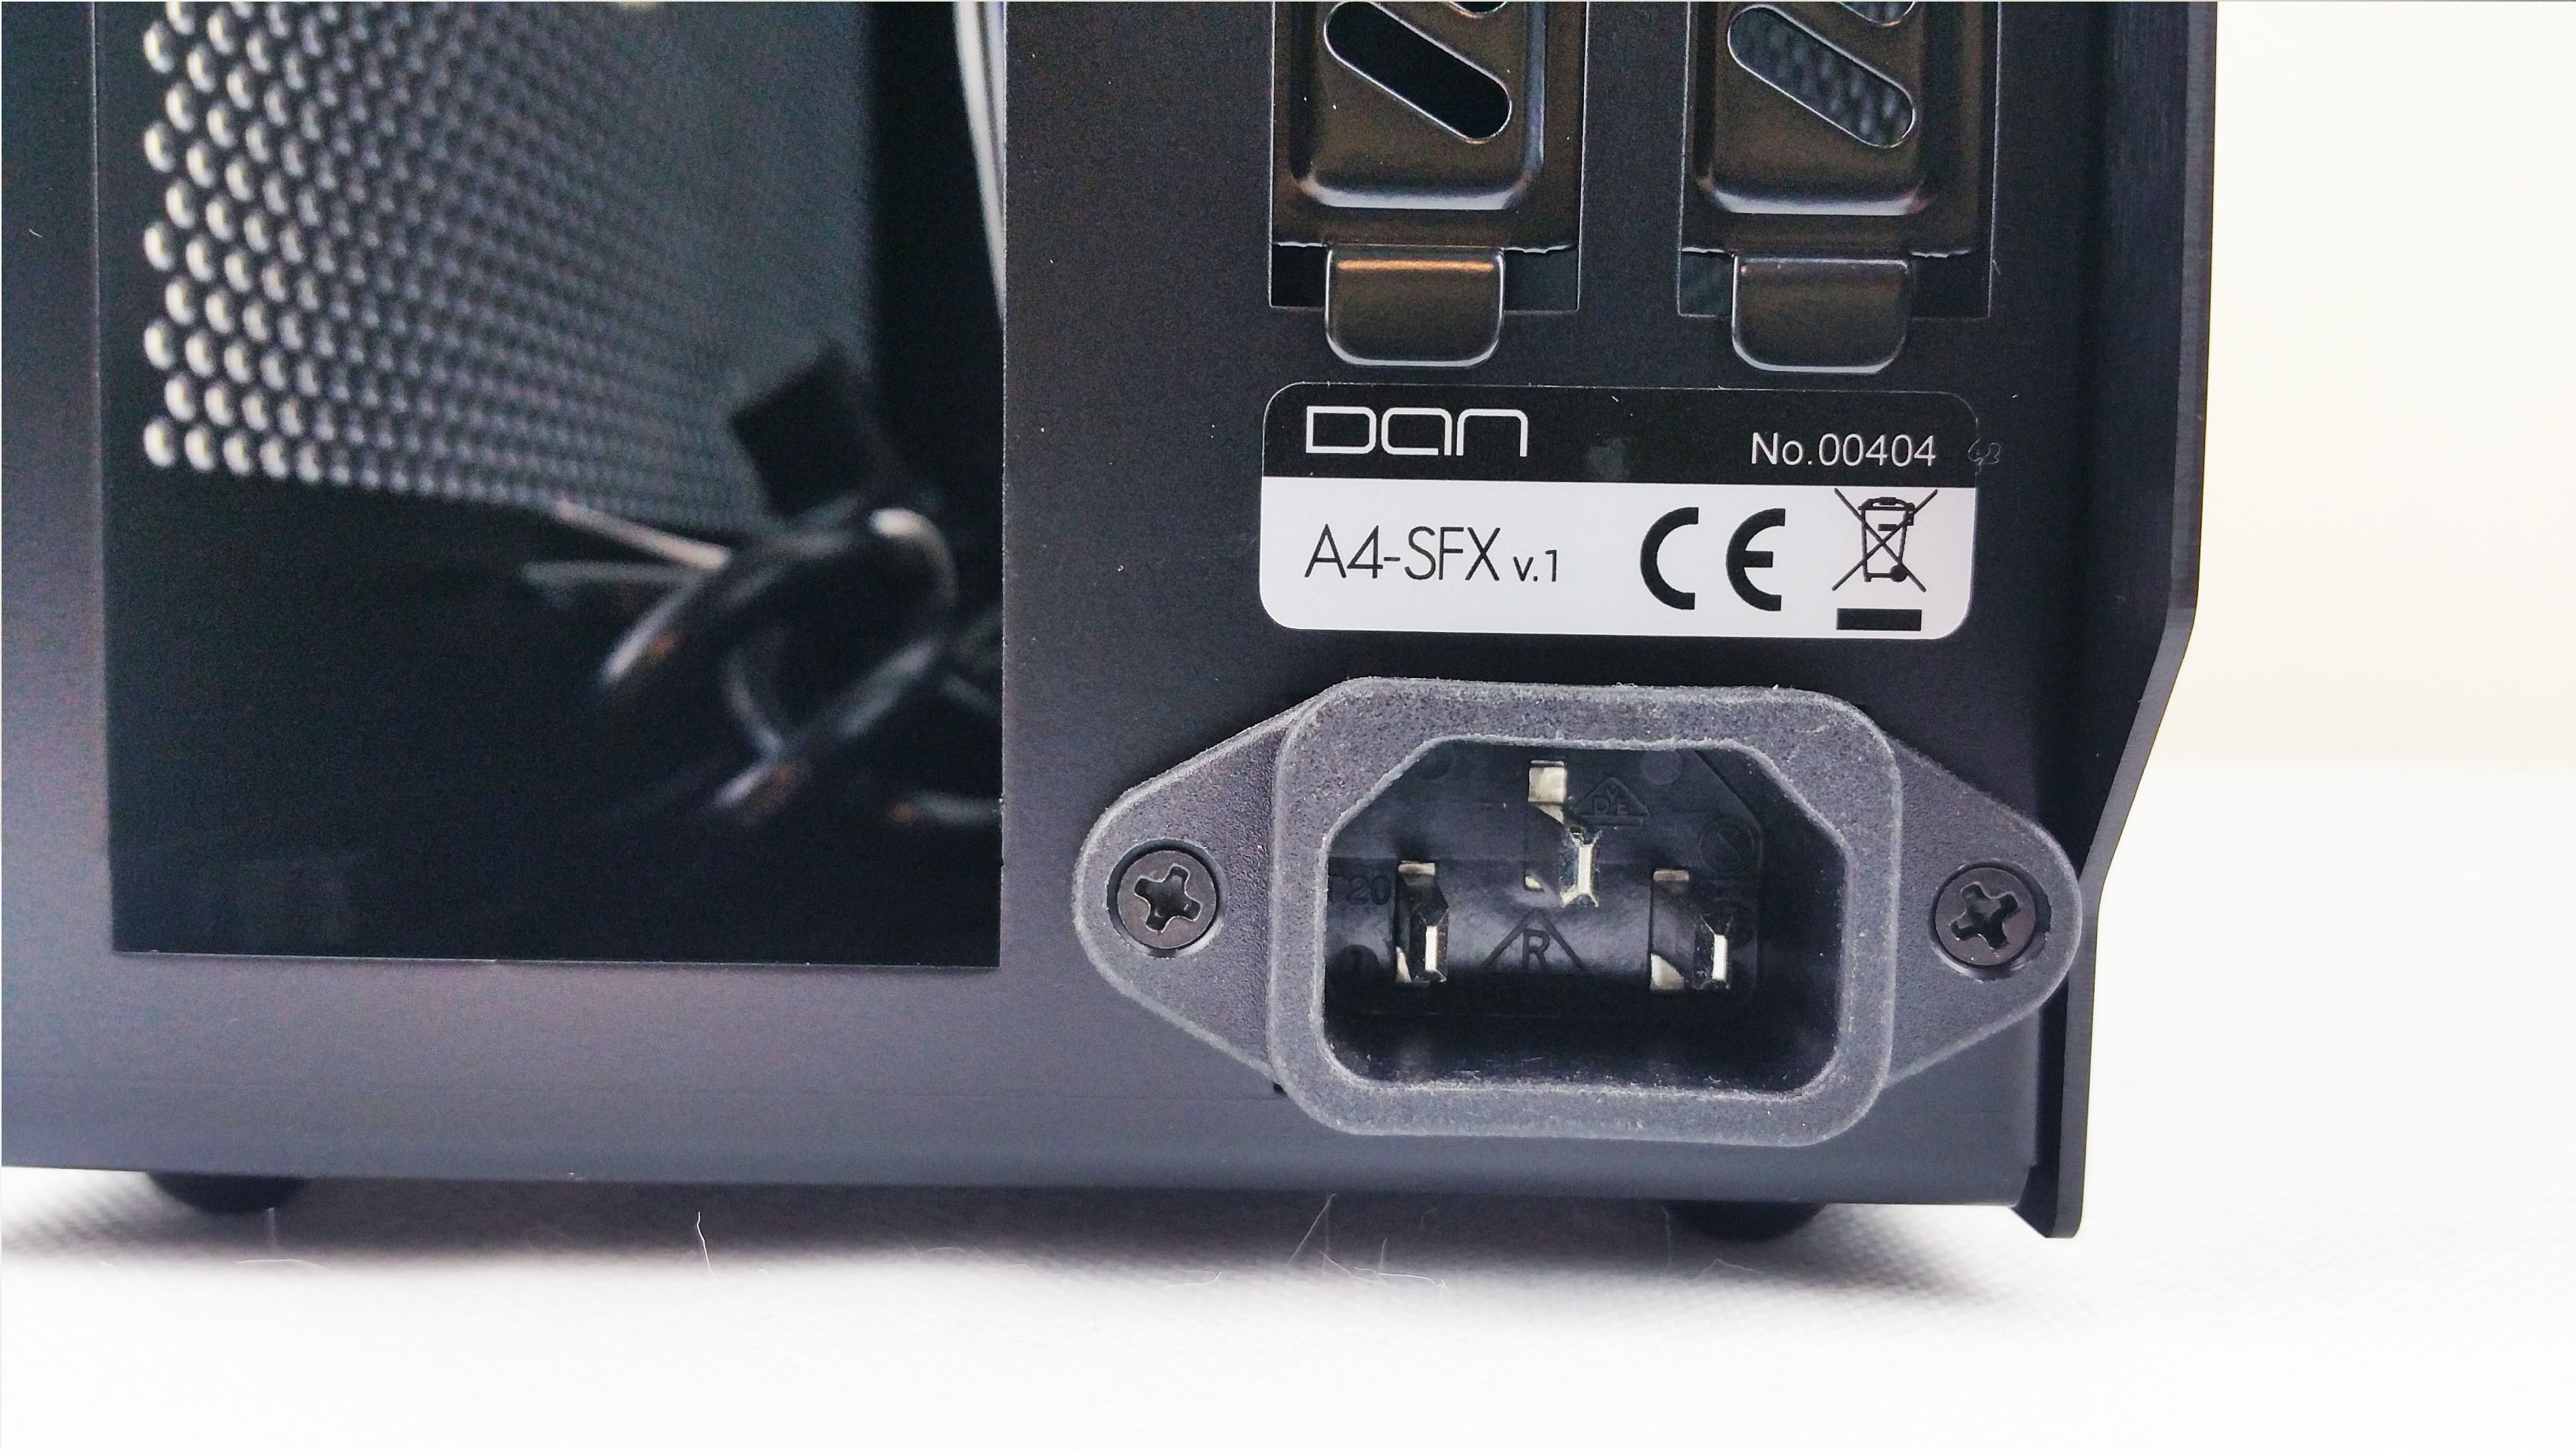
Notice the 404 number on the right down corner – that is the production order and thus this is the 404th one, from a total of just under 2000 case for the first batch that went to the original backers.

On the sides we have the main specs.
Inside we have the instruction manual, in German and in English. And it is very easy to follow.


Quick flip and the case comes out. It is very well protected via two plastic pads.

Abracadabra !
Let’s get this out of the away before we advance. Here is a size reference and perspective. That is a half a liter Monster can. Happy now?

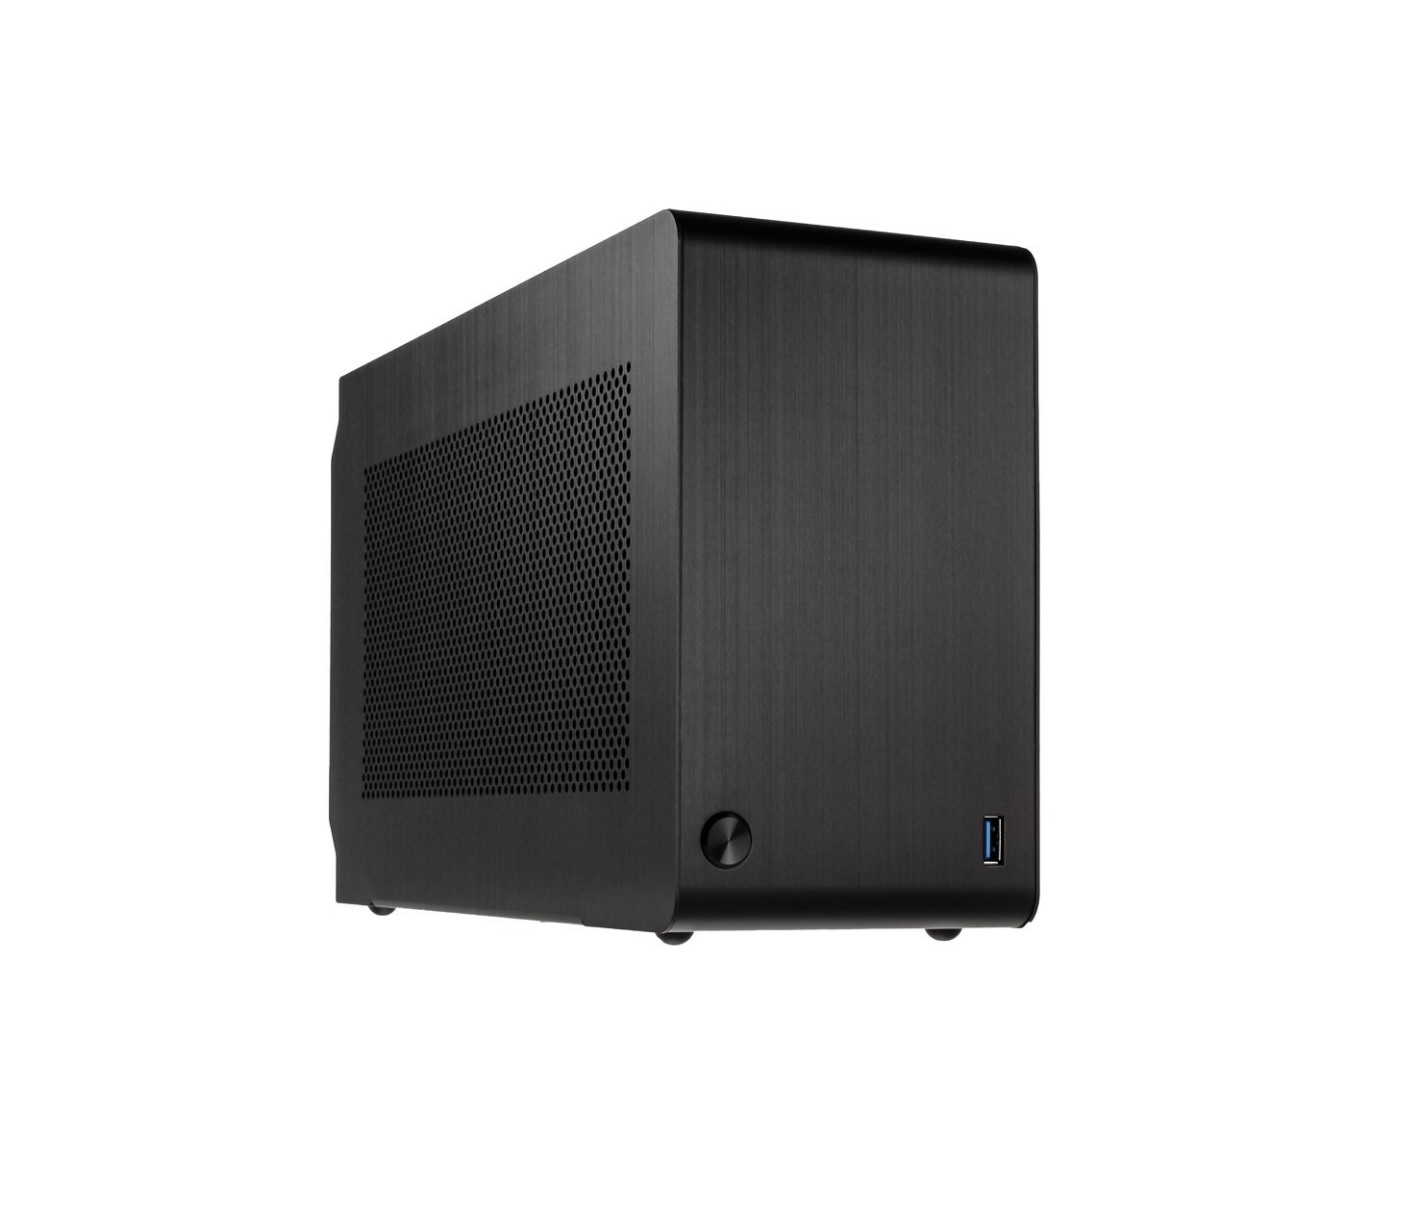
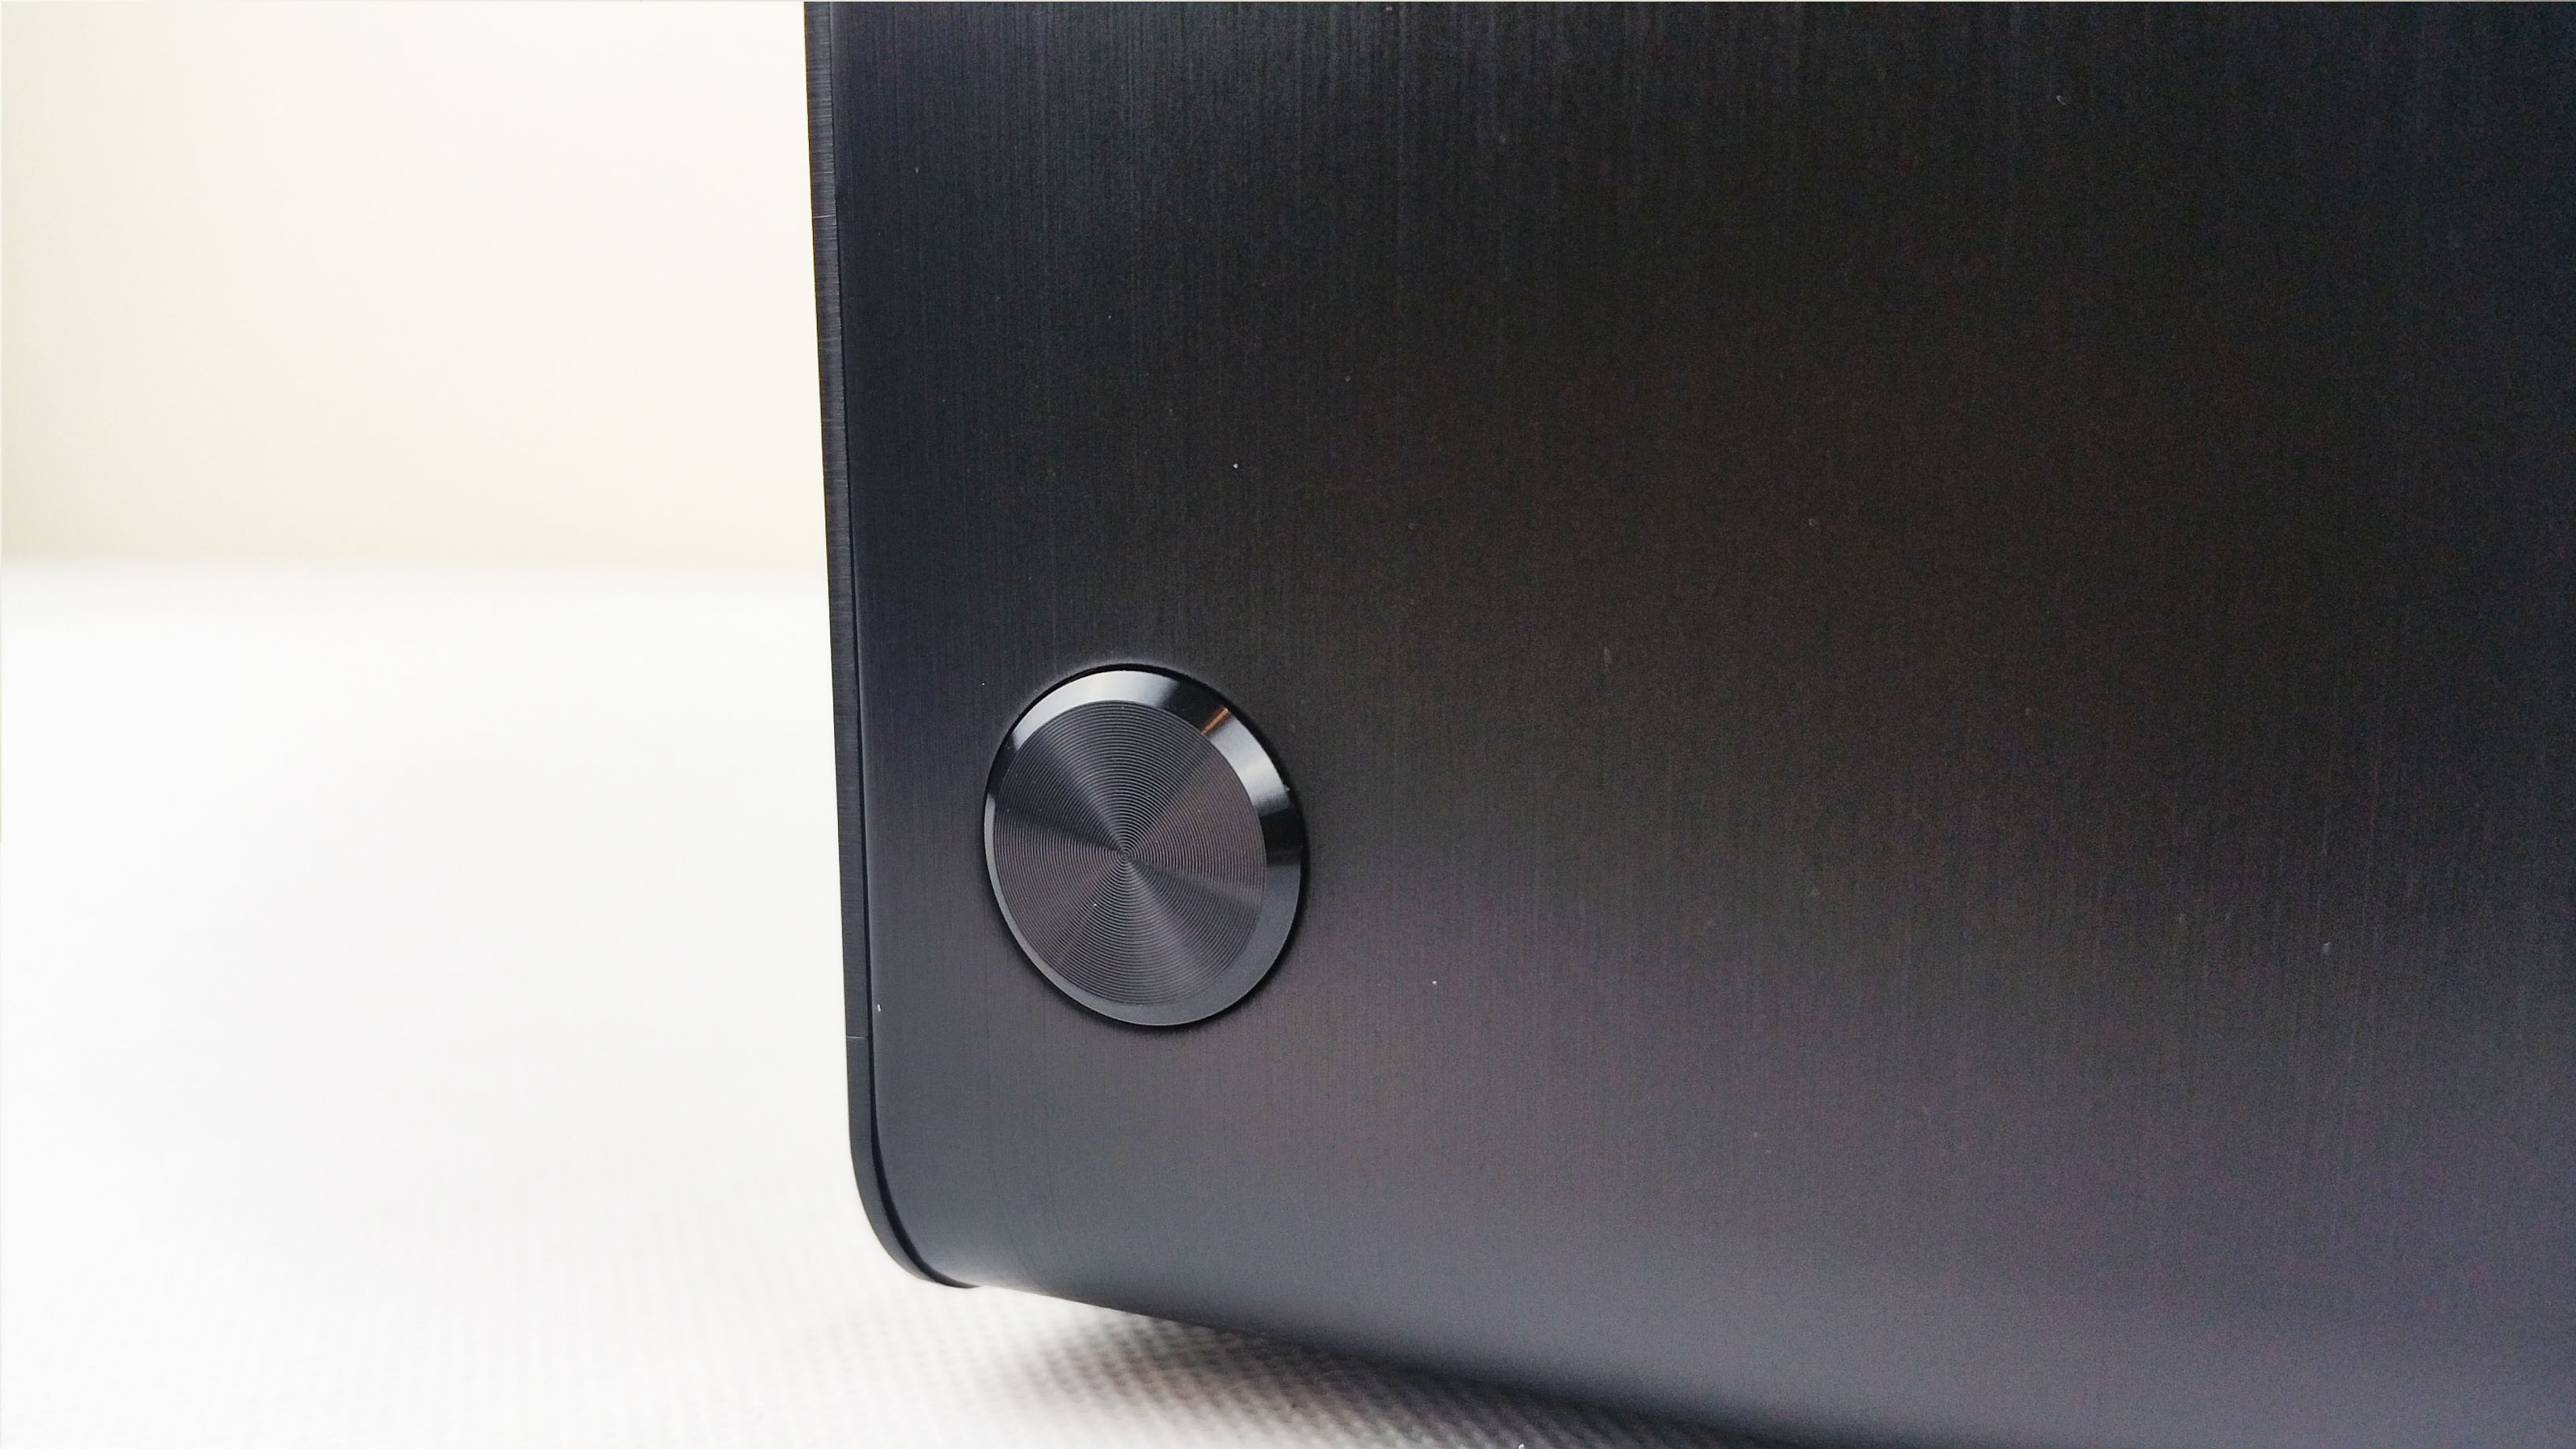
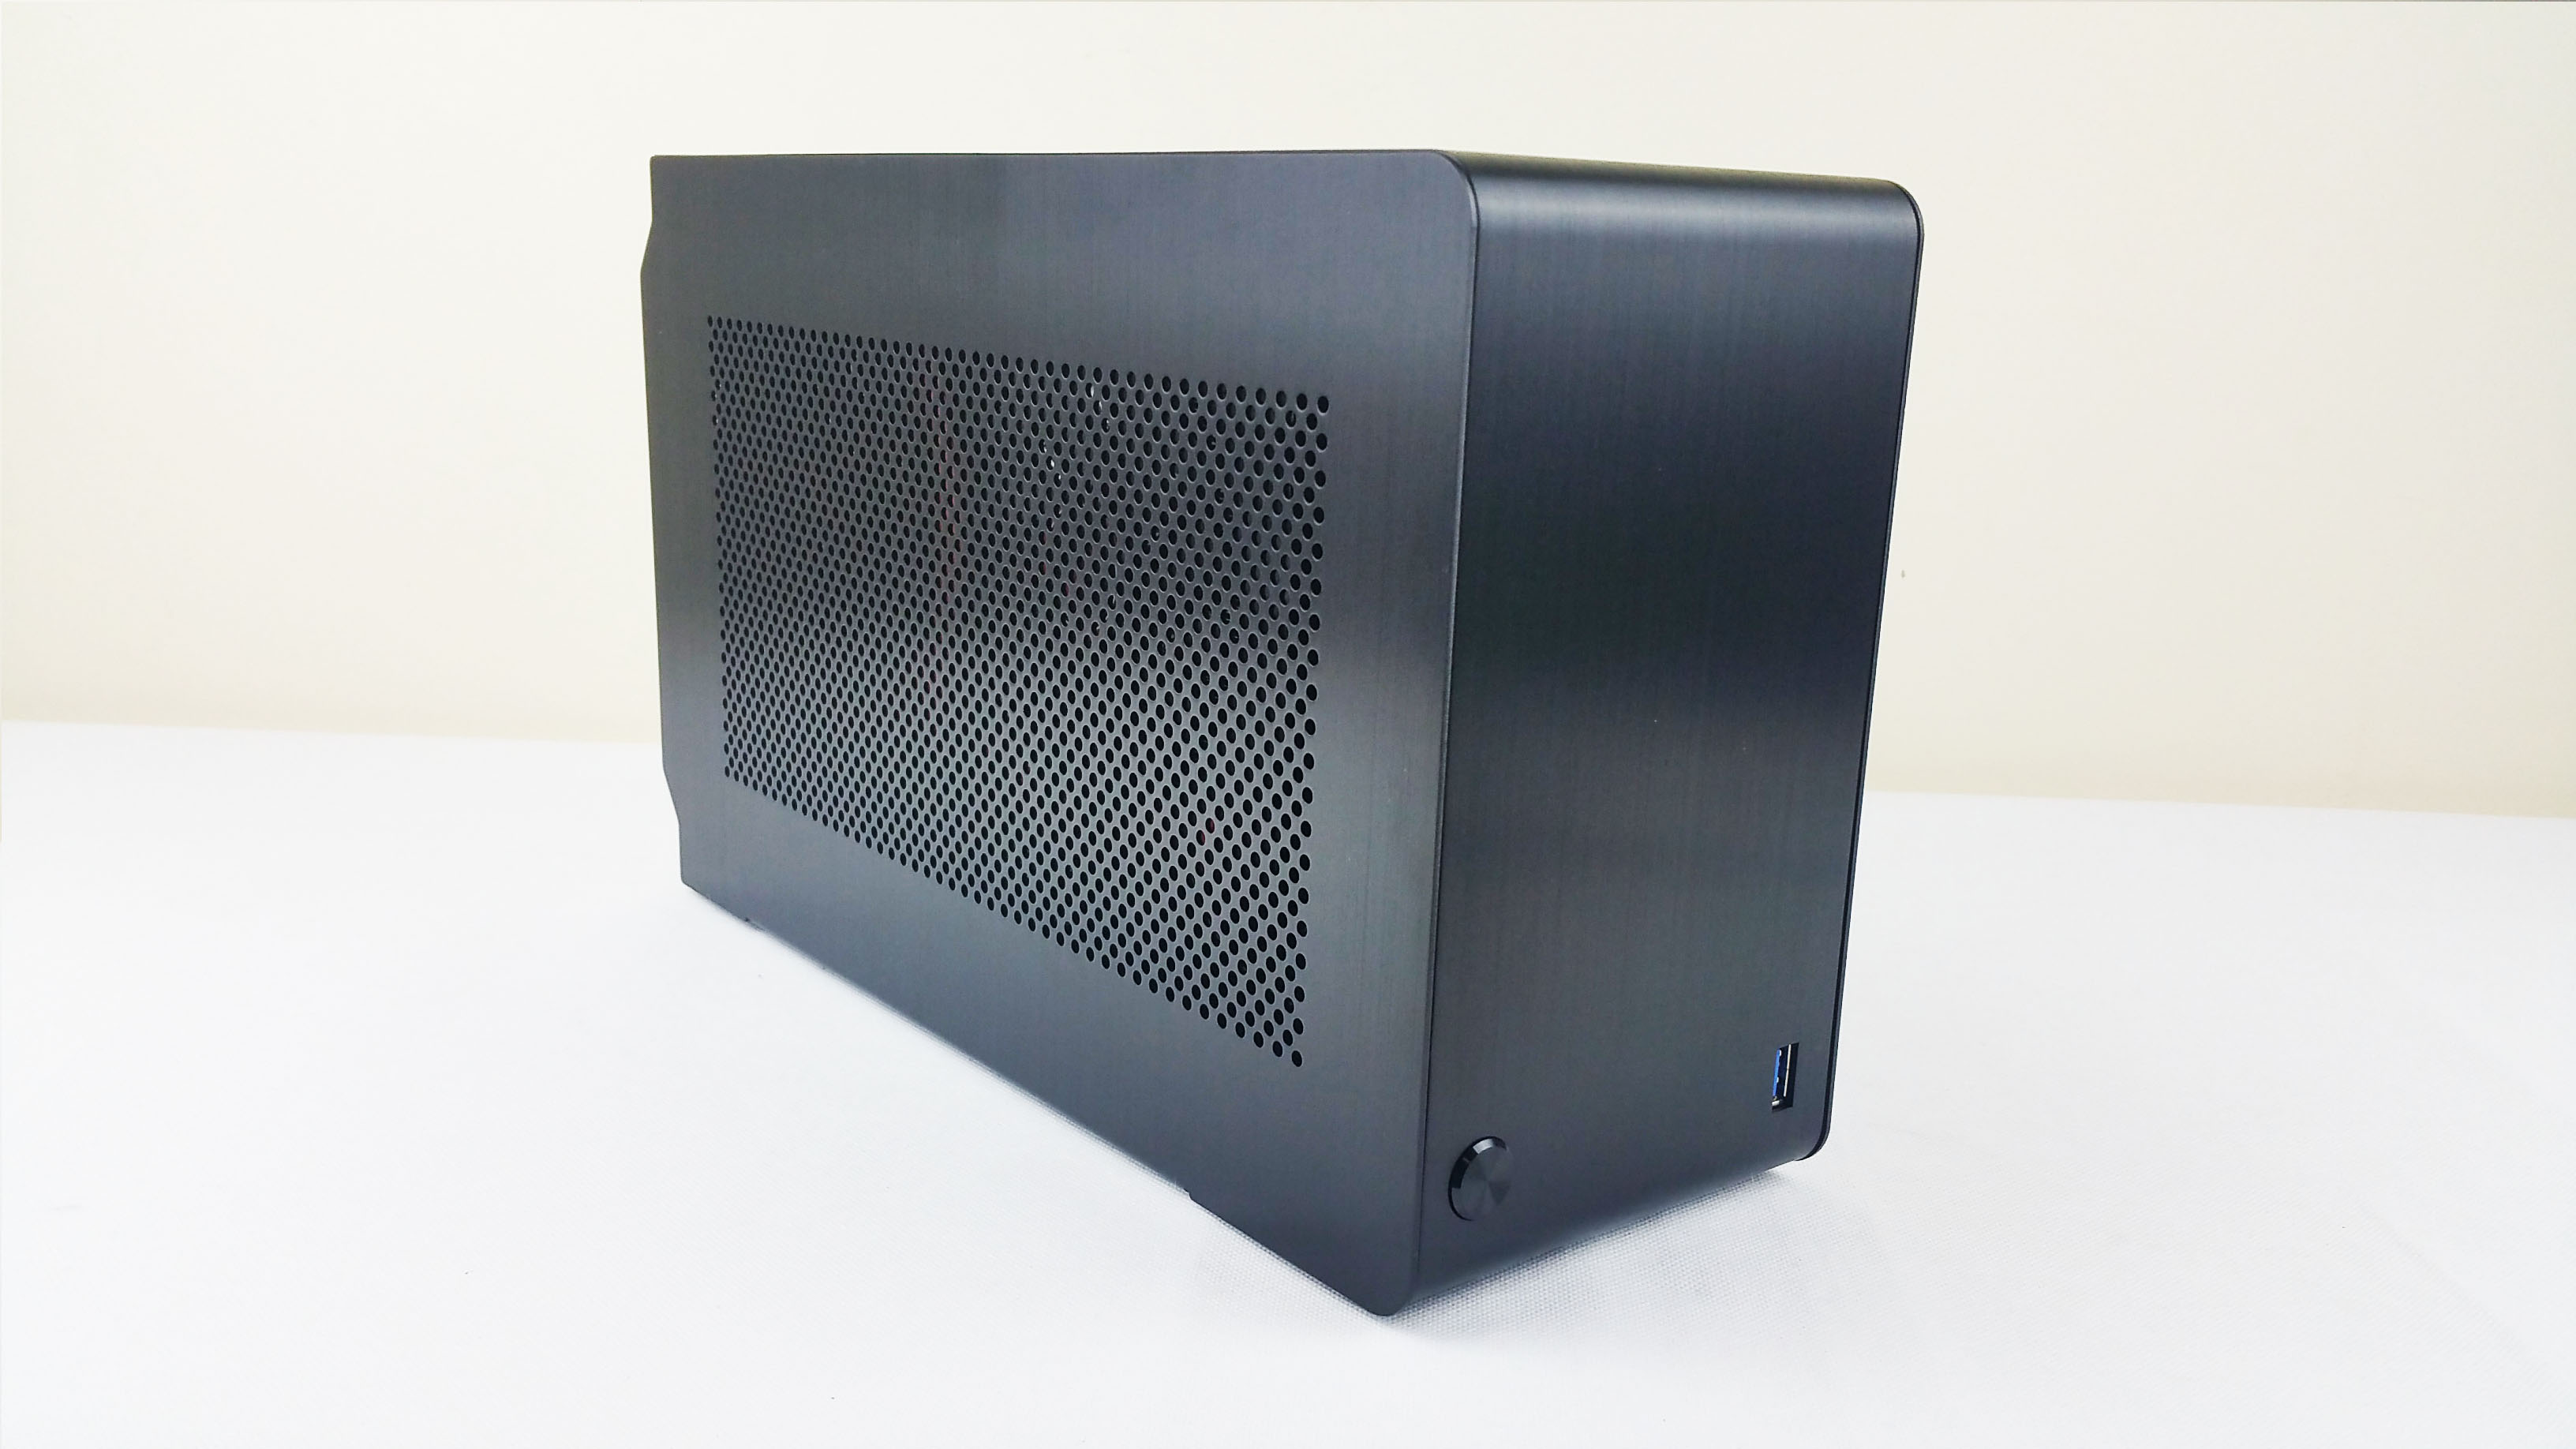
So, the front side has only two elements that disrupt the lines – one power on button and one USB 3.0 port. Do you really need more that this ?

The button has a soft feedback when pressed.
Moving to the rear of the case we start to see the chamber separation design – on the left the I/O motherboard cutout and on the right the dual slot PCI-E graphics card slots.

Down, we have the power socket and the sticker for the production number.
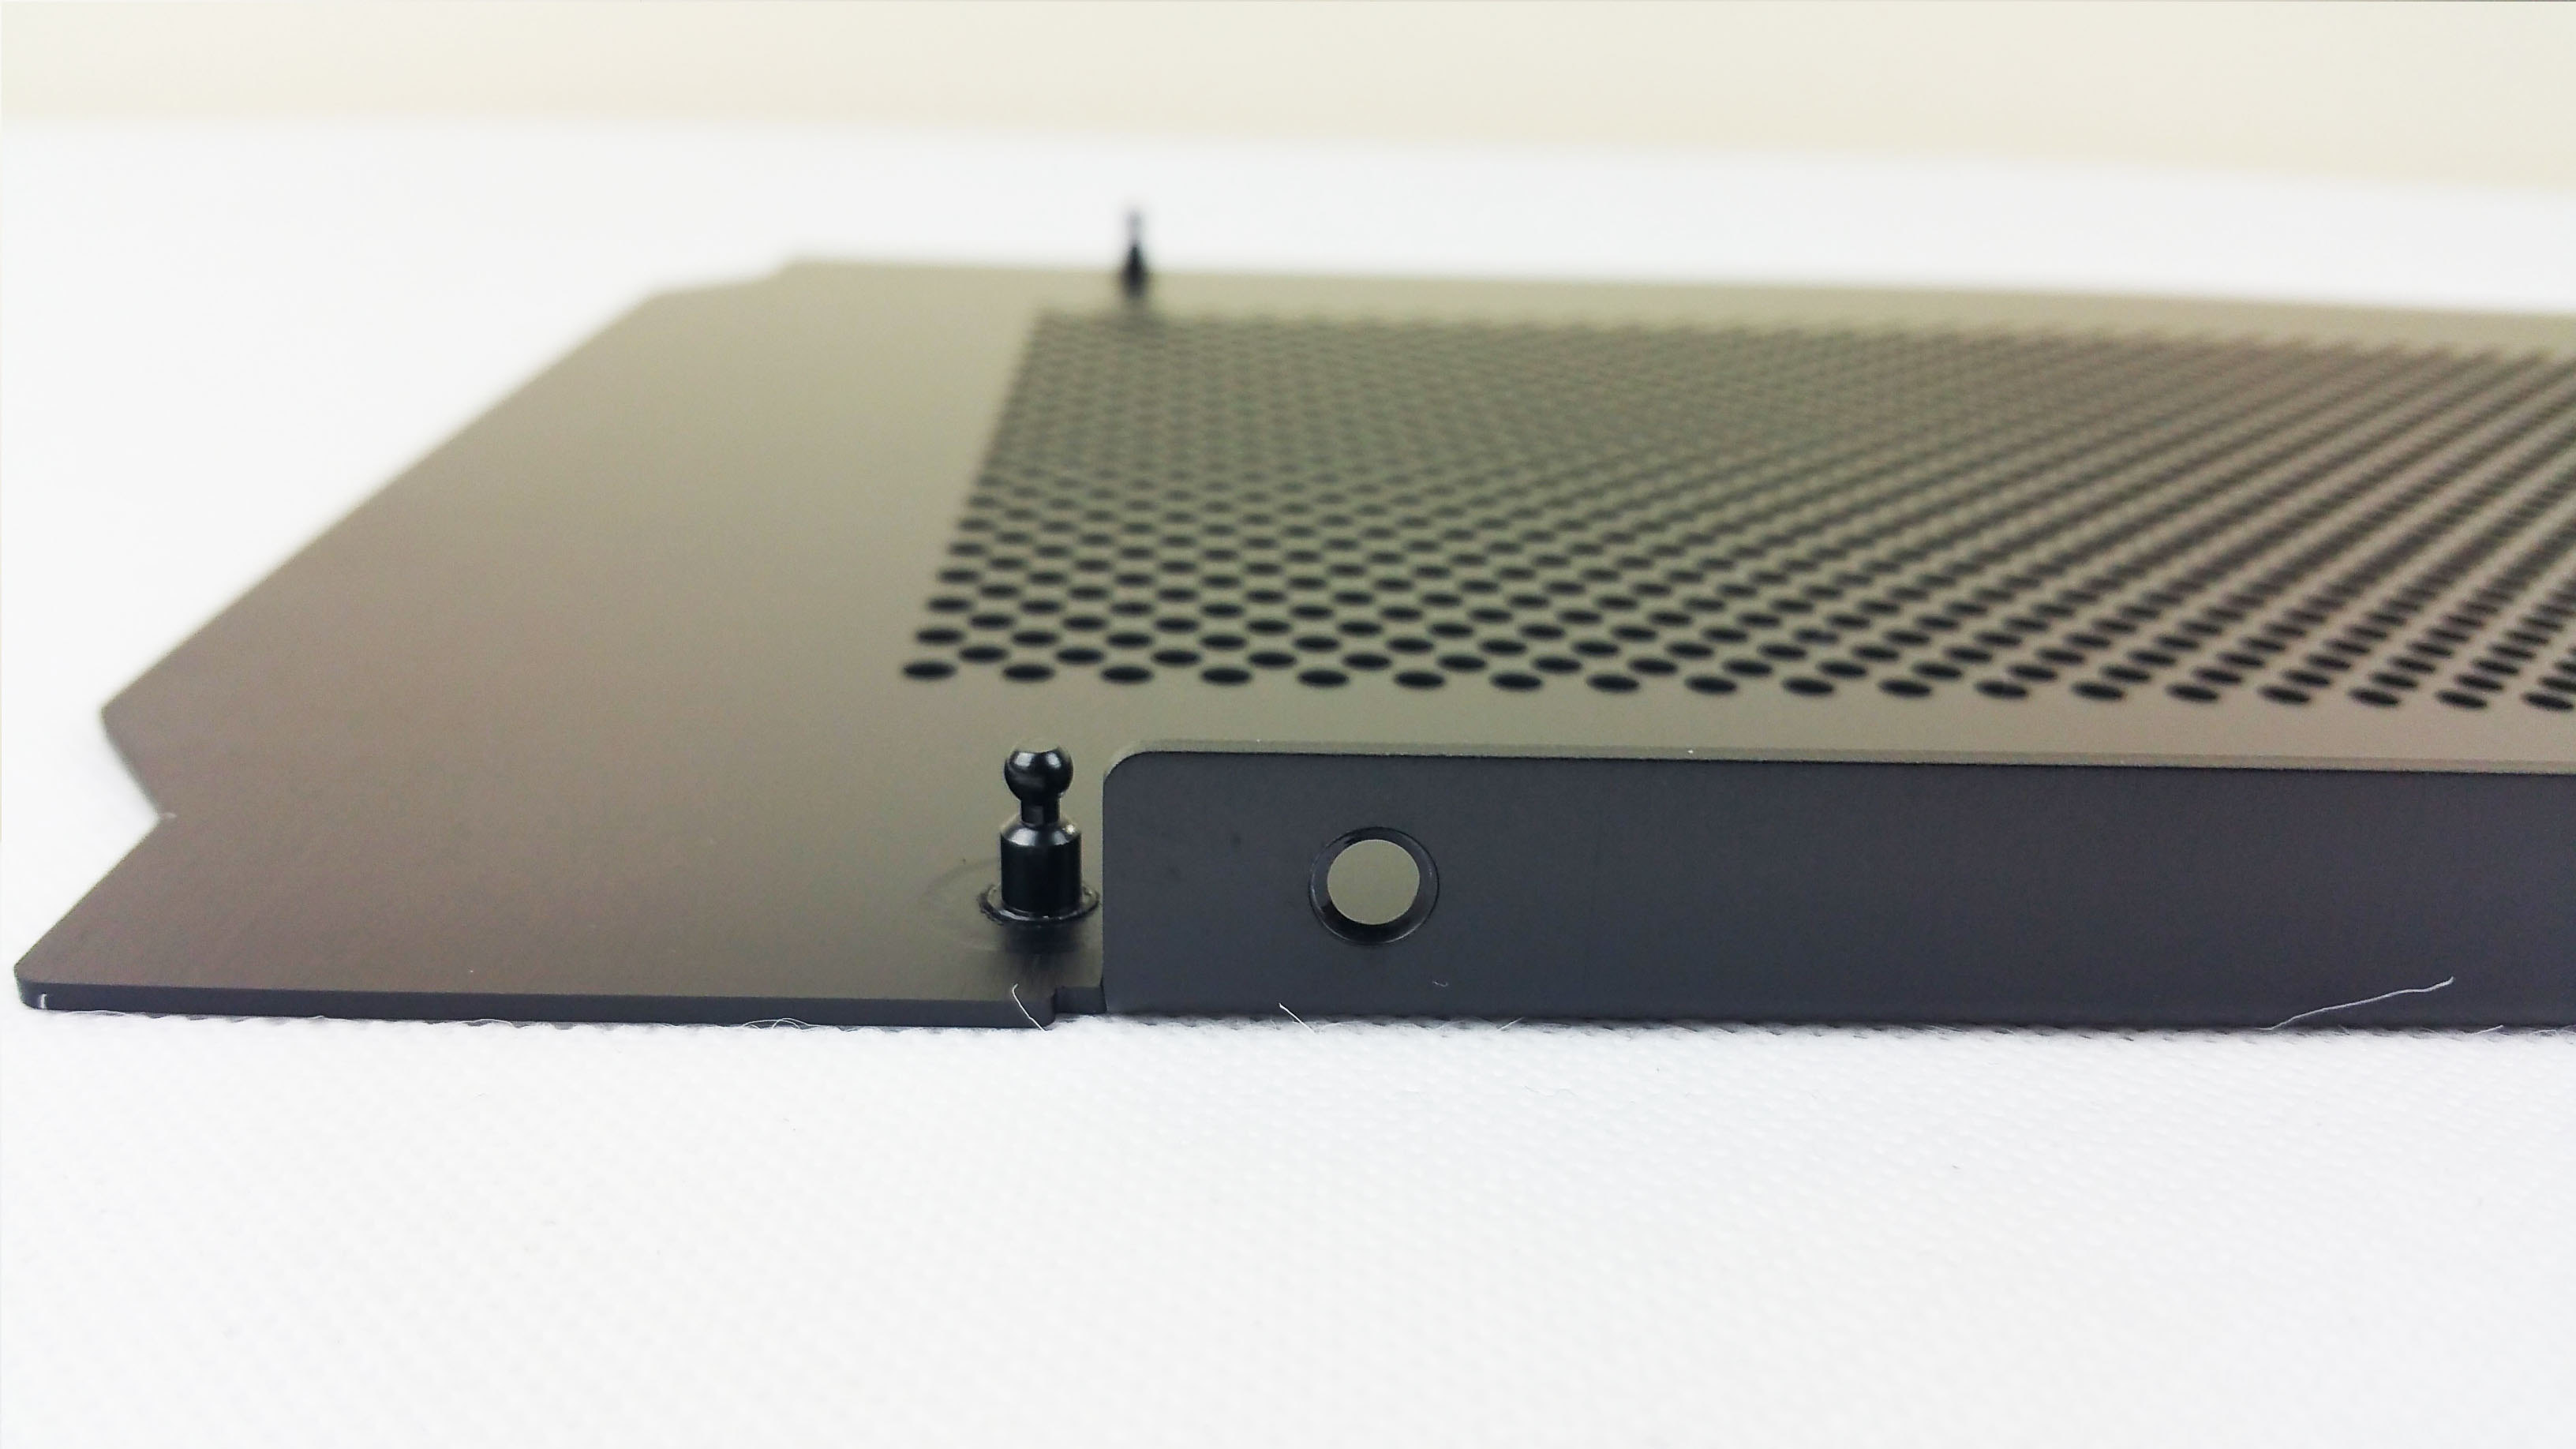
The main side are perforated and are hold in place by Lian-Li’s push pins and two extra screws per side, which are underneath.
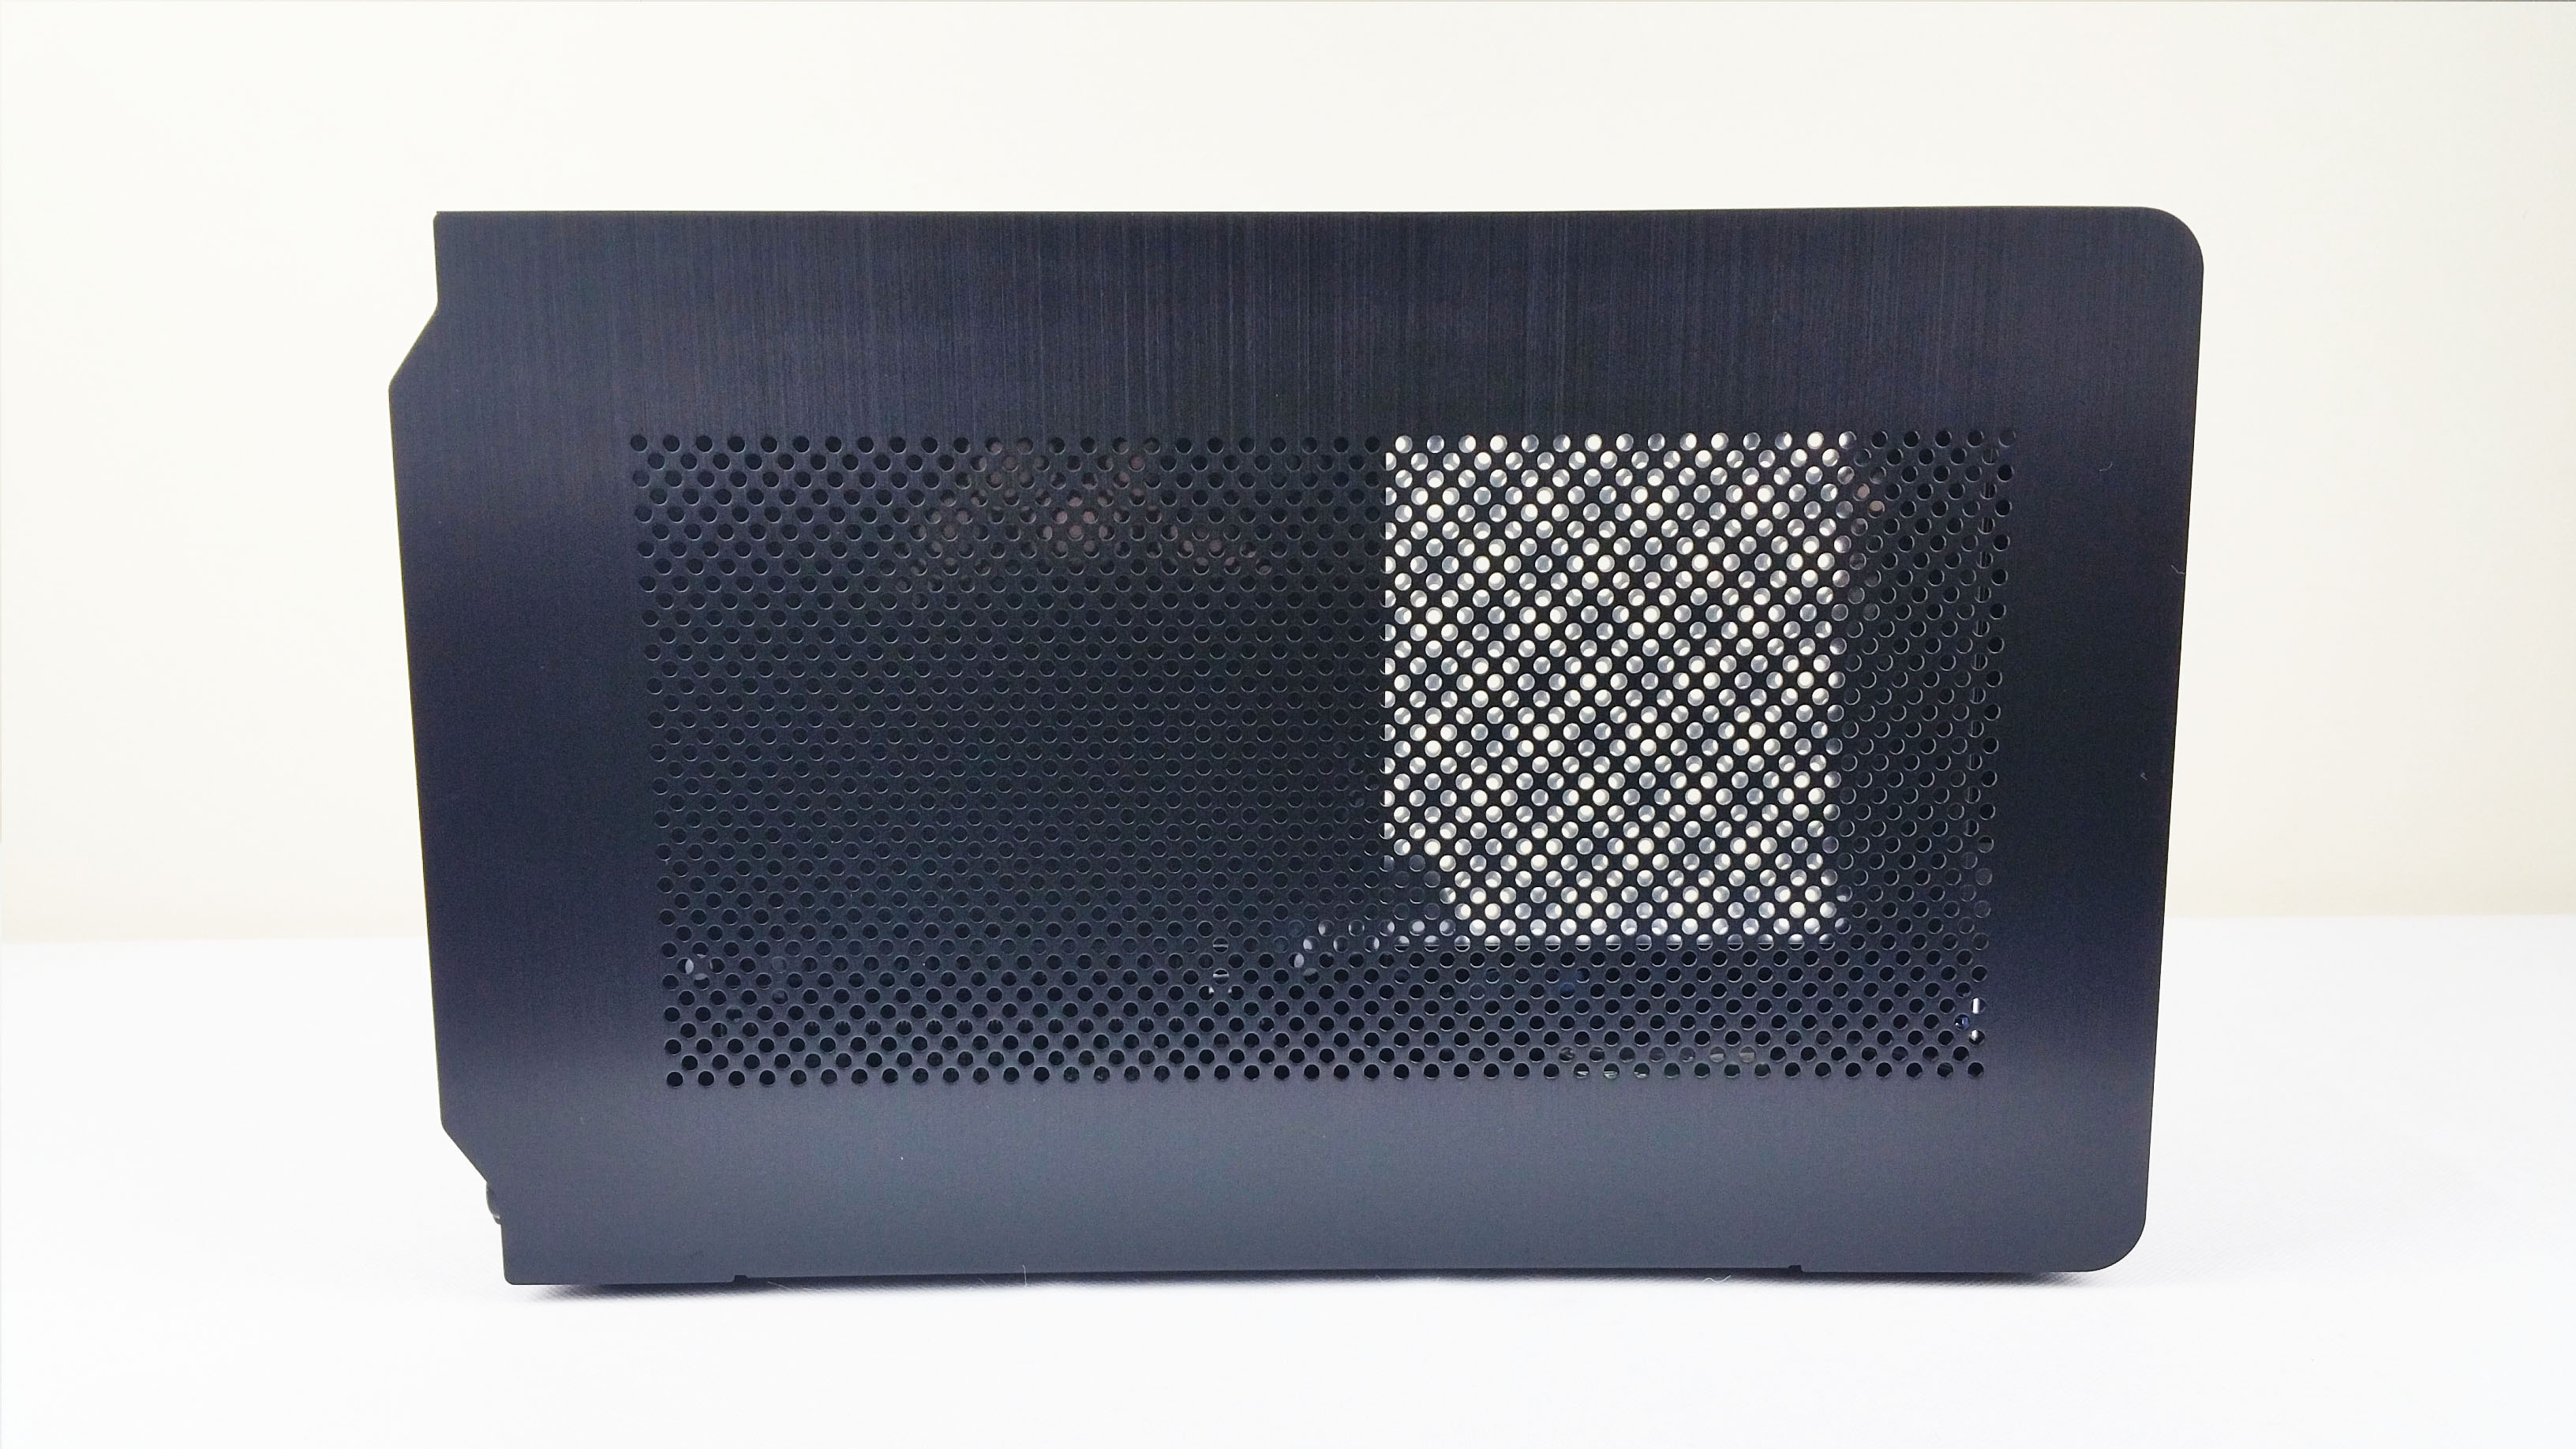

The top view – again the same perforated design for more cooling capability using the hot air’s natural tendency to rise above. Also it is hold in place by 4 screws.

From the bottom side we can see the storage mounting holes and more cutouts for cooling. The 4 feet are sturdy but a little slippery on glass tables for example. And this is how the side panels fix into place. Mind you the push clips are very secure so you can confidently not use the extra screws if you plan to open the case frequently.

Ok. Let’s move inside. Remove all 10 screws (6 for the main front panel and 4 for the side walls)

Here are the push pins and the holding clips.

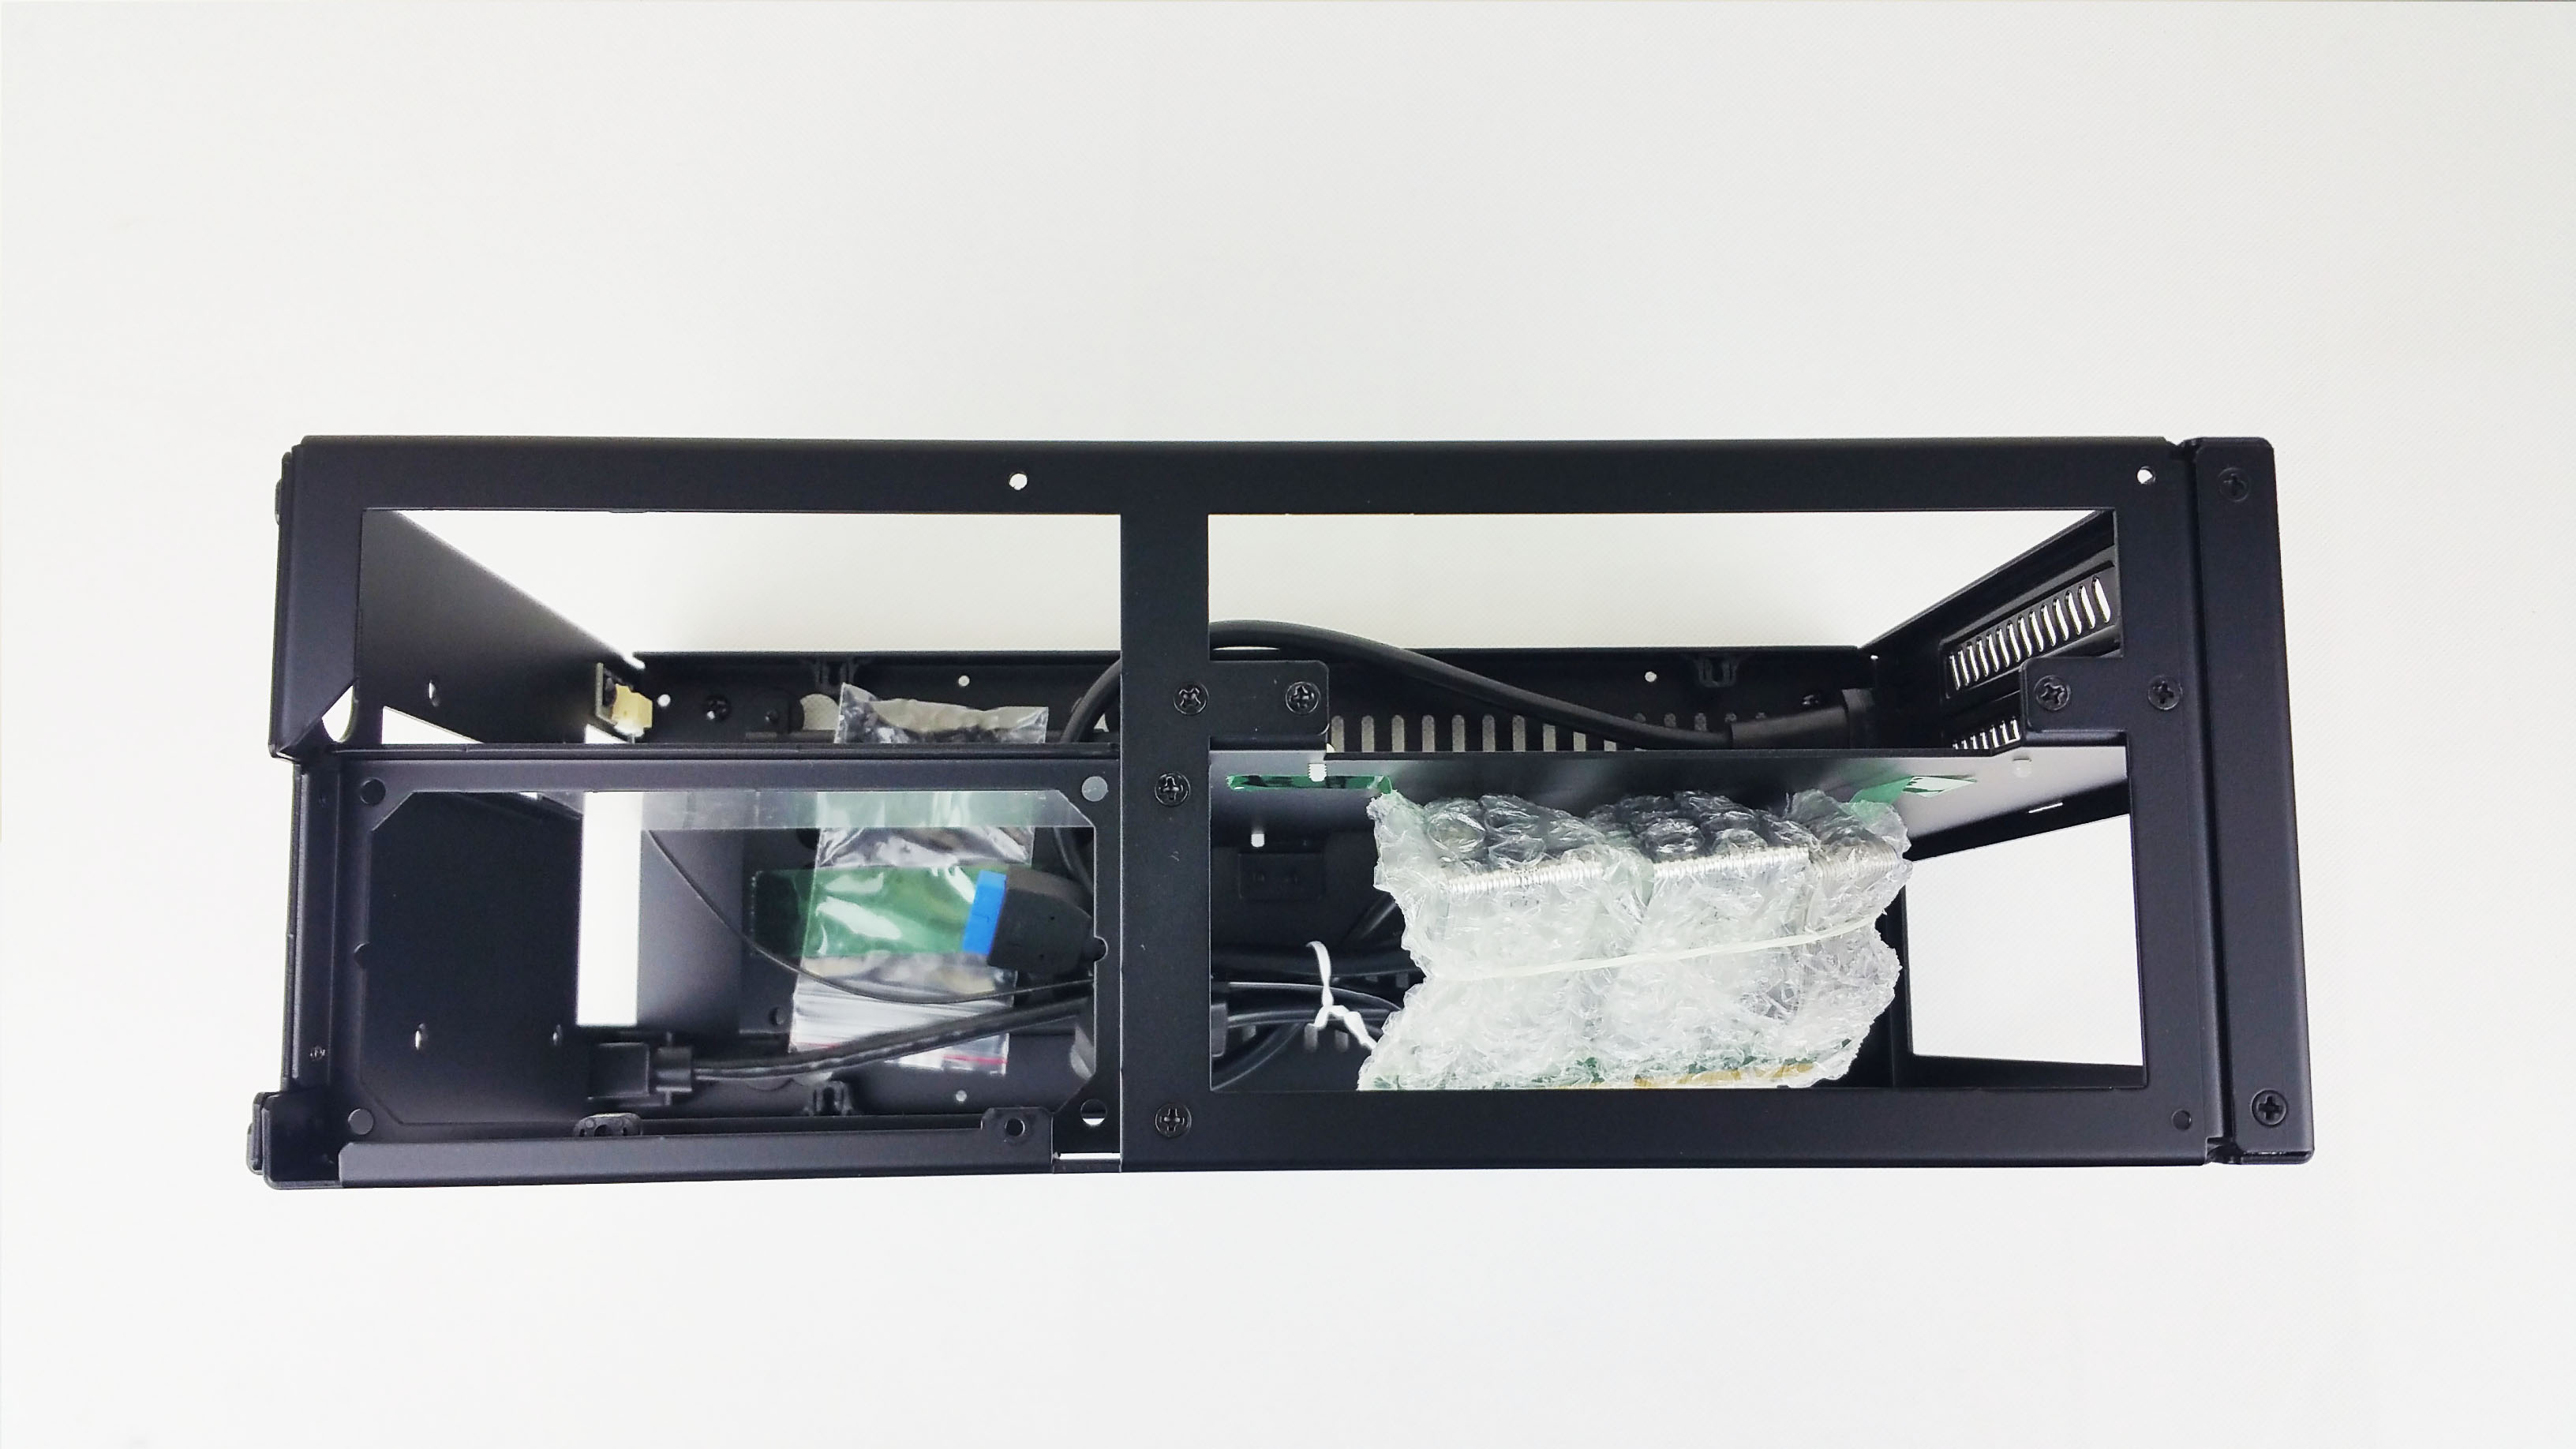
With only the frame exposed let’s first explore the GPU chamber. It will accommodate up to 295 mm video cards in length, 144 mm (from the bottom of the PCI-E slot) and 45 wide (including the backplate).
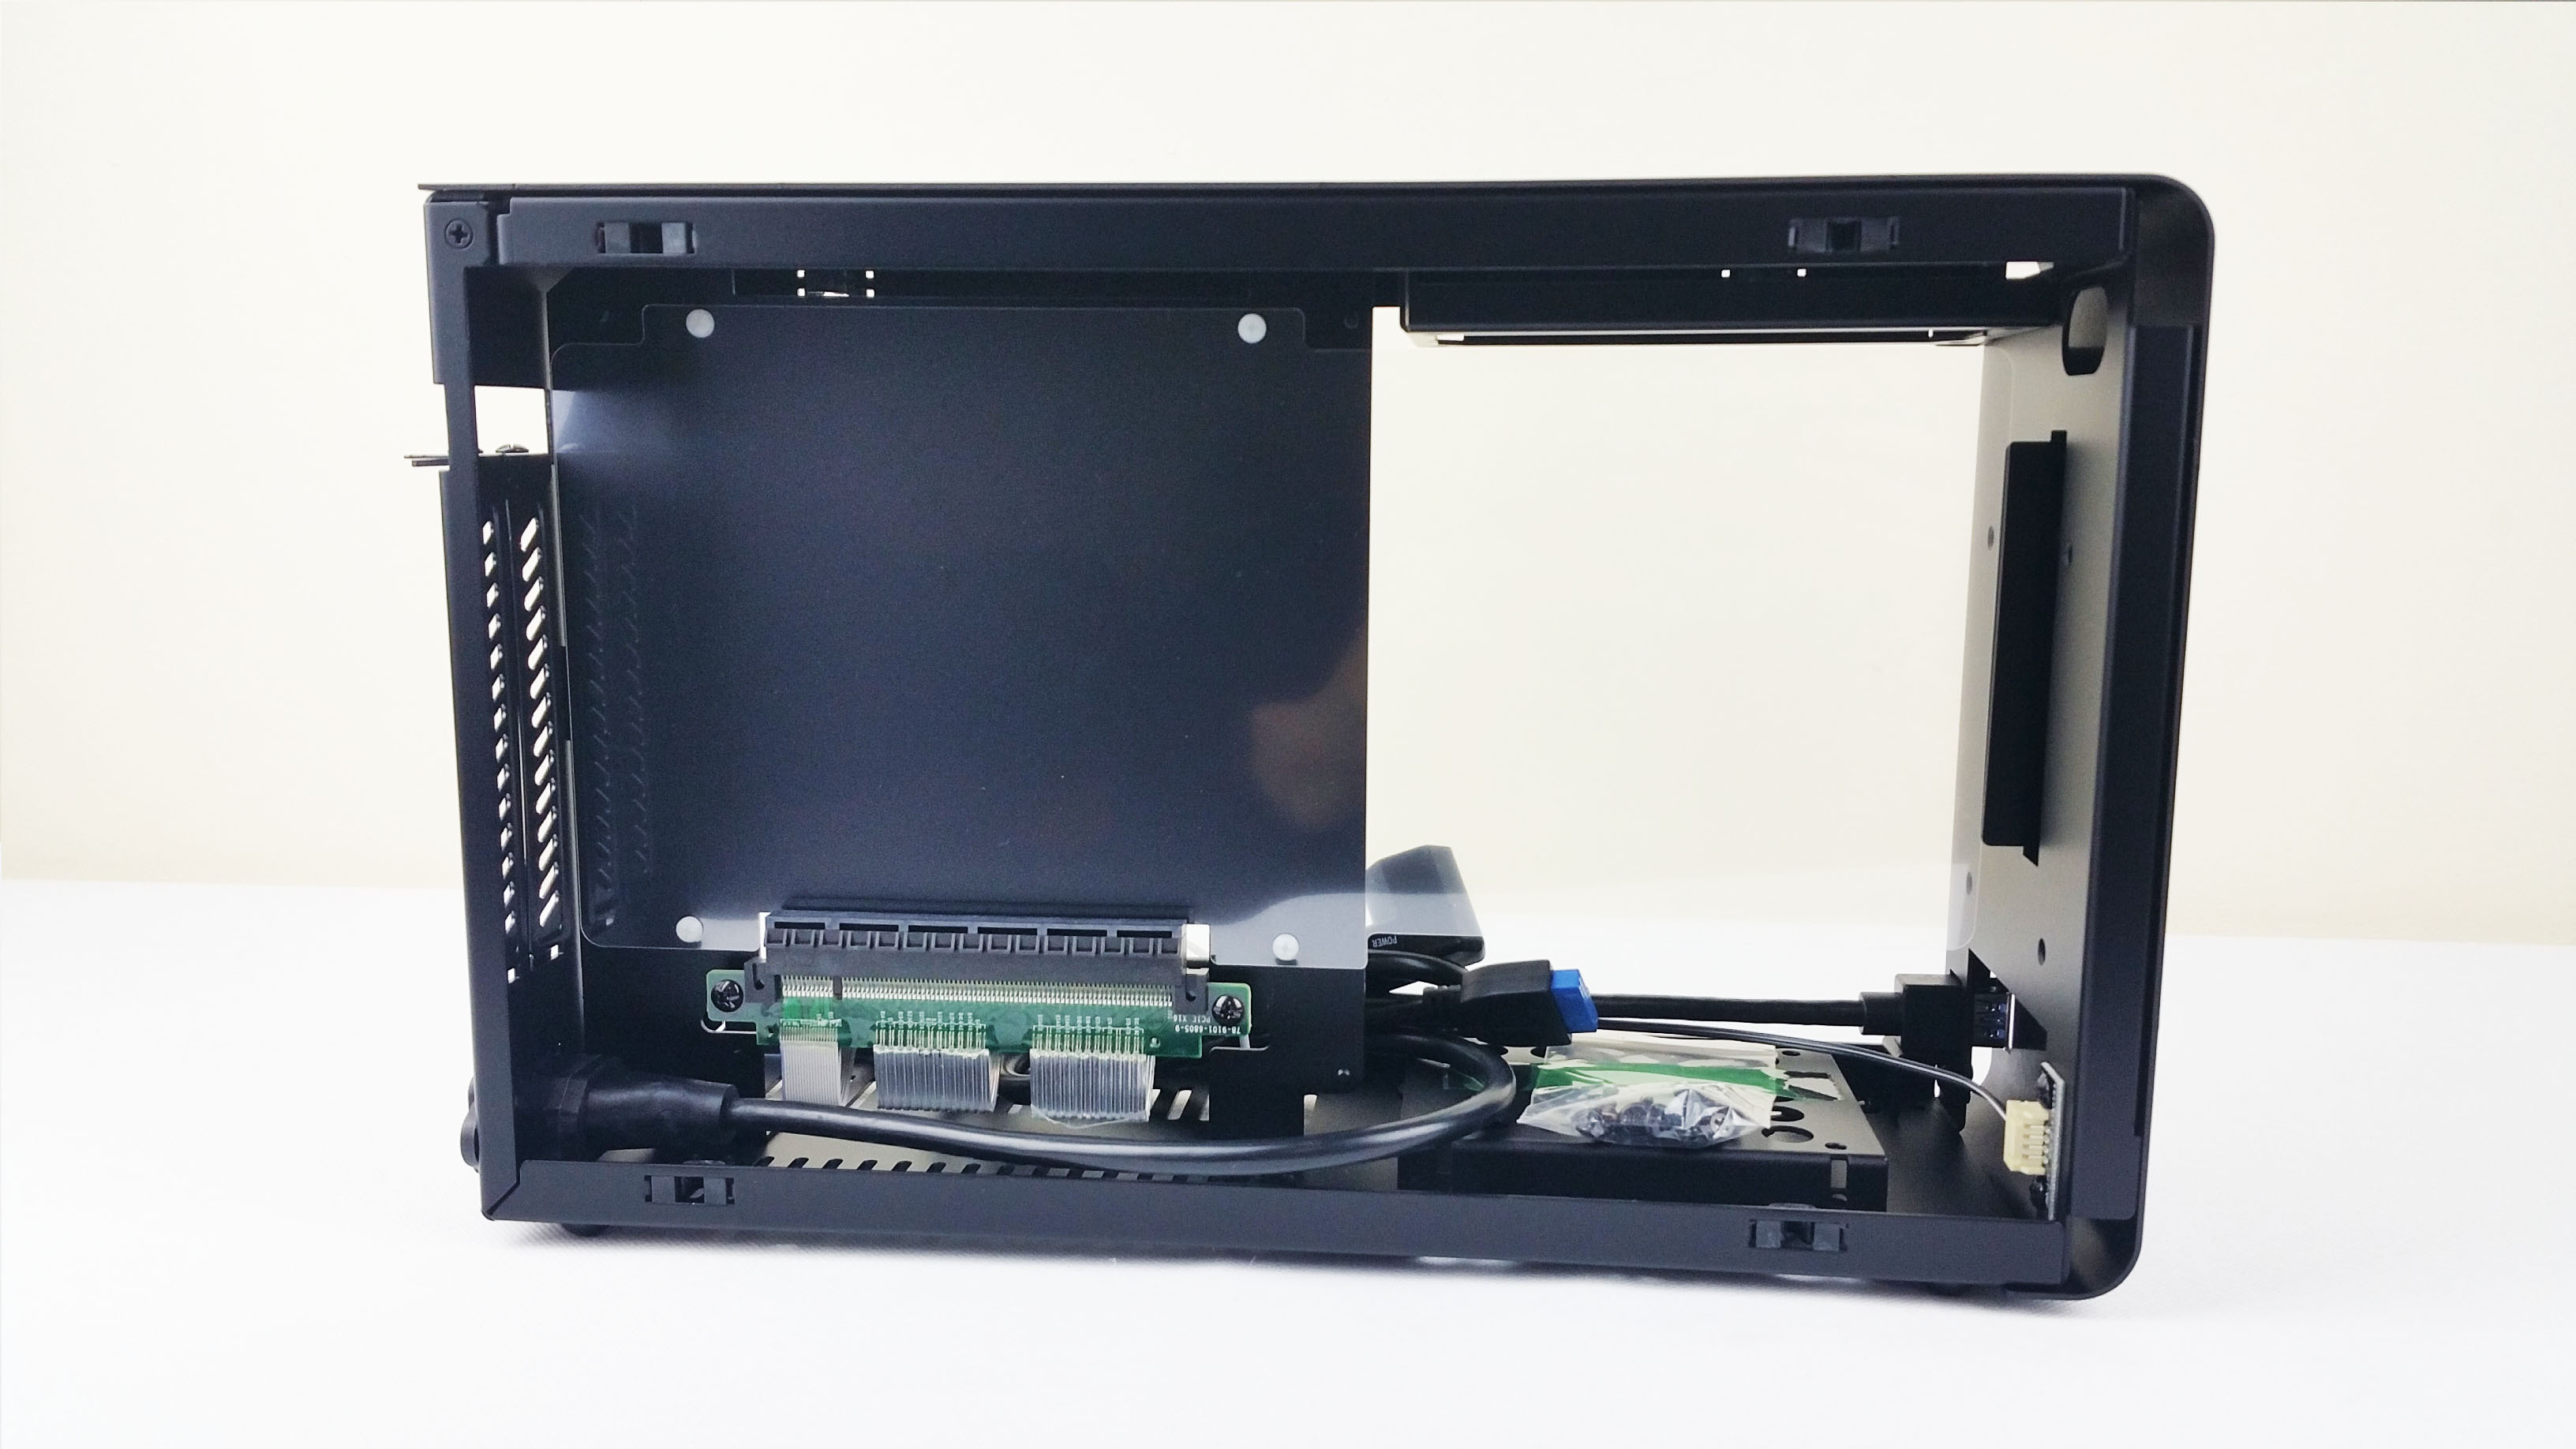
Notice the 3M PCIe 3.0 riser module (whit a protective cap as well), the PSU’s extension cable and the bracket for the 2.5″ HDD/SSDs. You can install two drives down here if you use a SFX PSU. If you choose a SFX-L then only one drive is viable.

Most importantly we have the plastic shroud that will be the main protection for graphics cards which don’t have a backplate to prevent them from short circuiting if they ever come in contact with the case and/or the PSU.
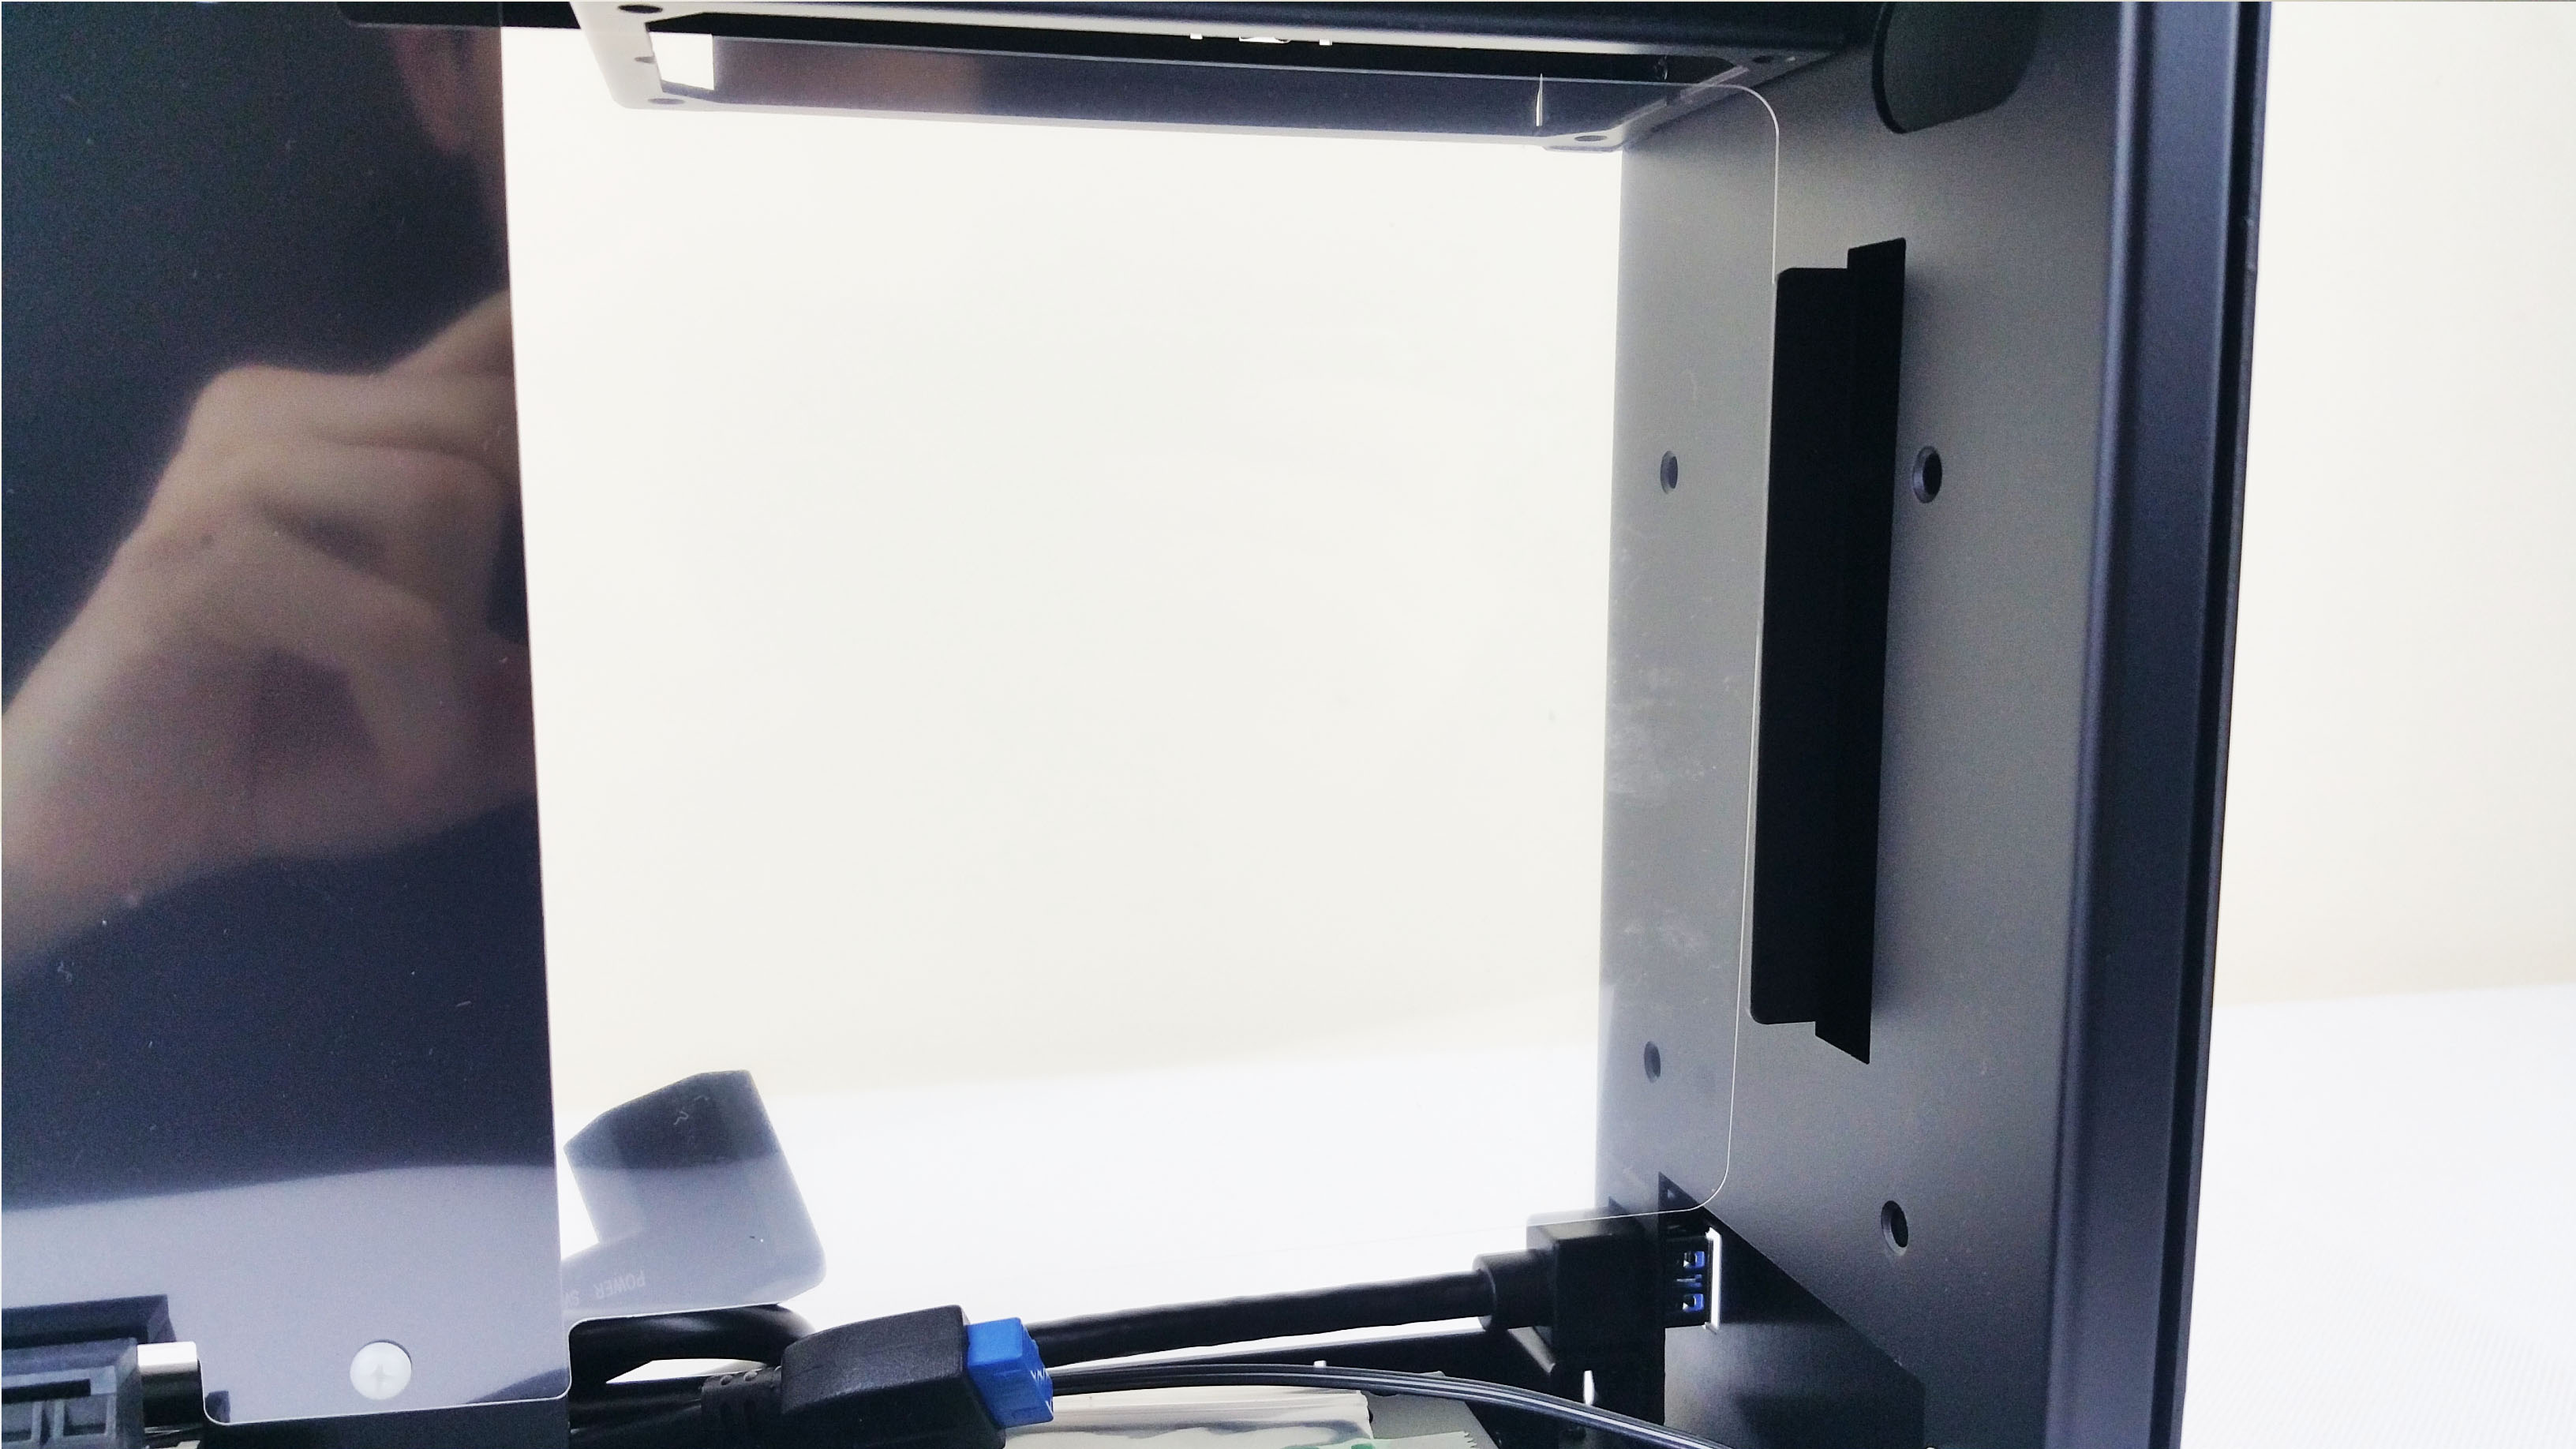
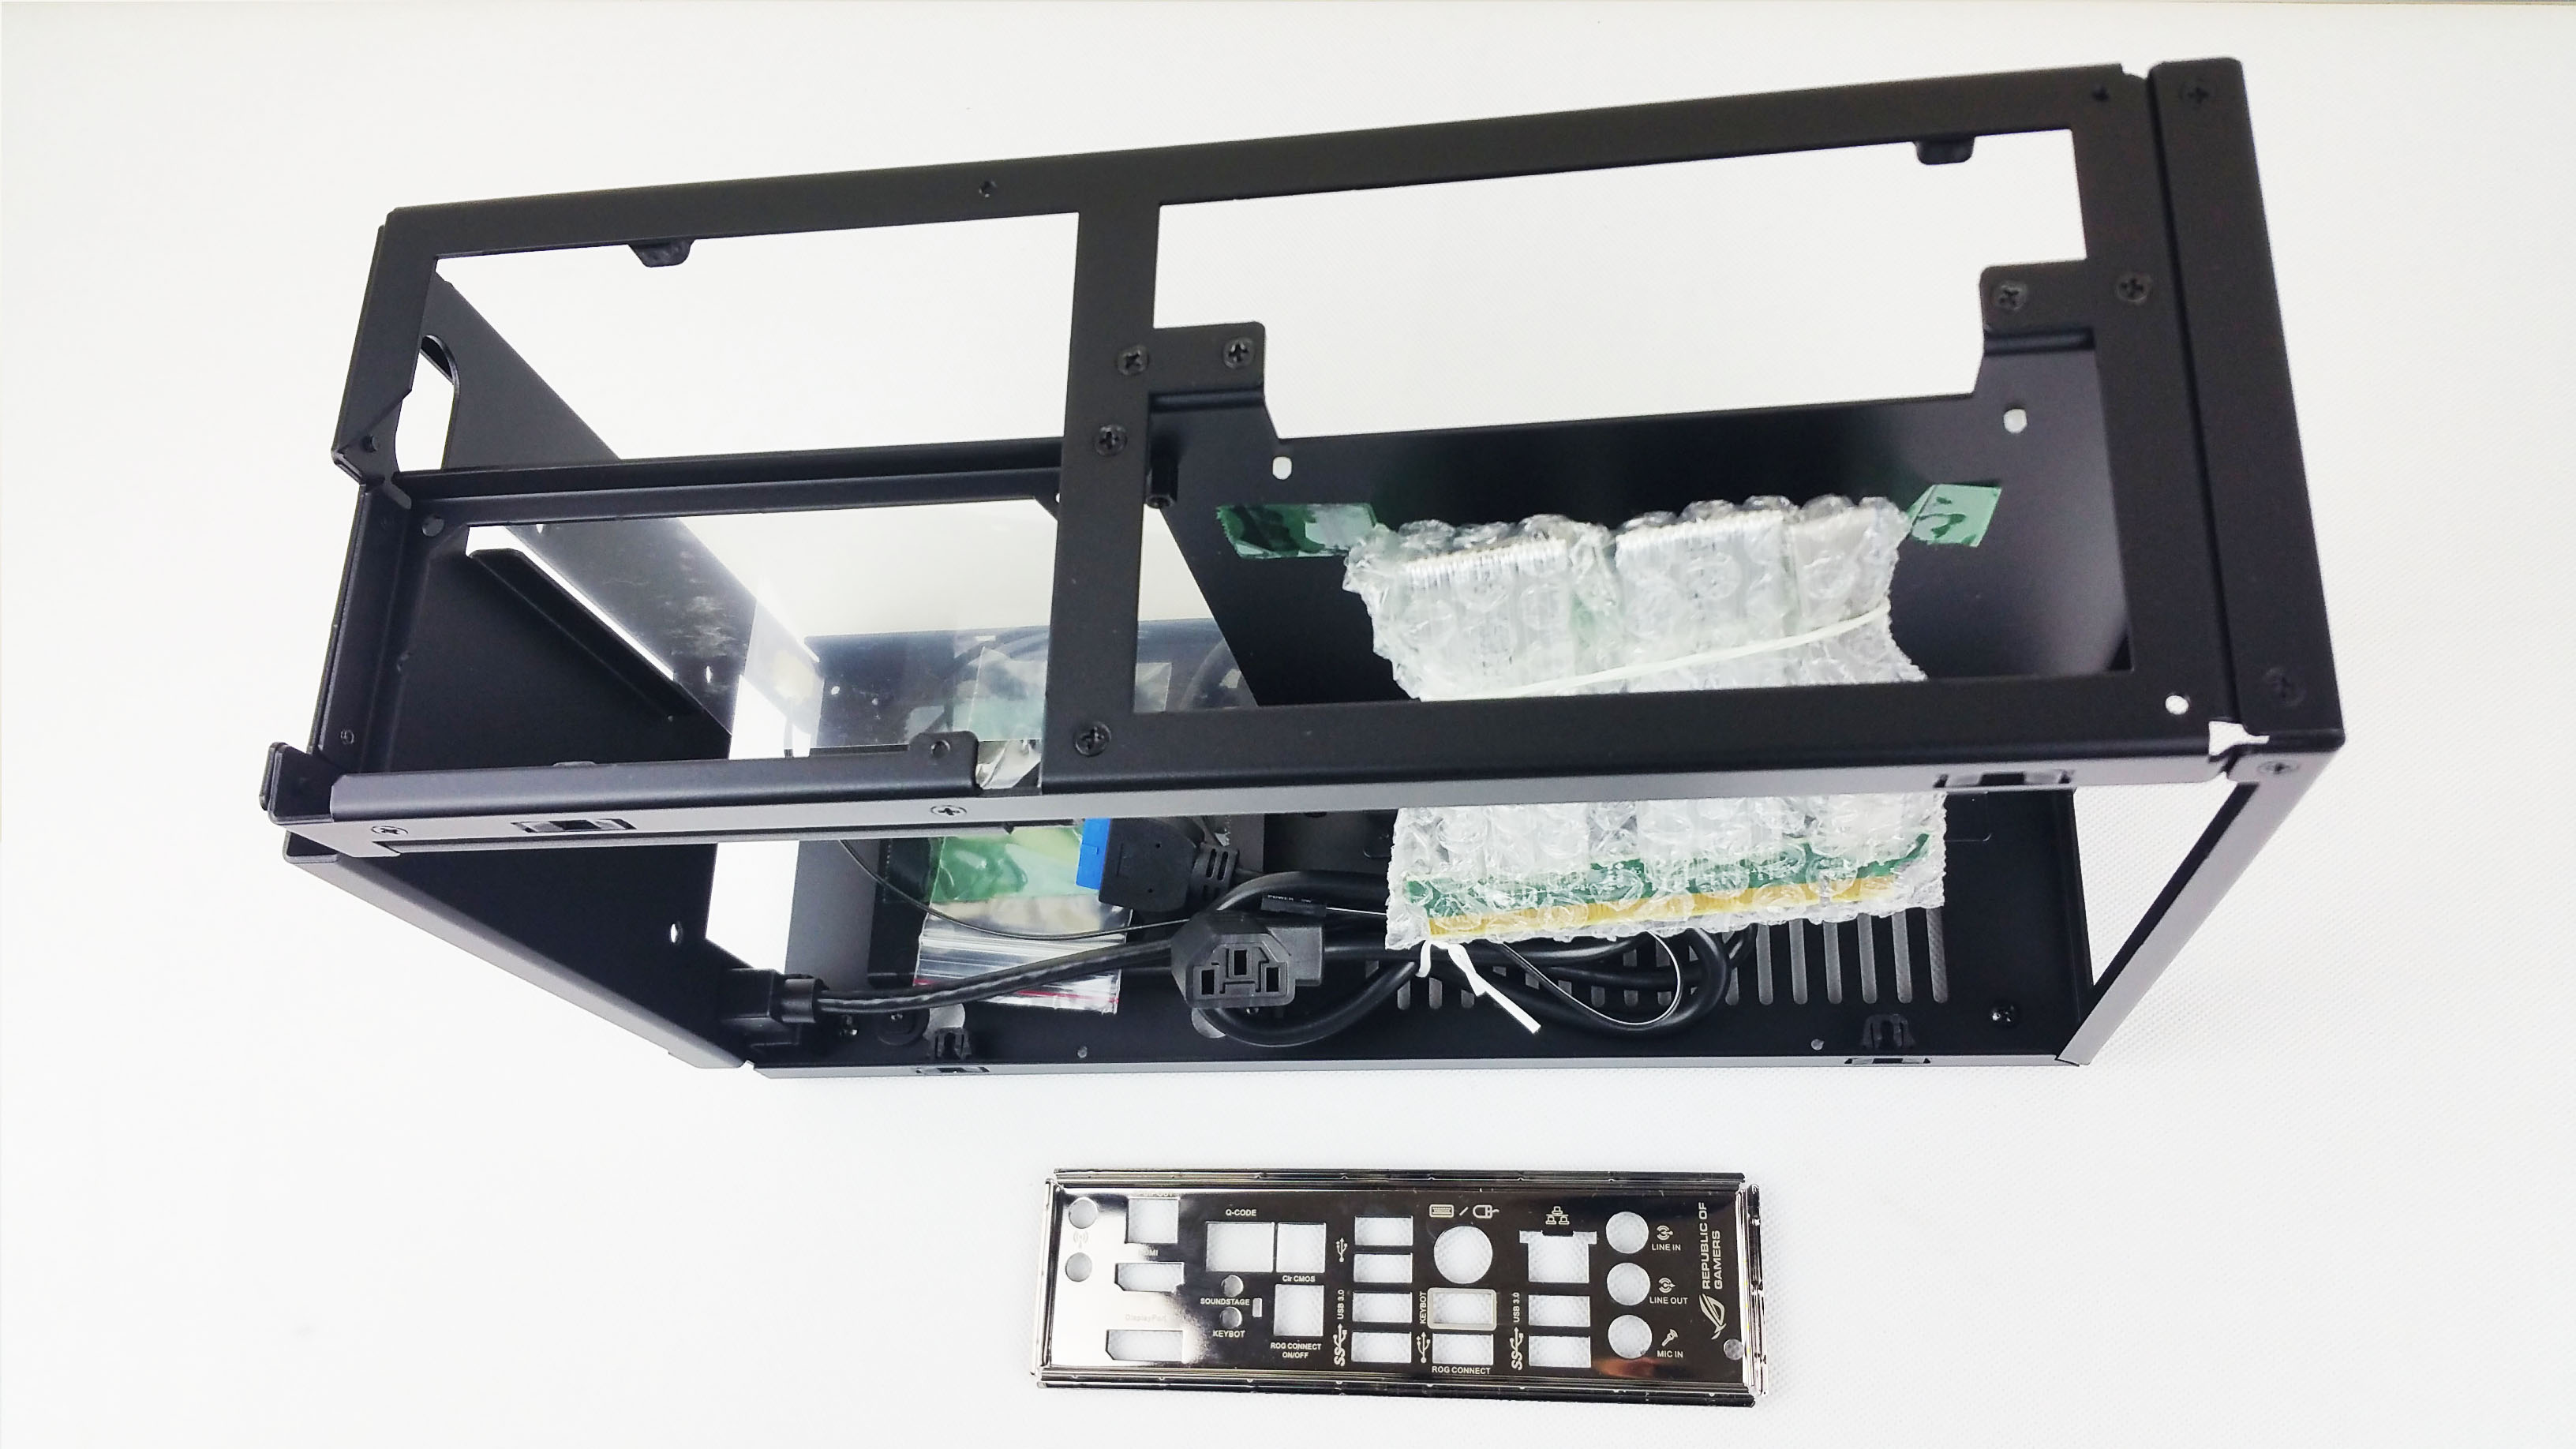
Let’s flip the case and we have the power supply and motherboard area. Again, it supports SFX and SFX-L PSUs (those usually have the bigger 120 mm fans for even better cooling and noise attributes). The only motherboard accepted factor is mITX which is 17 by 17 mm.

Zooming to the left this is the USB 3.0 front panel connector.

The front of the case offers the following: the top cutout is for wire management like the PCI-E connectors. The middle area is for the 3rd drive. The left switch is the power ON button and on the right we have the single USB 3.0 port.

This is how the front power on button is mounted.
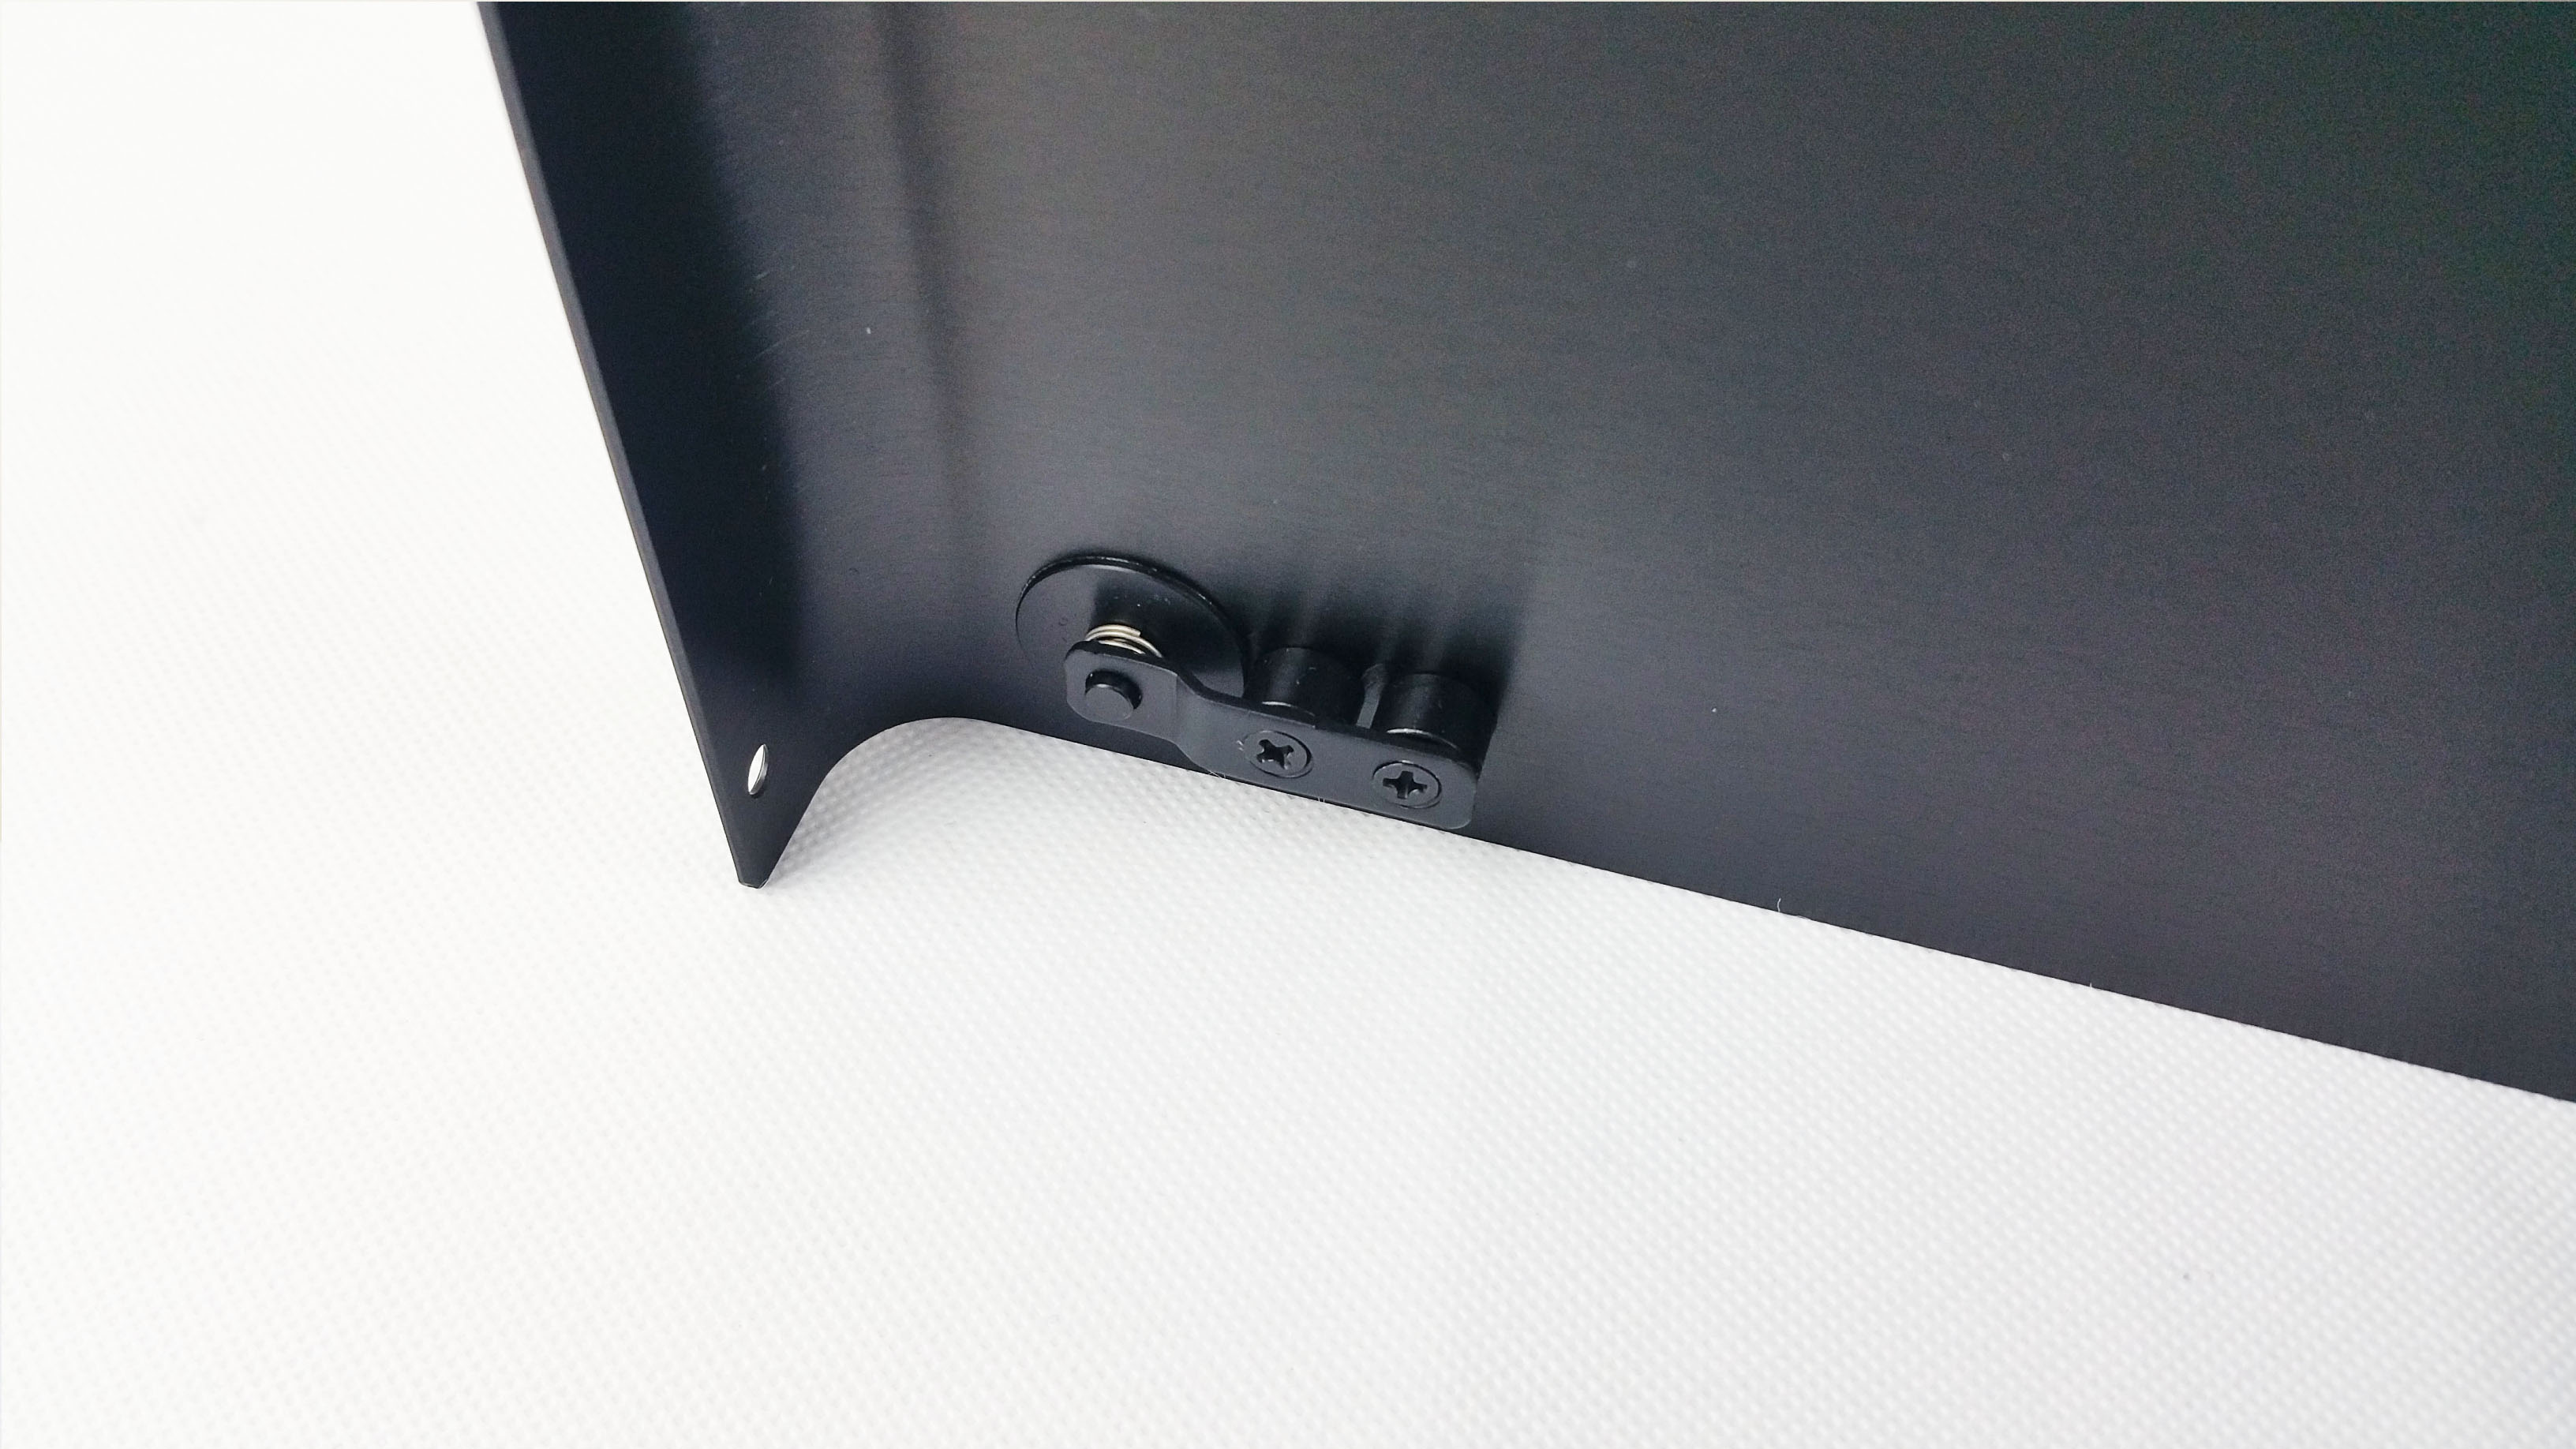
Now for a quick retrospective of both side looking from above. On the left side is where the PSU bracket is located.
Now, let’s complete the build.
Testing methodology
Because the Cryorig C7 can’t handle the thermal envelope of an i7 above 1.1xx Volts, we downclocked the CPU to 1.05v for 4 GHZ so it will not throttle when testing.
For the noise we used our Pyle PSPL01 placed 30 cm away from the setup.
Thermal paste used was the supplied one by Cryorig.
We went for an enthusiast component grade setup to fully test the cooling capability of the case.
Any results over 90° C in any condition are considered a fail.
Let’s proceed.
Hardware used:
Processor: Intel i7 4790k @ 4.0 GHz w/ 1.50v
CPU cooler: Cryorig C7 – 92 mm
Motherboard: Asus ROG Maximus Impact VII Z97 mITX
RAM: 16 GB (2×8 GB) DDR3 Crucial Ballistix Tactical Tracers 1600 Mhz CL8 LED at 2133 mhz w/ 1.5v
GPUs:
MSI GTX 980ti 6G TwinFrozr V w/ idle off fans feature
Gigabyte GTX 1080 8G Founders Edition
SSD : M.2 Samsung 950 Pro 512 GB MLC
PSU: Corsair SFX 600W
Display: Samsung 32″ FHD TV LED 100 Hz – UE32F5000

Software:
– Windows 10 Pro x64 Build 1607
– NVIDIA GeForce WHQL 375.63
– MSI Afterburner v4.2.0 – To OC and to record the FPS and load/temperatures (a room temperature of 20 degrees C)
– Core Temp v1.7 R6
– CPU-Z v1.71 ASUS ROG Skin
– Intel Burn Test v2.54
– AIDA 64 Extreme v5.80
– Unigine Valley v1.0
– ASUS AI SUite 3 – for manual control of the CPU’s cooler fan curve
A mixed 10 minute gameplay, all settings at max, at 1920×1080 resolution, no V-sync.
– Witcher 3 v1.21
– Battlefield 4
Installation
A build like this is challenging because you need to plan ahead especially to be careful what components you will use and triple check the compatibility. After that is out of the way, the same rule applies to foresee which route to undertake.
*Here you have the video build log as well.
We suggest to start to install the storage first. In our case, we used a M.2 SSD which is located on the motherboard, so we can skip that part.
Next is to install the motherboard. Don’t forget about the I/O plate. We presume that you already installed the CPU and the cooler because there is no motherboard cutout for obvious reasons.
The maximum RAM height should be 52 mm which will cover most normal heat-spreaders kits.
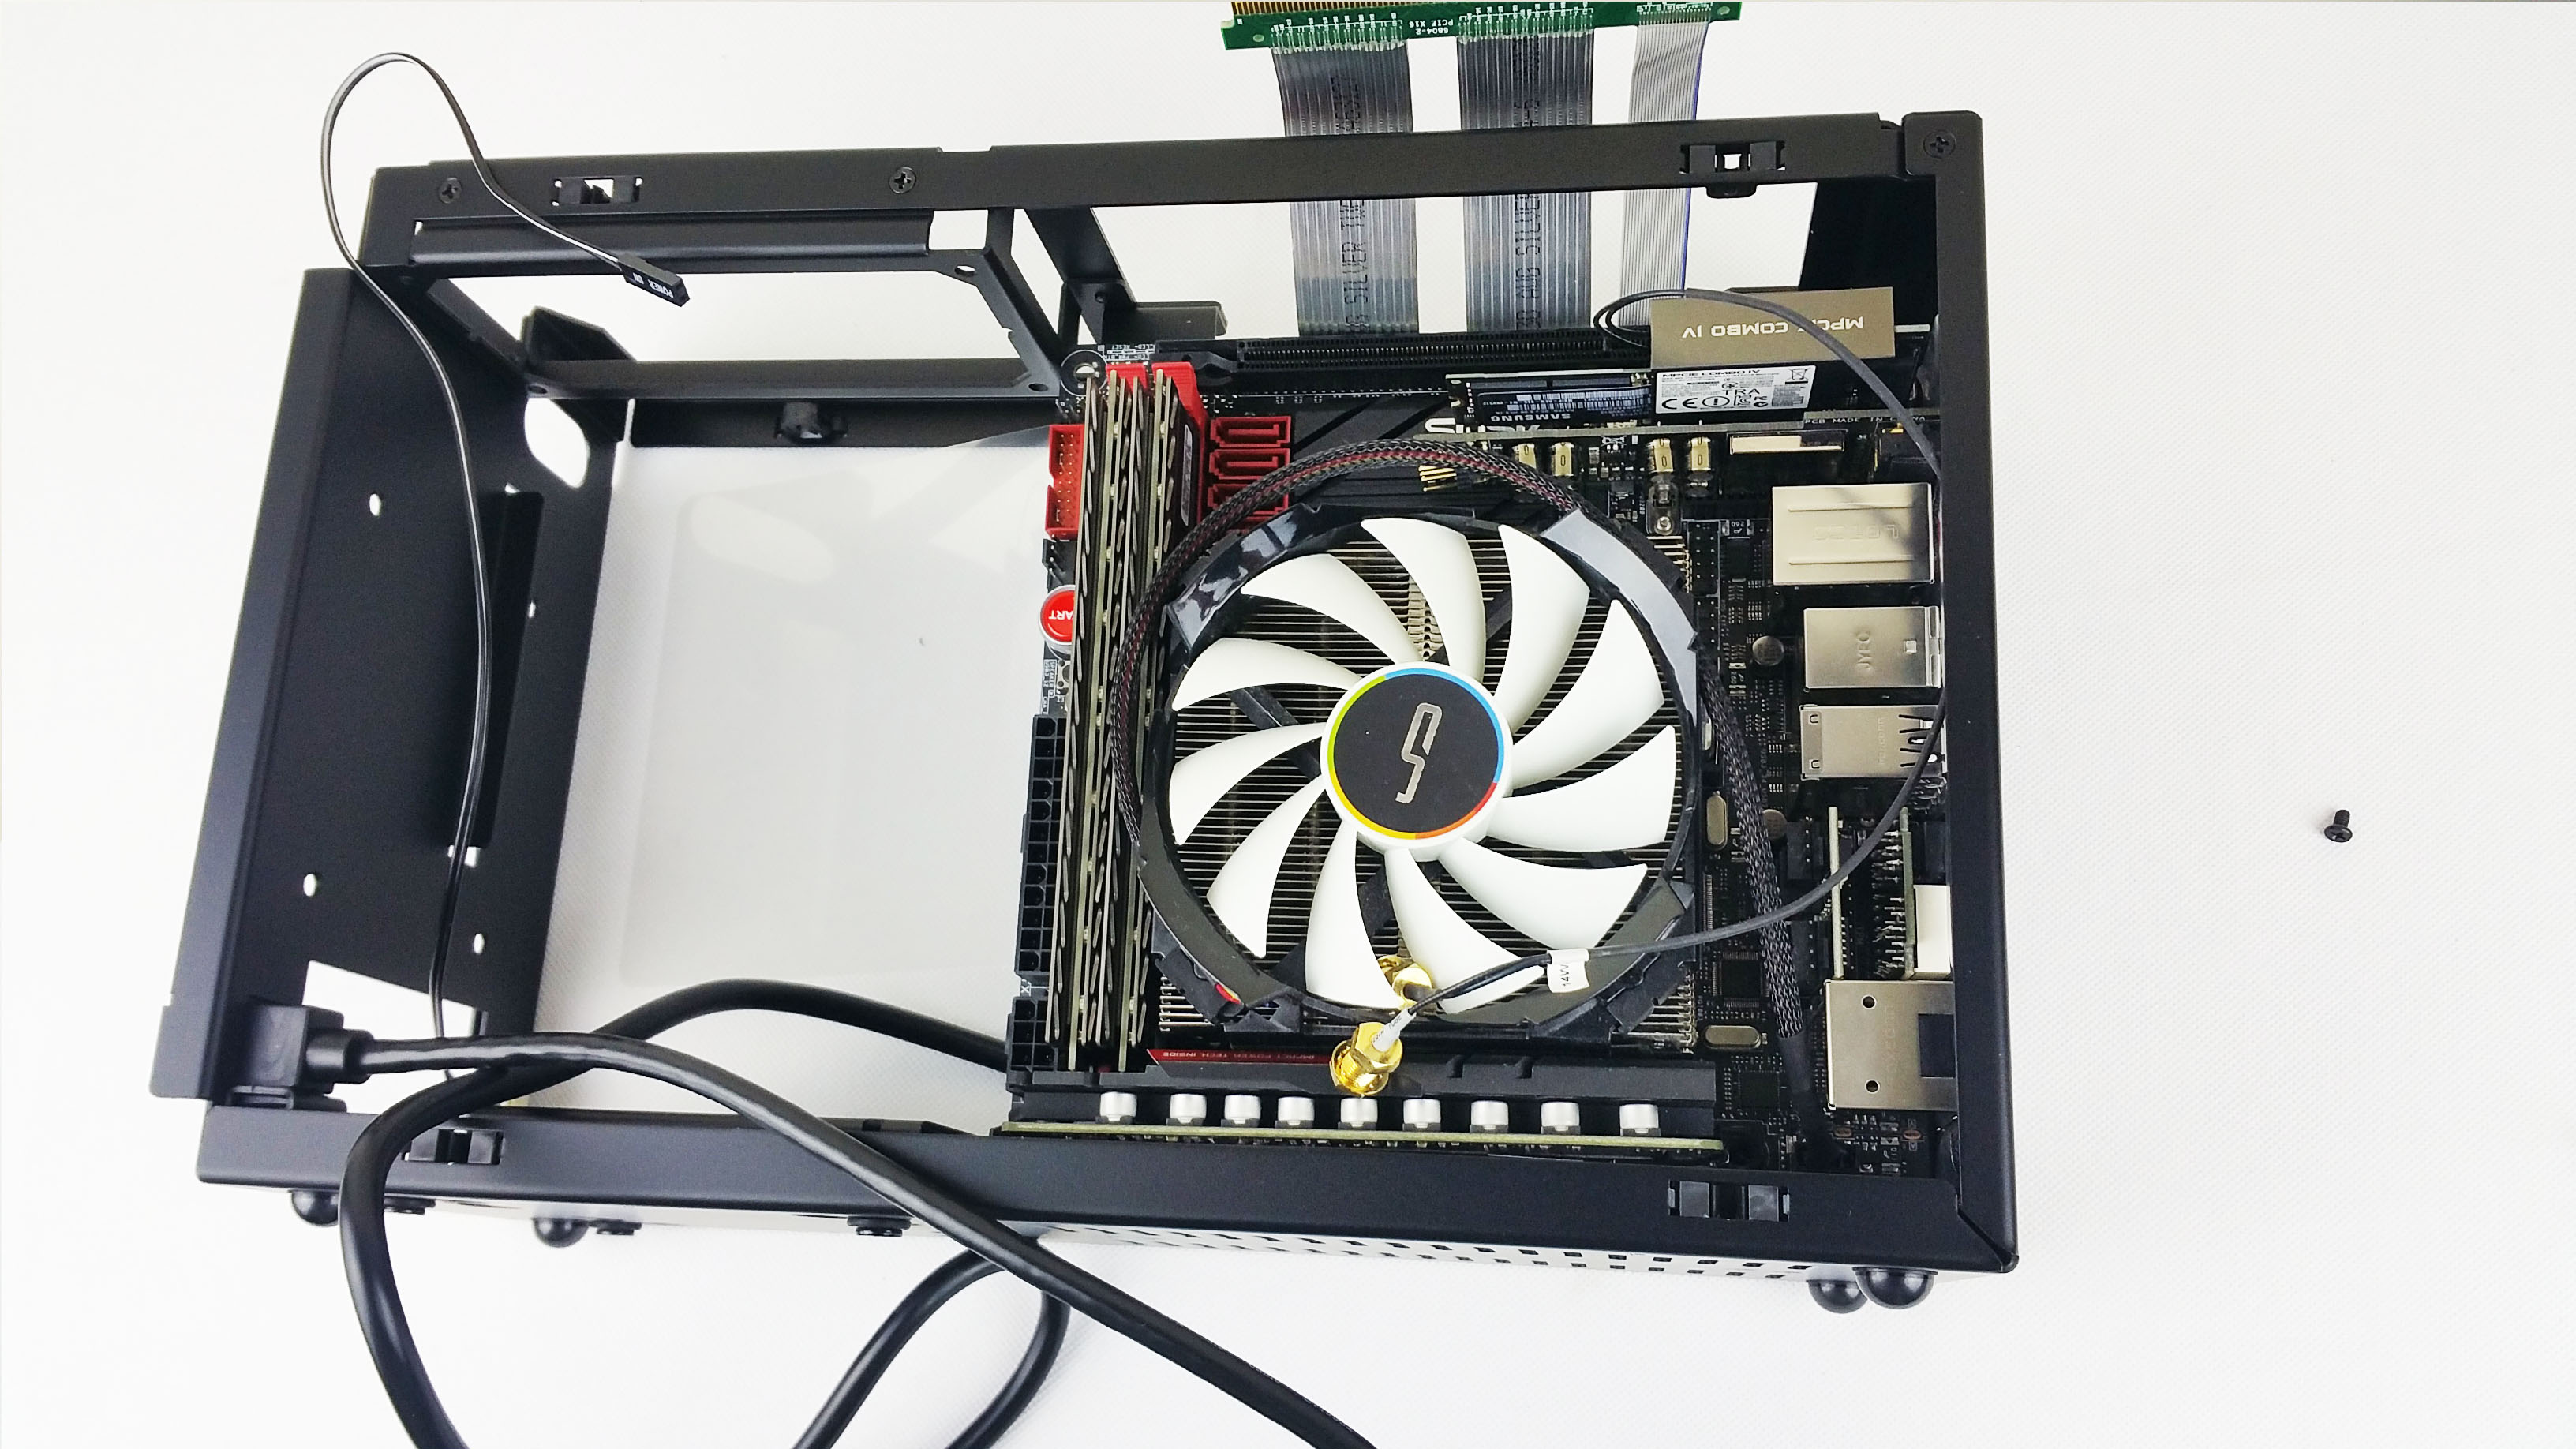
Then bend and mount the PCI-E riser into the motherboard slot. Another bonus to this design is that no more GPU heat to interfere with the CPU area.

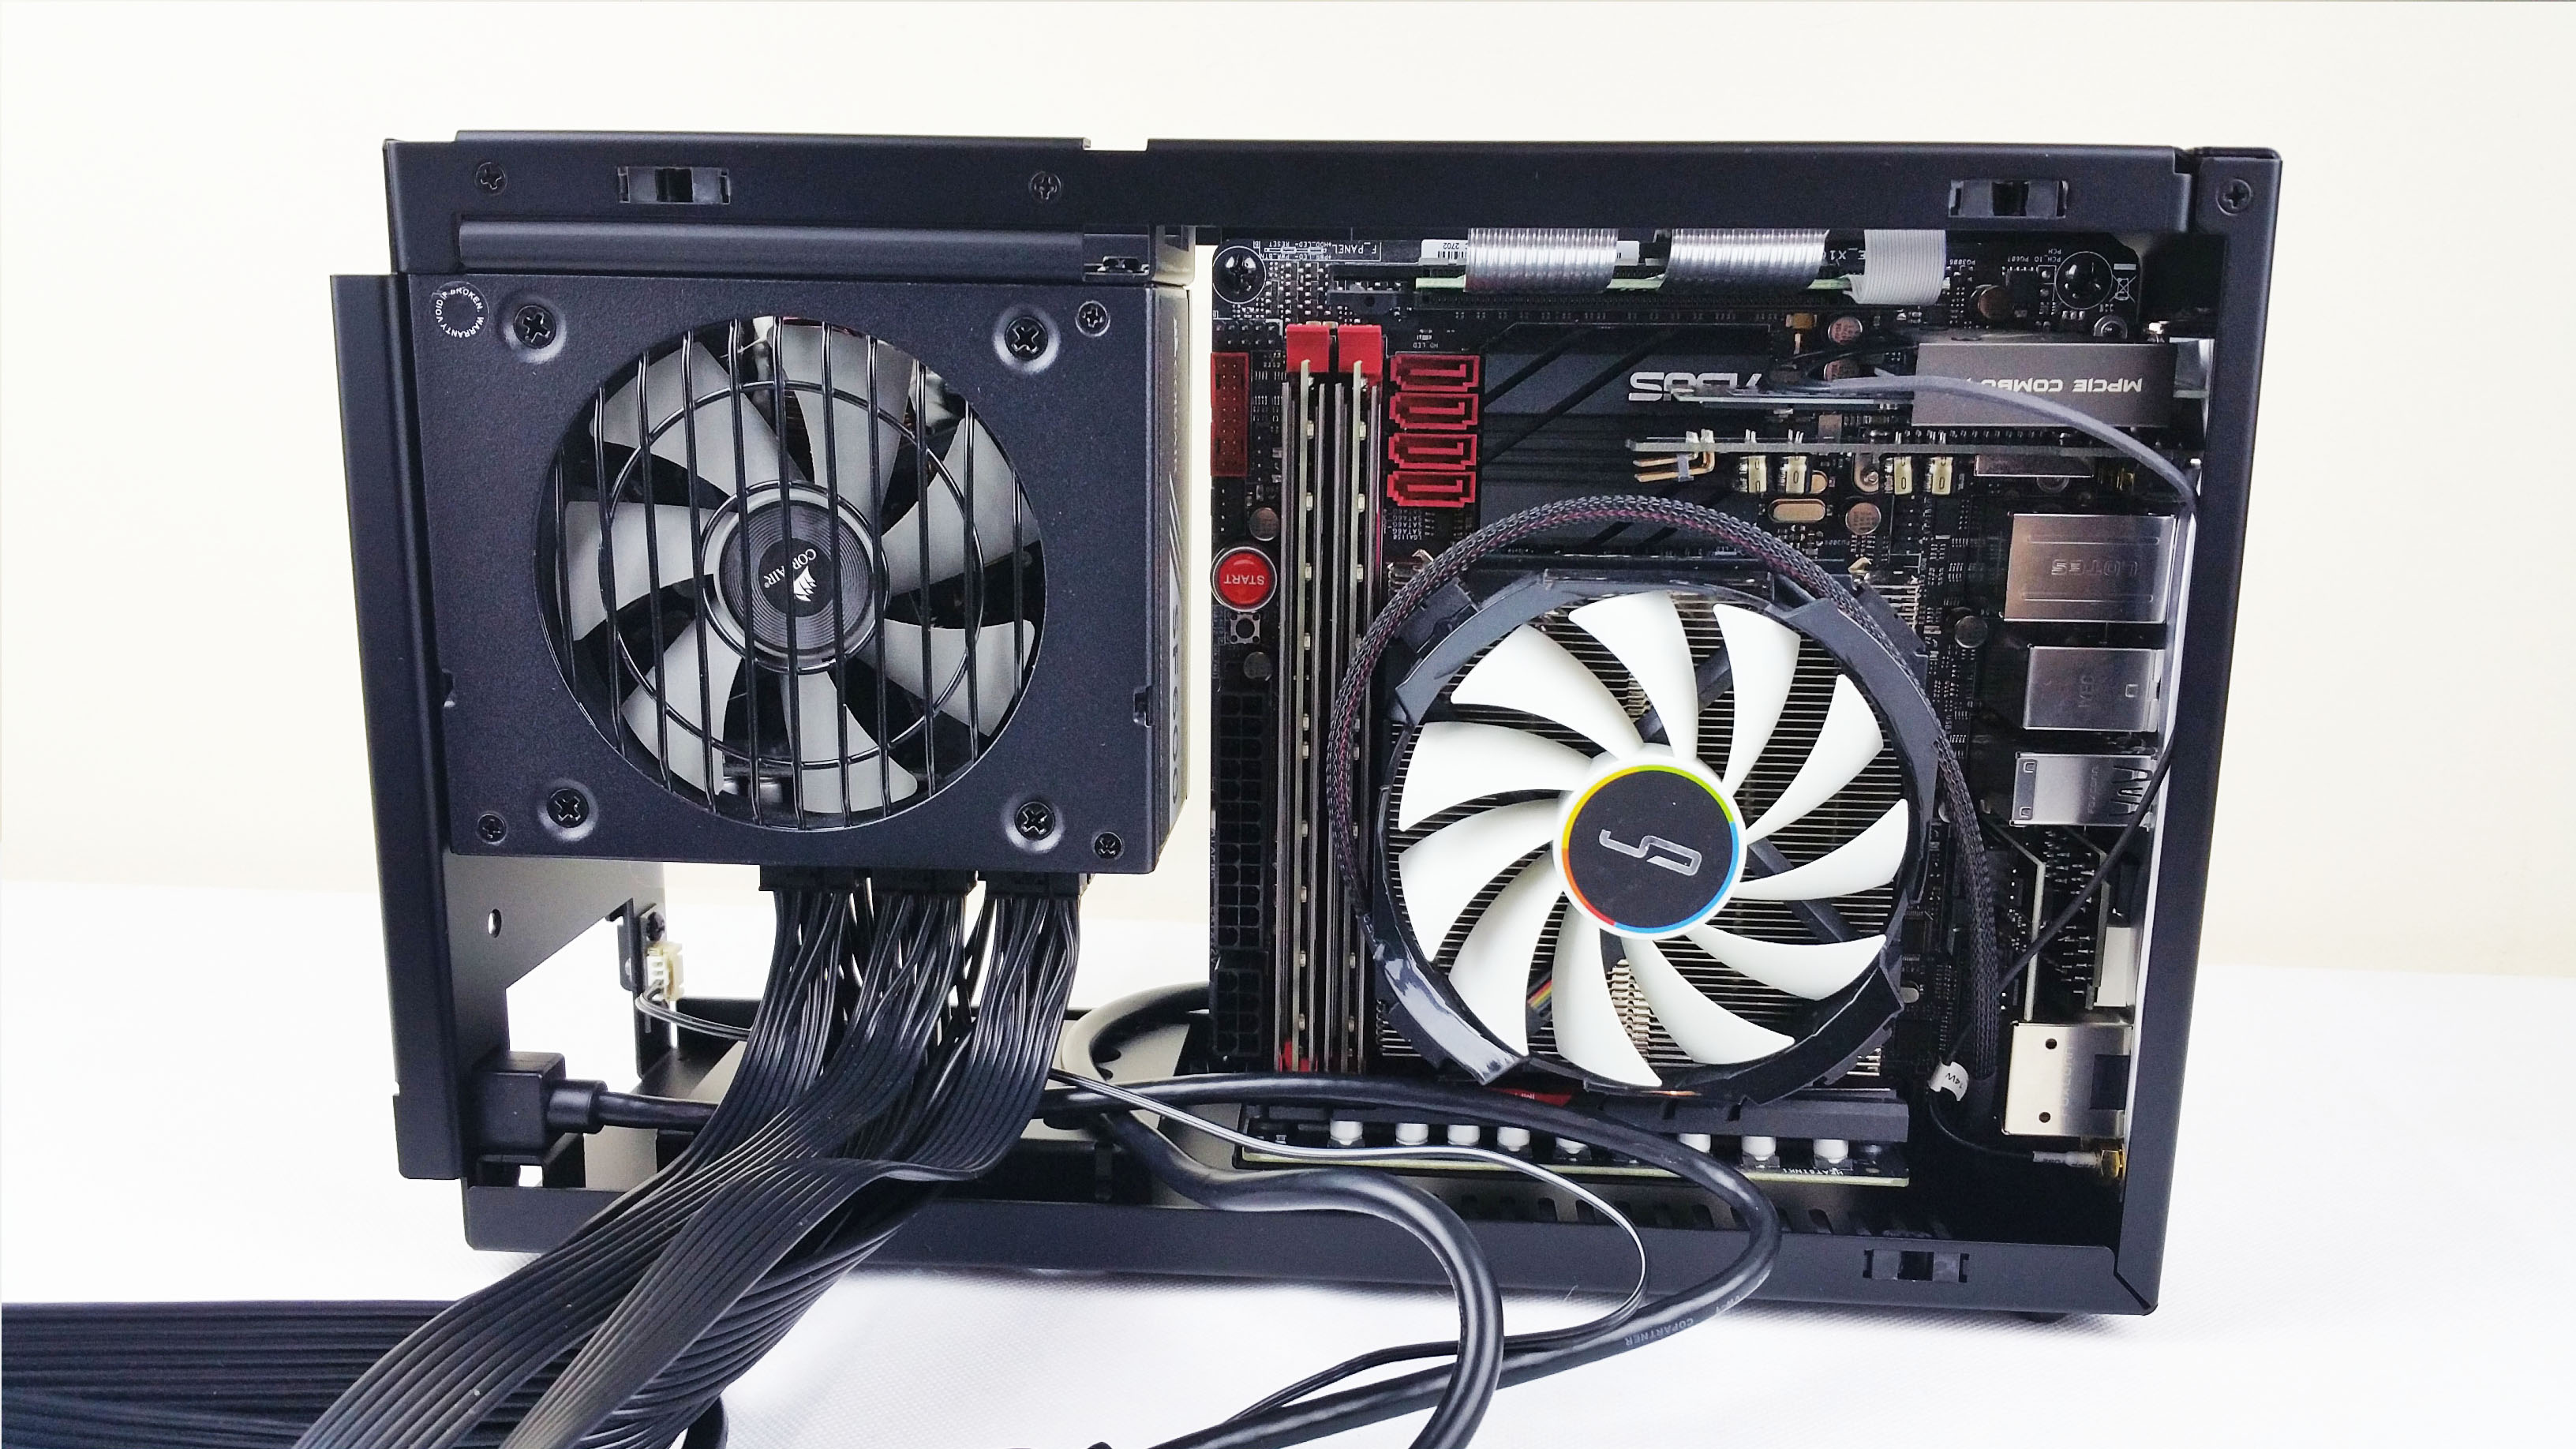
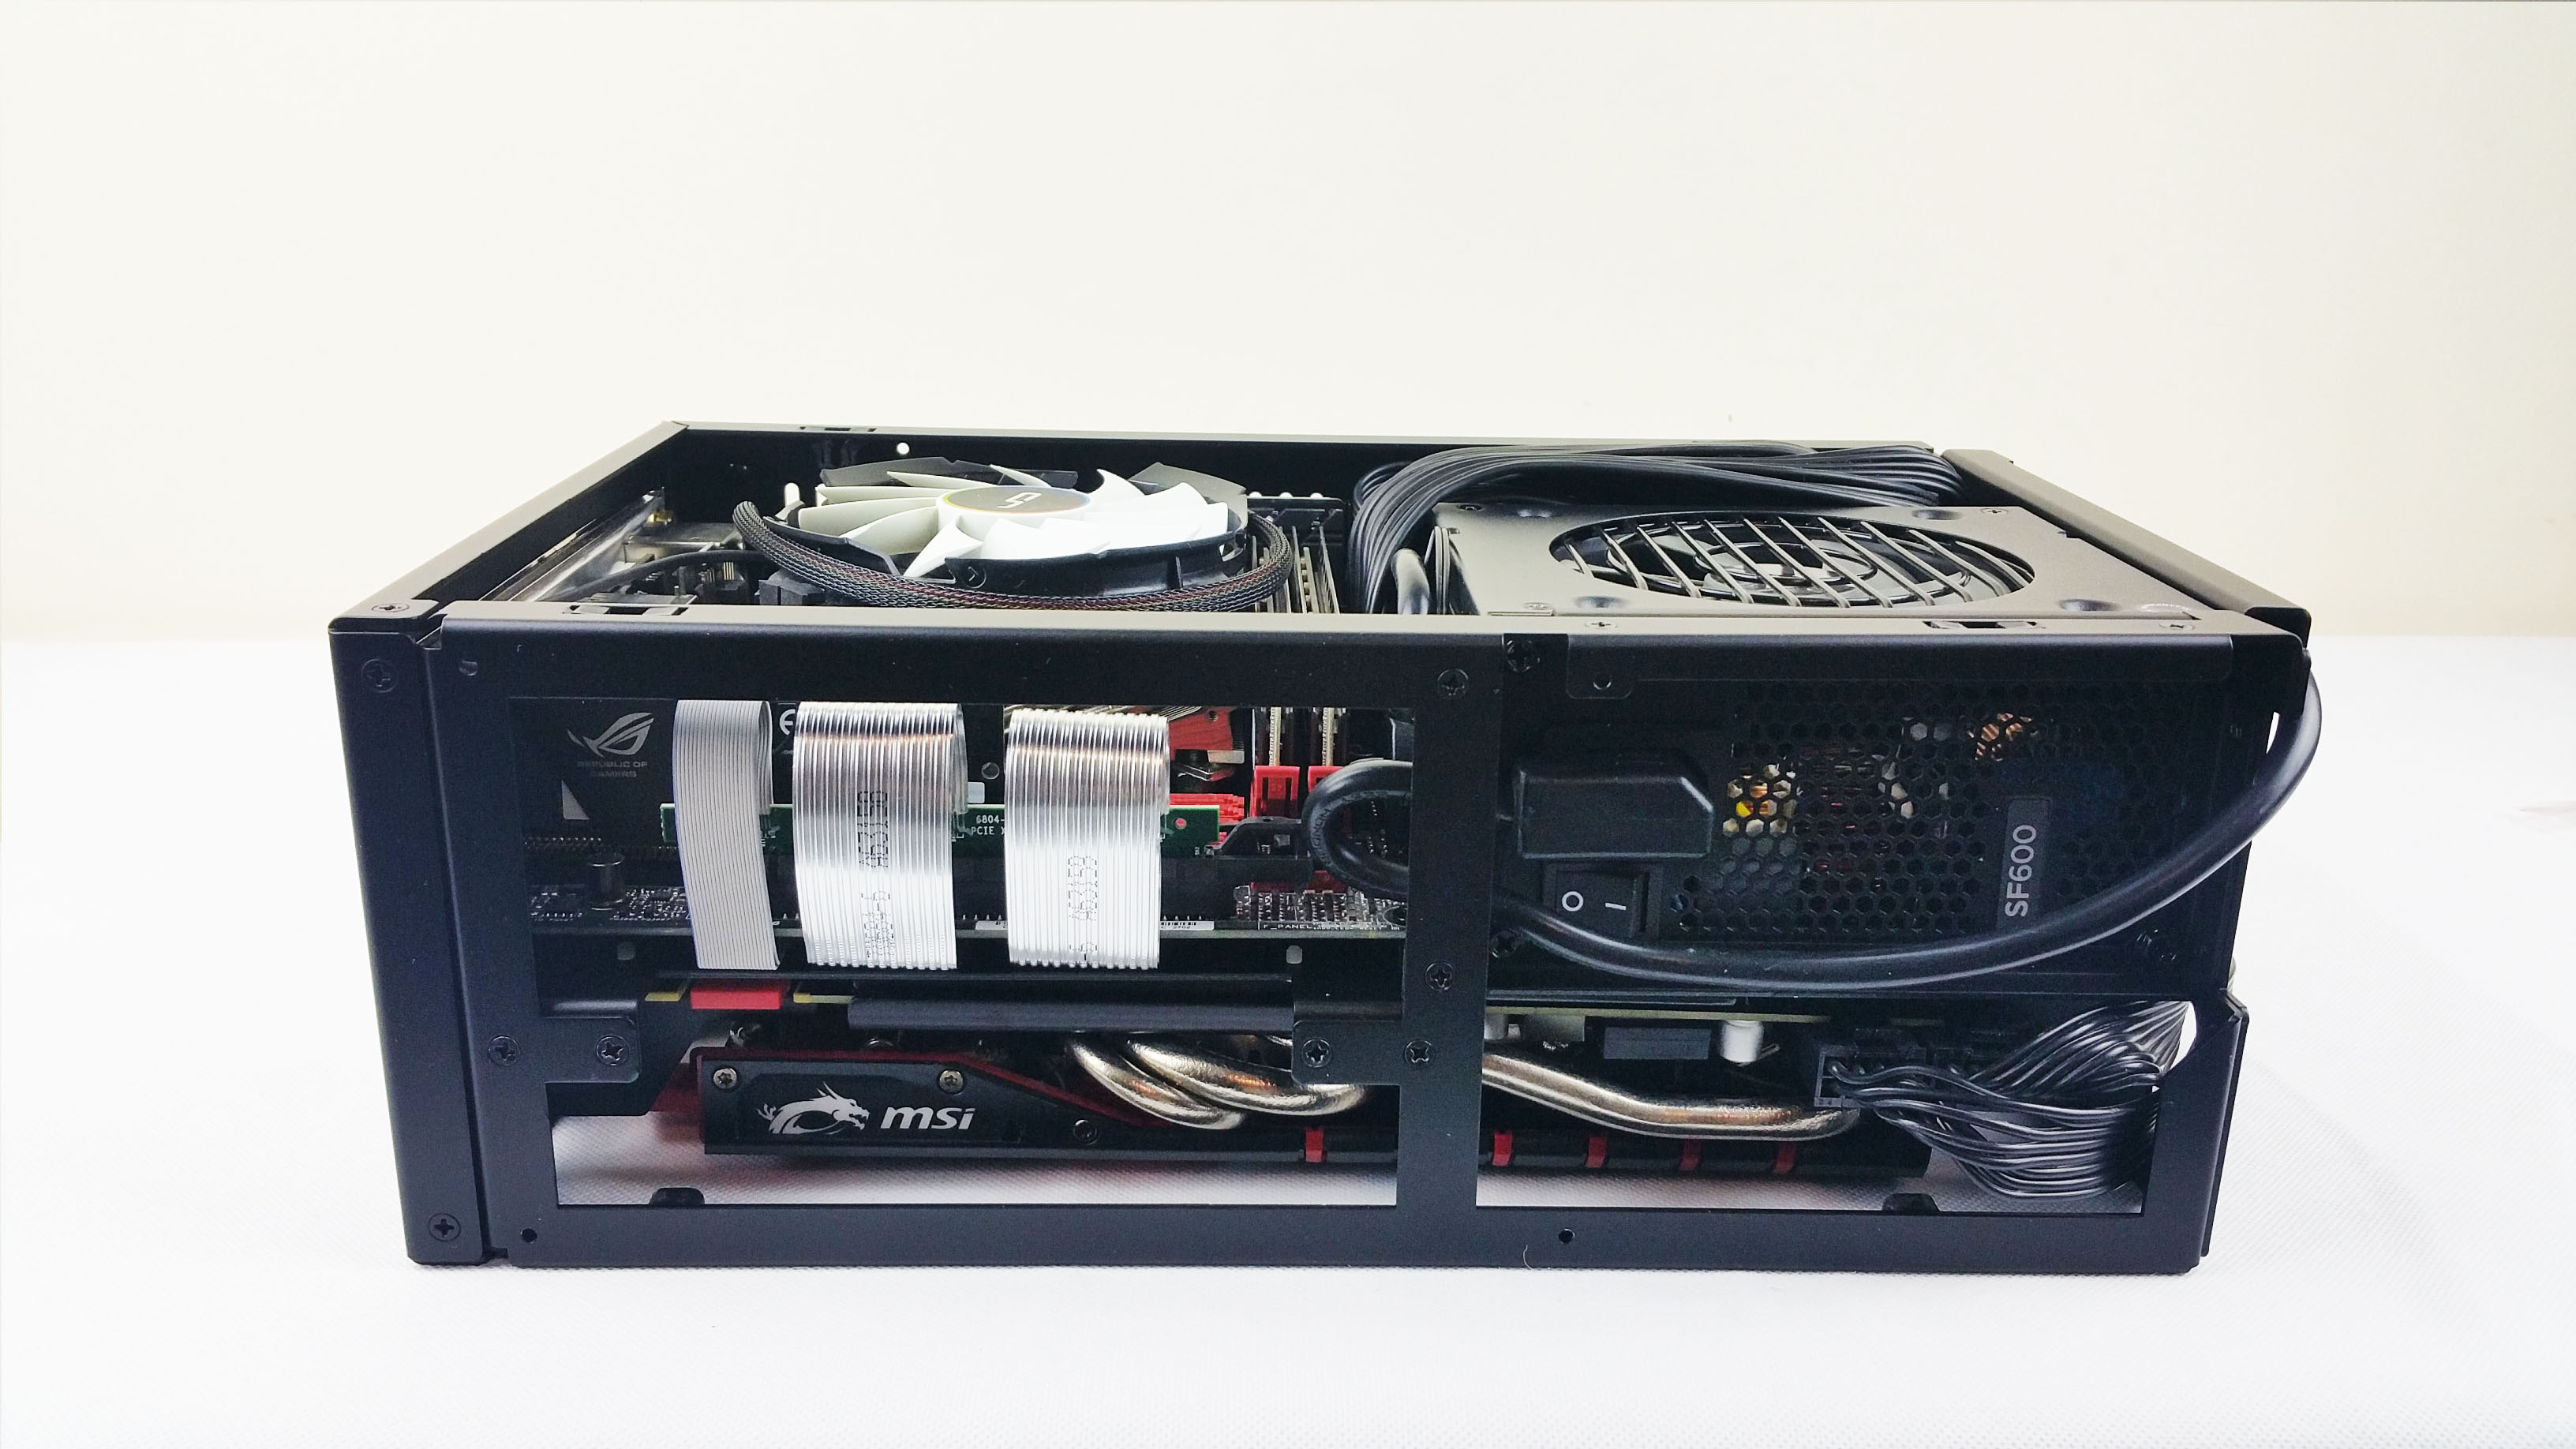
The power supply is next. This is the SFX PSU to get. The Corsair SF600 – because it has 7 years warranty, 92 mm fan (vs the 80 mm which is louder as seen on some of the competition models), semi-fanless mode, full Japanese components and 600 W with a gold rating.
You can’t beat that.
Quick tip: install the cables into the PSU first before you put it into the case.
Our route for the PSU extender. Don’t forget to turn on the power supply because later you can’t access the button anymore without removing the front panel.


Some tucking and fighting with the cables aka wire-management is required. We had enough space underneath the PSU to put all of them. We routed the front USB 3.0 plug underneath the 24 pin cable.
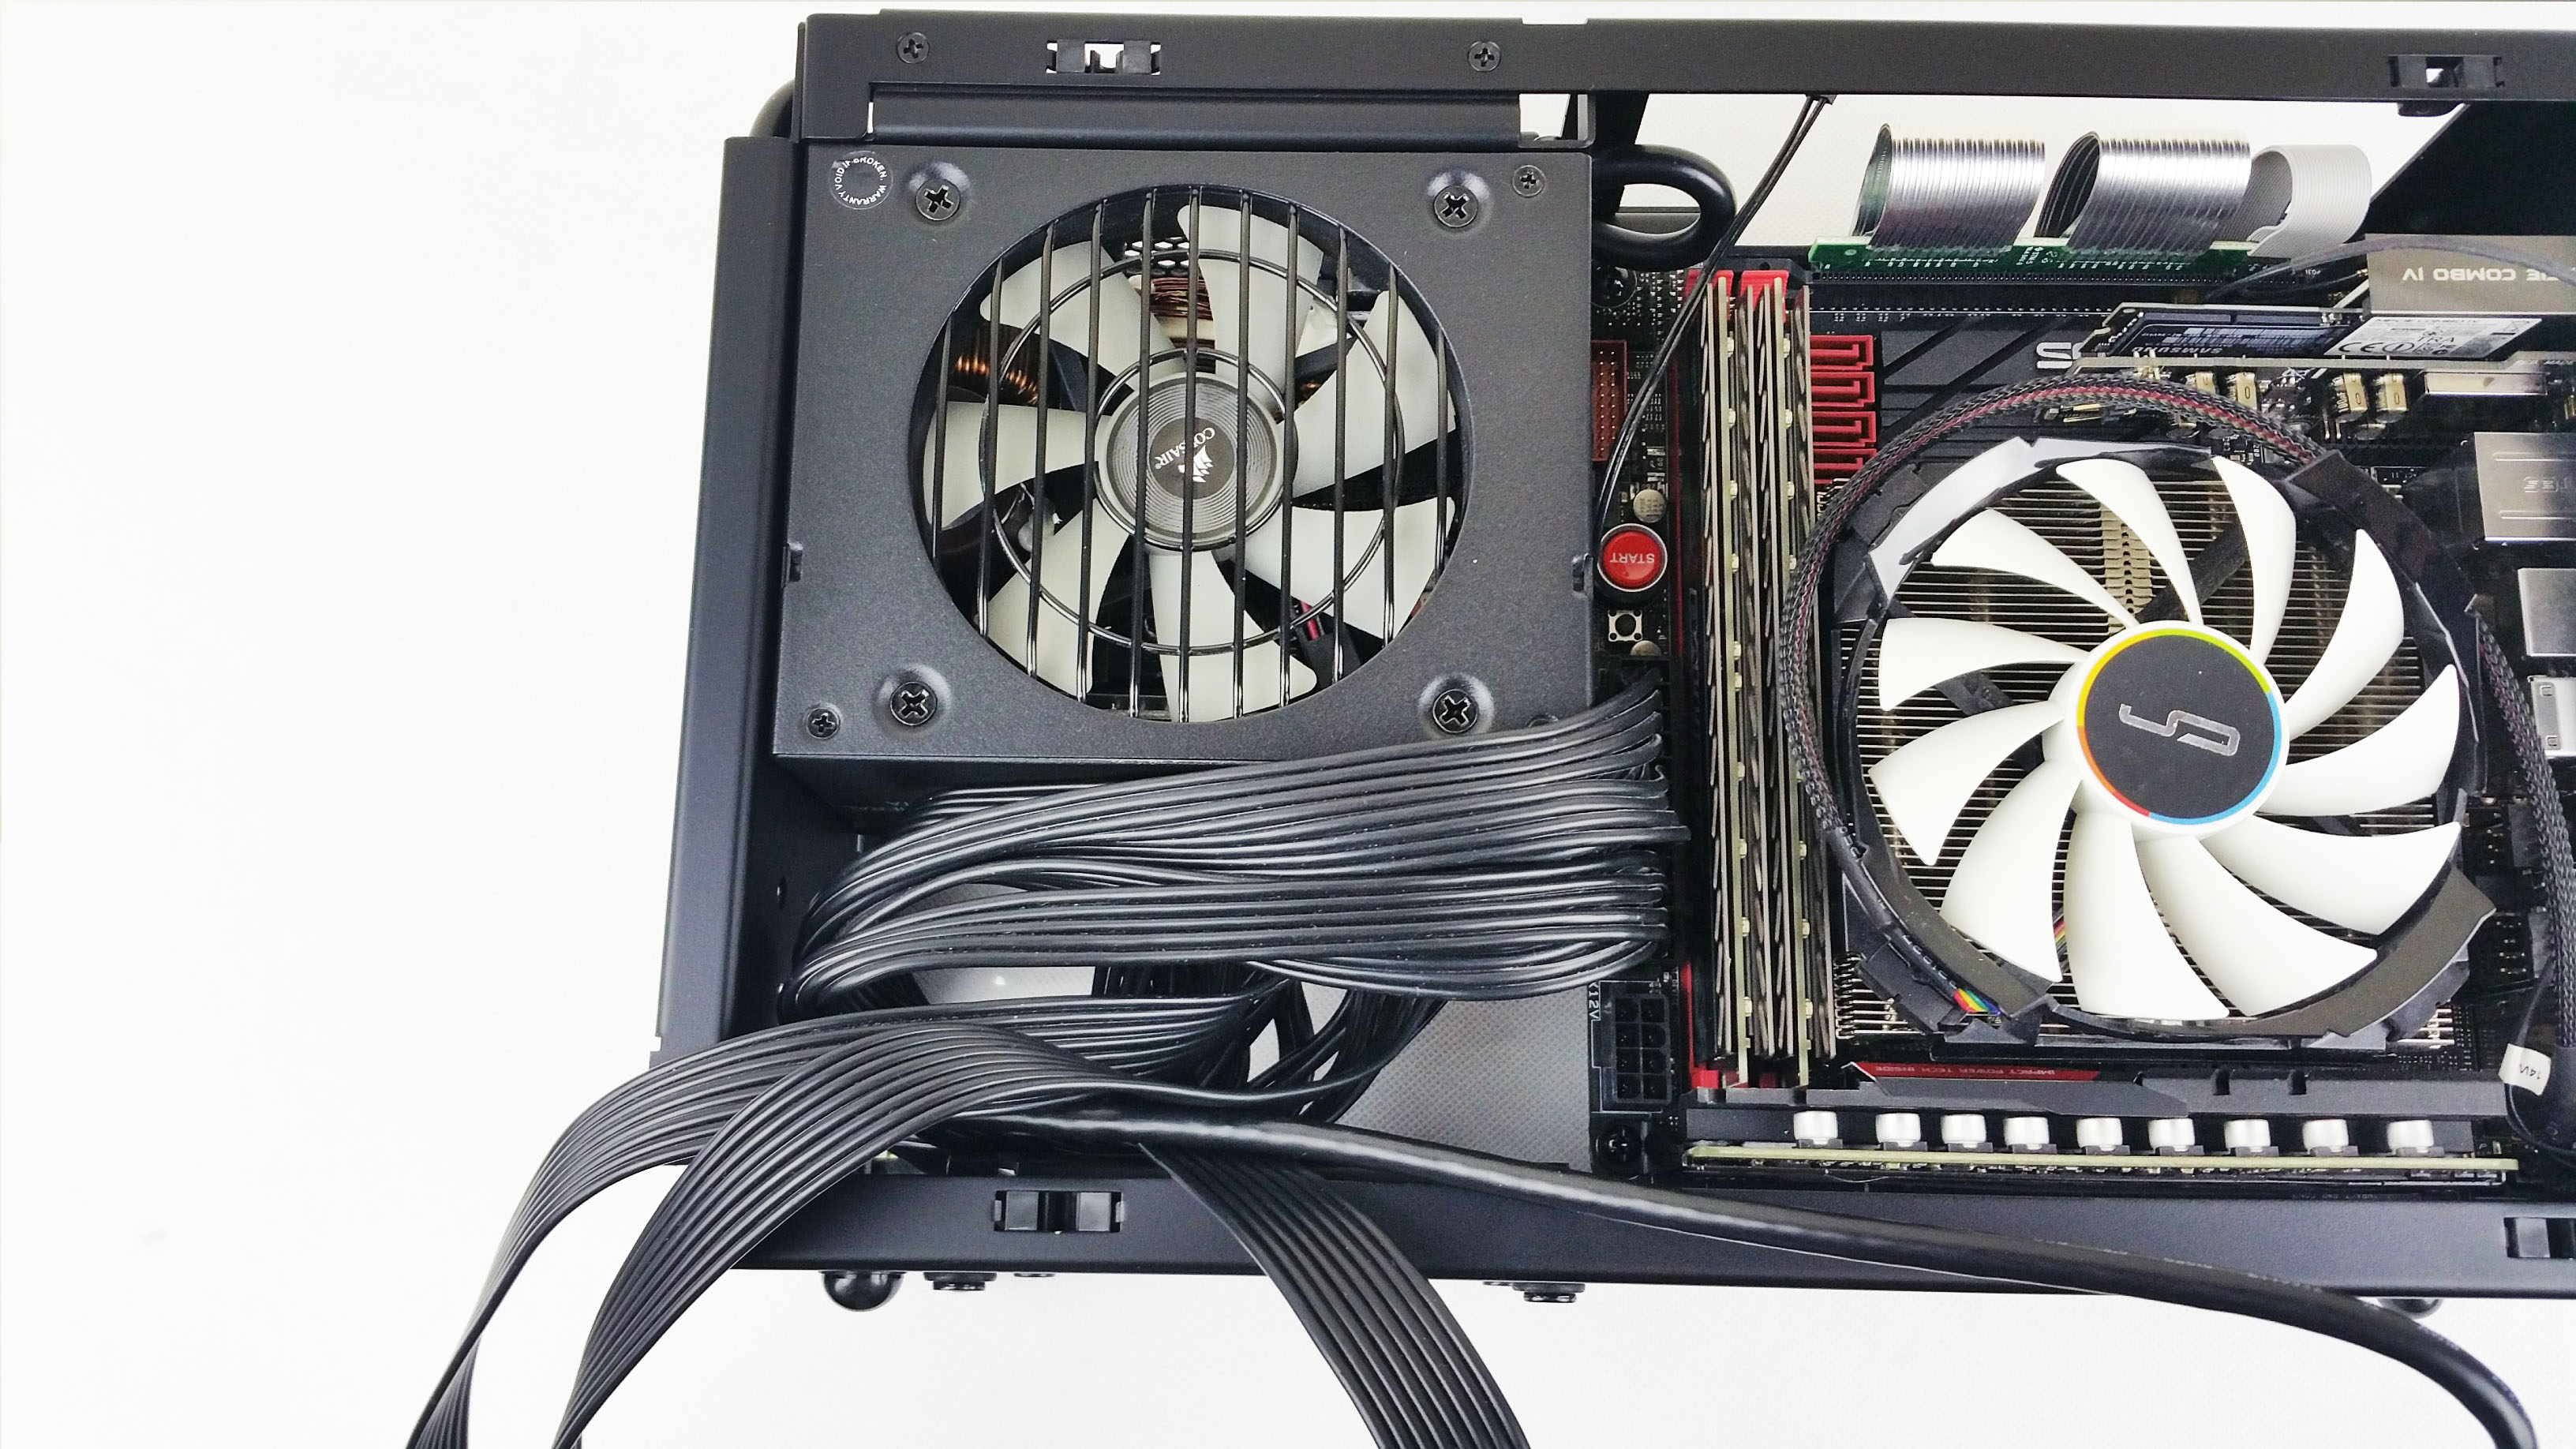
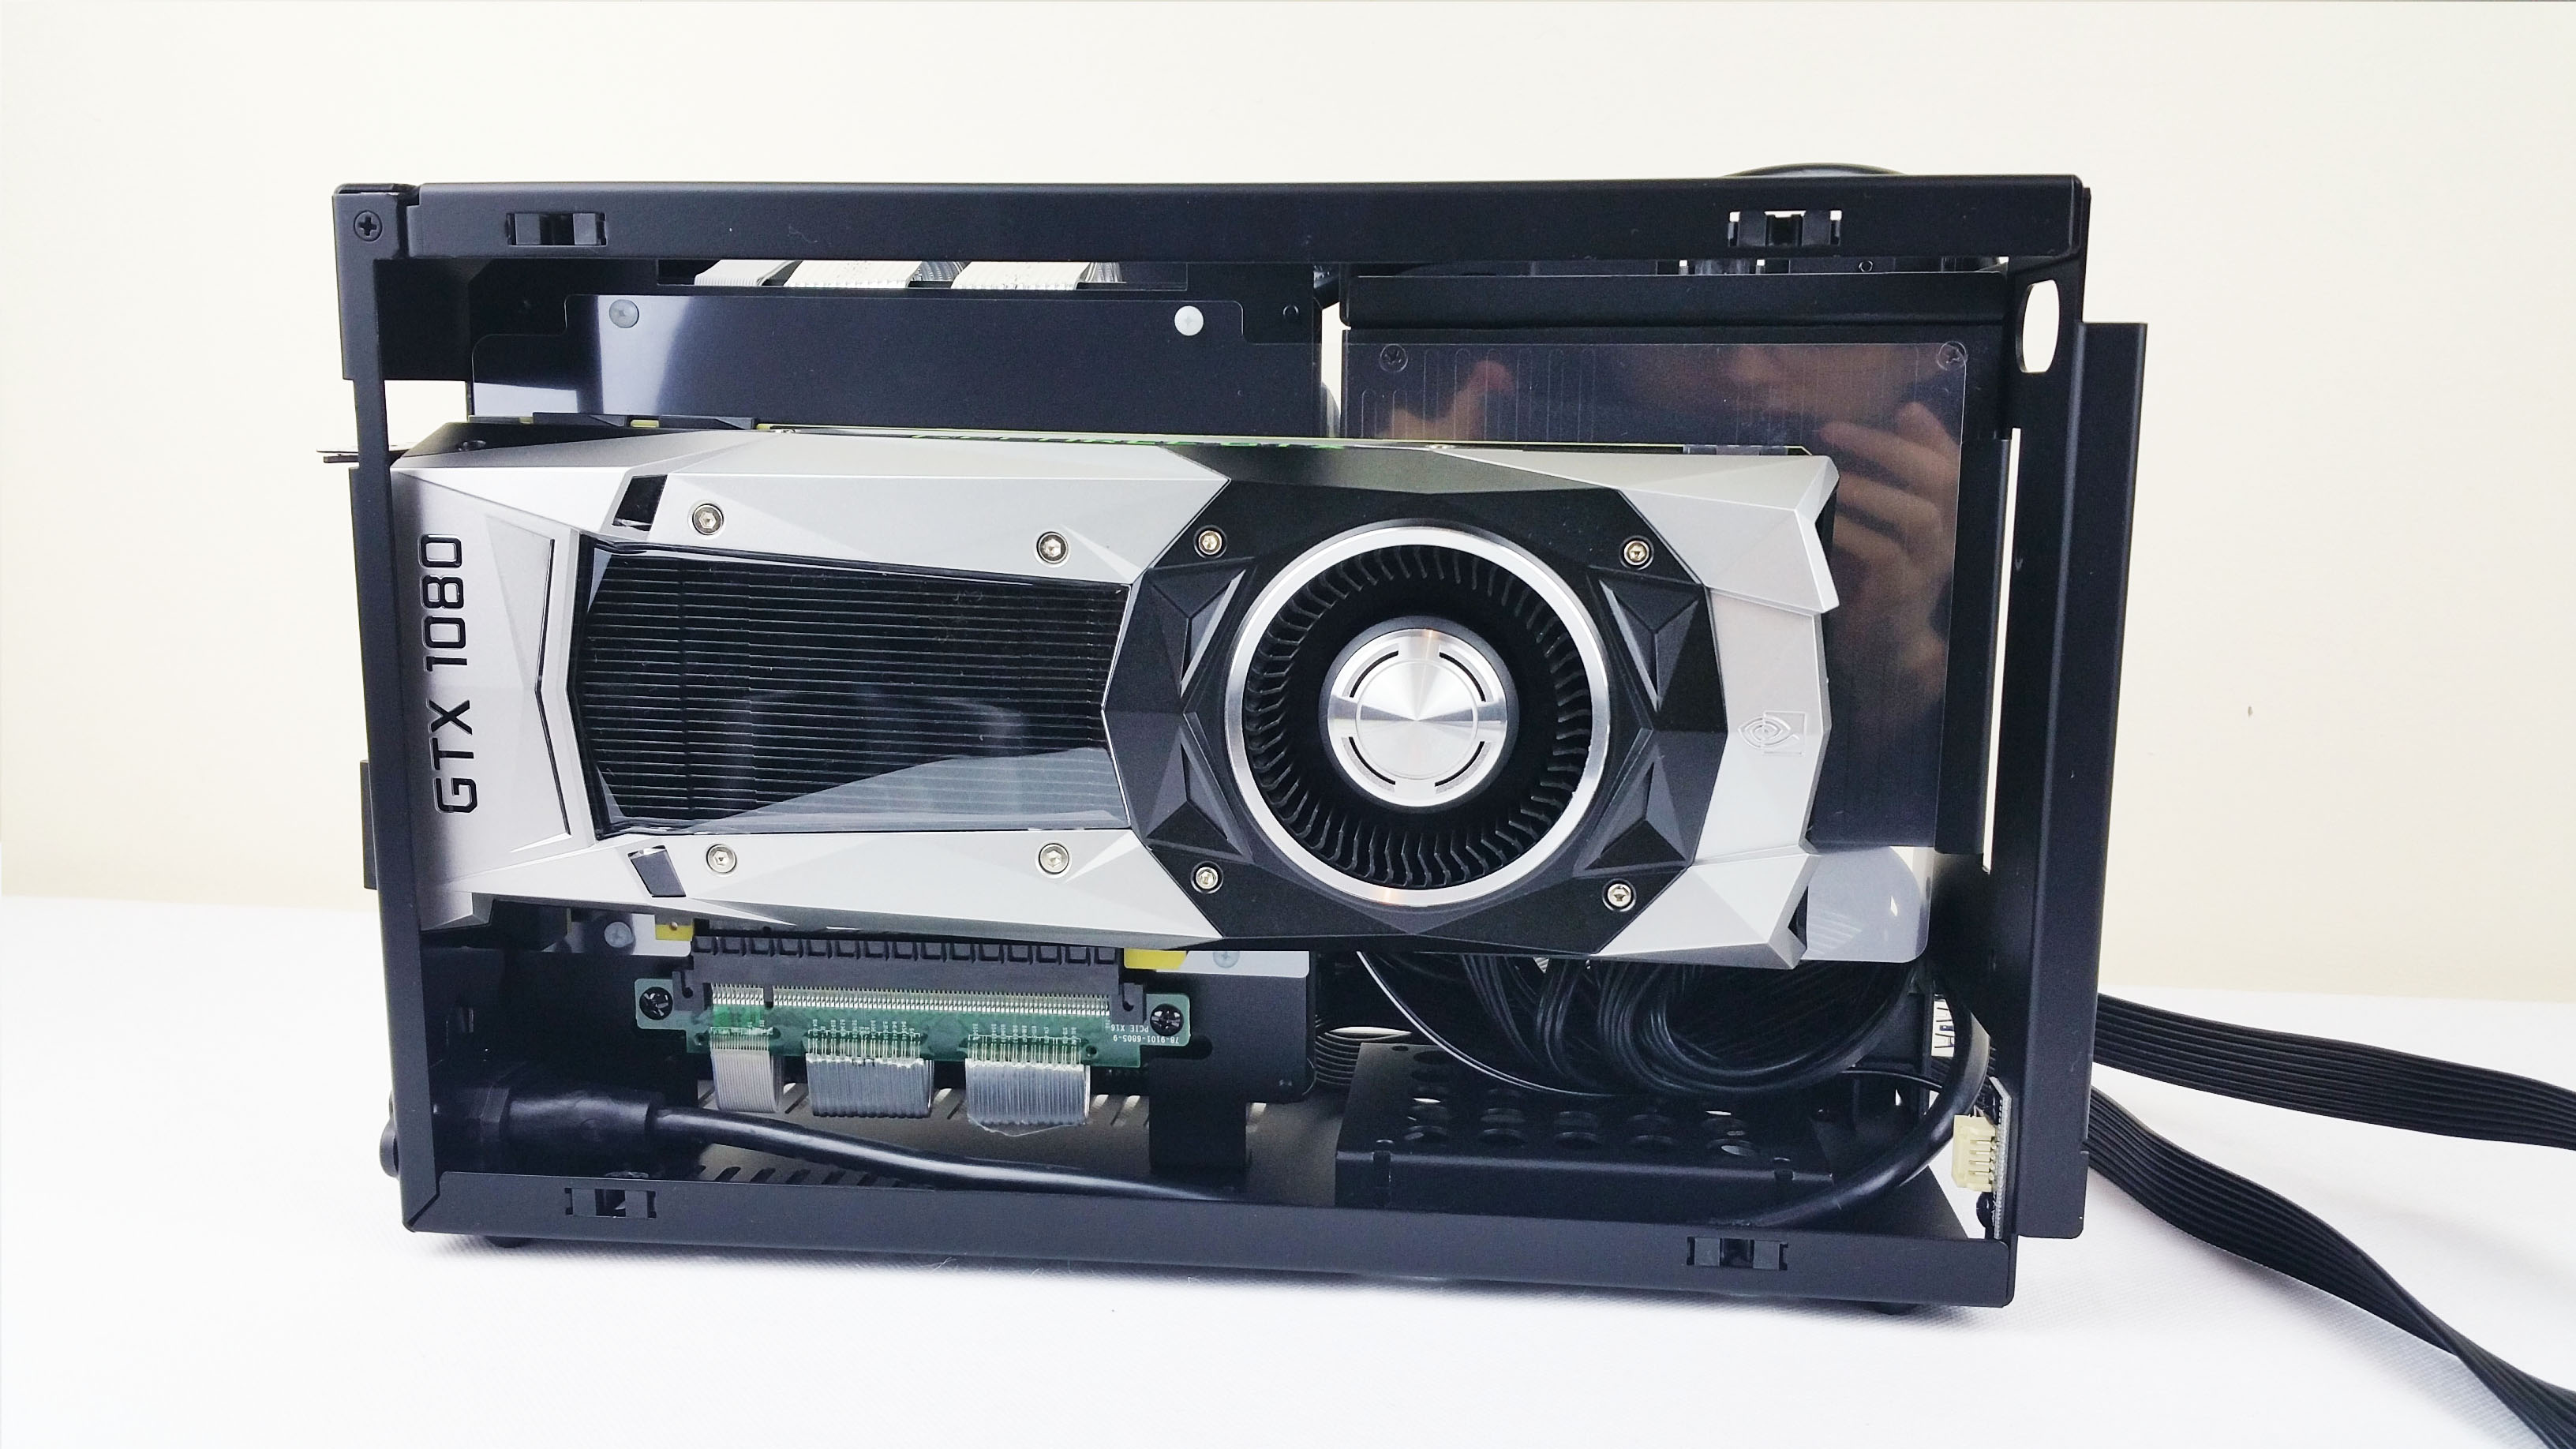
Now for the graphics cards.
This is a GTX 1080 Founders Edition with 111.15 mm in height and 266.7 mm in length.
It fits with plenty of space left to hide your candy.
What about an aftermarket one like this MSI GTX 980ti which has 277 mm in length and is 140 mm tall ?
Also fits like a glooooove.

Route the PCI-E cables from the inside wall for a tidy build.

And this is how it should look like when everything is tucked away and secured.


Reattach the front panel.
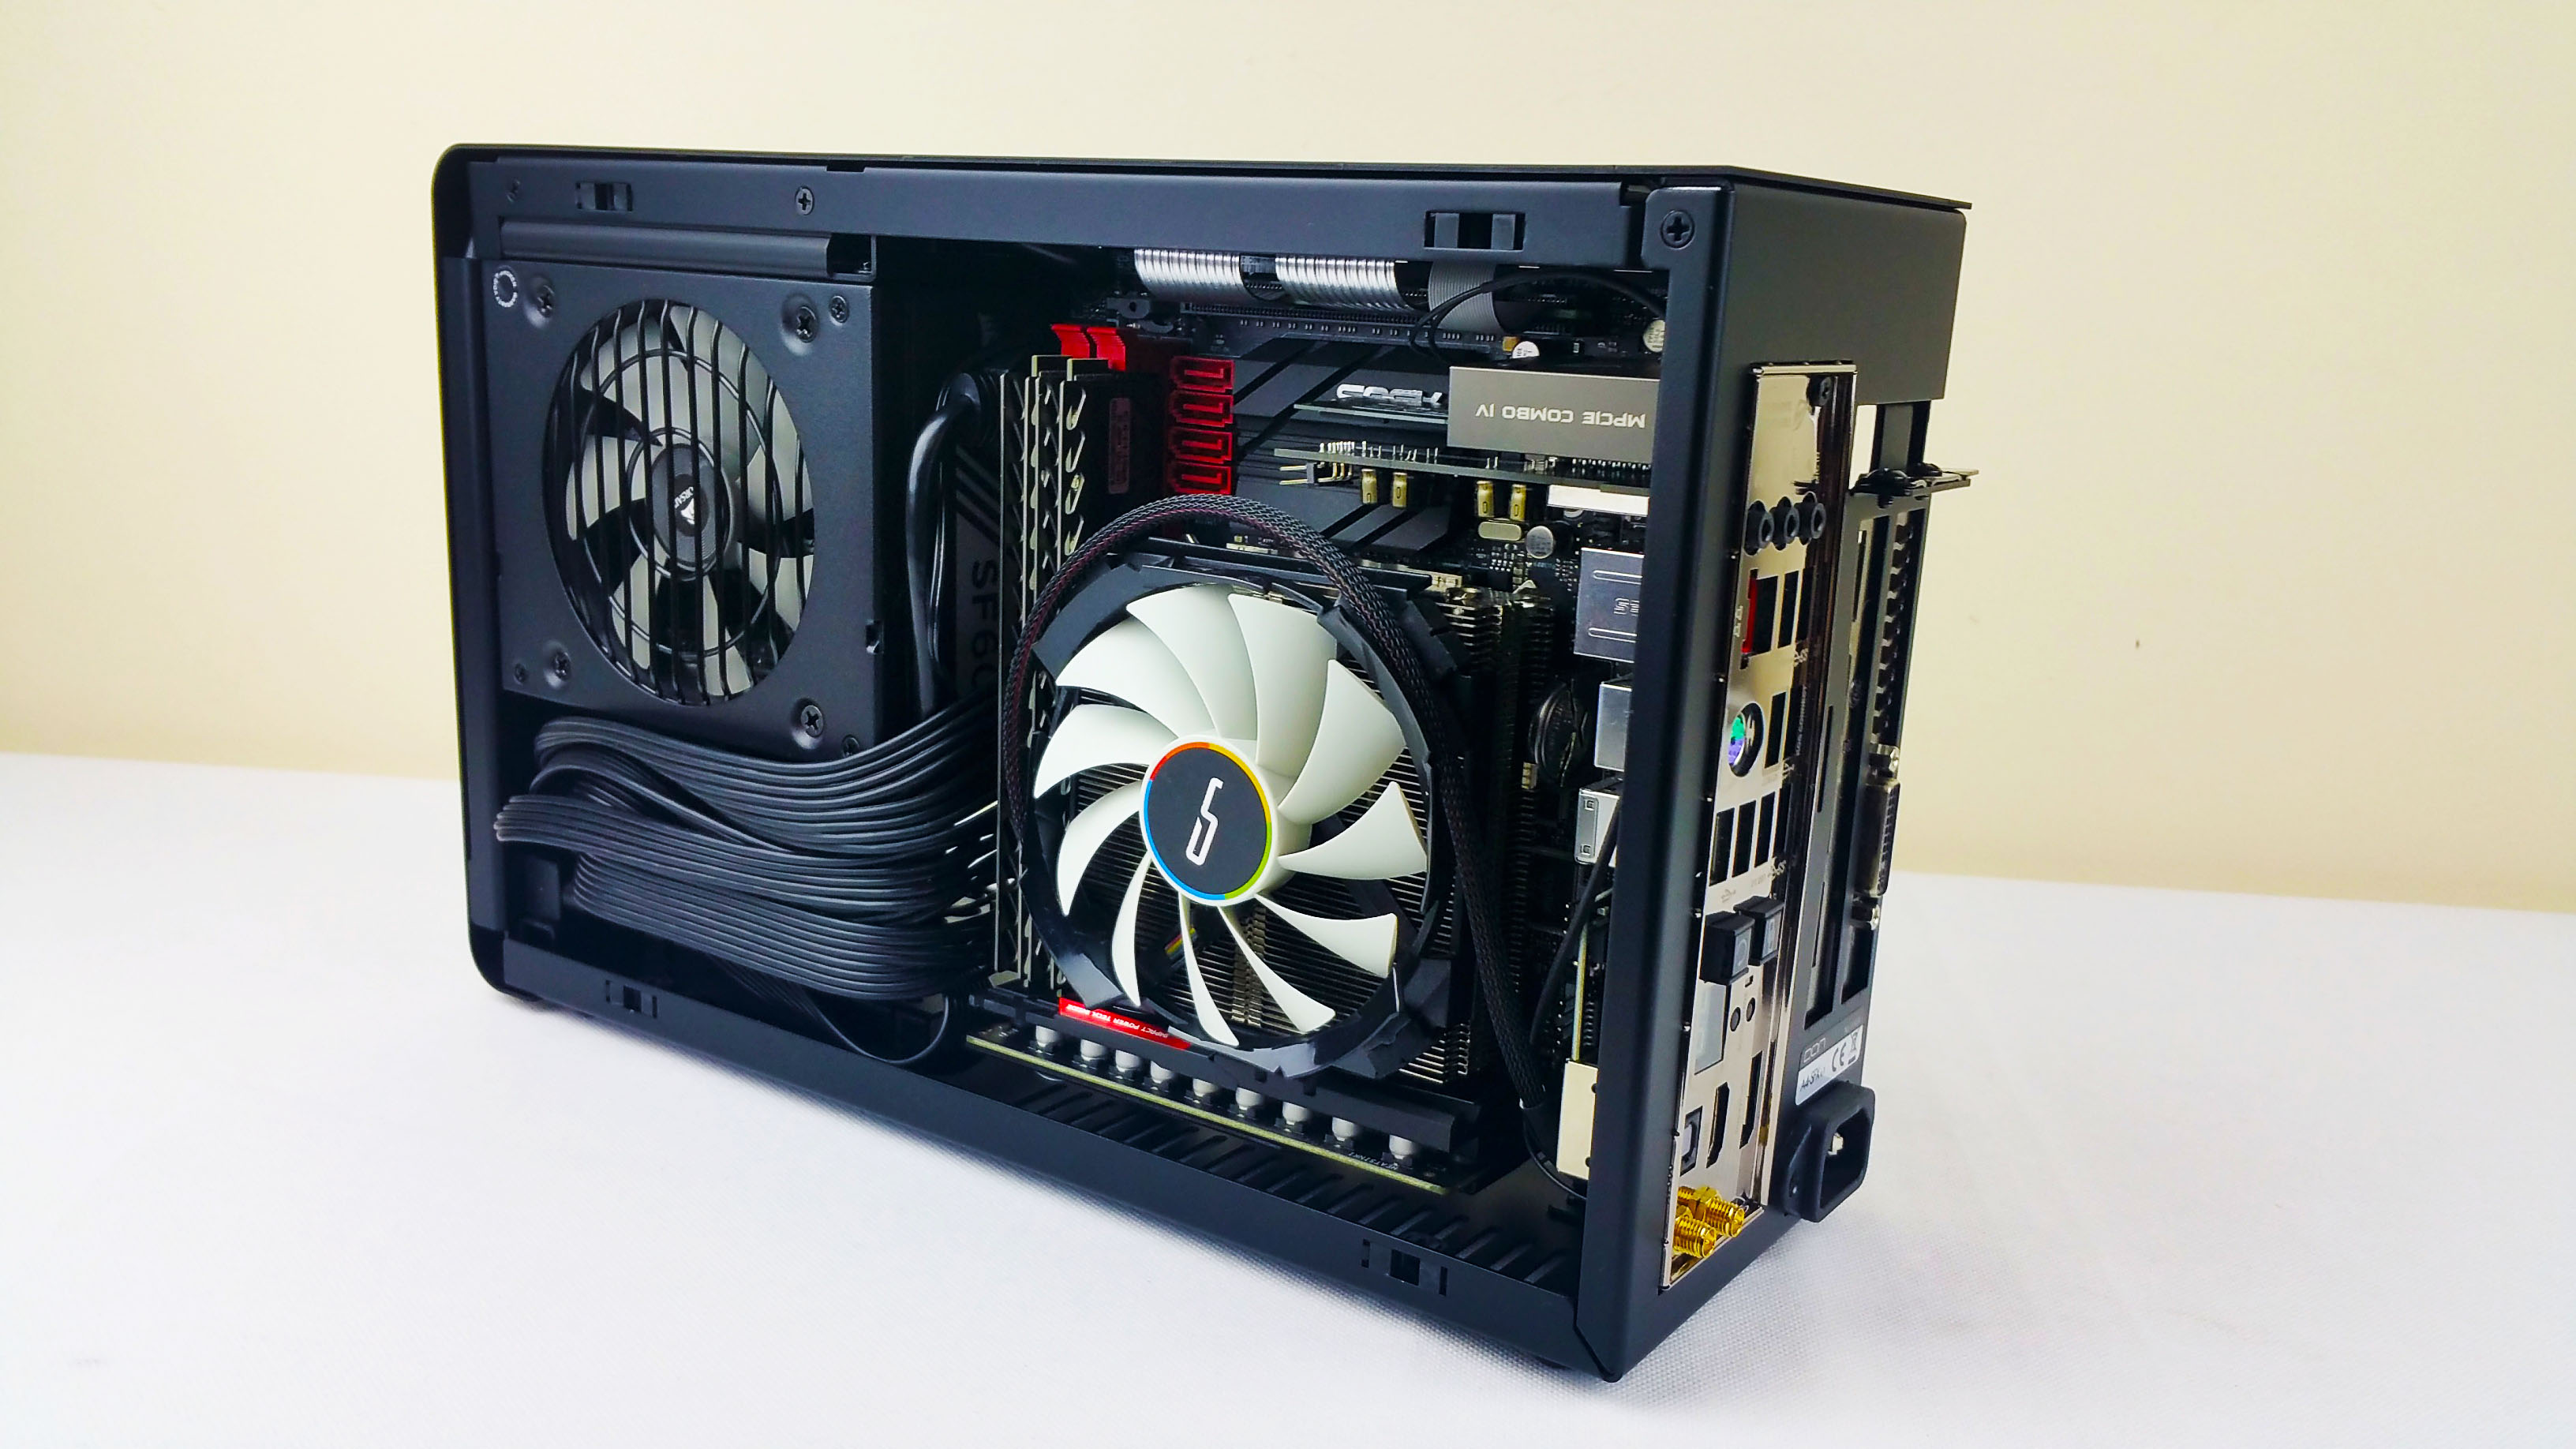

And the two side parts and congratulations! You built inside the Dan A4 case.

Ready for the money shot? From left to right we have:

– Antec 900 – ATX
– Thermaltake Core V1 – mITX
– NCase M1 V5 – mITX
– DAN A4 SFX – mITX
– Monster Can – 0.5 L
Mindblow !
Results – Temperatures
Idle CPU:

Load CPU – via Intel’s Burn Test stability and stress test:

Load CPU – via AIDA64’s stability test:

And let’s centralize all the CPU temperatures:

Now the temperatures regarding the video cards:

Results – Noise
*We set the C7’s curve as low as possible so it will not interfere with the GPU noise results.

*And for the Cryorig C7 tests, we did a mixed set where we put the curve to auto and did a stress test via Intel Burn Test. Then set it manually for max rpm.

Analysis
CPU cooling and noise:
So, right of the bat, we had some troubles with the Cryorig C7 even before we started the main tests.
As stated before, we had to manually downclock our CPU to 1.05v at 4 GHz so the cooler can cope.
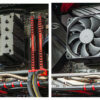
Then, because of the C7’s design and height, it produces turbulence because it’s shy of just 1 mm of the side panel.
This translates to Ferrari/racing cars noises, as seen in the tests. Ridiculously loud. I was afraid it will fly off there. If you remove the side panel, then it is barely adequate – but that defeats the purpose.
*Here is a recording to give you some perspective. A run in Intel Burn Test at maximum stress testing.
*And here with a lavaliere microphone set at 15 cm away in tandem with the live test via the Intel Burn Test, custom fan curve set by ASUS’s Fan Expert 3 software.
So from this we conclude that you should get a cooler which is at least 2-3 mm shy that the maximum limit. Like the Noctua NH-L9i which has plenty of room left at just 37 mm total height vs 47 mm of the C7’s. Not shaving a lot of points of the case but this is worth mentioning.
After all of this, the CPU temps were within limits of 80 degrees C even in stress testing.
In games it never went above mid 60’s.
There are other cooling options listed on Dan’s website but we will need to procure them to safely state any feedback.
Moving to the video cards – both cooling types were successful, no extra noise, no high temperatures so no complains here. You can even overclock your GPU since the chamber design works so well your only limit is the graphics card itself.
Build tips:
– We recommend a SFX power supply just because it gives you more headroom to do all the wire management.
– For maximum elegance get a motherboard that supports an M.2 drive – or even two ! Like the newly announced Asus Z270 Gaming Strix mITX – not mention you can save the extra wires – 1x Sata & 1x Sata Power cables. (like we did in our build)
– Get a cooling solution that will not pass 45 mm in height due to the turbulence – we found a temporary solution for our C7 not to scream even in idle, manually delay the curve but at the cost of extra temps. Now our idle sits at low 40’s. A lot of activity on this subject on the forums so as we will get more info and more coolers to test we will update our results as well.
– As long that you follow the guidelines which are very well detailed on the A4’s website, you are golden.
12.06.2017 Update:
We changed the stock C7 92 mm fan to a Noctua A12x15 slim 120 mm fan by zip ties and wires. The only advantage was the reduced noise output. But the thermals are still bad, as seen in the video.
Conclusion
Passion, vision and craftsmanship are a universal language. Dan, we salute you and thank you for this case !
The good:
+ Smallest miTX case in the world that accepts a full length graphics card – at a mere 7.25 L !
+ One of the best cases for extreme SFF builders
+ Unique separated chamber design – no more GPU heat to affect the CPU & motherboard area
+ Excellent build quality
+ Minimalist design and innovative approach
+ Great cooling capability despite the fact that is has no extra fans !
+ Great results for both blower-type and aftermarket cooling type GPUs
+ Very satisfying building experience
The bad:
– Expensive, hence the niche market positioning
– Sacrifices some versatility especially for the CPU cooling but that, from what I understand will be addressed because Dan plans to make his own CPU cooler with a bigger fan option.
– Feet a little slippery on glass tables
Glob3trotters “Mastercrafted” Award – 4.5 out 5


I have a quick question you mentioned that the case can fit a 2.5 video card, does that mean it can fit the Asus Strix 1080ti or is there not enough room for that to fit?
Hello Scott. It will fit by lenght and height but you can’t close the side pannel because it will stick out. I corected in the description of the video. All the best, Alex