
When it comes to computer cases, Phanteks really knows what they are doing; just have a look at their Enthoo and Eclipse series which have become one of the most popular and desired examples in the market. The Eclipse P400 series has further evolved into this new line of cases with a touch of RGB of course but also with a full metal mesh front panel which they state is for maximum breathing and airflow performance. But given its price point, will it have what it takes to be competitive?
About Phanteks:

Phanteks was founded from a group of engineers with a total of 20 years of international experience in thermal solutions. They paired up with a Dutch design team and established Phanteks in 2007. Phanteks venture into the CPU cooling industry with two goals in mind, “High-end quality and innovative products in thermal solutions.” As a relatively young company, Phanteks strives to develop top quality and superior products with the motto “no job is impossible.”
Prices and Availability
The P400A comes in 3 variants: Black (as per in our review), RGB Black (instead of 2 standard 120mm fans, here you get 3 RGB 120mm and a way to control them) and the RGB White (as per the name, an all white case with the same 3 RGB fans)
Presentation and Specification
* Courtesy of their website
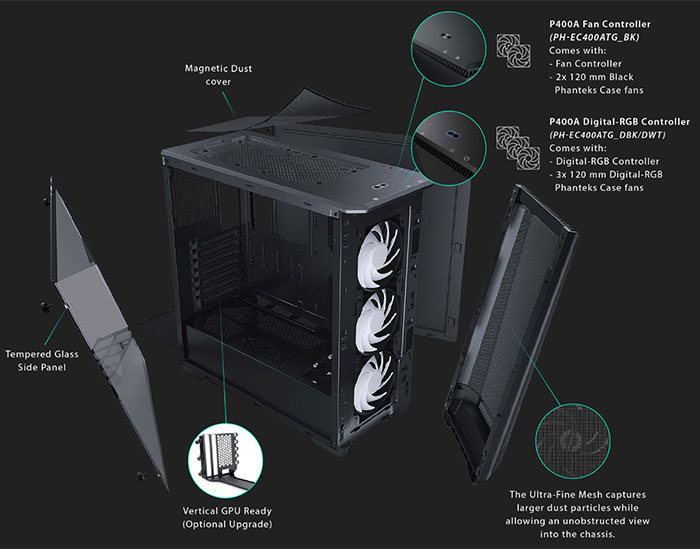
As for the main bits, this is an ATX mid-tower chassis with a specious high-airflow design and which can be customized with upgrades such as vertical GPU placement and up to 8x HDD positions. This chassis is also available with a fan controller in black with two black fans, or a model with an integrated digital RGB controller (plus 3x RGB fans) in black or white.
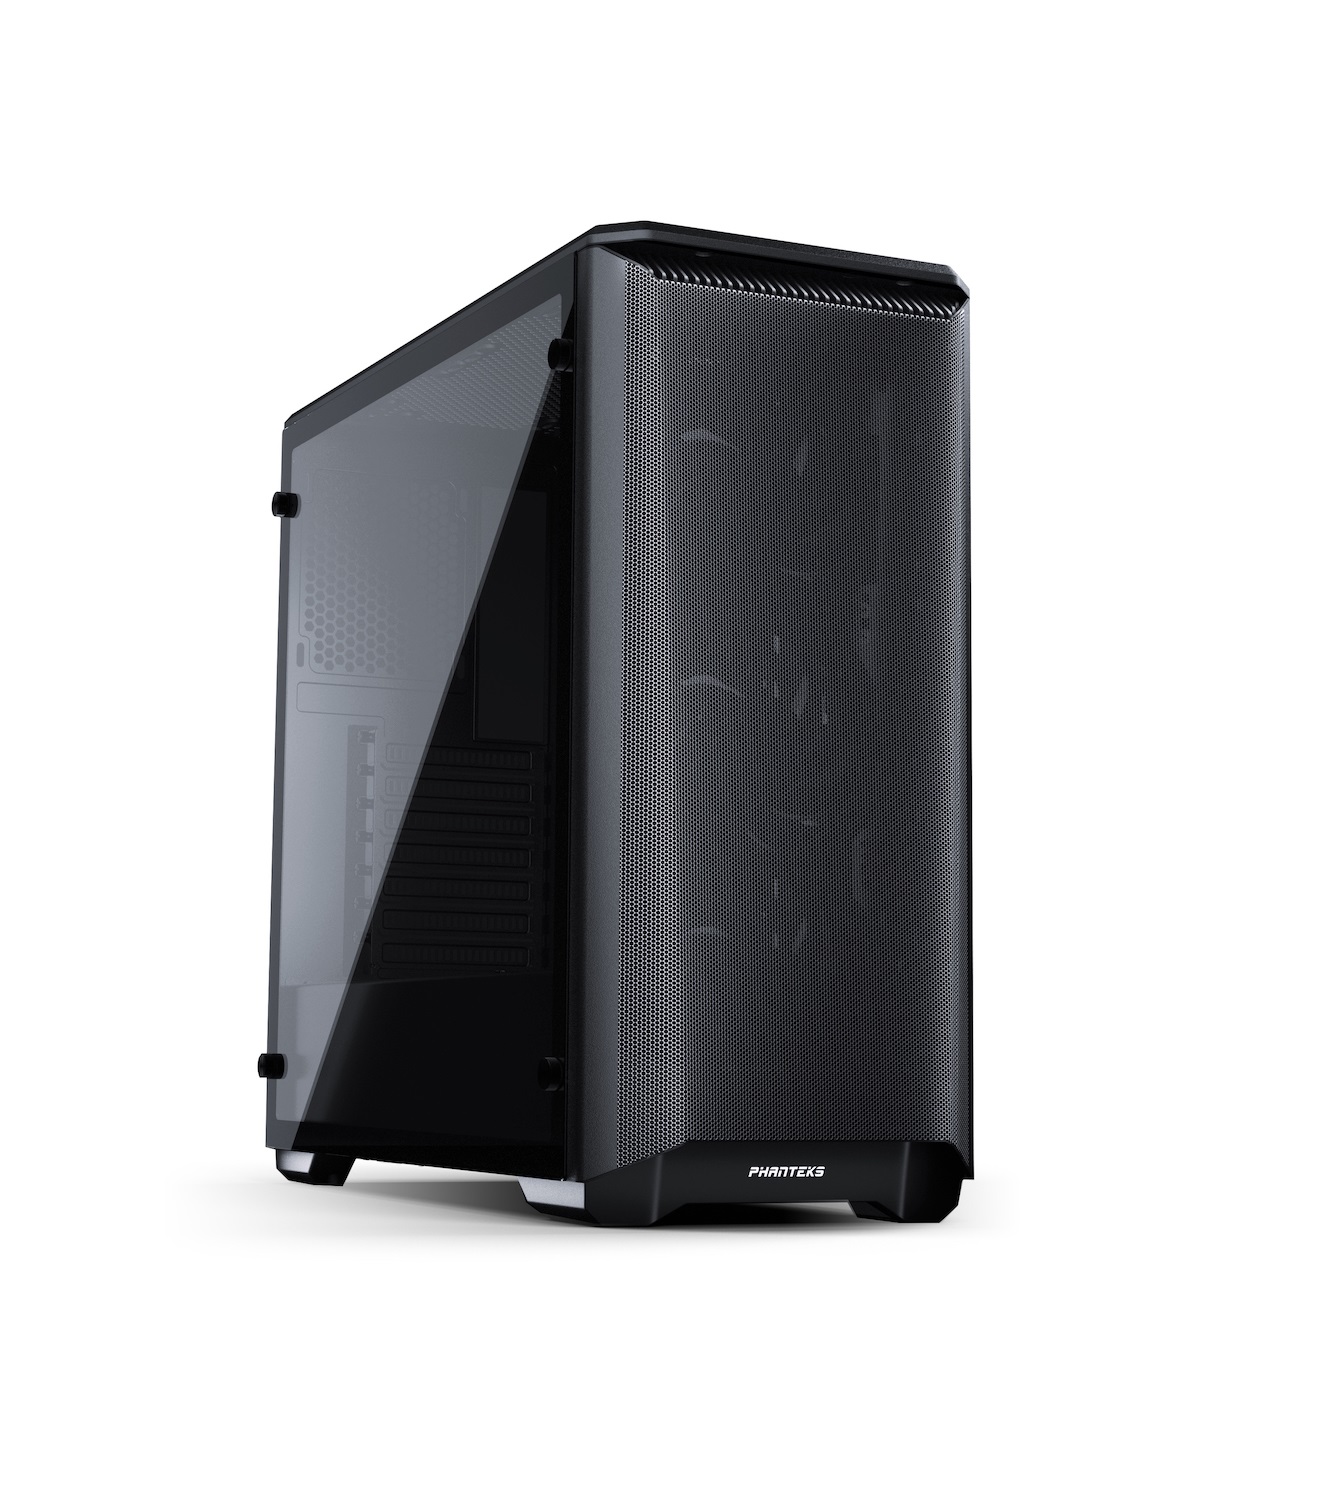
The design of the P400A is quite traditional. It has a powder coated steel construction with tempered glass side panel, and a mesh front. Phanteks says it has paid particular attention to the steel mesh front panel and created “an ultra-fine performance mesh that brings the best possible performance while keeping dust from entering the system”.
Looking at the case’s capacity and compatibility specs, you can fit anything from an E-ATX motherboard to Mini ITX, it supports GPUs up to 420mm in length (280mm with an optional HDD bracket fitted), CPU coolers up to 160mm tall, and PSUs up to 270mm long. Users can fit up to 7x PCI cards, depending on motherboard they use, and 2x 3.5-inch and 2x 2.5-inch drives.
As for cooling, you can configure up to 2x 140mm fans in the top, 2x 140 or 3x 120mm fans in the front and 1x 120mm fan at the rear. If instead you go for liquid cooling, you can fit 1x 120mm radiator at the rear, and radiator sizes from 120mm, 140mm, 240mm, 280mm, to 360mm in the front.

The Phanteks Eclipse P400A models differ mainly by fans, controllers and colours as I mentioned in the price chapter (Satin Black or Glacier White) and as you can see in the image above. If you pay extra for the built-in RGB controller model you will have to forget about the similar ease of fan speed adjustments. Whichever model you choose, you still get the same front I/O panel, providing; 2x USB 3.0, mic, headphone, power and reset buttons.

To finish the official presentation, buyers will get a 5 year warranty and can grab optional upgrades such as an HDD bracket providing mounting for up to 4x 3.5-inch drives, a vertical GPU bracket, more RGB fans and RGB LED strips.
So far this chassis promises and should deliver as we are accustomed by Phanteks.
Visual Inspection
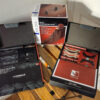
It comes shipped in your standard brown box with minimal markings outside but just enough to be easily recognized. Thus we have in bold letters the brand and chassis’ model but weirdly enough there is no “A” (?) as in the P400A.

Nevertheless the case is protected inside via the top and bottom Styrofoam pads.

The sticker draws your attention that the side window is real tempered glass.

The glass is hold in to place via these 4x thumbscrews with rubber o-rings. Also the glass windows sits on rubber grommets as well.

The top has this magnetic mesh dust filter which spreads the whole length of the fans/radiator support area. Here you can mount up to a 280 mm radiator for example.

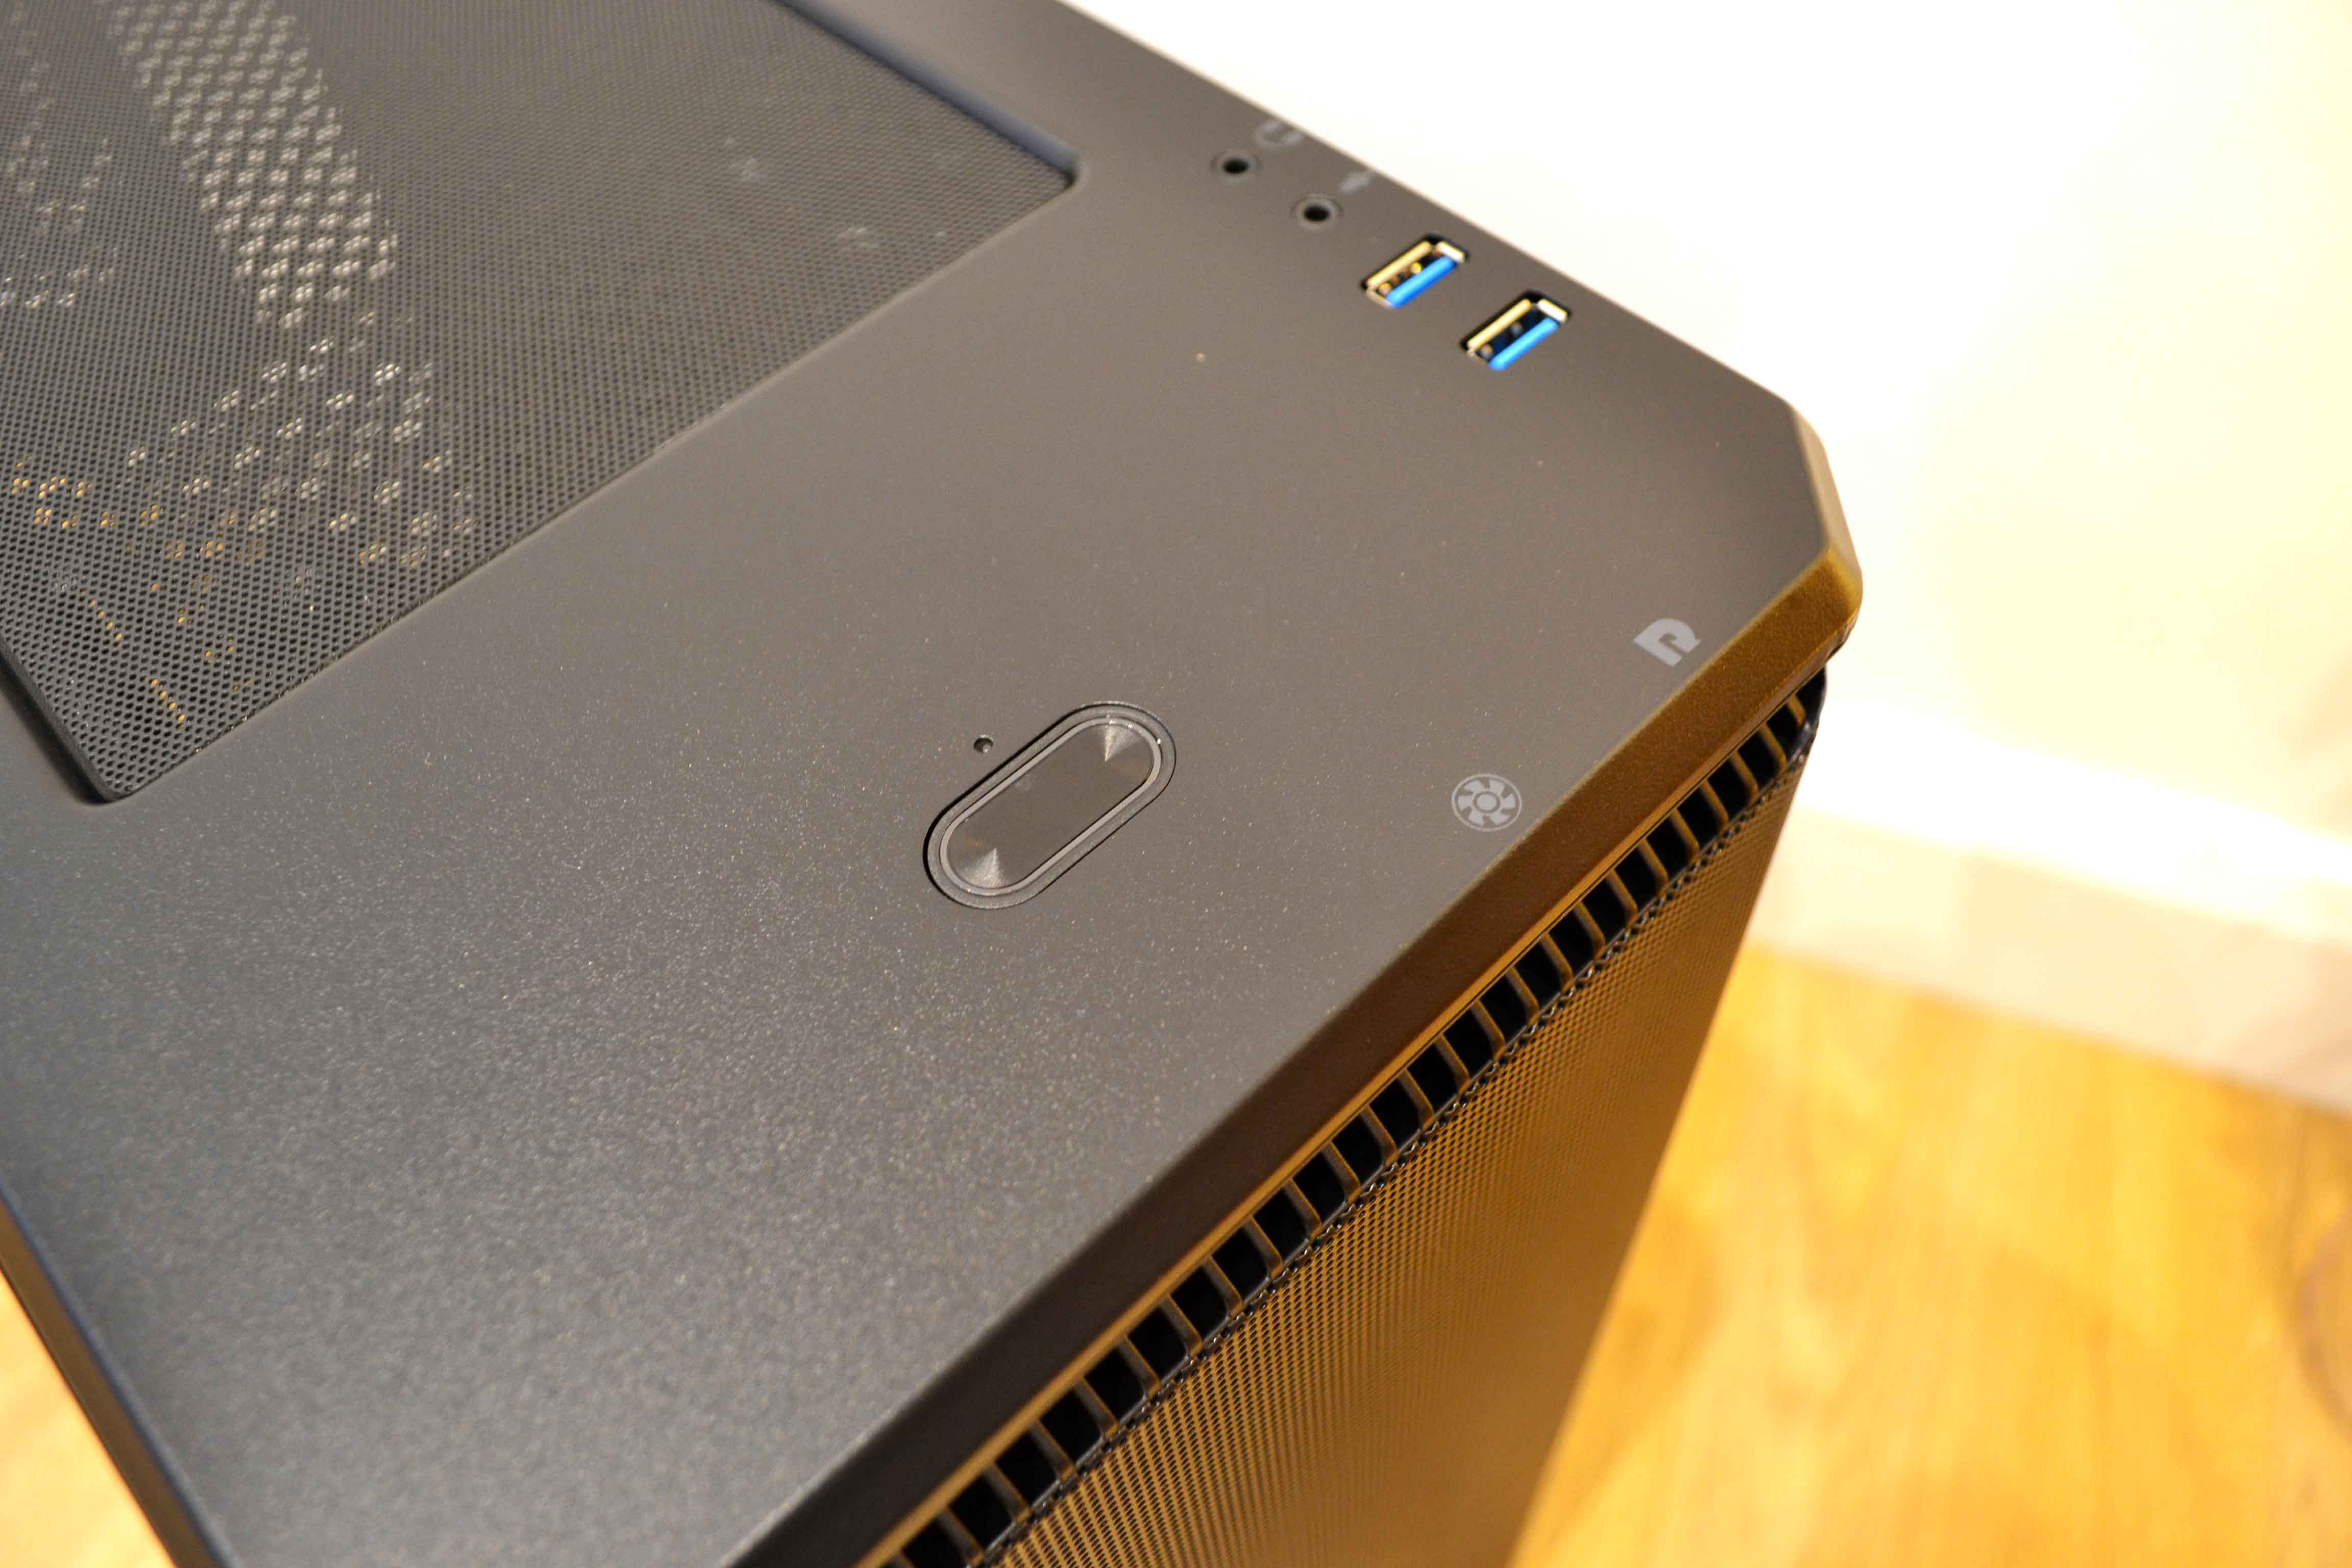
Moving towards the front of the case, we see the I/O connectivity. The big button in the middle is the power button which lights up in white. Then we have the regular microphone and headphone jacks and two 3.0 USB ports. Finally, underneath the top edge of the case, we have a reset button and a way to control the included fans since this case comes with a 3-speed integrated fan controller for full, medium or low profiles.
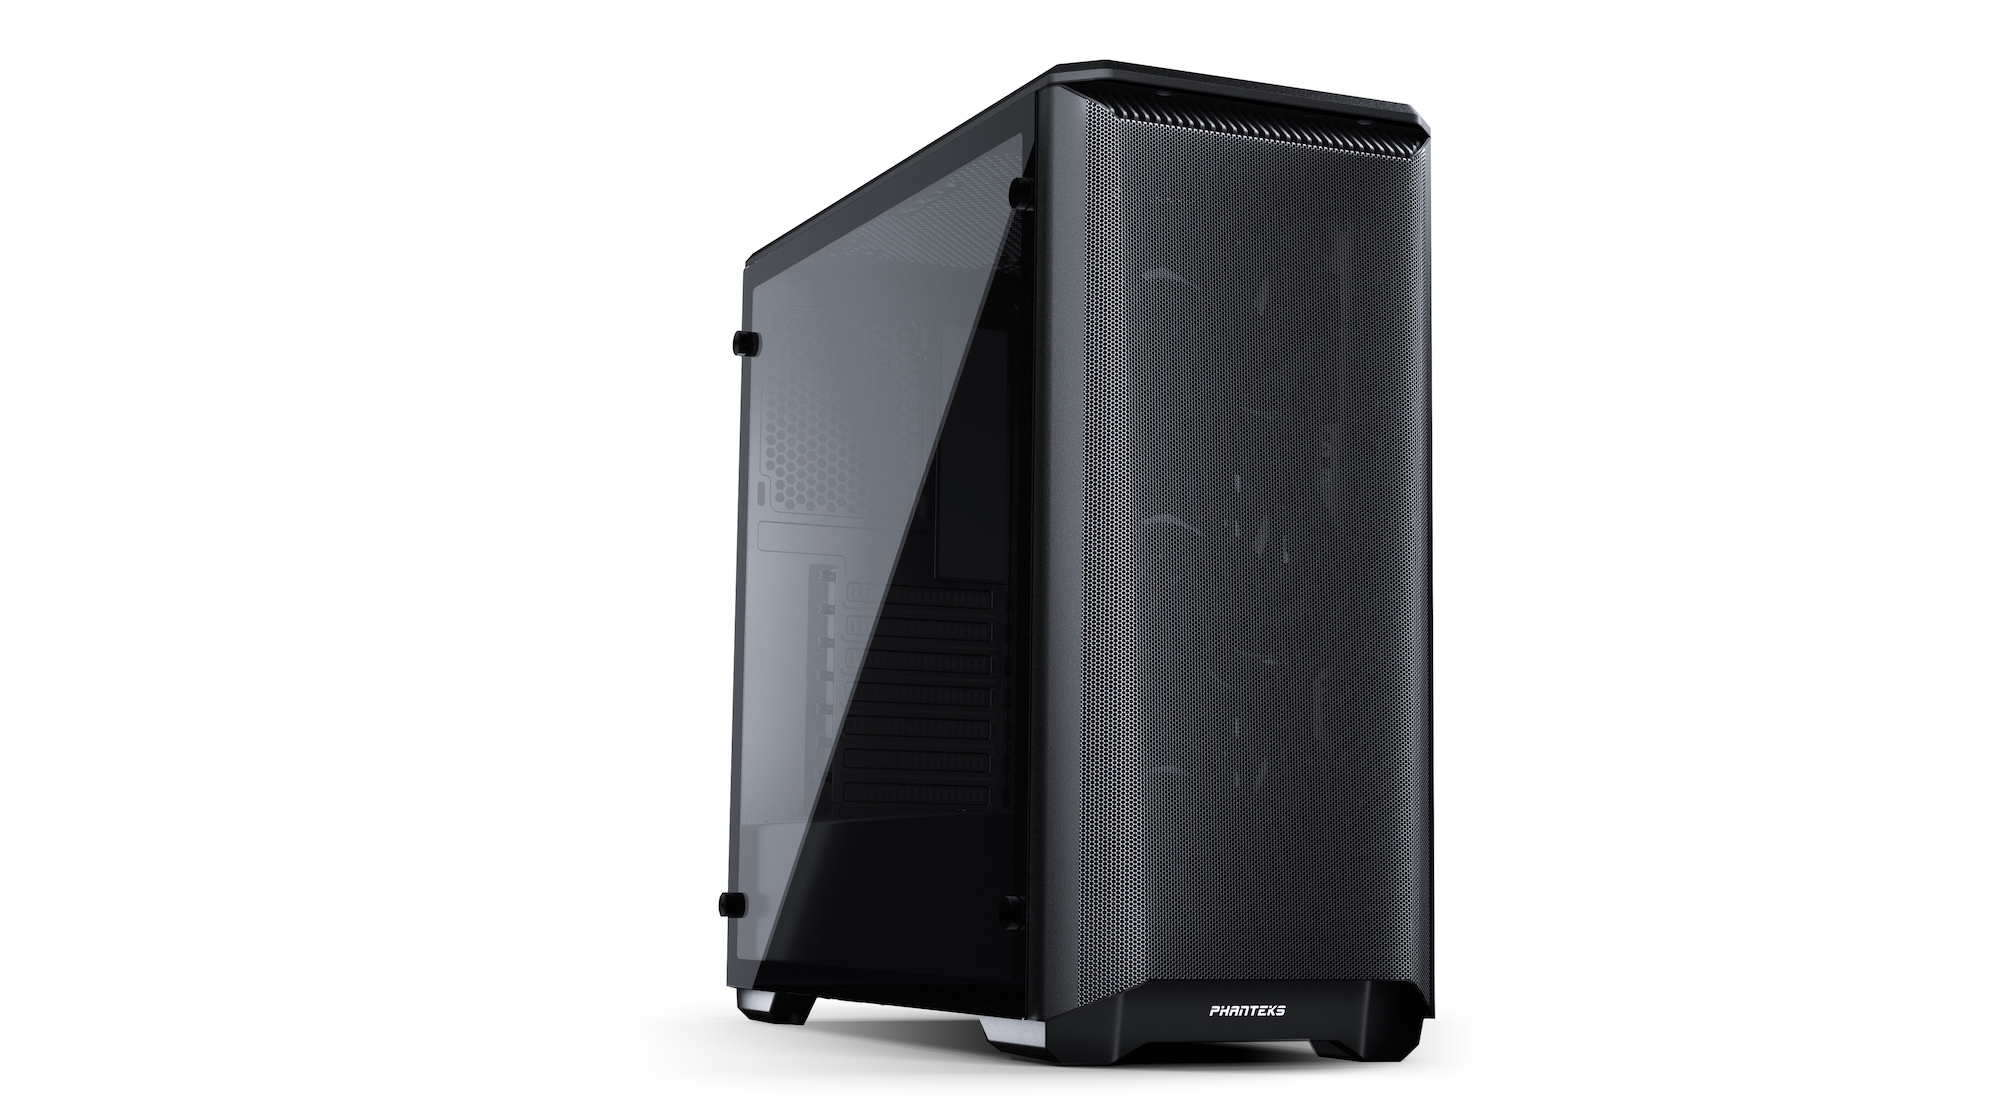
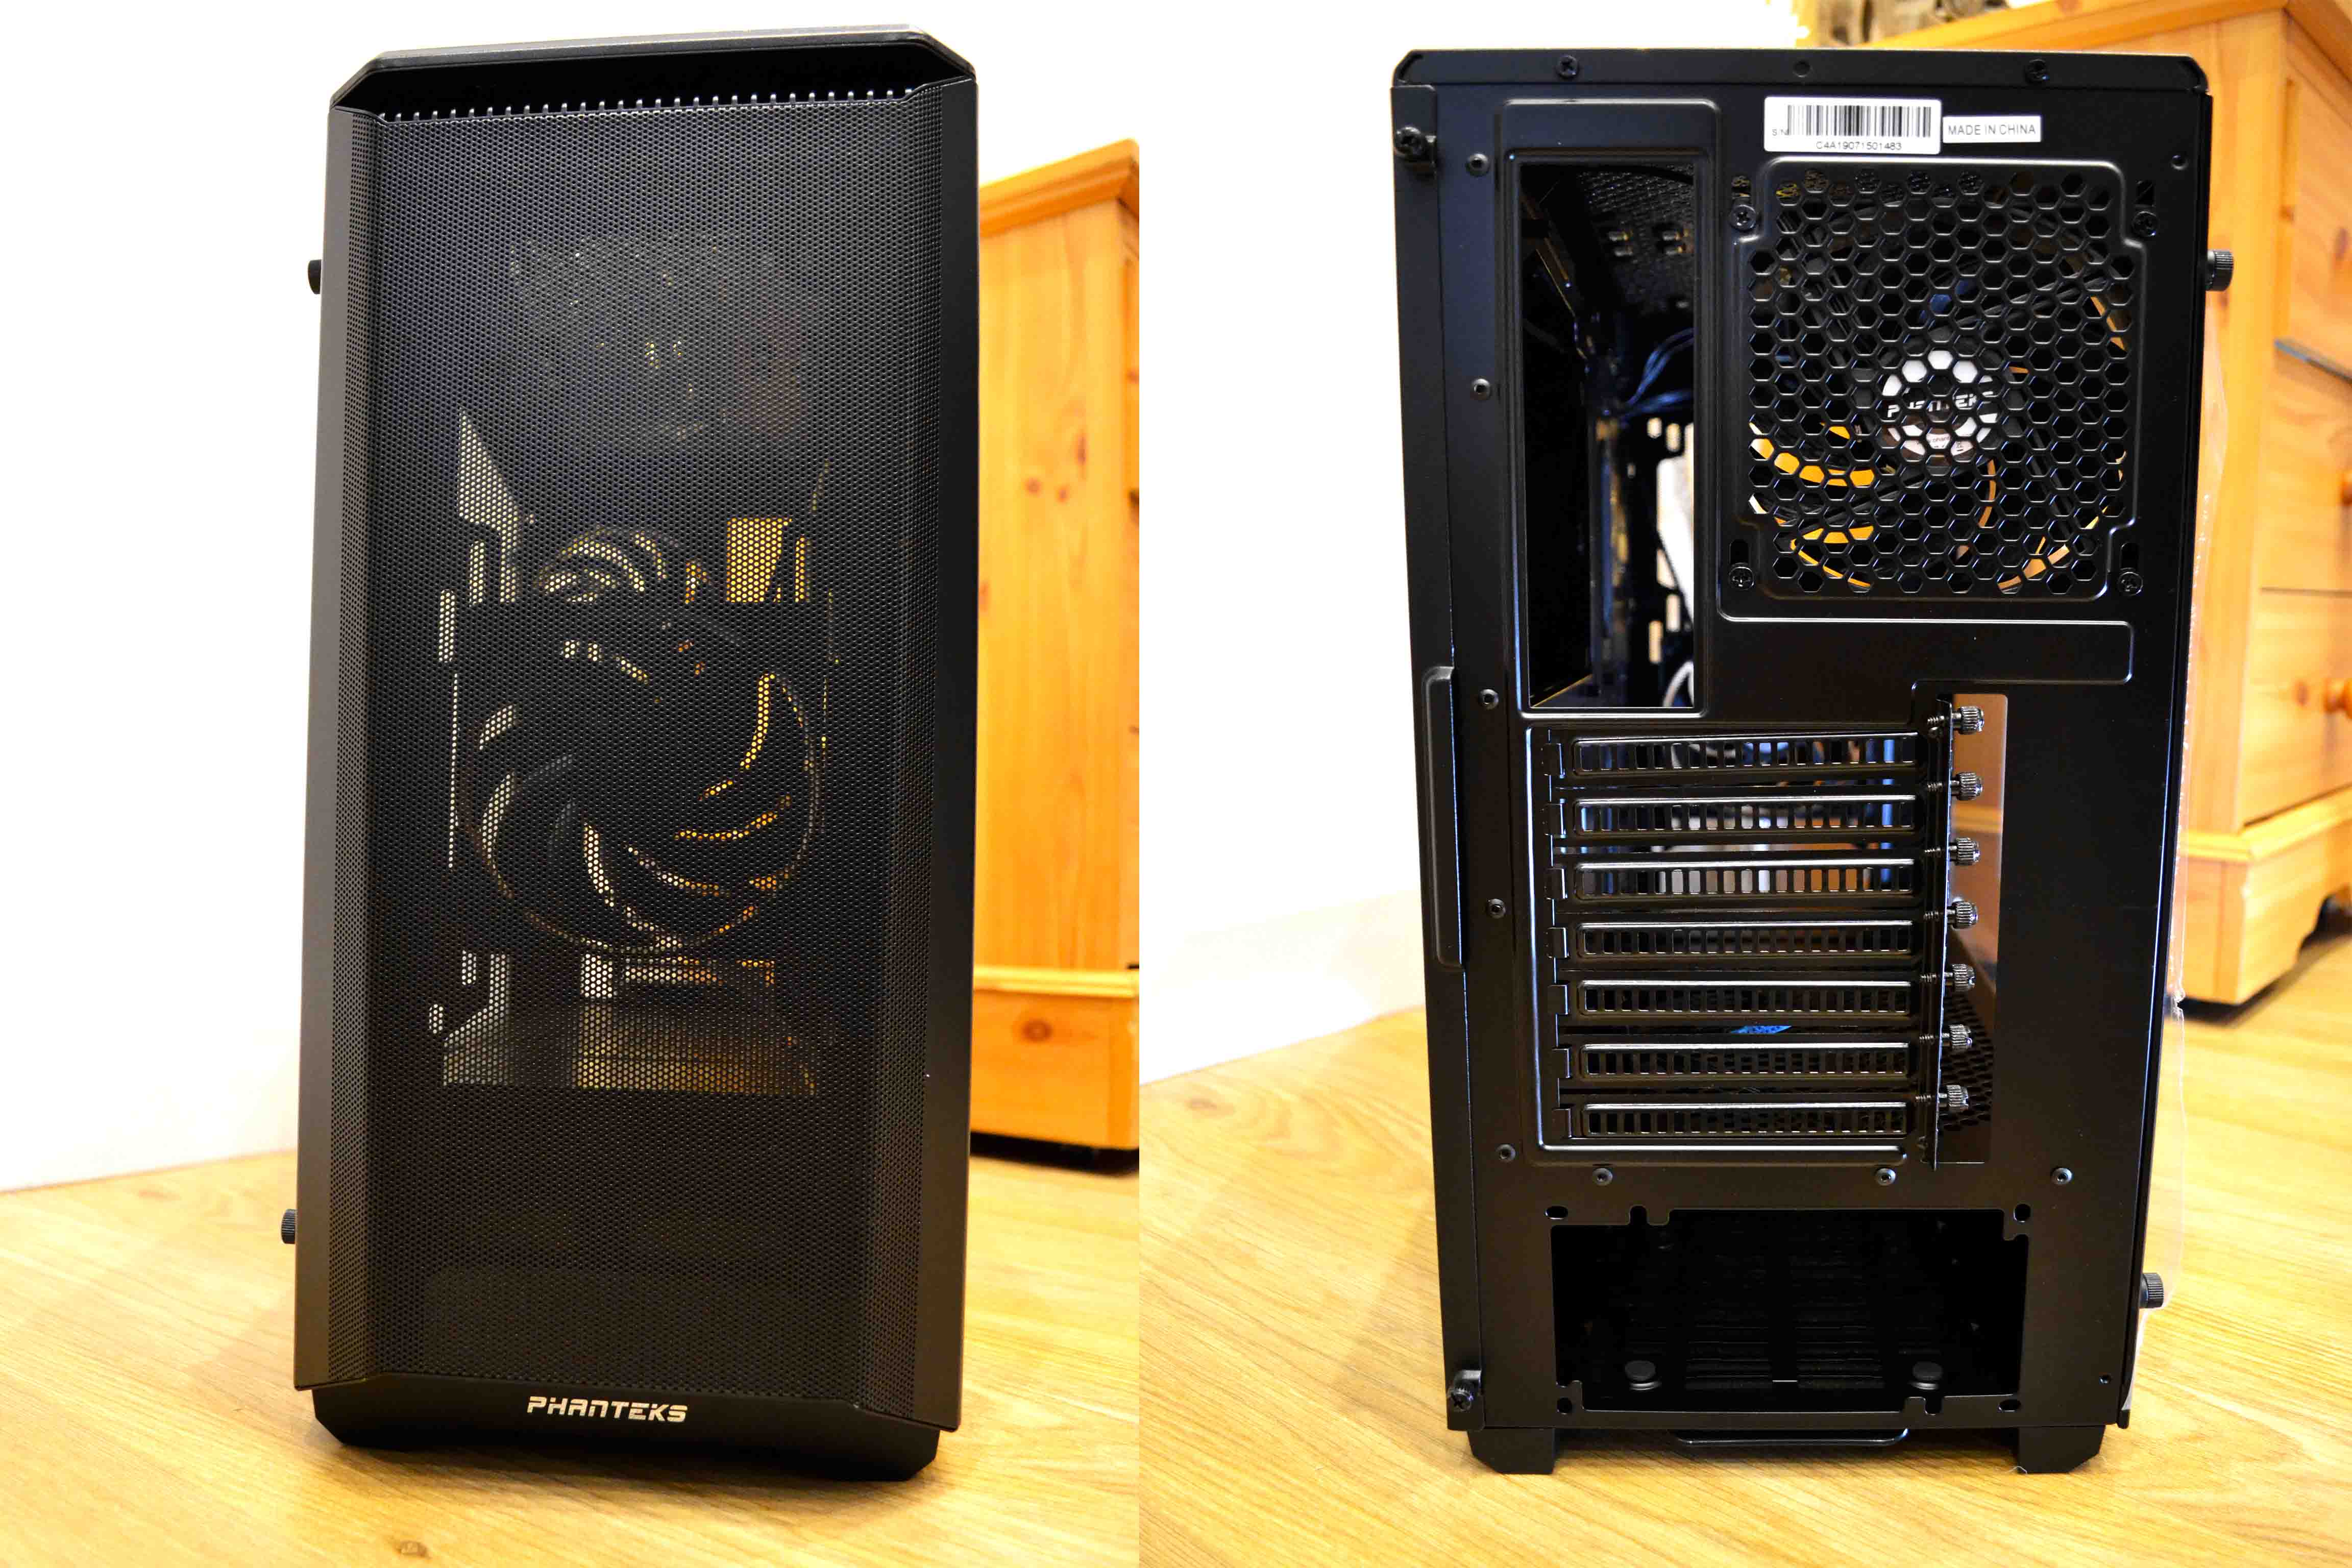
Now for the front view and rear view. On the front we can see that it has one big metal mesh that will facilitate a lot of airflow and at the same time should keep dust away given how small the pattern is. Through it we can see the included 120 mm fan. You can mount here up to a 360 mm radiator or a 280 one. As for the rear, we have the other 120 mm included fan, acting as the exhaust.
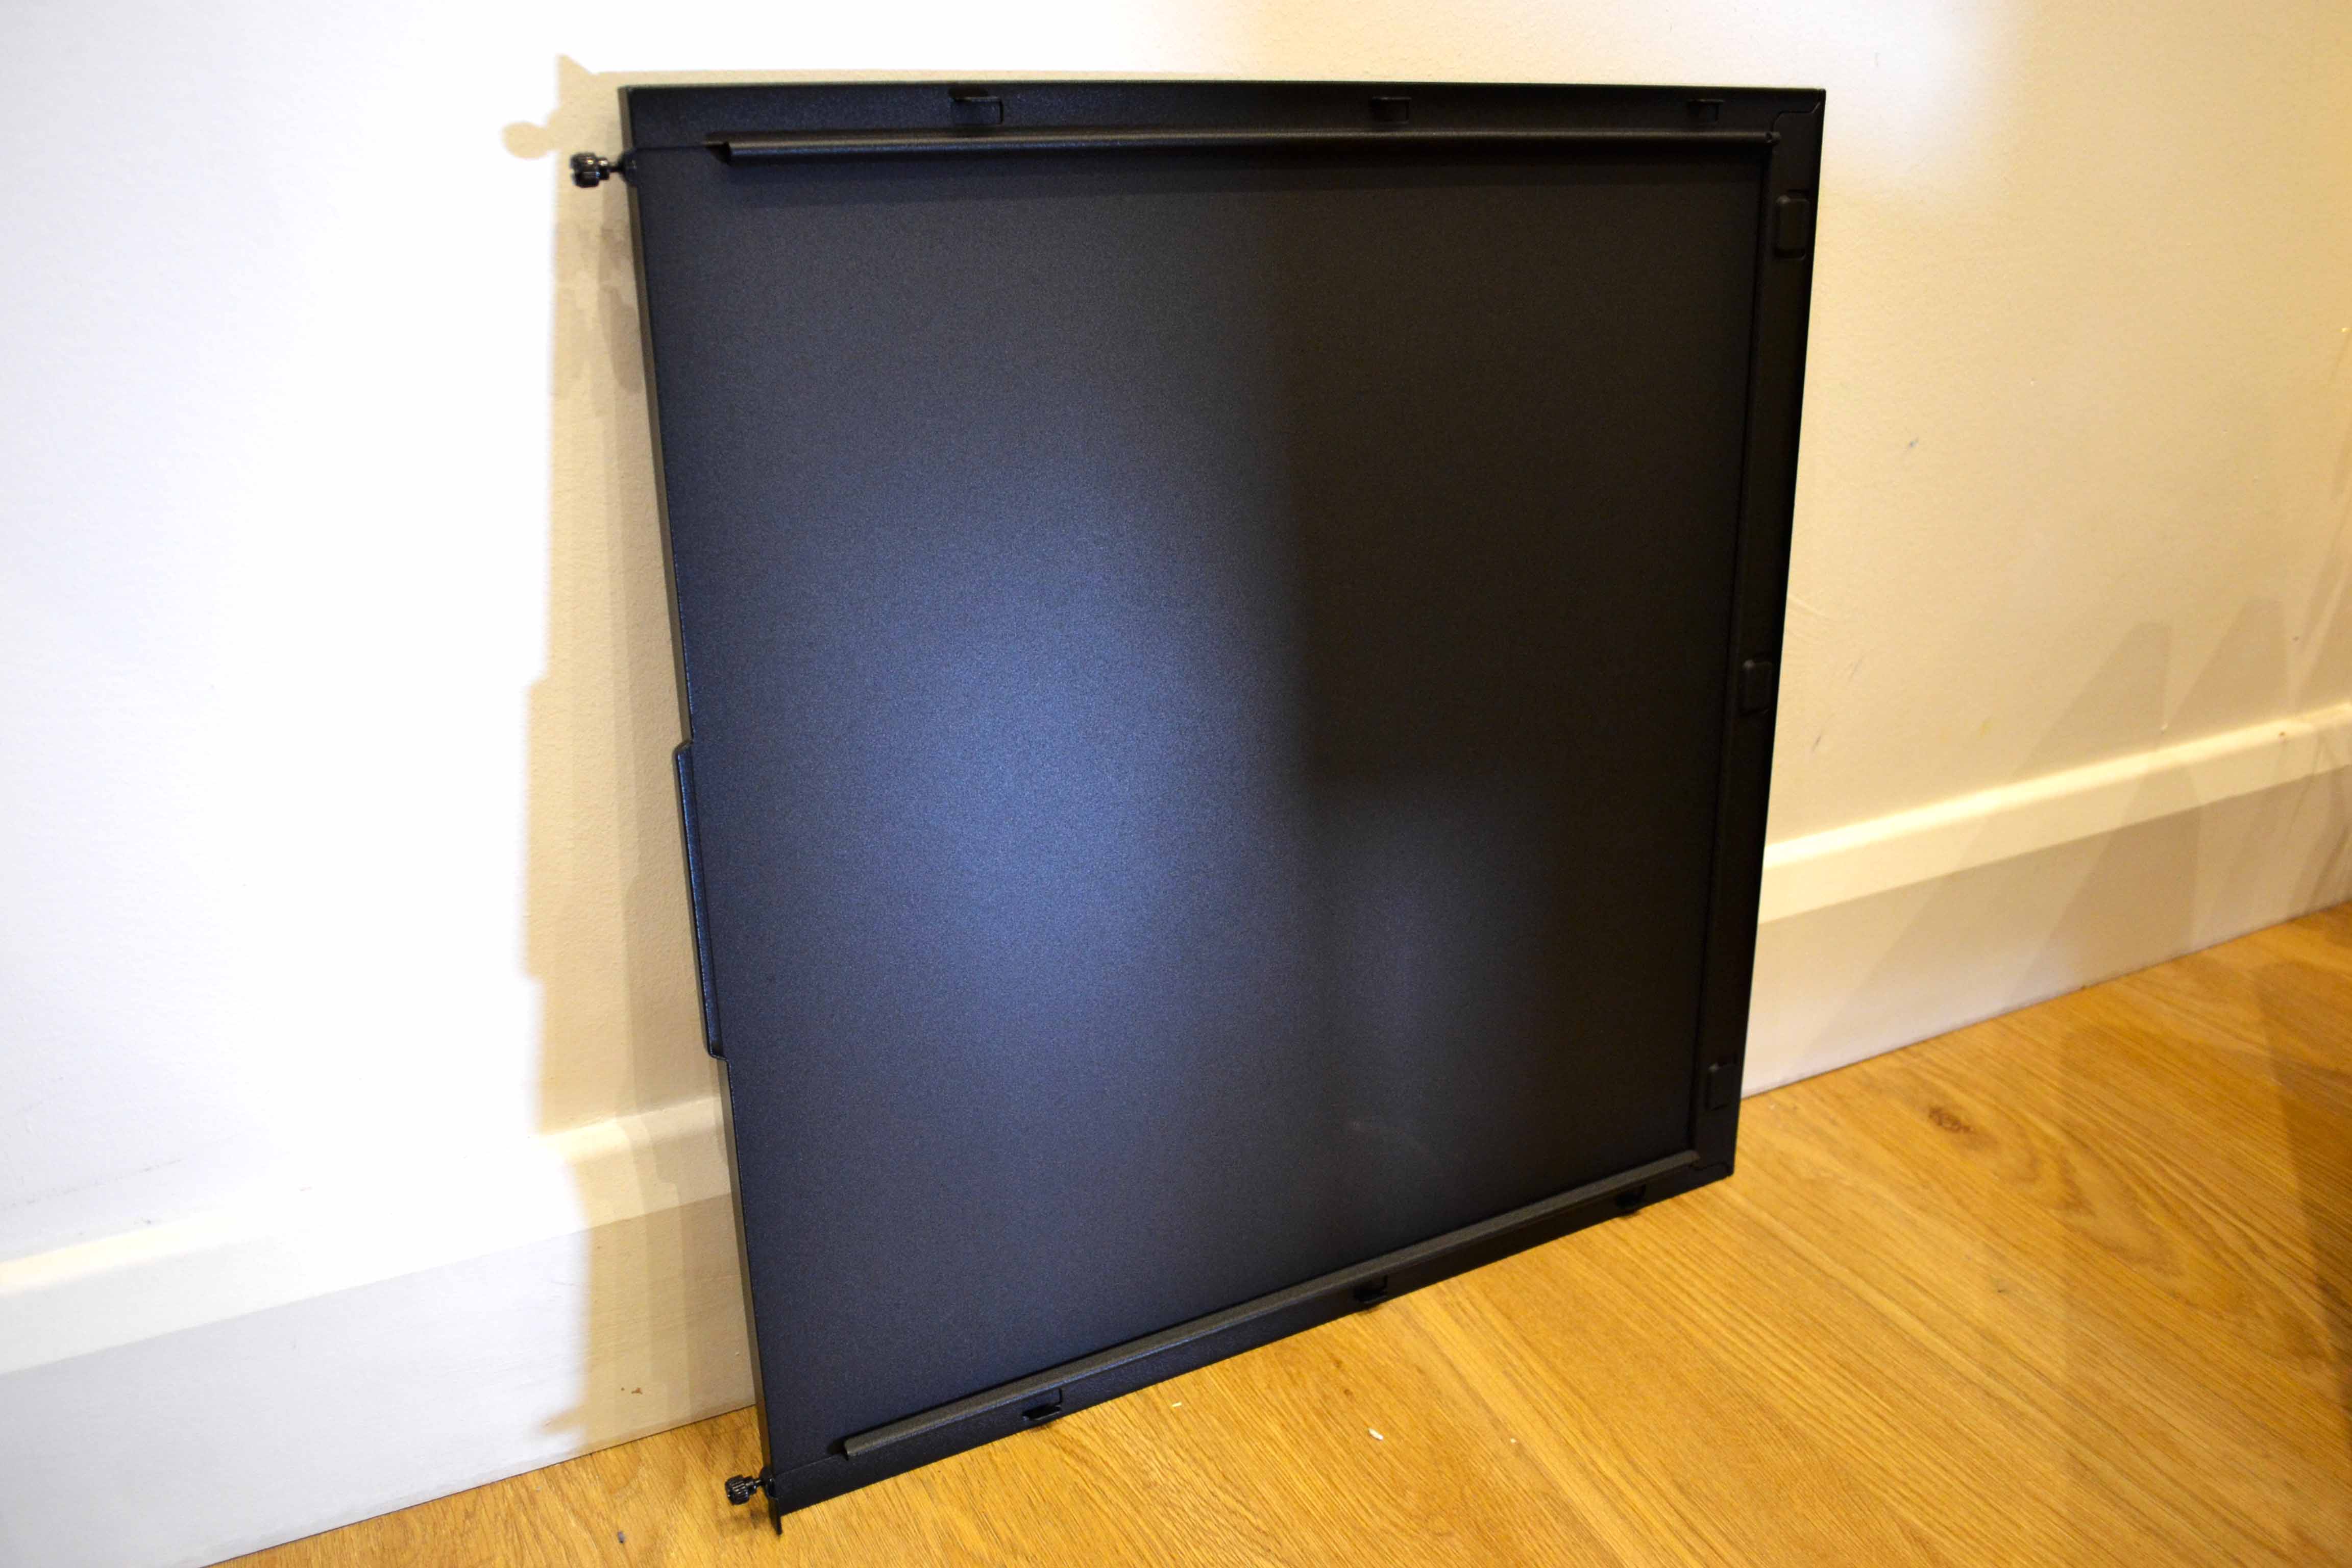
The side panel has a welcomed sight of non removable thumb screws but no sound deadening is available.

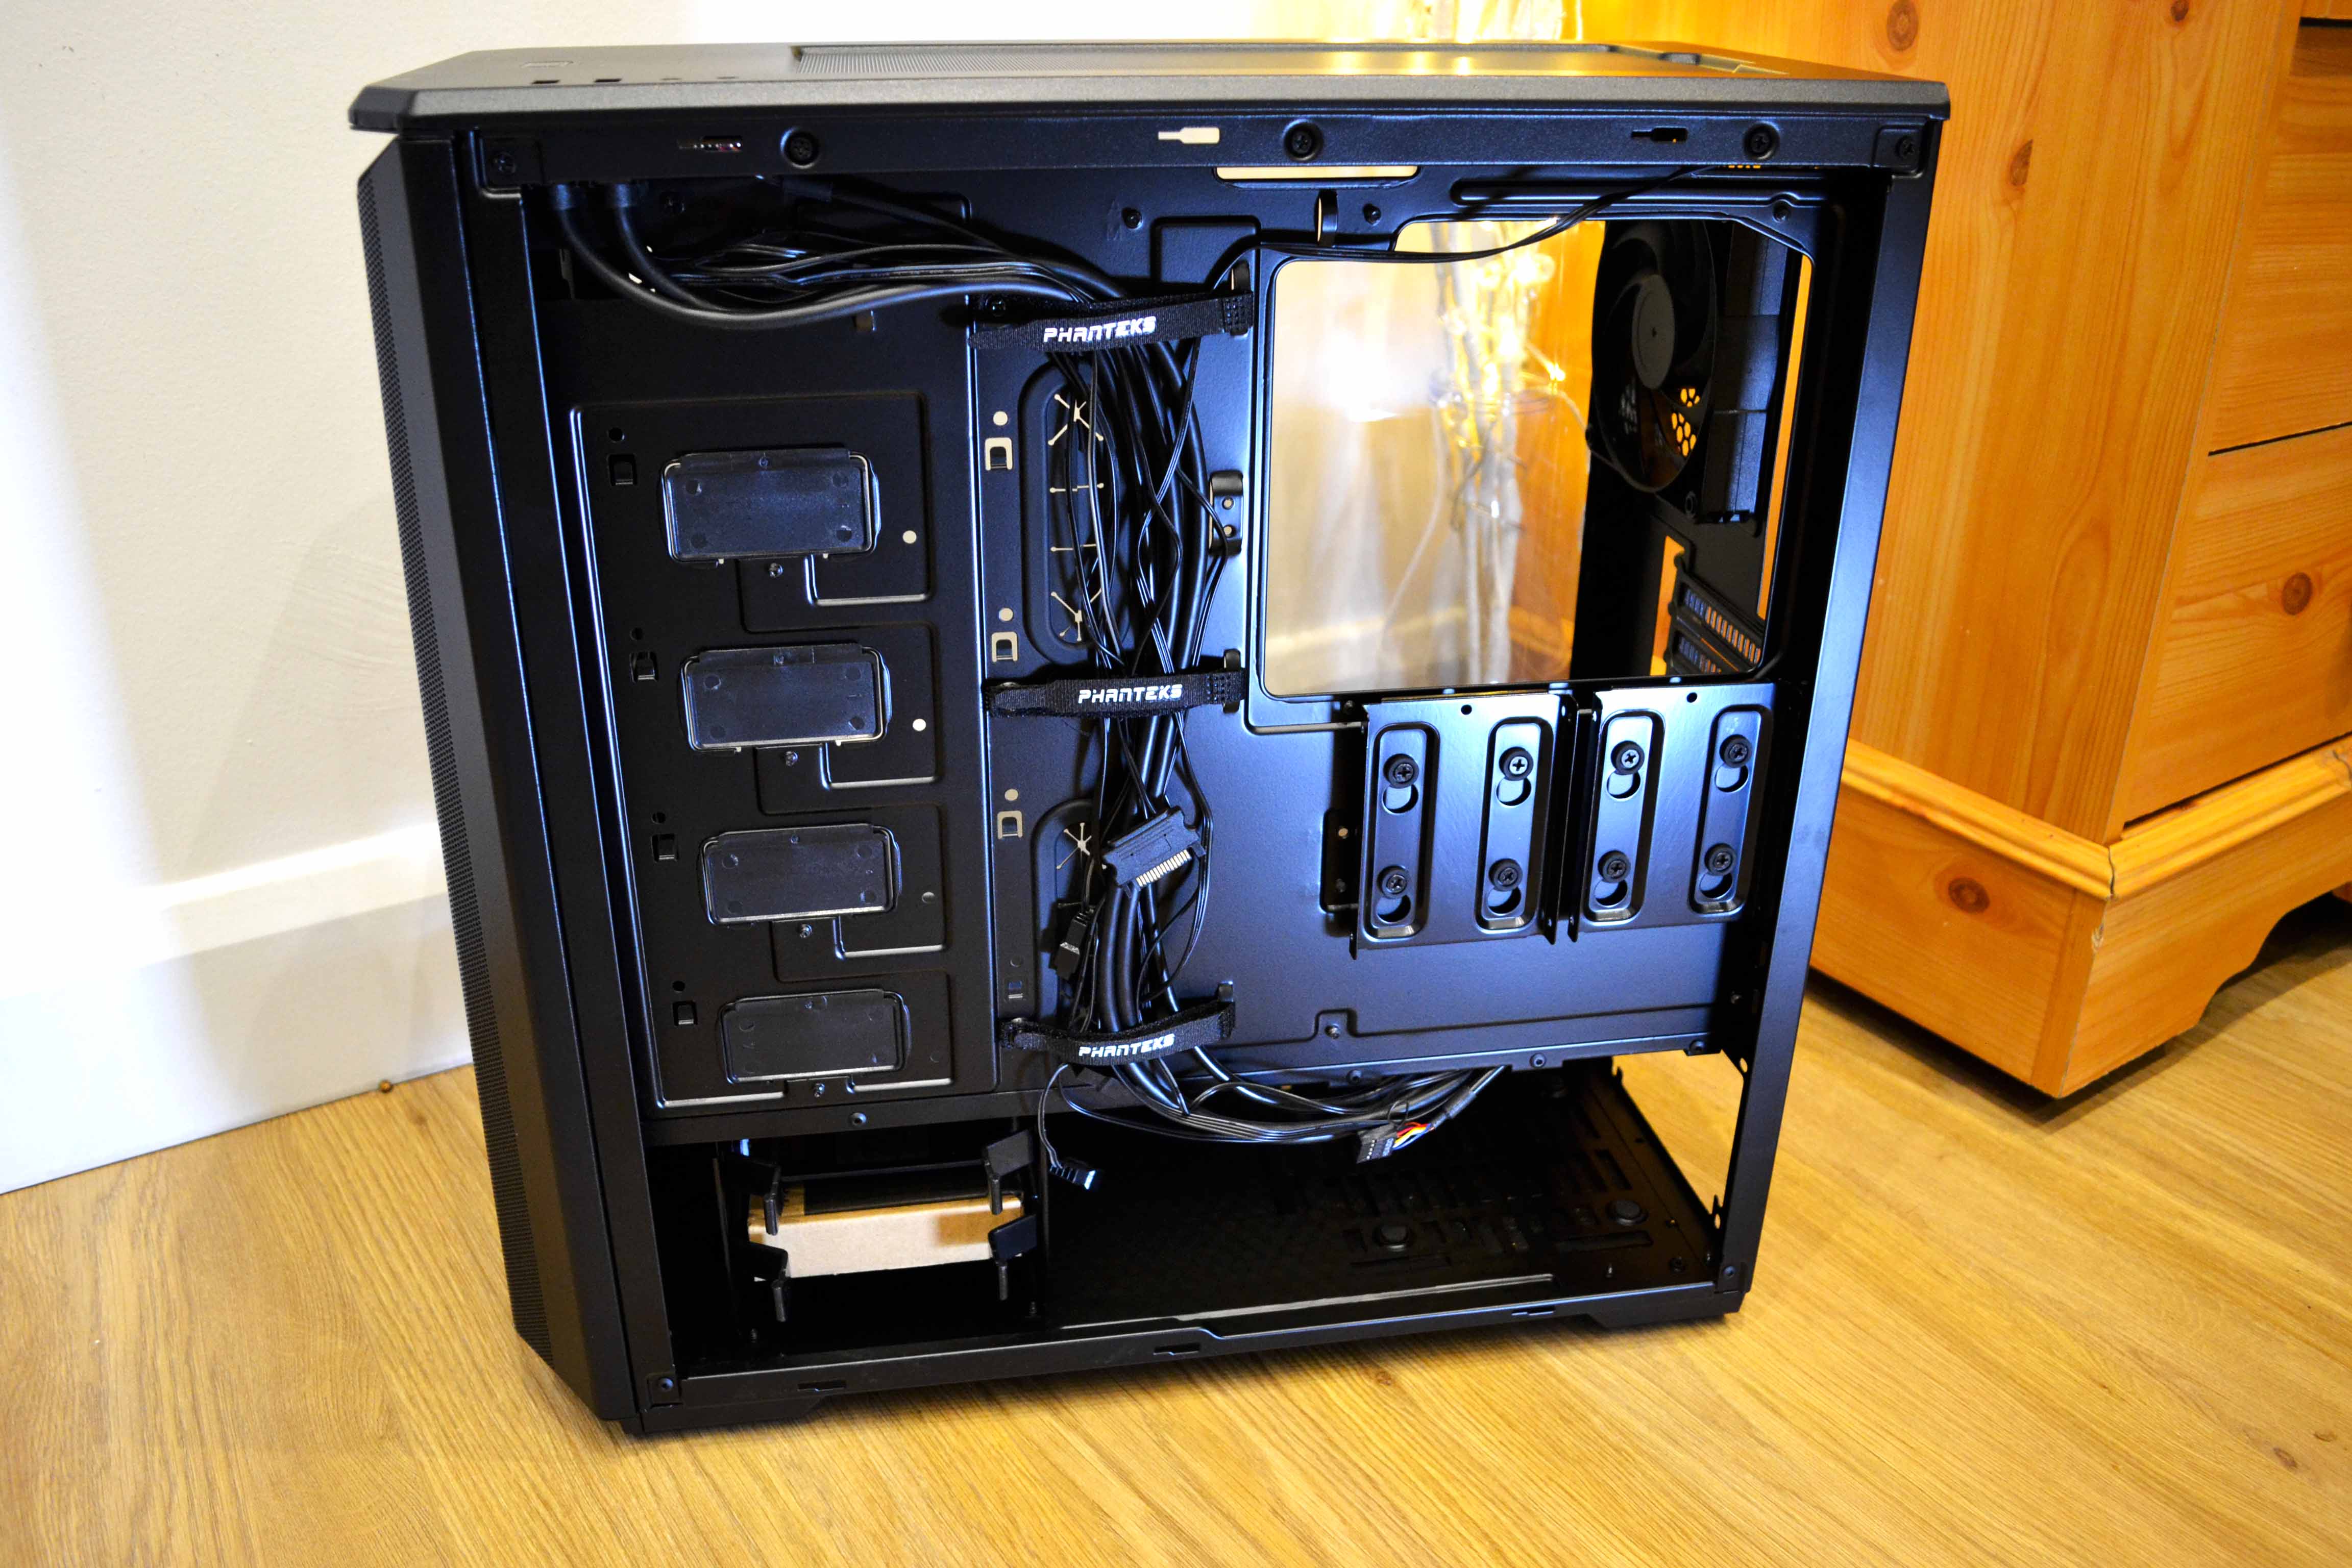
Now let’s go behind the curtain and see how well designed this case is from a feature point of view and as well from a wire management perspective. So, you can mount 2x 2.5″ drives via these removable brackets which attach onto the backside of the motherboard tray. You get 3x Phanteks Velcro straps that will come in handy for a cleaner and tidier WM. Also you can install 2x 3.5″ drives in the included sliding rails. You can order up to 4x extra Phanteks HDD trays so you can mount them inside the main chamber. Underneath everything, the power supply area has its own chamber with plenty of room for even the longest PSUs out there and to hide any unnecessary cables if it is a non modular one, for example. Finally the motherboard tray has a big cut out so you can easily access the socket area to install any CPU cooler without taking apart the whole system.
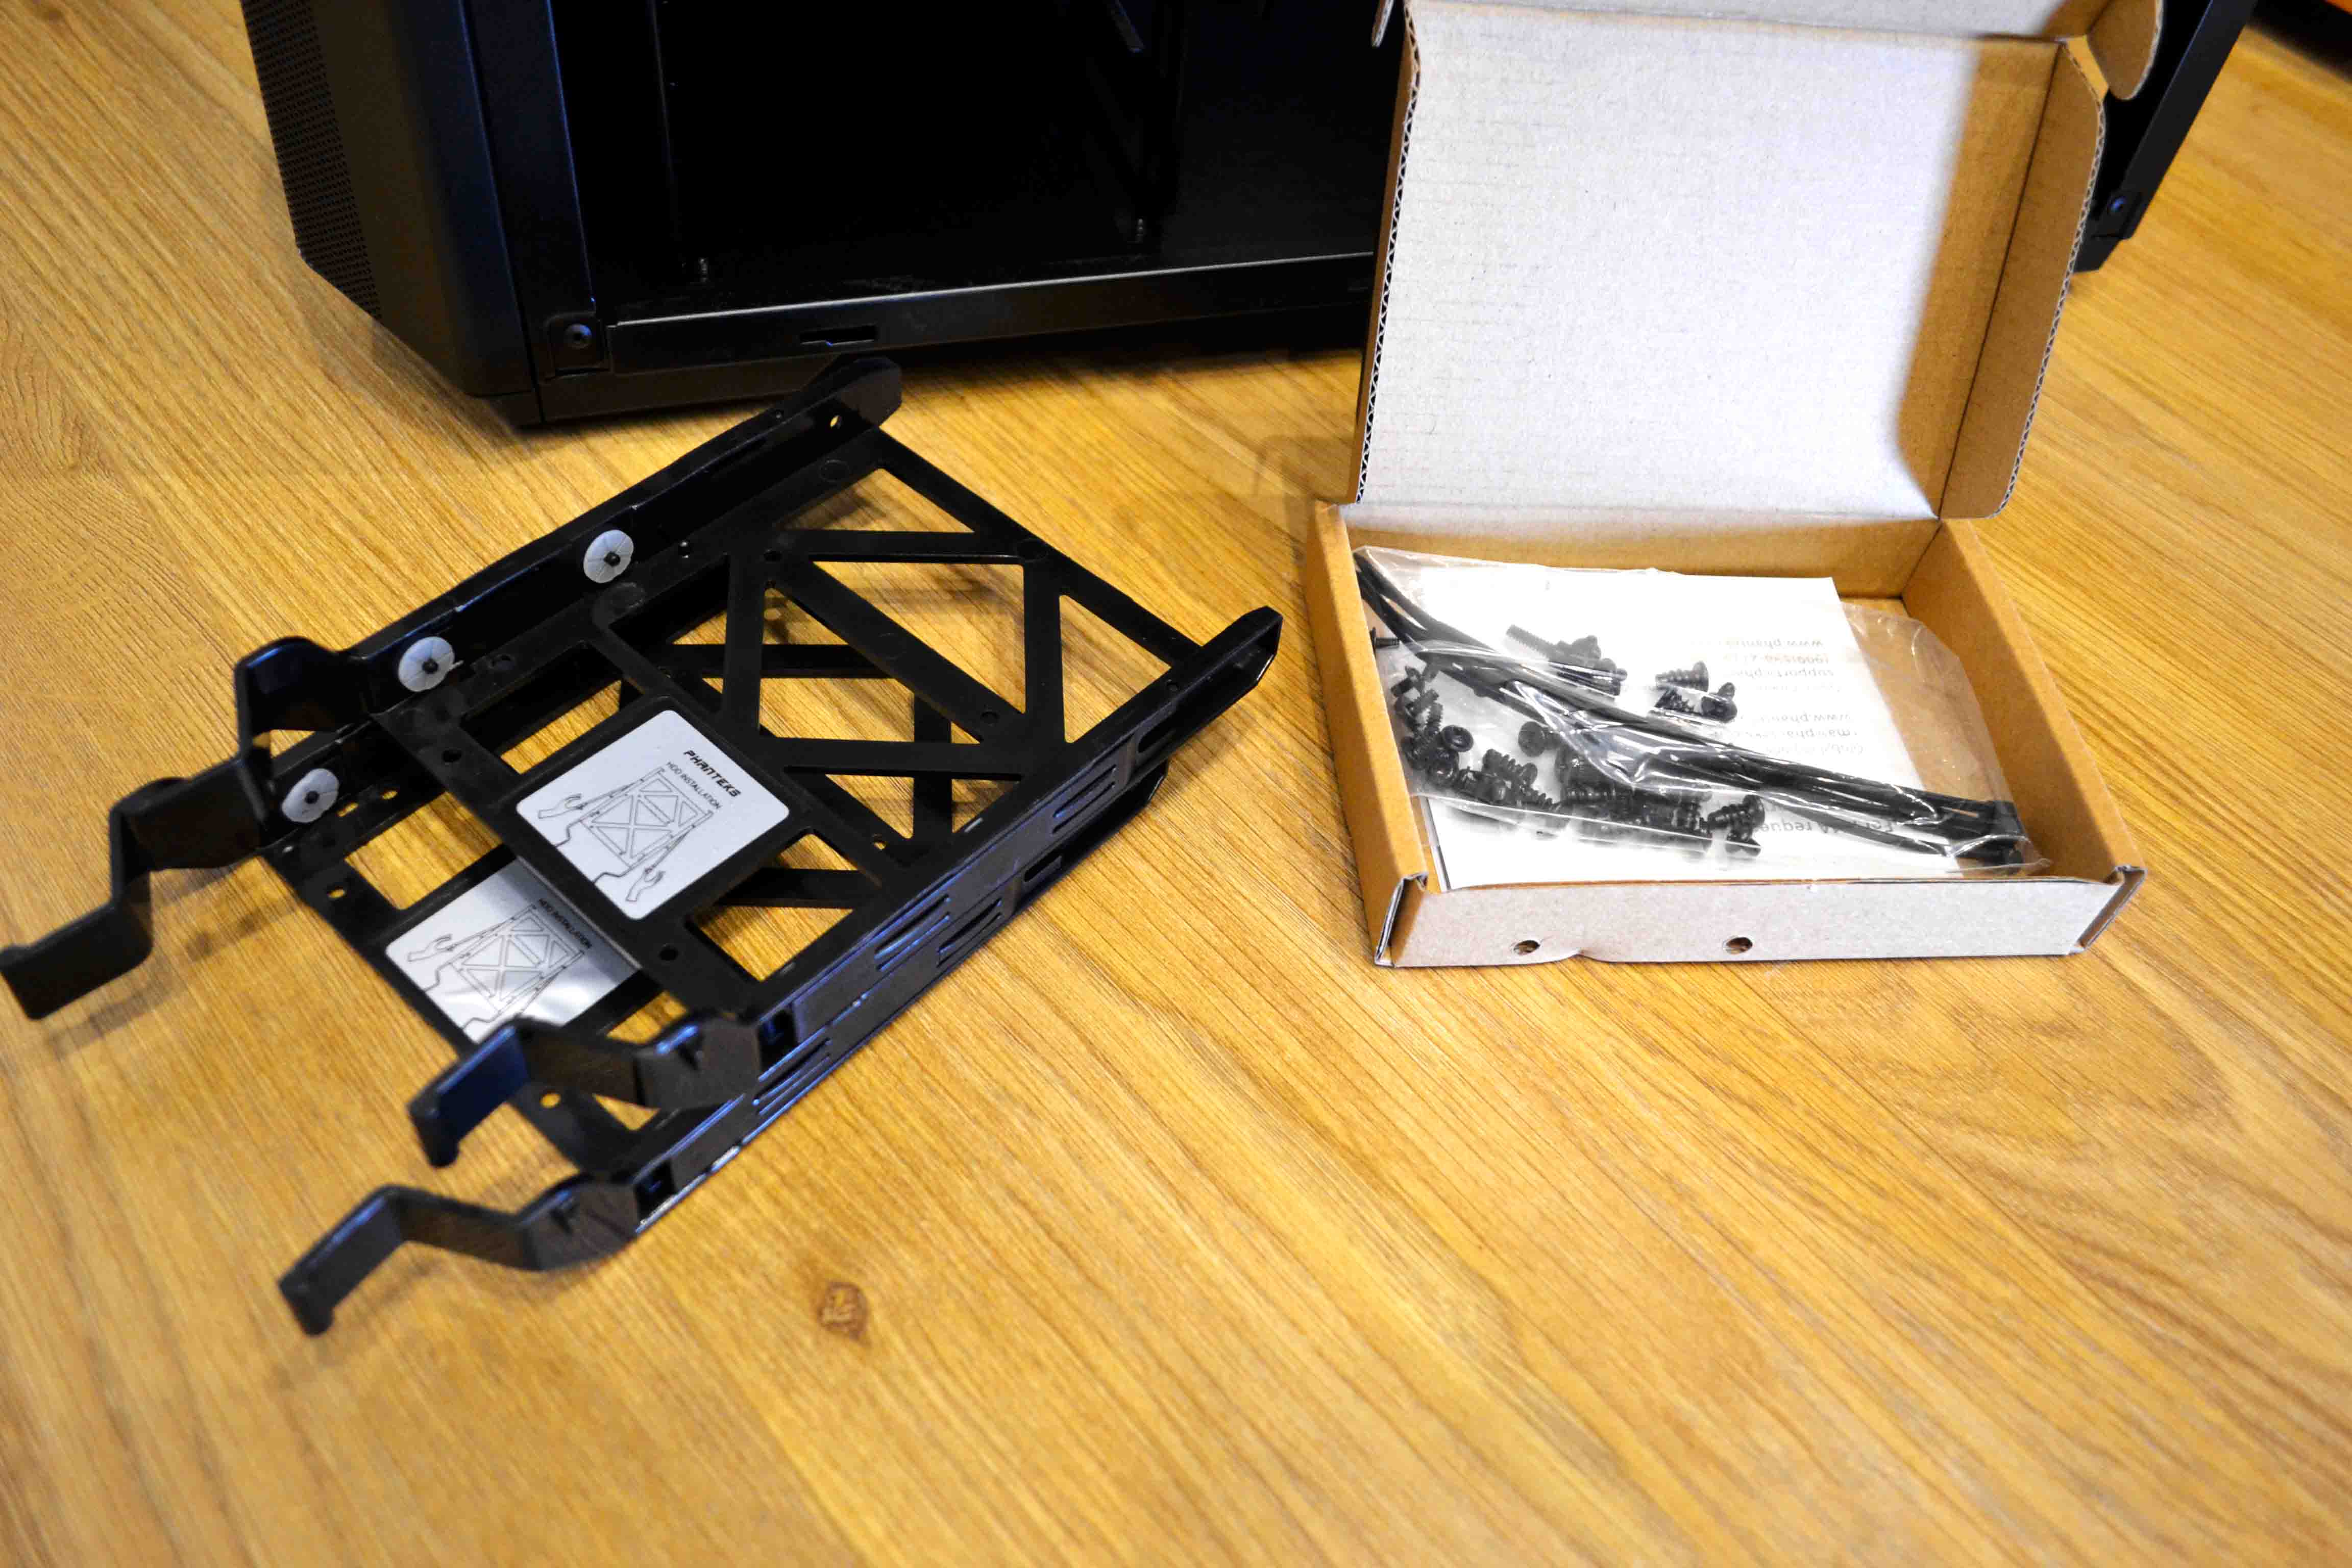
The accessory box resides in one of the 3.5″ HDD trays and provides all the necessary screws and bolts as well as a few zip-ties.
The power supply has access to airflow through a cut out in the floor panel and also has its own removable dust filter.


Around 22-23 mm of space for WM is left between the chassis and the side panel. As you will see it is sufficient space for most builds.

Now let’s focus onto the main area, the interior. The top cutouts offer plenty of space for cables and wires (as in the CPU power and fans for example). The same goes for the two big cutouts parallel with the motherboard, which also have grommets.

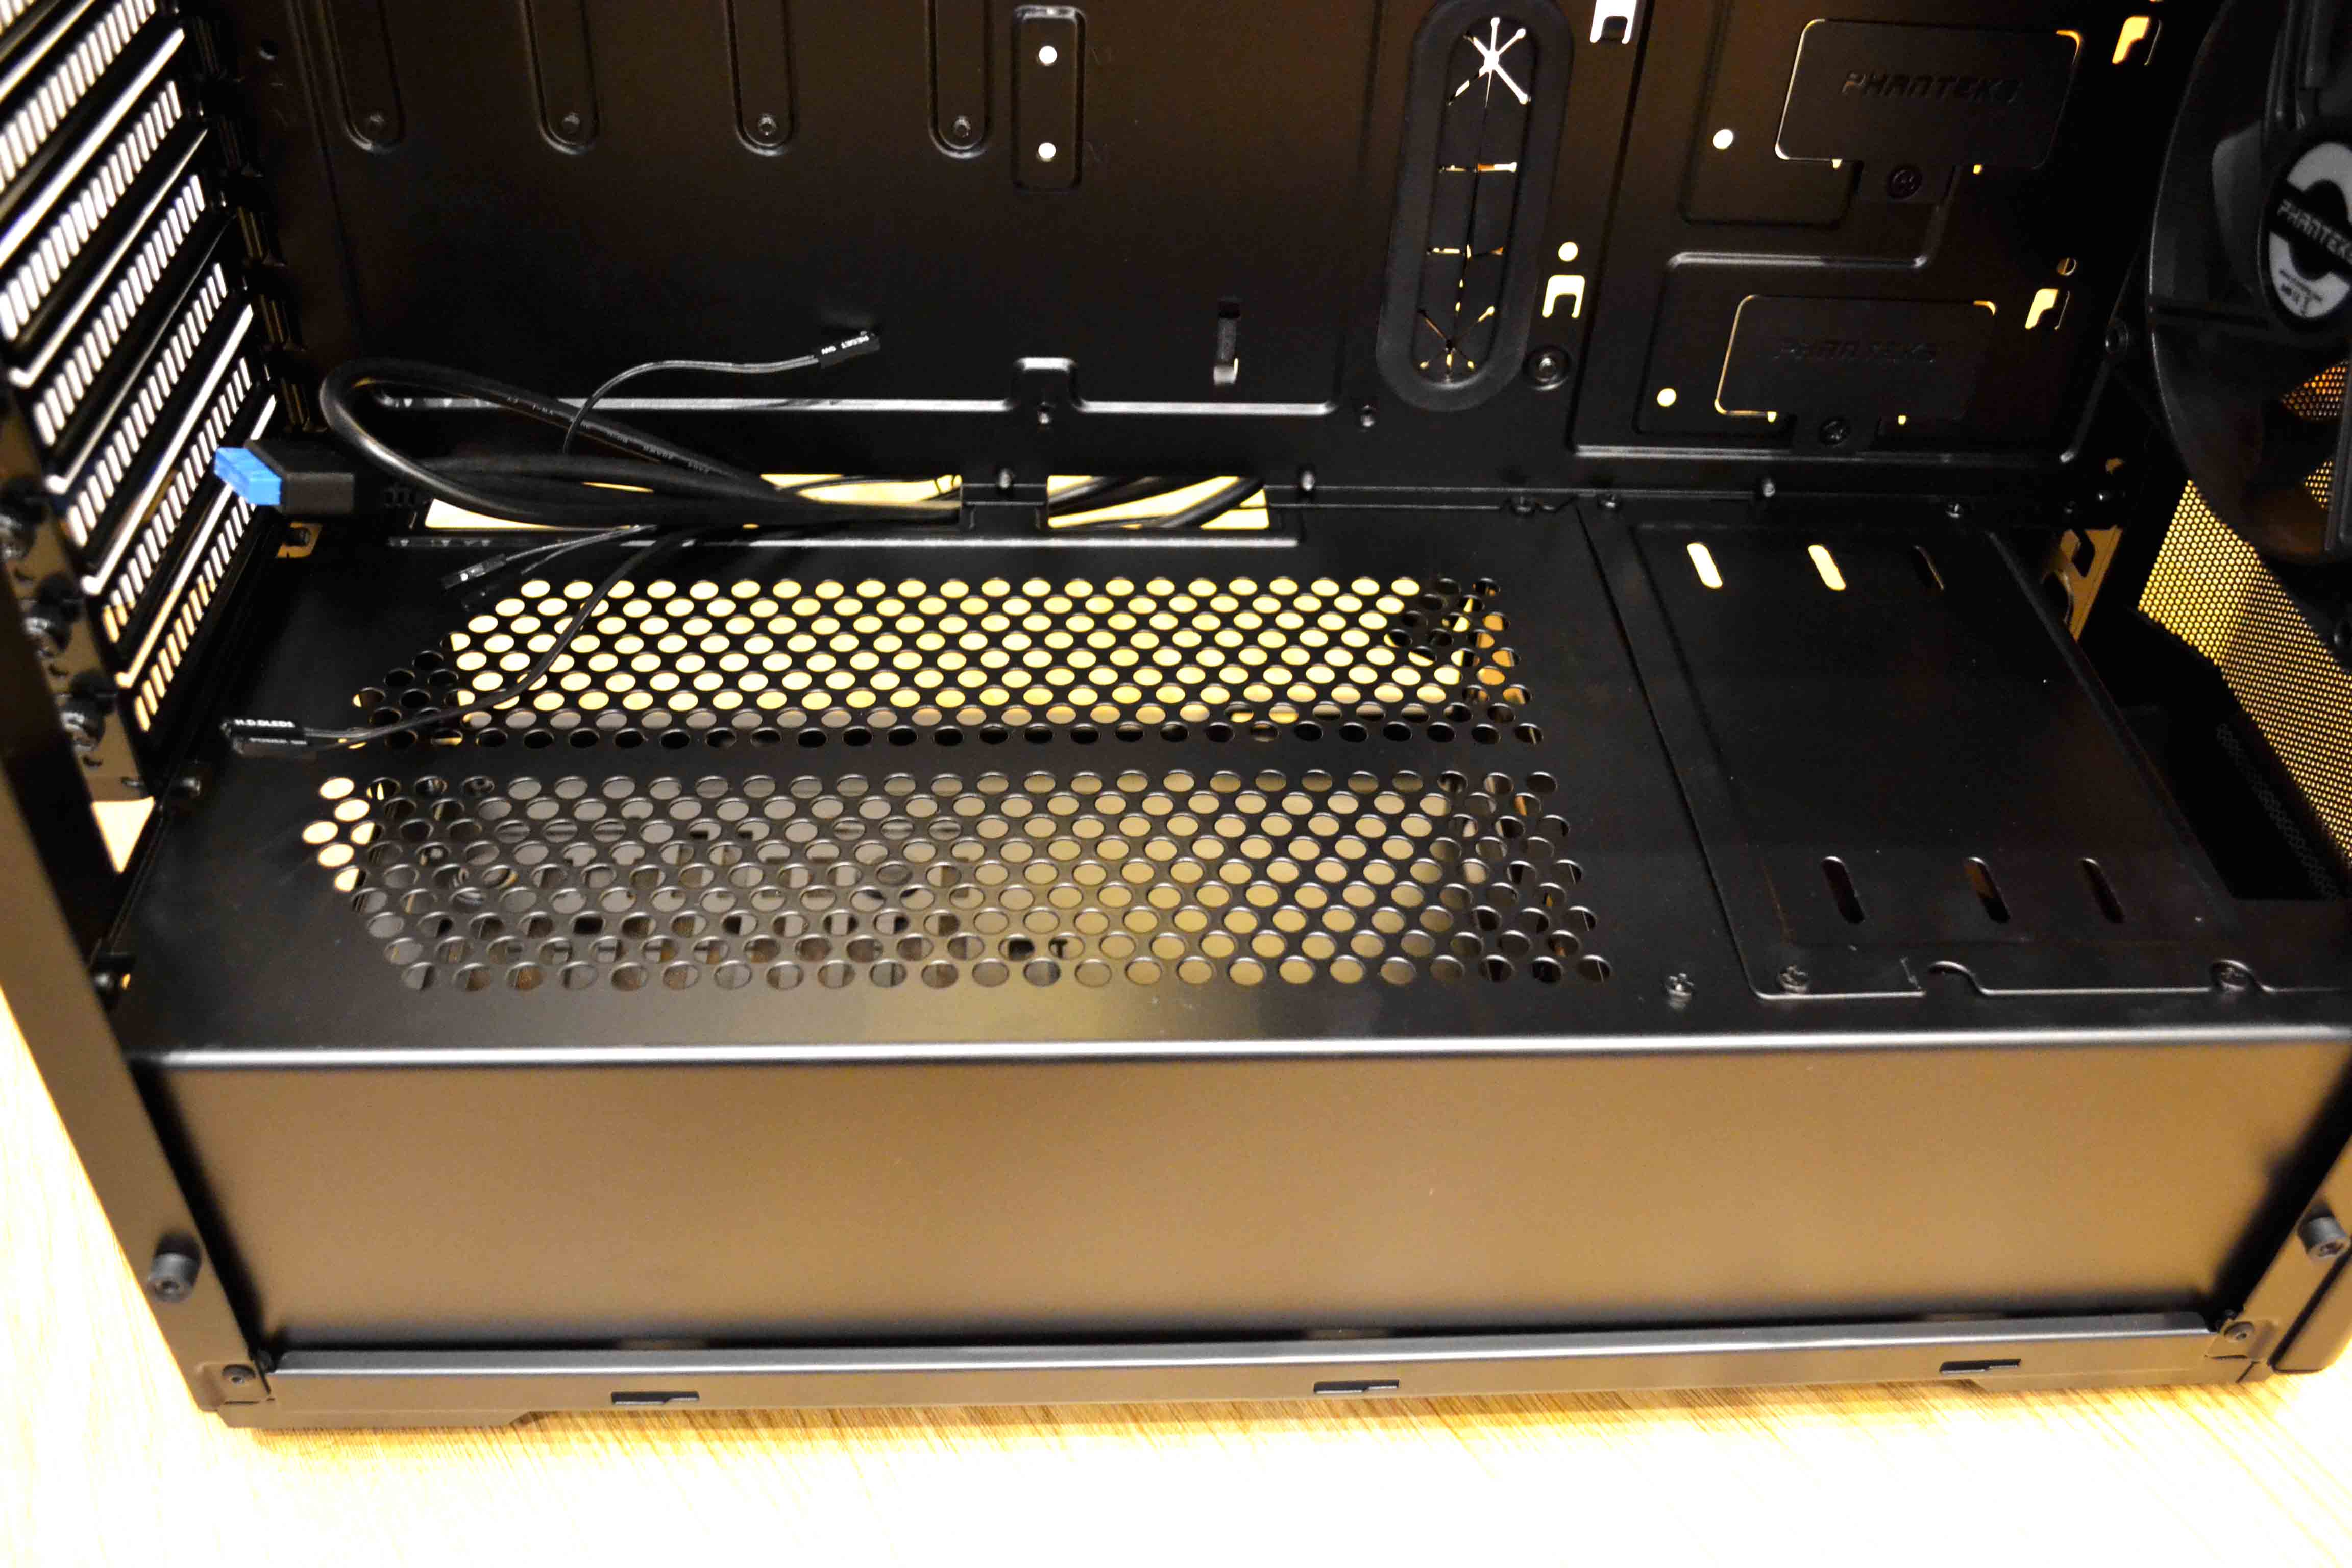
The lower chamber is completely covered so you can’t see the PSU which is not necessarily a bad thing, I would think it is more, for a cleaner look. The top bit is perforated for extra airflow. On the right, we have a modular plate on which you can install custom water pumps.
Next chapter please.
Testing Methodology and Component Installation
We will:
* Cram as many regular components as we can and point out if any problems arise
* Test the case’s airflow
* Test the wire management capability – usually with a non modular power supply
* Test the build in fan controller of the case and record the noise and airflow output on each setting
* Measure the noise output from the case’s fans and overall noise with our Pyle PSPL01 noise meter placed at 30 cm from the fully built case.
* Ambient room temperature was at a recorded 20 degrees C.
Hardware used:
– CPU: AMD Ryzen 7 1700 AM4 – 8c/16t
– Motherboard: ASUS ROG STRIX B450-F Gaming ATX
– RAM: Crucial Ballistix Elite DDR4 2666 MHz
– Boot SSD: Samsung 860 QVO 1TB QLC
– Storage HDD: Seagate BaraCuda 1TB HDD 7200 RPM
– Video card(s): ASUS STRIX GTX 1080 8G Advanced
– PSU: BeQuiet! 700W Pure Power 11 ATX

Software:
– Windows 10 Pro x64 Version 1903
– NVIDIA GeForce WHQL 436.40
– MSI Afterburner v4.50 – To monitor the GPU temperatures
– CPU-Z v1.87 – To verify the CPU’s and RAM’s statistics
– CoreTemp v1.13 – To see in real time temperatures of all the CPU’s cores and threads
– Far Cry New Dawn – One run of its built in benchmark suite – All settings set at Ultra @ FHD
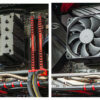
As for wire management, this is what it would look like on the back, with a non modular power supply, one 3.5″ HDD and one 2.5″ SSD. The included Velcro zip-ties are strong enough to keep into check even thicker cables like the 24 pin plug.

Fully built it looks awesome! The case is big enough for custom cooling setups and/or multiple AIOs, let alone a single GPU and just an air cooler. The STRIX GTX 1080 is 298 cm long and still the case has plenty of room left to install a front radiator even in a push and pull configuration.
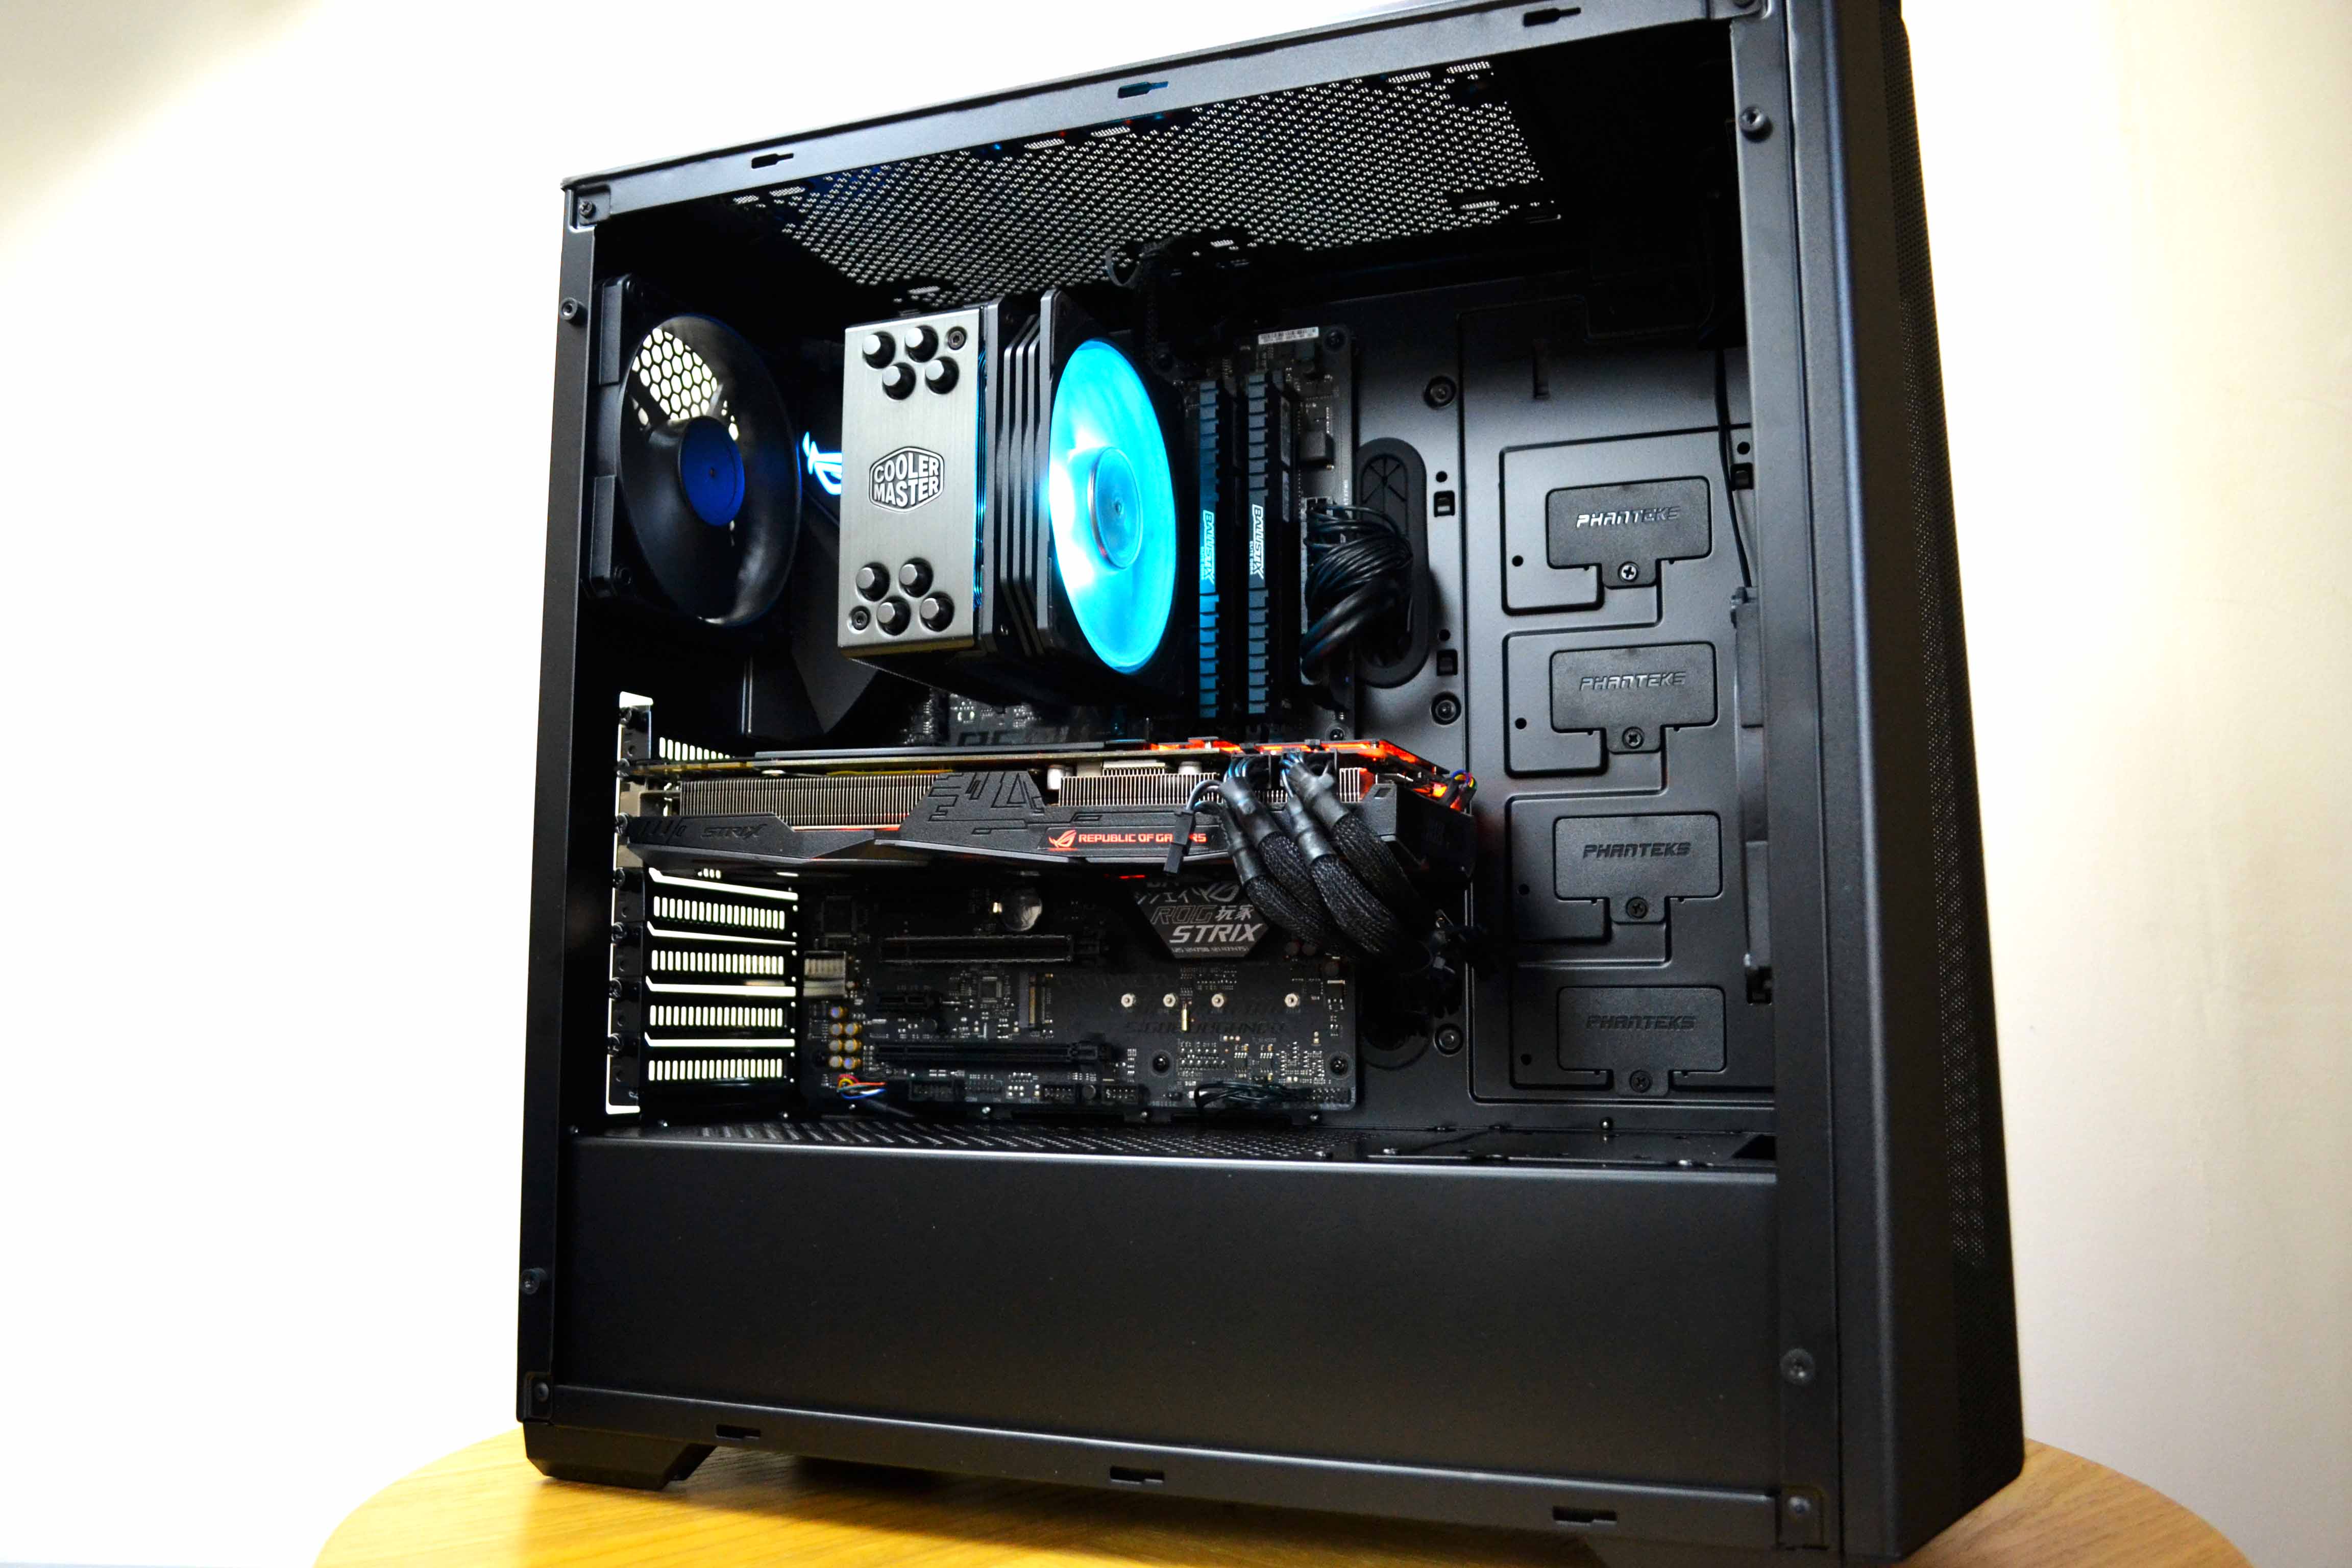
That front mesh, if you get close enough to look, you can see through it what’s inside the case.
The final step is to put the tempered glass window which completes the build and it gives it the final visual touch.

Testing, Results and Analysis
First the noise tests. The case, even if you set the included fans at full chat, it is silent.

Then let’s see the temperatures for the CPU. Stock settings for it and since the Cooler Master 212 RGB is a good performing air cooler, we get these results. Minimal differences between profiles but still that front mesh does help the fans.

The graphics card is next. This generation of ASUS STRIX NVIDIA 10th generation cards don’t spin the fans until a certain temperature threshold (60°C) so it is a perfect test for the case.

Then we decided to cover the front mesh with tape to simulate the lack of airflow conditions of the standard P400 case which can’t breath of course through the front like the mesh variant of the P400A. Well the numbers don’t lie and the difference is quite noticeable. The mesh design really improves overall airflow!


Conclusion
The case delivers on what it had promised – excellent airflow and breathing performance. It is big enough to take advantage of that cooling potential even with multiple AIOs installed or a custom WC built. It’s a nice to look at and to build in it but the only downside of it is the average built quality in certain areas (the front mesh can be easily damaged) and thus the asking price is a bit to high to make it worth it (talking about the RGB models) considering the competition from Fractal Meshify for example.
The good:
+ Excellent airflow performance via the front mesh cover
+ Extra upgrade routes like the vertical GPU mount bracket
+ 3 main case variants to choose from non RGB / RGB
+ Integrated fan controller
+ Easy to build
+ Can accommodate a lot of big high end gear
The bad:
– The front metal mesh is a bit too thin and can easily be damaged from the smallest amount of pressure
– The built quality is average in some regards
– No sound proofing
Glob3trotters “Great” Award – 4 out of 5